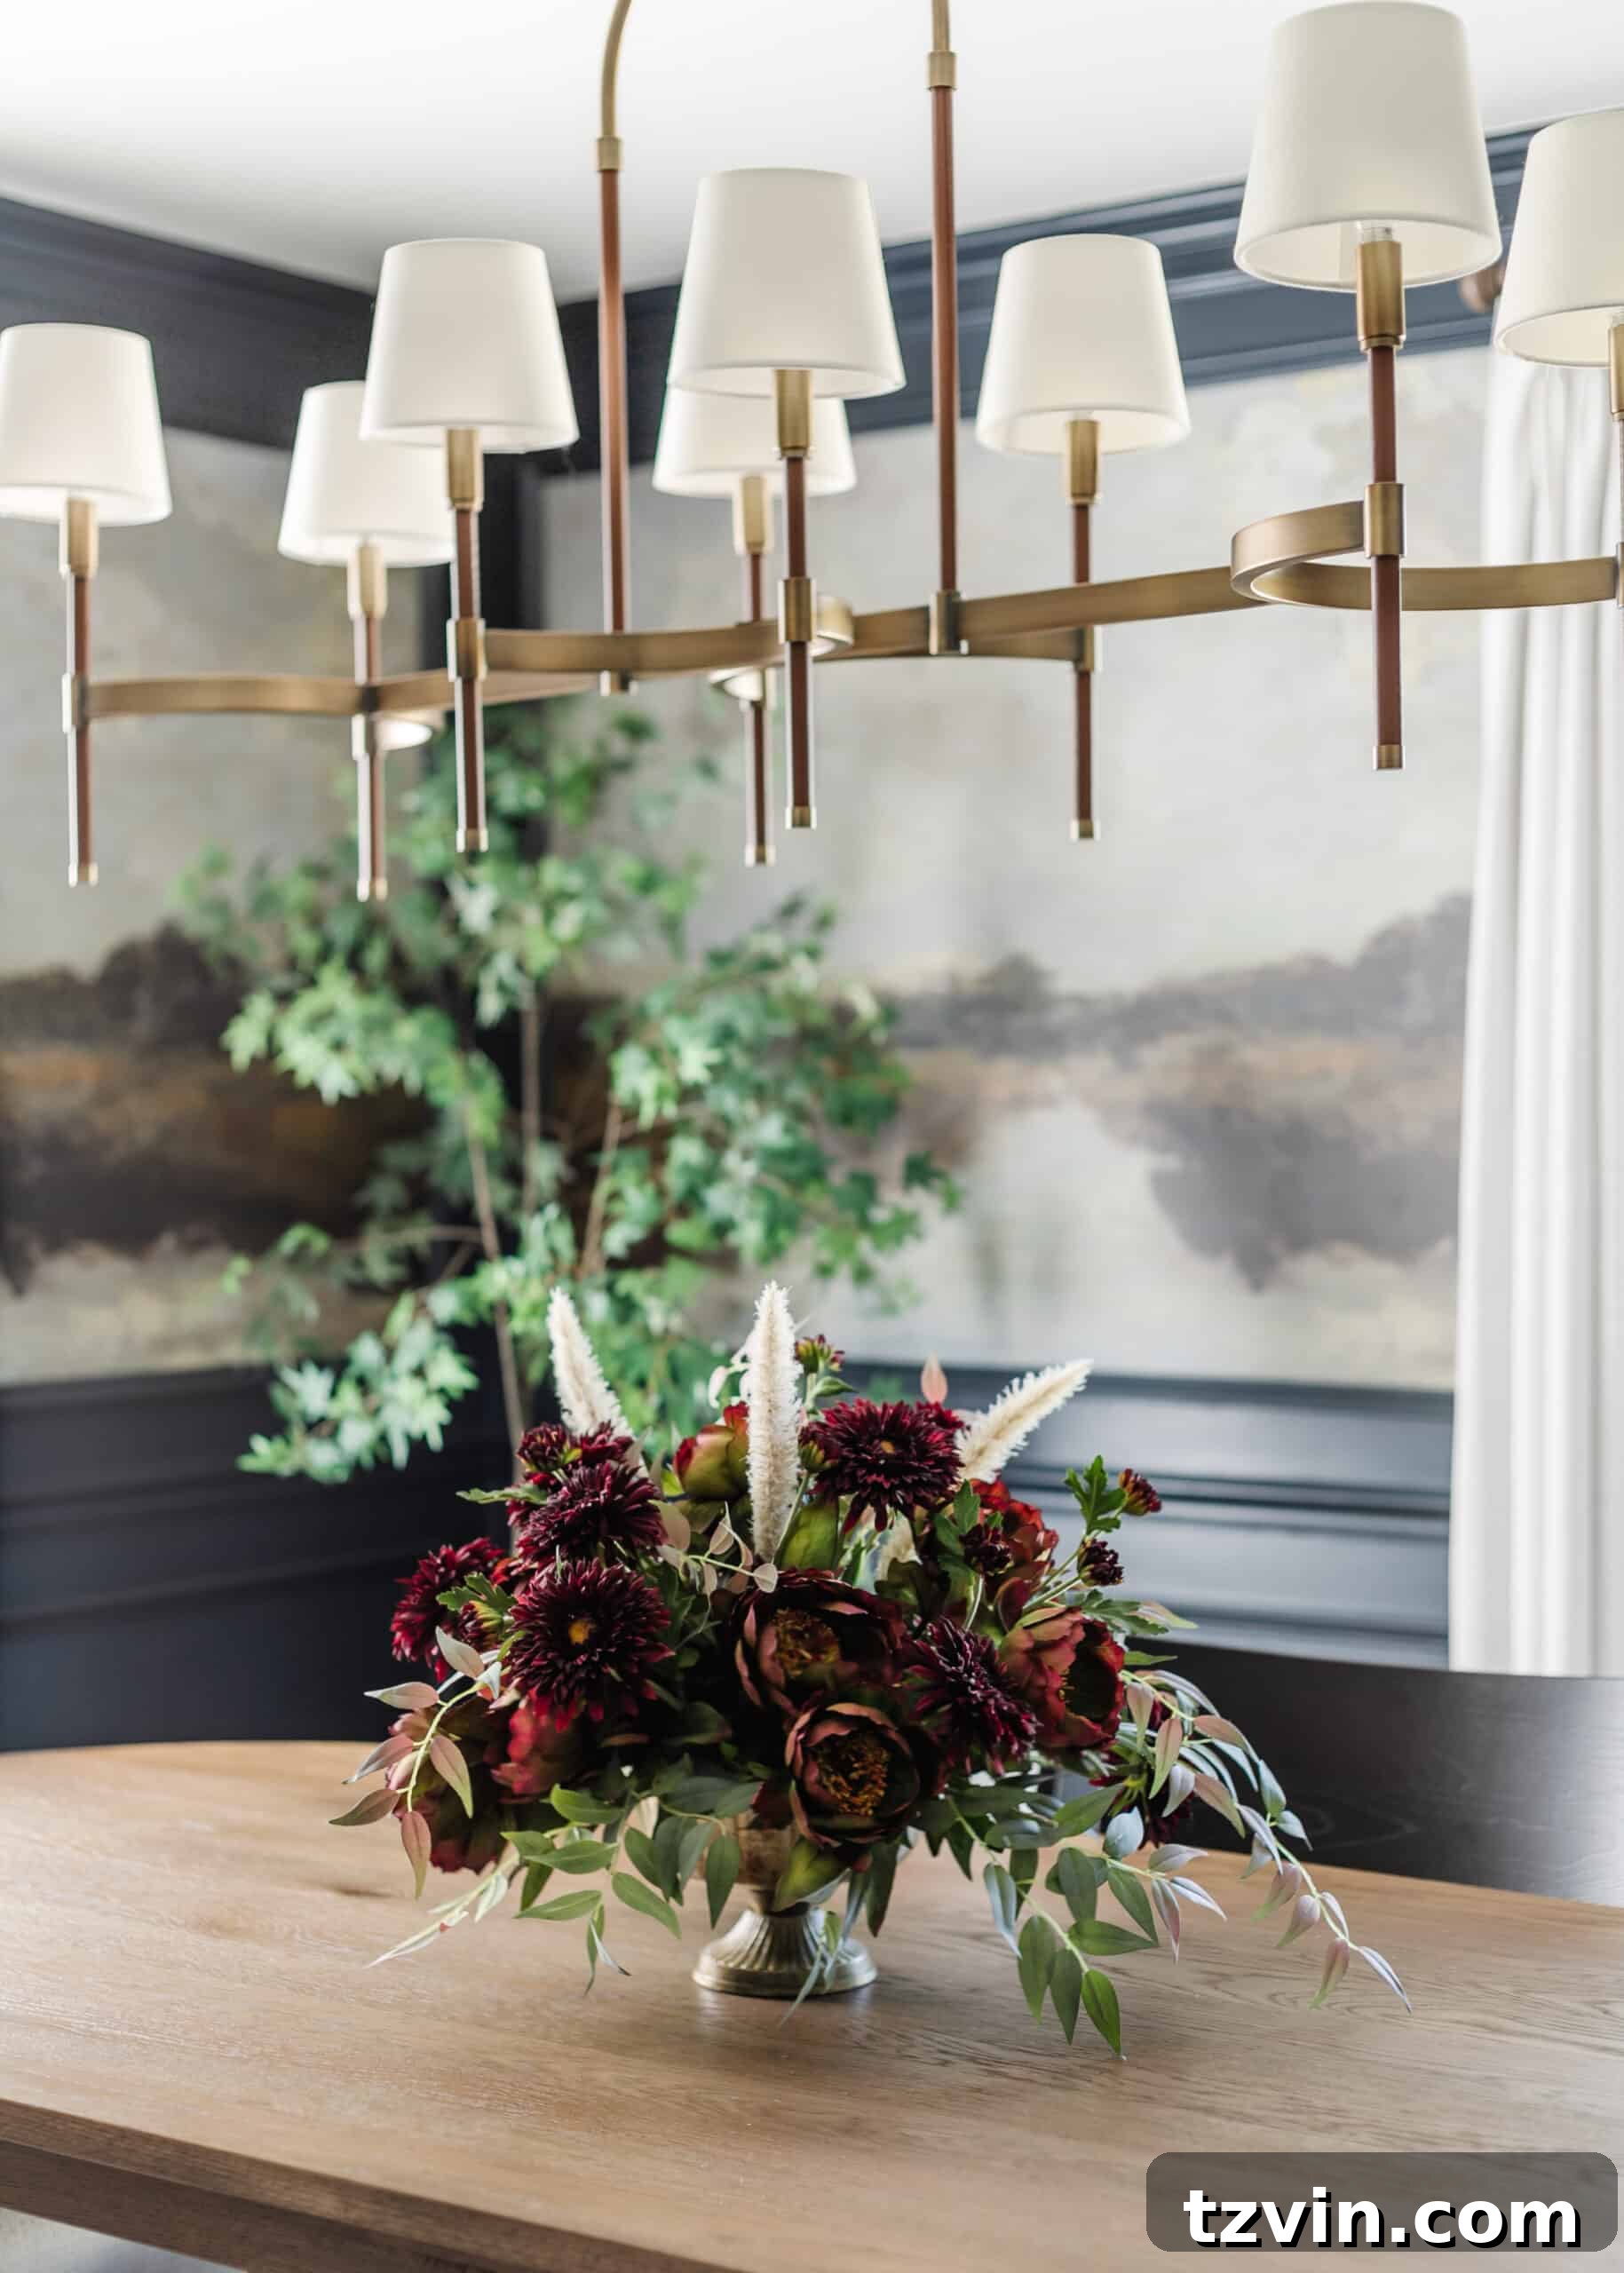
Embrace the Beauty of Autumn: Your Guide to DIY Fall Floral Arrangements
As the leaves begin to turn and the crisp autumn air fills our homes, there’s an undeniable urge to infuse our living spaces with the season’s rich colors and cozy textures. What better way to capture the essence of fall than with a stunning floral arrangement? This comprehensive, step-by-step DIY tutorial will guide you through creating your very own fall floral masterpiece, perfect for enhancing your home decor or adding a touch of elegance to any wedding or special event.
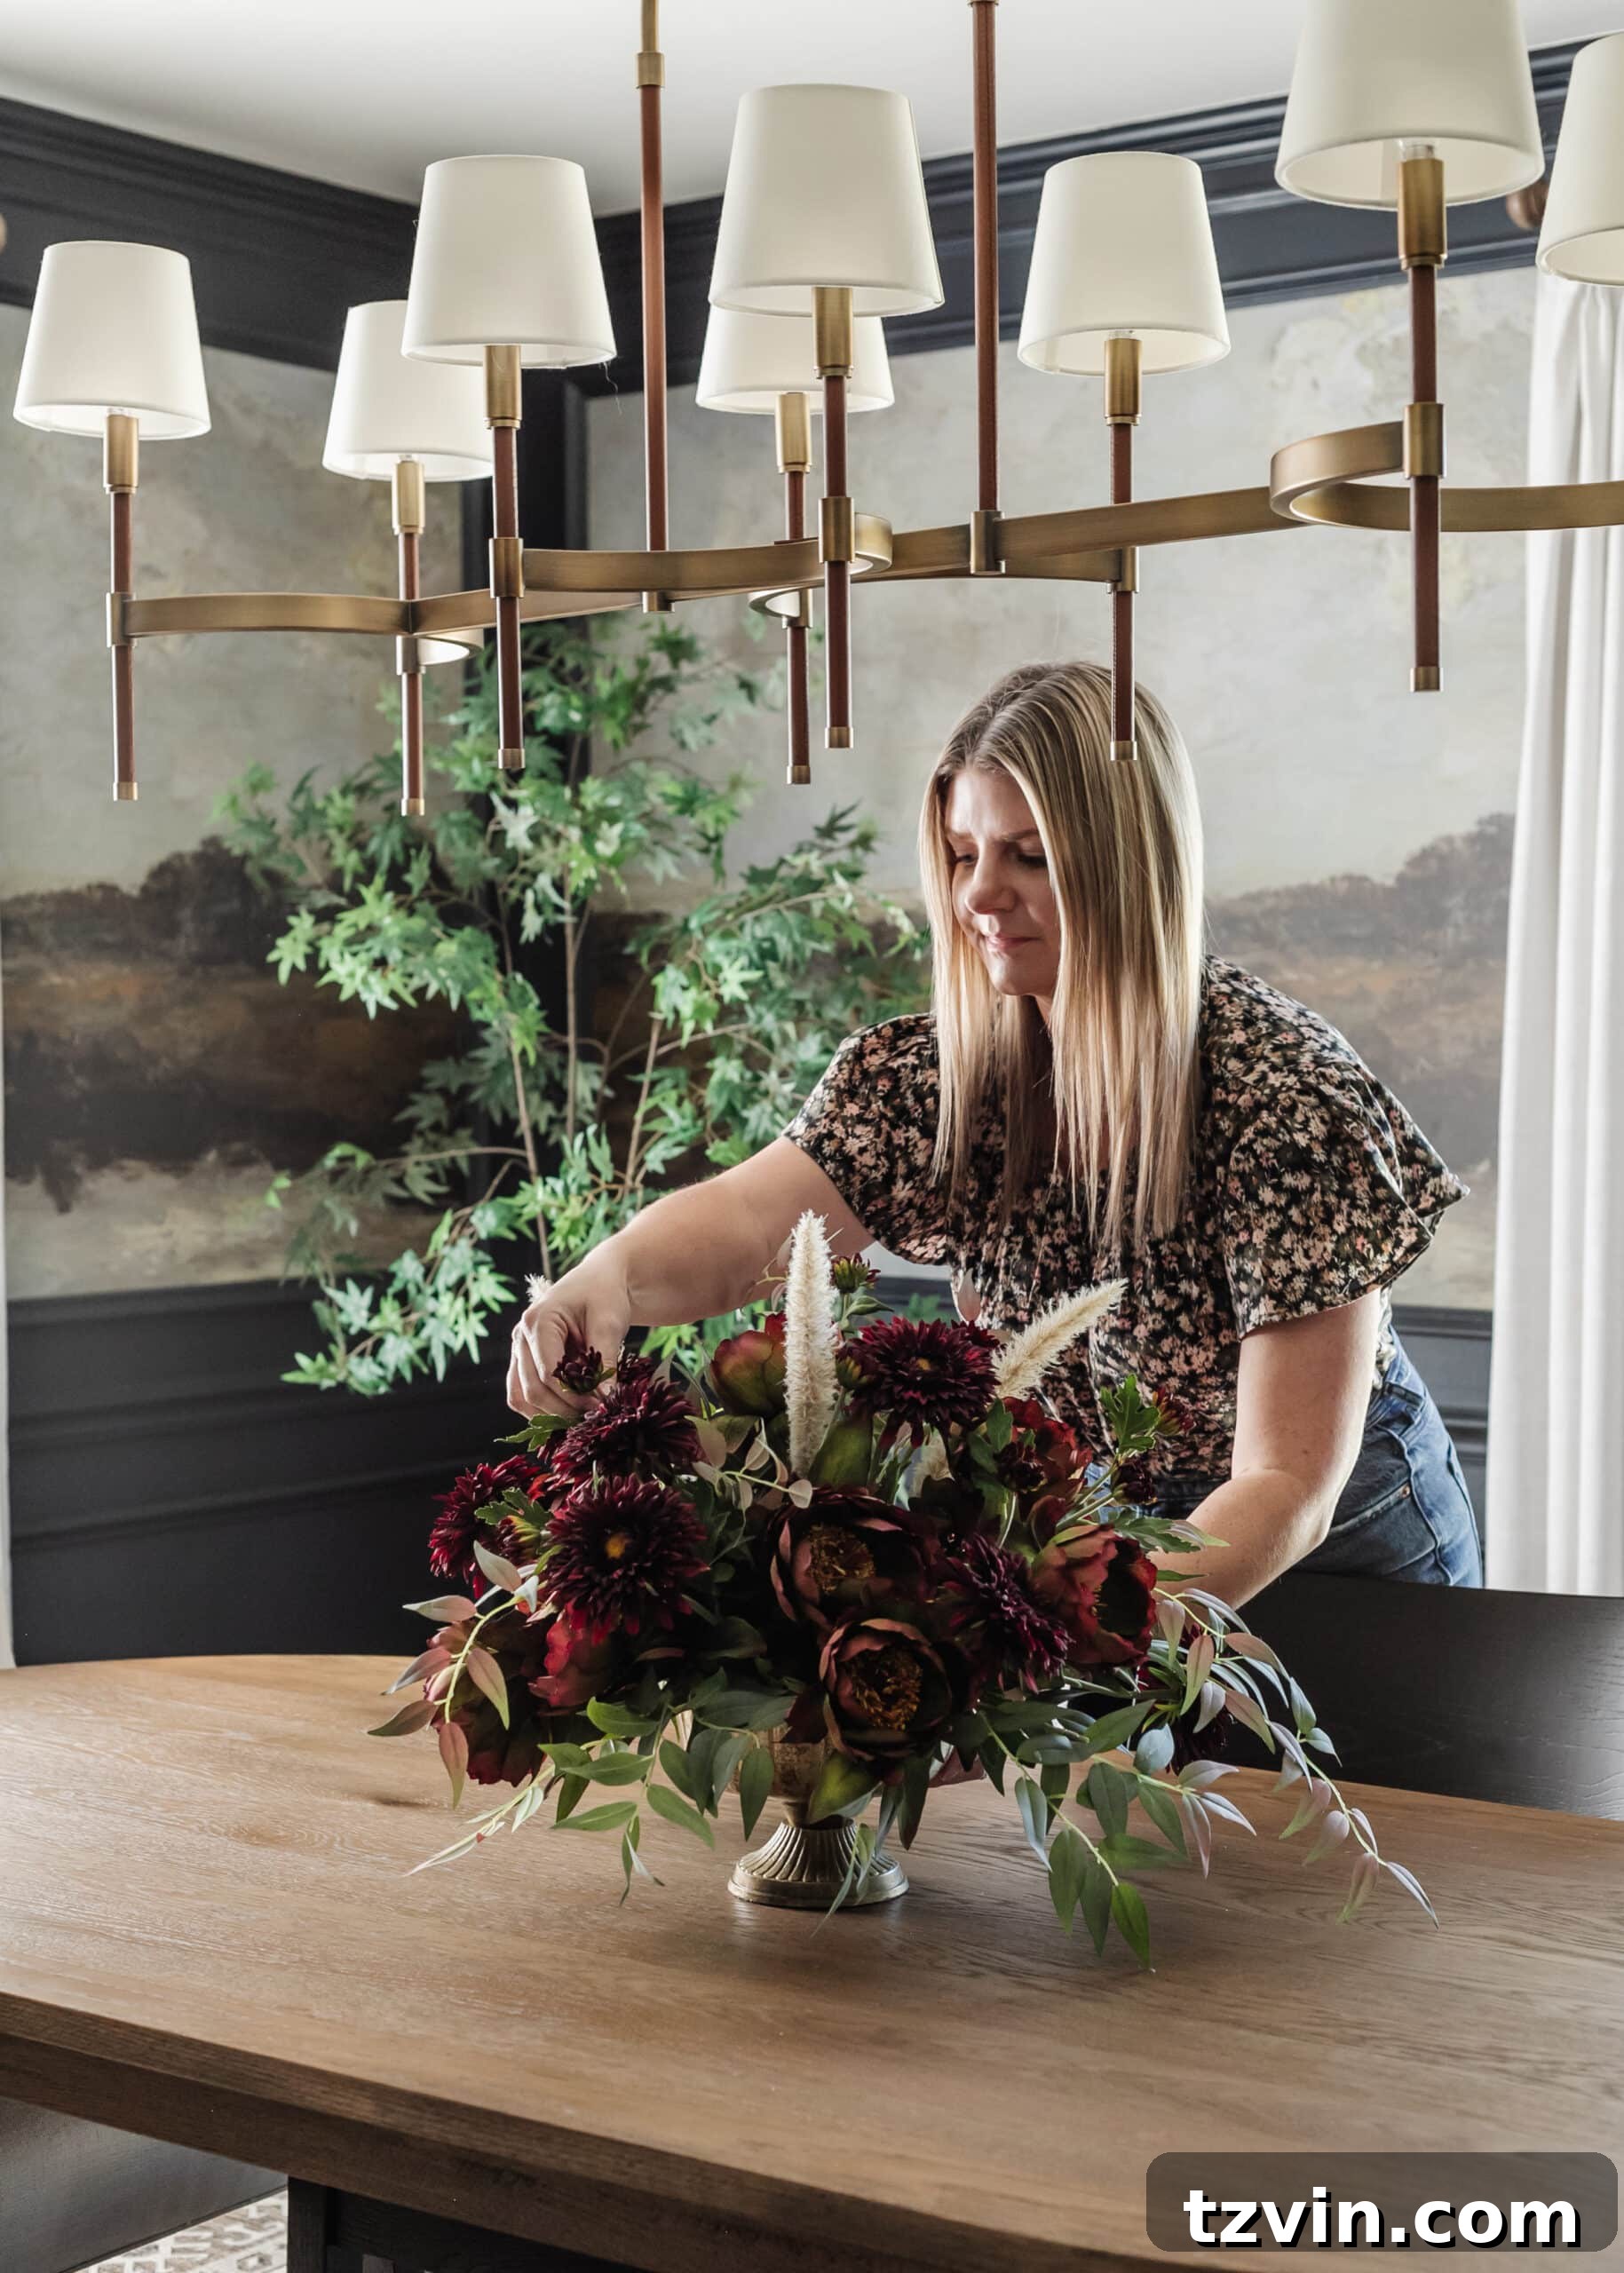
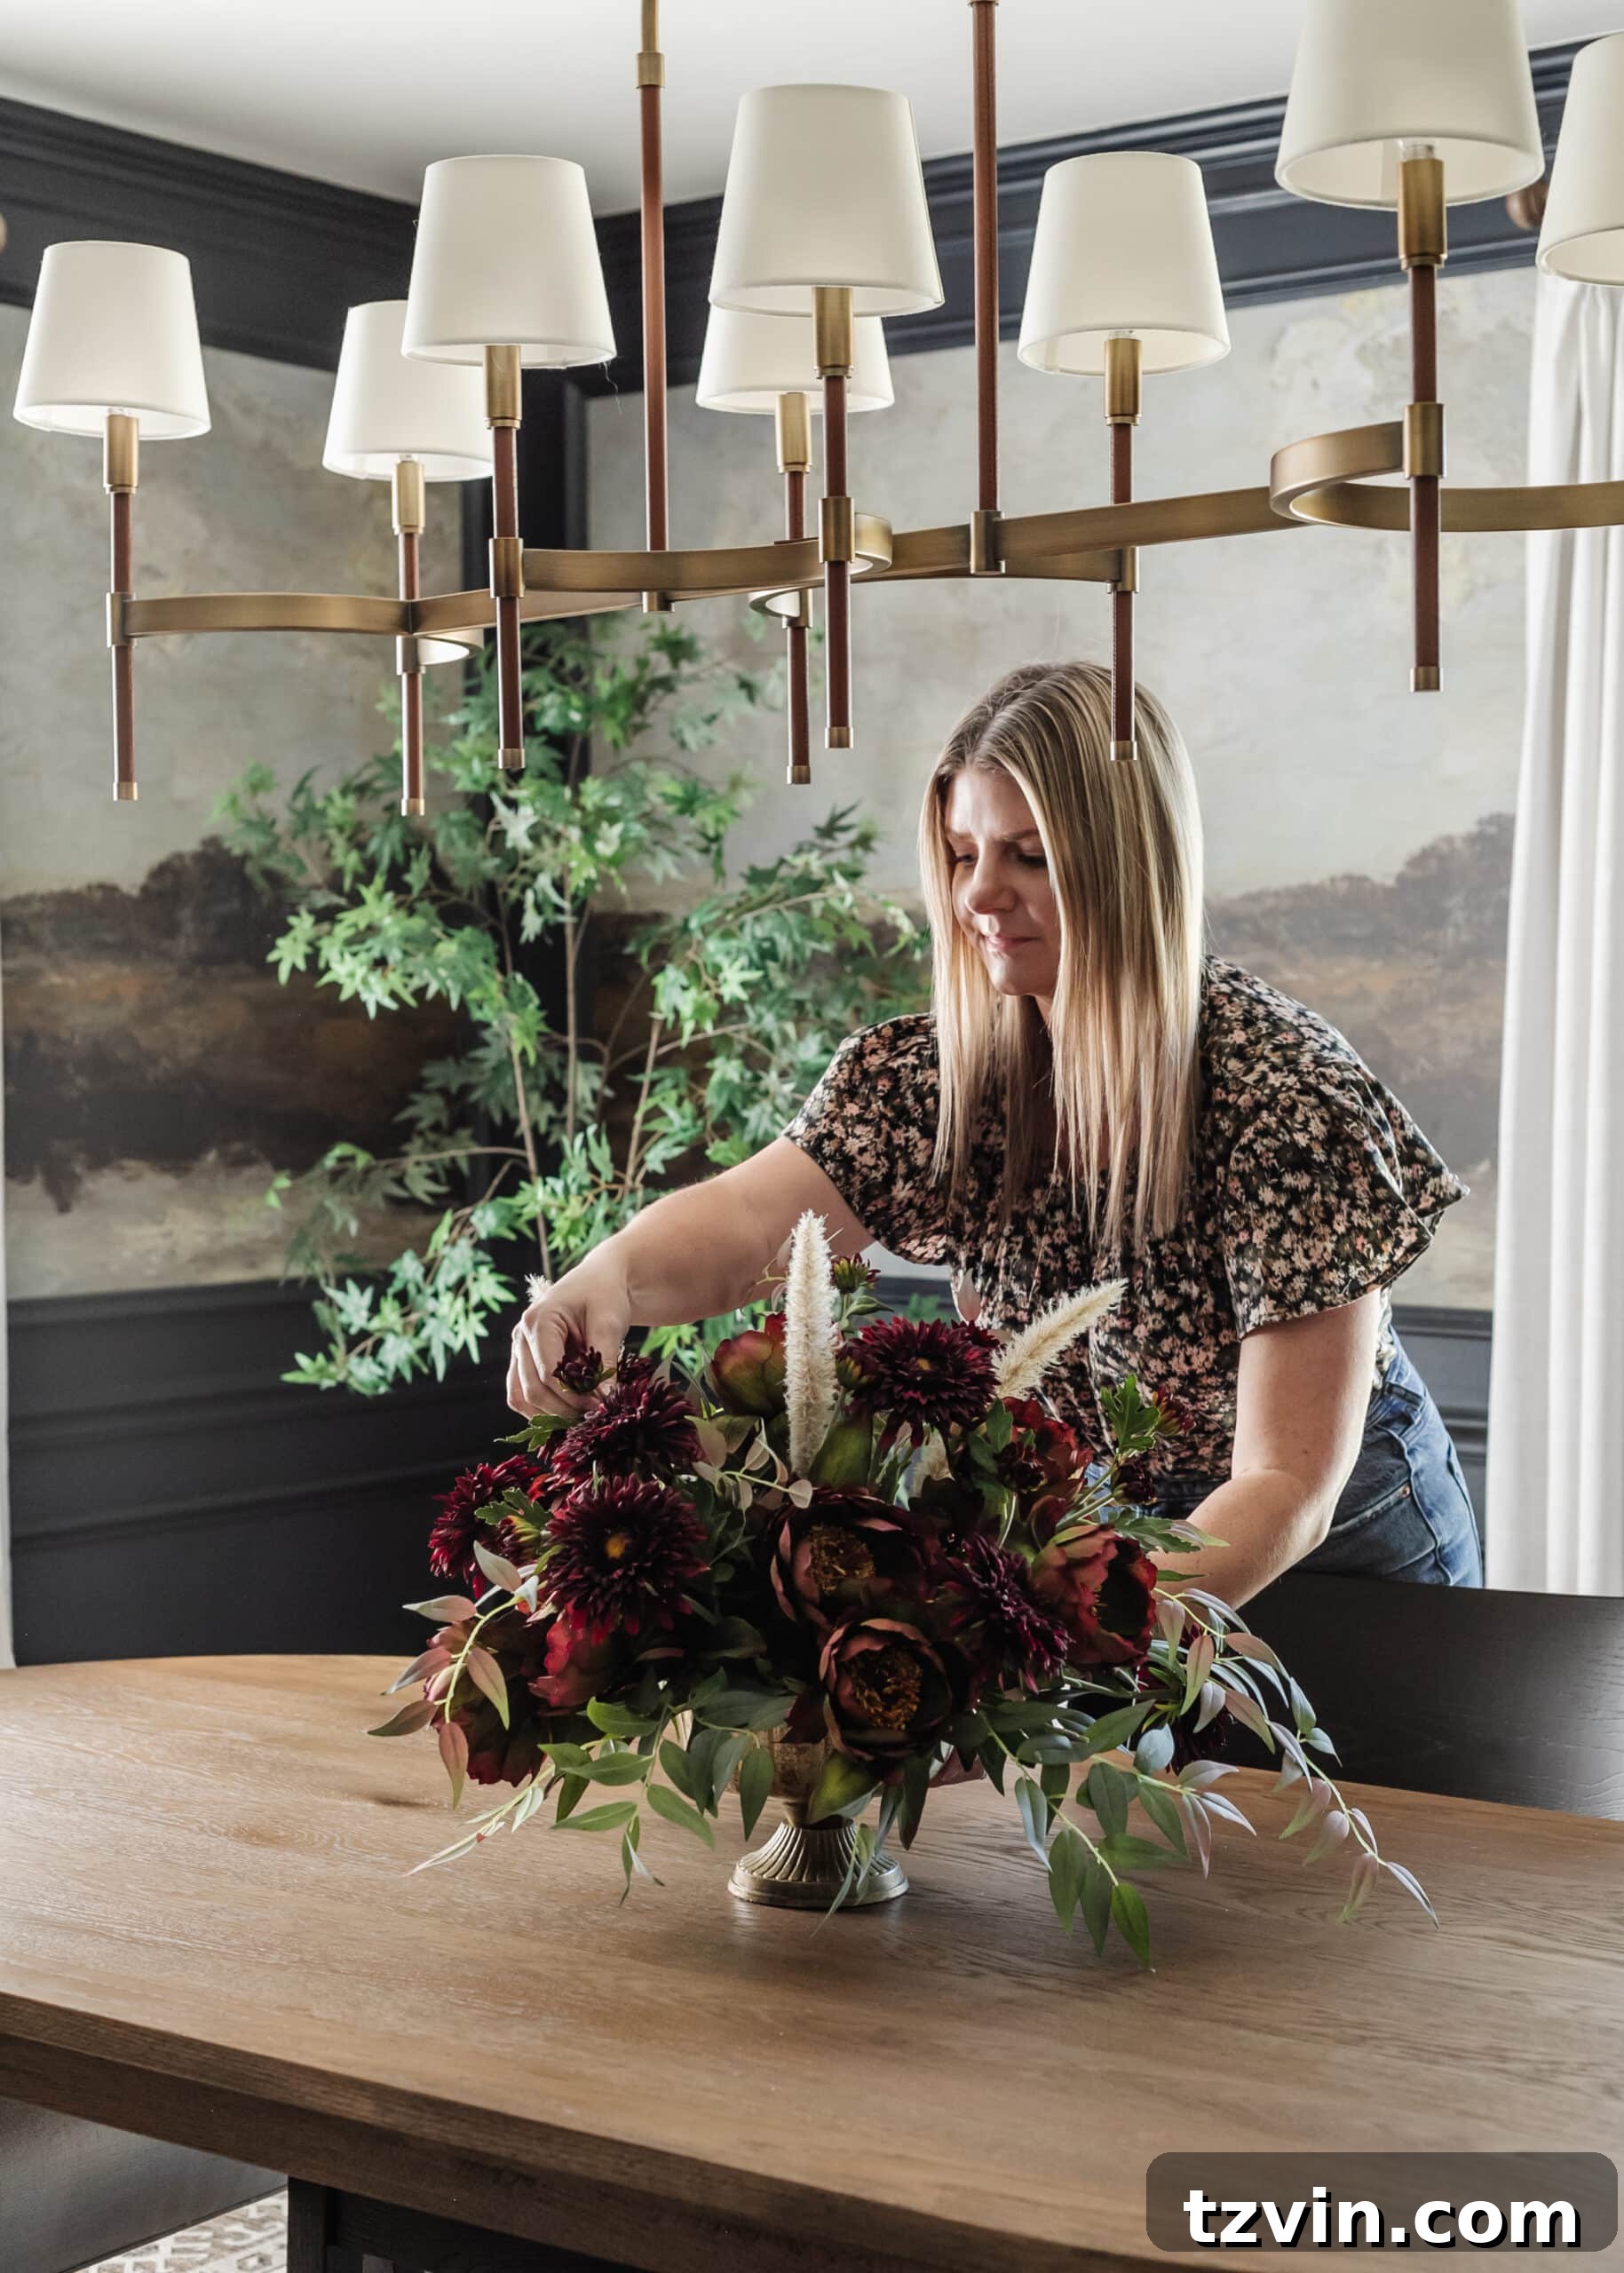
Crafting your own floral arrangements is more than just a creative endeavor; it’s a therapeutic process that allows you to express your unique style and bring personalized beauty into your world. Whether you’re a seasoned crafter or a beginner looking for a rewarding project, this guide is designed to make floral design accessible and enjoyable. From selecting the perfect blooms to arranging them with artistic flair, you’ll discover the satisfaction of creating something truly special that celebrates the enchanting spirit of autumn.
Unleash Your Inner Florist: Why DIY Fall Floral Arrangements Are a Must
Engaging in creative activities, whether it’s decorating, photography, dancing, painting, or arranging flowers, offers profound benefits for both your brain and your soul. In our fast-paced world, taking time to create can be a powerful stress reliever and a source of immense personal satisfaction. When I feel overwhelmed, I often turn to crafting, and this DIY simple fall floral arrangement was precisely what I needed to clear my mind and spark joy this week.
This particular design is ideal for creating a show-stopping centerpiece on an entryway table, dining table, or coffee table. For this tutorial, I actually crafted two arrangements for our church, perfect for adorning the altar during the fall season. However, its versatility extends far beyond. If you have an upcoming fall wedding, a Thanksgiving dinner, a harvest festival, or simply wish to beautify your home, learning to make this fall centerpiece yourself offers a wonderful opportunity to add a custom and heartfelt touch.
Beyond the therapeutic benefits, DIY floral arrangements are often more cost-effective than purchasing pre-made ones, especially for larger events. You get to hand-pick your favorite flowers, tailor the colors and textures to your specific vision, and enjoy the pride of displaying a creation that is uniquely yours. Let’s dive into how you can bring this autumnal elegance to life.
Essential Supplies for Your Fall Floral Creation
Before you begin, gathering the right supplies is key to a smooth and enjoyable floral arranging experience. This tutorial primarily uses faux flowers for longevity, but the principles can be easily adapted for fresh cut real flowers or even dried flowers, depending on your preference and the desired outcome.
Choosing Your Blooms: Real, Faux, or Dried?
- Fresh Flowers: Offer vibrant colors, natural fragrance, and an undeniable freshness. They require more care and are temporary.
- Faux Flowers: Provide lasting beauty, are reusable year after year, and require minimal maintenance. High-quality faux flowers can be incredibly realistic.
- Dried Flowers: Bring a unique, rustic texture and muted color palette. They offer significant longevity and a charming, vintage appeal.
For a rich, warm, and inviting aesthetic, choose a variety of fall blooms in a complementary color palette. Think deep reds, burnt oranges, golden yellows, plum purples, muted greens, and creamy whites. Some excellent choices for fall include:
- Focal Flowers: Dahlias, Sunflowers, Large Roses, Peonies, Mums, Hydrangeas (fresh or dried).
- Secondary Flowers: Smaller Mums, Marigolds, Asters, Carnations, smaller Roses.
- Foliage & Textural Elements: Eucalyptus (silver dollar, seeded), Maple leaves (faux or real), Oak branches, Italian Ruscus, Bittersweet branches, Berries (hypericum, pepperberry), Seed pods, Ornamental grasses (like foxtail grass or pampas grass).
Specific Supplies You Will Need:
- Flowers: As discussed, a selection of fall blooms in your chosen color scheme. For this specific arrangement, we’ll be using faux peonies and mums for their robust beauty and lasting appeal.
- Foliage: Seasonal elements like ruscus and foxtail grass will add texture, depth, and fill out the arrangement beautifully.
- Vase or Container: The vessel for your arrangement sets the tone. A rustic ceramic vase, a classic compote bowl, or even a simple mason jar can work beautifully for a fall arrangement. Ensure it complements your chosen flowers and fits the size you envision.
- Half Sphere Shaped Floral Foam: This is essential for anchoring your stems securely, giving your arrangement its structure and shape.
- Wire Cutting Shears (for faux) or Pruning Shears (for real): Sharp cutting tools are non-negotiable for clean cuts, which help flowers absorb water (real) or make stems easier to work with (faux).
- Water and Flower Food (if using real flowers): These are vital for hydrating fresh blooms and extending their vase life.
For each arrangement in this tutorial, I specifically used these items:
- 1 – Distressed gold metal compote bowl: The compote bowl style provides a traditional, elegant base that elevates the arrangement.
- 1 – 8″ half sphere shaped florist foam: This foam shape is perfect for achieving a rounded, full arrangement with ease.
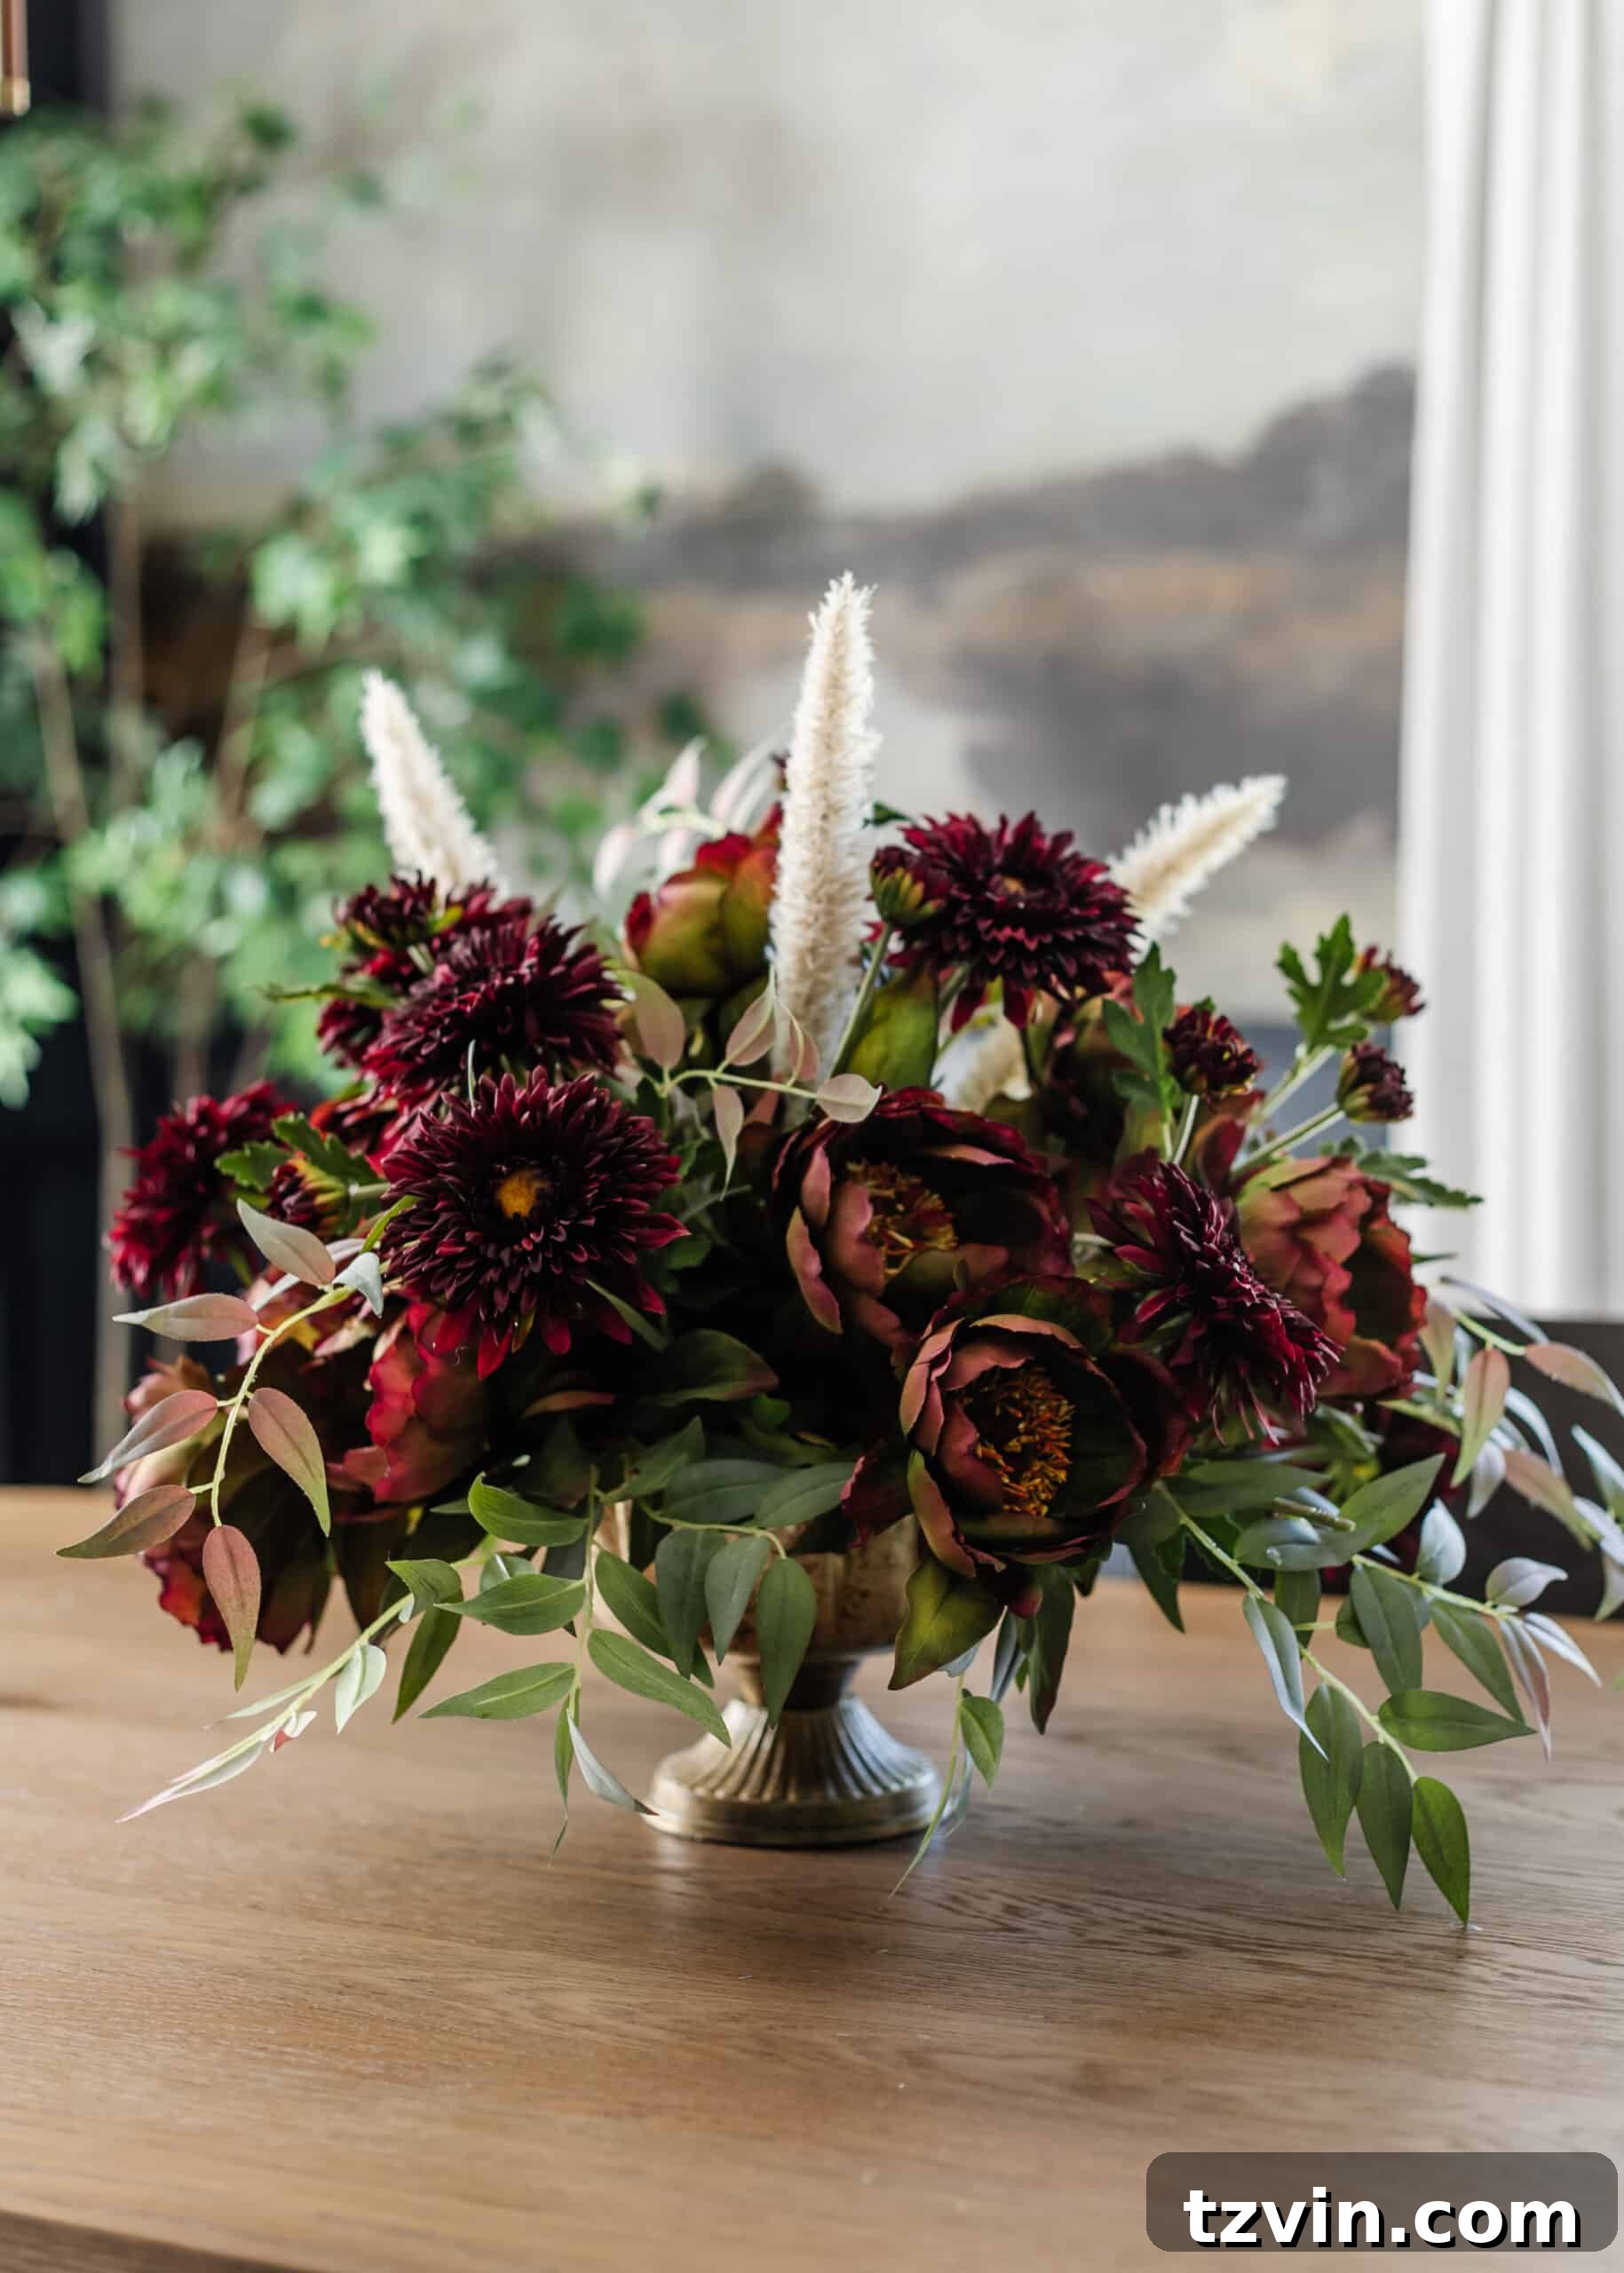
- 12 – Green and purple peonies: These serve as our primary focal flowers, offering a unique twist on traditional fall colors.
- 12 – Burgundy mums: Our secondary flowers, providing rich color and a wonderful textural contrast.
- 3 – Mauve and green Italian ruscus: An excellent choice for lush, draping greenery filler.
- 1 – Foxtail grass stem cut into sections: Adds beautiful movement and an airy, wispy texture.
- Floral wire snips: Essential for cleanly cutting faux flower stems.
Step 1 – Prepare Your Stems for Lasting Beauty
Proper stem preparation is a foundational step, ensuring your flowers are ready to be arranged and, if fresh, can absorb water effectively and maintain their vibrancy.
- Trim the stems: Using your sharp pruning shears or wire snips, cut the flower stems at a diagonal angle. For real flowers, this increases the surface area for water absorption, helping them stay hydrated longer. For faux flowers, it simply makes them easier to insert into the foam. I trimmed all of my faux stems to approximately 10 inches, as this length provides flexibility for varying heights within the arrangement.
- Remove excess foliage: Strip any leaves or branches from the lower part of the stems that will be submerged in water or inserted into the foam. For real flowers, submerged foliage can decompose, contaminating the water and shortening the vase life. For faux flowers, removing excess leaves ensures a cleaner insertion into the foam and prevents unnecessary bulk.
- Condition the flowers (if using real flowers): After trimming, place your cut fresh flowers in a bucket of warm water mixed with floral food. Allow them to hydrate for at least a few hours, or even overnight, before arranging. This conditioning process helps the flowers “drink” adequately, making them more resilient and extending their freshness considerably.
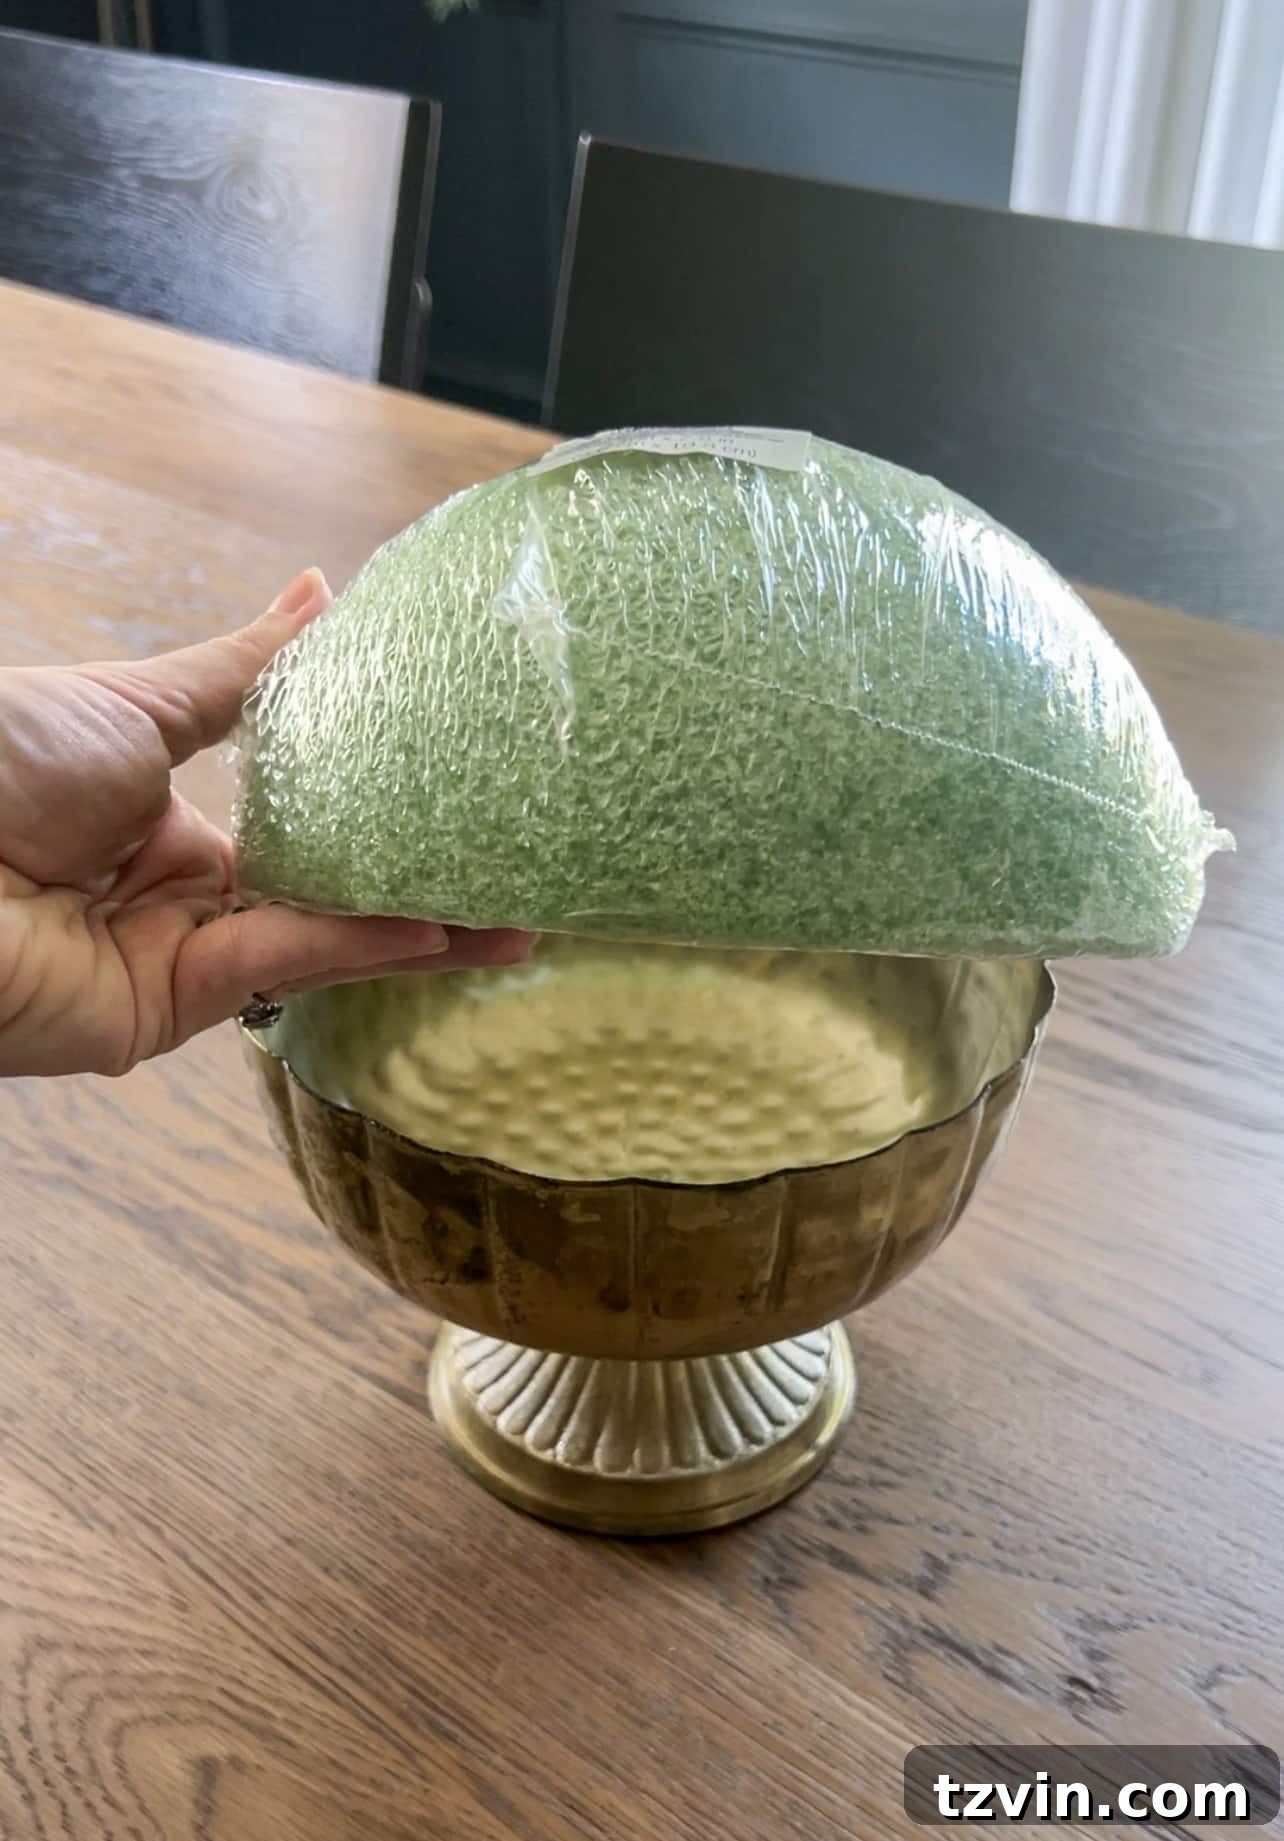
Step 2 – Establish Your Foundation with a Sturdy Base
Creating a stable and secure base is crucial for any floral arrangement, especially one designed to be a prominent centerpiece. The floral foam provides the necessary anchor for all your beautiful blooms and foliage.
- Position the half-sphere foam: Carefully place the half-sphere floral foam inside your chosen compote bowl or vase. It’s important for the foam to fit snugly to prevent any shifting during the arranging process or once the piece is complete. In my case, I had to trim the perimeter of the foam just a little with a knife to ensure it settled perfectly within the gold compote bowl. This custom fit ensures maximum stability for your arrangement.
Important Note for Real Flowers: If you are using fresh flowers, it is absolutely essential to first soak the floral foam in water until it is completely saturated. Place the foam in a basin of water and allow it to absorb water naturally until it sinks. Do not force it under, as this can create dry pockets within the foam. Saturated foam will provide a continuous water supply to your fresh cut stems, keeping your arrangement fresh for longer.
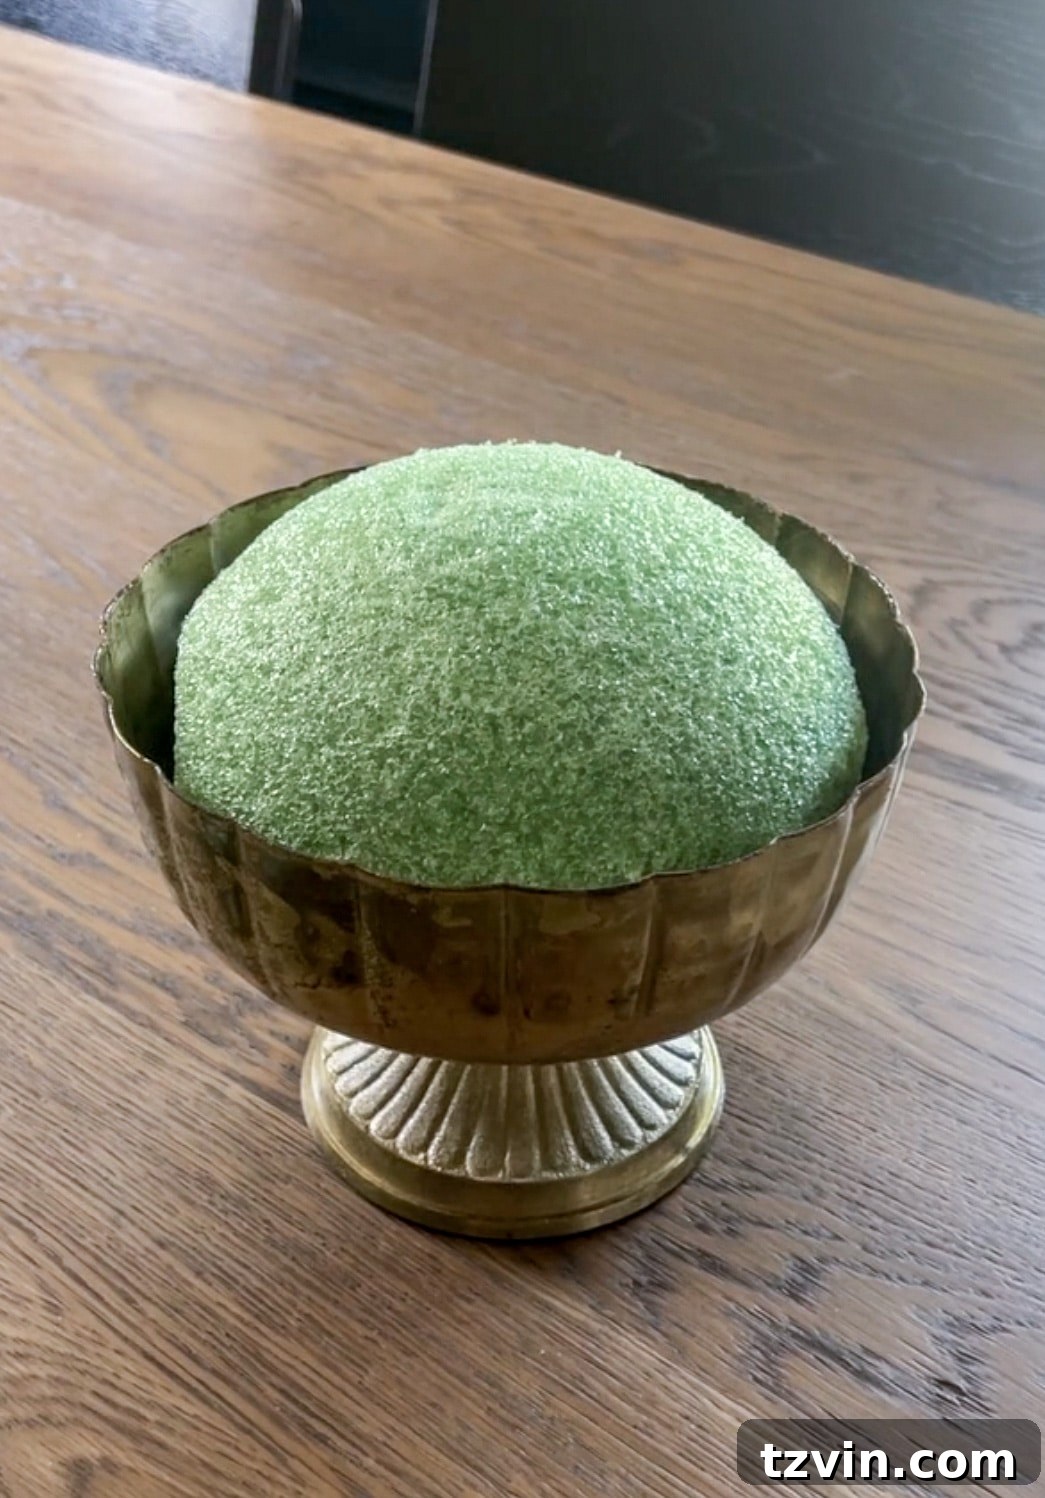
Step 3 – Build Your Arrangement: A Layered Approach to Design
Now for the fun part – bringing your fall vision to life! Building an arrangement involves a strategic layering of flowers and foliage to create depth, balance, and visual appeal.
- Place your primary focal flower stem: Begin by inserting one of your largest blooms, which will serve as a focal flower, directly into the very top and center of the half-sphere foam. Push it down firmly to ensure it stays in place. This stem will dictate the approximate height and central point of your entire centerpiece. For this project, I used one of the elegant purple and green peonies as my initial focal point, setting the overall height and grandeur.
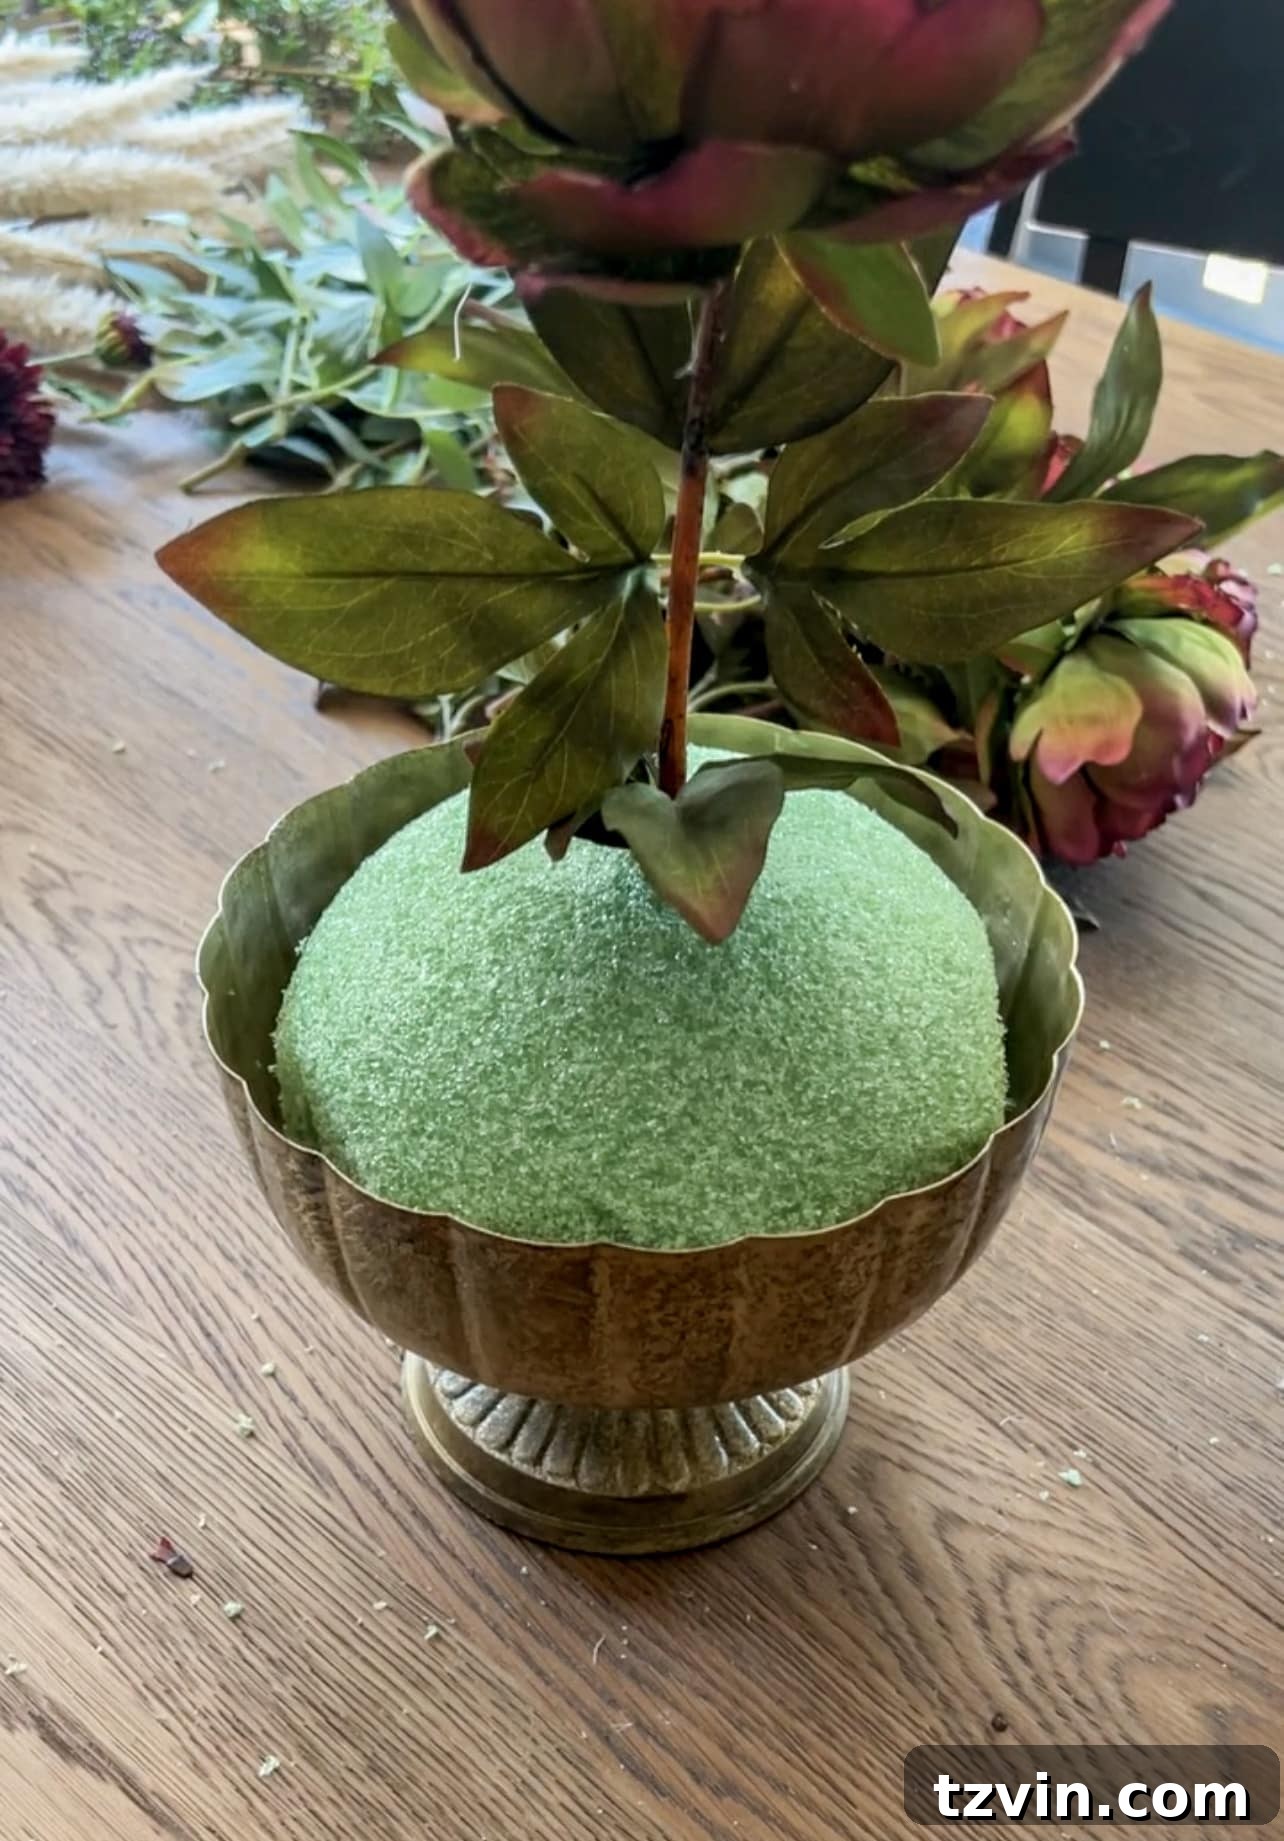
2. Establish the outer shape with secondary focal stems: Next, place four additional stems of your primary focal flower, spacing them equally around the first stem you placed, approximately halfway down the sphere. These stems will begin to define the overall width and rounded shape of your arrangement. Aim for an even distribution to create a balanced silhouette.
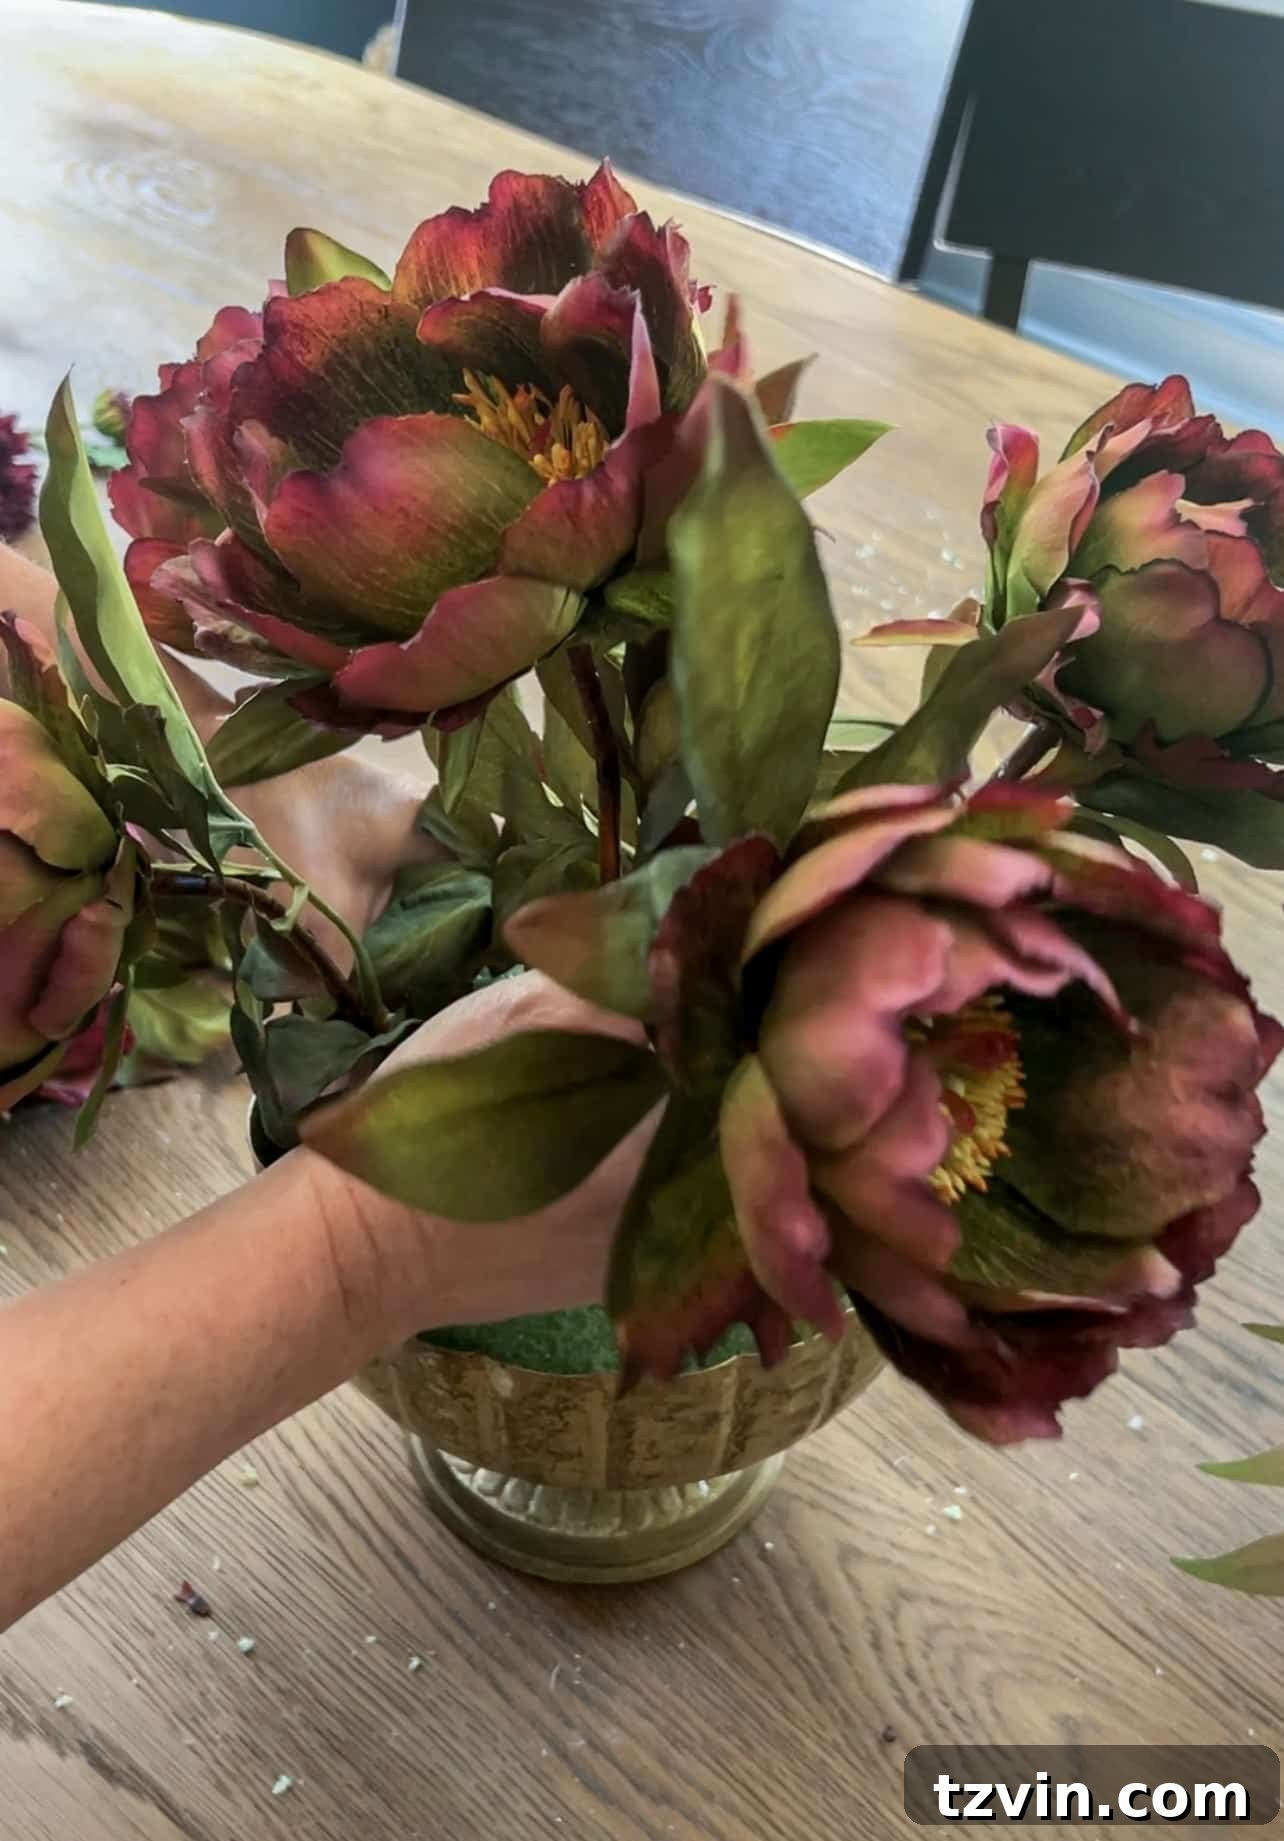
3. Complete the primary flower layer: Continue by placing another 6-8 stems of your primary flower variety, distributing them equally around the base of the foam sphere. This step fills out the lower portion of the arrangement, ensuring a full and lush appearance from all angles. By now, you should have a solid, rounded dome of your primary blooms, setting a beautiful foundation.
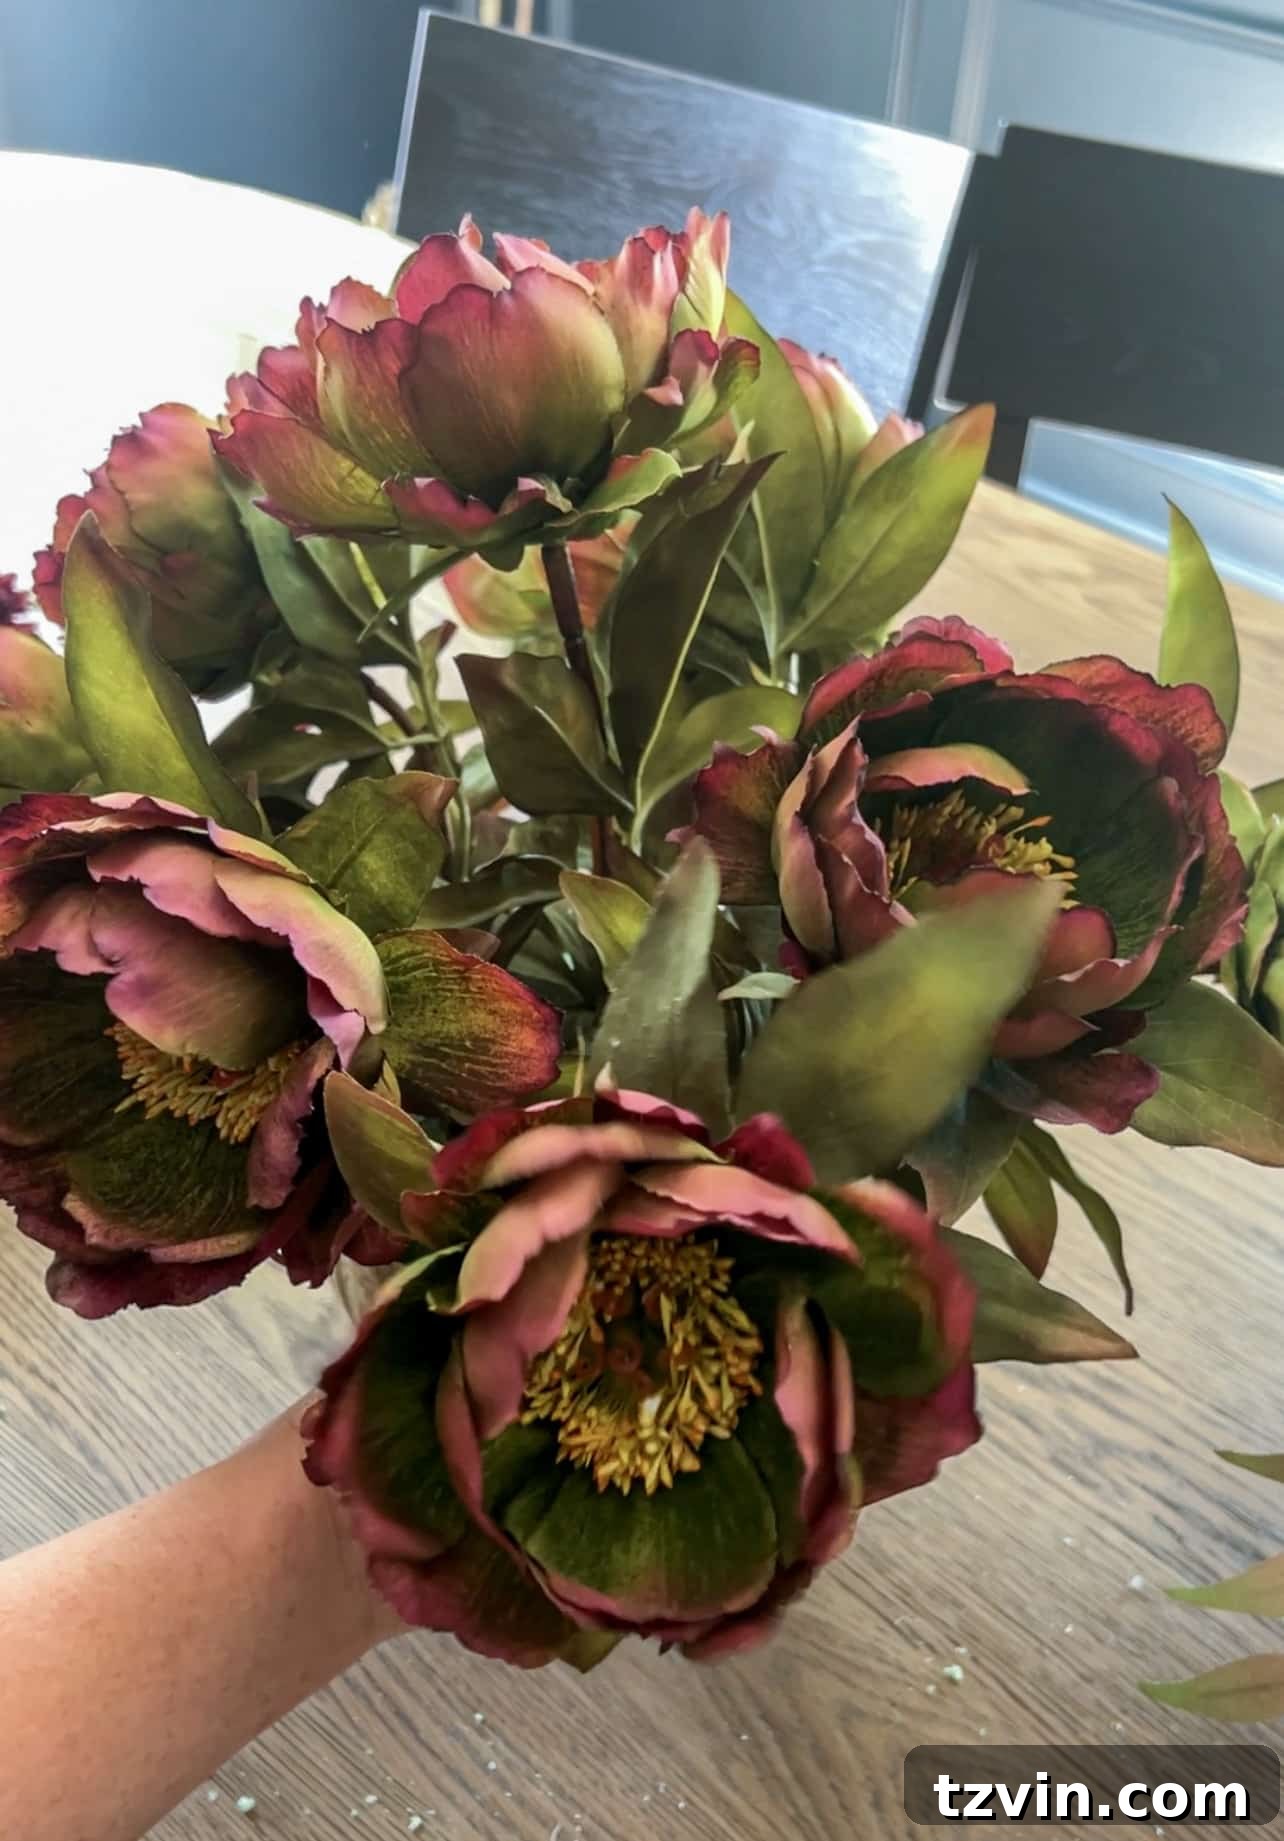
4. Introduce your secondary flower variety: Select a new variety of stems with a slightly smaller bloom size as your secondary flowers to layer into the arrangement. These will add visual interest, texture, and a complementary color. For this particular design, I used beautiful burgundy mums, which offer a rich, deep hue that contrasts wonderfully with the green and purple peonies.
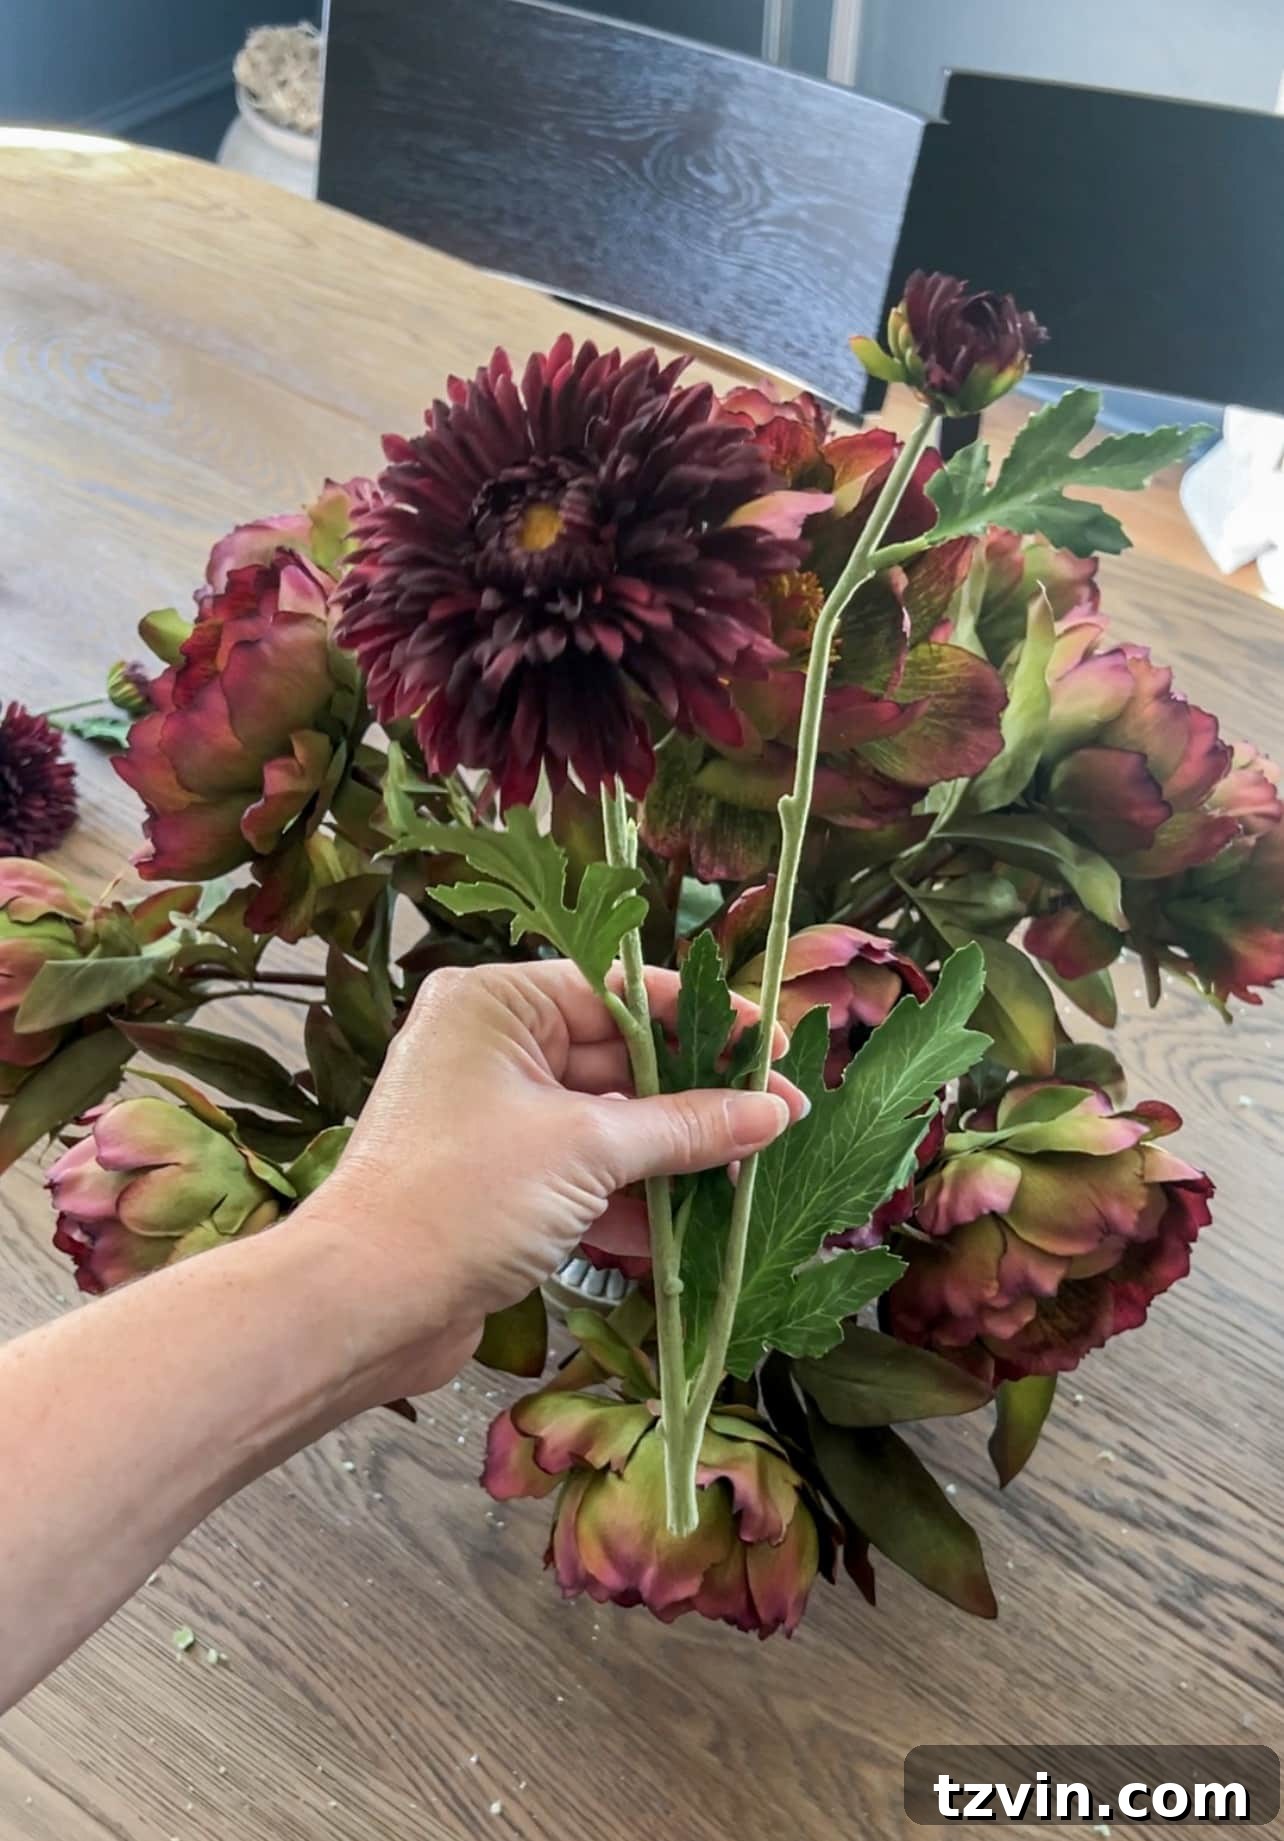
5. Layer in the secondary flowers: Place the second variety of flowers evenly in the spaces between your first flower variety. The goal here is to fill any visible gaps, add more dimension, and create a harmonious blend of colors and forms. Vary the depths slightly, placing some deeper into the arrangement and some closer to the surface, to achieve a natural, abundant look.
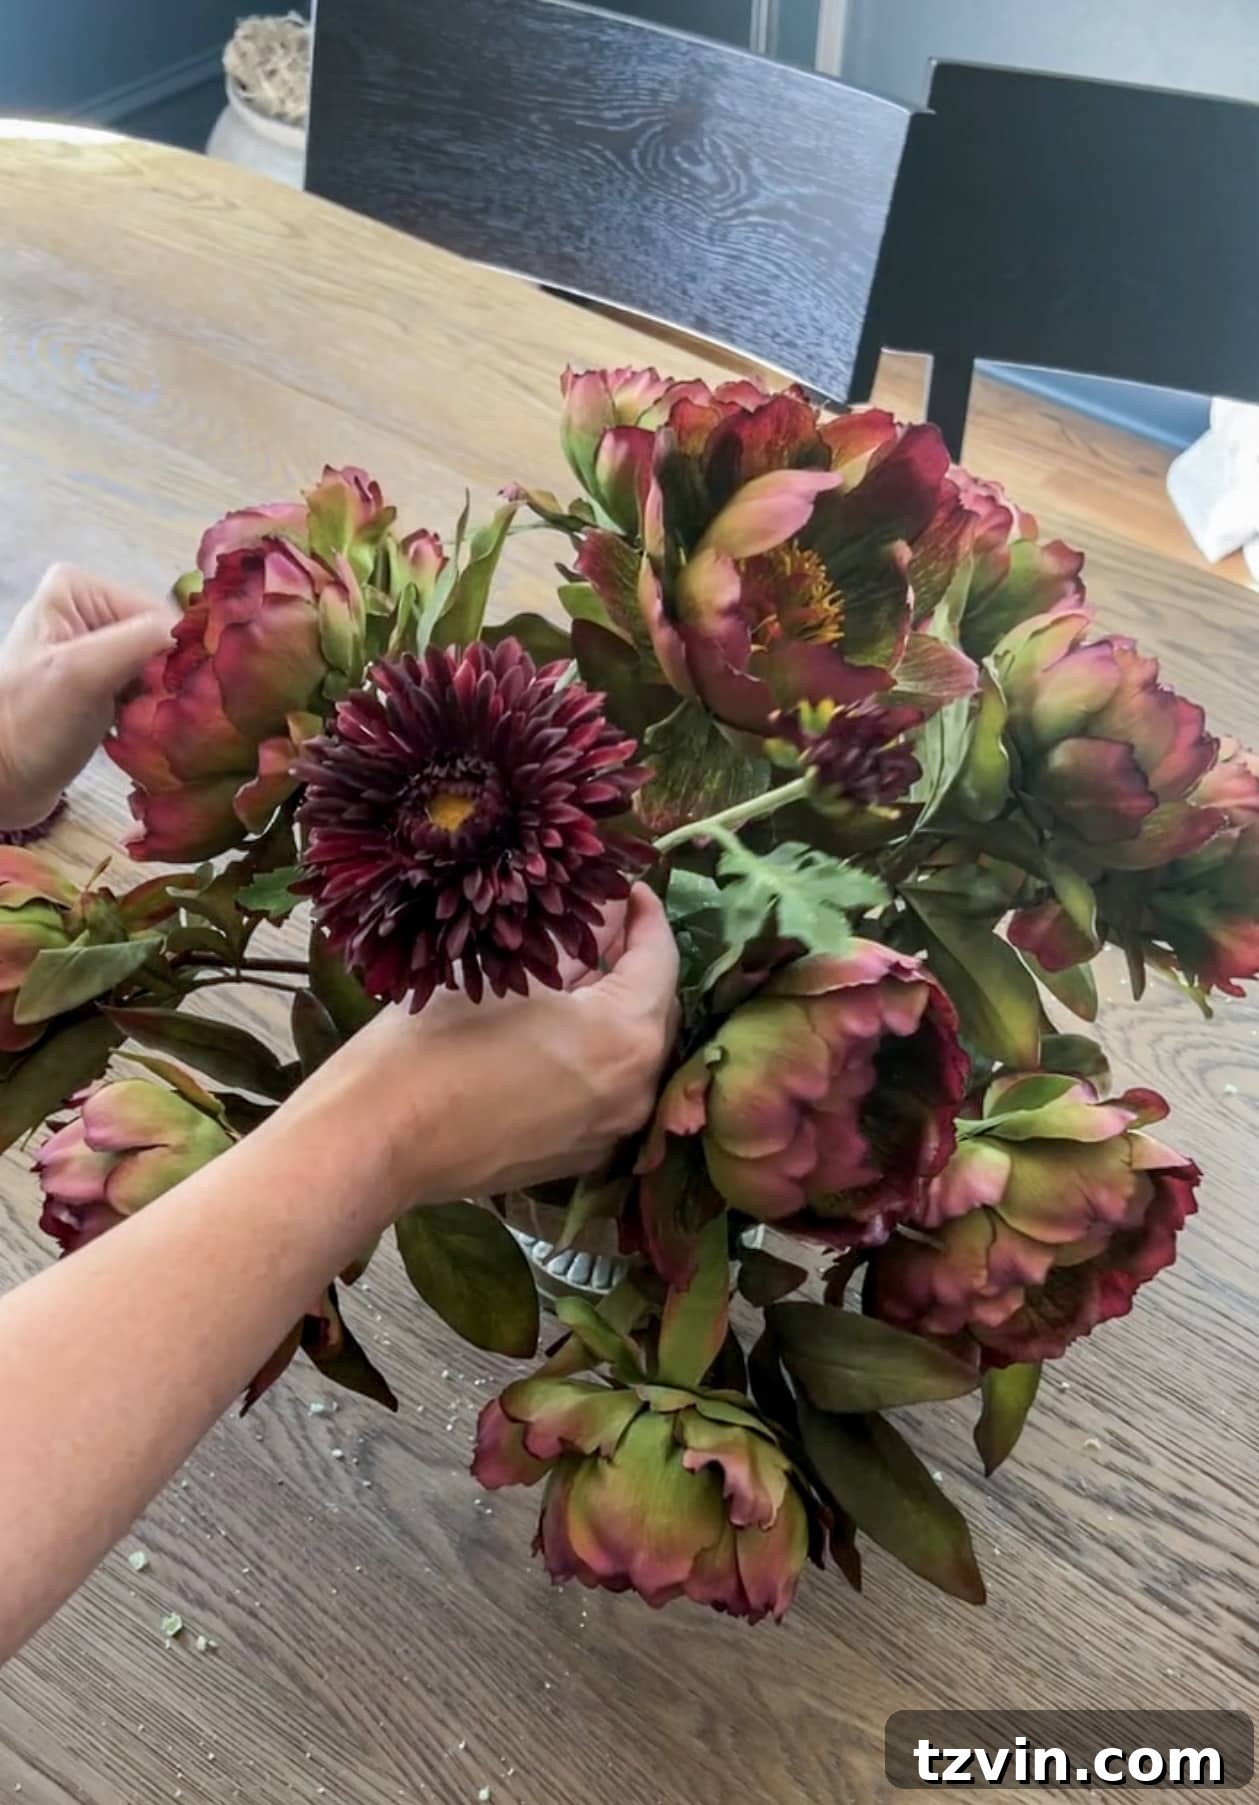
6. Select your greenery filler: Now it’s time to introduce lush greenery to add volume, texture, and to visually connect your blooms. I chose three large mauve-green fake Italian ruscus stems, which I cut into thirds to maximize their use and create smaller, more manageable pieces. Italian ruscus provides a beautiful, slightly draping effect that is perfect for filling.
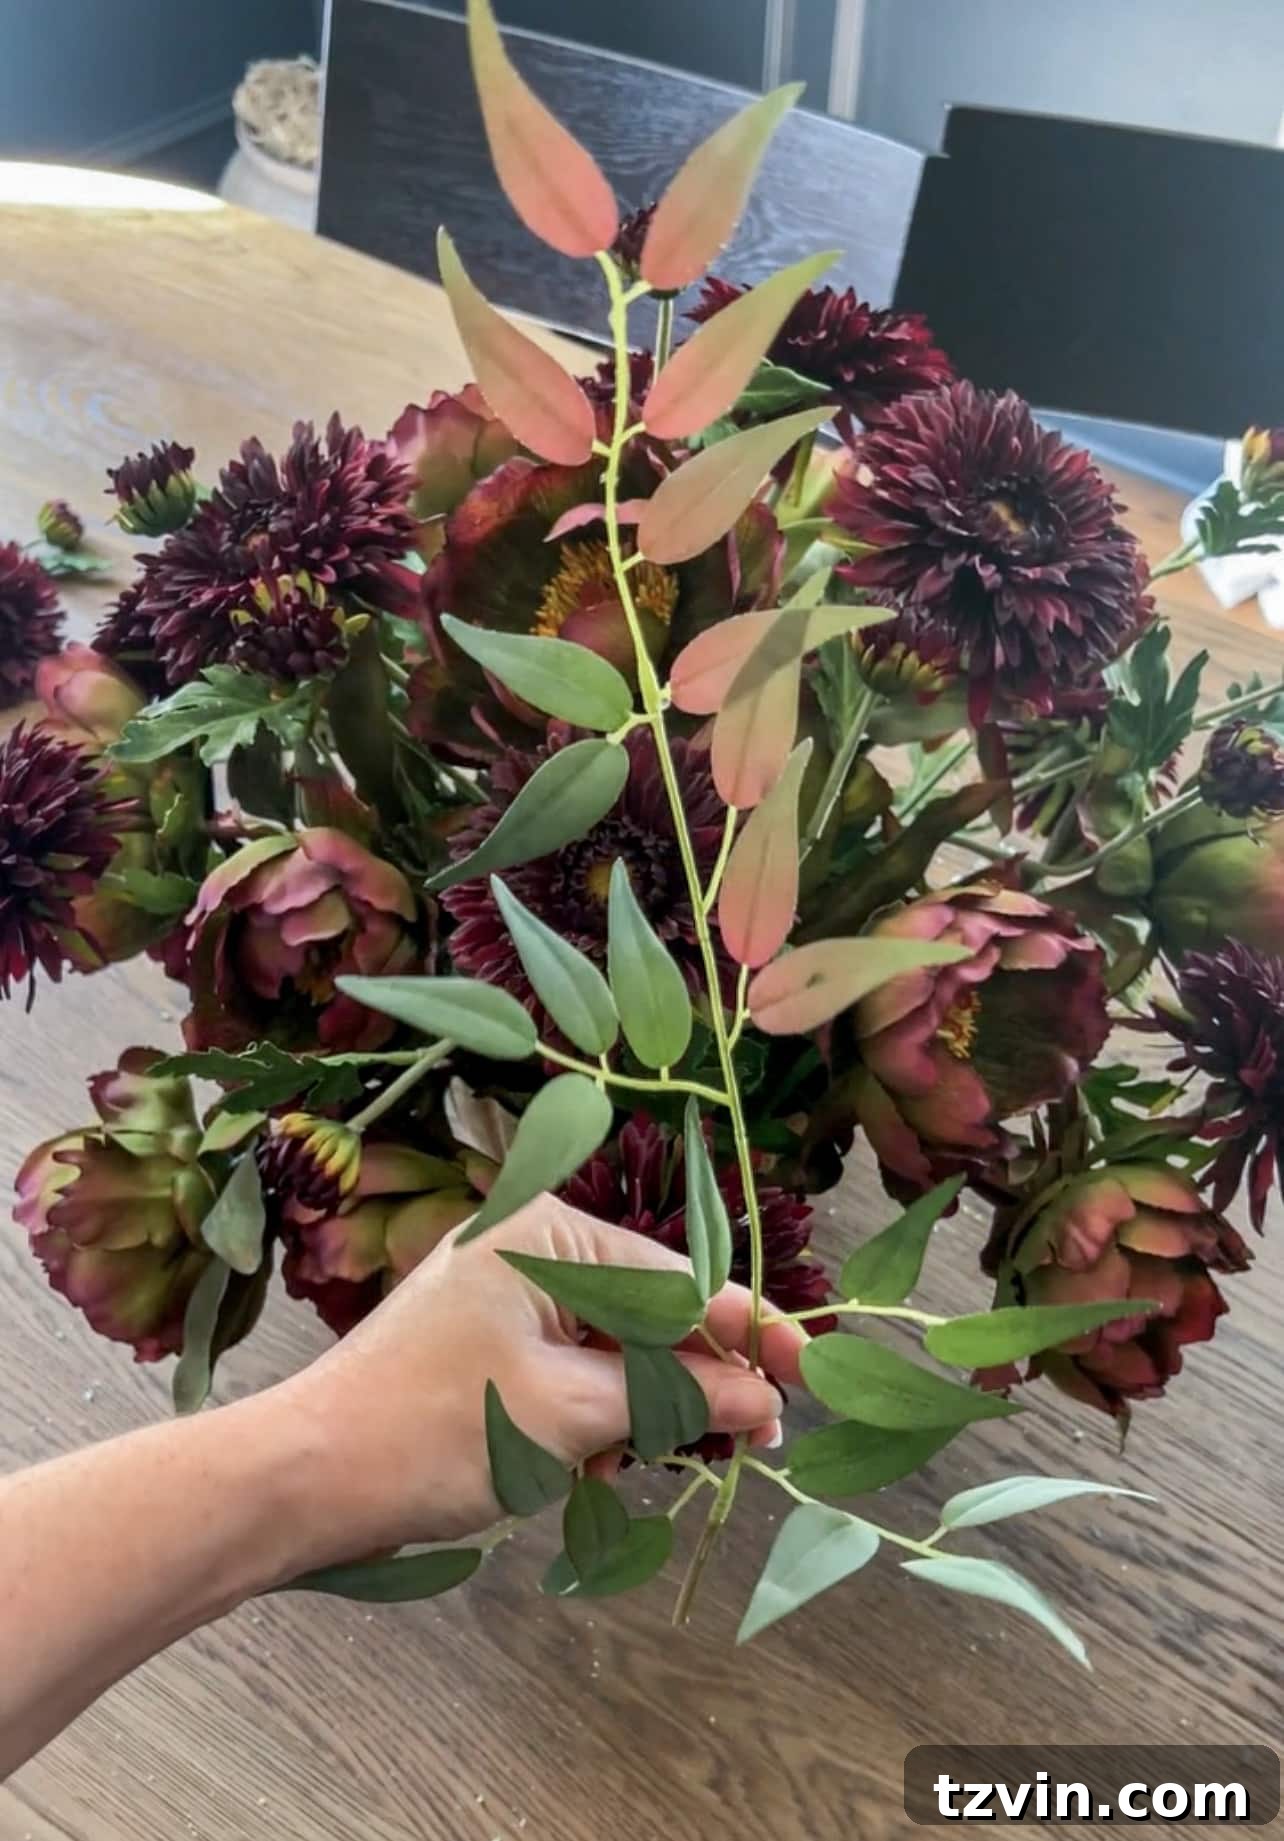
7. Fill in gaps with greenery: Begin to fill in any remaining gaps within the arrangement with your chosen filler greenery. The strategic placement of greenery helps to add volume, provide additional texture, and, most importantly, hide any visible floral foam underneath. This creates a natural, full, and professionally finished look.
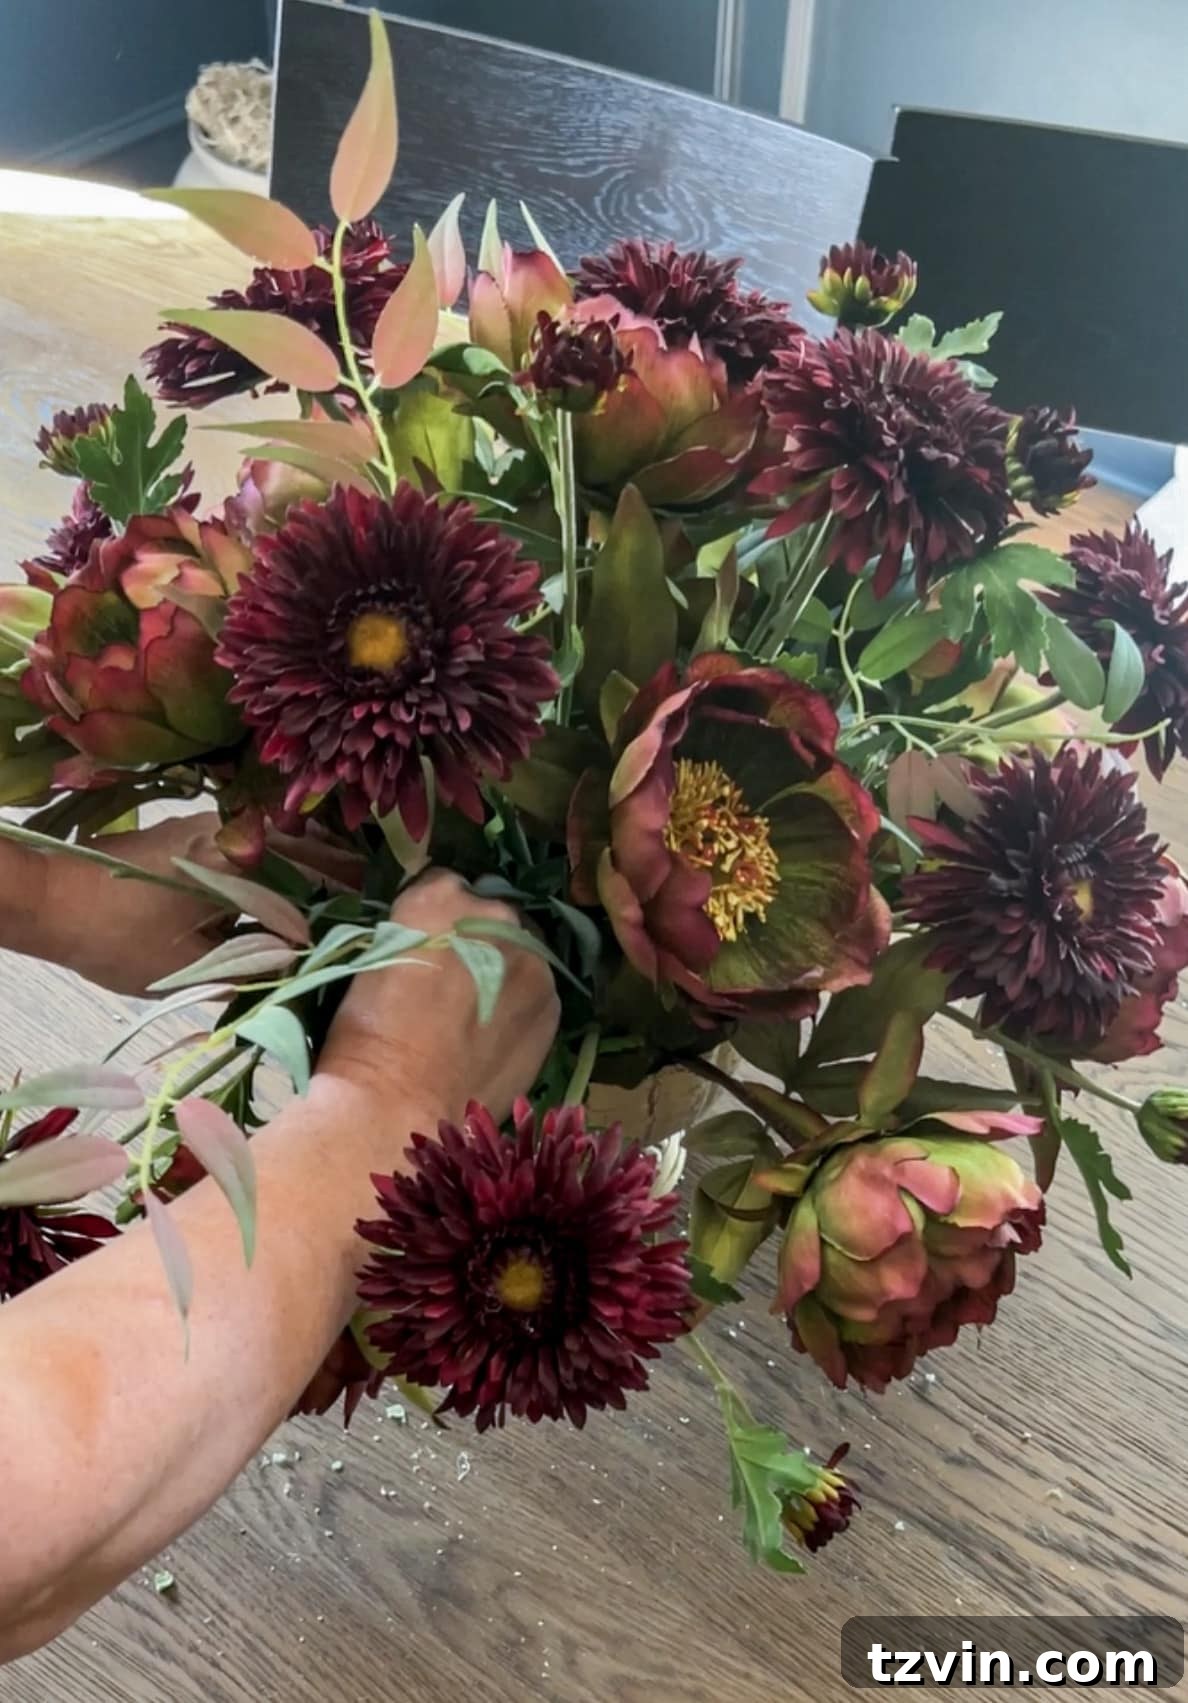
8. Add leafy stems around the base: Extend the greenery by adding more leafy stems around the very base of the arrangement, allowing some to gently drape over the edge of the compote bowl. This technique further conceals any remaining exposed foam and softens the transition from the flowers to the container, creating a more organic and flowing appearance.
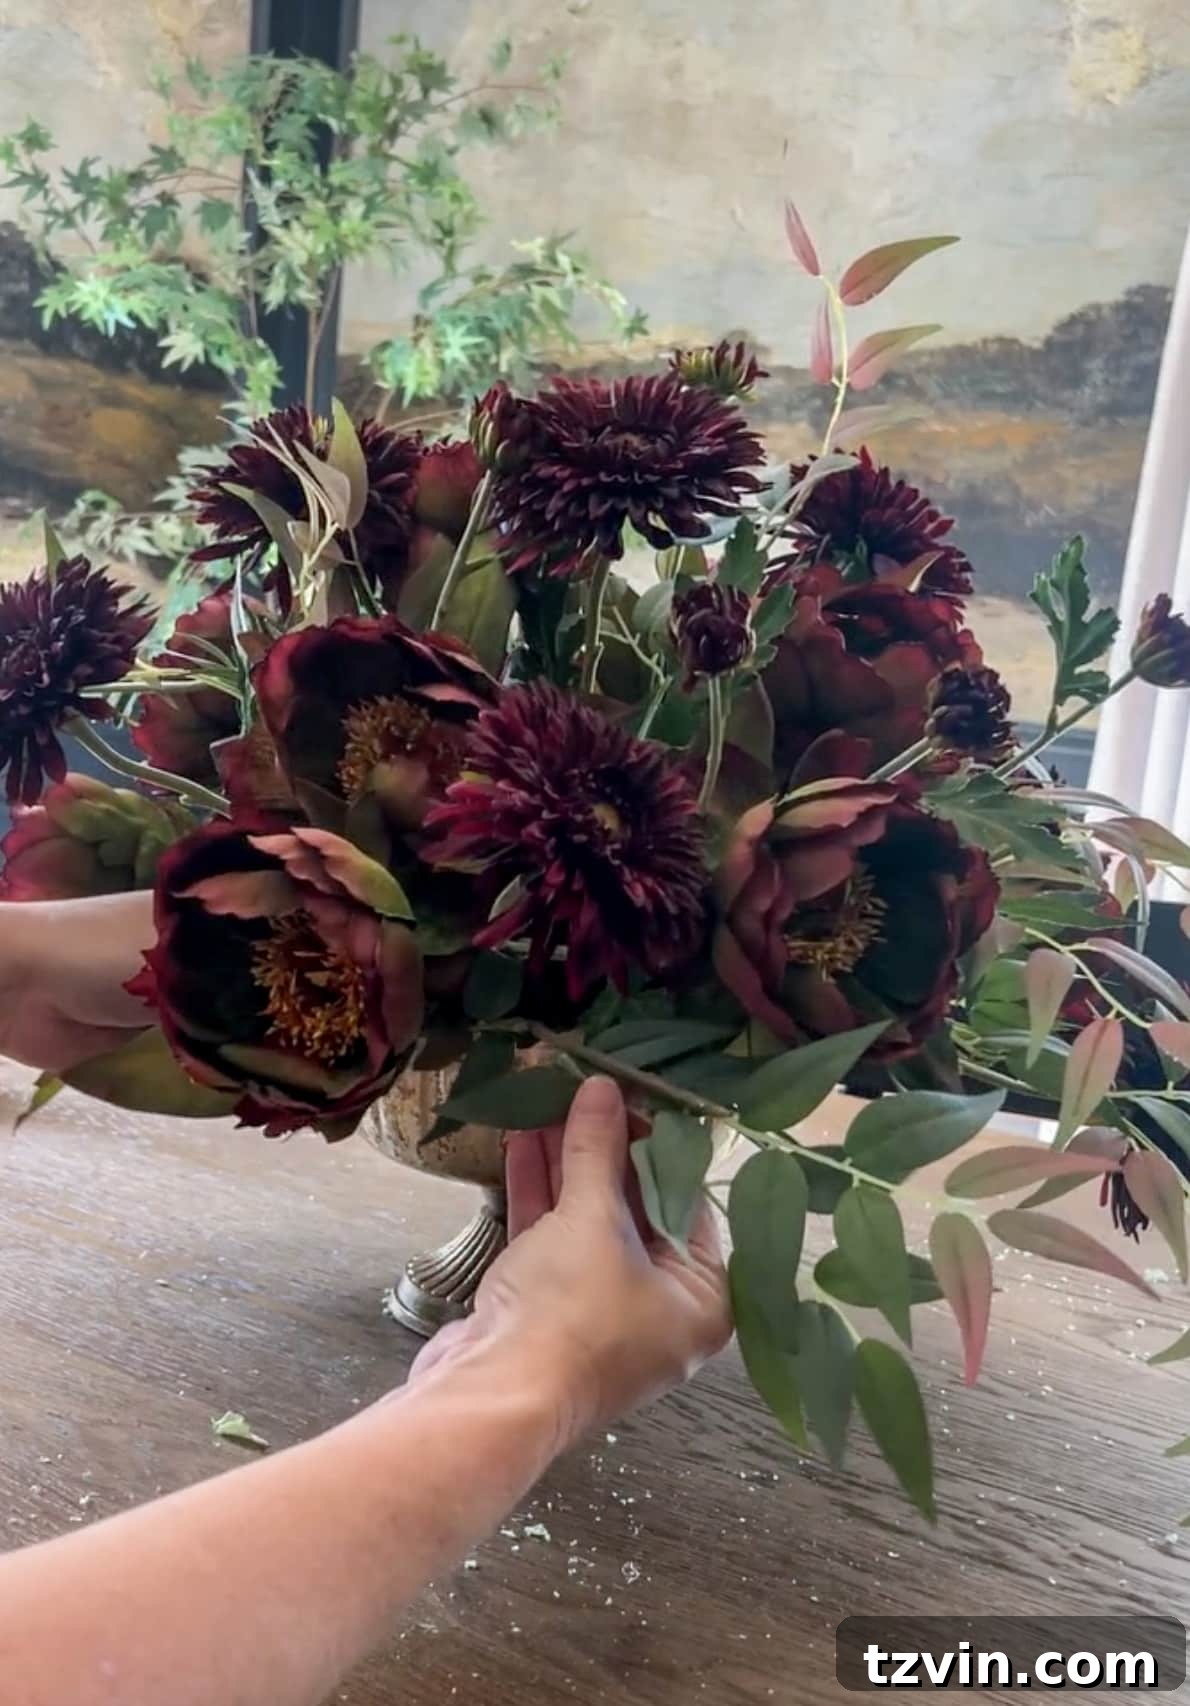
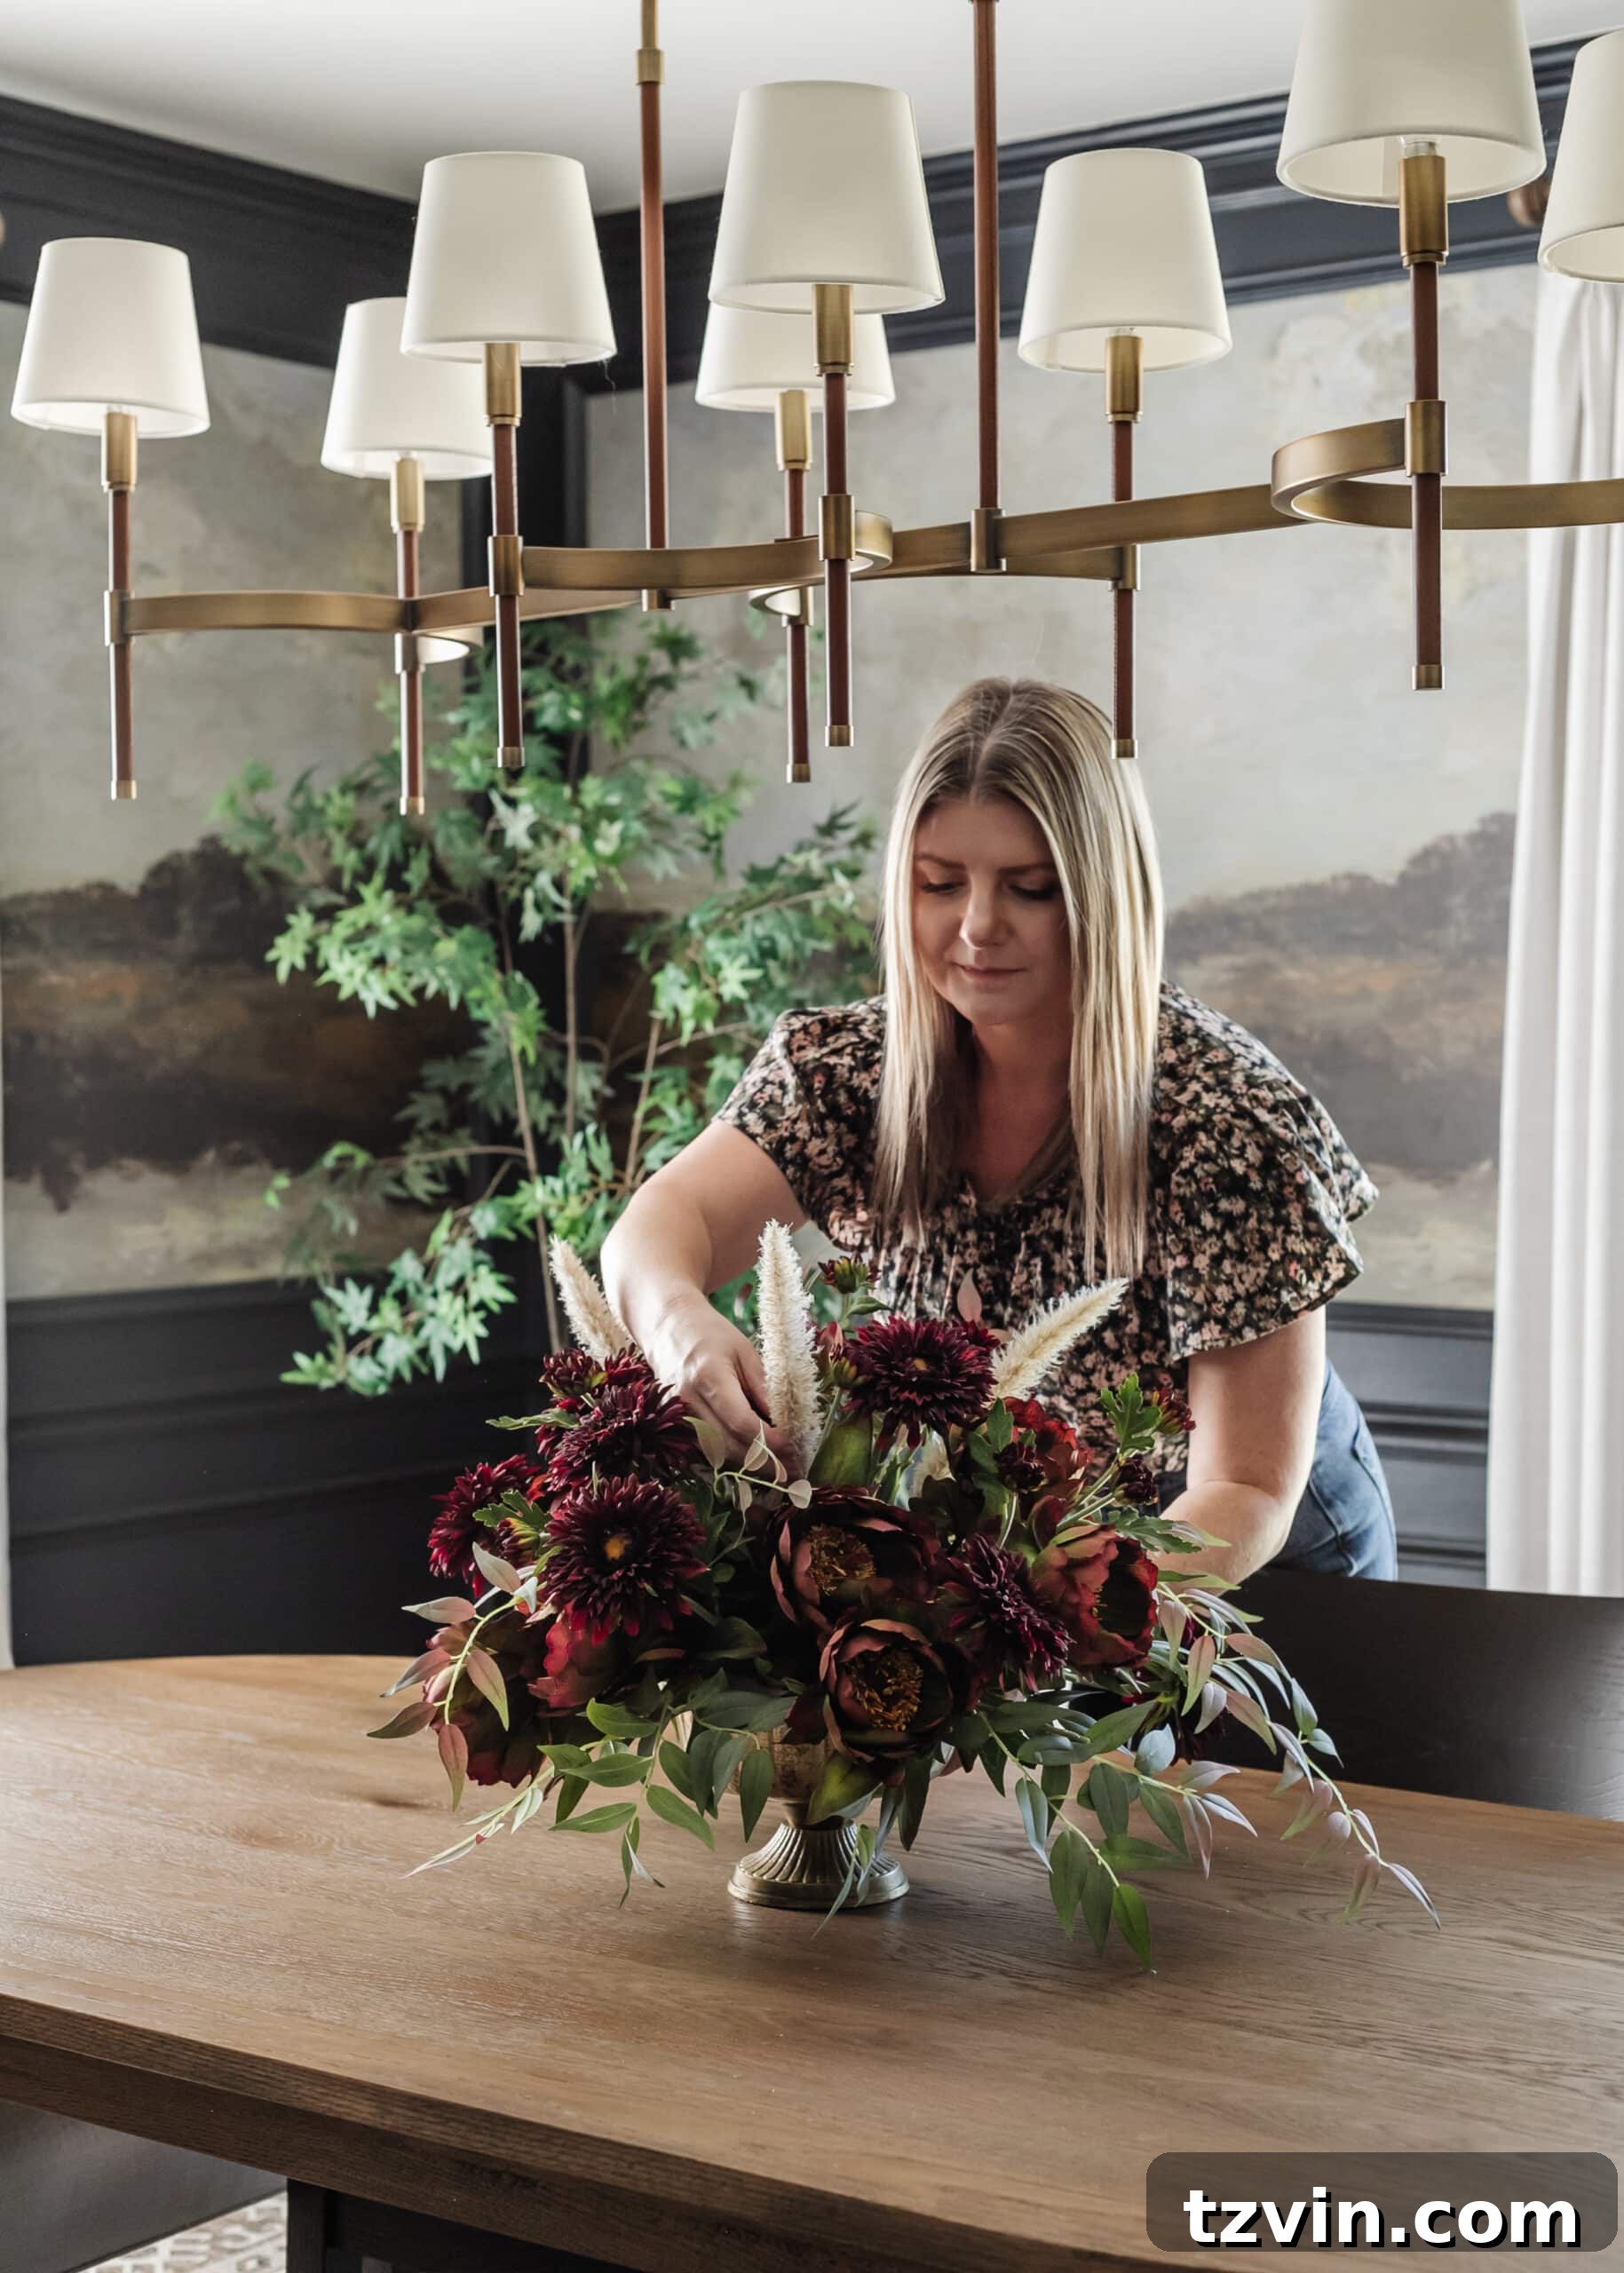
9. Final touches with seasonal accents: To complete your arrangement, sparingly add a few pieces of unique seasonal foliage or textural elements. Tuck these in and around the flowers, allowing them to peek out and add an extra layer of visual interest, movement, and color. For this design, I added sections of foxtail grass. This step is entirely optional, but I find that these little accents truly elevate the arrangement and give it a polished, professional finish.
Step 4 – Care and Maintenance: Keeping Your Creation Vibrant
Once your stunning fall floral arrangement is complete, a little care goes a long way in ensuring its longevity, whether you’ve chosen fresh or faux blooms.
For Real Flowers:
To ensure your real fall floral arrangement stays fresh and beautiful for as long as possible:
- Keep it hydrated: Check the water level in your vase or soaked floral foam daily. Top off with fresh, cool water as needed. You can also add a small amount of floral food each time you replenish the water to provide essential nutrients.
- Trim the stems and change water regularly: Every two to three days, carefully remove the flowers from the foam (if possible), re-trim the stems at a diagonal angle, and replace all the water in the vase. This helps prevent bacterial growth, which can clog stems and shorten flower life.
- Location, location, location: Place your arrangement in a cool spot, away from direct sunlight, heat sources (like radiators or fireplaces), and ripening fruit, all of which can accelerate wilting.
For Faux Flowers:
One of the biggest advantages of using faux flowers is their minimal maintenance, allowing your beautiful creation to last indefinitely:
- Regular dusting: Over time, faux flowers can accumulate dust. Use a soft brush, a feather duster, or a can of compressed air for gentle, regular dusting.
- Occasional cleaning: For a deeper clean, you can gently wipe the leaves and petals with a damp cloth. For more stubborn dust, a quick, light rinse under cool water and then allowing them to air dry can work wonders.
- Proper storage: If you plan to store your arrangement or individual faux stems for next season, keep them in a box or bag in a cool, dry place to protect them from dust and prevent crushing, ensuring they retain their shape and color for years to come.
That’s it! Your magnificent fall floral arrangement is all done! I absolutely adore how the rich purples, vibrant greens, and deep burgundy hues came together in this DIY fall floral arrangement, creating a sophisticated yet inviting autumnal palette. The fact that this particular arrangement, being faux, will last forever is an incredible bonus, offering endless enjoyment without the need for constant upkeep.
Even though these specific arrangements were created to serve as elegant altar flowers, their design makes them perfect for various home decor applications during this beautiful time of year. Imagine them gracing your dining table for a Thanksgiving feast, welcoming guests in your entryway, or adding a cozy touch to your living room mantel. While I’m certainly not a professional floral designer, the joy and satisfaction that comes from creating something so beautiful with your own hands are truly immeasurable!
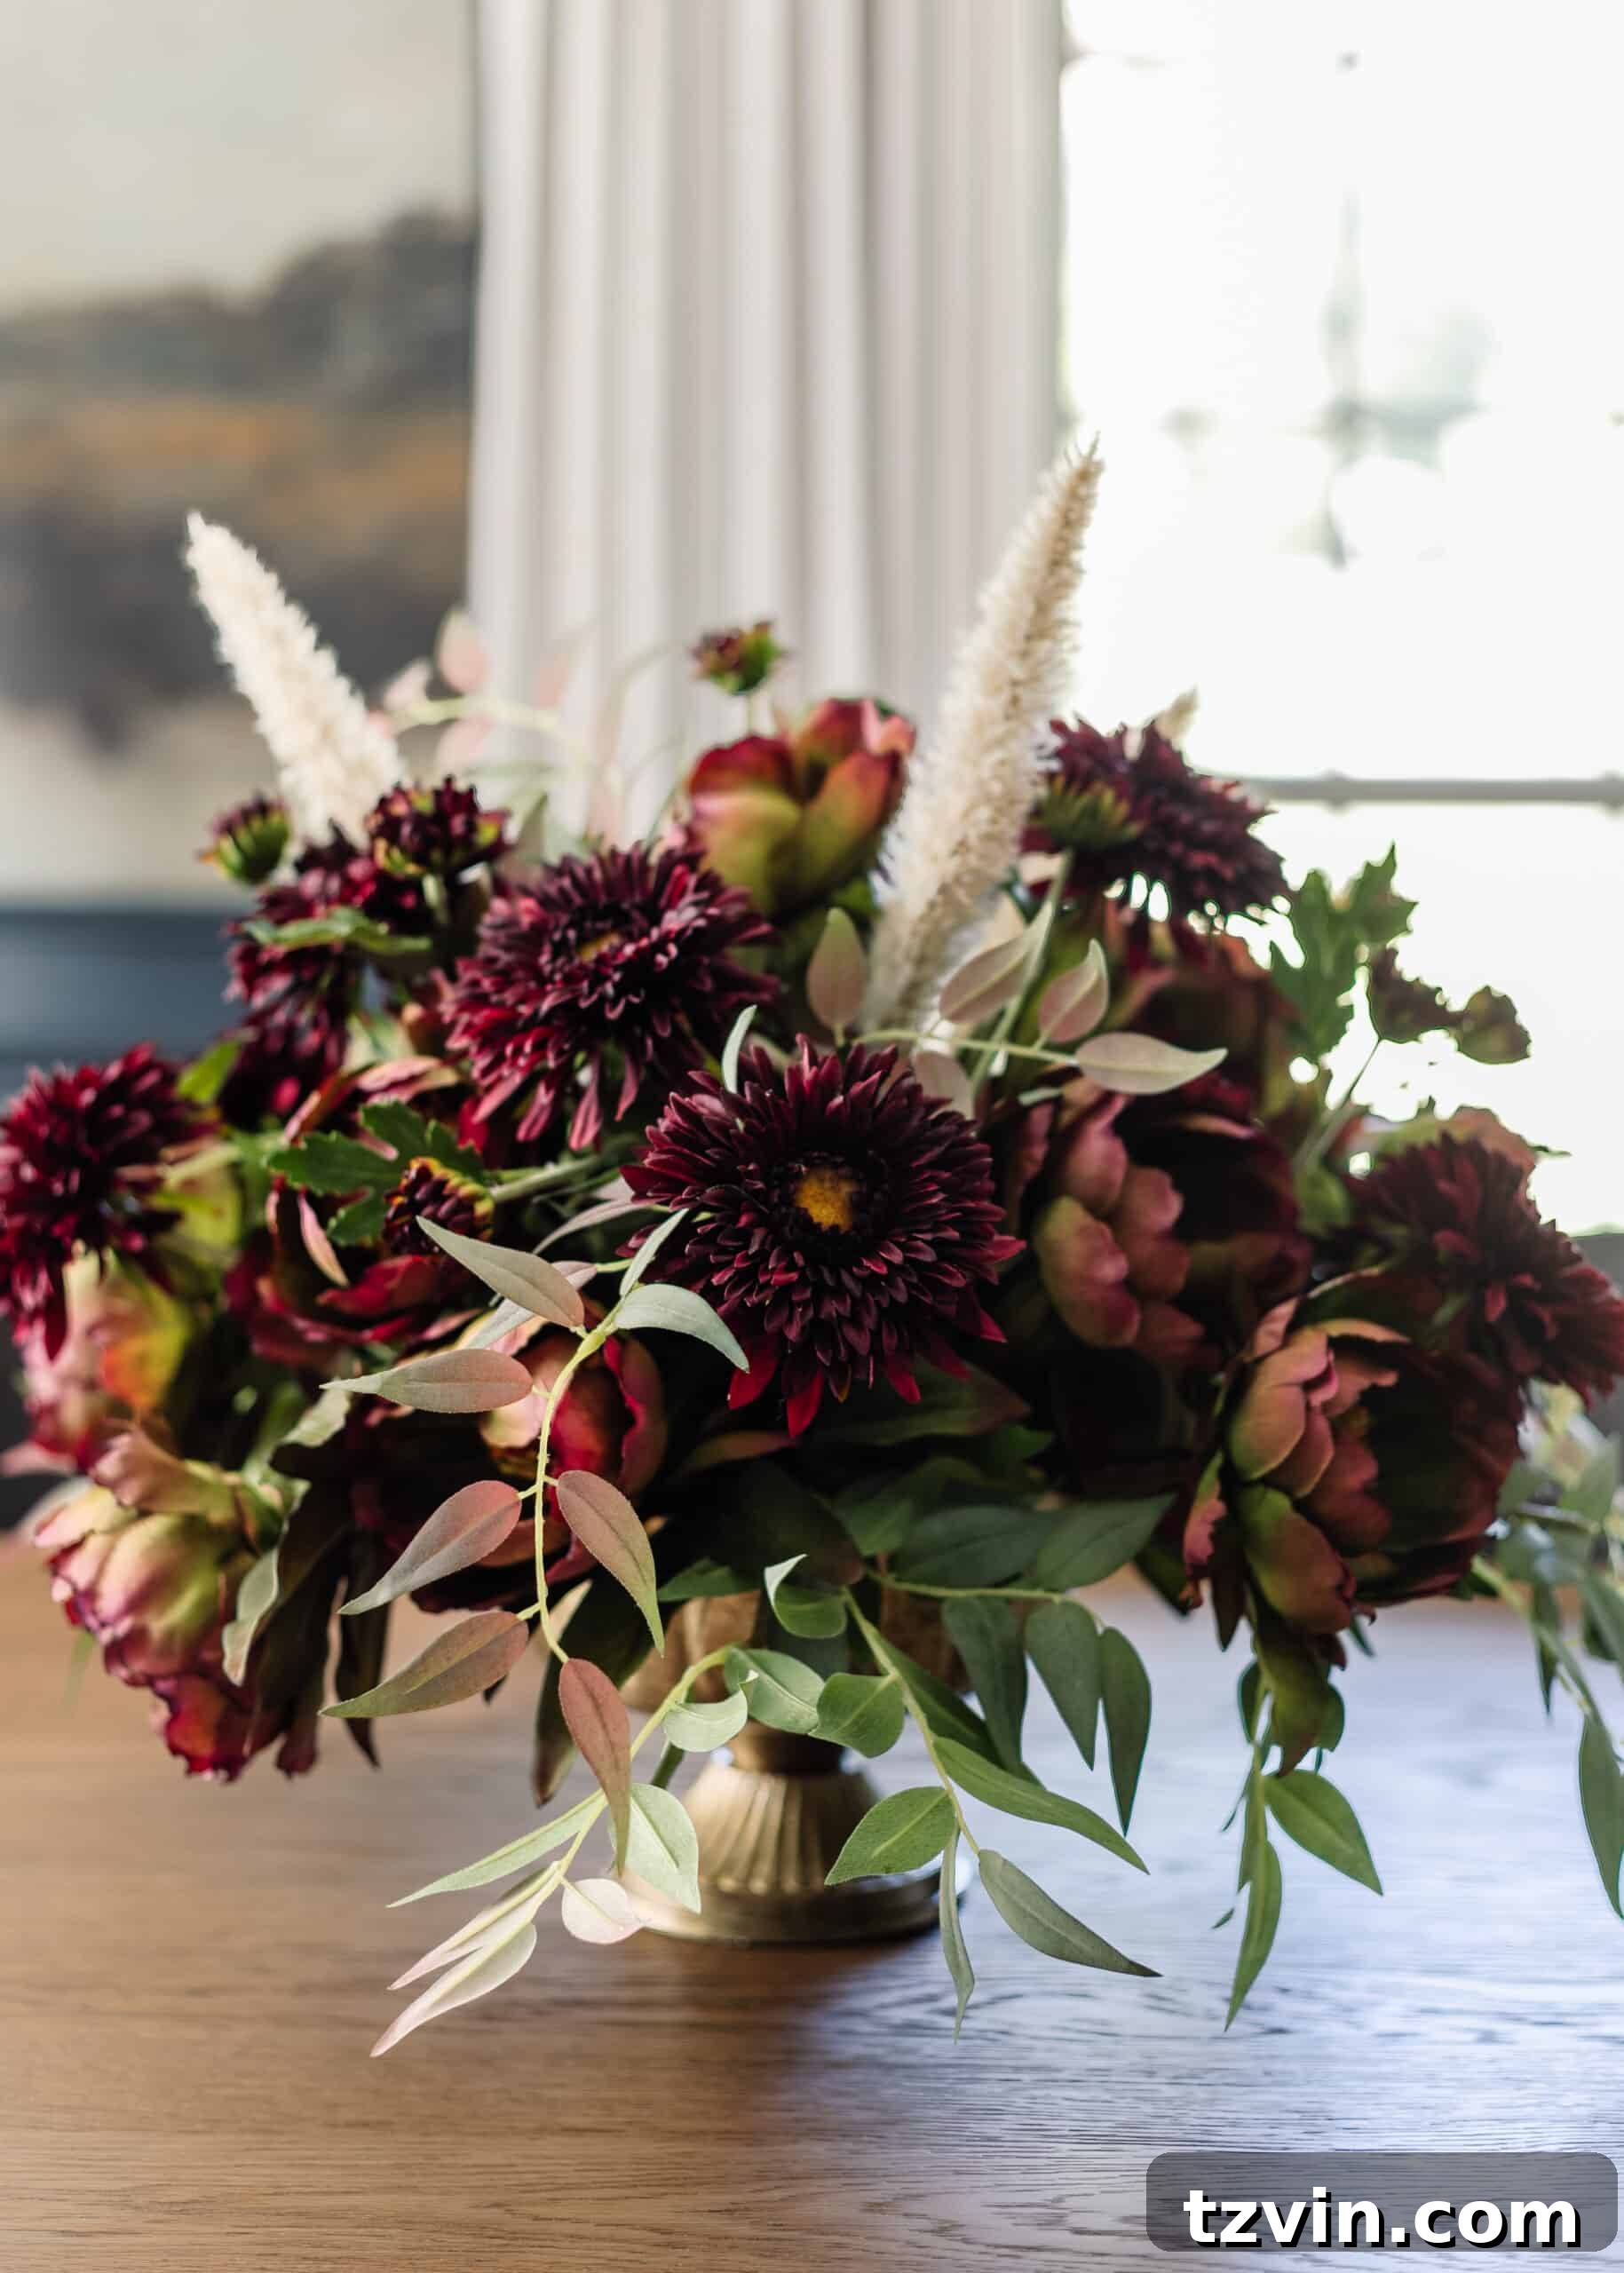
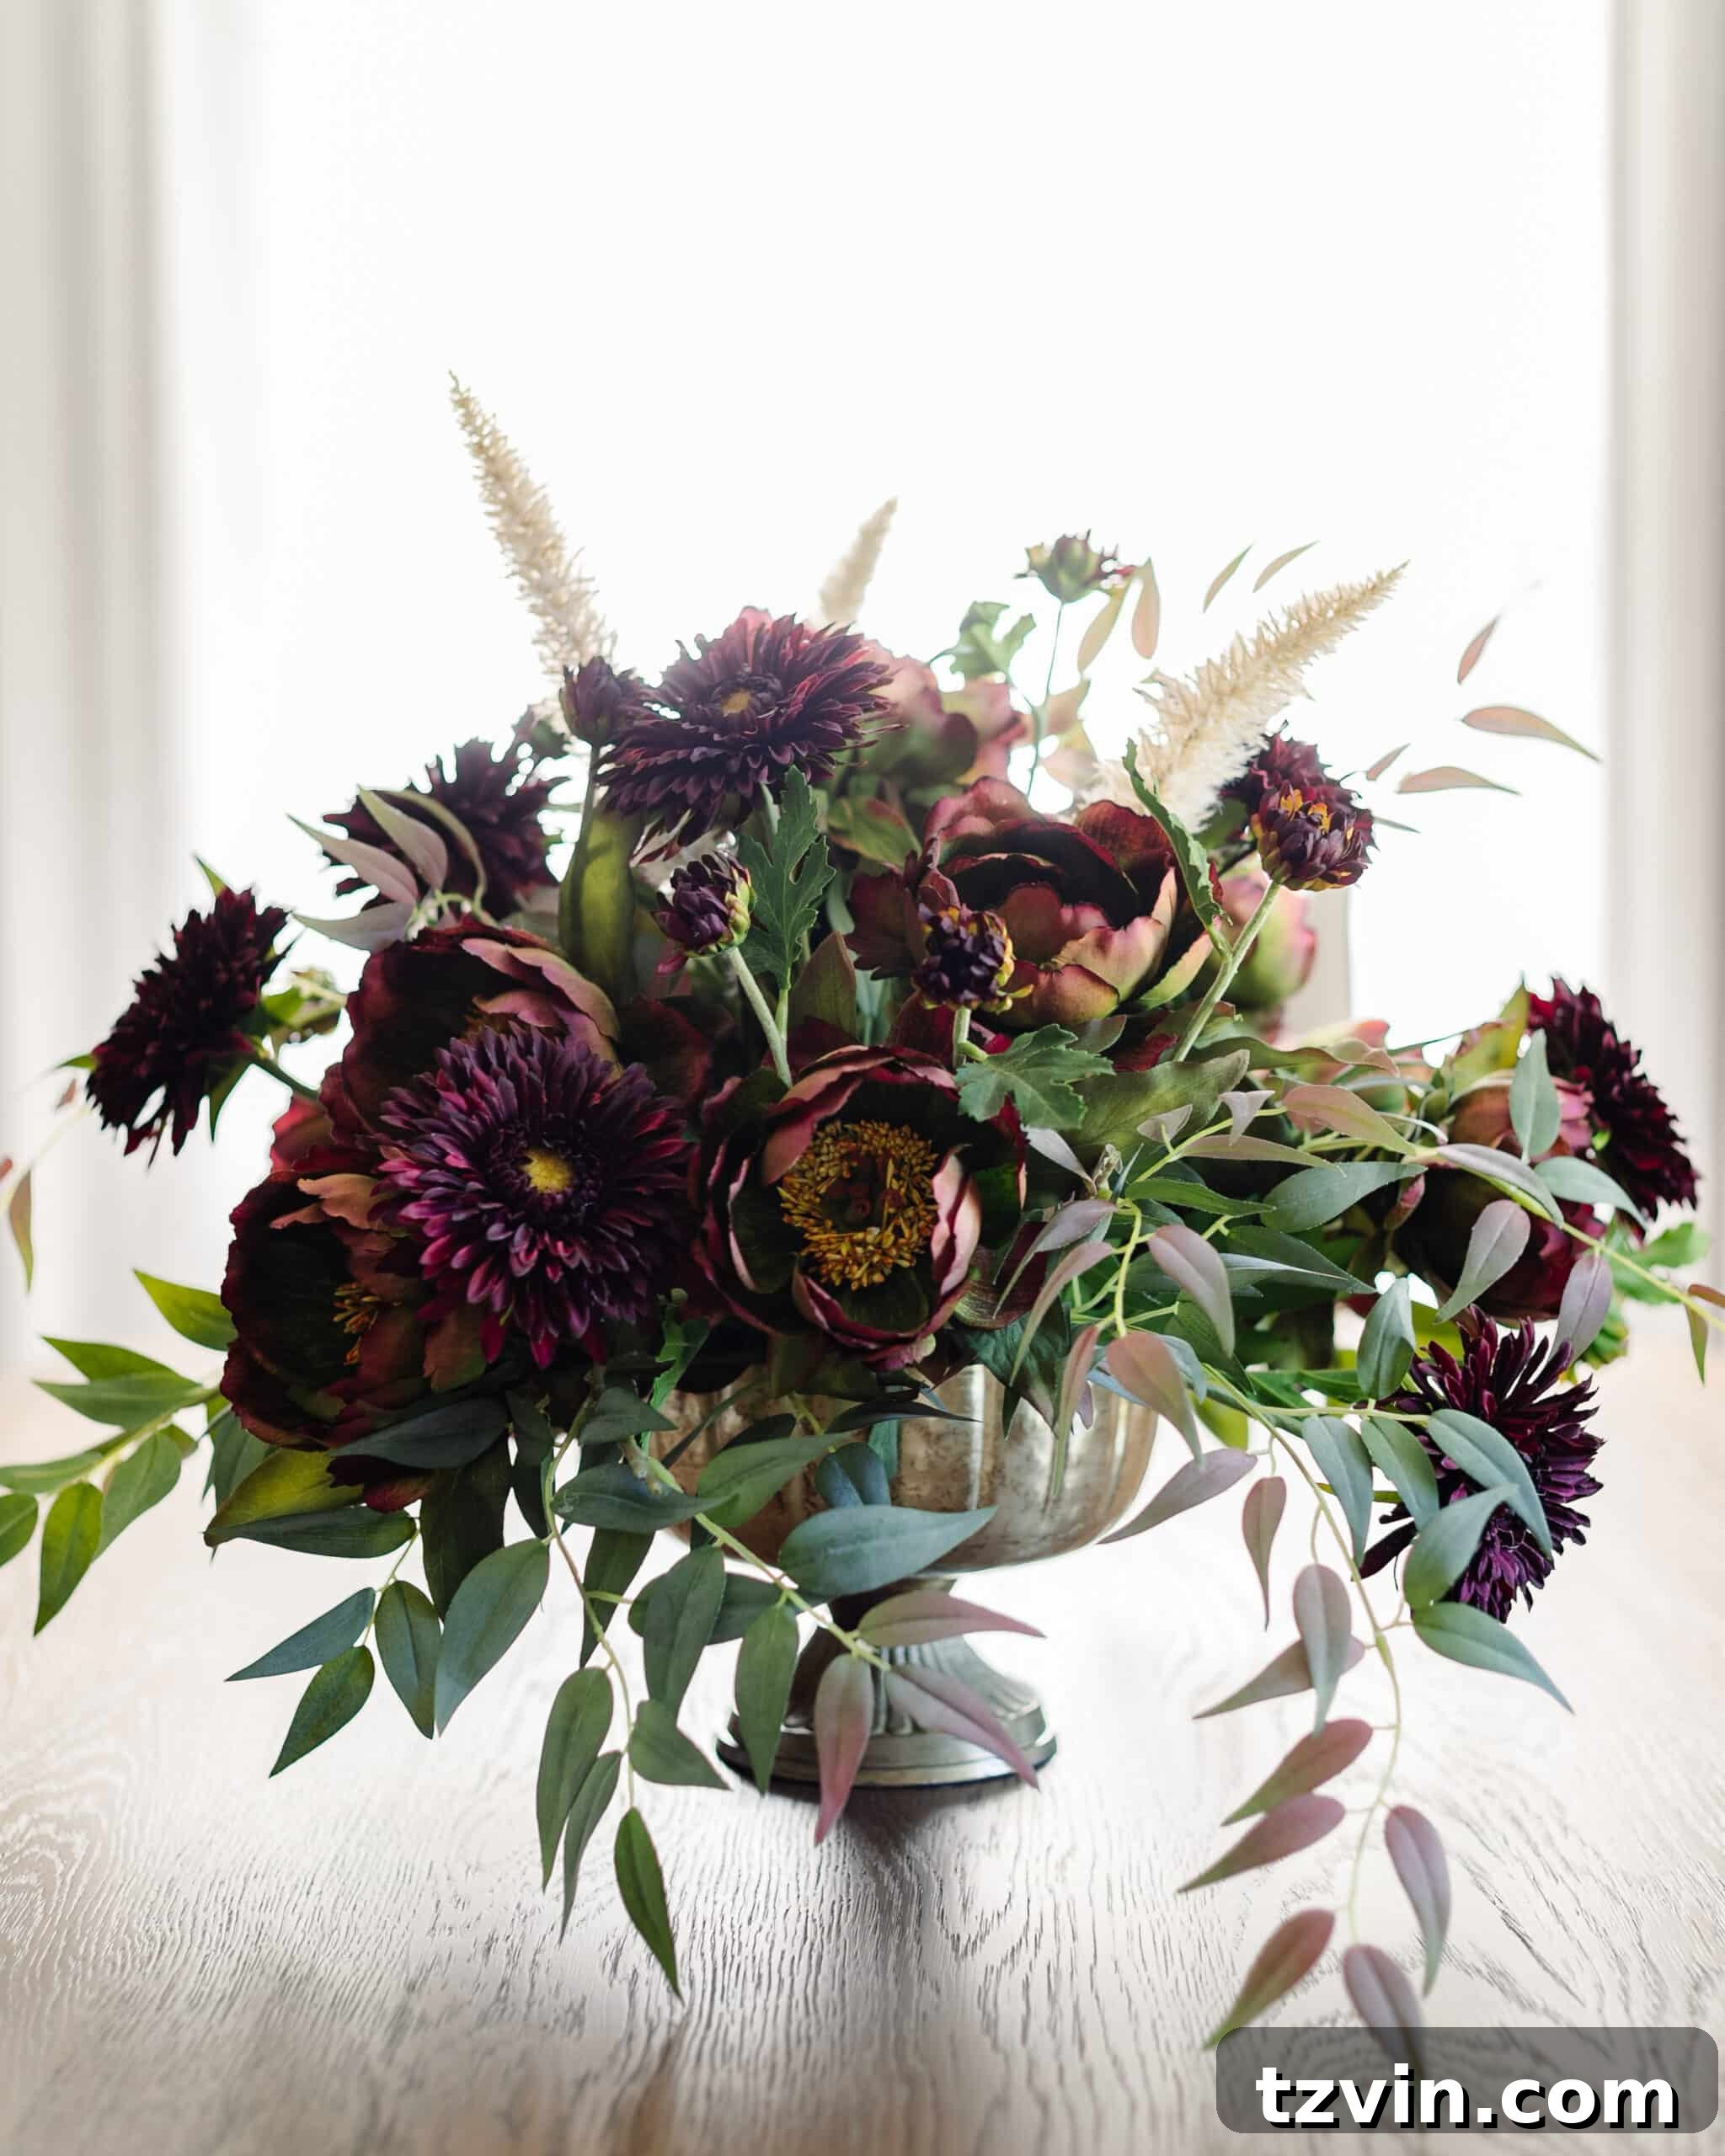
The allure of this look is so captivating that I’m strongly considering creating another one to keep at home, specifically for our fall table or as a centerpiece for our Thanksgiving celebration. The warmth and elegance it brings truly embody the spirit of the season.
Floral arranging is a journey of continuous learning. Have you discovered any ingenious floral arranging tips or tricks that you’d be willing to share? I’m always eager to learn more and enhance my skills, and I believe our collective knowledge can inspire even more beautiful creations.
Discover More Autumn Inspiration
If you’re looking for more ways to infuse your home with the cozy charm of fall, explore these additional decorating ideas:
- Simple DIY Fall Stem and Pumpkin Centerpiece Ideas + the Best Fall Branches
- The Most Realistic Fake Pumpkins for Your Autumn Decor
- 20 Best Fall Wreaths for Under $100 to Adorn Your Door
- DIY Fall Decor Ideas to Create Cozy Home Vibes and Ambiance