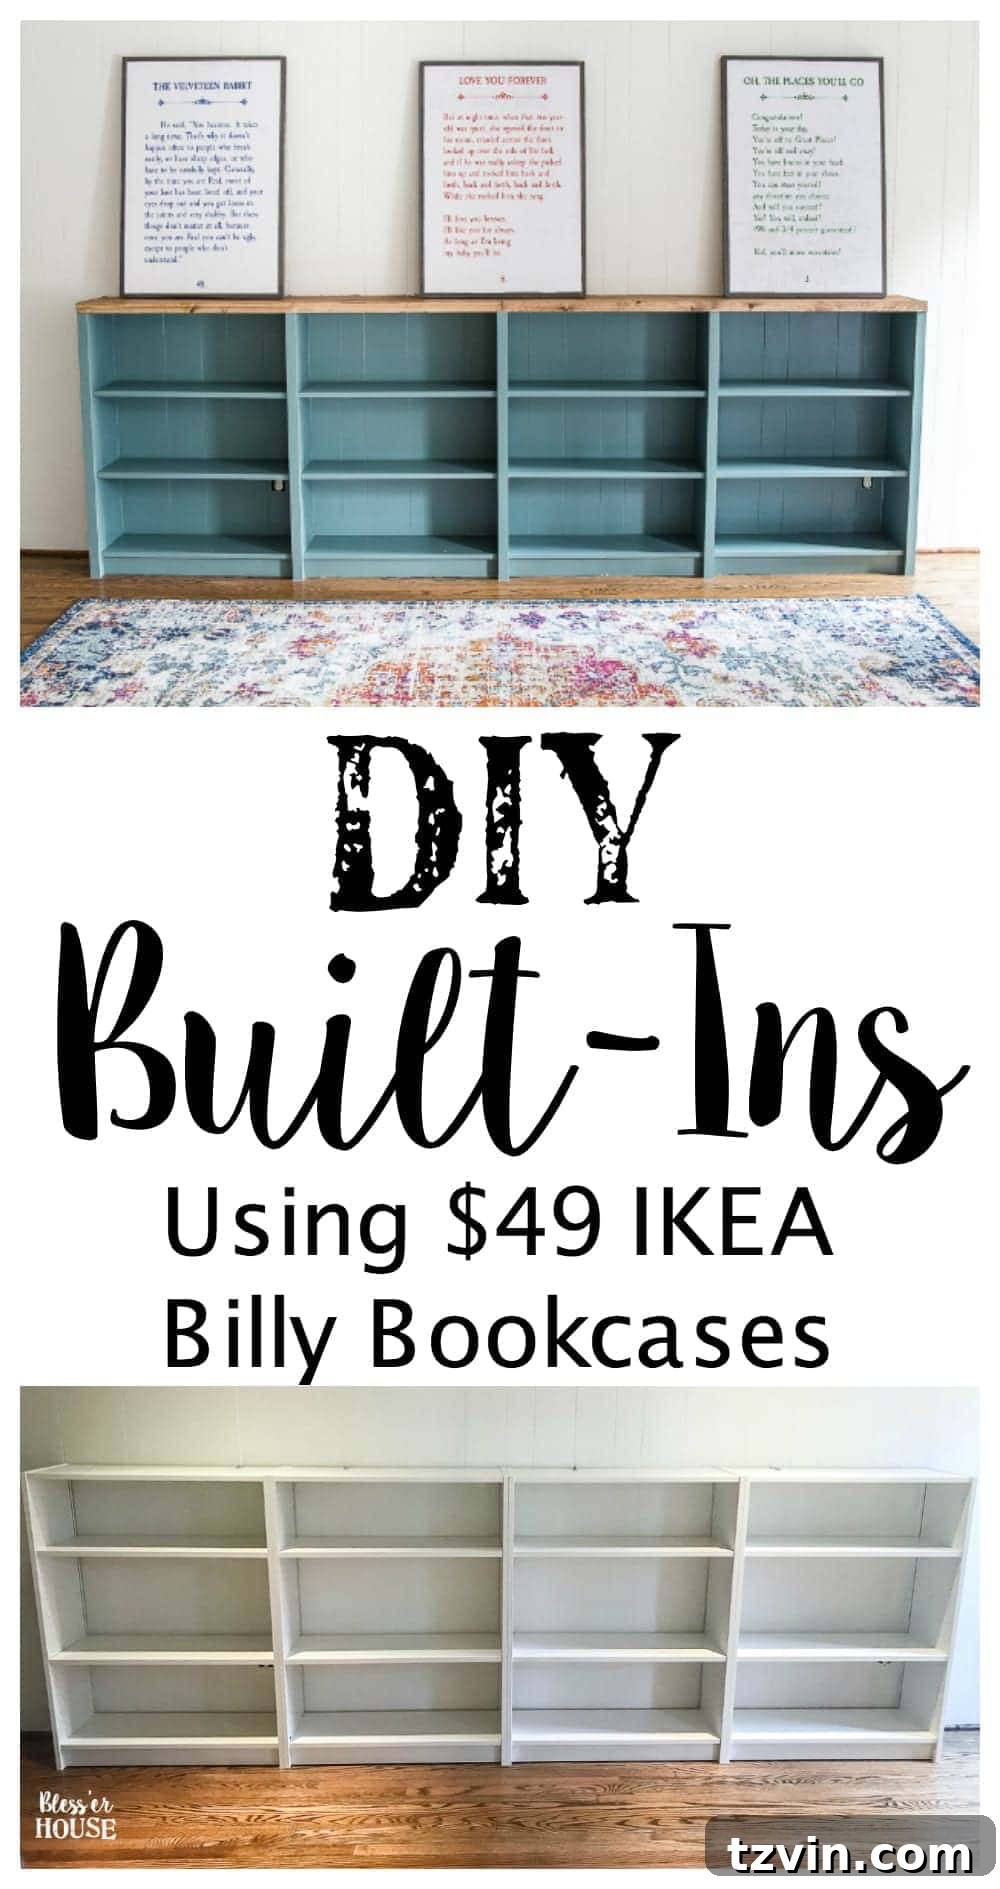
Transforming a space with custom built-in shelving doesn’t have to break the bank. This easy-to-follow, step-by-step tutorial will show you exactly how to build beautiful, custom-looking bookcase built-ins using readily available IKEA Billy bookcases. Get ready to elevate your home’s functionality and aesthetic!
Our journey to create a more functional and aesthetically pleasing playroom is reaching its exciting final stages. The vision for this space has been grand, aiming to blend playful charm with exceptional organization. What started as a bright yellow canvas is slowly but surely evolving into a dream playroom, a place where creativity flourishes and clutter is contained.
The transformation began with a bold design plan, meticulously detailing every aspect from color palettes to storage solutions. We knew that for this playroom to truly serve its purpose, robust and integrated storage would be key. That’s where the idea of custom built-in bookcases came into play.
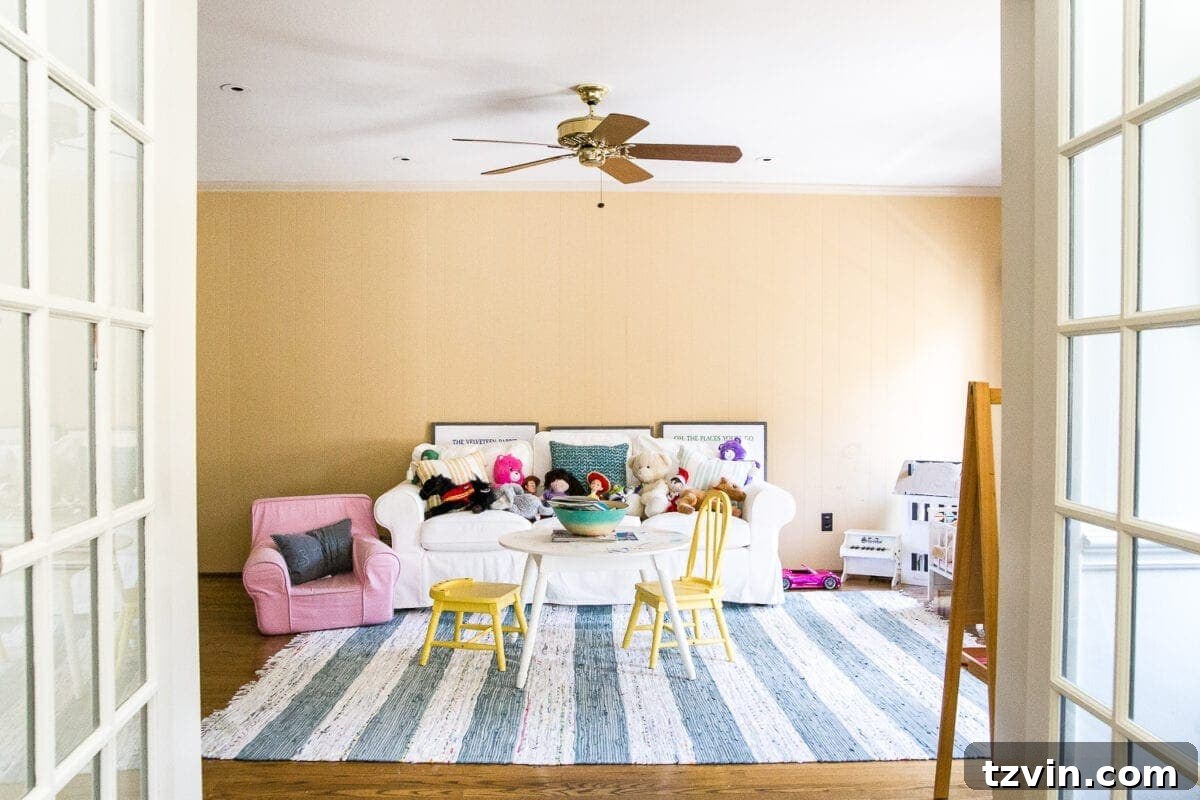
We recently refreshed the room’s color scheme, painting the previously yellow walls a soft Benjamin Moore Swiss Coffee. The beige trim was updated to Benjamin Moore Simply White, and the doors received a dramatic Benjamin Moore Wrought Iron, creating a sophisticated backdrop that connects beautifully with adjacent living areas.
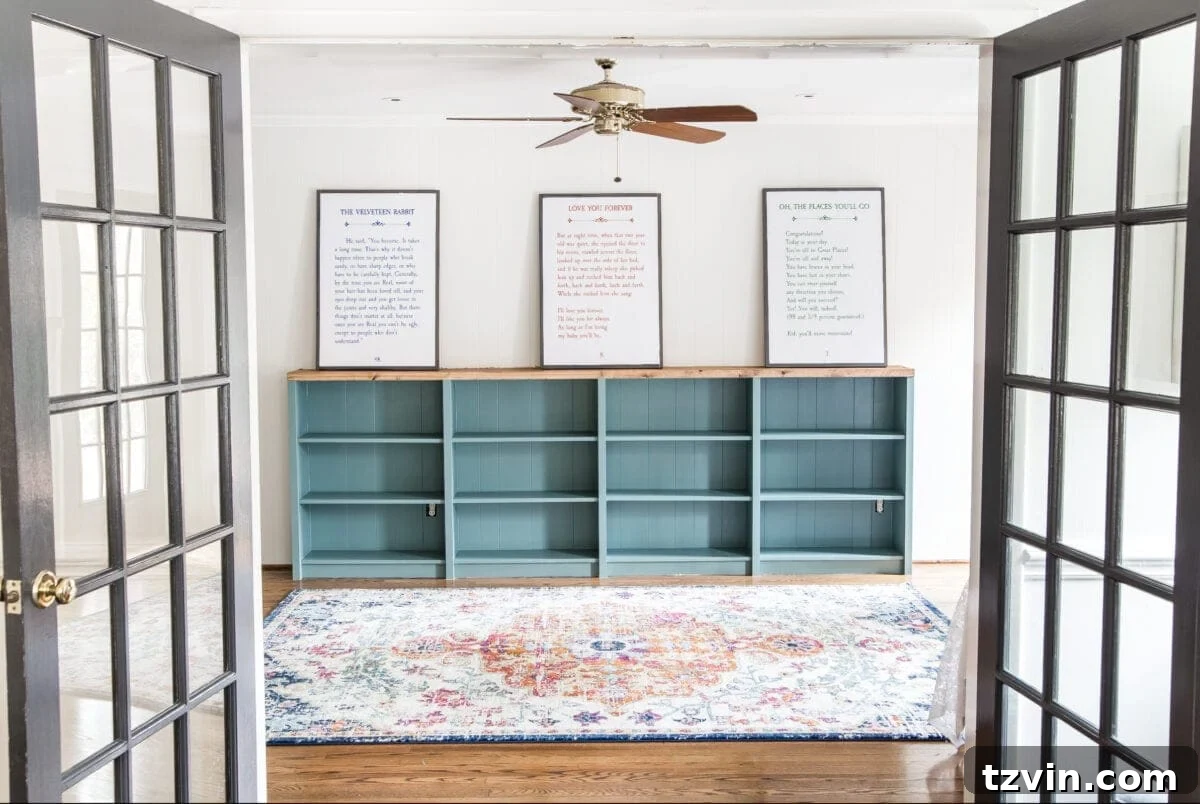
With the walls freshly painted, it was time to tackle our primary goal: adding significant storage. The solution? Custom built-in bookcases! And we’re thrilled with how they’re already taking shape. This DIY project is a testament to how accessible and impactful a home improvement project can be, especially when leveraging affordable and versatile pieces like IKEA Billy bookcases.
Why Choose IKEA Billy Bookcases for Custom Built-Ins?
We’ve successfully transformed spaces with IKEA Billy bookcases before. In our previous home’s playroom, we created massive built-ins using these versatile units. We wanted to replicate that success here, albeit on a slightly smaller scale, to make toy organization easier for our daughter, Olivia, and generally enhance the room’s order.
The appeal of using pre-made bookcases for a custom look lies in their affordability and ease of assembly. IKEA’s Billy series is a fantastic foundation for DIY built-ins because they are relatively inexpensive, come in various sizes, and provide a clean, simple profile that’s perfect for customization. With a little extra wood trim, paint, and effort, you can turn these basic shelves into high-end, integrated storage that looks like it cost a fortune.
This “IKEA hack” approach saves considerable time and money compared to hiring a custom cabinet maker or building everything from scratch. It’s a smart solution for homeowners seeking sophisticated storage without the custom price tag, allowing you to achieve a truly bespoke feel on a DIY budget.
Project Essentials: Supplies You’ll Need
(Some affiliate links are provided below for your convenience, helping you find the right tools and materials easily.)
- 4 short IKEA Billy bookcases (we found ours for $39 each during an IKEA winter sale – always keep an eye out for deals!)
- 1 – 1″x12″x12″ board (Poplar, Pine, or Oak recommended. We opted for a nice pine with minimal knots for a touch of rustic charm, but the choice is yours based on desired finish and budget.)
- 3 – 1″x2″x8″ boards (matching the species of your 1″x12″ for a cohesive look)
- 4 – 1″x2″x8″ common boards (for structural elements and trim)
- 6 – 1″ square dowels (essential for closing gaps and adding stability)
- 1 1/4″ wood screws (for securing bookcases together)
- Power drill/driver (a must-have for any DIY project)
- 1 1/4″ finishing nails (for trim work)
- Jigsaw (useful for custom cuts and notches)
- Circular saw (for precise straight cuts on larger boards)
- Tape measure and pencil (for accurate measurements)
- Liquid Nails (strong adhesive for securing the top board)
- Hammer (for finishing nails)
- Square tool (for ensuring perfect right angles)
- Caulk (your best friend for filling gaps and achieving a seamless finish)
- Caulk tool (for smooth application)
- Stain of your choice (We used Minwax Special Walnut to complement our hardwood floors)
- Stain brush & clean, dry rags (for applying and wiping stain)
- Kilz Adhesion Primer (crucial for ensuring paint adherence on IKEA’s laminated surfaces)
- Paint of your choice (We chose Sherwin Williams Tree Swallow in satin finish, recommending ProClassic Interior Waterbased Acrylic-Alkyd for durability)
- Angled paint brush (for clean lines and detailed work)
- Minwax Polycrylic (for sealing and protecting your stained wood top)
For this project, having already owned the necessary tools, our material cost for the wood, bookcases, stain, caulk, polycrylic, and paint totaled approximately $304.43. This demonstrates the incredible value of building custom built-ins yourself!
Step-by-Step Guide to Building Your IKEA Billy Built-Ins
Embarking on this DIY journey can seem daunting, but with each step clearly laid out, you’ll find the process incredibly rewarding. Follow these detailed instructions to create stunning, professional-looking built-ins that will transform your room.
Step 1: Assemble Your Billy Bookcases (Without Backing)
Begin by assembling all four IKEA Billy bookcases according to the manufacturer’s instructions. A crucial deviation from the standard assembly is to intentionally leave off the flimsy cardboard backing that typically comes with the bookcases. This not only allows easy access to wall outlets behind the units but also contributes to a more robust, “built-in” feel by eliminating the cheap-looking backing. Ensure all other components are securely fastened.
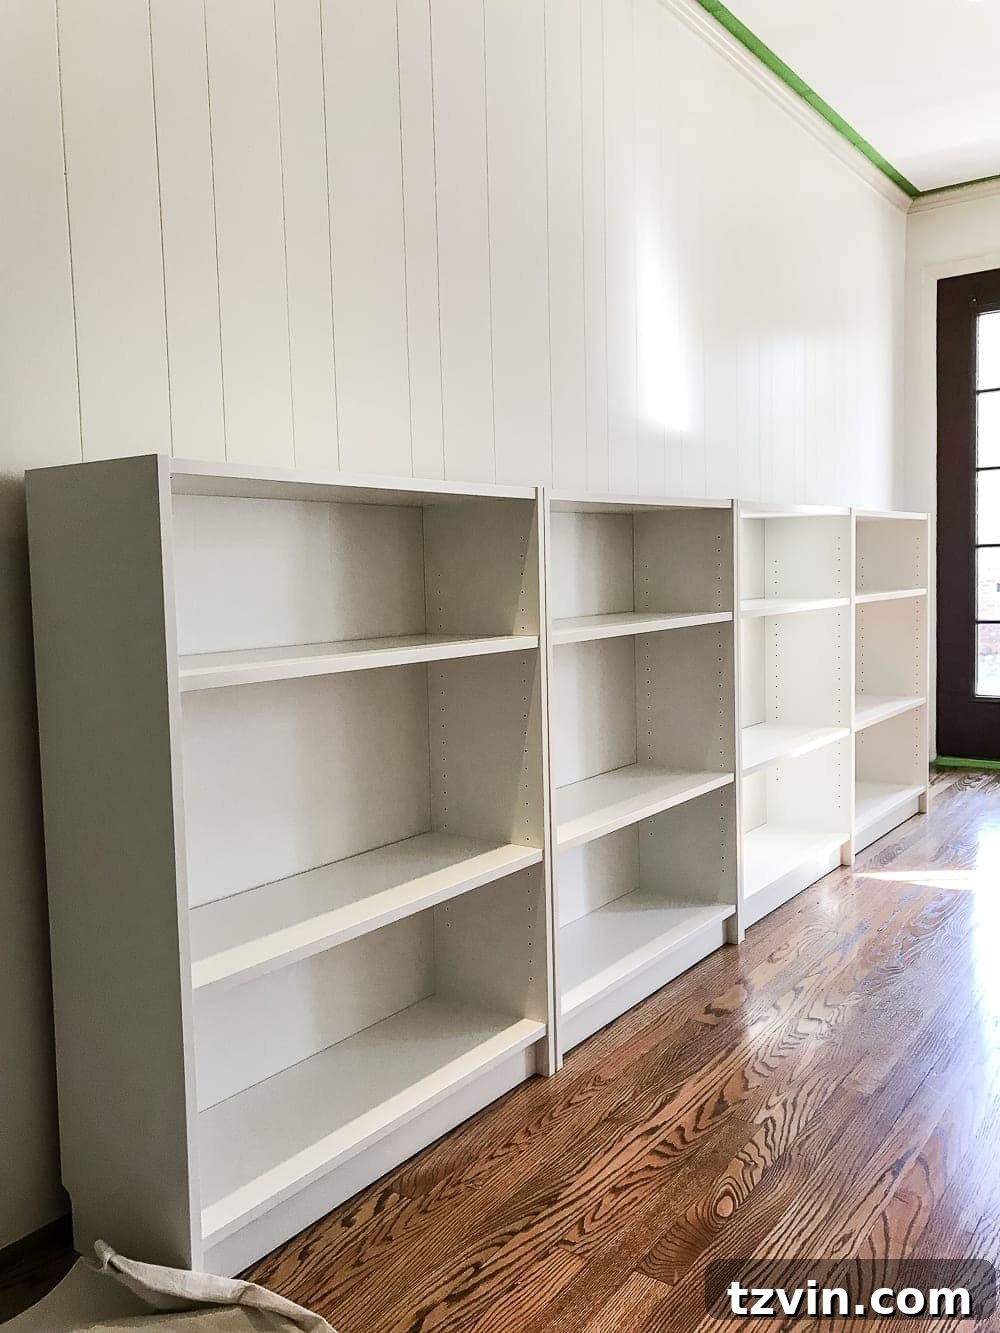
Step 2: Reinforce the Base with Square Dowels
Since we opted out of using the cardboard backing, there will be a slight gap between the bottom shelf of each bookcase and the wall. To close this gap and provide additional stability, attach a 1″ square dowel to the back edge of the bottom shelf of all four bookcases. Use finishing nails to securely fasten the dowels. This seemingly small detail significantly enhances the finished look and prevents items from falling behind the shelves.
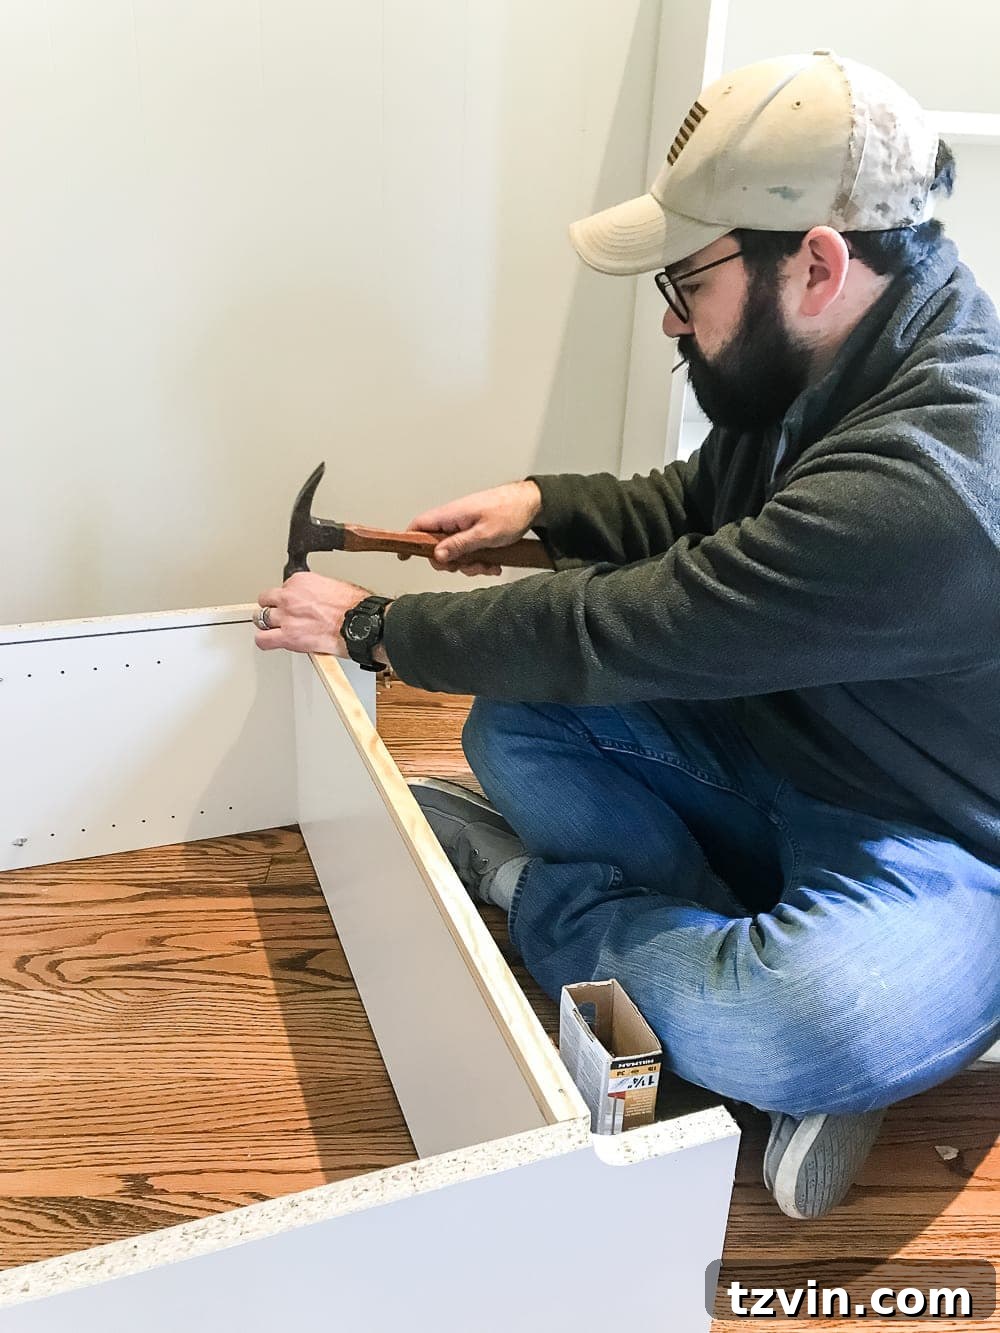
Step 3: Strategic Placement and Anchoring Preparation
Carefully position the assembled bookcases against the wall in their desired location. Take your time to ensure they are centered and aligned. Once the ideal placement is determined, use a stud finder to mark the wall studs above the bookcases. These marks will be crucial for securely anchoring the units to the wall, ensuring safety and preventing tipping, especially important in a playroom environment.
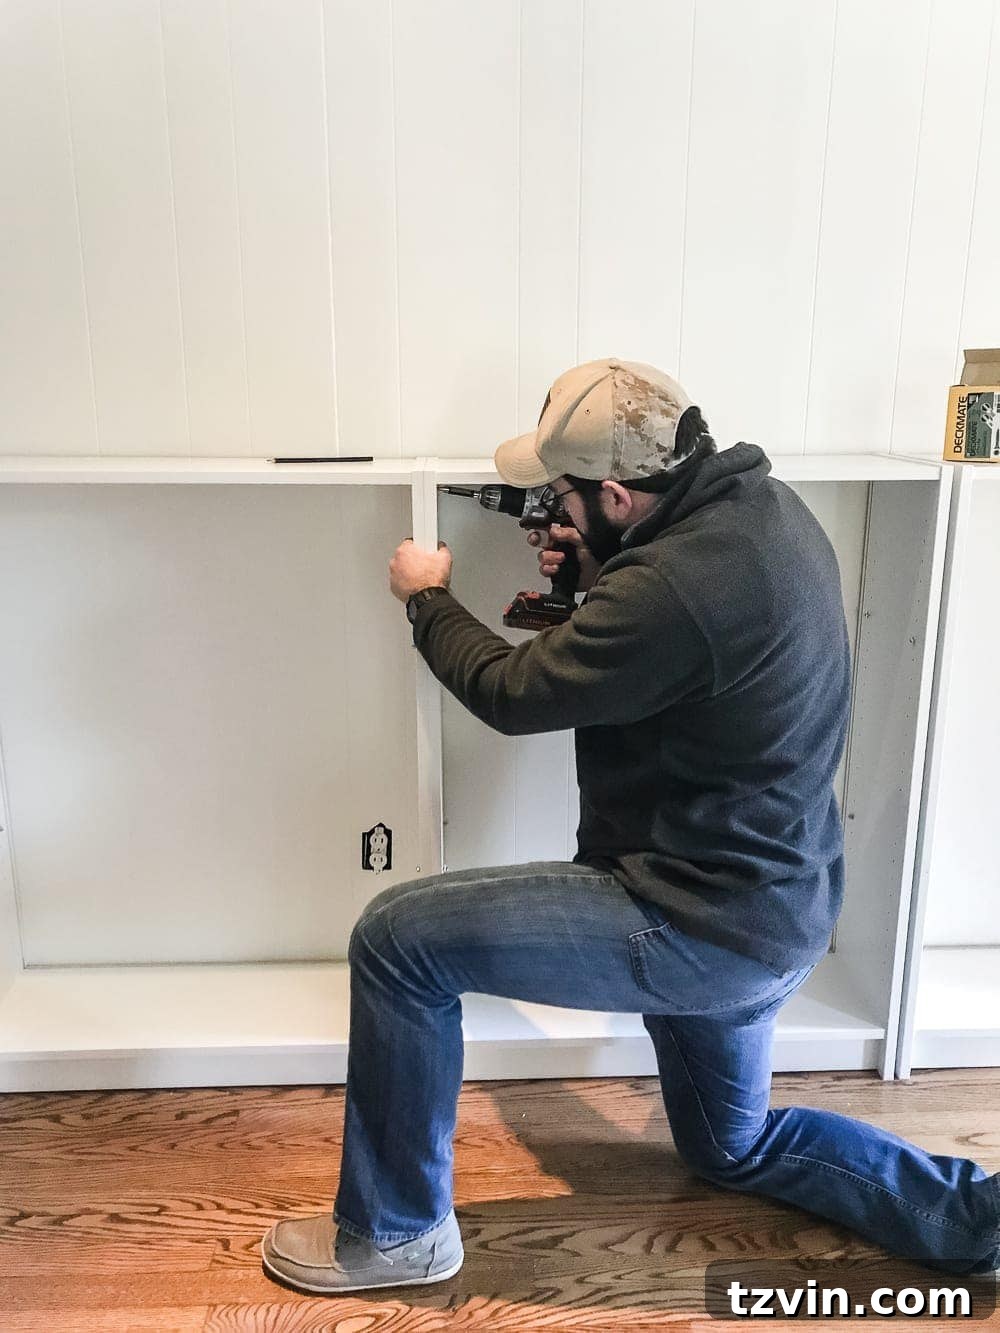
Step 4: Secure the Bookcases Together
To create the appearance of a single, cohesive built-in unit, the individual bookcases must be securely joined. Use 1 1/4″ wood screws to attach the sides of adjacent bookcases together. Drive screws at both the top and bottom of each connection point. This step is vital for structural integrity, ensuring that the entire unit acts as one solid piece rather than four separate components.
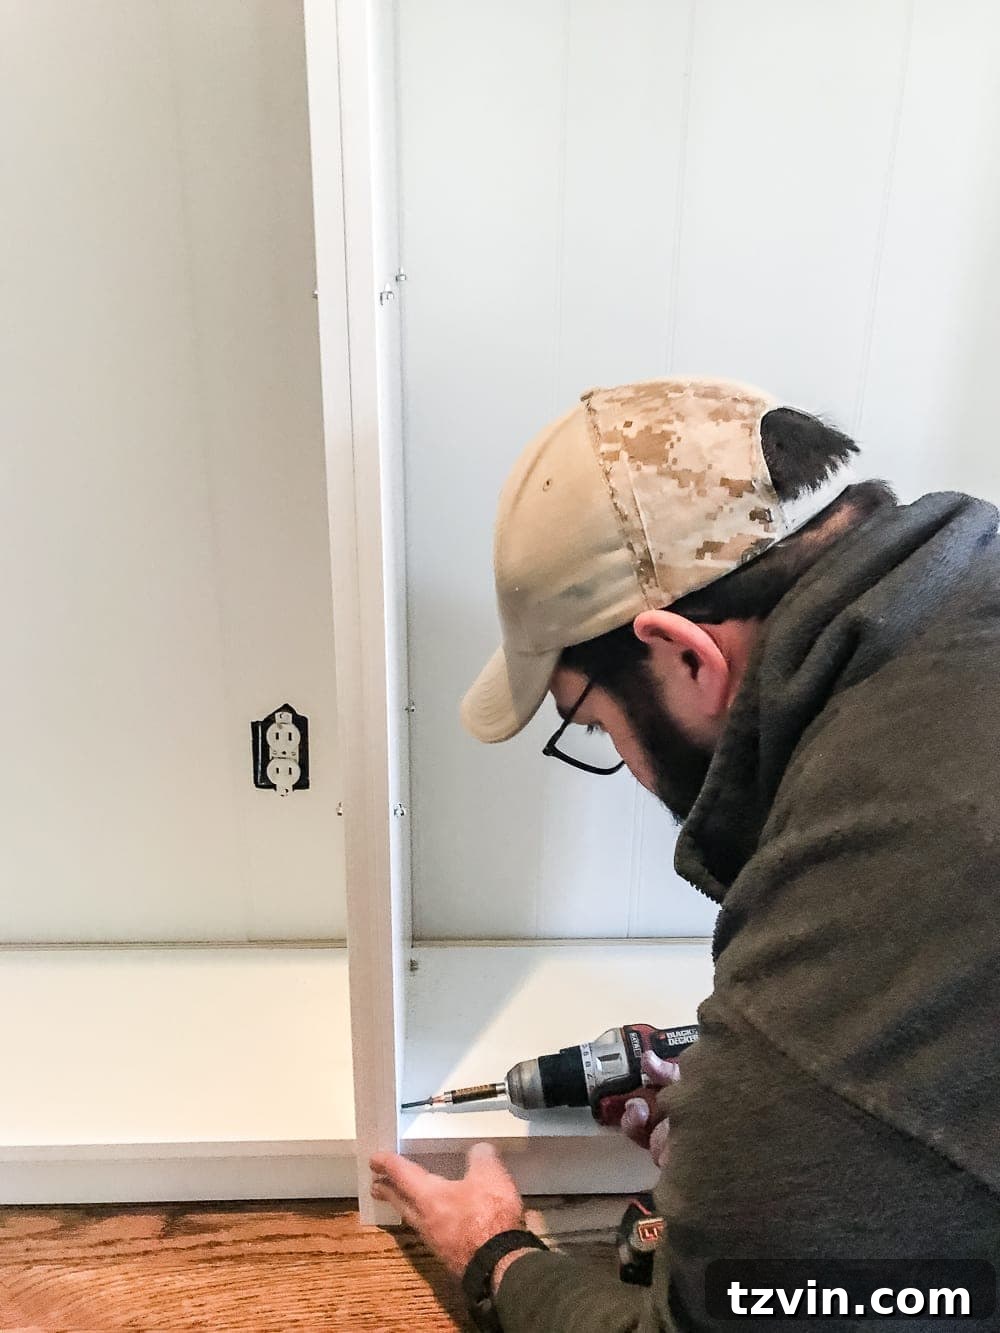
Step 5: Anchor Bookcases to the Wall for Safety and Stability
Safety is paramount, especially in a home with children. Utilize the wall anchoring hardware provided with the IKEA bookcases to attach the entire unit to the wall studs you marked earlier. Securely fasten the anchors at the top of each bookcase. This prevents any possibility of the unit tipping over, providing peace of mind and ensuring the longevity of your built-ins. Once anchored, your bookcases are ready for their custom wooden enhancements!
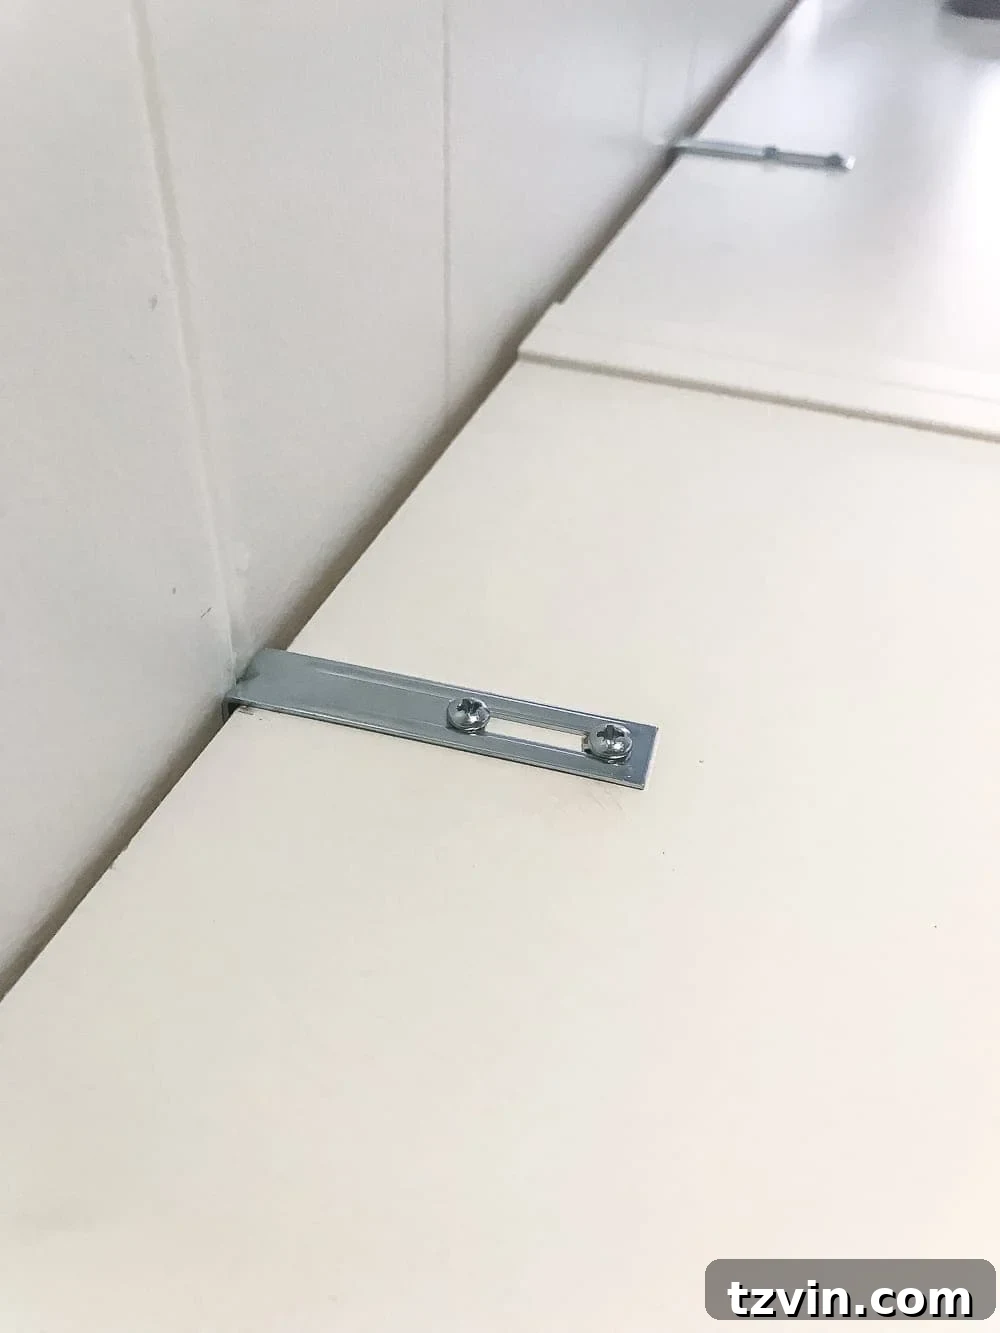
With the bookcases now securely assembled and anchored, the true customization begins. The next steps involve adding wooden trim and a custom top, which will transform these standard IKEA units into truly unique, built-in masterpieces.
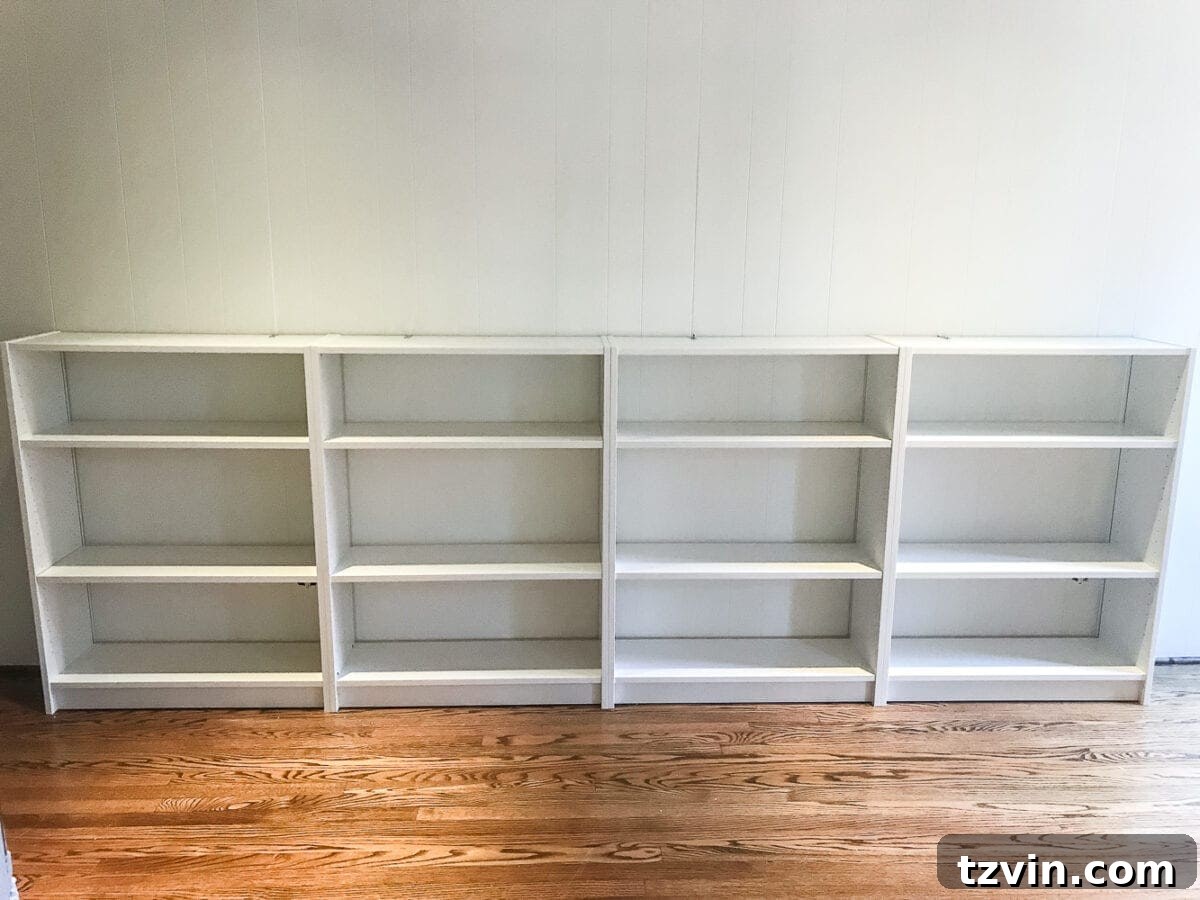
Step 6: Crafting Your Custom Wood Top
To give your built-ins a finished and high-end look, a custom wood top is essential. Place your 1″x12″ board on top of the assembled bookcases. Using a square tool and pencil, carefully mark where the board needs to be cut to perfectly span the entire length of the bookcases, ensuring it extends slightly beyond the outer edges if desired for an overhang.
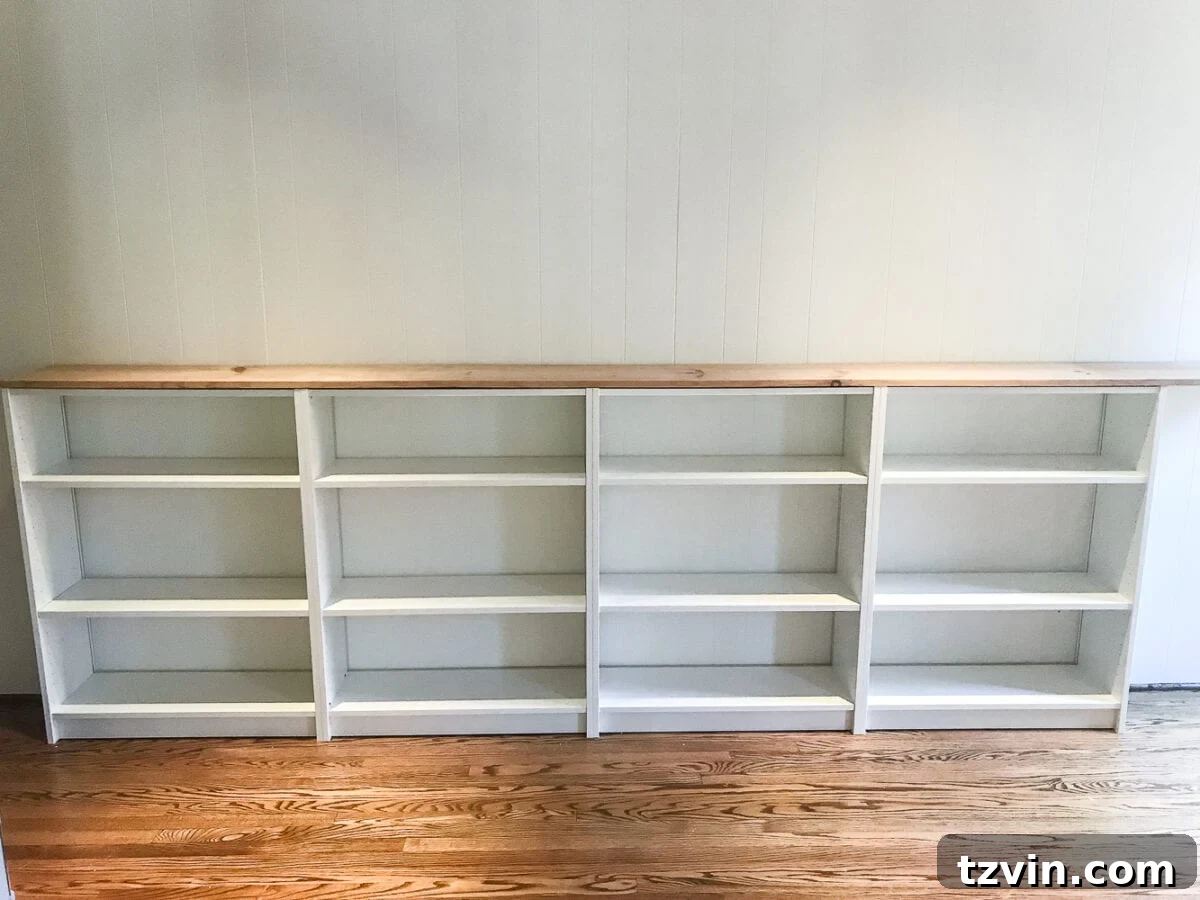
Once marked, use your circular saw to make a clean, straight cut. Precision here will contribute significantly to the overall professional appearance of your built-ins. (Apologies for the changing light in some photos, as the project extended into the evening hours!)
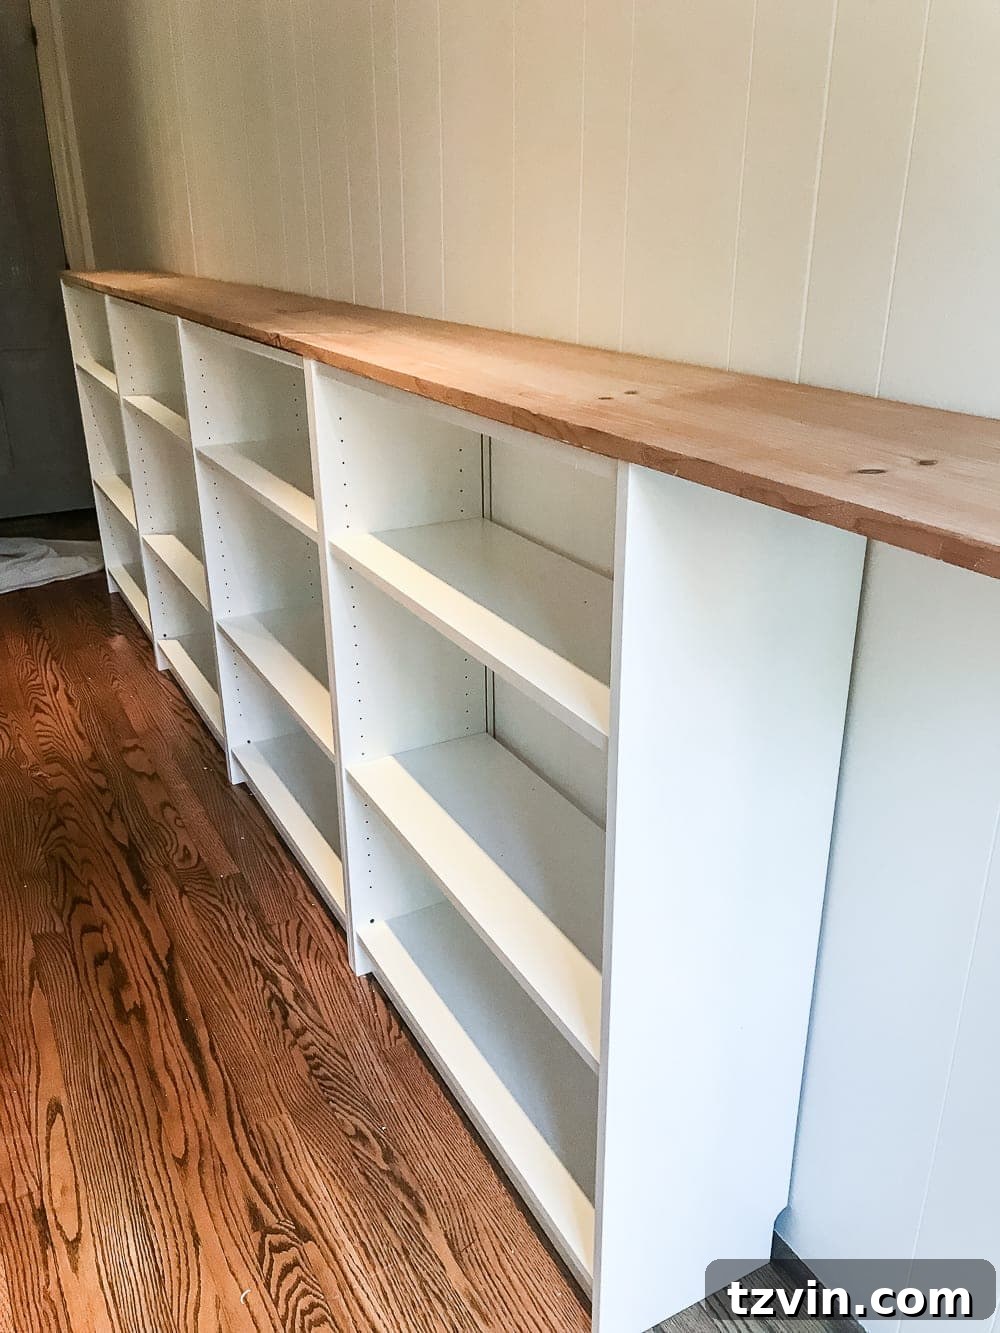
After cutting, apply a bead of Liquid Nails adhesive along the top edges of the bookcases where the board will rest. Carefully position the 1″x12″ board, ensuring it is flush and level. Then, drive finishing nails through the top board at each end of the bookcases to provide additional securement. This combination of adhesive and nails ensures a strong, lasting bond.
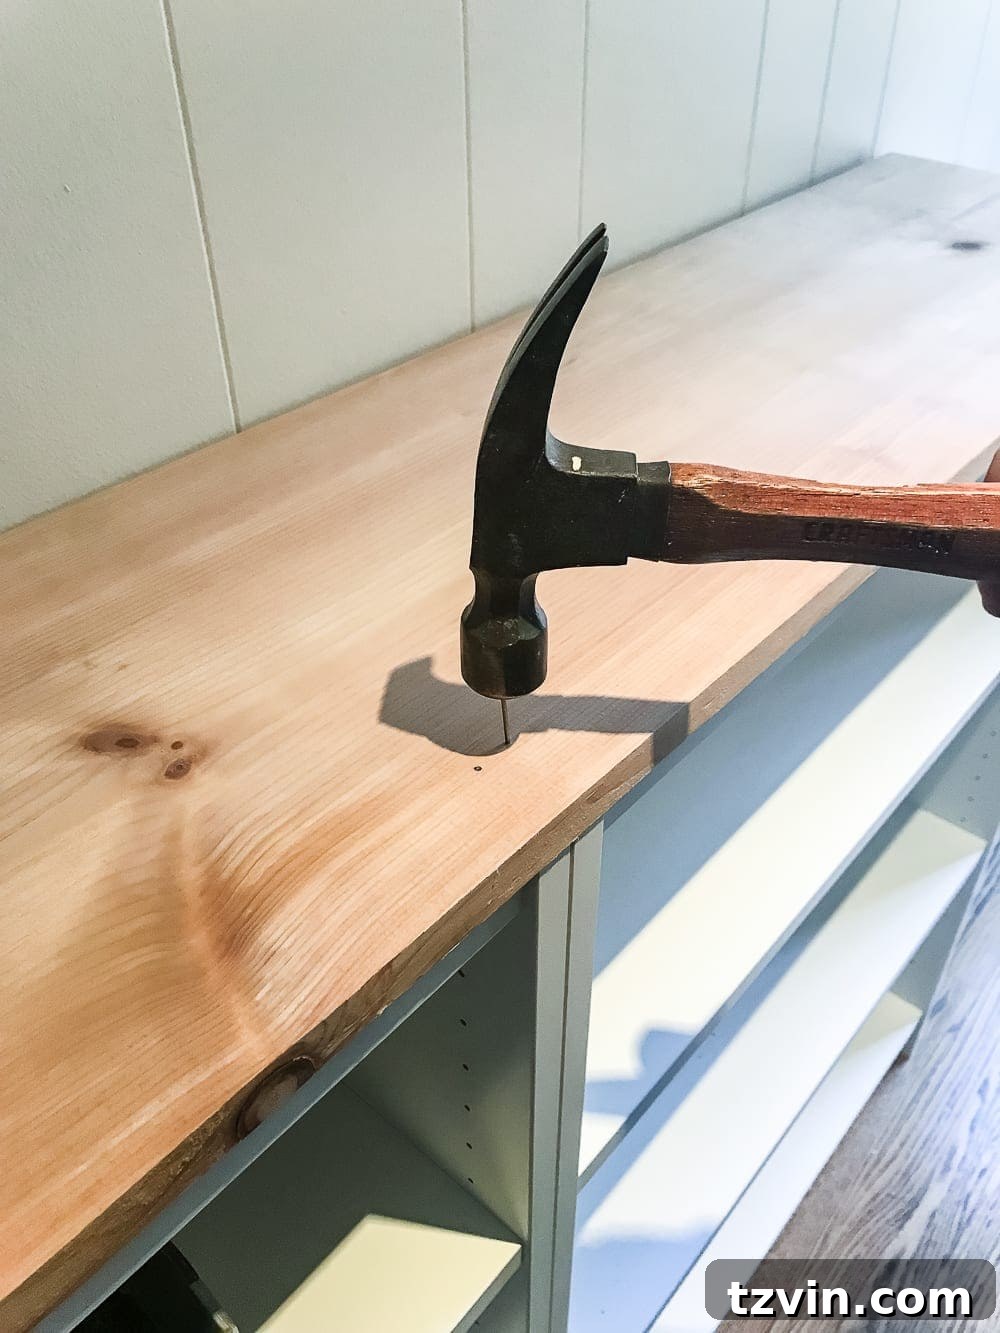
To give the top a more substantial and finished appearance, resembling a true piece of custom cabinetry rather than just a flat plank, add a 1″x2″ board to the front edge. Cut this 1″x2″ to the desired length, allowing for a slight overhang on each end of the 1″x12″ if you prefer. Nail it securely to the front edge of the 1″x12″.
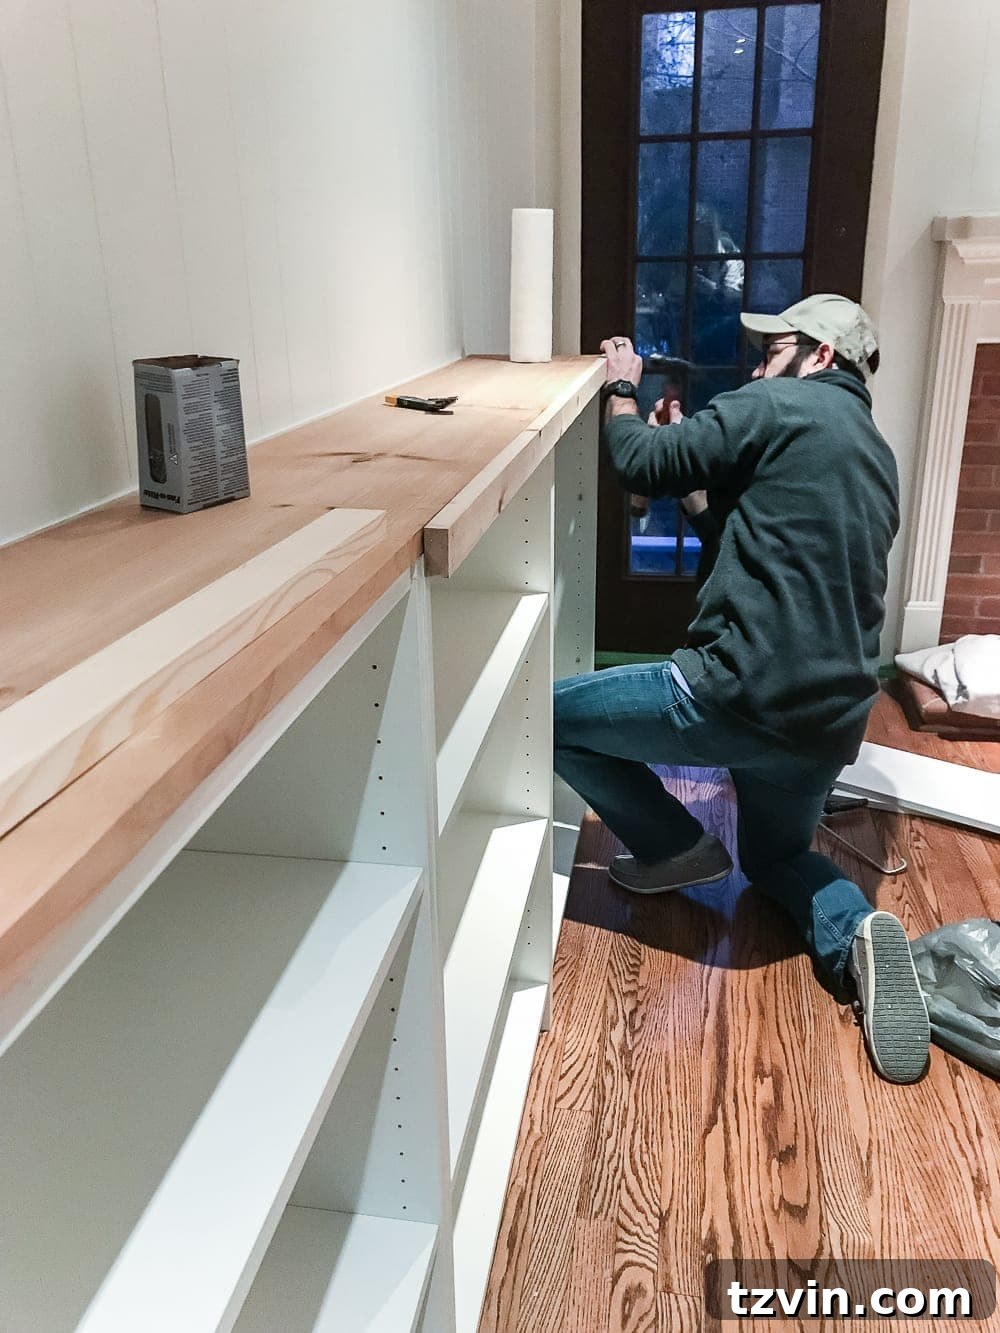
This creates a clean, architectural edge. (If you have access to a miter saw, you could miter the corners of the 1″x2″ pieces for an even more polished look, but straight cuts work perfectly well and are often simpler for beginner DIYers.)
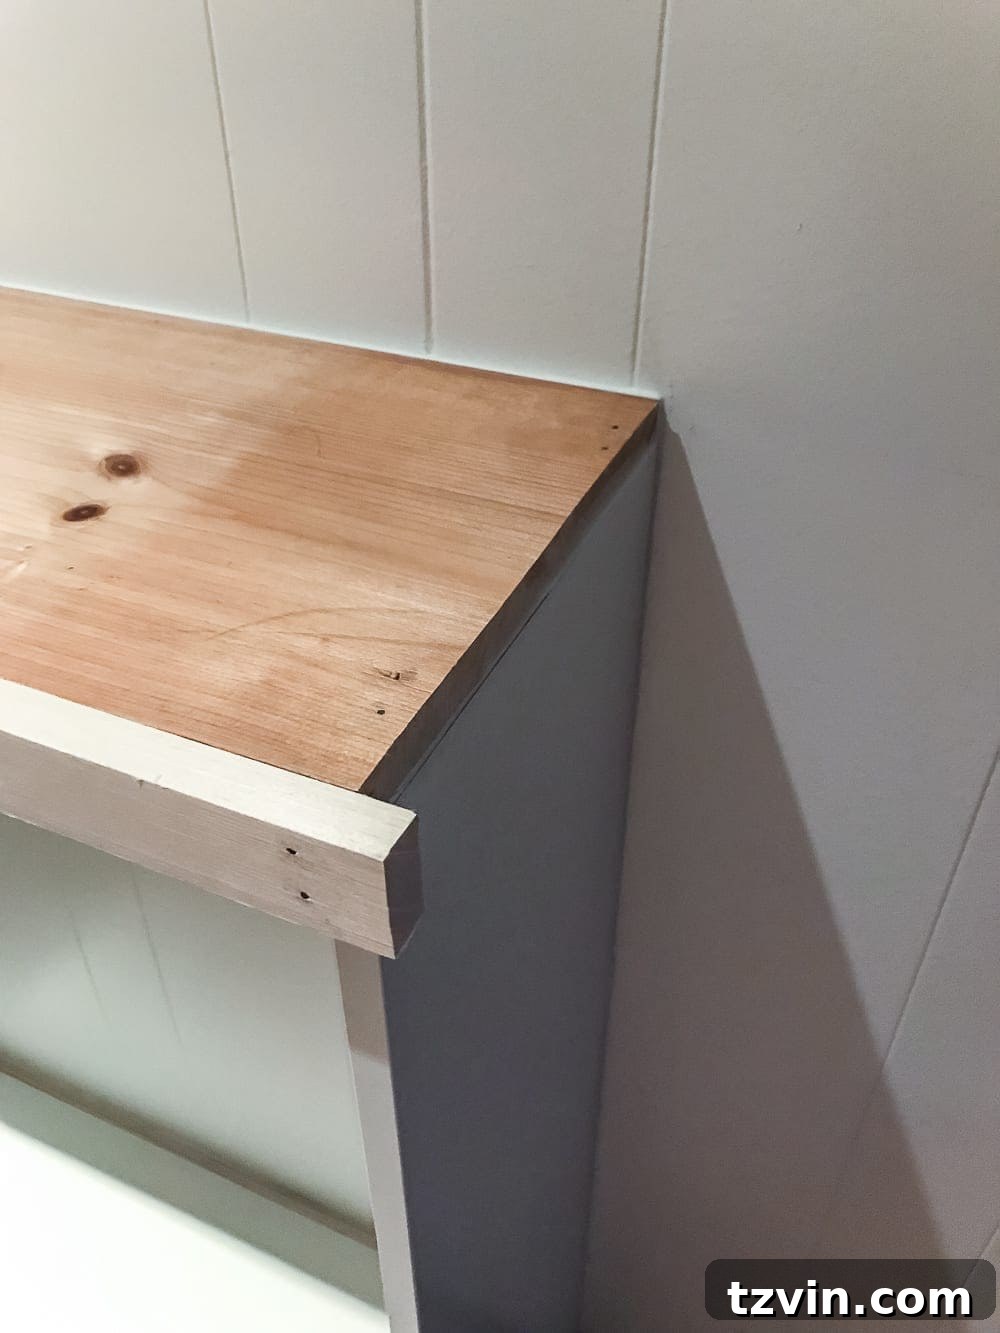
Finally, to complete the top, measure and cut another 1″x2″ board to fit precisely between the newly attached front 1″x2″ and the wall on each side. Nail these pieces into place to form the side returns of the top, seamlessly integrating the entire structure.
Step 7: Seamless Front Integration with 1×2 Boards
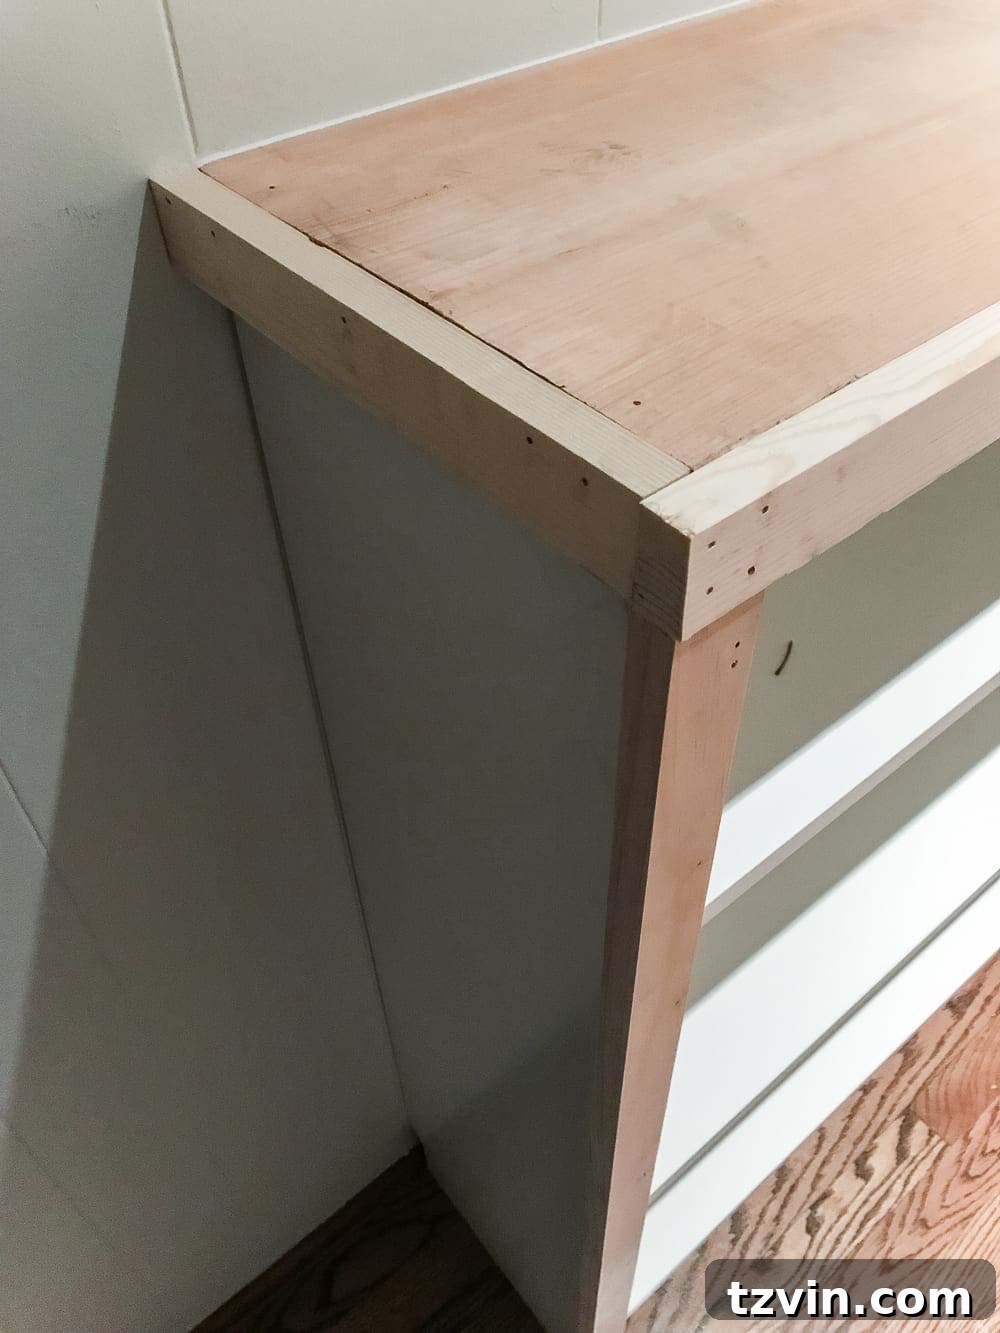
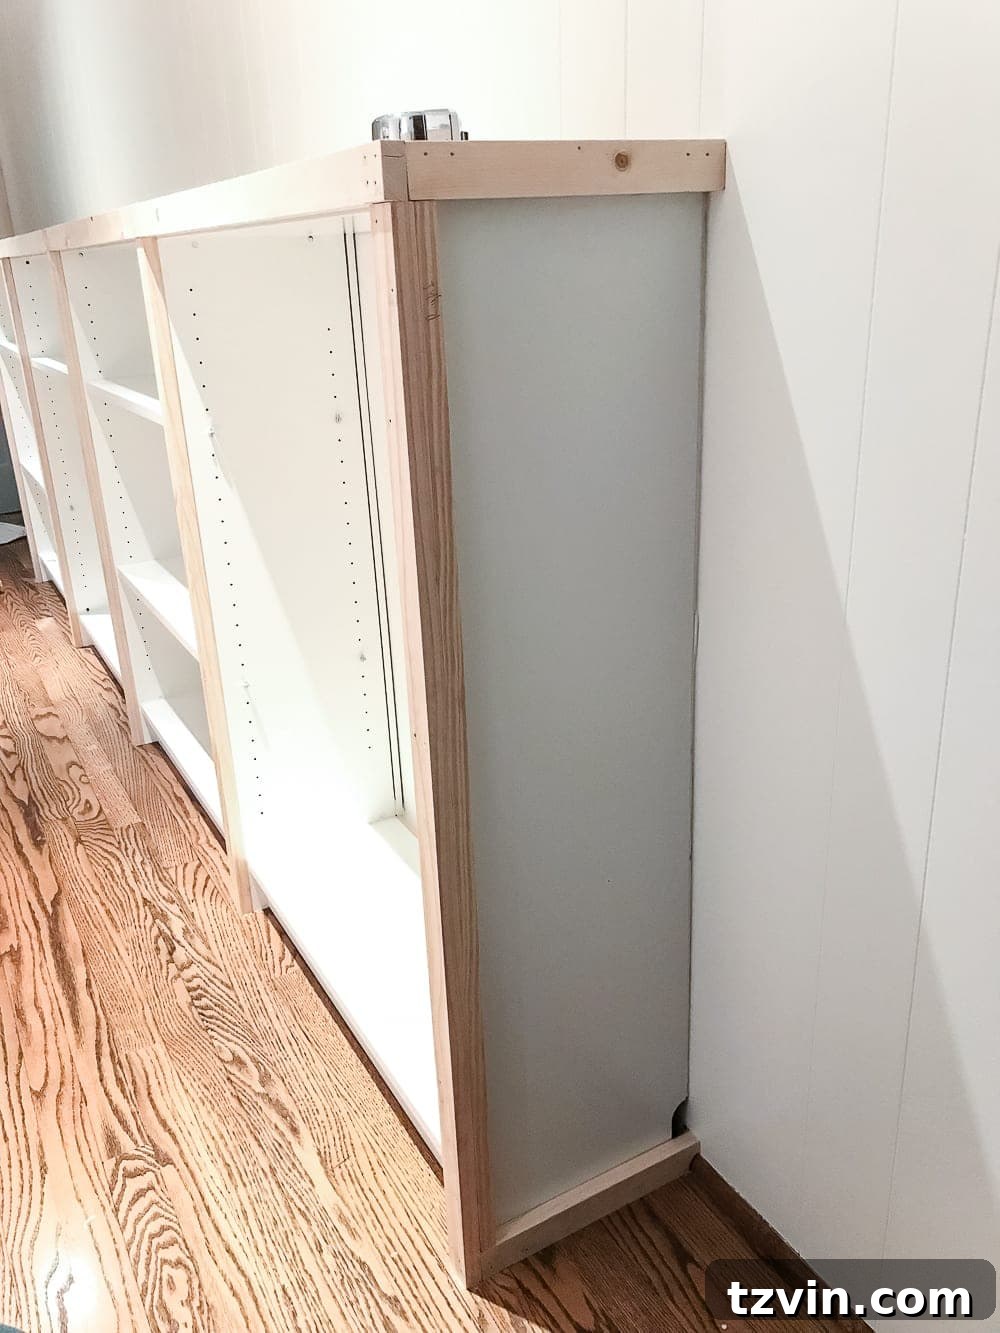
At this stage, you’ll also want to enhance the front of your built-ins. Cut and nail 1″x2″ boards vertically to the front edges of the bookcases. These boards serve a dual purpose: they conceal the visible seams where the individual bookcases were screwed together, and they provide a clean, continuous face that mimics custom cabinetry. This step is critical for achieving a truly built-in aesthetic.
The Billy bookcases are designed with small gaps on their ends, intended to accommodate a baseboard running behind them. To achieve a perfectly flush, built-in look, we decided to fill these gaps. Measure and cut additional pieces of 1″x2″ to fit snugly between the wall and the vertical 1″x2″ pieces you just installed on the front. If your room has quarter-round trim along the floor, you’ll need to use a jigsaw to carefully notch out the bottom of these 1″x2″ pieces to fit seamlessly over the trim.
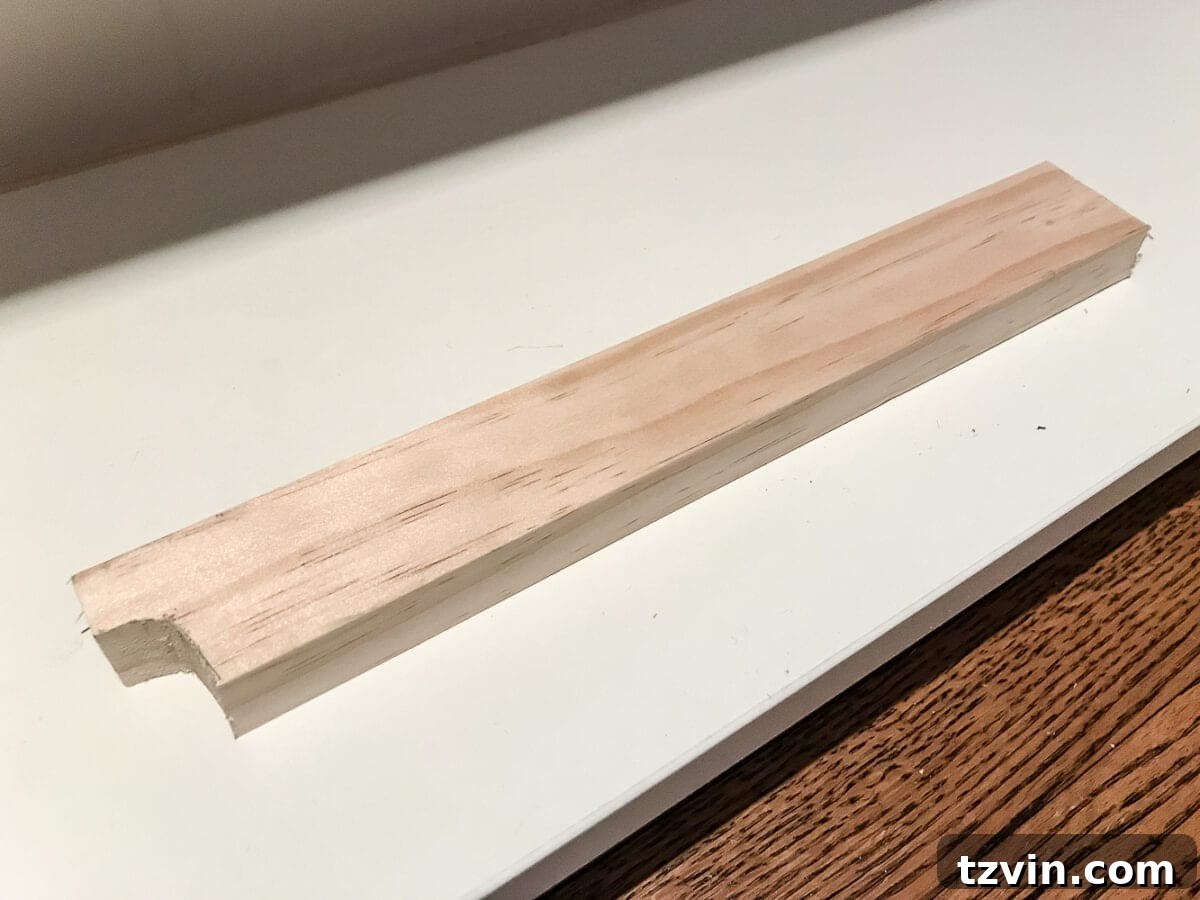
Don’t strive for absolute perfection with these cuts, as caulk will be your best friend in the final finishing stages. Even slight imperfections can be beautifully masked, creating a smooth and professional transition.
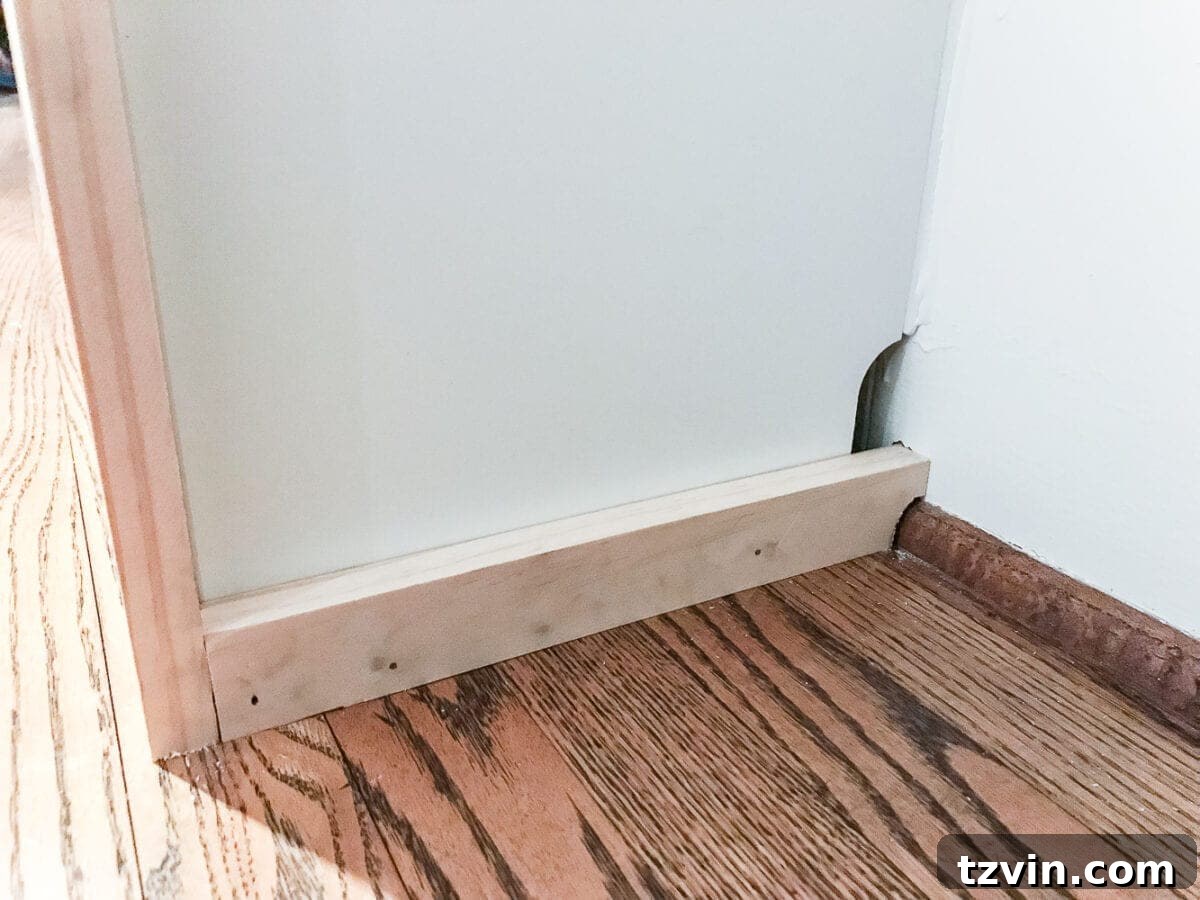
Once these vertical pieces are in place, the sides of your built-in will begin to take on a much more substantial and finished appearance, looking completely integrated into the wall structure.
Step 8: Adding Decorative Side Trim Panels
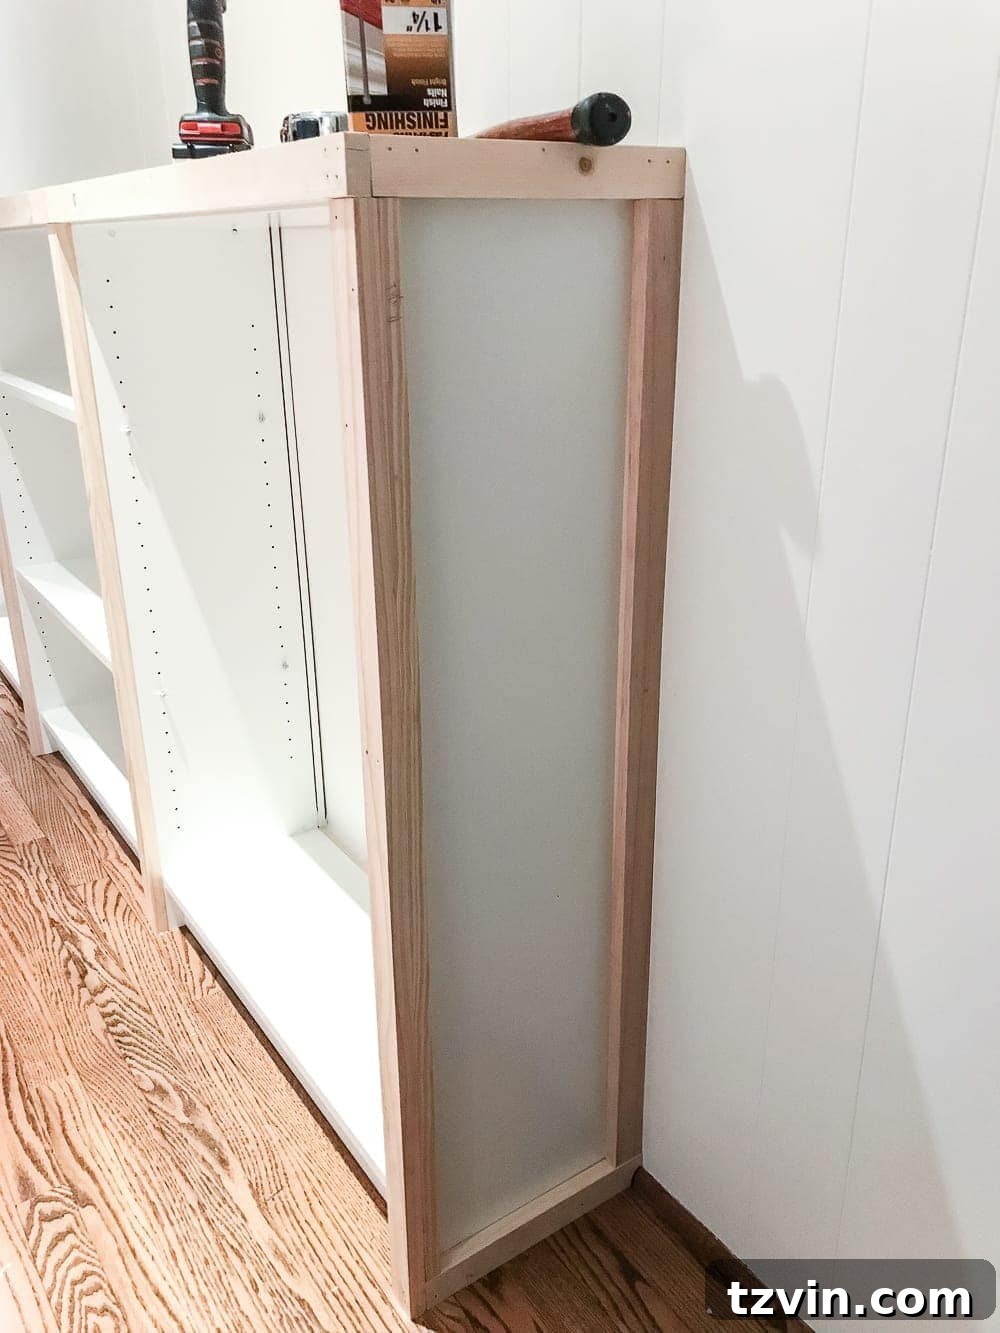
To further enhance the custom look and create a decorative panel effect on the exposed sides of your built-ins, cut one more 1″x2″ board for each side. These pieces will be attached vertically to the outer edges, flush with the wall. Nail them securely into place. This step adds architectural interest and completes the transition from simple bookcase to custom built-in, creating a truly polished and high-end result.
Step 9: The Finishing Touches: Caulk, Wood Fill, Stain, Prime, Paint & Seal
This is where the magic truly happens, transforming all your hard work into a seamless, professional-looking piece. Start by caulking every single crack and cranny where wood meets wood, or wood meets the bookcase, and where the bookcase meets the wall. Use a caulk tool for smooth, even lines. Allow the caulk to dry completely according to manufacturer instructions. This step is non-negotiable for a truly custom finish.
Next, use wood filler on any nail holes or larger imperfections in your added wooden trim. Sand smooth once dry. For the custom wood top, apply your chosen stain (we used Minwax Special Walnut) with a stain brush, wiping off excess with clean rags to achieve the desired depth of color that complements your existing flooring or decor. Once the stain is dry, apply several coats of Minwax Polycrylic to seal and protect the wood, ensuring durability.
Finally, prepare the bookcase surfaces for paint. Since IKEA furniture has a notoriously slick finish, priming is crucial. Apply Kilz Adhesion Primer to all surfaces of the bookcases and any newly added wooden trim that will be painted. This specialized primer ensures excellent paint adhesion. Once the primer is dry, apply two to three coats of your chosen paint (we used Sherwin Williams Tree Swallow in a satin finish), using an angled paintbrush for clean lines and even coverage. Allow adequate drying time between coats.
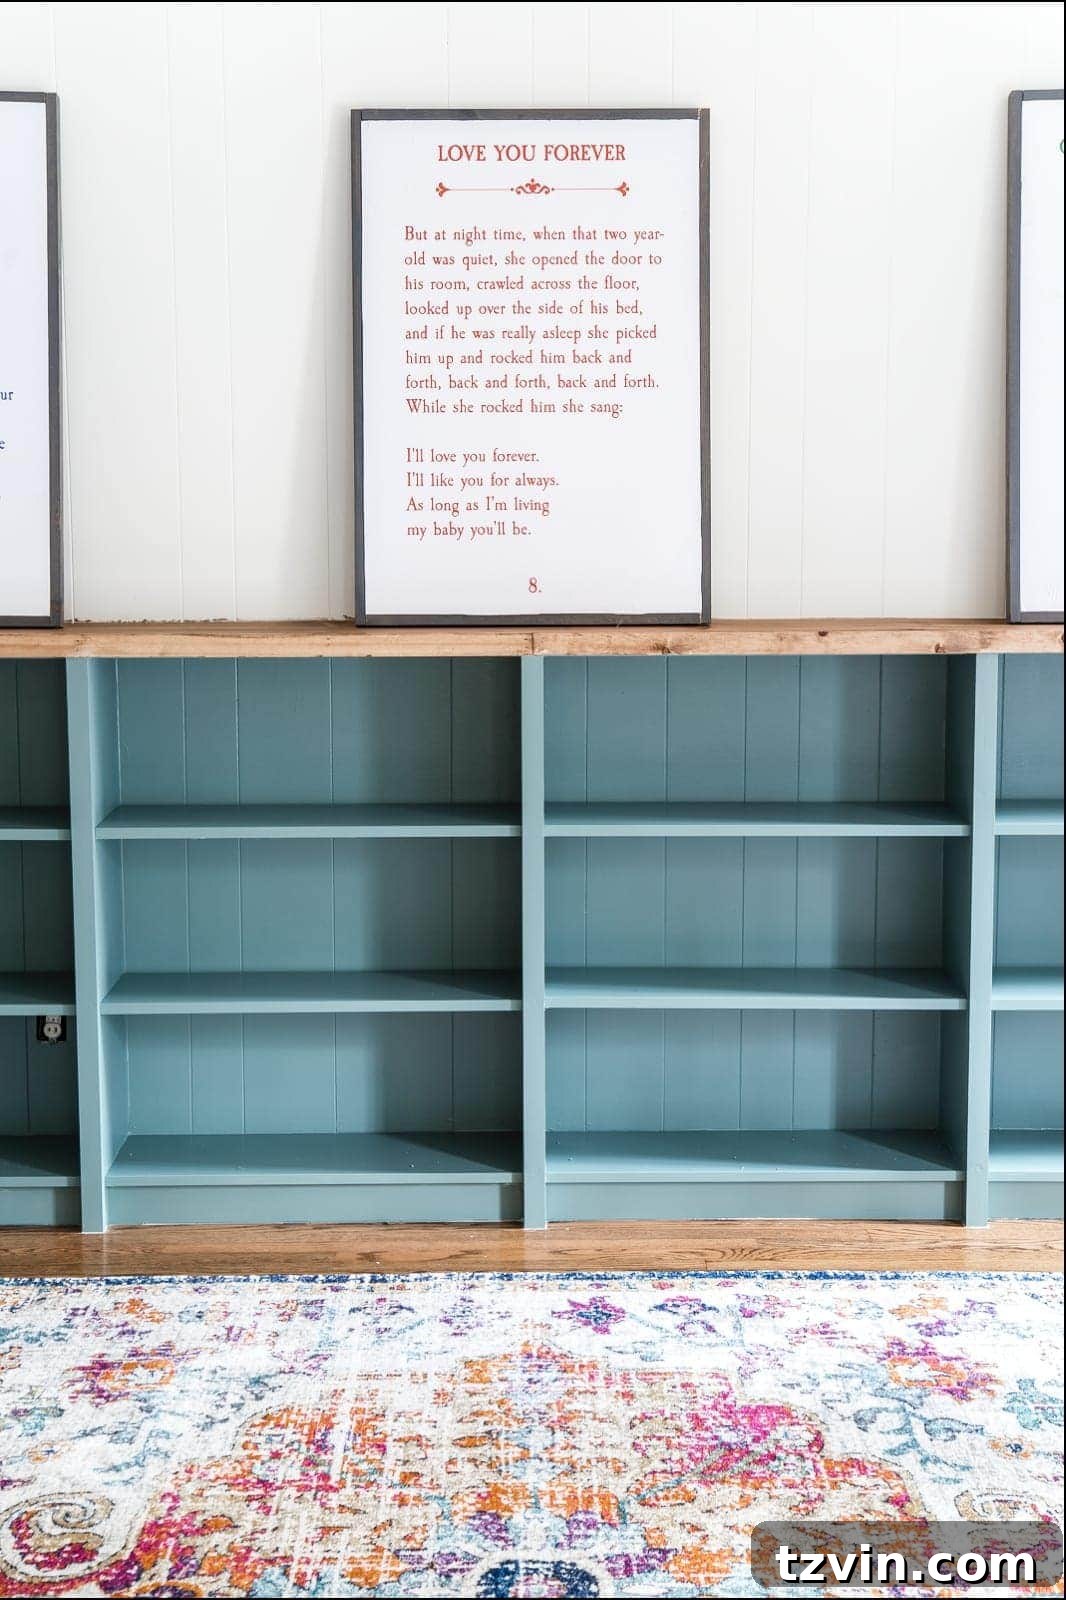
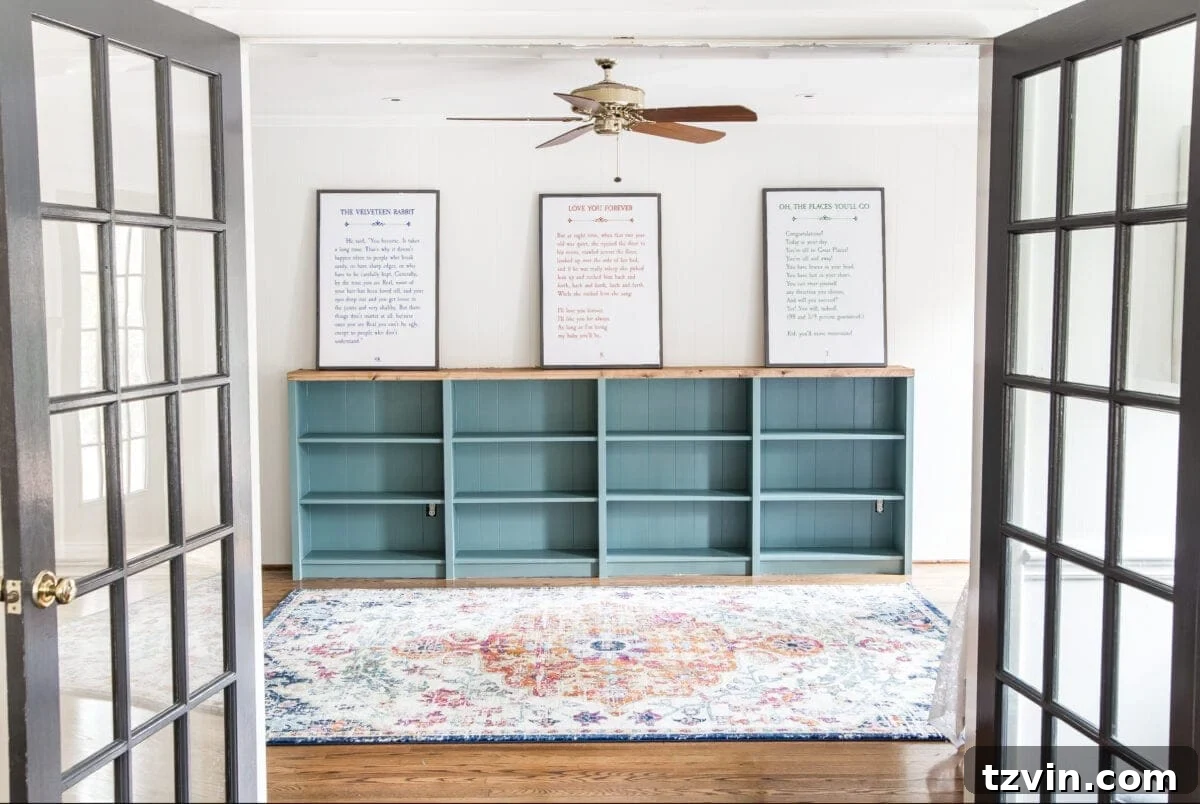
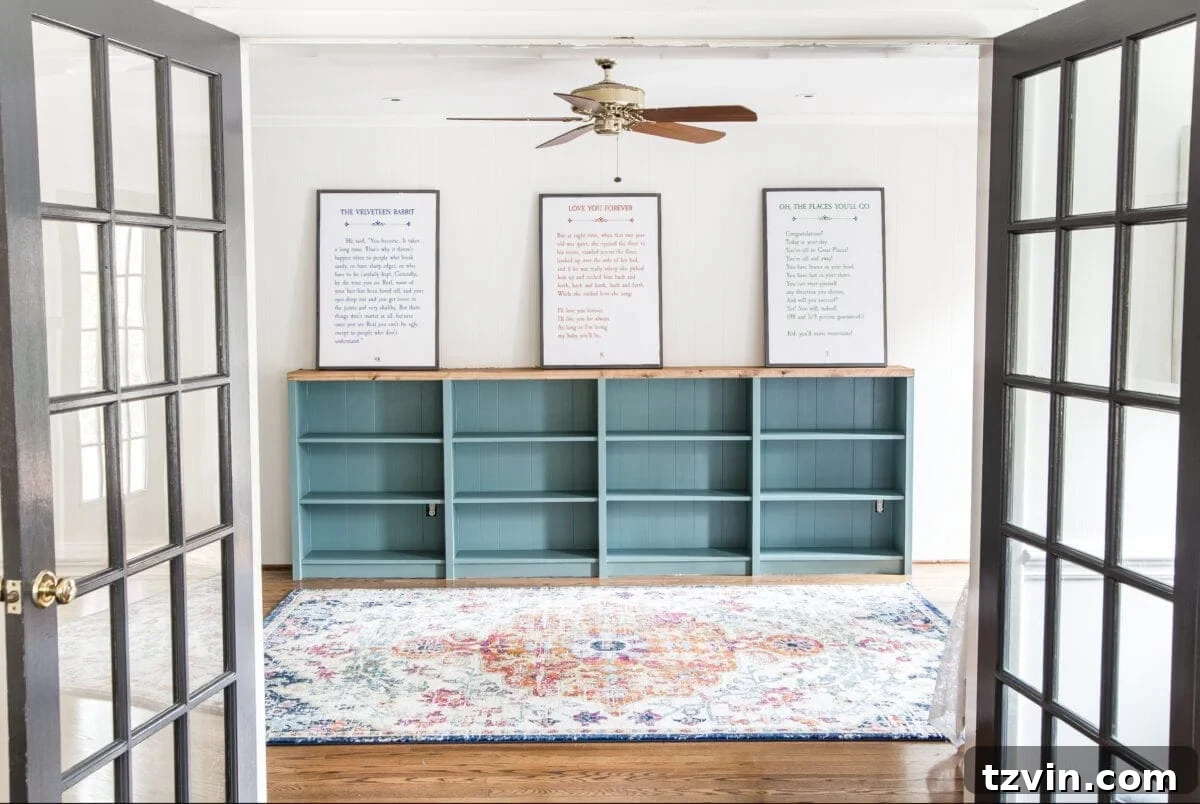
With the built-ins complete, the playroom is truly taking shape. We simultaneously painted the fireplace mantel the same striking Sherwin Williams Tree Swallow, creating a cohesive and intentional look. Soon, we’ll be tackling the fireplace brick and cleaning out the firebox. But with the French doors refreshed (thanks to a clever painting trick), the walls and trim brightened, and this super-functional built-in in place, we’re making incredible progress towards our dream playroom.
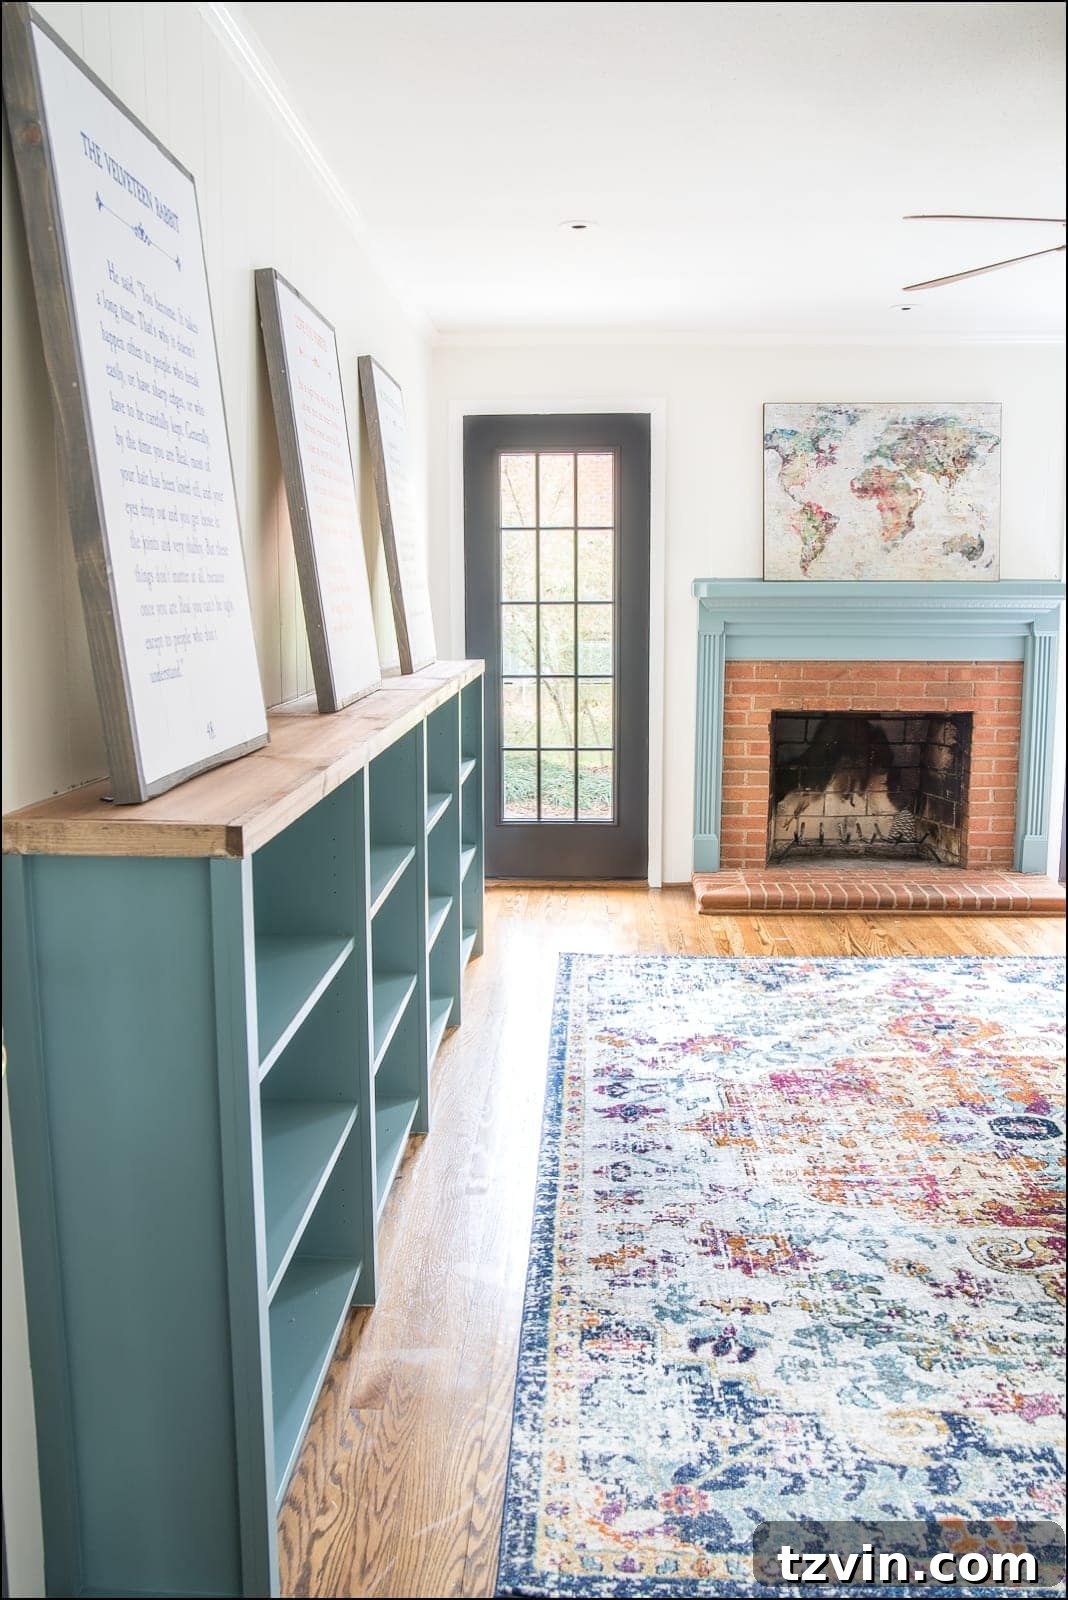
The Playroom Transformation: A Vision Coming to Life
It’s hard to believe how far this room has come since the New Year. The initial yellow walls have given way to a serene and stylish backdrop, perfect for both creative play and quiet reading. The addition of these IKEA Billy built-ins has not only addressed our storage needs but has also added a sophisticated architectural element to the room.
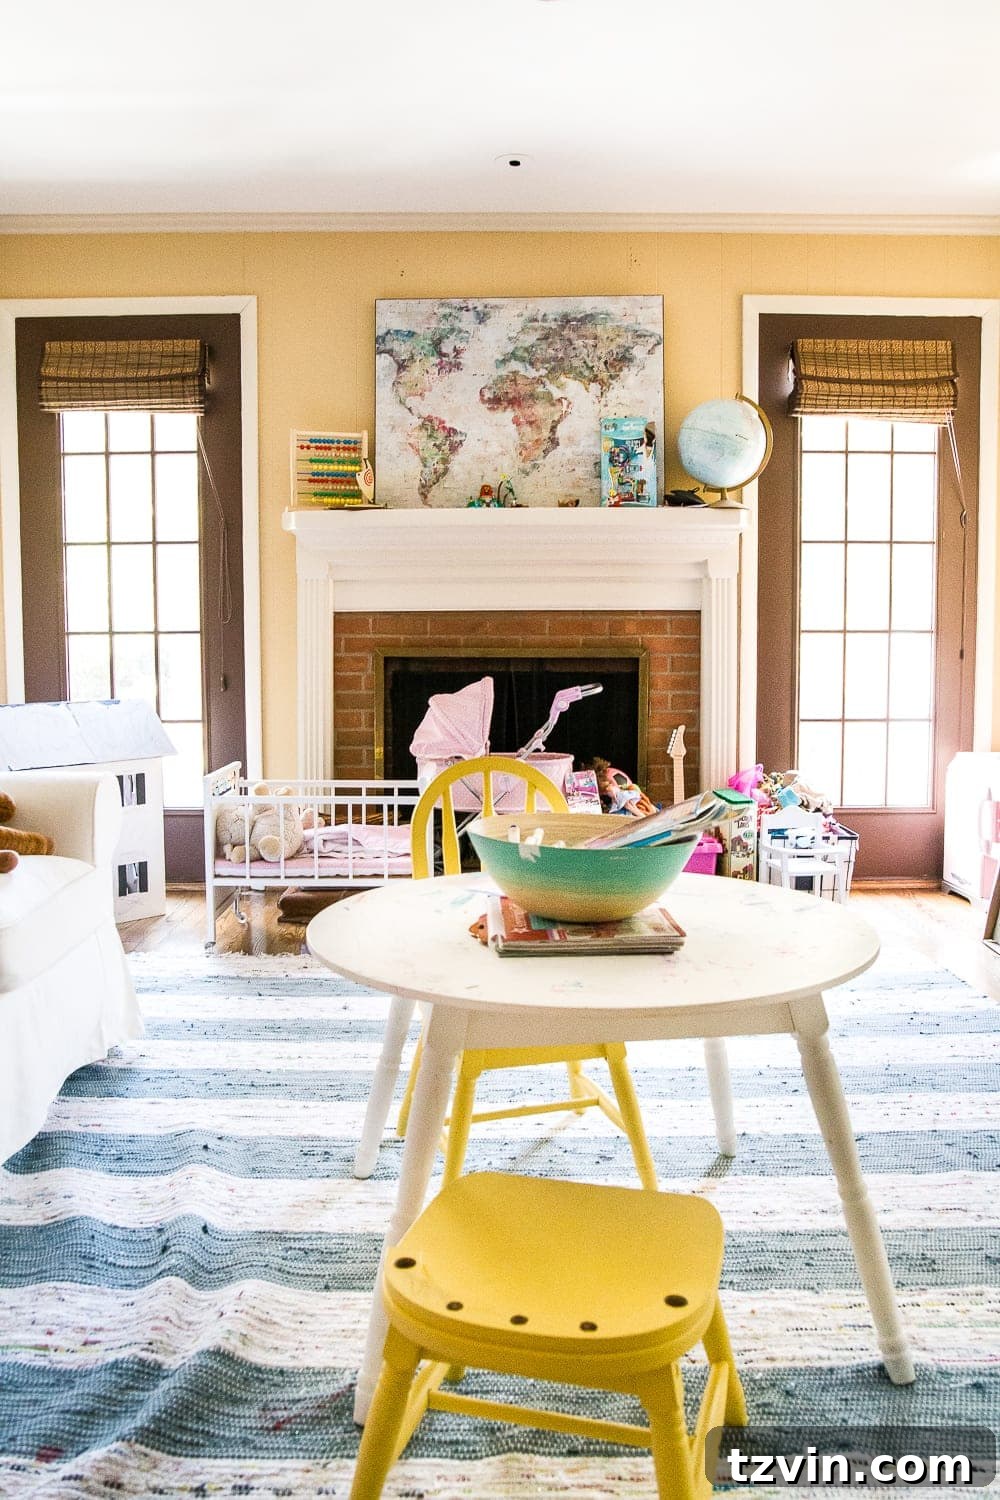
Our next steps include swapping out the old ceiling fan for a playful pendant light, which will inject even more character into the space. We’ve also devised a solution for the barely-functioning can lights, ensuring the room is well-lit and inviting. Functional lighting is just as important as functional storage in a busy playroom!
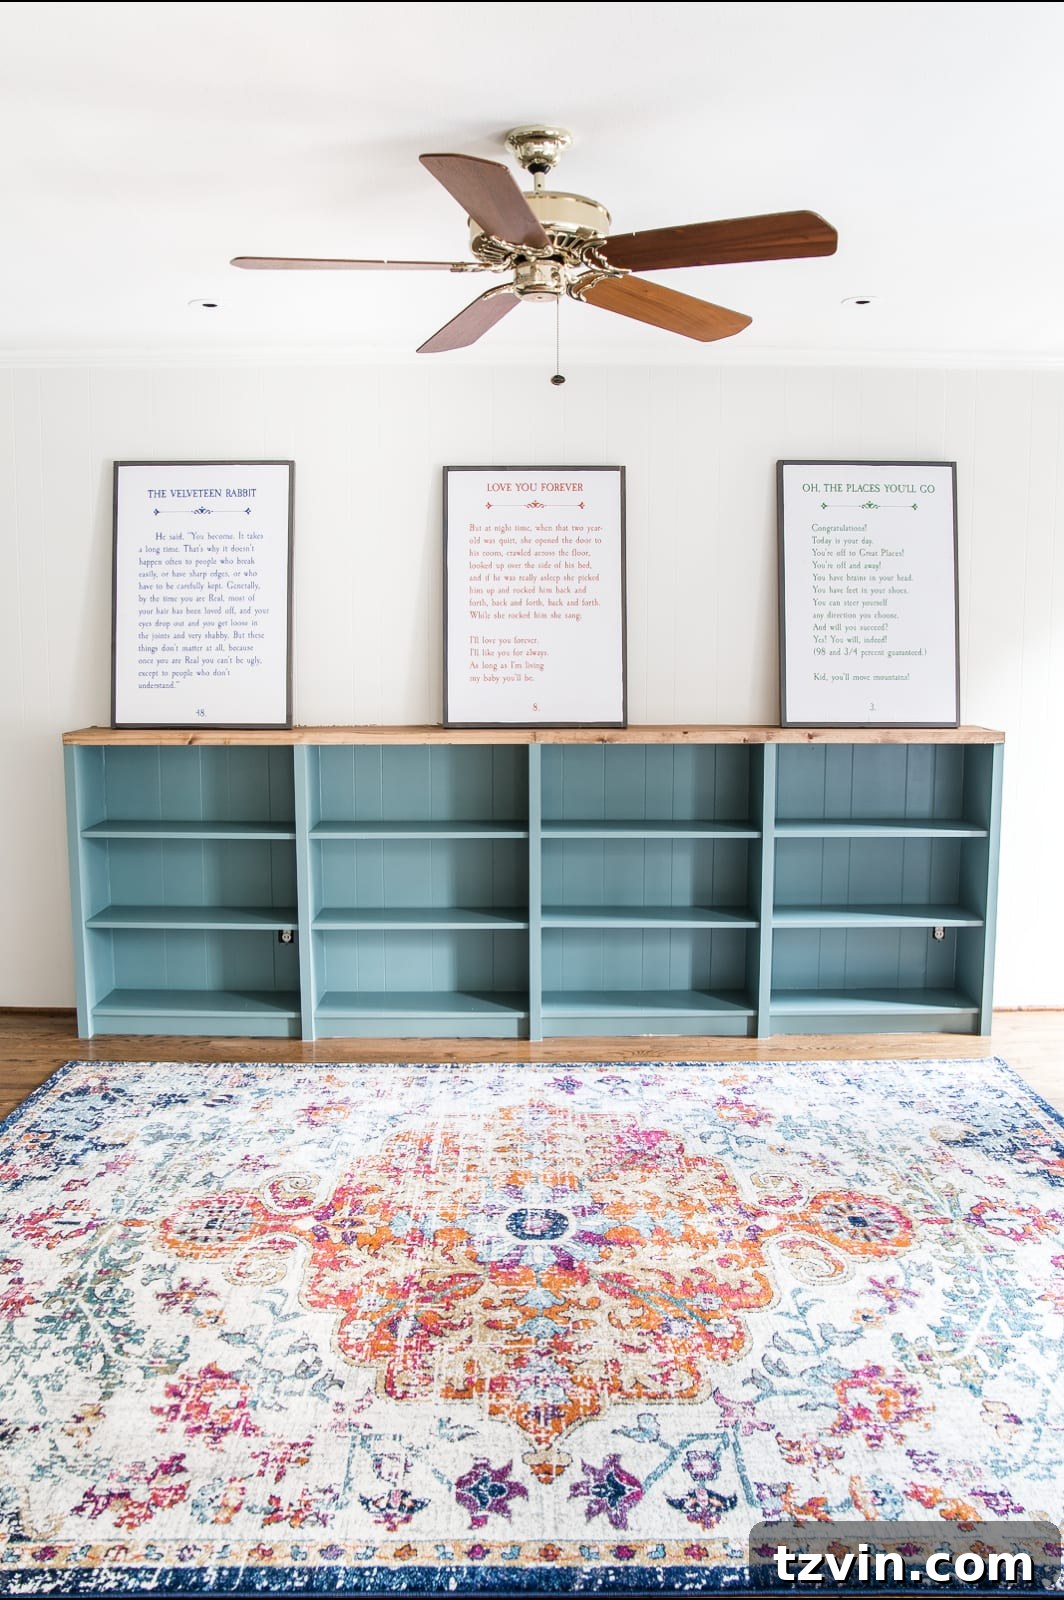
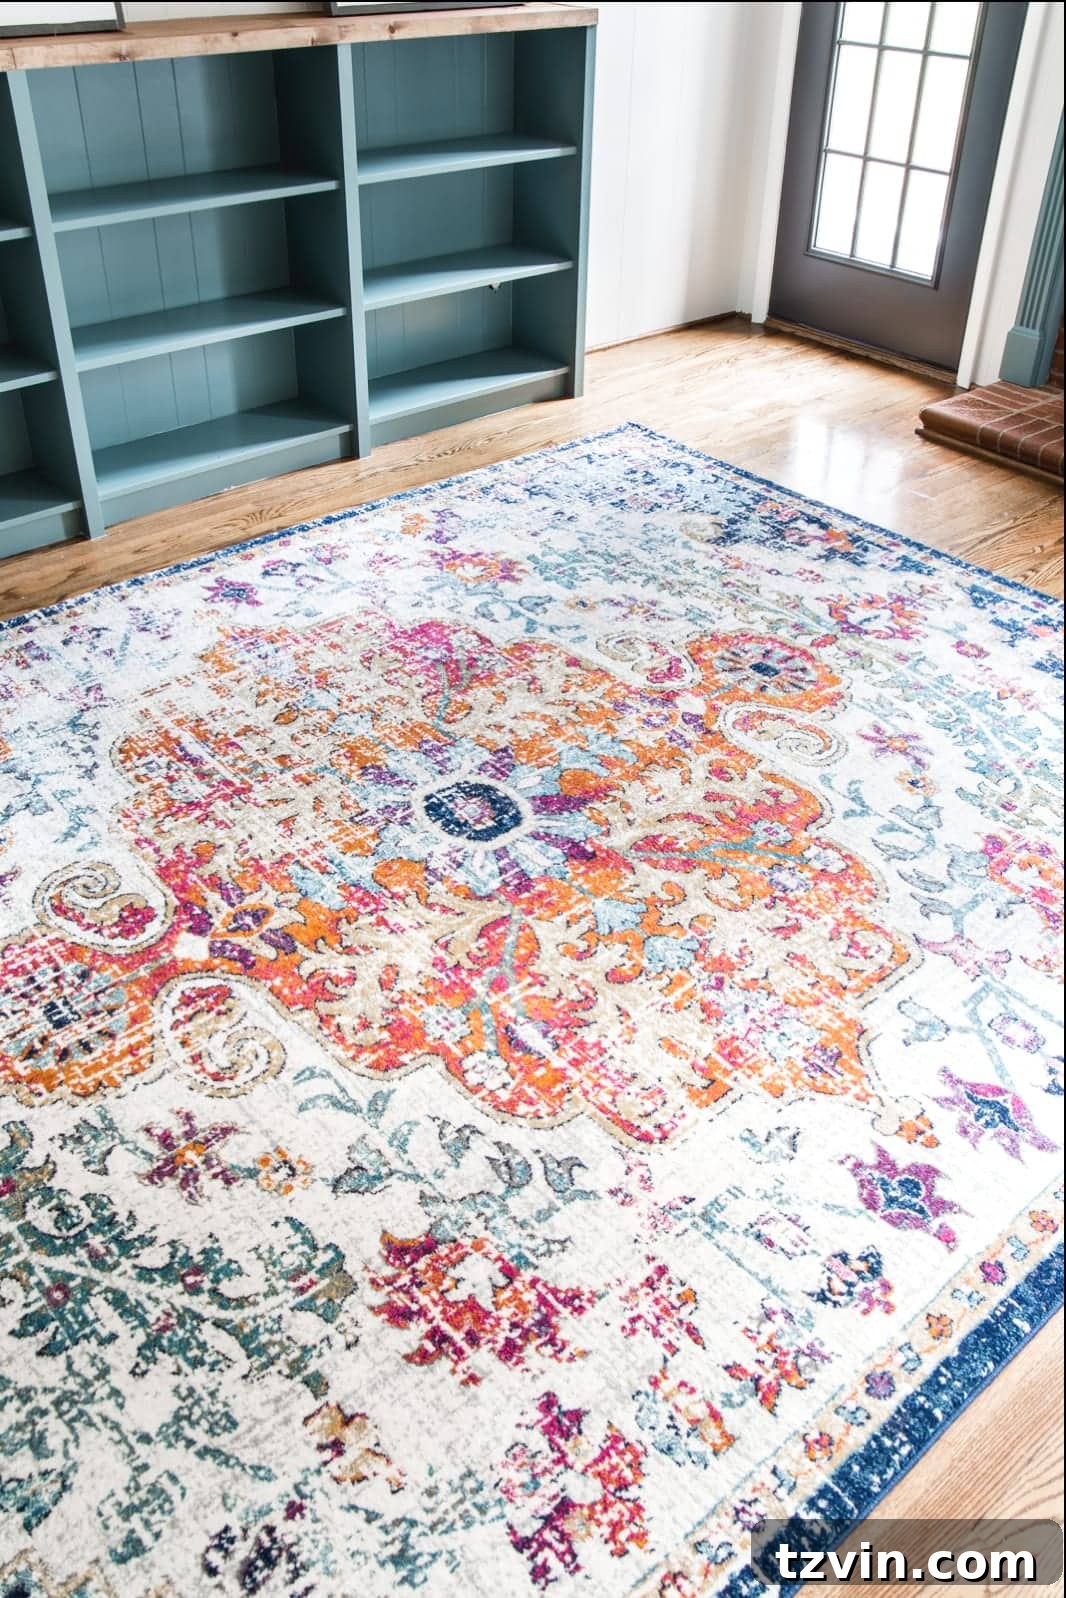
A few weeks ago, we found this incredibly vibrant rug during a New Year’s sale. It ties in beautifully with the custom bookcase color and the hues from our DIY Storybook Art, which currently rests on top of the built-ins, waiting to be properly hung. These elements are coming together to create a cohesive and joyful atmosphere.
For the remainder of the week, our focus will be on final touch-ups, installing electrical plates, securely anchoring the Narnia reading nook, and arranging furniture. Soon, this room will officially be complete! And then, before all the toys come back, we anticipate a massive toy purge to ensure everything has its designated place, making the most of our new custom storage solutions. Playrooms, with their inherent ability to contain chaos, are truly sanity savers. Though, looking at the piles of Barbies, Legos, and dress-up clothes scattered through the house currently, I can’t help but feel a twinge of sentimentality, knowing these messy, playful days are fleeting.
Playroom Makeover Checklist & Next Steps
Here’s a snapshot of our progress and what’s next for the playroom makeover:
Paint French doorsPaint wallsPaint trimPaint mantelBuild bookcase built-ins- Hang art
- Anchor Narnia reading nook
- Organize toys into bins
- Swap ceiling fan for light fixture
- Swap out can lights for LEDs
- Limewash fireplace brick? Paint? Just clean it? (Decision pending!)
- Set up play table and chairs
- Set up larger toys in play stations
Frequently Asked Questions (FAQ) about IKEA Billy Built-Ins
- Q: How long does this IKEA Billy built-in project typically take?
- A: The active building phase, including assembly and trim work, can generally be completed in 1-2 full days, depending on your DIY experience. The finishing steps (caulking, staining, priming, painting) will add another 2-3 days, allowing for proper drying times between coats. Total estimated time: 3-5 days.
- Q: Can I customize the shelves within the Billy bookcases after they’re built-in?
- A: Yes! The beauty of Billy bookcases is their adjustable shelves. You can still move the shelves up or down to accommodate items of various heights, even after they’ve been incorporated into a built-in unit. This flexibility is perfect for adapting to changing storage needs, such as growing toy collections or book sizes.
- Q: Is this DIY built-in solution sturdy enough for a kids’ playroom?
- A: Absolutely! By joining the bookcases together with screws and, most importantly, anchoring the entire unit to the wall studs, these built-ins become incredibly sturdy and safe. This anchoring prevents tipping, making it a robust and secure storage solution even in active play areas. Always ensure your anchoring is done into wall studs for maximum safety.
- Q: What’s the approximate cost for building IKEA Billy built-ins?
- A: As detailed in our supplies section, our project cost around $300 for materials (wood, bookcases, stain, paint, etc.), assuming you already own basic power tools. If you need to purchase tools, the initial investment will be higher, but these tools can be used for many future DIY projects. Compared to custom-built cabinetry, this is a highly cost-effective option.
Share Your Thoughts!
Do you have any tried and true playroom organizational tips that have worked wonders for your family? We’d love to hear them! Please share your insights and suggestions in the comments below. Your ideas could inspire others on their own home organization journeys!
If you found this tutorial helpful and want to save it for future reference, you can pin it here: