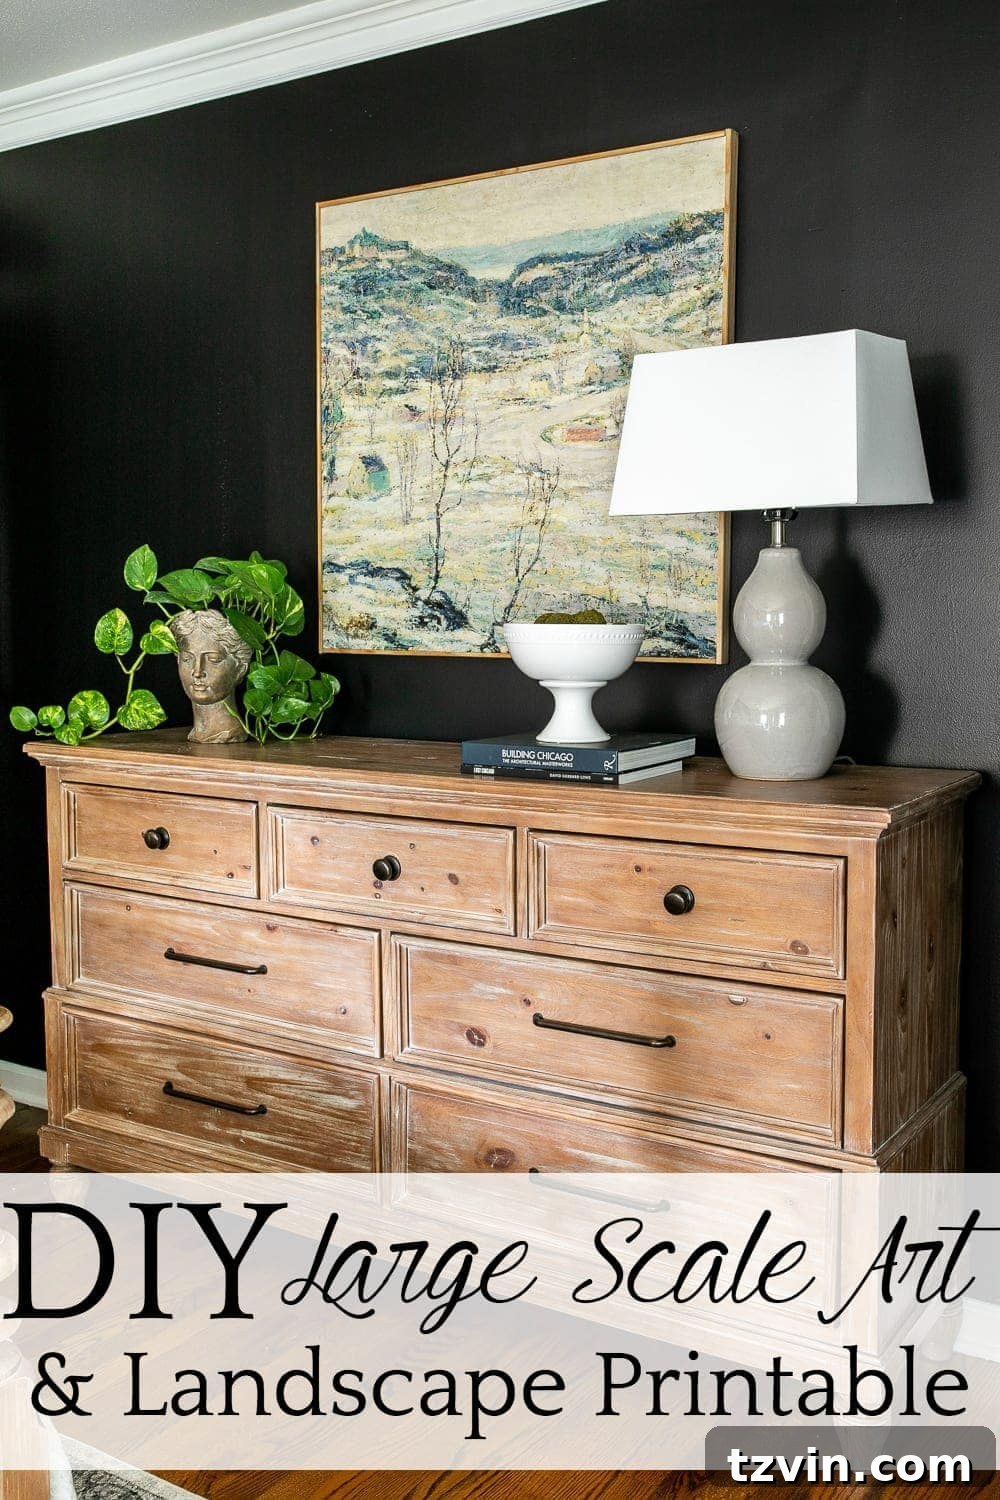
DIY Large Wall Art: Create a High-End Look for Under $50
Ready to elevate your home decor without breaking the bank? Learn how to make stunning, large-scale wall art that mimics a designer piece, all for under $50. This project is perfect for adding a touch of elegance and personality to any room, and it’s easier than you think!
We’re putting the finishing touches on our master bedroom makeover, and this DIY art project is a definite highlight. It’s amazing how a single piece can completely transform a space. This project is one of my favorites ever!
See the Finished Master Bedroom Reveal!
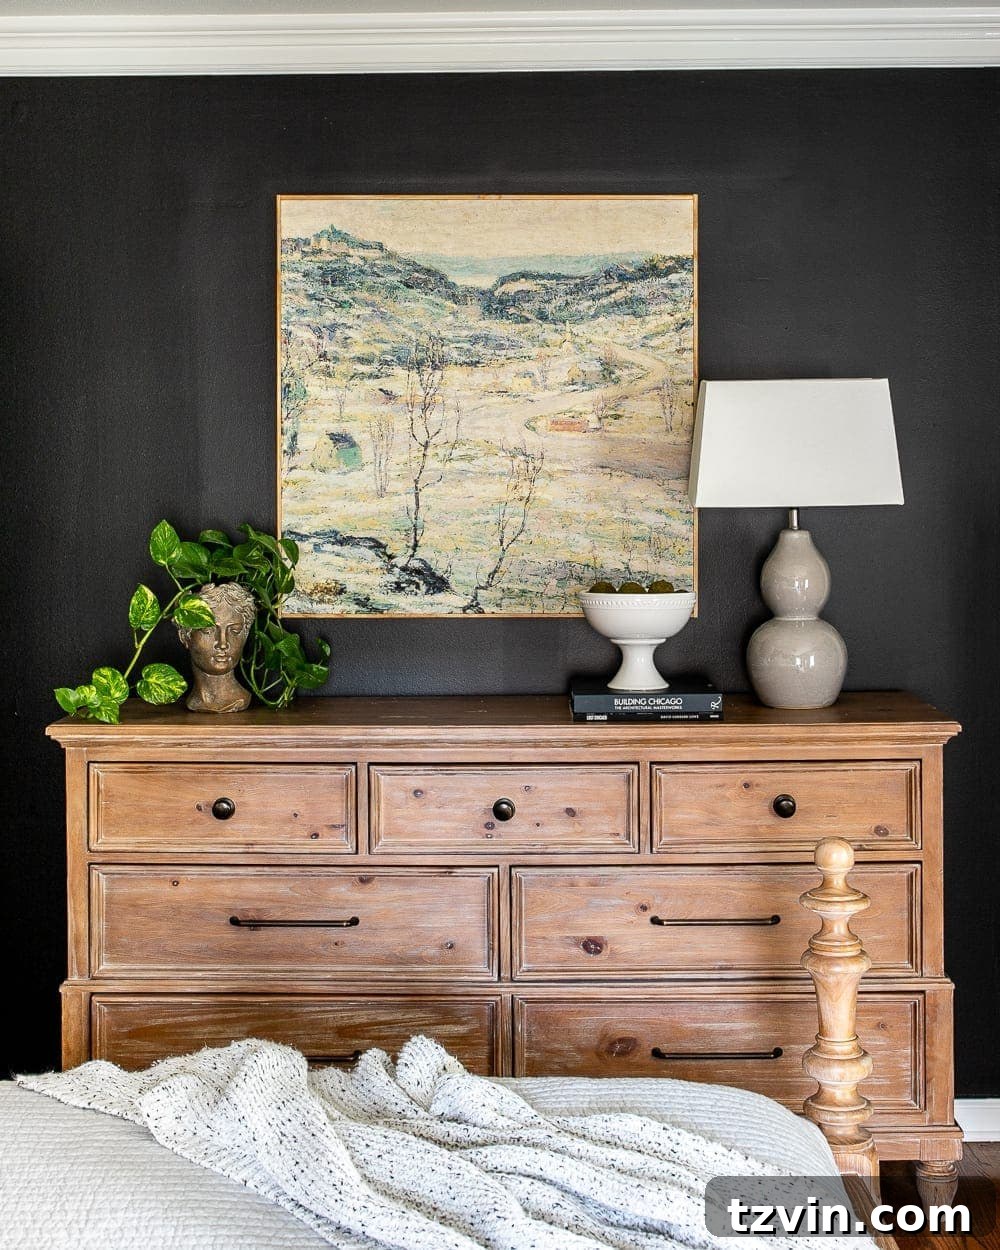
I was on the hunt for impressive art to go over our dresser, but the options were either out of my budget or didn’t fit my style. The dilemma of wanting luxury without the price tag is something many of us can relate to, right?
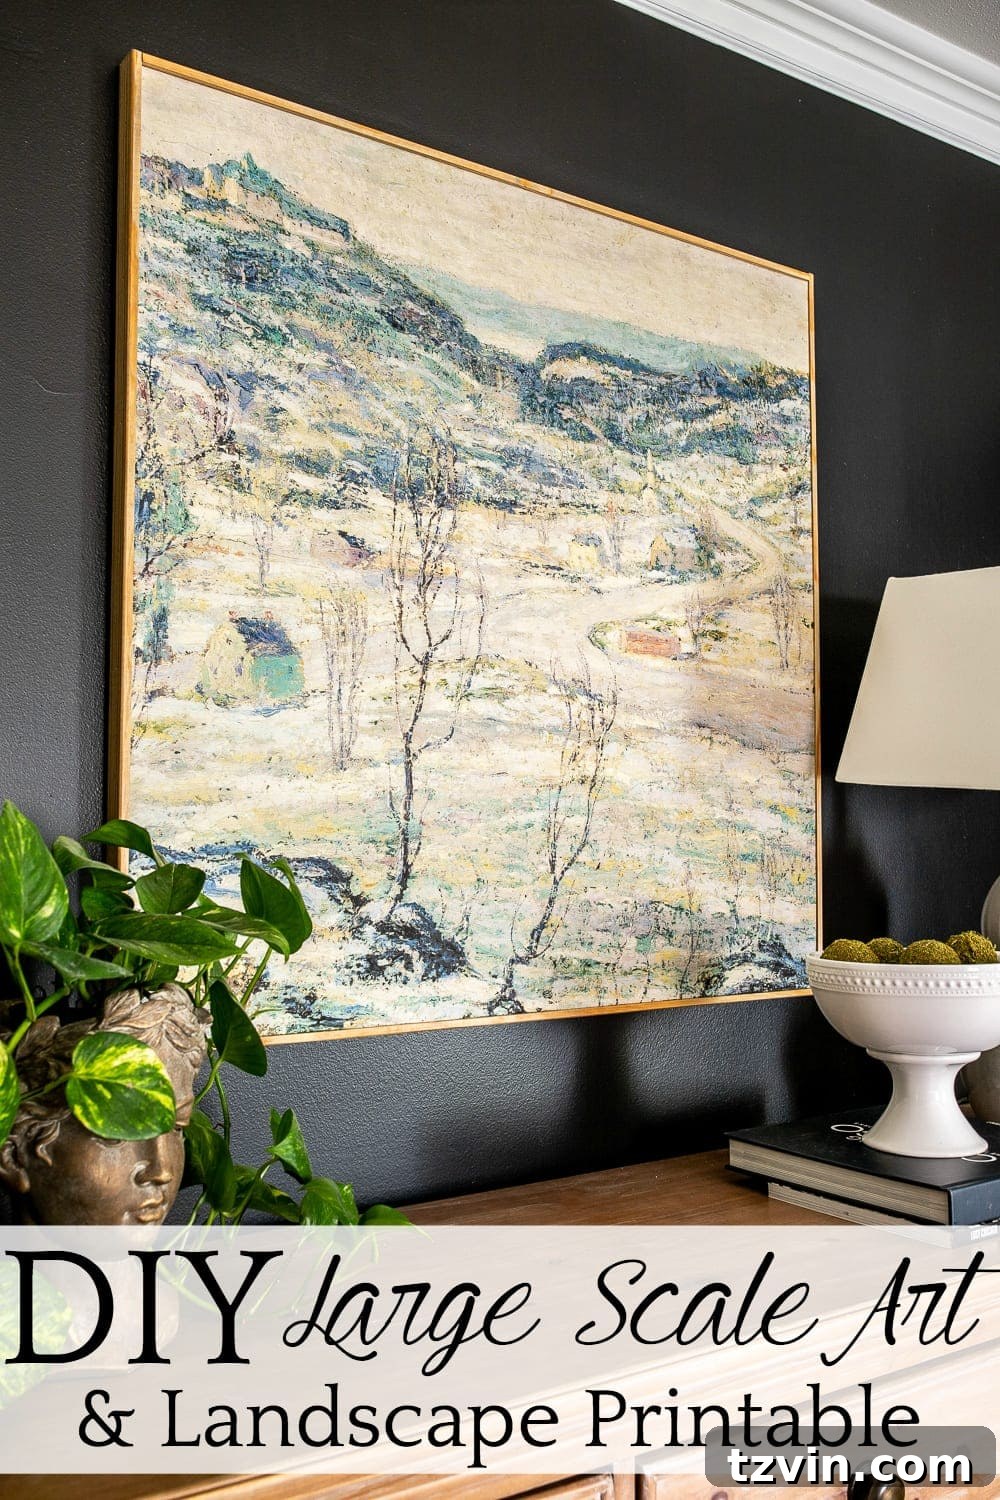
So, we decided to craft our own art! The solution? A beautiful winter scene. I found the perfect image by searching through art archives and came across “Harlem Valley Winter” by Ernest Lawson, a public domain piece.
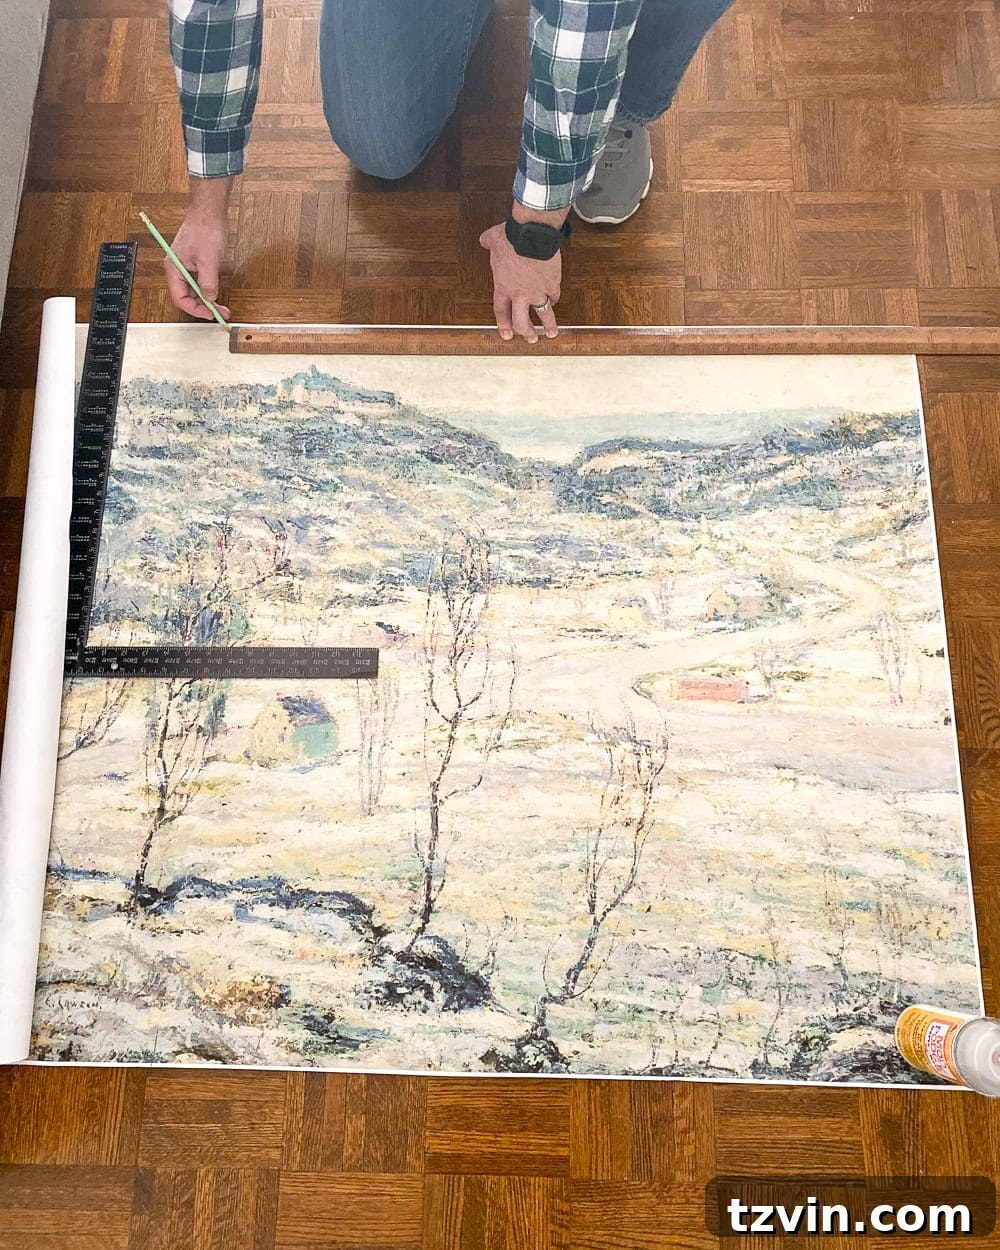
To get started, I had the image printed as a large-format blueprint at Staples. If your local Staples isn’t an option, consider alternatives such as Office Depot or OvernightPrints.com.
How to Make Your Own DIY Large Wall Art
Materials You’ll Need:
- Large blueprint of image (print instructions below)
- Tape measure
- Pencil
- Scissors
- 1/2″ thick plywood
- 1/4″ lattice strips
- Circular or miter saw (We use this one)
- Nail gun
- Stain of your choice (We used Minwax in Weathered Oak)
- Stain/paint brush
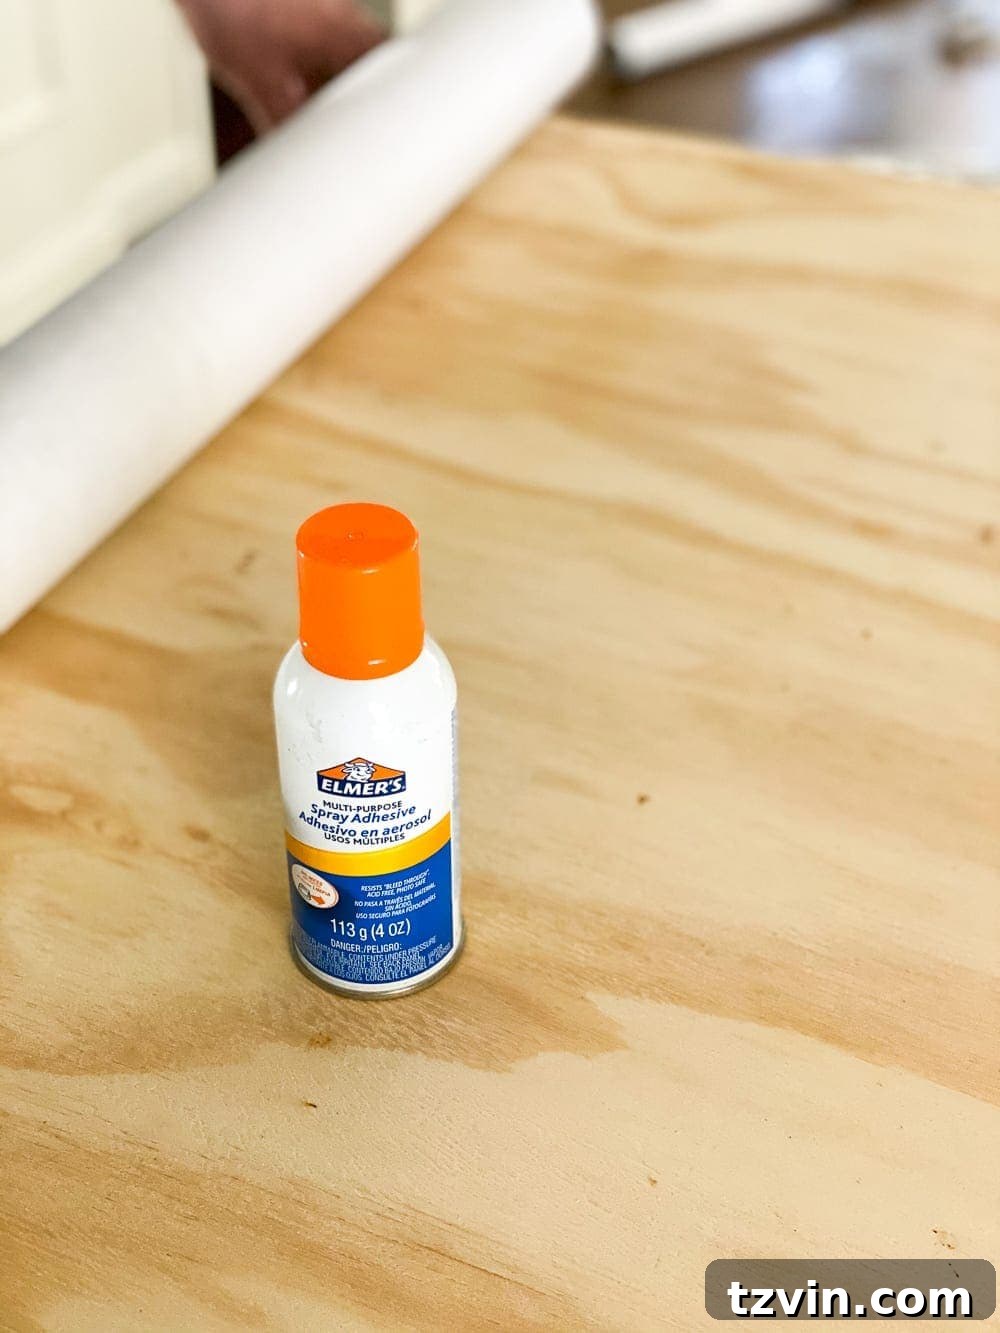
- Elmer’s spray adhesive
- Old credit card
Instructions:
Step 1: Prep the Image
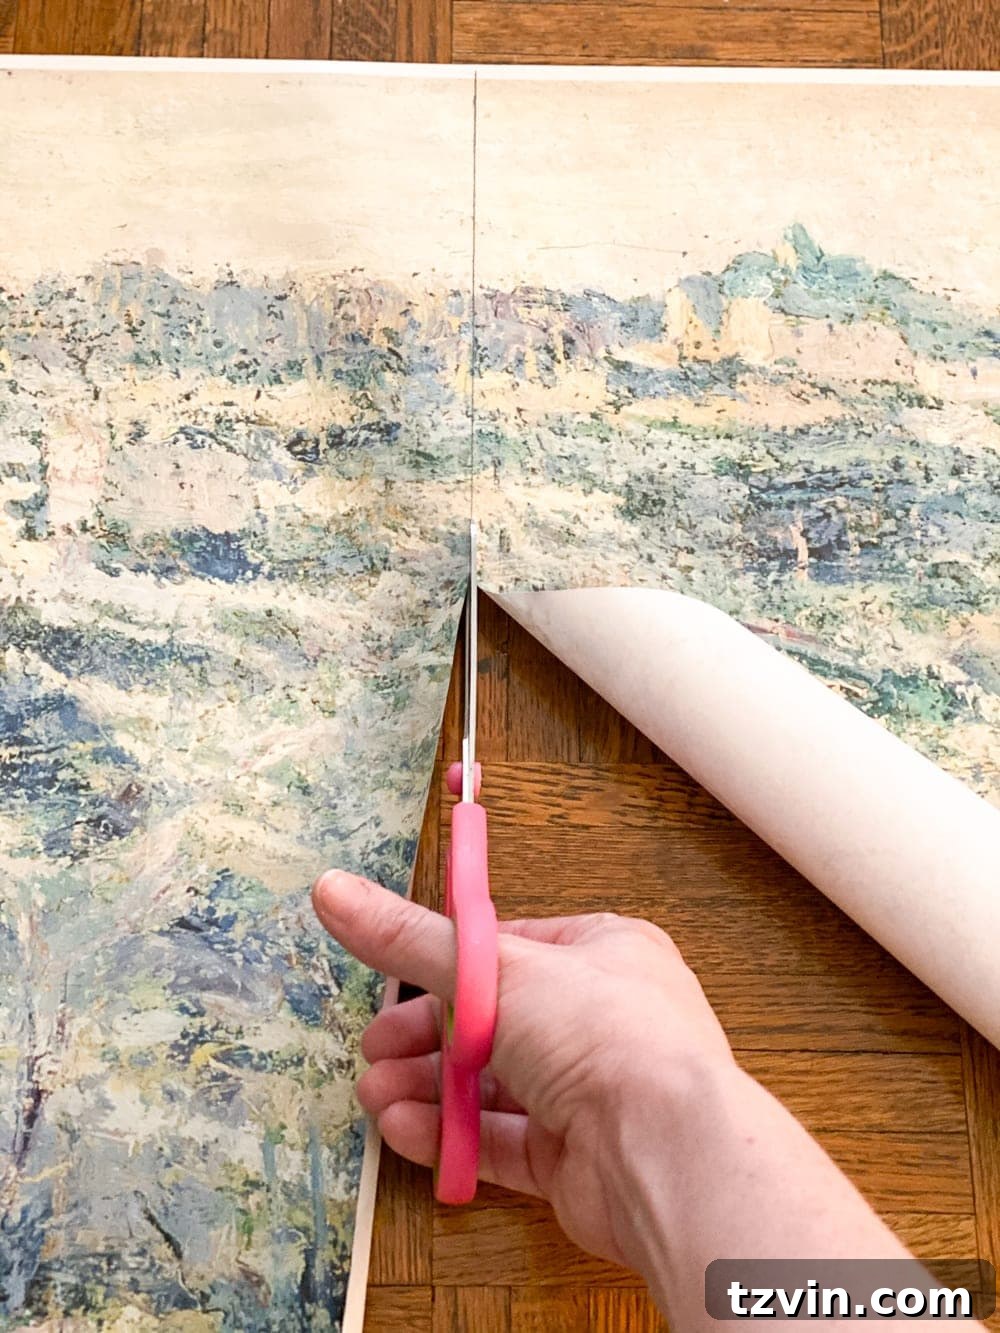
First, I wanted a square piece of art. Since the image was horizontal, I trimmed it to a 36″ square using scissors.
Step 2: Prepare the Plywood
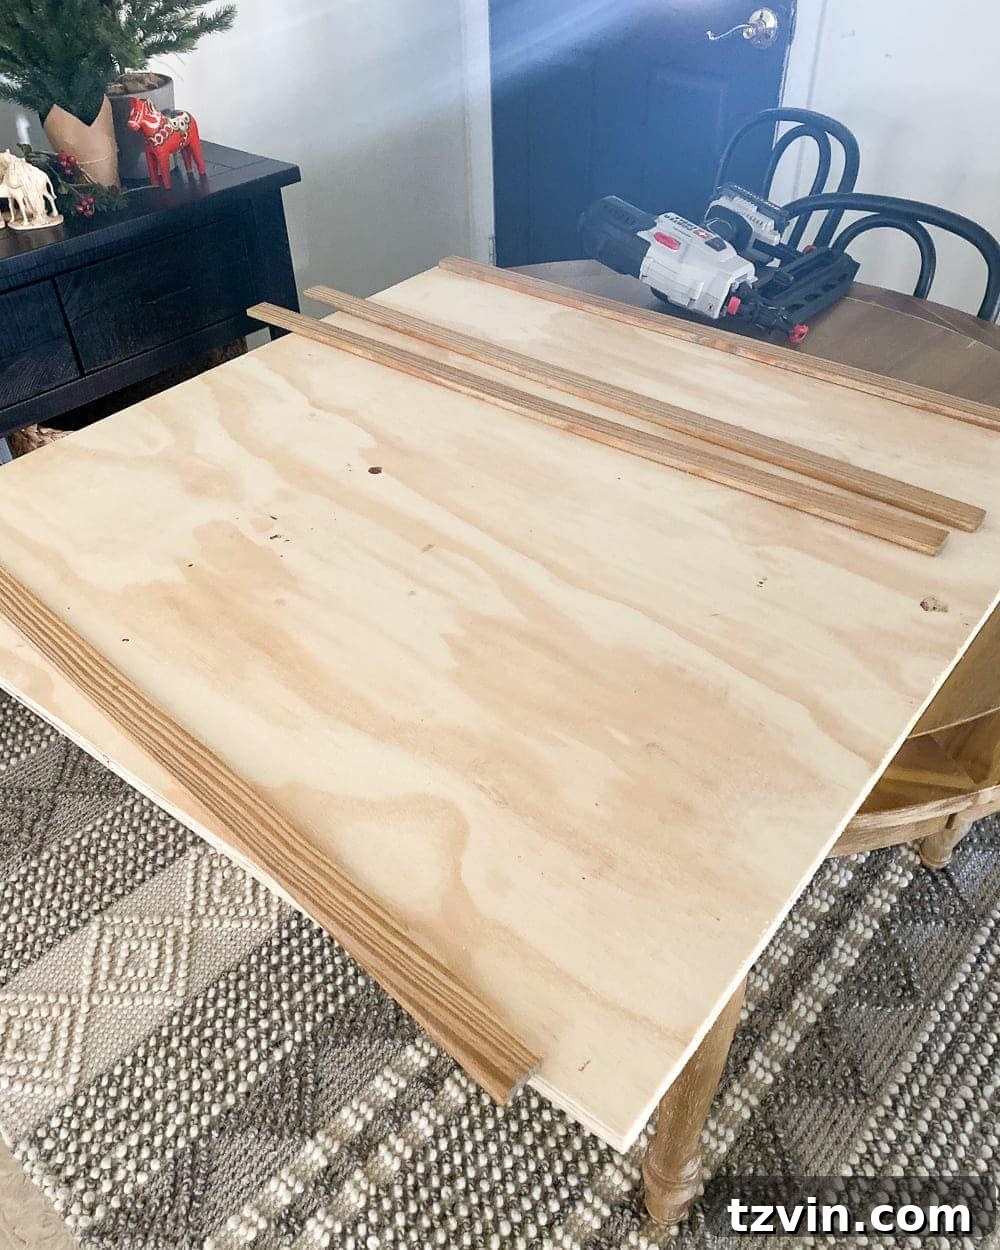
Measure and mark your plywood. Subtract one inch from the blueprint’s dimensions to determine your plywood’s cut size. (For example, we marked our plywood at 35″.)
Step 3: Cut the Plywood
Use a circular or miter saw to cut the plywood to the marked dimensions.
Step 4: Dry Fit the Blueprint
Lay the blueprint on top of the plywood. Make sure the print fits with a small overhang around all edges.
Step 5: Apply Adhesive
Lift the top edge of the blueprint and spray the top edge of the plywood with spray adhesive.
Step 6: Adhere the Top Edge
Carefully press the top of the blueprint onto the plywood.
Step 7: Apply More Adhesive
Spray the rest of the plywood and carefully unroll the blueprint, smoothing it down as you go.
Step 8: Remove Air Bubbles
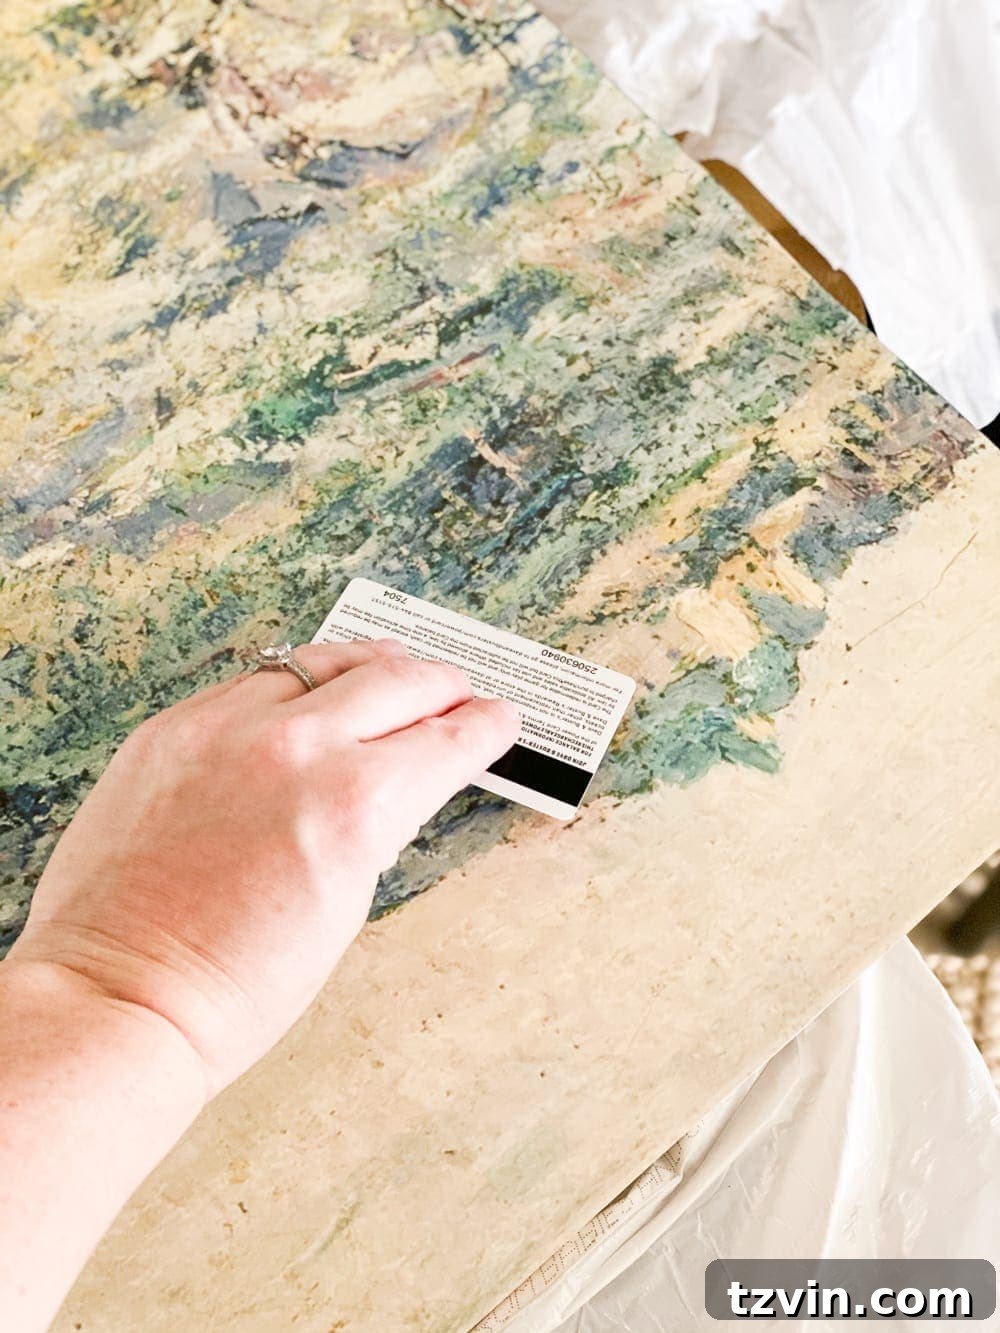
Use an old credit card to press out any air bubbles and allow the adhesive to dry completely.
Step 9: Cut the Lattice Strips
Cut two lattice strips to match the length of your plywood (35″ in our case). Then, cut two more lattice strips to the length of your plywood plus 1/4″. (You can miter the corners if you prefer, but straight cuts work just fine.)
Step 10: Stain the Lattice
Stain the lattice strips with your chosen color and let them dry completely.
Step 11: Position Your Art Piece
Place your plywood art piece on top of a couple of lattice strips to keep it elevated on your work surface.
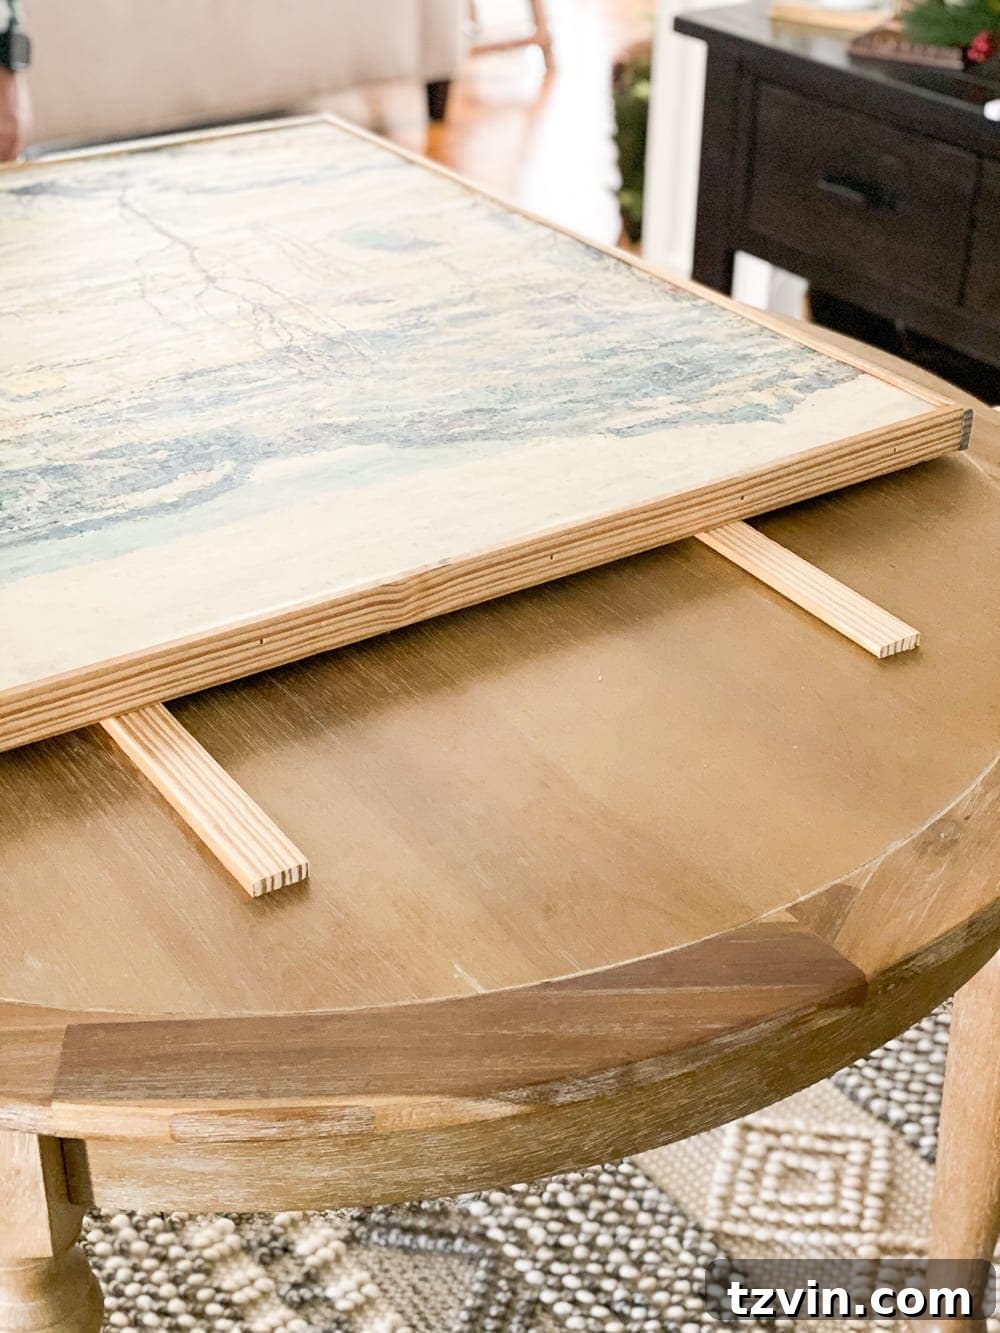
Step 12: Attach the Top and Bottom Lattice
Fold the 1/2″ overhang of the paper against the edge of the plywood. Use a nail gun to attach two lattice strips to the top and bottom edges of your art piece.
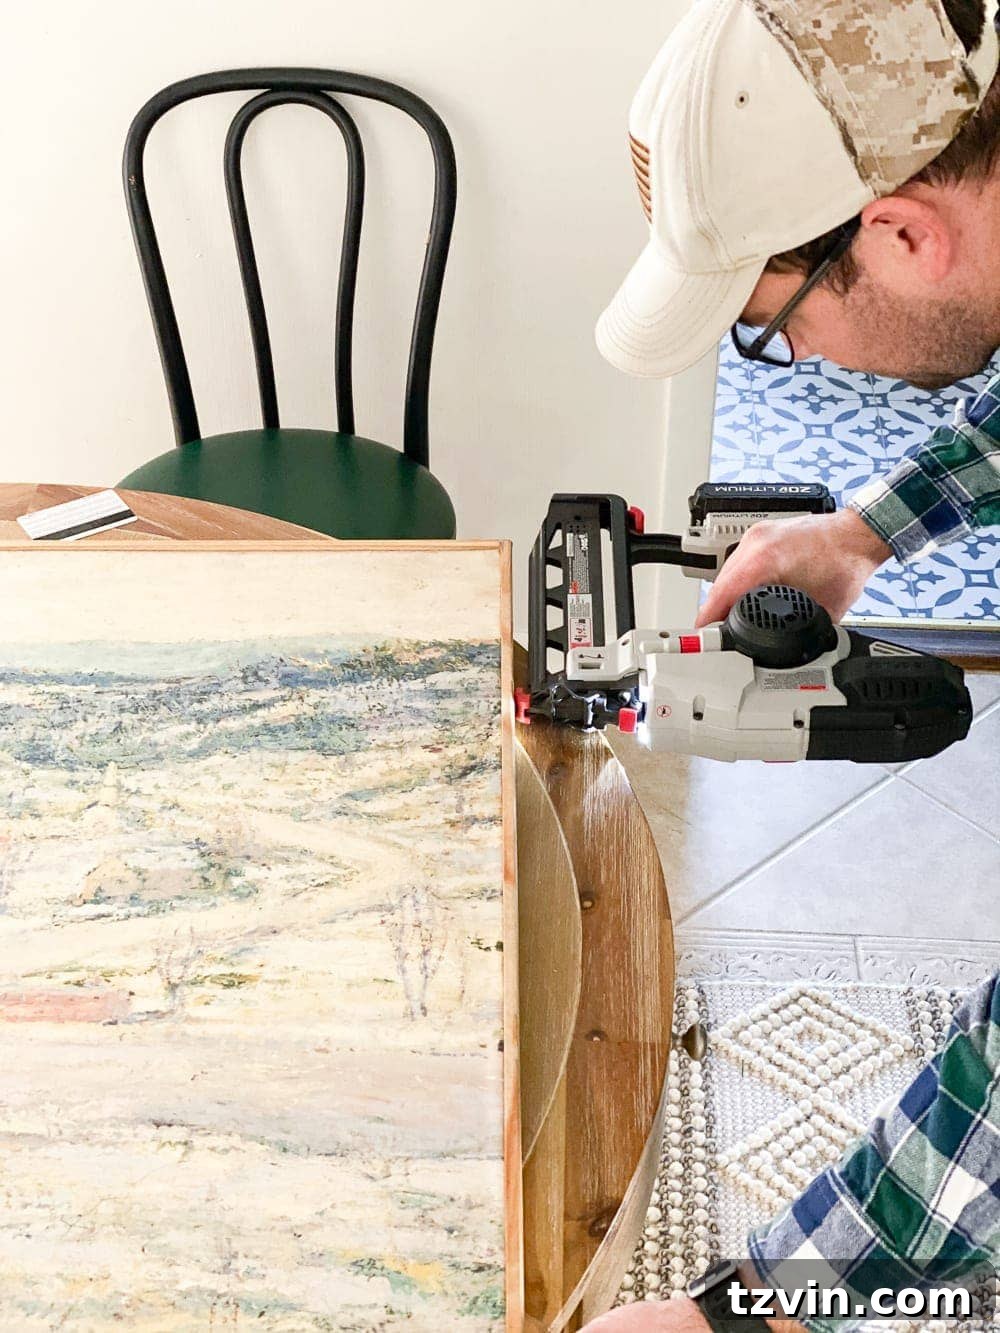
Step 13: Attach the Side Lattice
Repeat Step 12 on the sides.
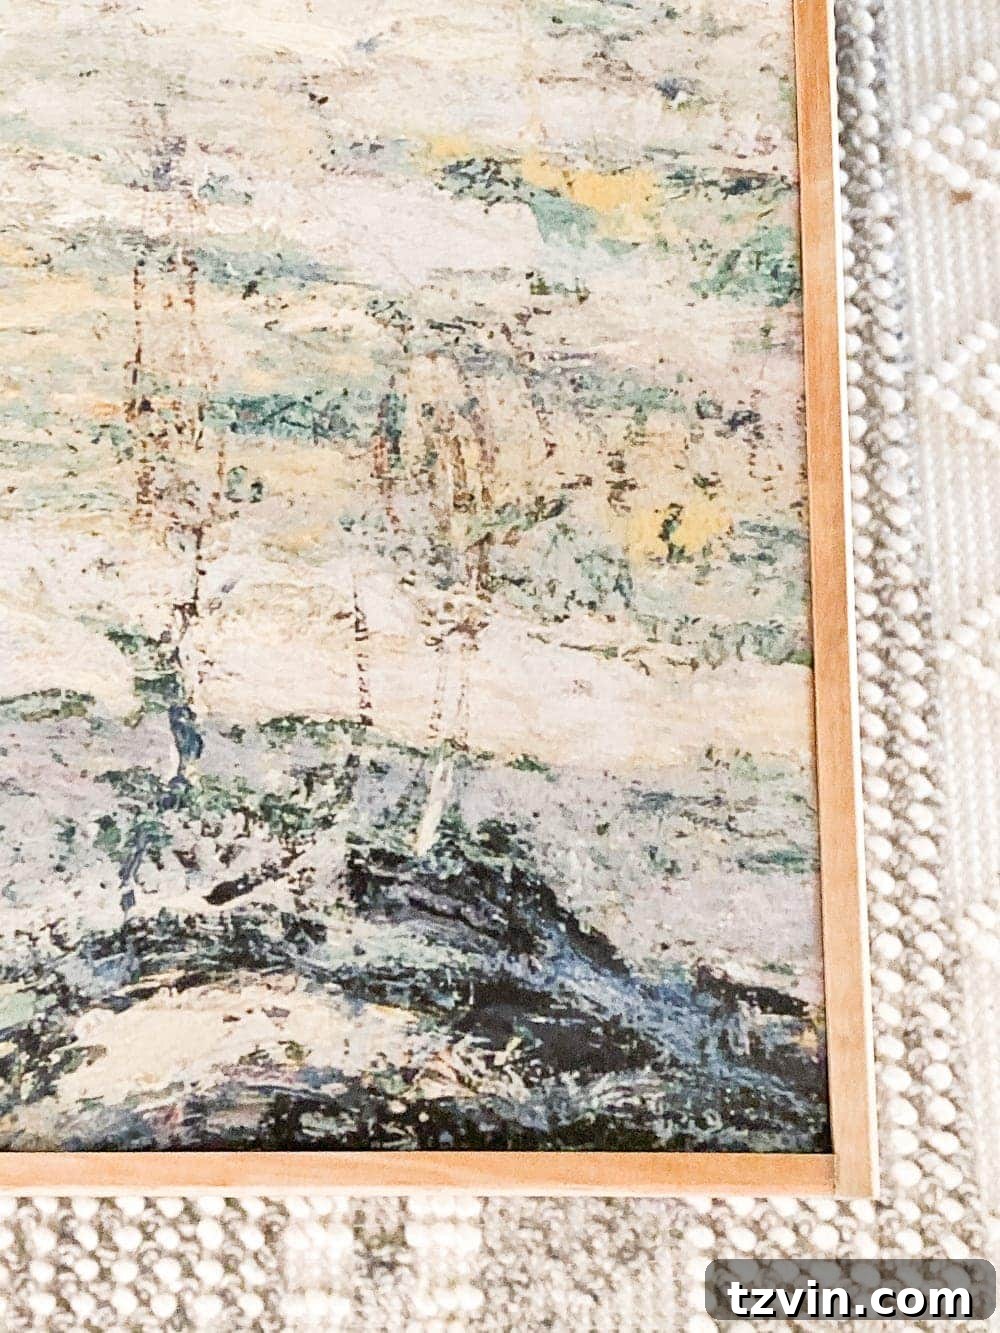
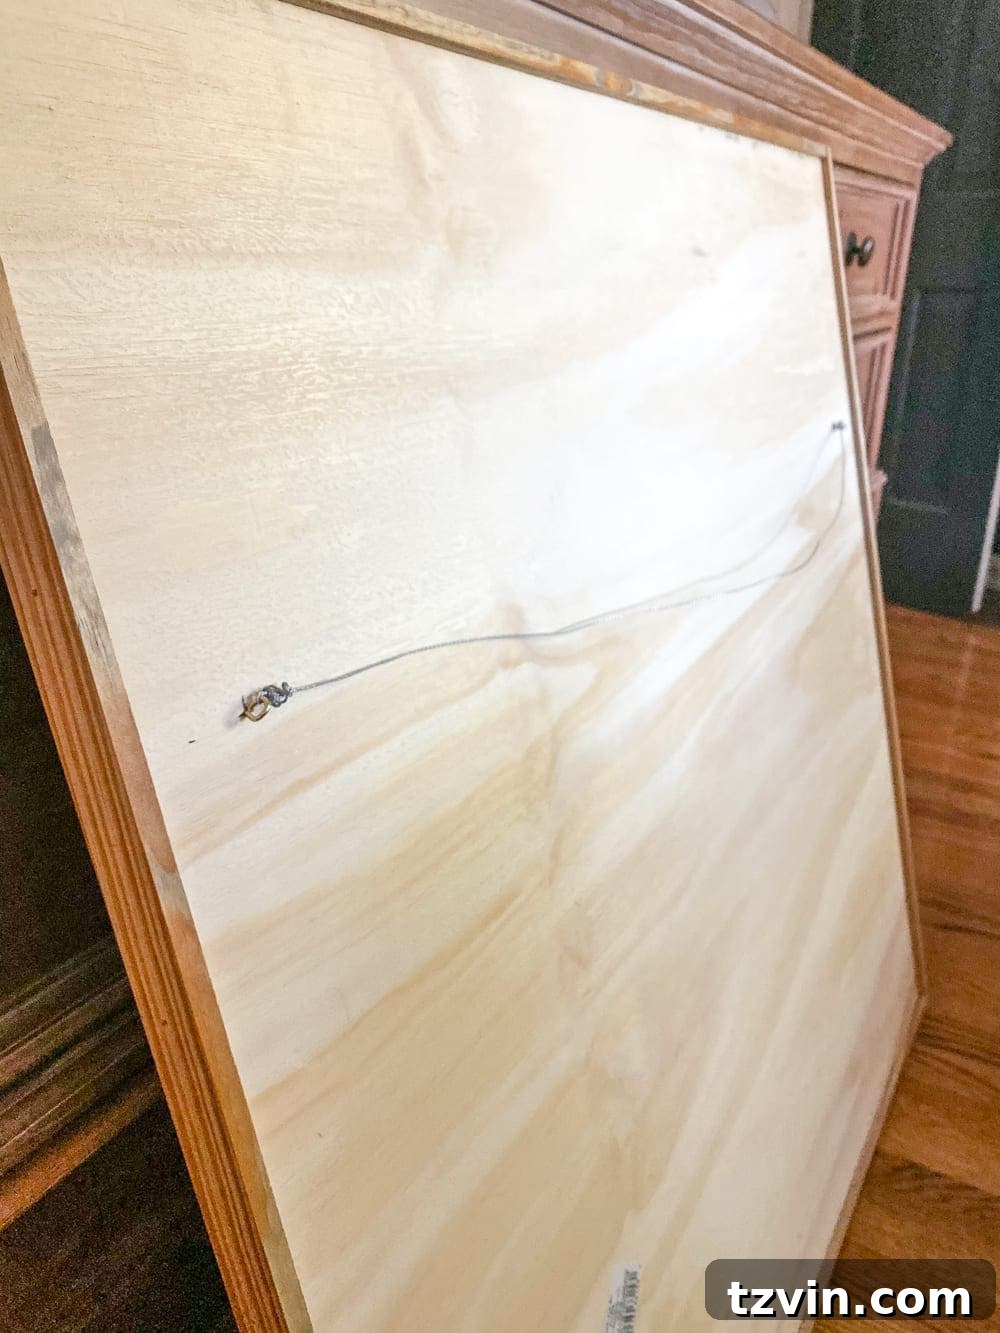
Step 14: Finishing Touches
Attach eye hooks and picture wire to the back so you can hang your art.
Your DIY Wall Art is Complete!
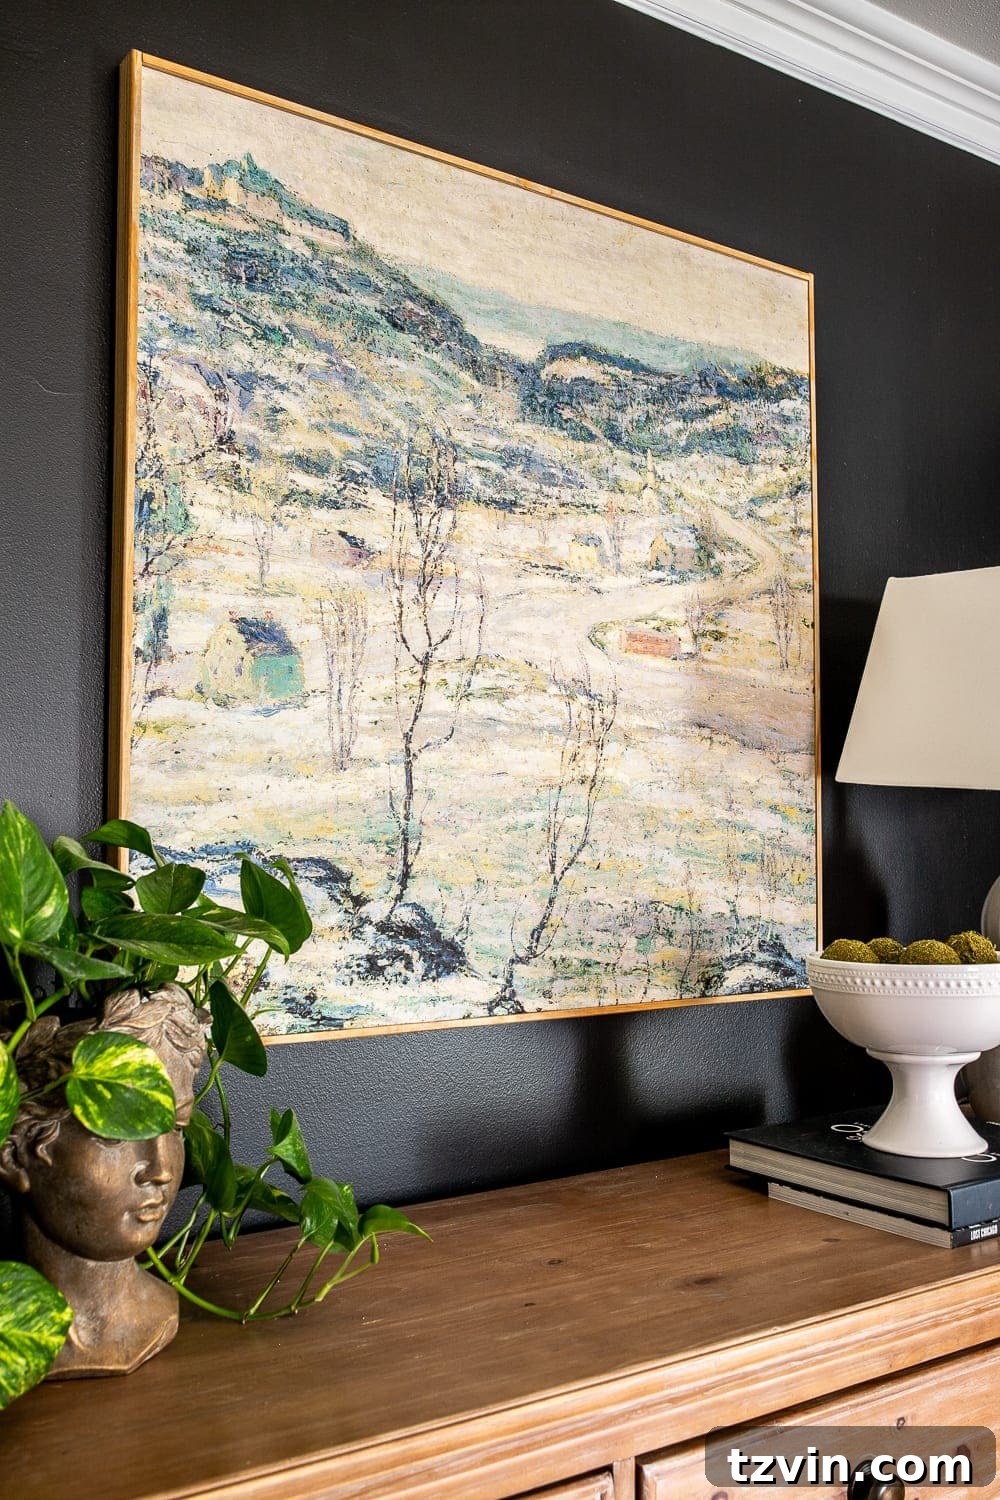
It’s a straightforward project, and perfect for beginners. The result? A stunning piece of art for less than $50. Now, that’s a win!
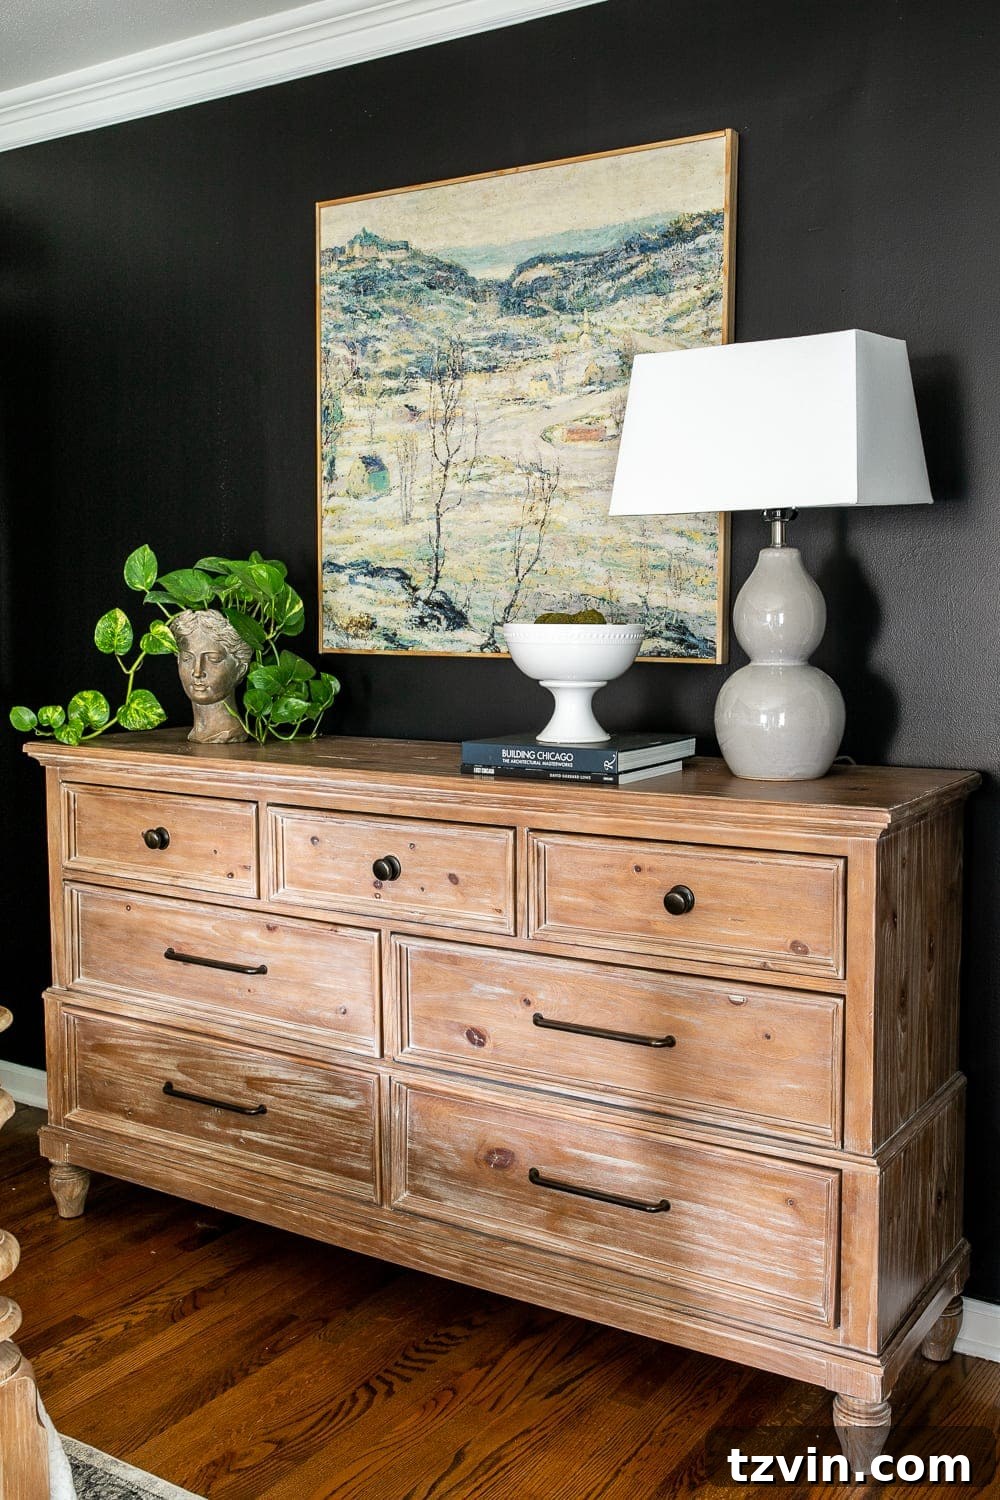
The finished piece looks fantastic against our dark-colored wall.
For more home decor and wall art inspiration, explore more ideas here.
If you’d like to recreate this look, I’ve made the winter landscape print available as a downloadable printable. You can print it at home or have it printed at a local print shop.
Get the Printable
To access the downloadable printable, you can subscribe here.

Print Instructions:
- Download the winter landscape print from the Bless’er House Printable Library (password in your email).
- Go to Staples.com
- Click “services & solutions” -> “printing services” -> “blueprints” -> “36″x48″″ -> “design now” -> “color blueprints”
- Click “add files” and upload the botanical print images
- Click “orientation” -> portrait
- Click “add to cart” -> “proceed to checkout”
If Staples isn’t an option for you, consider trying Office Depot or overnightprints.com.
You can also print it at home as an 8×10 (or smaller) to frame.
Enjoy your new art piece!
Save this project for later! Pin it here: