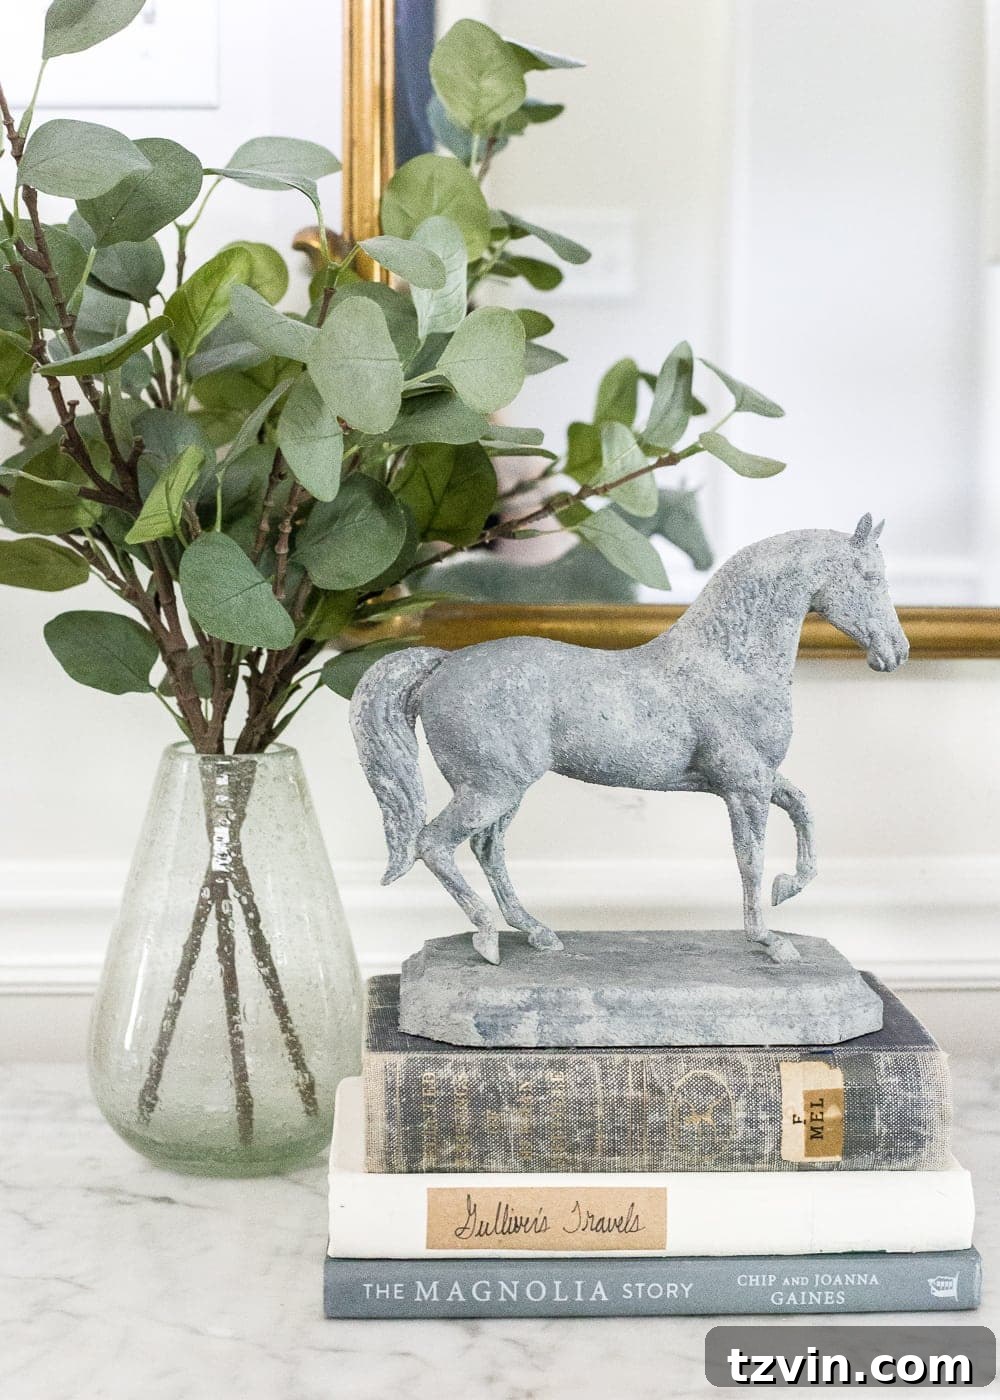
DIY Designer Equestrian Statuette: A Thrifty Home Decor Project
Ready to elevate your home decor without breaking the bank? This easy DIY project shows you how to transform a simple toy horse figurine into a chic, designer-inspired concrete equestrian statuette using just a few affordable materials. Get ready to add a touch of elegance to your space!
Inspired by the equestrian decor I’ve admired in stores like Pottery Barn and Restoration Hardware, I wanted to create a similar look for less. These beautiful pieces can often come with a hefty price tag, but with a little creativity, you can achieve the same aesthetic for a fraction of the cost.
This project is perfect for those who love a touch of classic style in their homes. It’s also a great way to participate in a “Trash to Treasure” challenge, giving new life to old items and embracing the joy of repurposing.
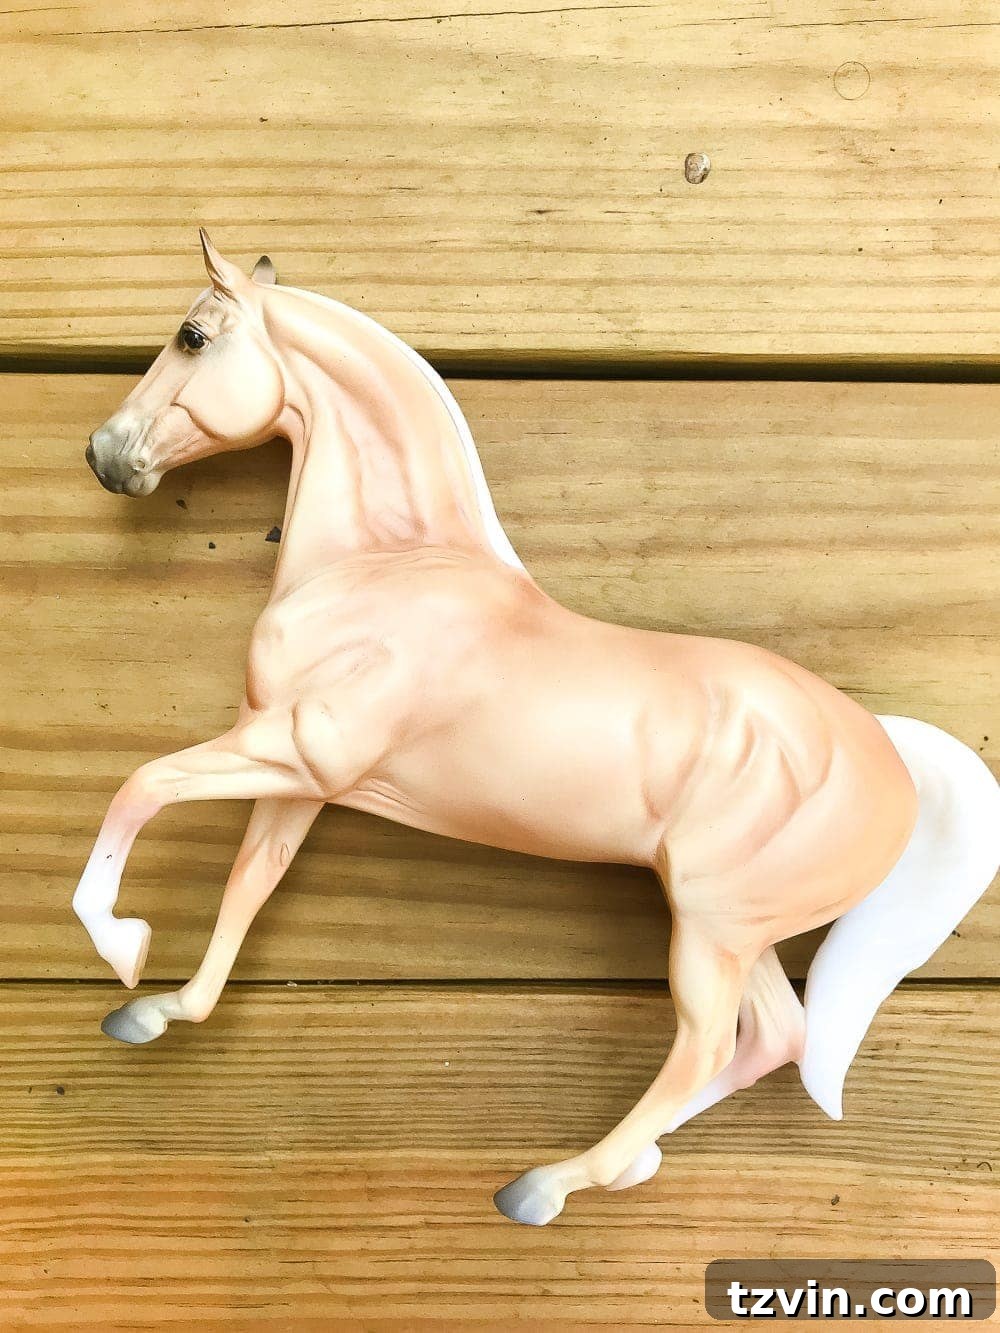
Equestrian decor holds a special place in my heart, and this project was a fun way to incorporate that passion into my home. Having experimented with concrete-look paint before, I knew it would be perfect for this transformation.
Materials You’ll Need
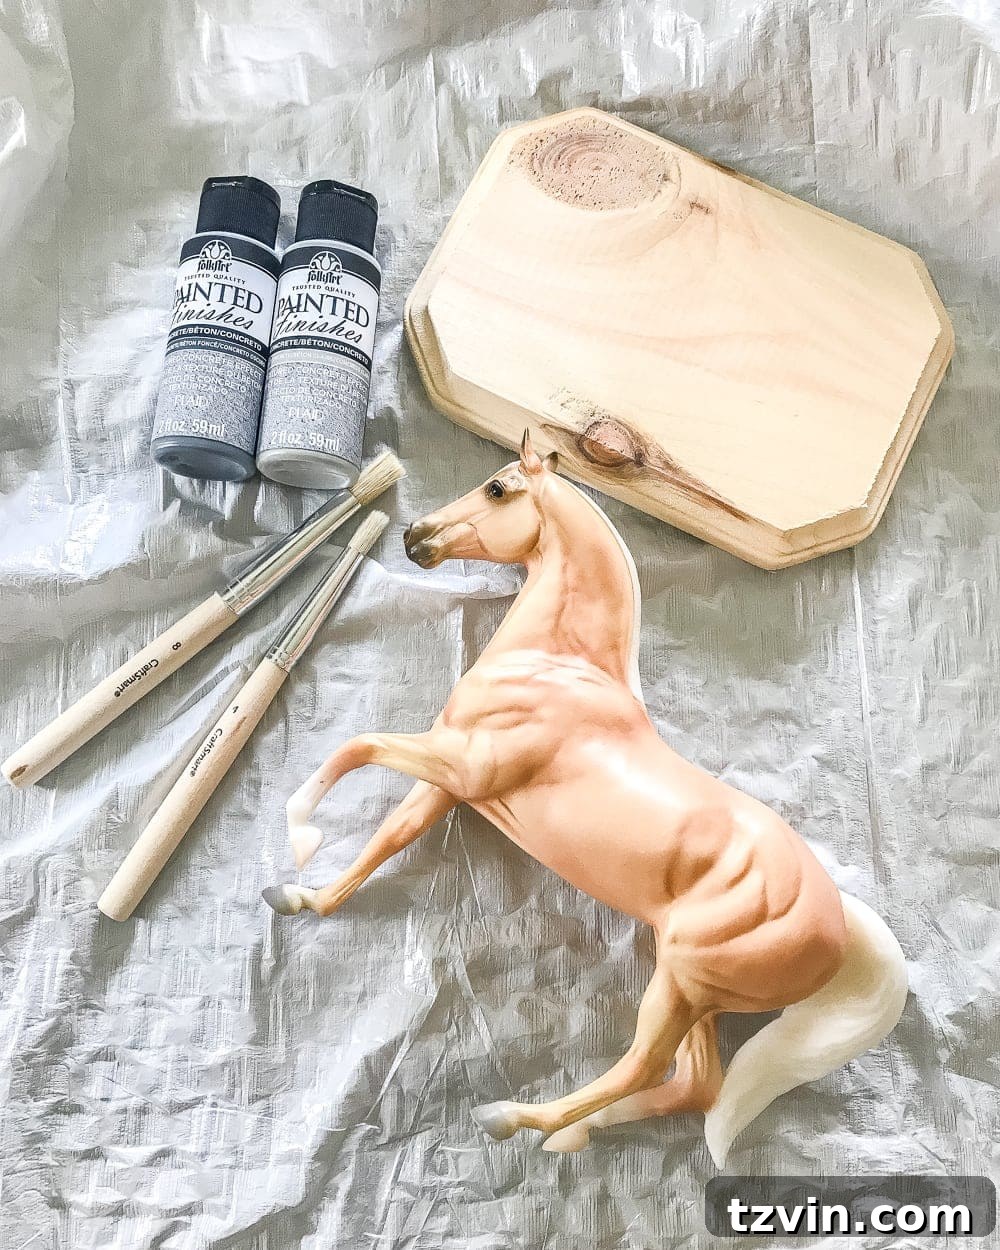
Here’s a list of the supplies you’ll need to create your own designer-inspired equestrian statuette:
- A Toy Horse Figurine (or similar). Look for one at a thrift store, dollar store, or online.
- Concrete-Look Paint: Choose a brand you love. This paint is the key to achieving the desired aesthetic.
- Craft Brushes: Two medium-sized craft brushes.
- A Wooden Plaque. Find these at craft stores like Michael’s or Joann for a great price.
- Super Glue: For securely attaching the horse to the plaque.
Step-by-Step Instructions
This project is incredibly straightforward, making it perfect for both beginners and experienced crafters. Here’s how to create your own equestrian statuette:
-
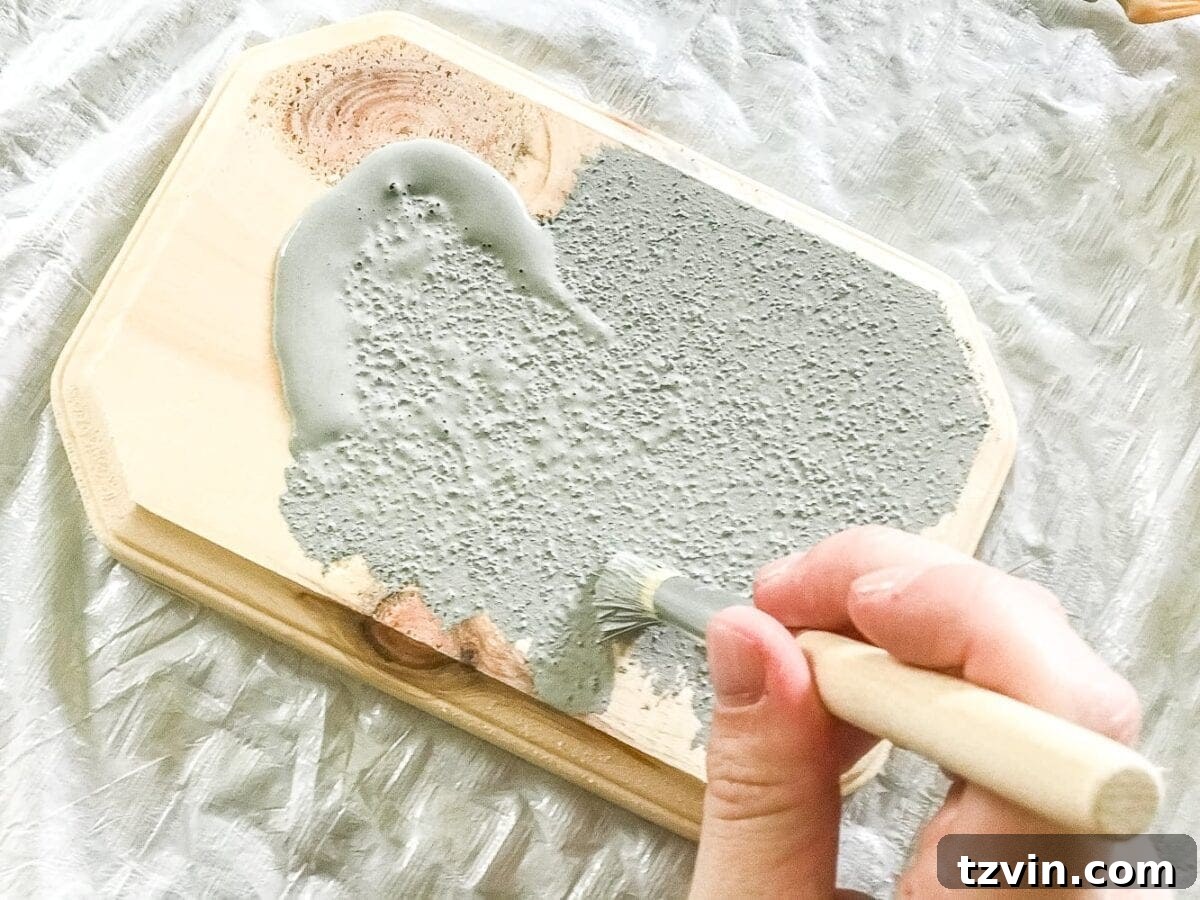
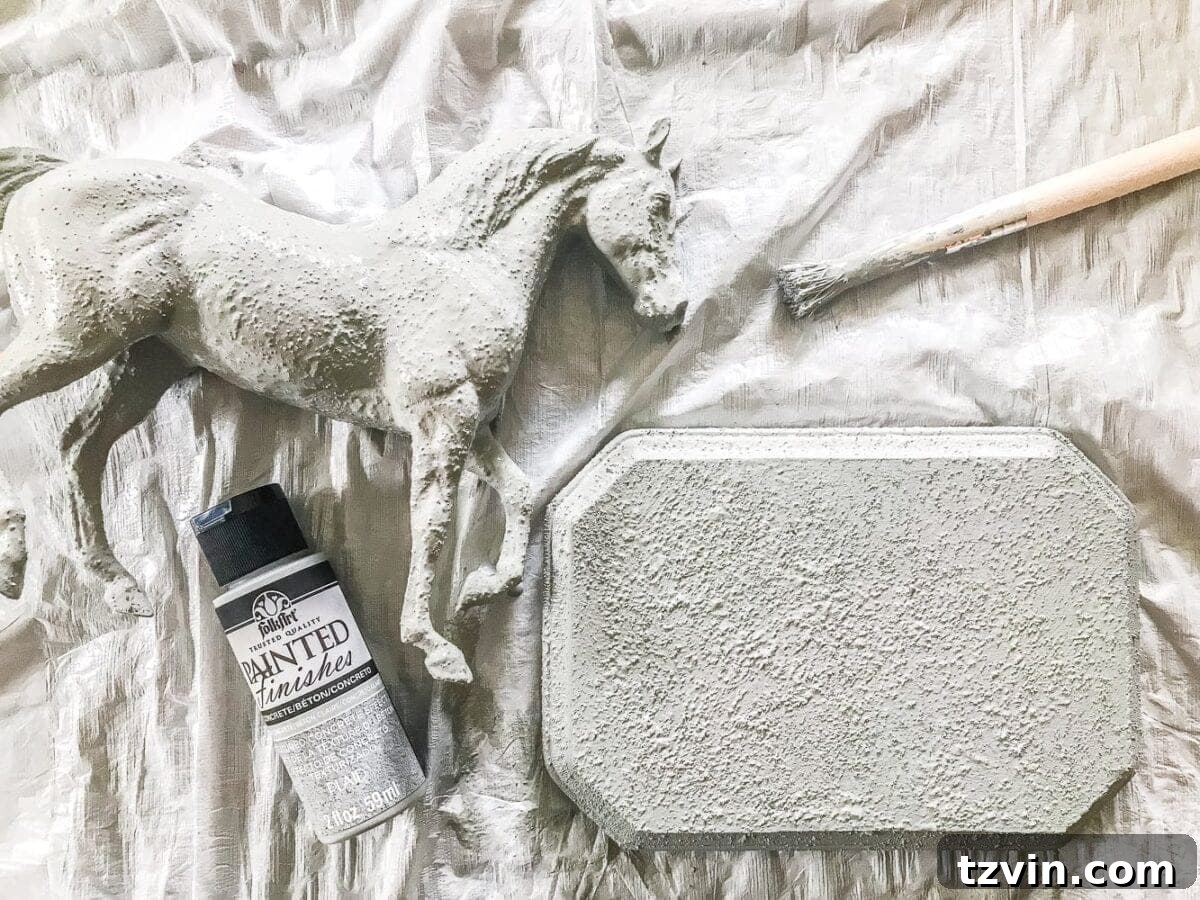
Prepare the Horse and Plaque: Following the instructions on your concrete paint, start by applying two coats of the lighter gray paint to both the toy horse and the wooden plaque. Use a dabbing motion for a textured, concrete-like finish.
-
Add Dimension with Darker Gray: Before the second coat of light gray paint is completely dry, introduce the darker gray paint. Dab it on in random areas and gently blend it with the lighter gray to create depth and a more realistic concrete appearance.
-
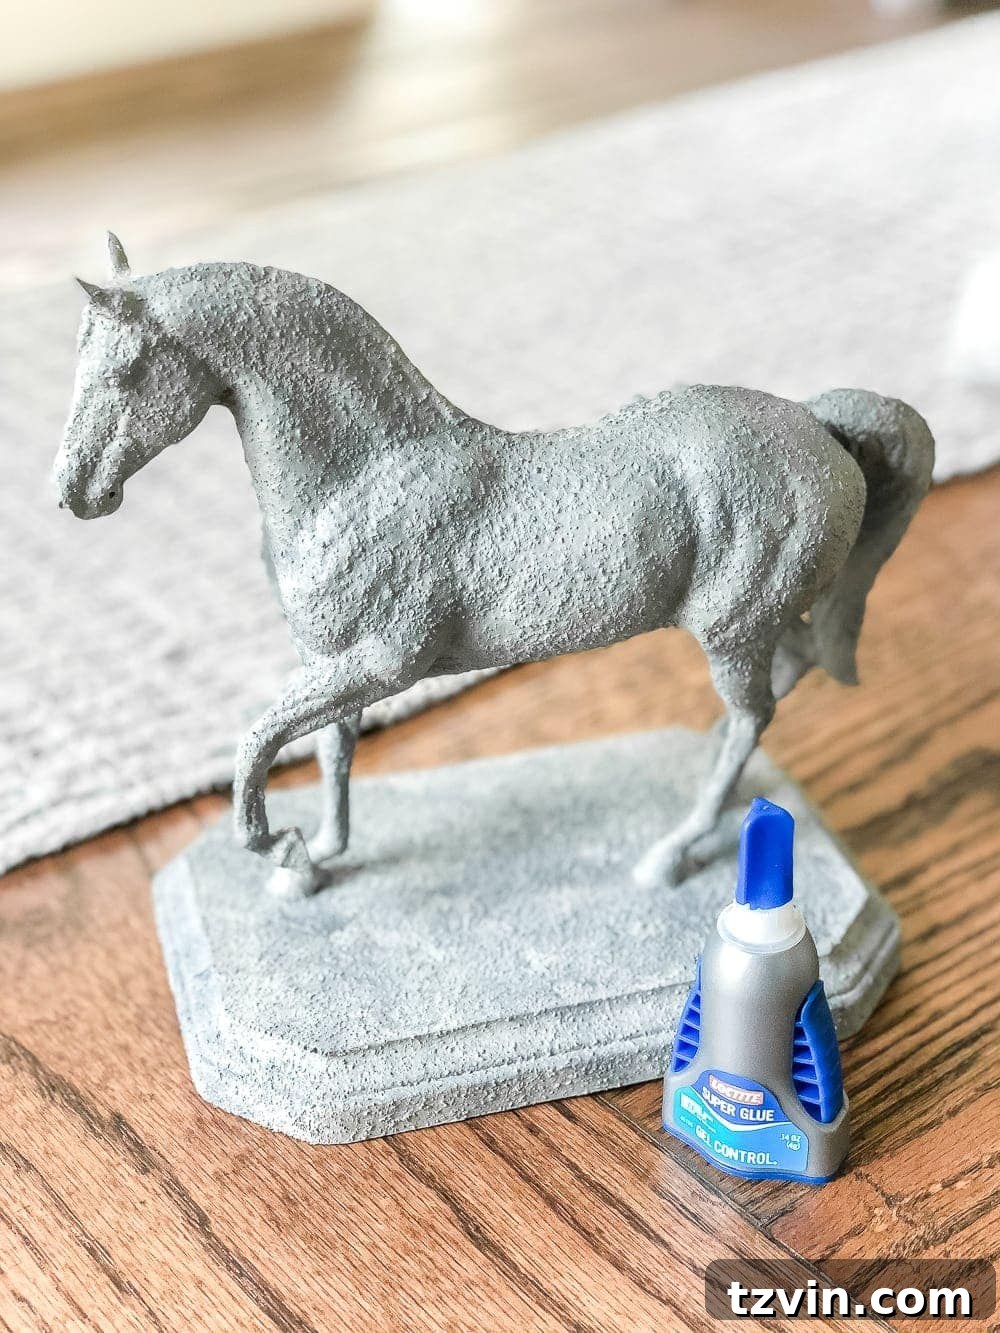
Assemble the Statuette: Once both the horse and the plaque are completely dry, apply a small amount of super glue to the horse’s hooves. Carefully press the horse onto the wooden plaque and hold it in place for about a minute to allow the glue to set.
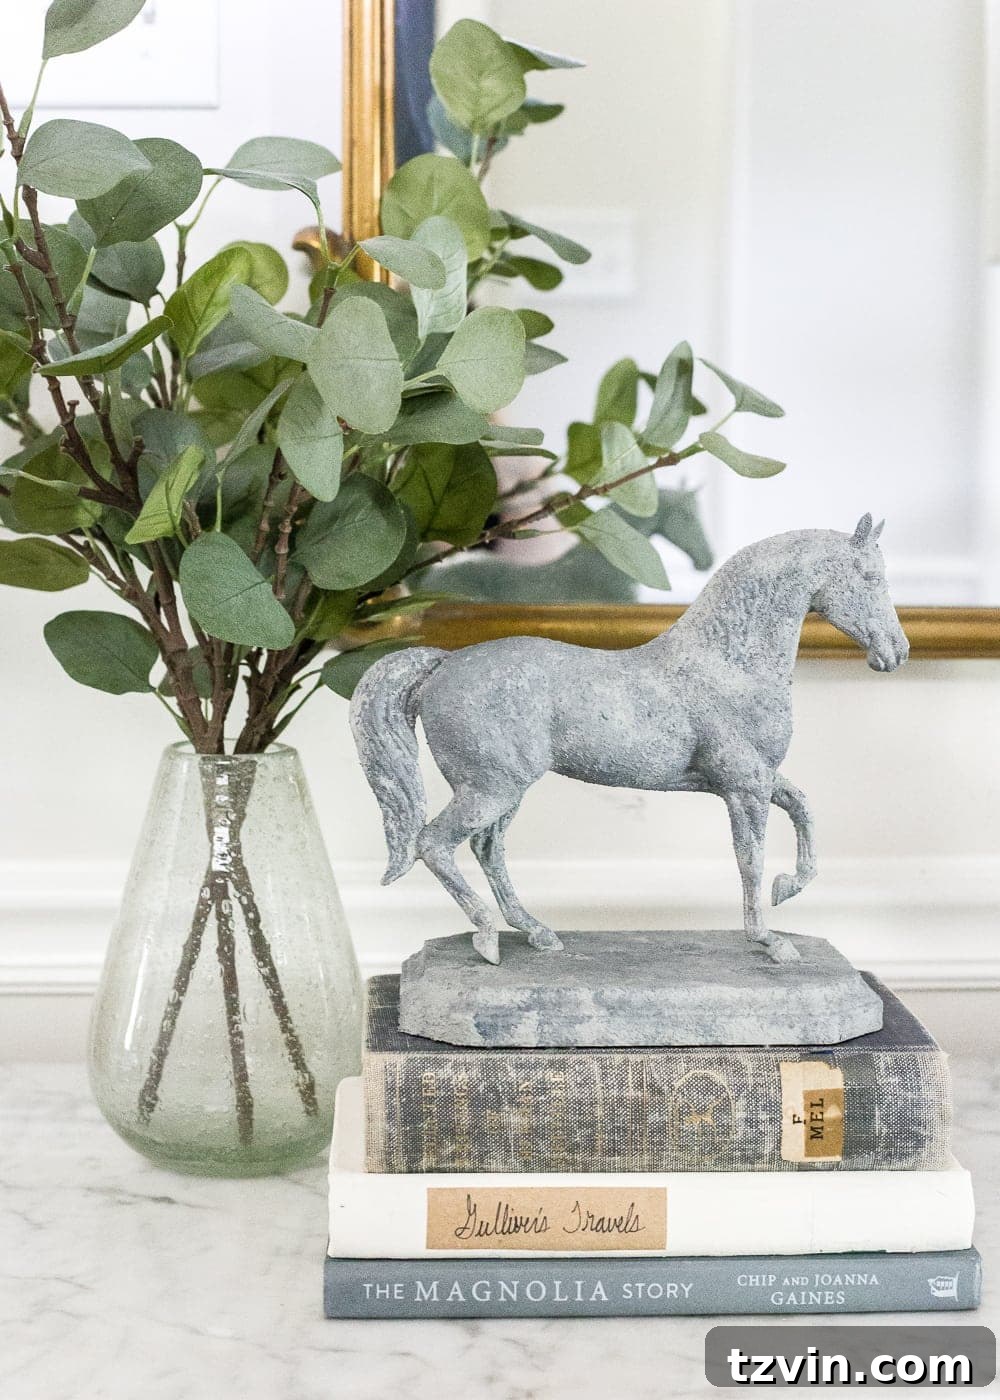
And that’s it! Your designer-inspired concrete equestrian statuette is complete. This project offers a high-end look without the high-end price tag.
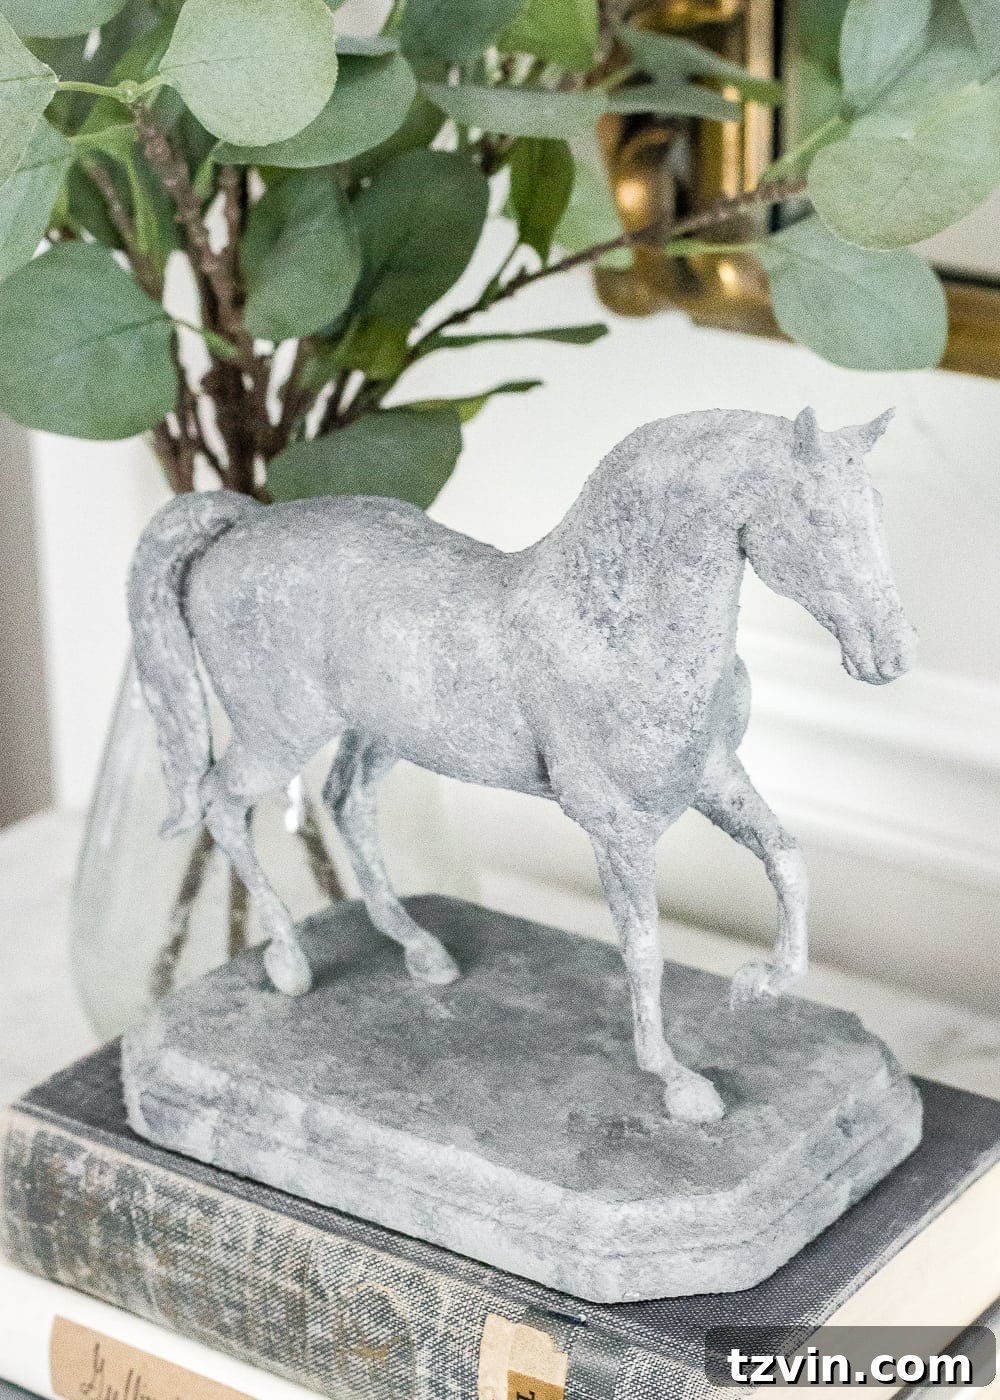
My total cost was around $15, which is a significant saving compared to the designer options available. The concrete finish gives it a modern, sophisticated feel that elevates any space.
I decided to name my statuette “Stoney,” and it now greets visitors in my foyer. It adds a touch of charm and personality to the entryway.
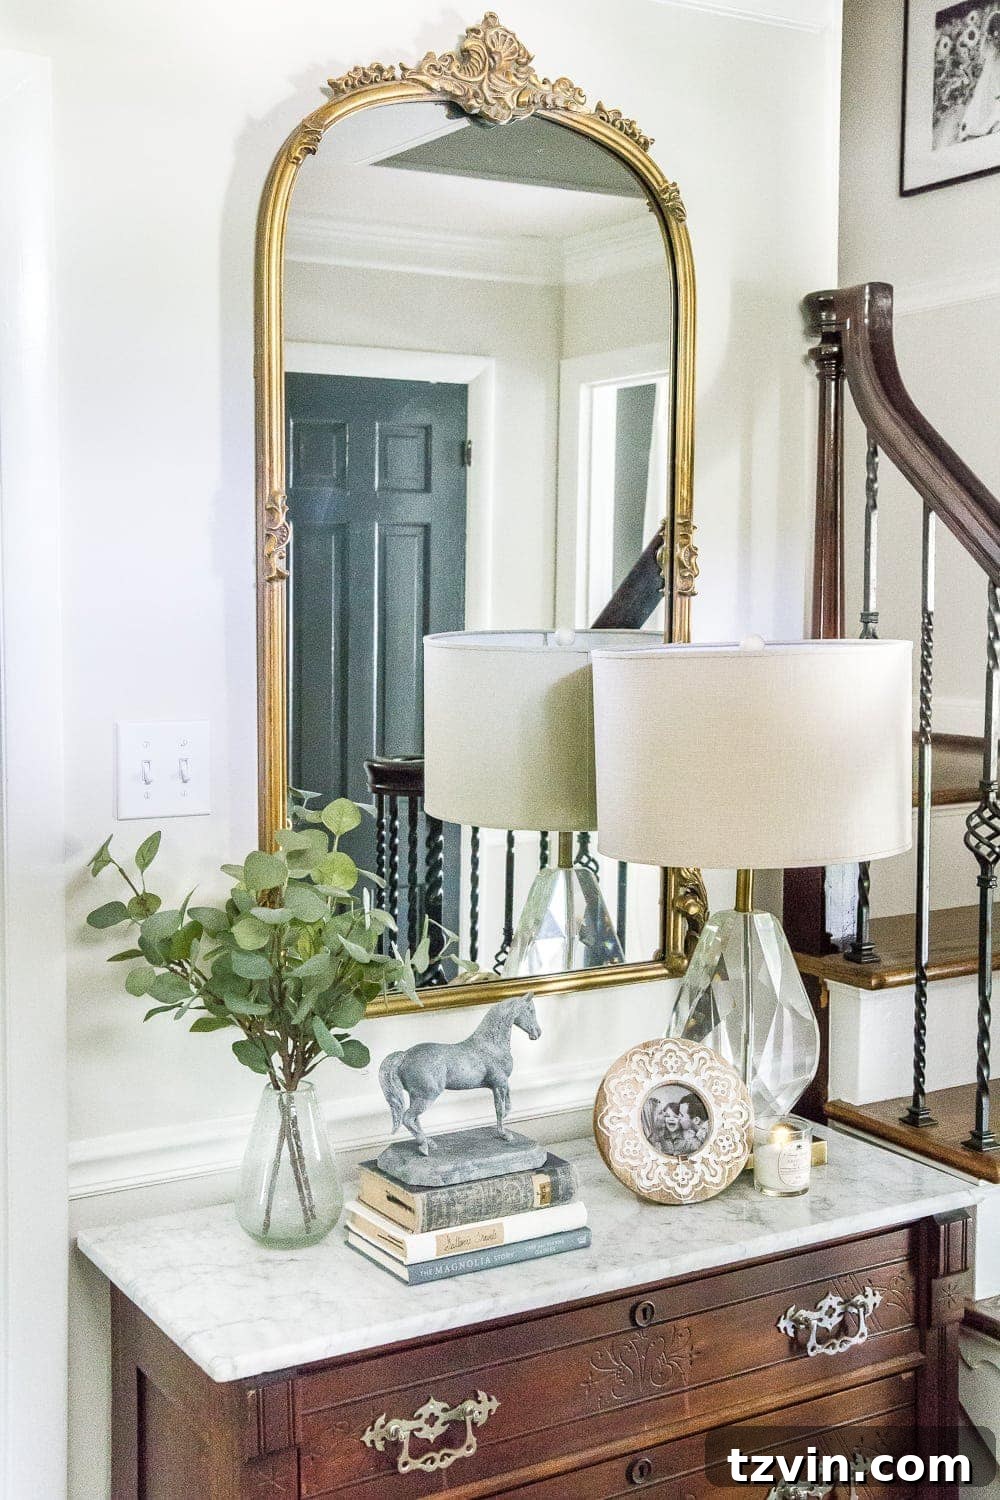
I love a simple, uncluttered approach to decorating. This project fits perfectly into that aesthetic. I’m all about using non-seasonal greenery, books, picture frames, and a beautiful lamp to create a cozy and inviting atmosphere.
I encourage you to give this DIY a try and create your own unique piece of home decor. You might be surprised at the transformation you can achieve with just a few simple materials.
More Trash to Treasure Transformations
Check out more amazing projects from other talented bloggers below:
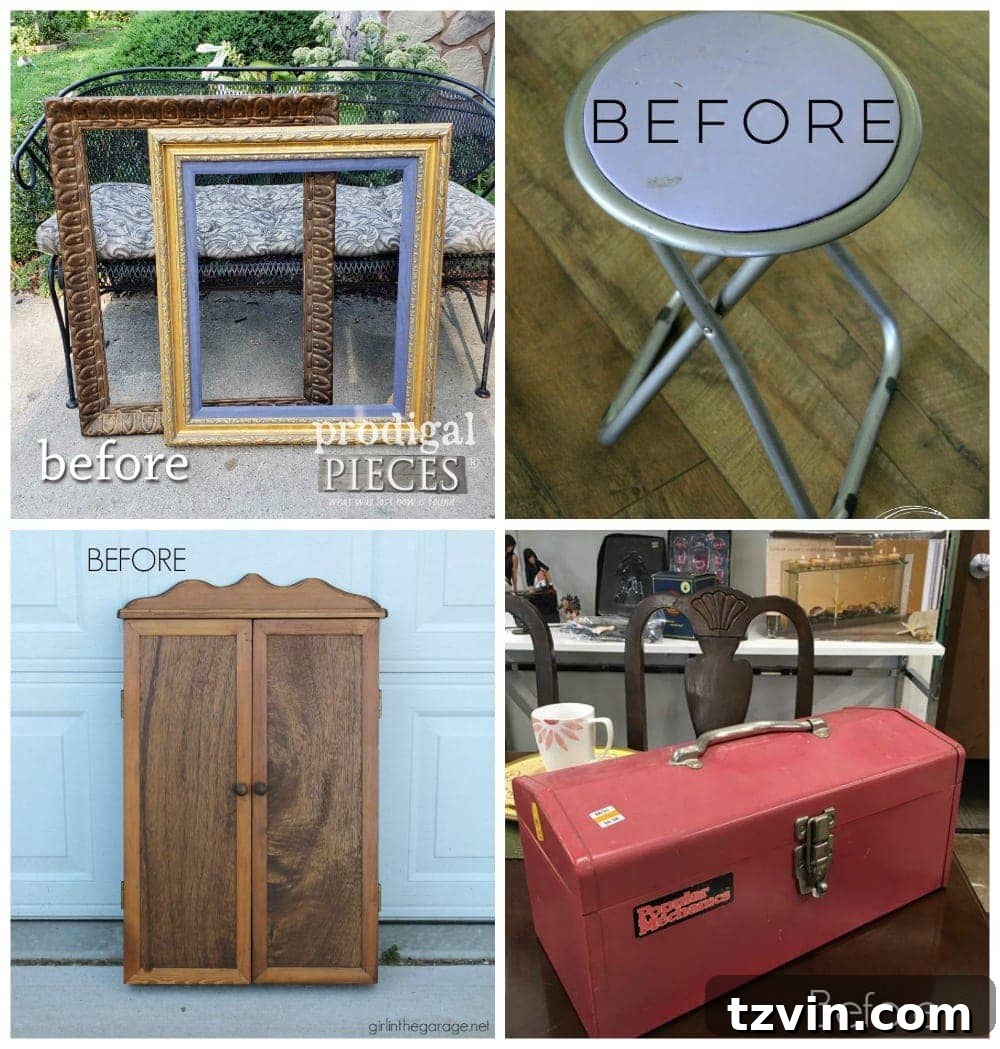
Clockwise from top left:
Prodigal Pieces | Artsy Chicks Rule | Confessions of a Serial DIYer | Girl in the Garage
This project has sparked even more ideas, and I’m already looking at other toy possibilities. My husband is now on the lookout for a toy airplane for his office.
Of course, I’ll still let my daughter keep her toys for playtime! This is purely about creating stylish, unique home decor.