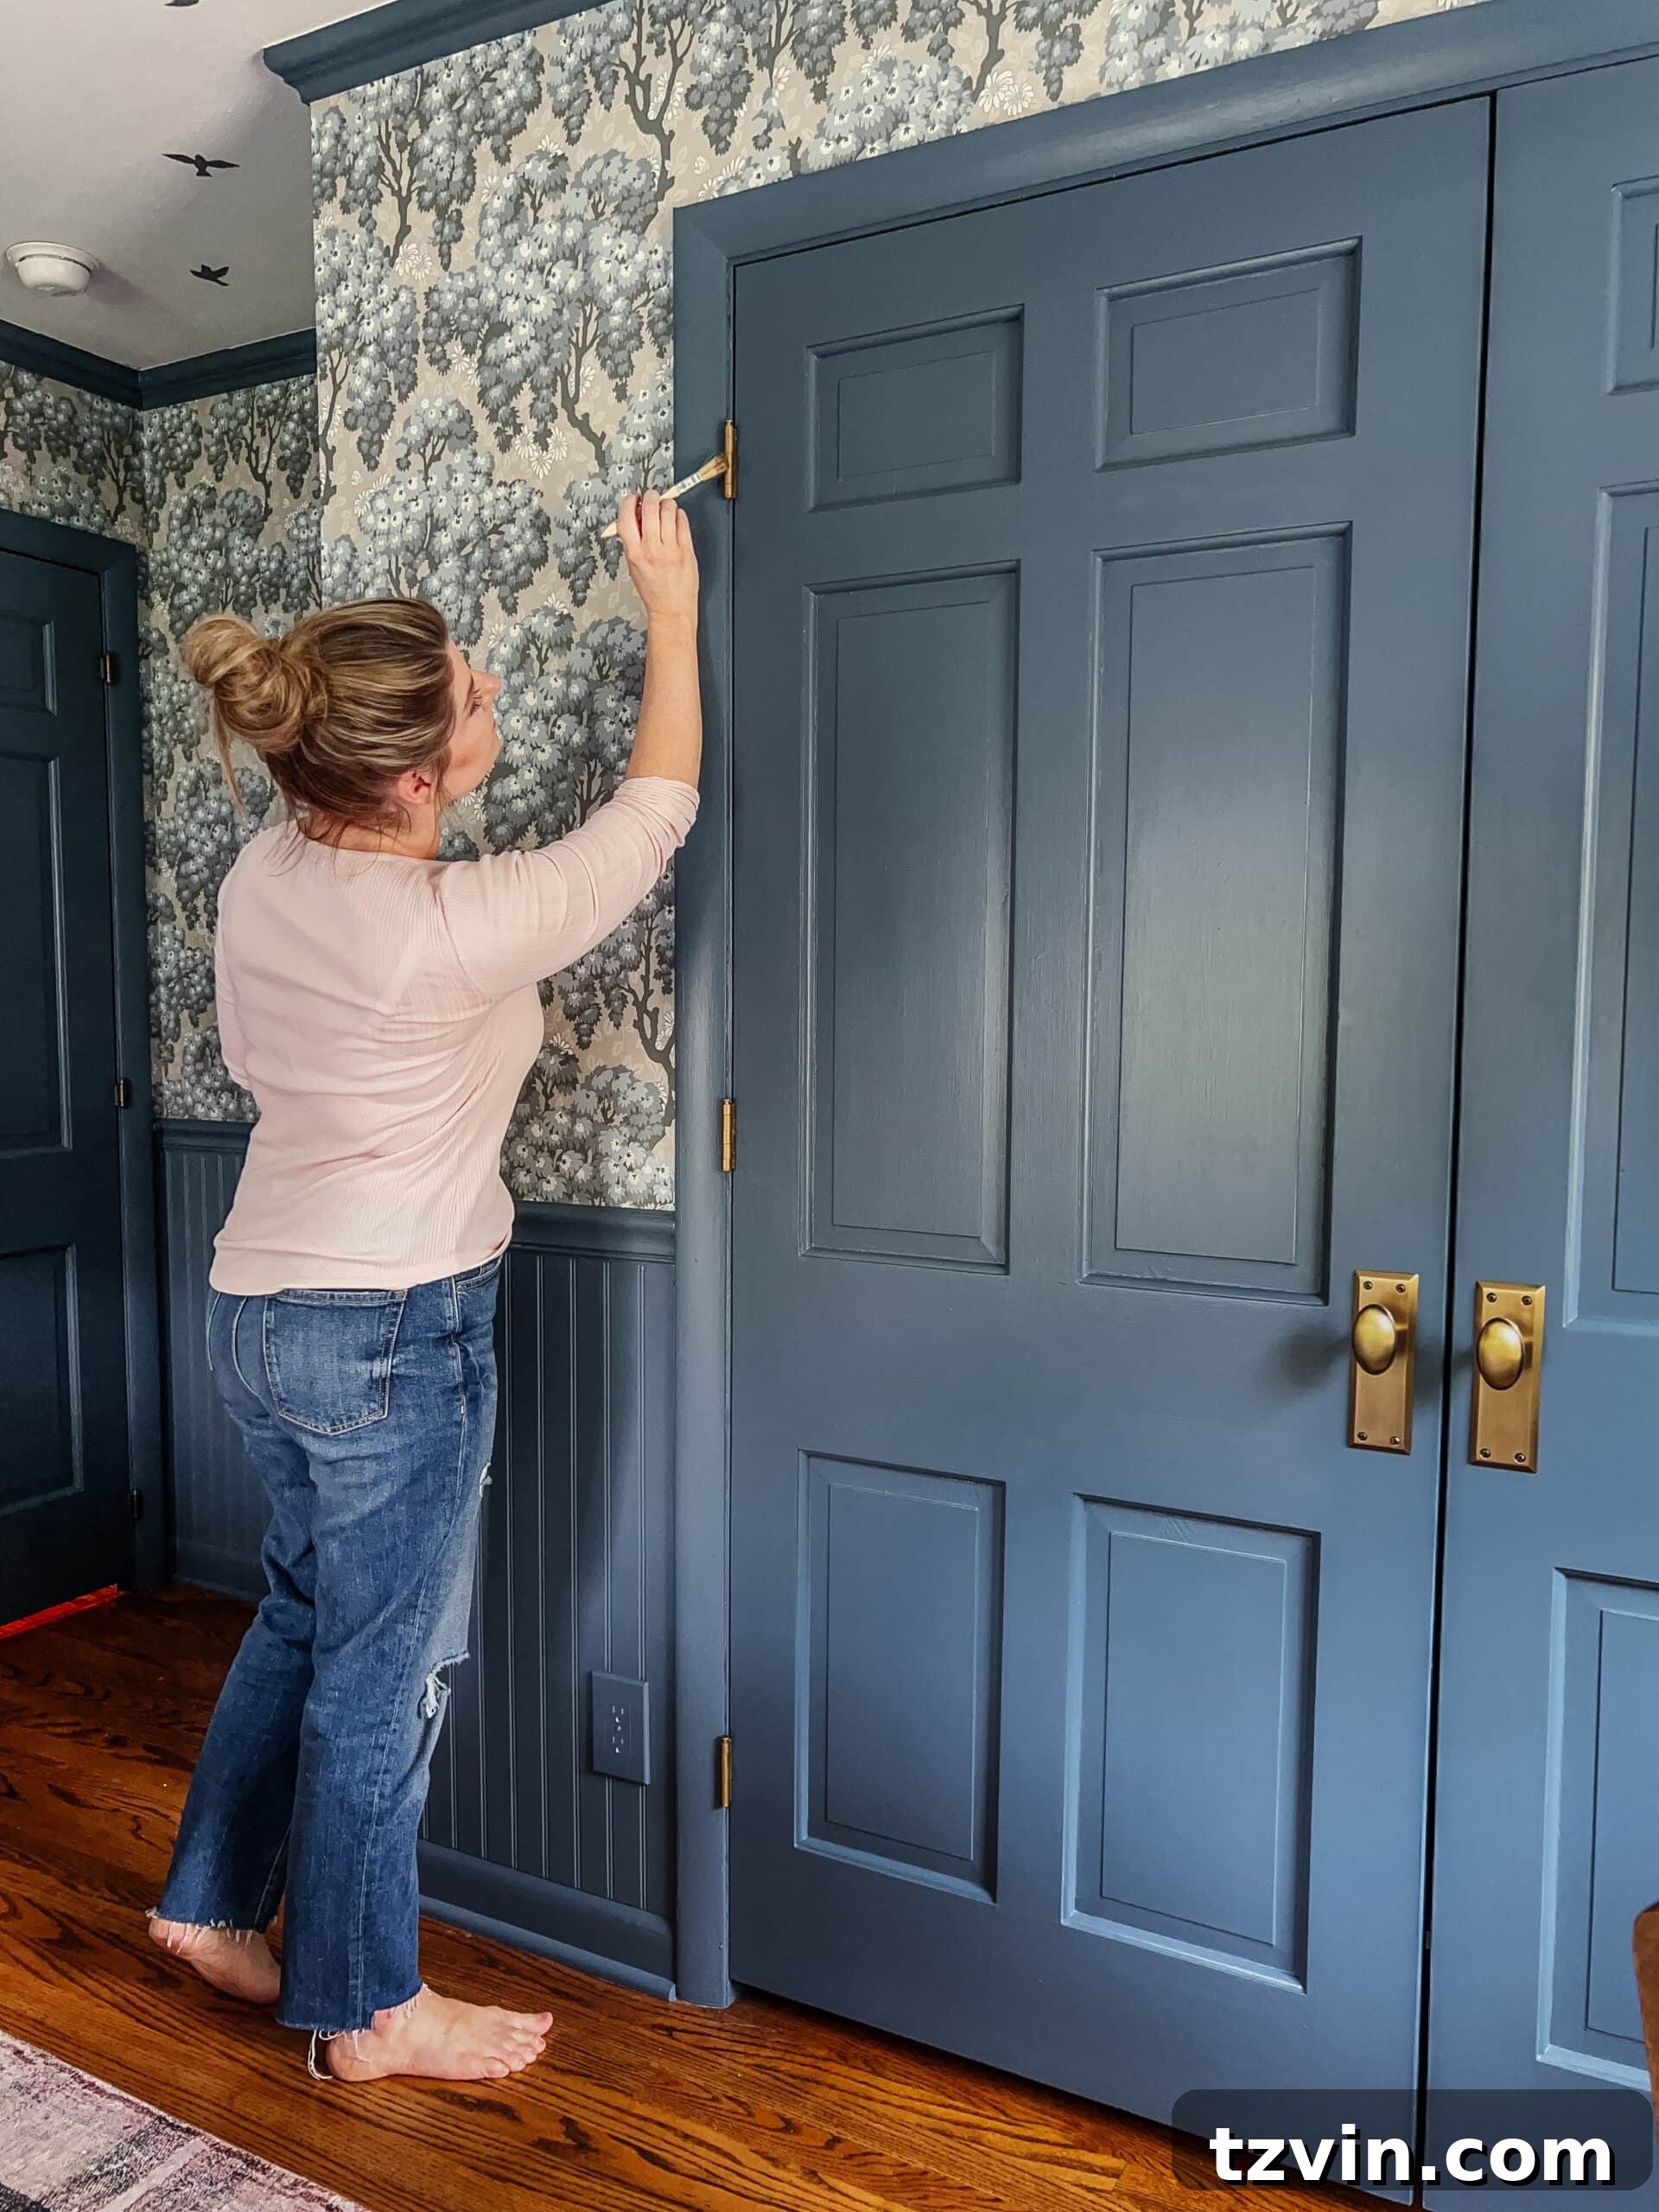
Transform your tired, old door hinges into stylish accents with Rub n Buff. This innovative DIY method allows you to effortlessly change hinge colors without the fuss of removal, perfect for a quick and impactful home update.
Old houses, with their charming character and unique stories, often come with a few quirks that aren’t quite as endearing. One common challenge homeowners face is the collection of dated or paint-splattered door hinges inherited from decades of previous occupants. These small details can significantly detract from an otherwise beautiful room, standing out as unfortunate reminders of past DIY missteps or simply outdated styles.
For too long, I found myself staring at our 60+ year-old hinges, marred by layers of paint and an unappealing finish. The thought of a major renovation, which would involve the tedious process of removing each hinge, stripping old paint, and then re-installing or replacing them, was enough to postpone the project indefinitely. That’s until a simple, brilliant solution presented itself: changing the door hinge colors without ever having to take them off the door frames.
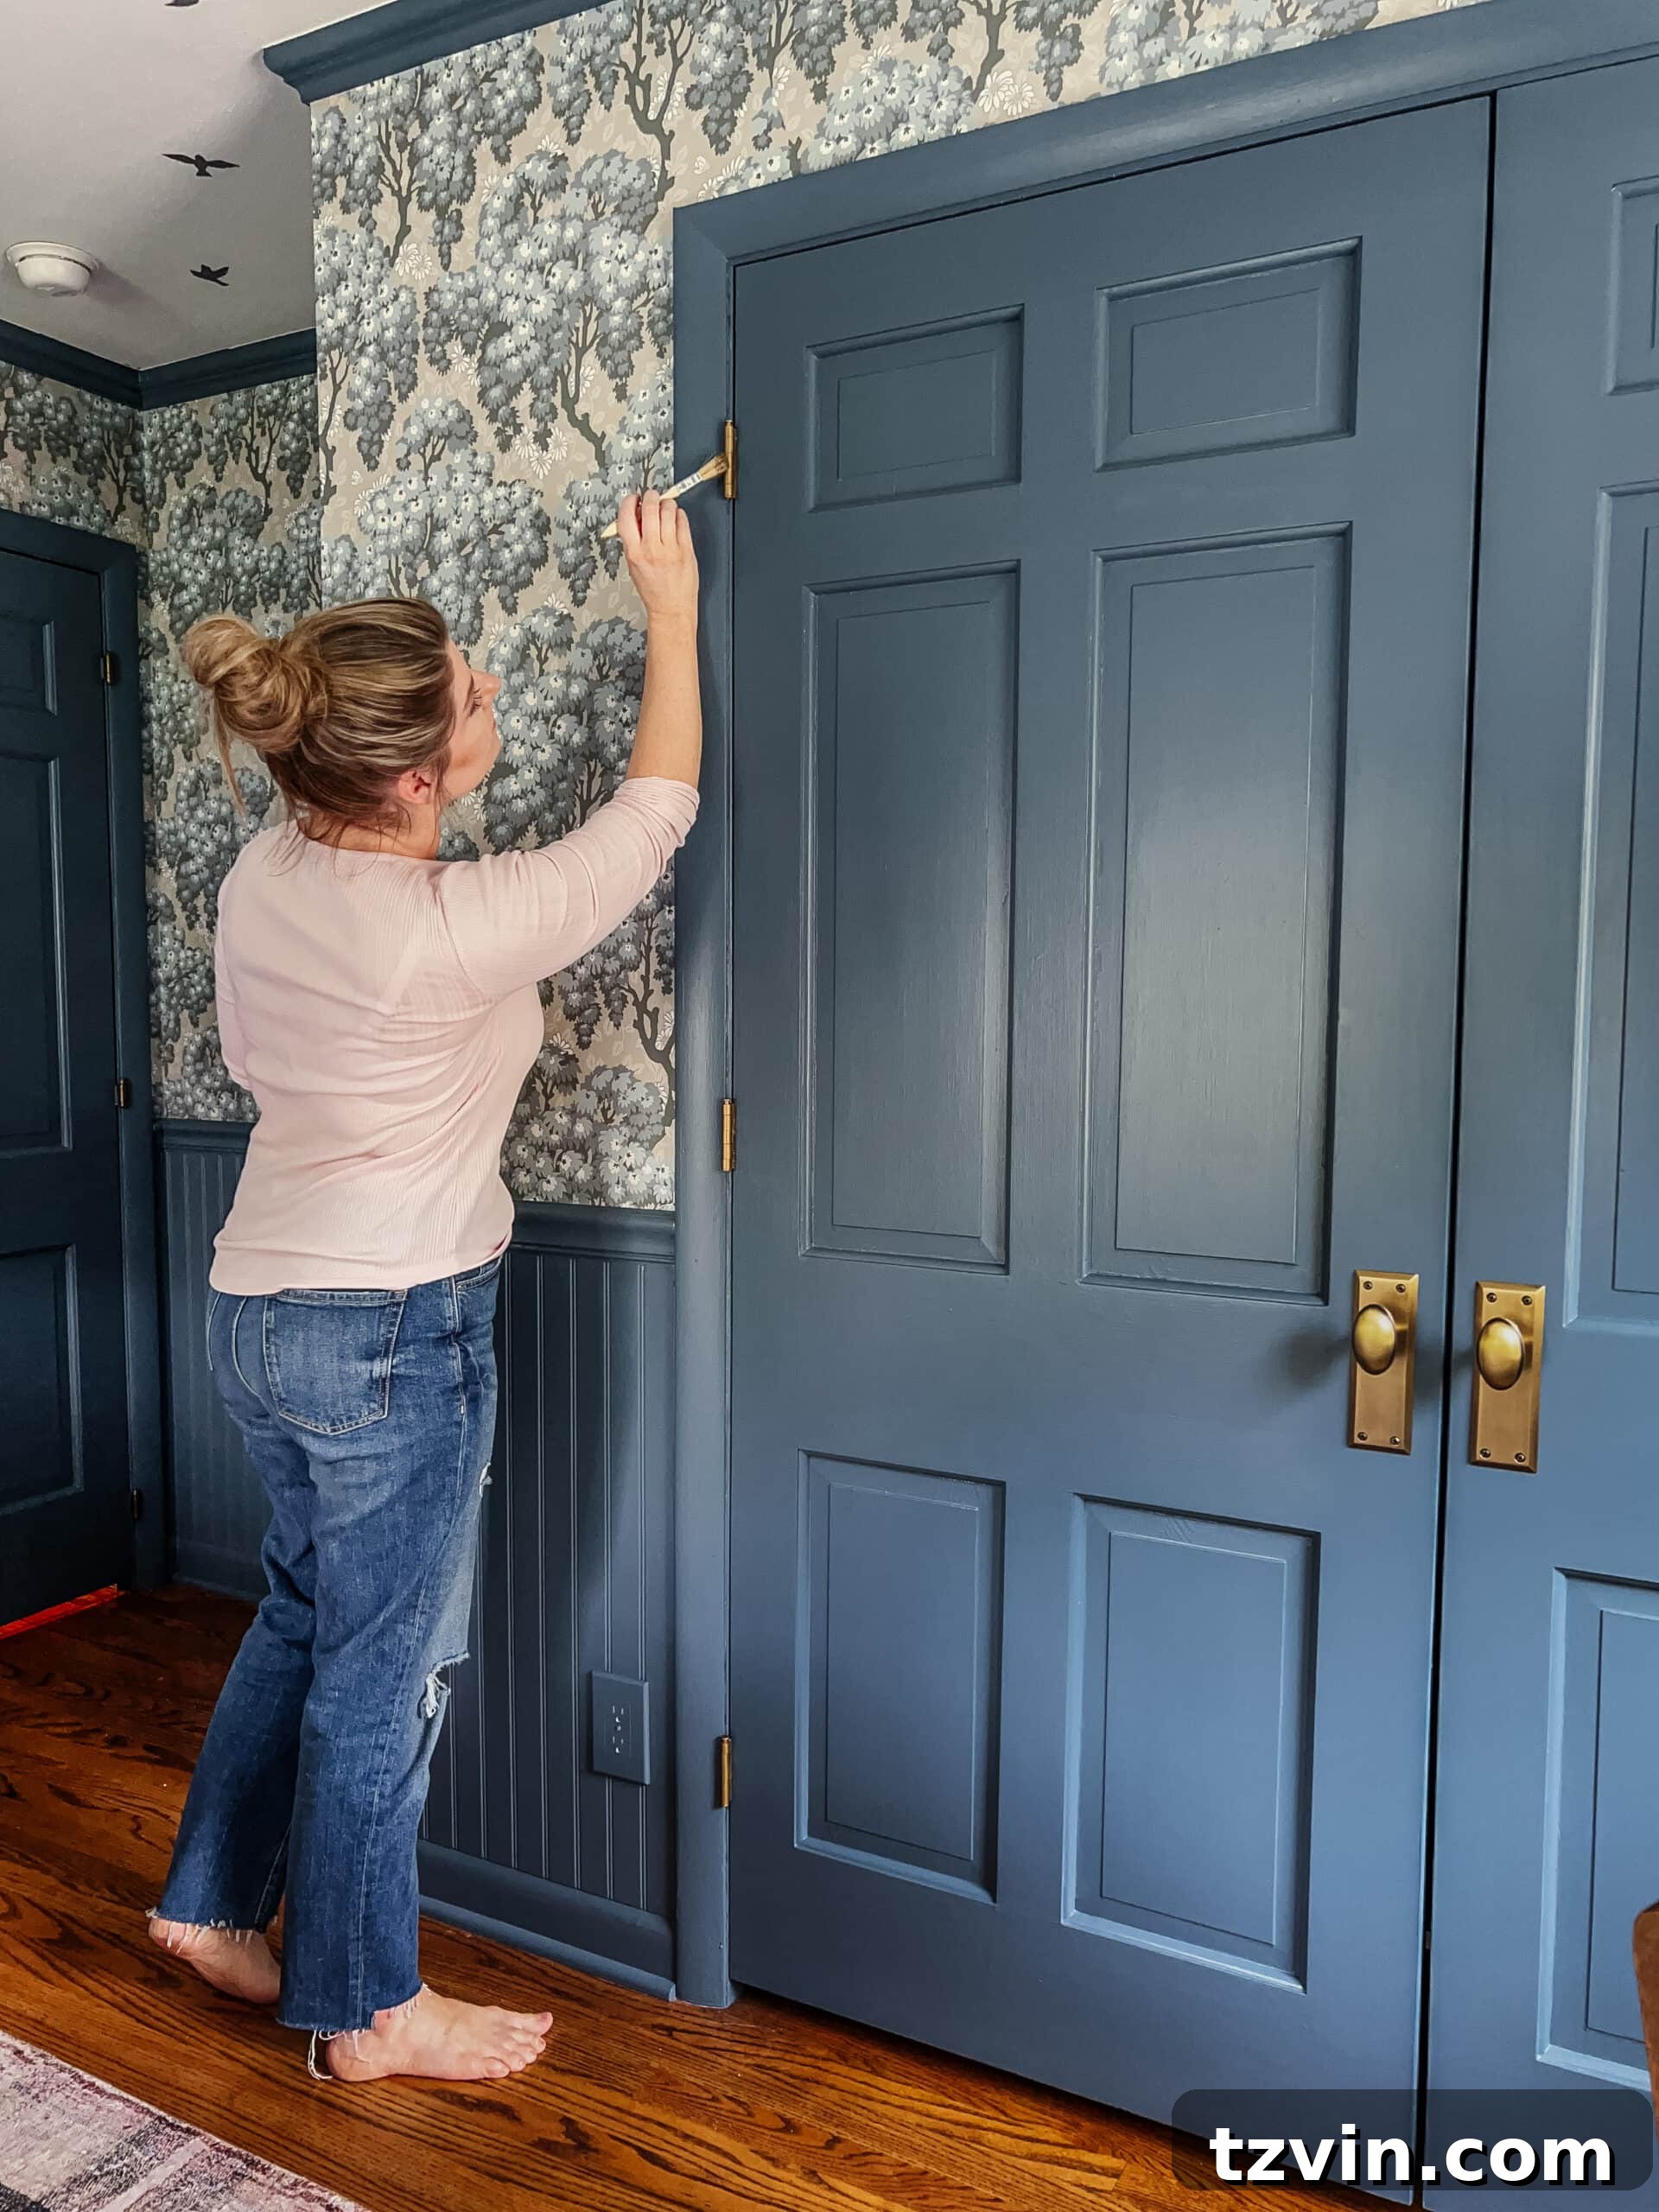
While some might call this approach unconventional, it’s undeniably effective and incredibly fast. In just about 5 minutes per hinge, you can achieve a remarkable door makeover that instantly elevates the look and feel of your interiors. This “hack” is perfect for anyone looking for a low-effort, high-impact DIY project, especially when traditional methods aren’t feasible. For instance, if mobility is an issue or time is short, this method provides a fantastic alternative to tackle those nagging small details around the house.
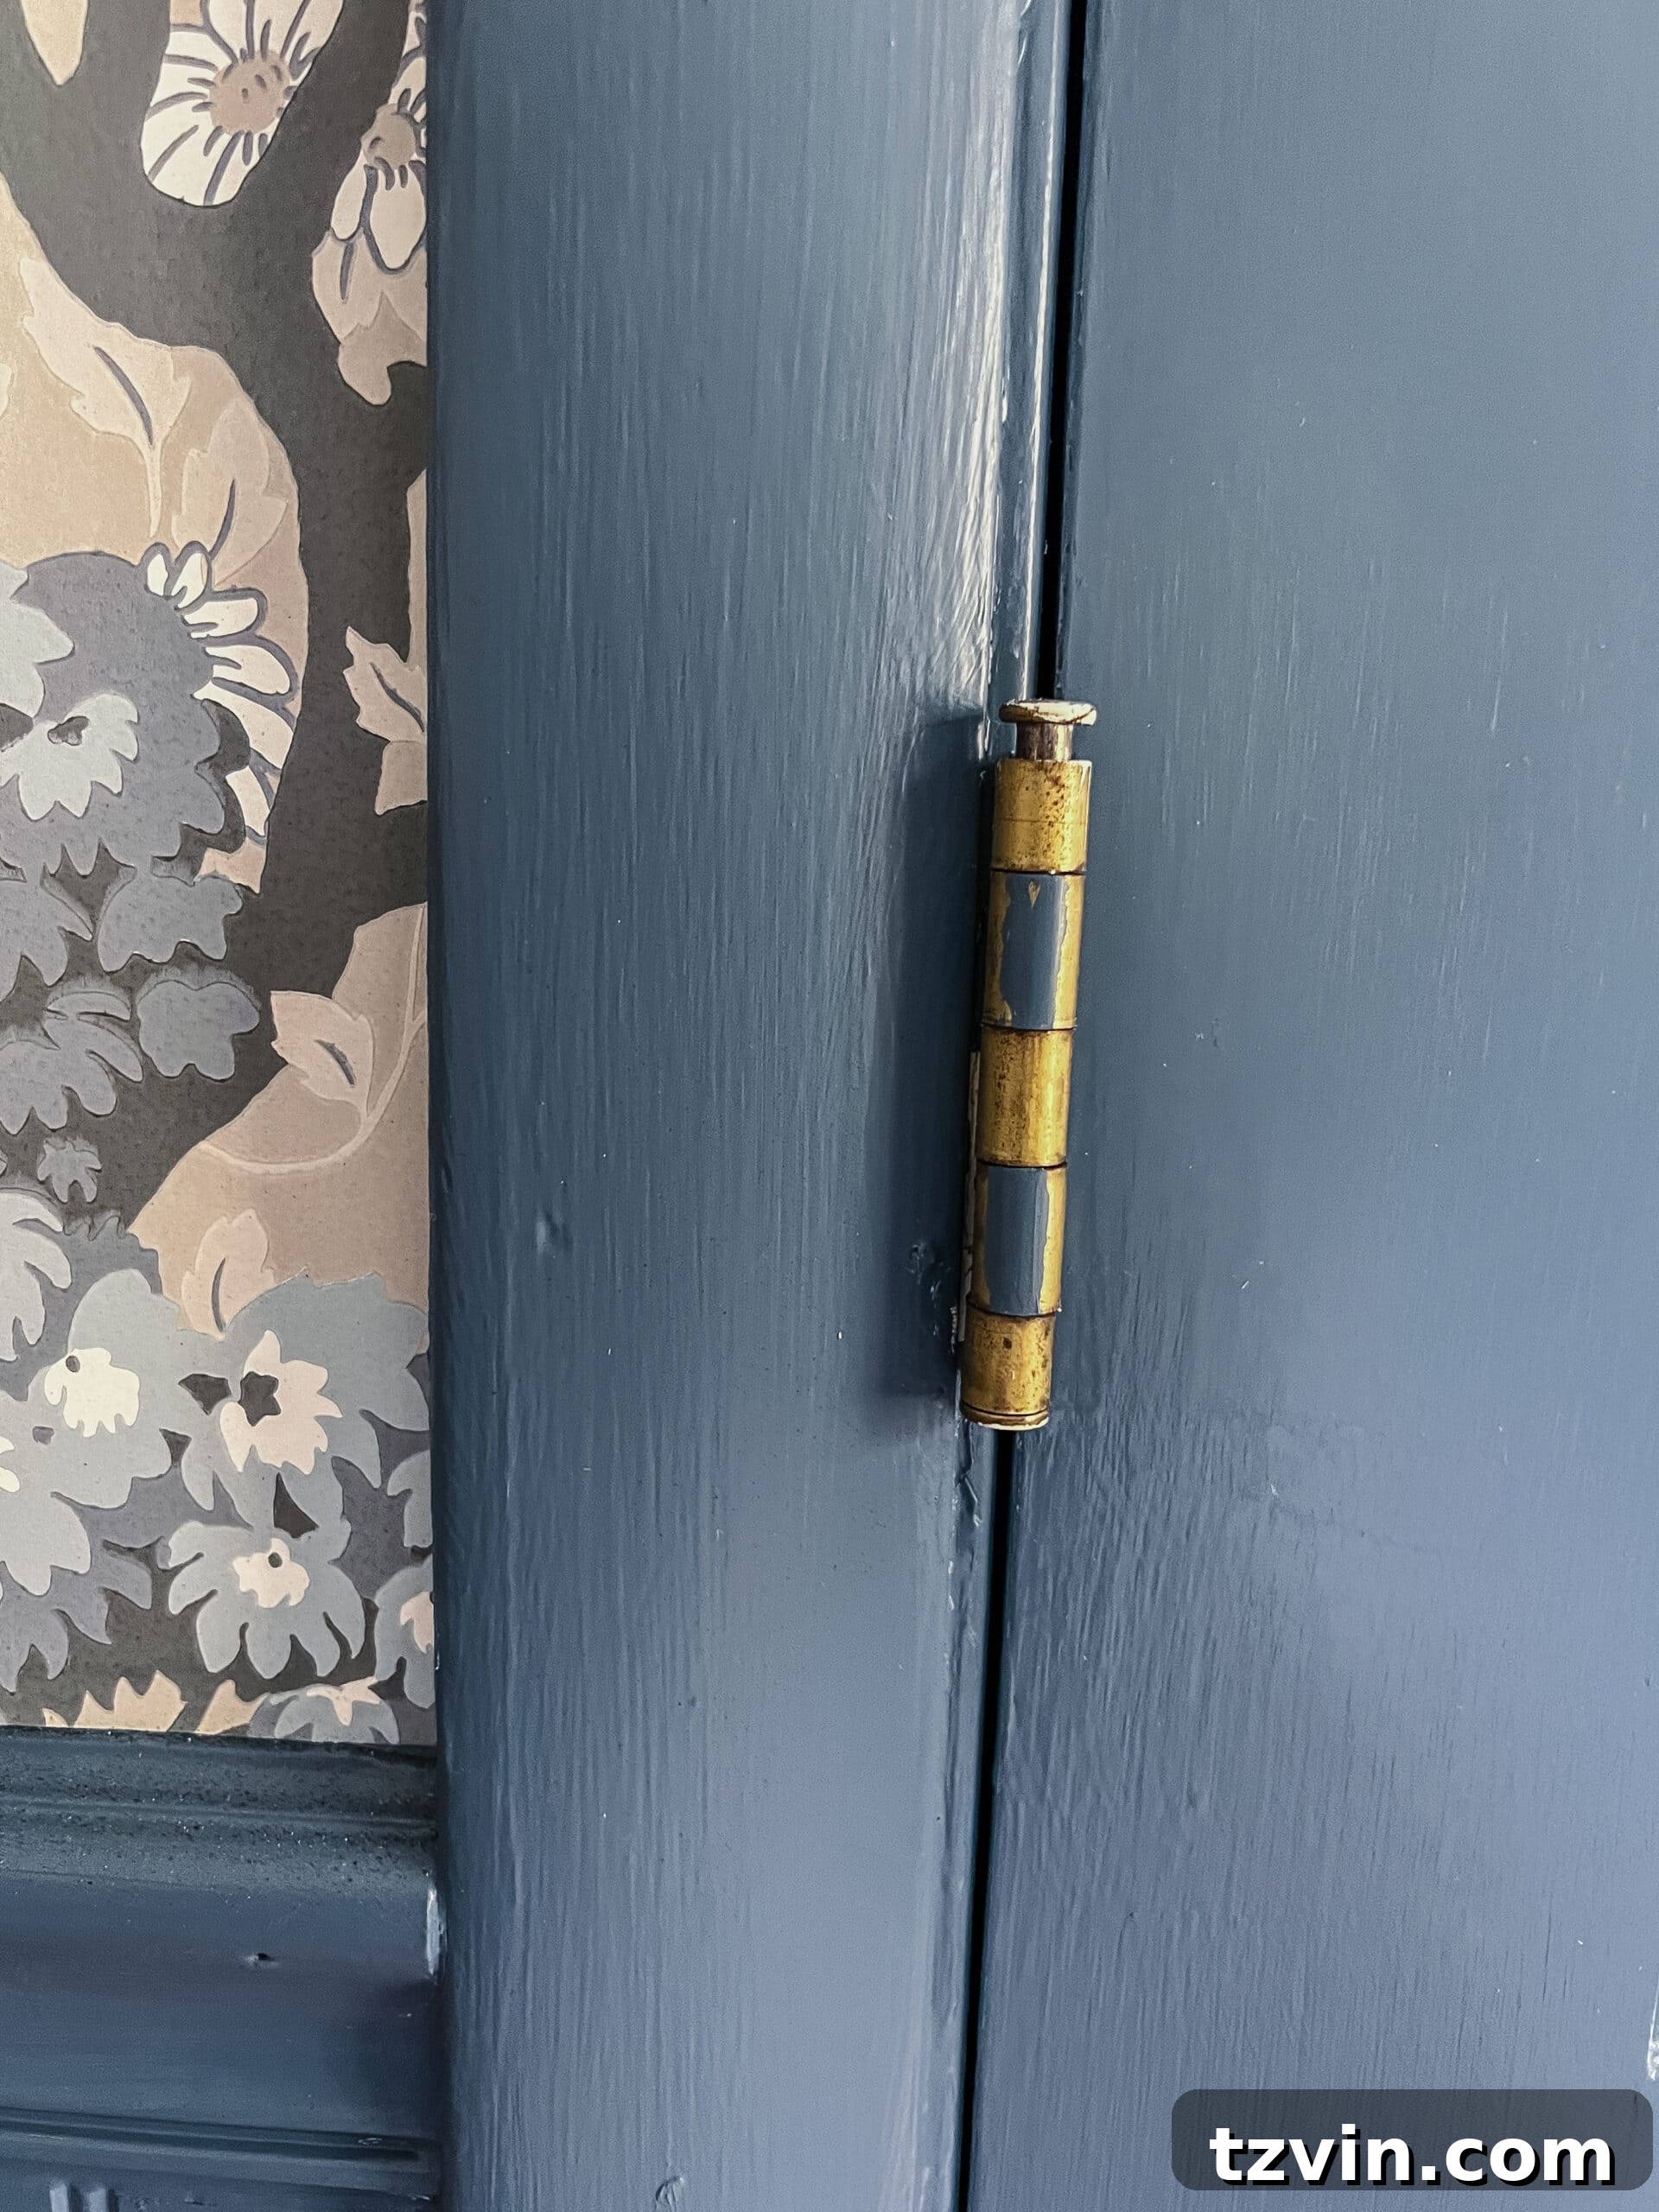
It’s worth noting that while we aim for perfection, sometimes a quick fix is exactly what’s needed. The example of a stray blue paint spot on a hinge, a result of a painter’s tape mishap, highlights how even our own projects can sometimes create new “quirks.” The goal here isn’t necessarily pristine, factory-new hinges, but rather an aesthetic upgrade that aligns with current decor without immense effort or expense. Beyond simply covering up imperfections, this method allows for a complete color transformation, giving your hinges a fresh, updated appearance without the need for full replacement.
Pro Tip for Heavily Painted Hinges: If your hinges are truly caked in decades of paint, you might consider a pre-treatment. A common method to remove stubborn paint from door hinges (if you do decide to remove them temporarily for a more thorough strip) involves placing them in an old slow cooker filled with water and a few tablespoons of liquid laundry detergent. After several hours on low heat, the paint should soften and become much easier to peel off the metal. However, for most minor paint splatters and general color changes, Rub n Buff offers a fantastic shortcut.
How to Effortlessly Change Door Hinge Colors with Rub n Buff in Minutes
The secret weapon for this amazing transformation is a product called Rub n Buff. If you haven’t encountered this “miracle stuff” before, prepare to be amazed. It’s a unique wax-based metallic finish that can be applied to almost any surface, instantly transforming its appearance with a beautiful, rich sheen. I’ve personally used Rub n Buff on countless projects, from furniture hardware to decorative accents, and its versatility truly knows no bounds.
What makes Rub n Buff so ideal for door hinges is its ease of application and quick drying time. Unlike traditional paints that can drip, require multiple coats, or demand extensive prep work, Rub n Buff delivers a stunning metallic finish with minimal effort. It adheres well to metal surfaces, including those with residual paint, making it the perfect choice for an on-the-door hinge makeover. It’s a fantastic alternative to expensive hardware replacements or laborious painting processes.
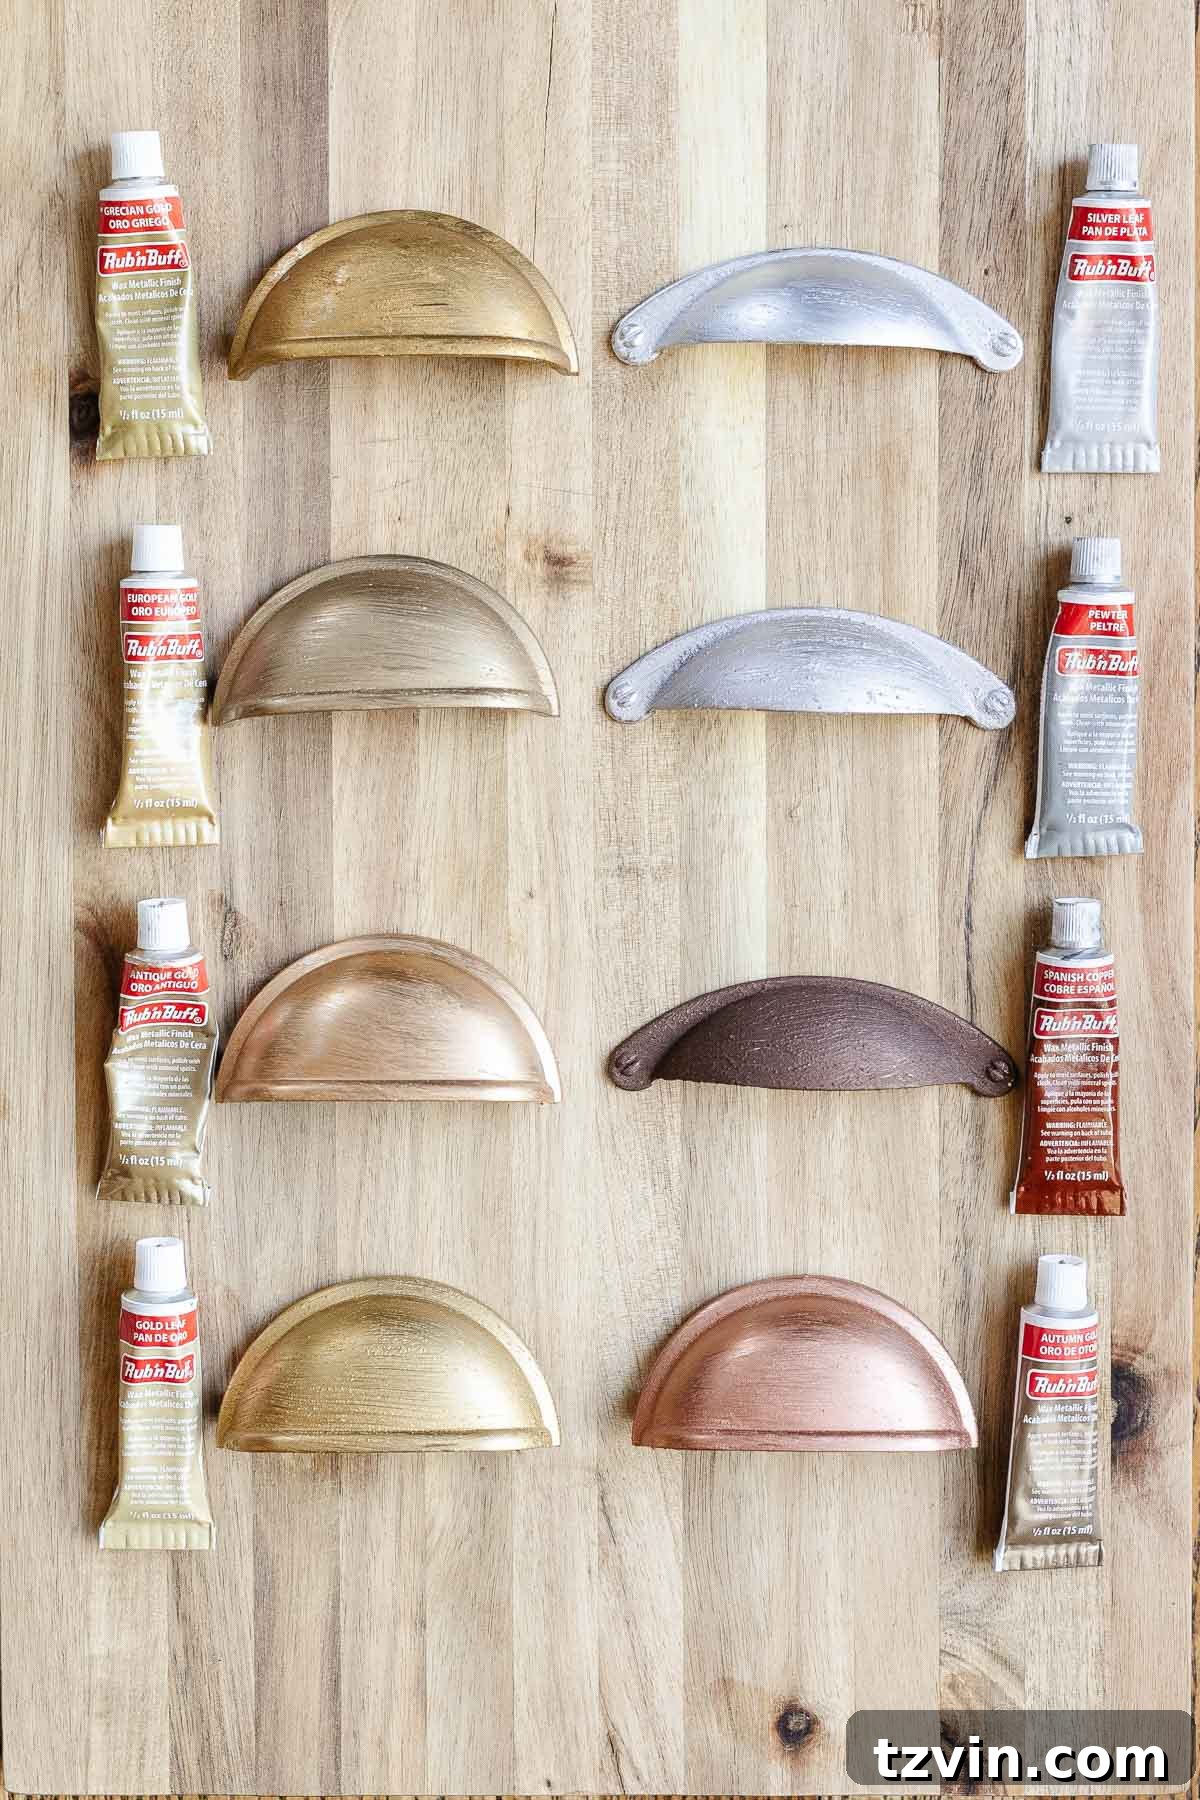
Discover More: Rub n Buff Colors Tried and Tested – Explore the full spectrum of available shades and see how they look before you commit to a color for your project.
Understanding the range of Rub n Buff colors is crucial for achieving your desired aesthetic. Below is a visual representation of how various shades appear before they are buffed to their full metallic potential. Each offers a distinct character, from warm golds to cool silvers, allowing for highly customized results.
Even if you’re a seasoned Rub n Buff user, or if this is your very first time, this simple tutorial will guide you through the process, ensuring a flawless finish. You’ll be surprised at how straightforward and satisfying this mini-transformation can be!
Essential Supplies for Your Hinge Makeover
Gathering your tools before you begin will make the process even smoother. Most of these items are readily available at craft stores, hardware stores, or online, making this an accessible DIY project for everyone.
- Rub n Buff in your chosen metallic shade (e.g., European Gold, Pewter, Silver Leaf)
- Small, fine-bristle paint brush or disposable vinyl/latex gloves for application
- Disposable plate or palette for dispensing the product
- Clean, dry, lint-free rag for buffing
- Painter’s tape (essential for protecting surrounding surfaces)
- Optional: Mild cleaner and cloth for pre-cleaning hinges
Step 1: Prepare and Protect Your Workspace
Careful preparation is key to a clean, professional finish. Before applying any product, use painter’s tape to meticulously mask off the areas surrounding your hinges. This includes the front face of the door, the side edge of the door, and the door frame itself. Ensure the tape creates a crisp, protective barrier directly against the edges of the hinge. This step is crucial for preventing any accidental transfer of Rub n Buff onto your beautifully painted doors or frames, saving you from cleanup headaches later on. If your hinges are particularly dusty or grimy, give them a quick wipe-down with a mild all-purpose cleaner and let them dry completely before applying tape.
Step 2: Dispense and Choose Your Shade Wisely
Squeeze a very small, dime-sized amount of Rub n Buff onto a disposable paper plate or a piece of cardboard. Remember, a little goes an incredibly long way with this product, so resist the urge to use too much. Over-application can lead to a less refined finish and wasted product. When selecting your color, consider the overall aesthetic of your room. My personal favorite for a subtle, elegant brass/gold finish is European Gold, as it offers a slightly less saturated, more antiqued look compared to other brighter gold options. However, if your decor calls for a cool-toned metallic, shades like Pewter or Silver Leaf would be excellent choices for transforming your hinges into a sleek silver hue. For instance, the muted glow of European Gold creates a stunning contrast against darker wall colors, such as the Sherwin Williams Smoky Blue we utilized, adding a touch of sophisticated charm.
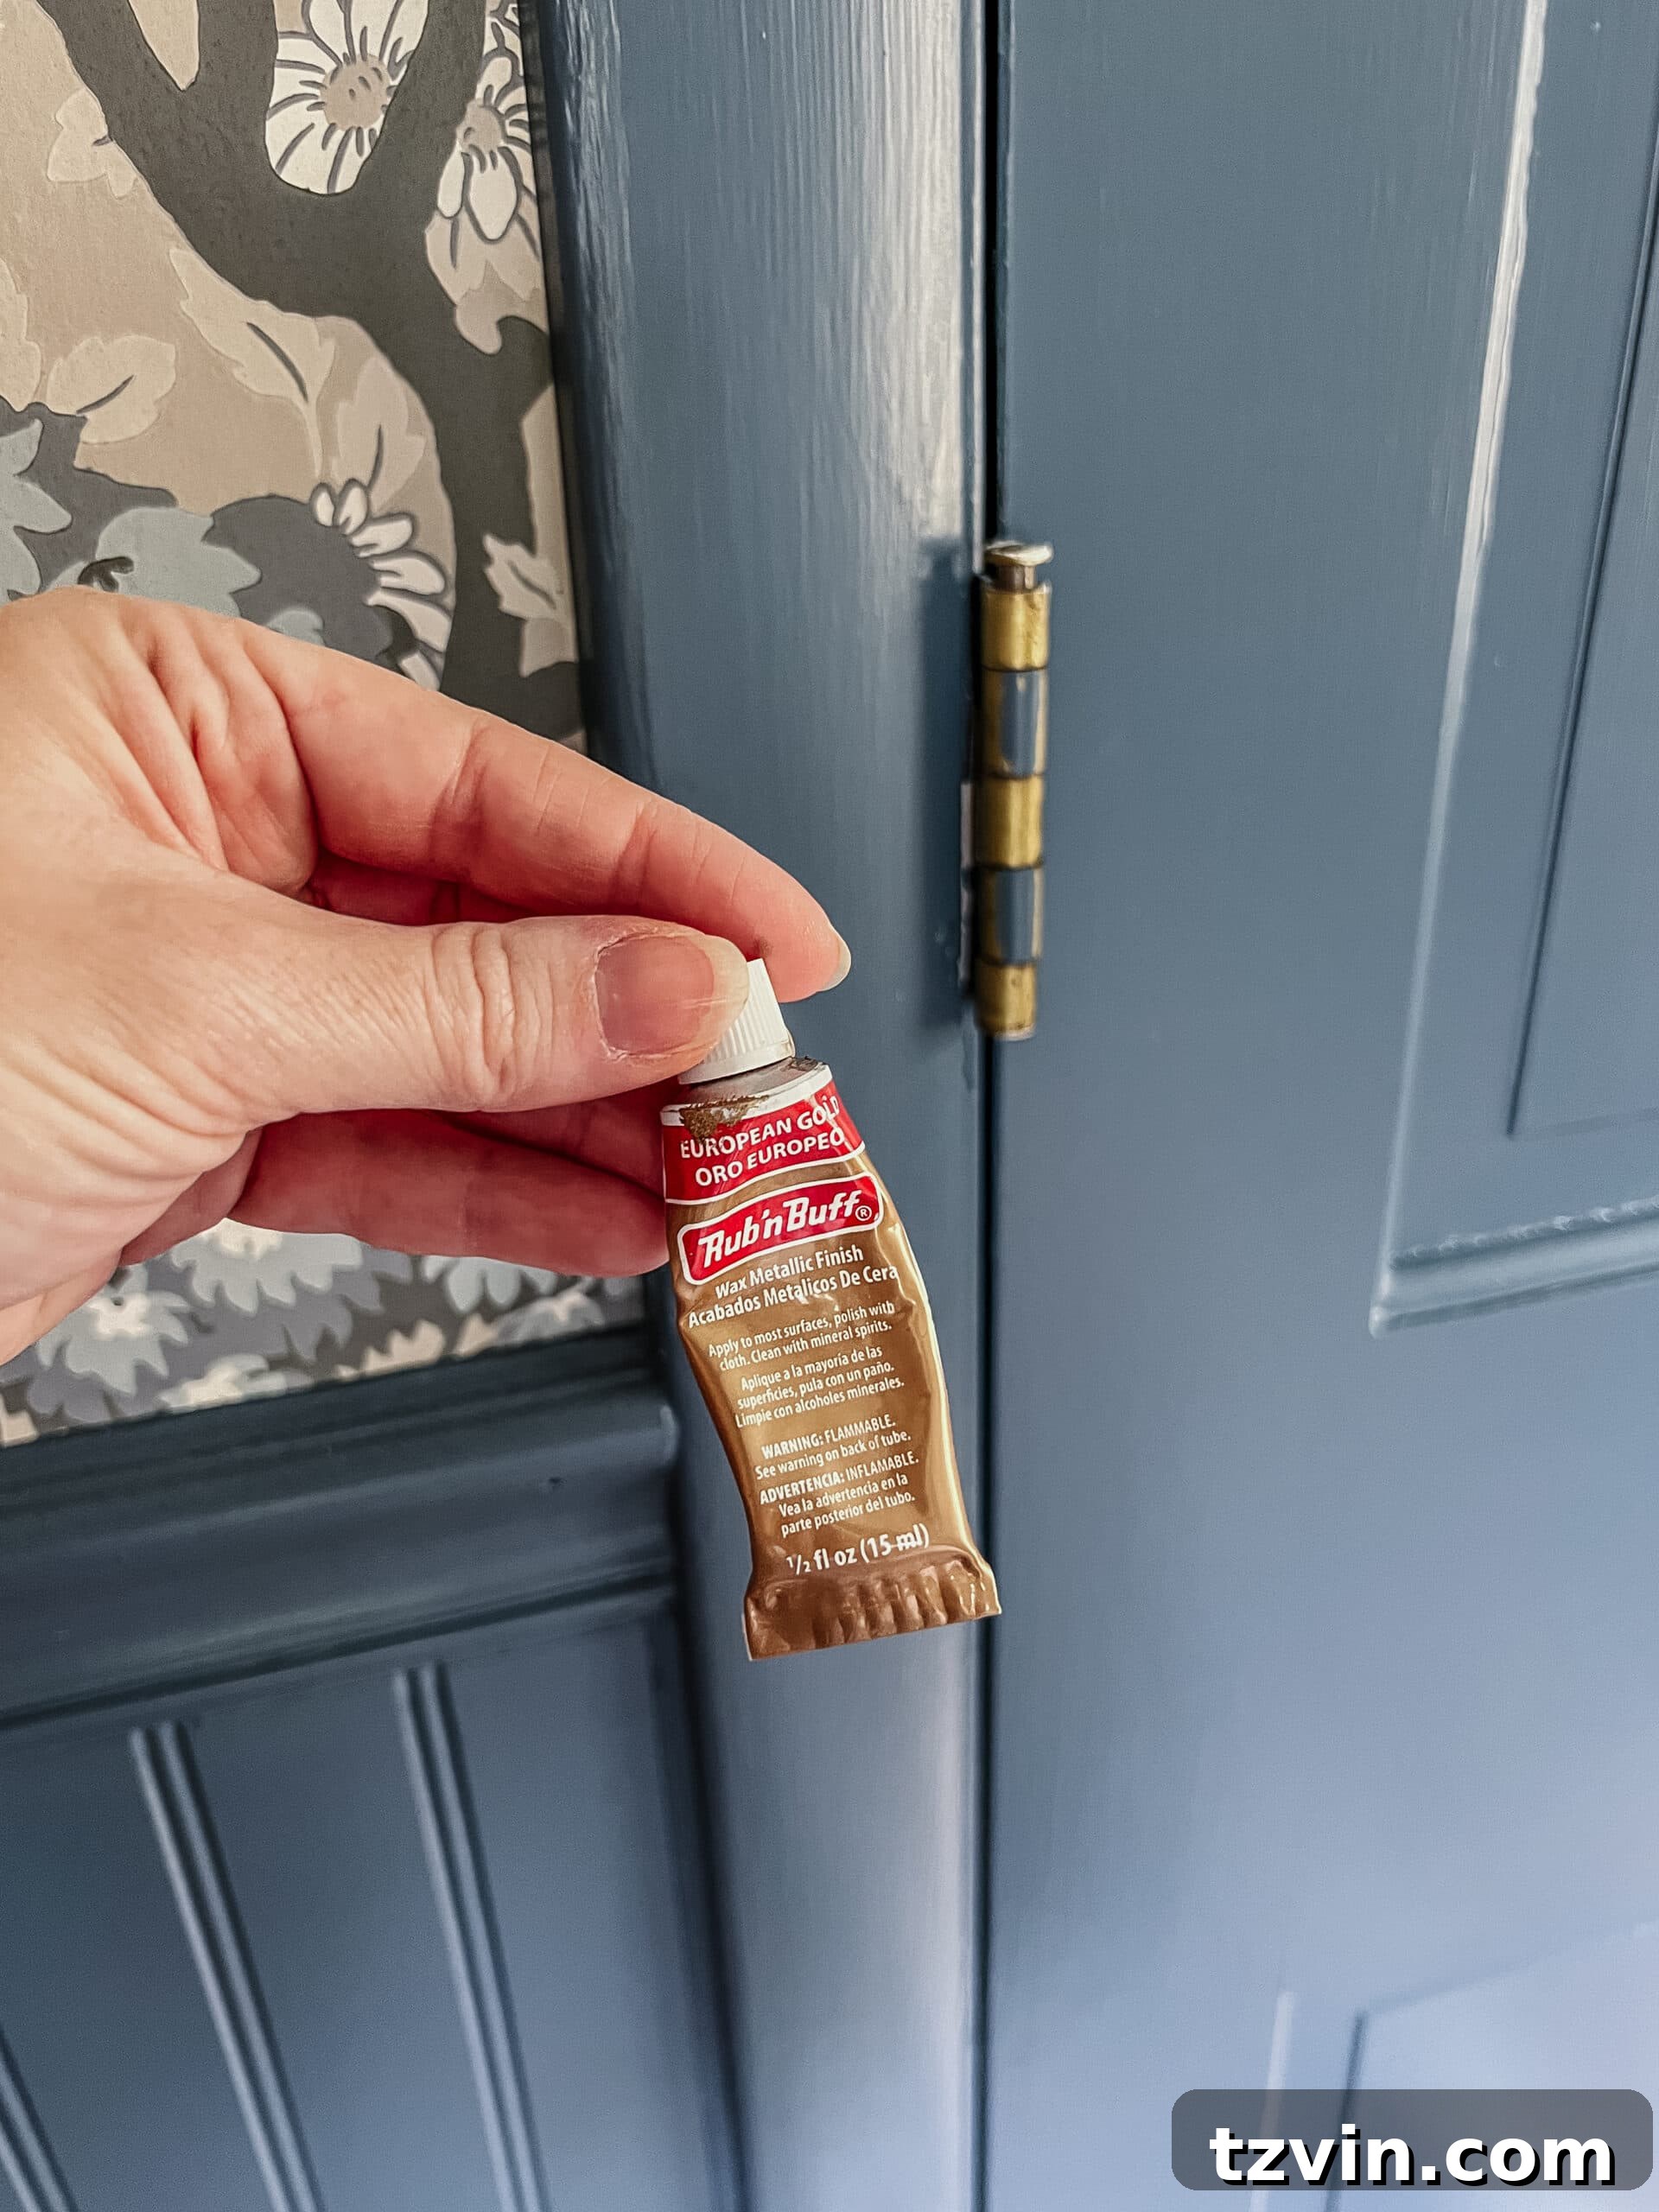
Step 3: Apply a Thin, Even Layer
Using your small paint brush or a gloved finger, carefully pick up a small amount of Rub n Buff from your palette. Apply a very thin, even layer directly onto the metal surface of the door hinge. Work in small sections, ensuring complete coverage of all visible parts of the hinge. The wax consistency makes it easy to spread, allowing you to coat the metal without drips or excessive buildup. Pay particular attention to any areas with old paint splatters or discoloration, ensuring they are fully covered. The goal is to create a uniform, smooth coating that will later be buffed to a brilliant shine. For intricate details or recessed areas of the hinge, a fine-tipped brush can be especially helpful in achieving thorough coverage.
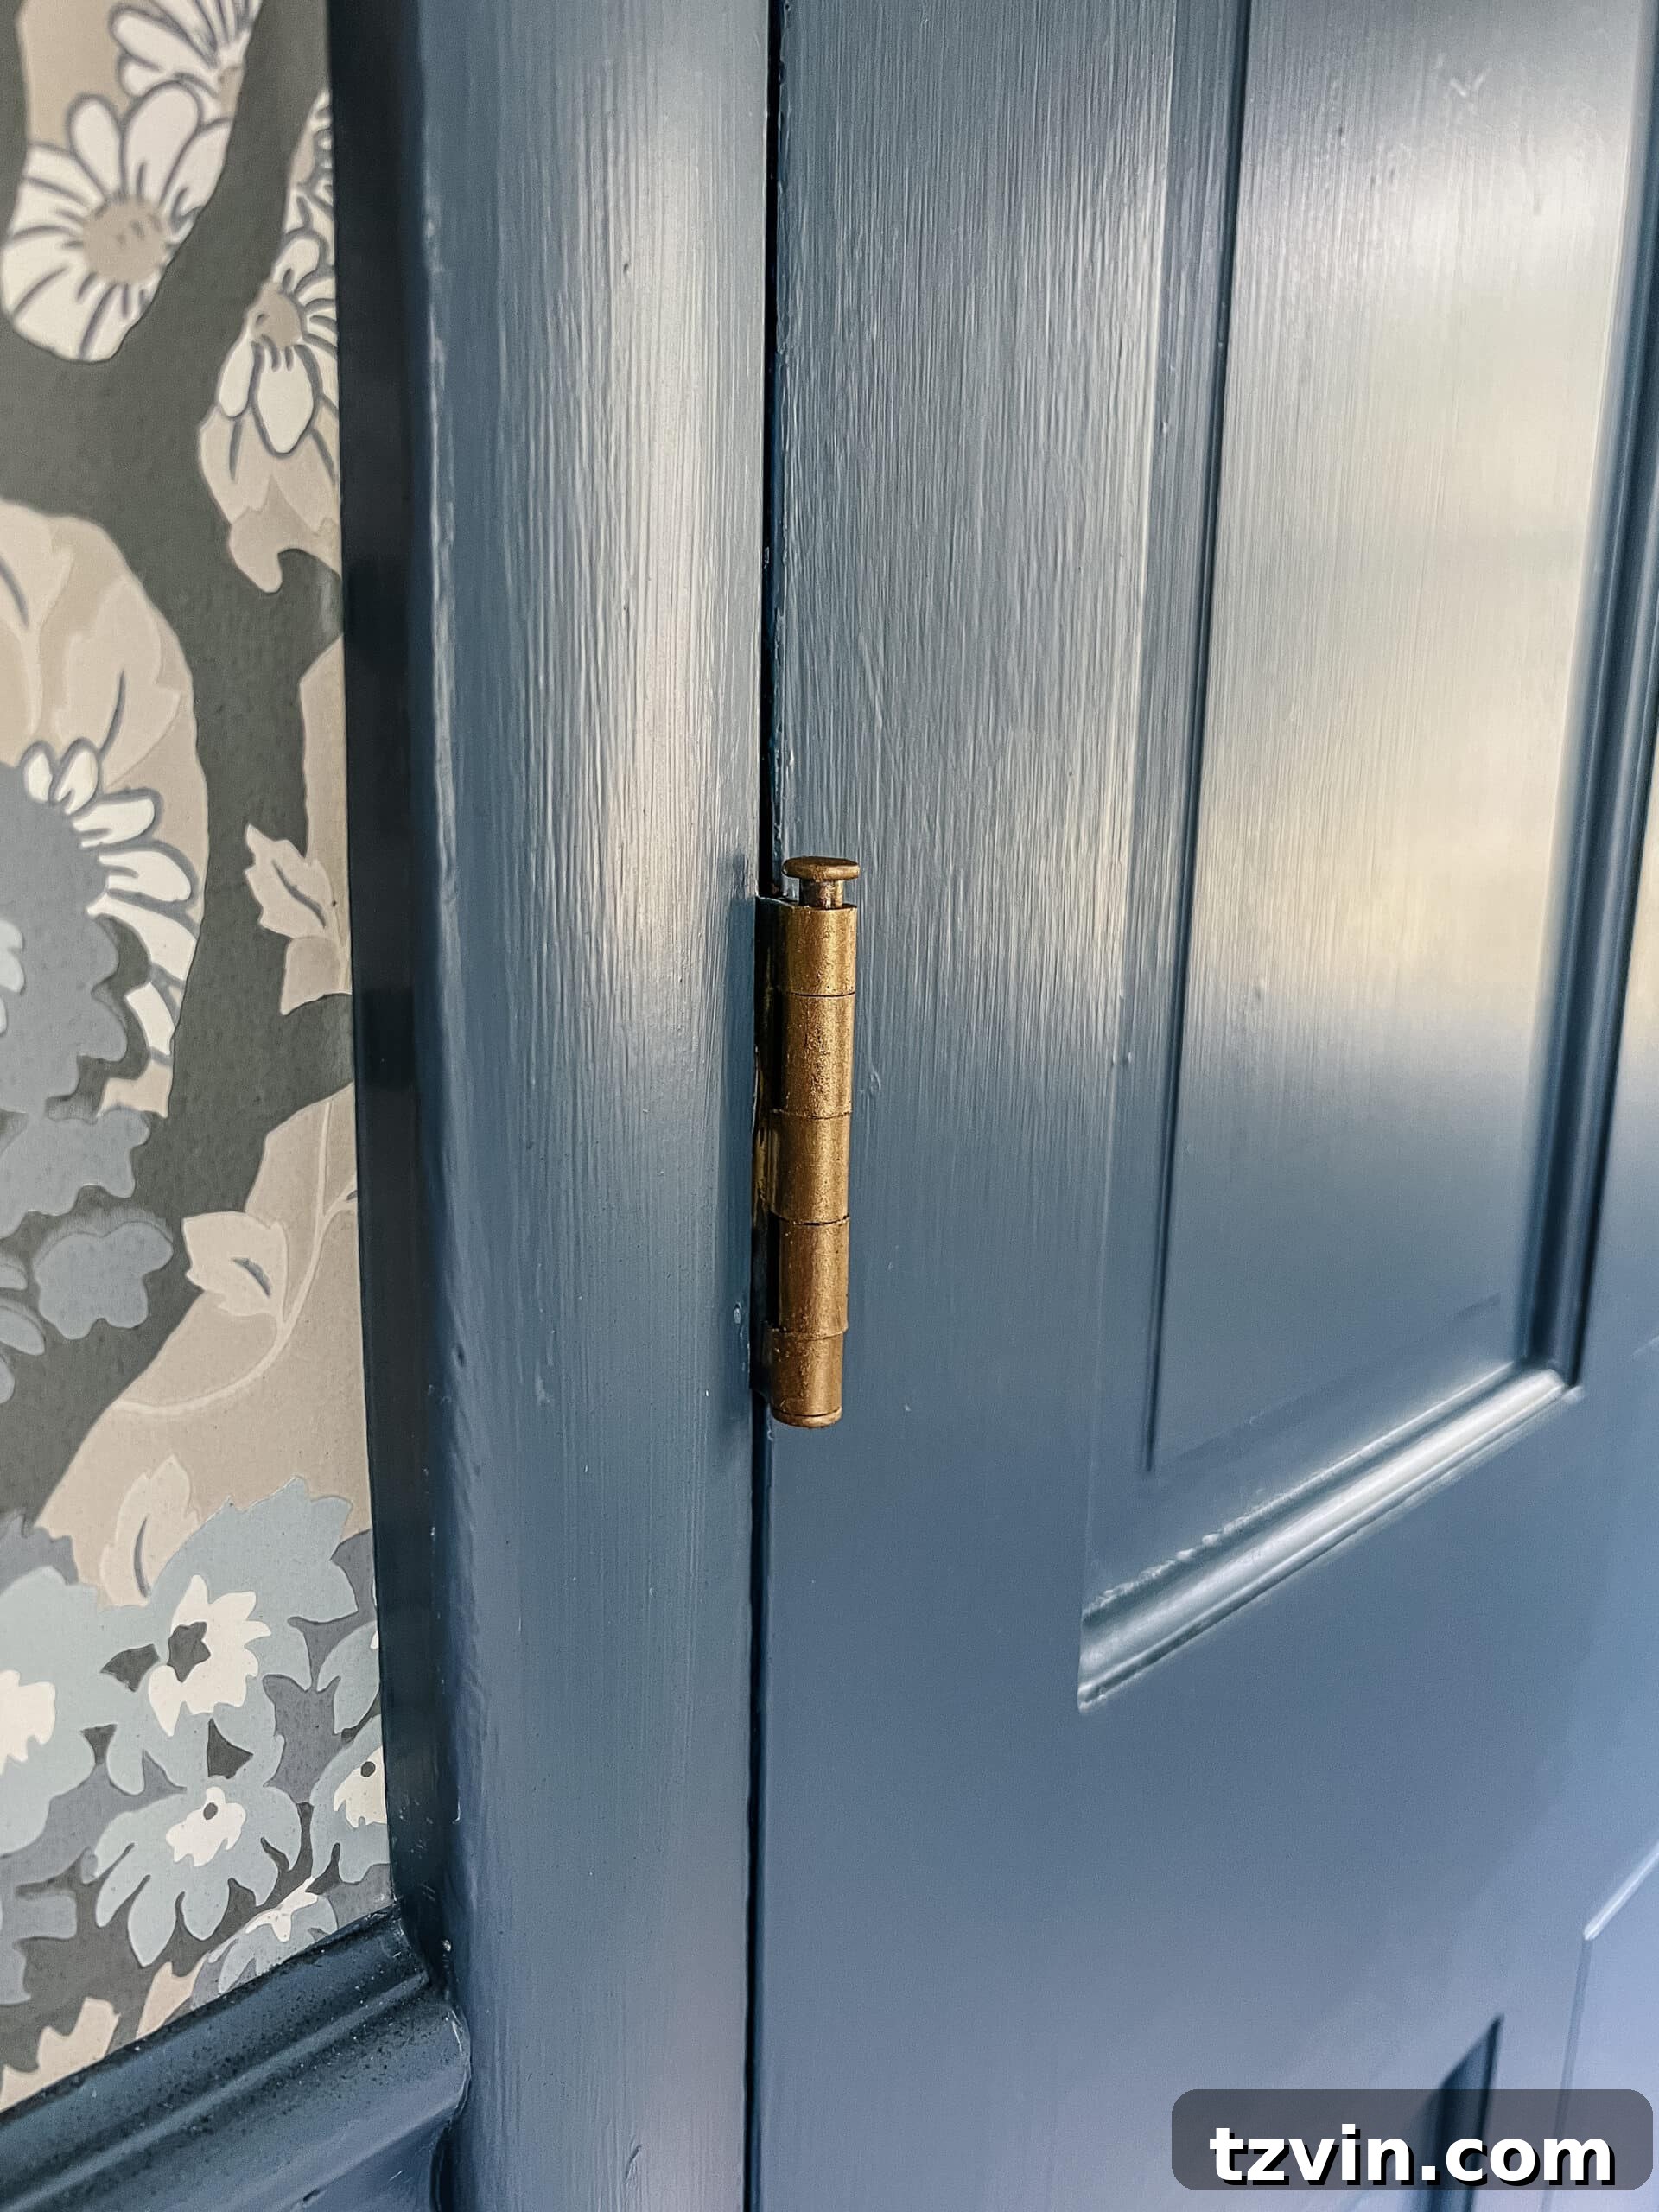
Step 4: Buff to a Beautiful Sheen
This step is where the magic truly happens! After allowing the Rub n Buff to dry for approximately 1-2 minutes (it dries very quickly!), take your clean, dry, lint-free rag or a fresh gloved finger. Gently but firmly begin to rub away any excess product and buff the applied wax onto the hinge surface. As you buff, you’ll notice the hinge transform, revealing a beautiful, luminous metallic sheen. Continue buffing until you achieve your desired level of shine and the surface feels smooth and dry to the touch. This process not only polishes the metallic particles but also helps to set the finish, contributing to its durability. Once satisfied, carefully remove the painter’s tape, pulling it away slowly to prevent lifting any of the freshly applied finish.
Experience the Instant Elegance: Easy DIY Brass Hinges and Beyond
And just like that, you’re done! It’s truly that simple to achieve gorgeous, updated hinges. While the ultimate goal might be to completely replace all our door hardware, this “spur of the moment” decision to use Rub n Buff has proven to be an incredibly effective interim solution. The difference it makes in upgrading these previously unsightly elements on our doors is genuinely remarkable, transforming them from eyesores into subtle, elegant details.
The success of this hinge transformation inspired further updates. For instance, we recently swapped out the outdated 80s door knobs on Olivia’s closet doors with this stunning antique brass double door knob set. The new knobs, reminiscent of the whimsical “talking knob” from Alice in Wonderland, perfectly complement the refreshed hinges and add a touch of vintage charm to the room.
Important Consideration: Durability and High-Traffic Areas: While Rub n Buff is fantastic for hinges and other low-contact decorative items, it’s generally not recommended for exterior doors or frequently touched hardware like door knobs and handles. These high-traffic areas require a more robust finish to withstand constant wear and tear. For such applications, a durable spray paint method is a superior choice. You can follow this comprehensive tutorial on how to spray paint door knobs (originally used for shower fixtures) to achieve a long-lasting, resilient finish. This method involves crucial steps such as thorough sanding, proper priming, and finishing with a protective spray lacquer for maximum durability. Skipping these steps can compromise the longevity of the finish on high-use items.
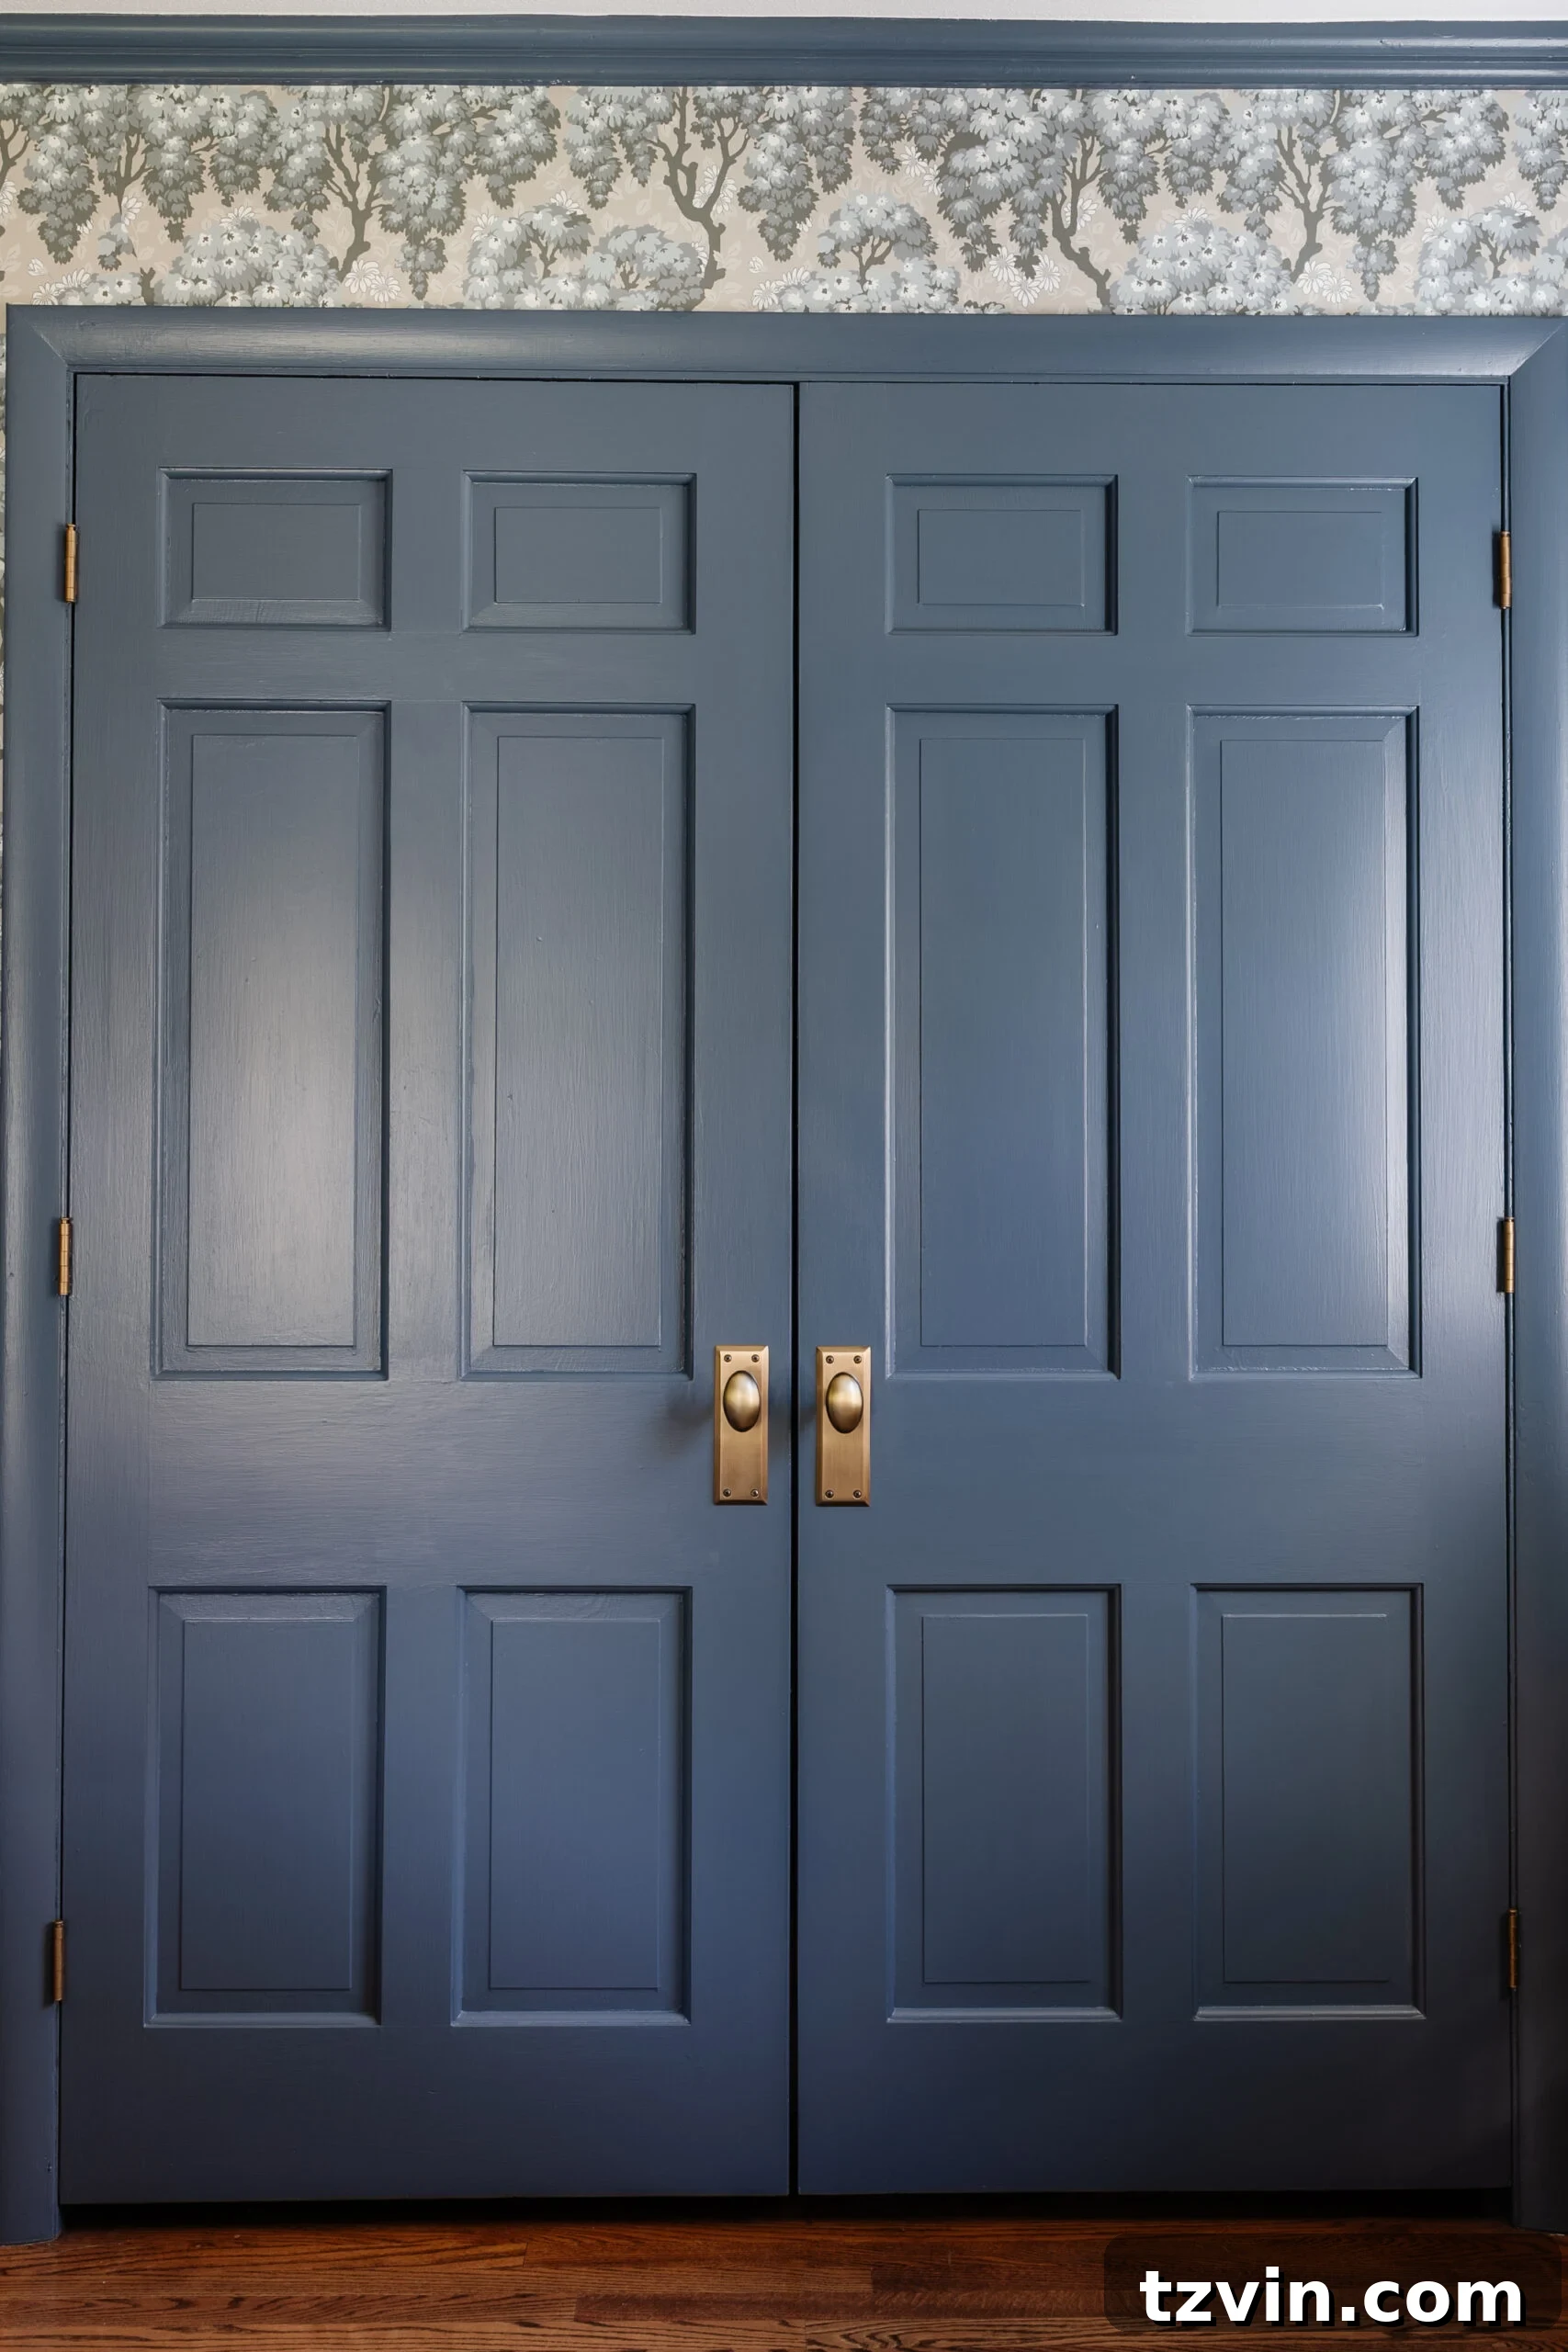
Our journey of improving our home has been ongoing, often involving addressing the “sins” of previous generations of homeowners. This includes tackling decades of shoddy paint jobs underneath countless layers on our upstairs interior doors, where peeling paint has become a persistent issue. While the thought of extensive paint stripping is far from appealing, it’s a project we anticipate having to undertake eventually to truly rectify the underlying problems.
However, the combined effect of correcting those peeling paint layers (a result of improper prep and priming by previous owners), replacing mismatched door knobs, and giving these door hinges a fresh lease on life with Rub n Buff has already made an incredible difference. Each small update contributes significantly to the overall aesthetic and feel of our home, transforming it from a collection of inherited issues into a space that truly reflects our style.
So, would you dare to Rub n Buff your door hinges? I honestly can’t believe I waited this long to discover such a simple yet impactful solution. It’s an awesome way to update your home without breaking the bank or your back!
Inspiring DIY Door Update Ideas for Your Home
Looking for more ways to enhance your doors and add character to your living space? Explore these fantastic DIY projects that can further elevate your home’s appeal:
- The Best Trick for Painting French Doors: Master the art of painting intricate French doors with smart, time-saving techniques.
- DIY Mirrored French Closet Doors: Learn how to create elegant mirrored closet doors that add light and sophistication to any bedroom.
- How to Paint Doors and Make Them Durable: Get expert tips on painting interior doors for a smooth, long-lasting finish that withstands daily wear.
- Window Film Ideas to Create Decorative Glass Around Your Home for Less: Discover creative ways to add privacy and style to your windows and doors using affordable window film.