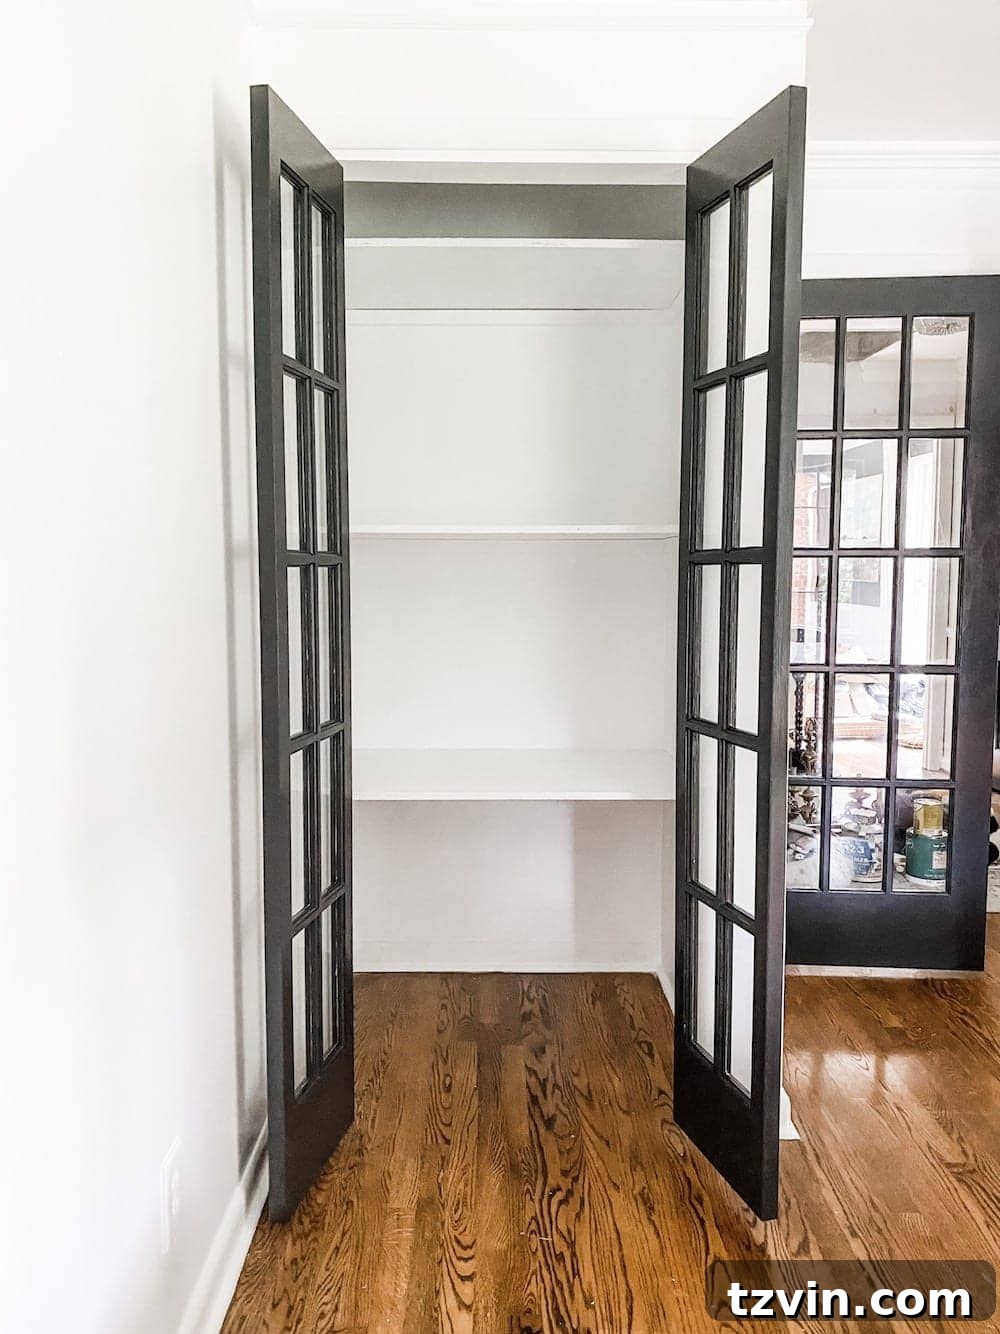
Last time we shared the home office saga, a journey of transformation that has been both challenging and incredibly rewarding. Our vision for a dedicated, functional, and aesthetically pleasing workspace has slowly but surely been taking shape. This project is more than just a renovation; it’s about crafting a space that inspires productivity and brings joy. As you can see from the previous update, we had made significant progress, reaching a crucial milestone in our ambitious plan.
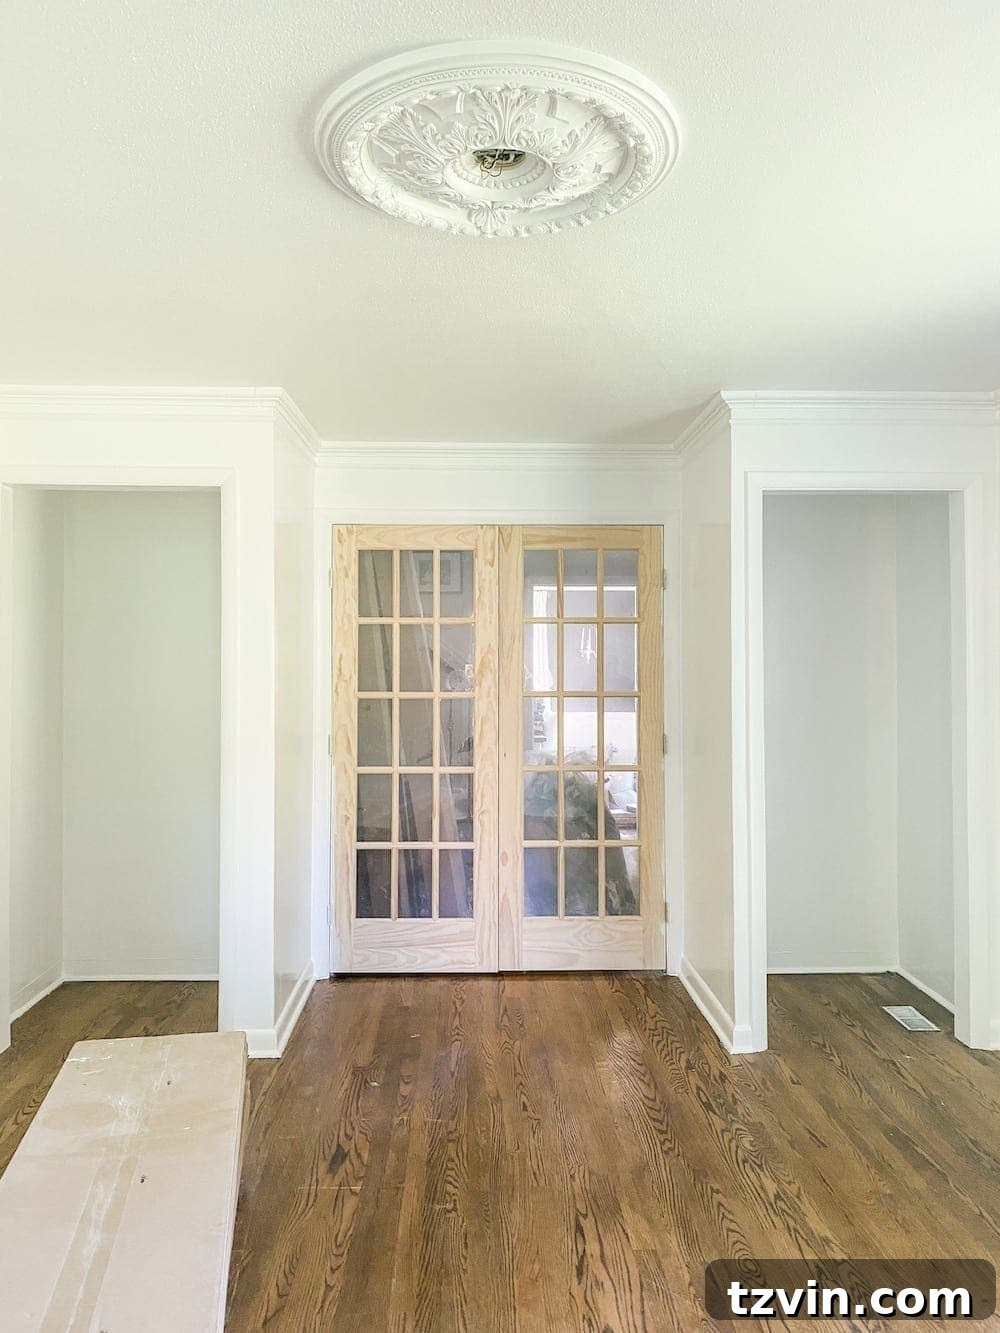
Our home office makeover has been an adventure, involving extensive planning to map out every detail, hands-on building to construct new elements, and meticulous painting to bring our design vision to life. Each step has brought us closer to the functional and beautiful workspace we envisioned. From framing out new closets to choosing the perfect wall colors, every decision has been made with the goal of creating a highly efficient and inspiring environment.
A key part of maximizing the functionality of any office, especially one with dedicated storage, is ensuring that the closets are not only well-built but also well-equipped. What’s the point of constructing sturdy new office closets if they don’t offer smart, accessible storage solutions? That’s precisely where our latest projects come in: adding practical, custom shelving and upgrading the entryway with elegant doors.
We chose to use a couple of our favorite bi-fold doors for this project, a style we’ve successfully incorporated into our laundry room and master bedroom closets previously. These doors offer a versatile base for transformation. However, for the home office, we wanted to elevate their appearance and functionality, giving them a more sophisticated and open feel. Our plan was to convert these standard bi-fold doors into a grand pair of French doors, instantly adding a touch of classic elegance and improving accessibility to the closet’s contents.
This conversion not only enhances the aesthetic appeal of the office but also provides a more inviting entry to the storage space, moving away from the often clunky operation of bi-folds. The transformation promises to make the office feel more spacious and luxurious, aligning perfectly with our overall design goals. We’re excited to share how simple this dramatic upgrade truly is!
UPDATE: Eager to see the complete home office transformation? Discover the final reveal here and witness the stunning outcome!
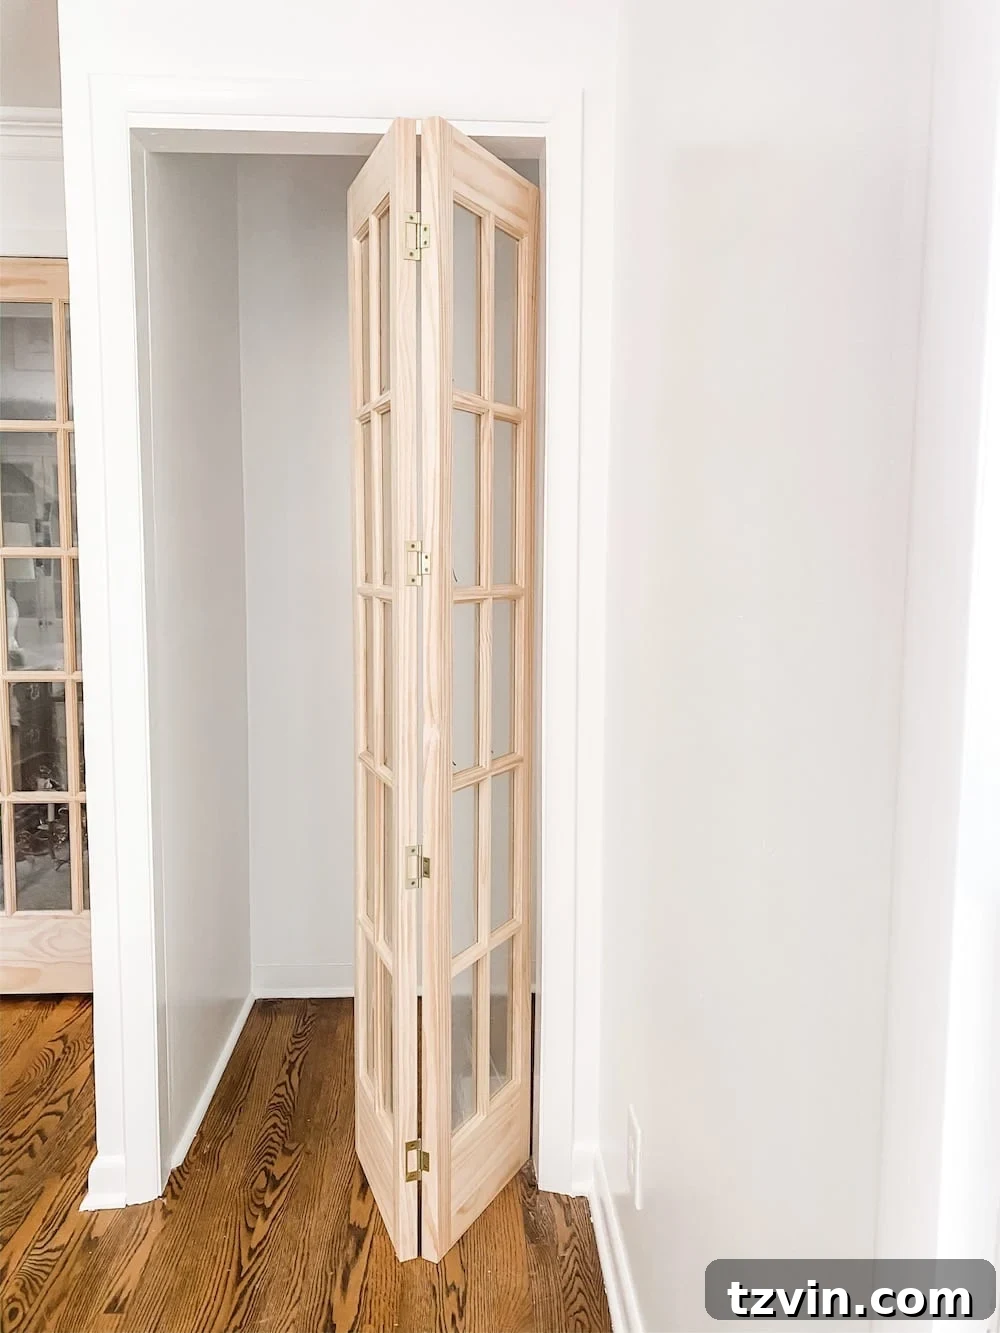
How to Convert Bi-Fold Doors into Elegant French Doors: A Simple DIY Guide
Converting a standard bi-fold door into a stylish set of French doors is an incredibly straightforward DIY project that can dramatically upgrade the look and feel of any room, especially an office. This modification provides better access to your closet, allows for more natural light to potentially filter in (depending on door style), and adds a touch of architectural charm. Forget the cumbersome folding action; embrace the graceful swing of French doors. Here’s how you can achieve this transformation with minimal effort and tools.
Supplies for French Door Conversion:
- Existing bi-fold doors (we highly recommend these French bifold doors which we’ve used in our laundry room and master bedroom closets for their quality).
- New hinges (we used these specific hinges, ensuring they match your desired aesthetic and door weight).
- Power drill with appropriate bits for screws.
- Screwdriver.
- Pencil.
- Measuring tape.
- Optional: Shims for leveling.
Step-by-Step Guide:
1. Disassemble the Bi-Fold Doors: The first and most crucial step is to carefully remove the doors from their track and then separate the individual panels. Bi-fold doors are typically connected by hinges in the middle. Simply unscrew these central hinges that join the two door panels together. This will separate each bi-fold door into two distinct, narrower door panels. Handle the doors gently to avoid any damage, especially to the edges that will become the new door sides. You’ll now have four individual door slabs ready for conversion.
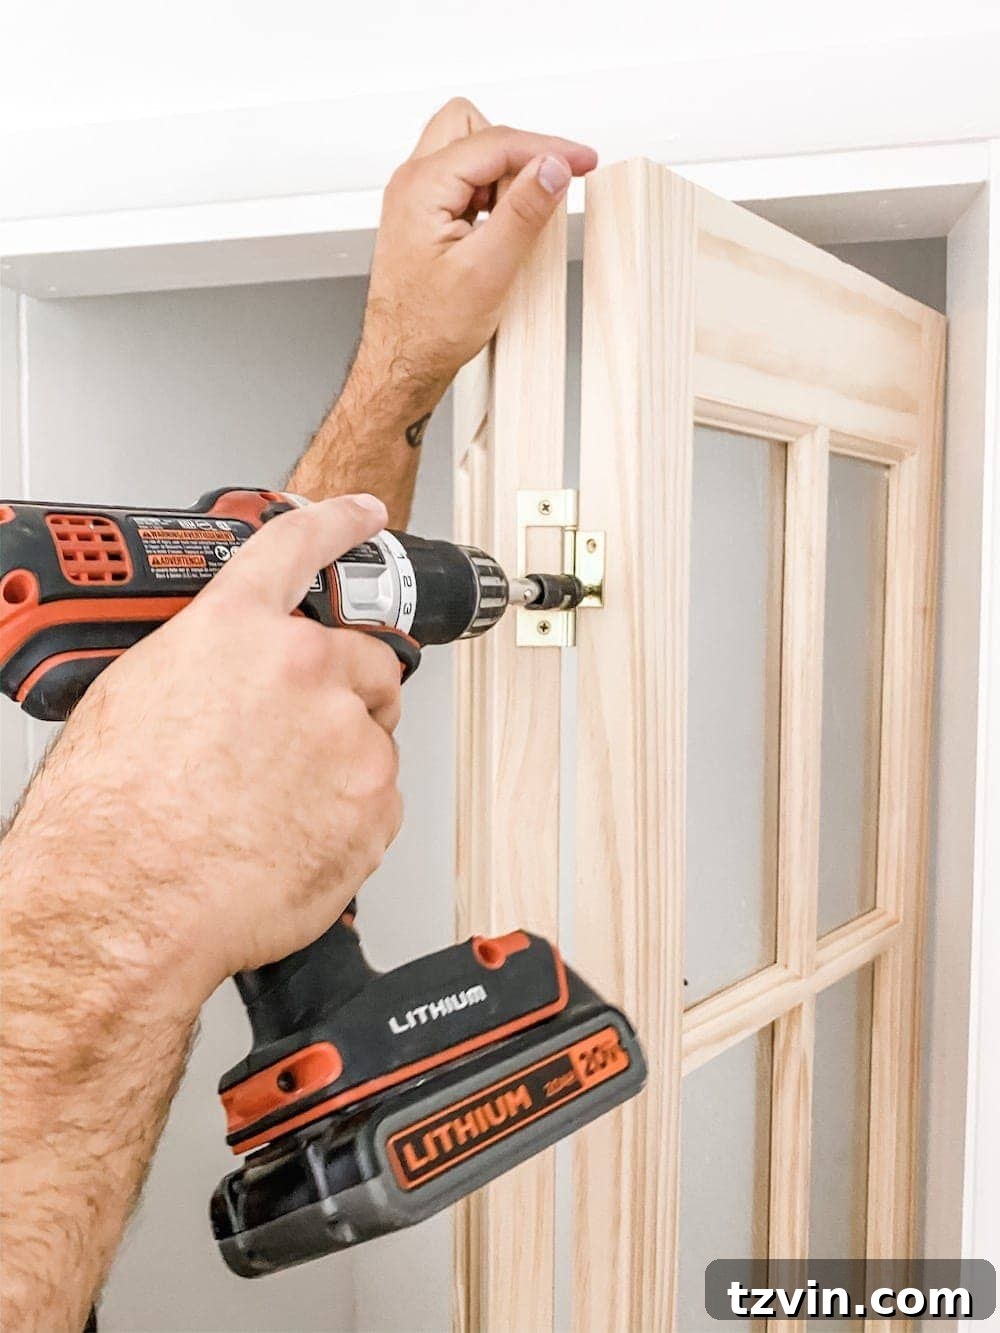
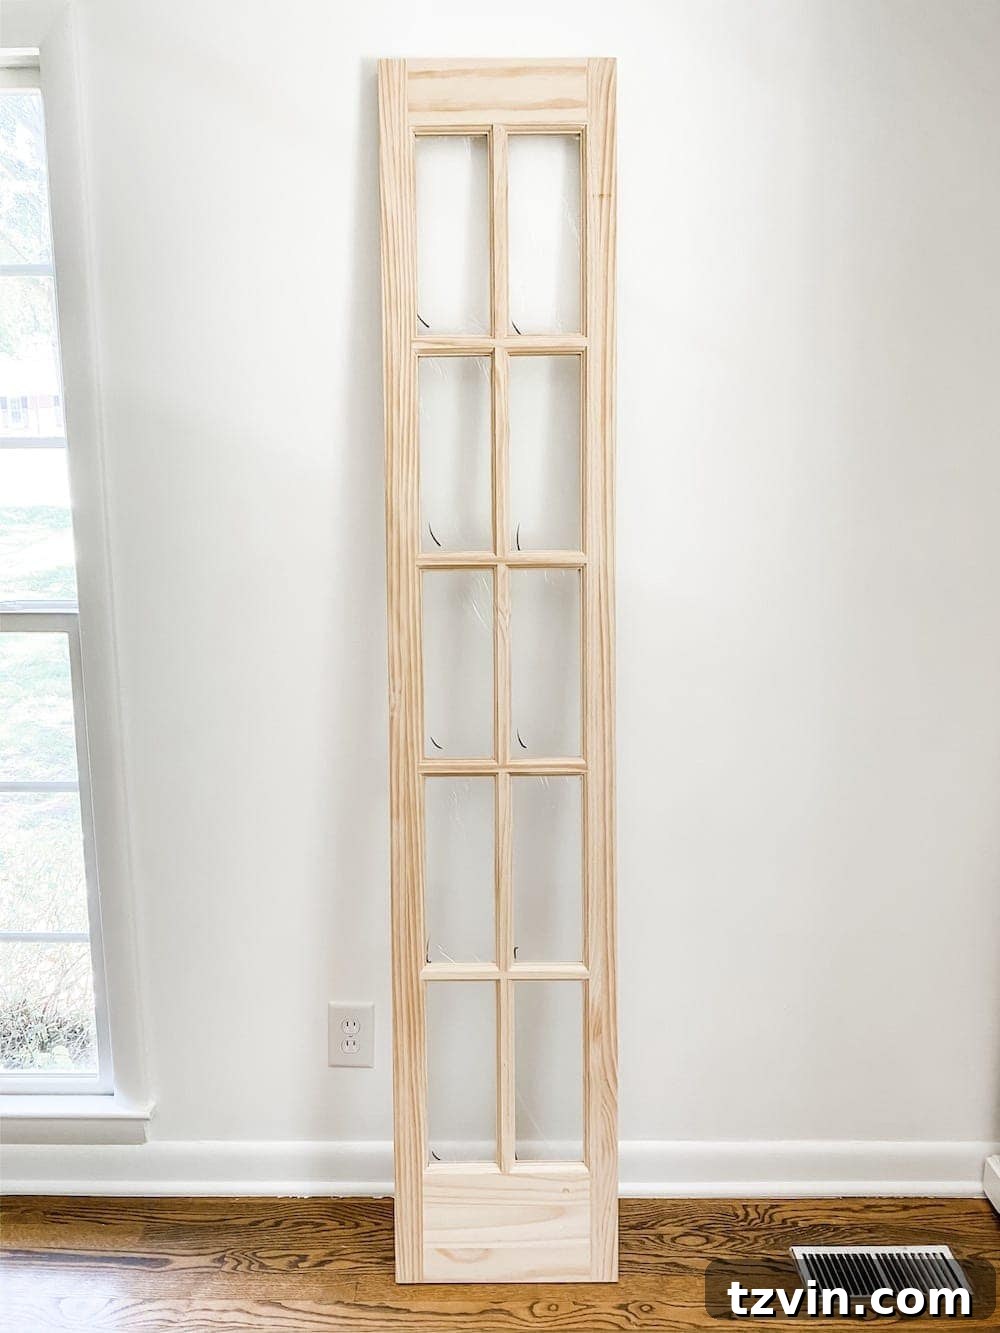
2. Attach New Hinges to Each Door Panel: Now, treat each of your separated bi-fold door panels as a single, independent door. For a standard-sized door, you’ll need to attach three or four hinges along one side of each individual door panel. For our project, we opted for four hinges per door to ensure maximum stability and a smooth swing, totaling eight hinges for the pair of French doors. Measure carefully to ensure the hinges are evenly spaced and aligned vertically. Mark your pilot holes before drilling to prevent wood splitting.
3. Mount Doors to the Frame: With hinges securely attached to your new French door panels, it’s time to install them into the door frame. This step requires precision. Have a helper hold each door in place while you screw the hinges to the door frame. It’s absolutely crucial that both doors are hung at the exact same height and are perfectly level to ensure they close properly and look aesthetically pleasing. Use a level extensively throughout this process and make minor adjustments as needed. You might need to use shims behind the hinges if your door frame isn’t perfectly plumb.
And just like that, you’re done! This entire process is remarkably simple and took us a mere 10 minutes from start to finish. The key is to double-check everything, especially the direction your hinges are swinging. We nearly made the common mistake of installing them backward, which would have been a quick but humorous fix. A careful approach ensures a professional-looking result and a perfectly functional pair of French doors that truly open up your space.
Build Your Own Custom Closet Shelves for Optimal Organization
Once the elegant French doors were successfully installed, the next logical step was to create equally functional storage inside the closets. Custom shelving is a game-changer for organization, allowing you to utilize every inch of vertical space efficiently. Unlike pre-fabricated or wire shelving, DIY wooden shelves can be tailored precisely to your needs, whether you’re storing office supplies, craft materials, or seasonal decor. These DIY shelves are incredibly easy to build, requiring just basic carpentry skills and a few common materials like plywood and 1×2 boards.
If you currently have unsightly wire shelves, don’t despair! You can easily upgrade them without a complete overhaul. A similar DIY wood closet shelf overlay technique can be used to disguise those wire units, instantly transforming a flimsy look into a solid, clean aesthetic. However, for a brand new closet build, starting from scratch with solid wood provides the strongest and most versatile foundation.
Easy DIY Closet Shelves: A Step-by-Step Guide
(Some affiliate links are provided below for your convenience. Full disclosure here.)
Essential Tools and Materials:
- 1×2 pine boards (for shelf supports)
- 1/2″ plywood (for the shelf surface – choose a good grade for a smooth finish)
- Stud finder (crucial for securely attaching supports)
- Power drill & various drill bits (for pilot holes and driving screws)
- Tape measure
- Pencil
- Level (a long one is very helpful for accuracy)
- Wood screws (ensure they are long enough to penetrate studs, typically 2.5-3 inches)
- Circular saw (or a table saw for more precise cuts; alternatively, most home improvement stores offer cutting services)
- Safety glasses and gloves
- Wood filler (optional, for screw holes or imperfections)
- Sandpaper (various grits for smooth edges)
- Paint or primer (to finish the shelves)
Detailed Steps for Building Your Custom Closet Shelves:
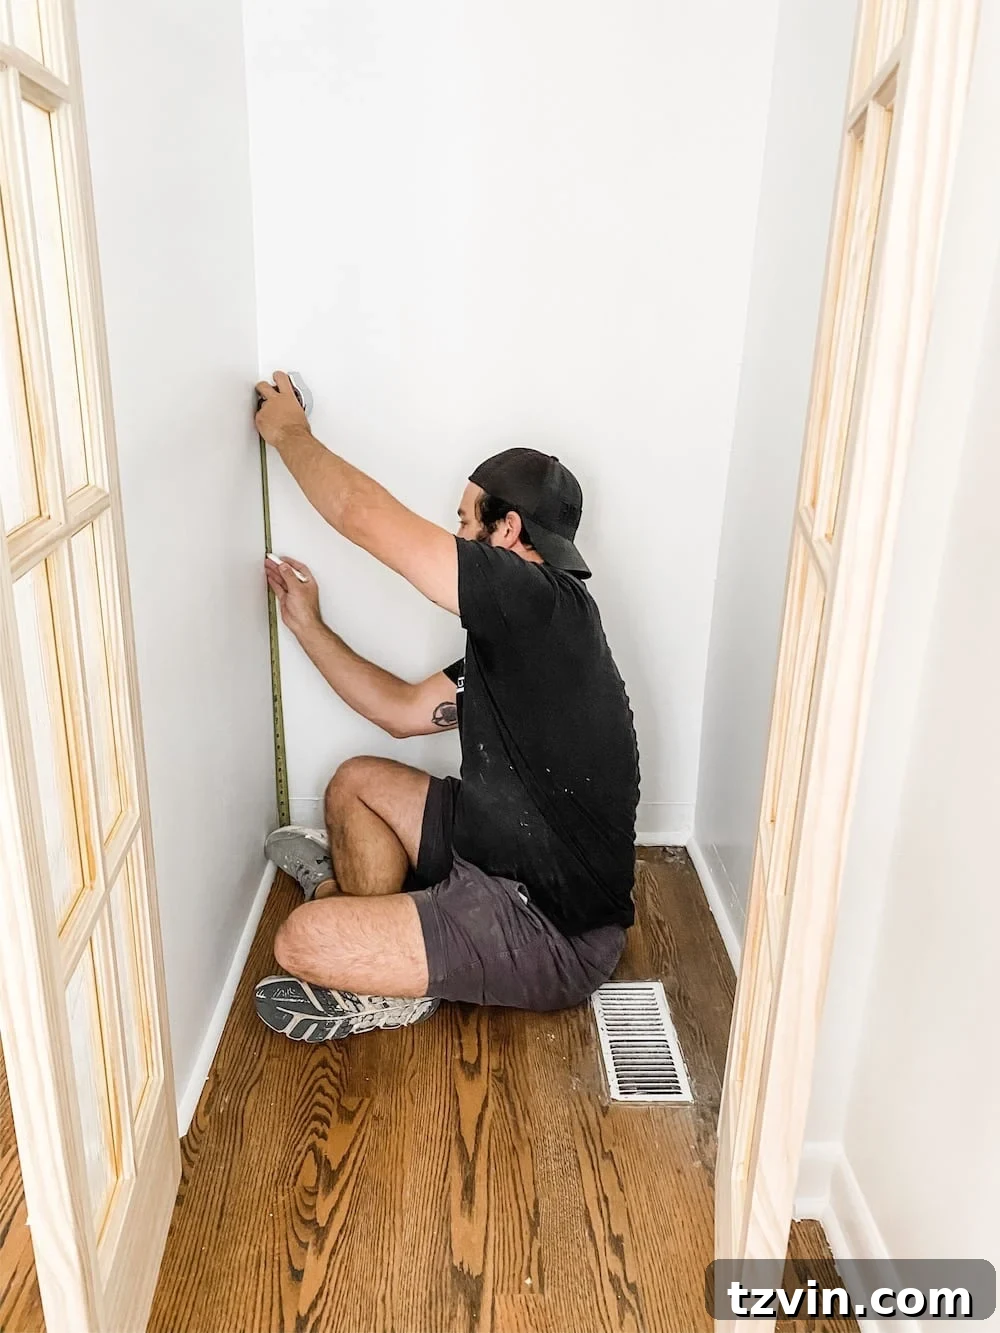
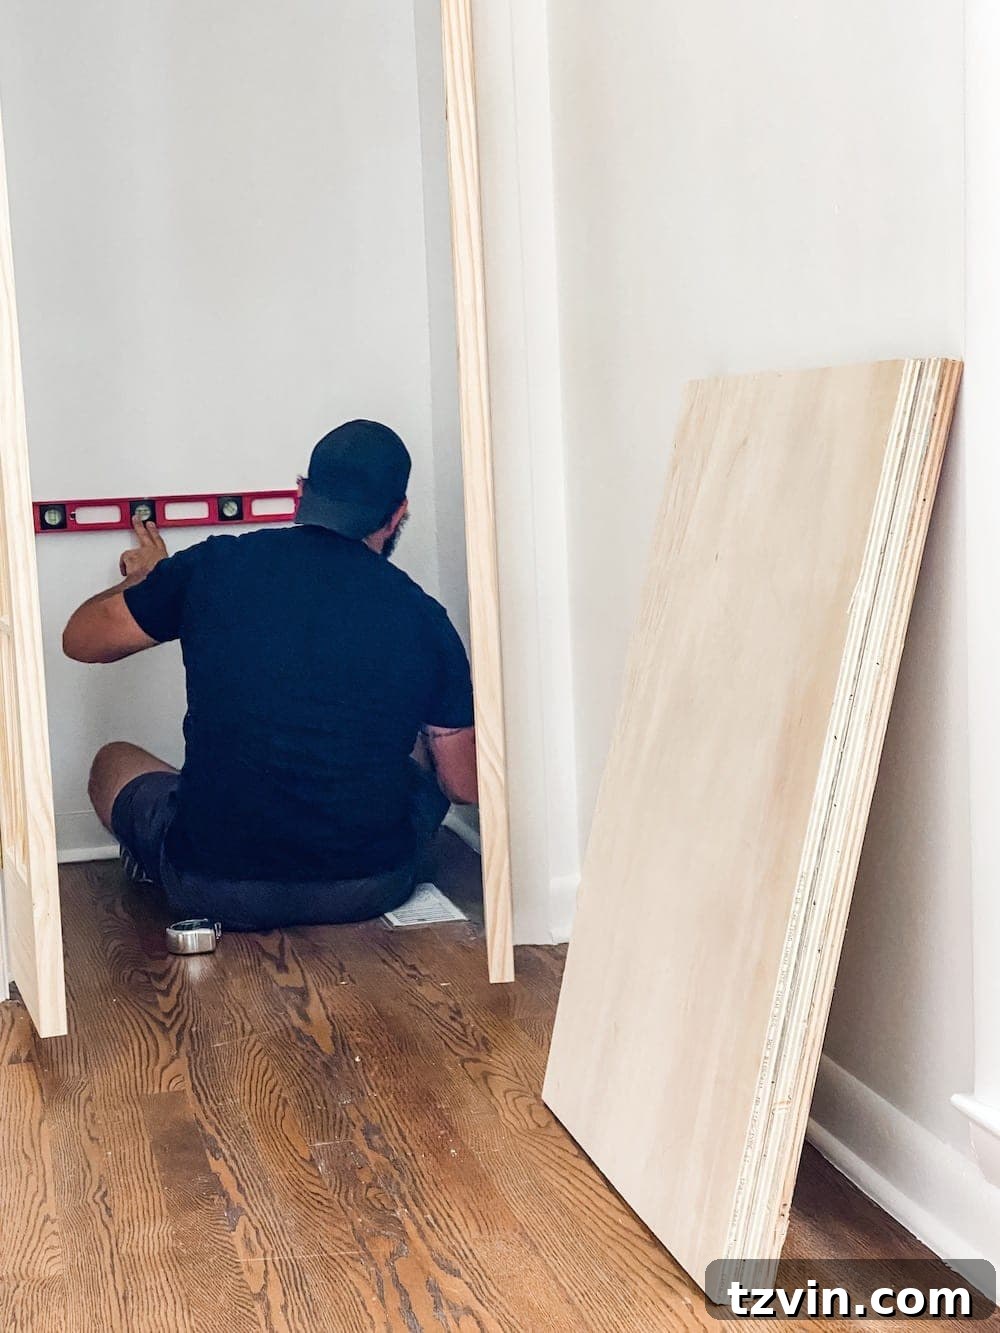
1. Plan and Mark Shelf Placements: Begin by carefully planning the layout of your shelves. Consider what you’ll be storing on each shelf to determine optimal spacing. We decided on a consistent 24-inch vertical separation between our shelves, which provides ample space for a variety of items without wasting vertical real estate. Robert measured and marked these placements directly on the closet walls. Use a pencil for these initial markings, as they can be easily erased or adjusted.
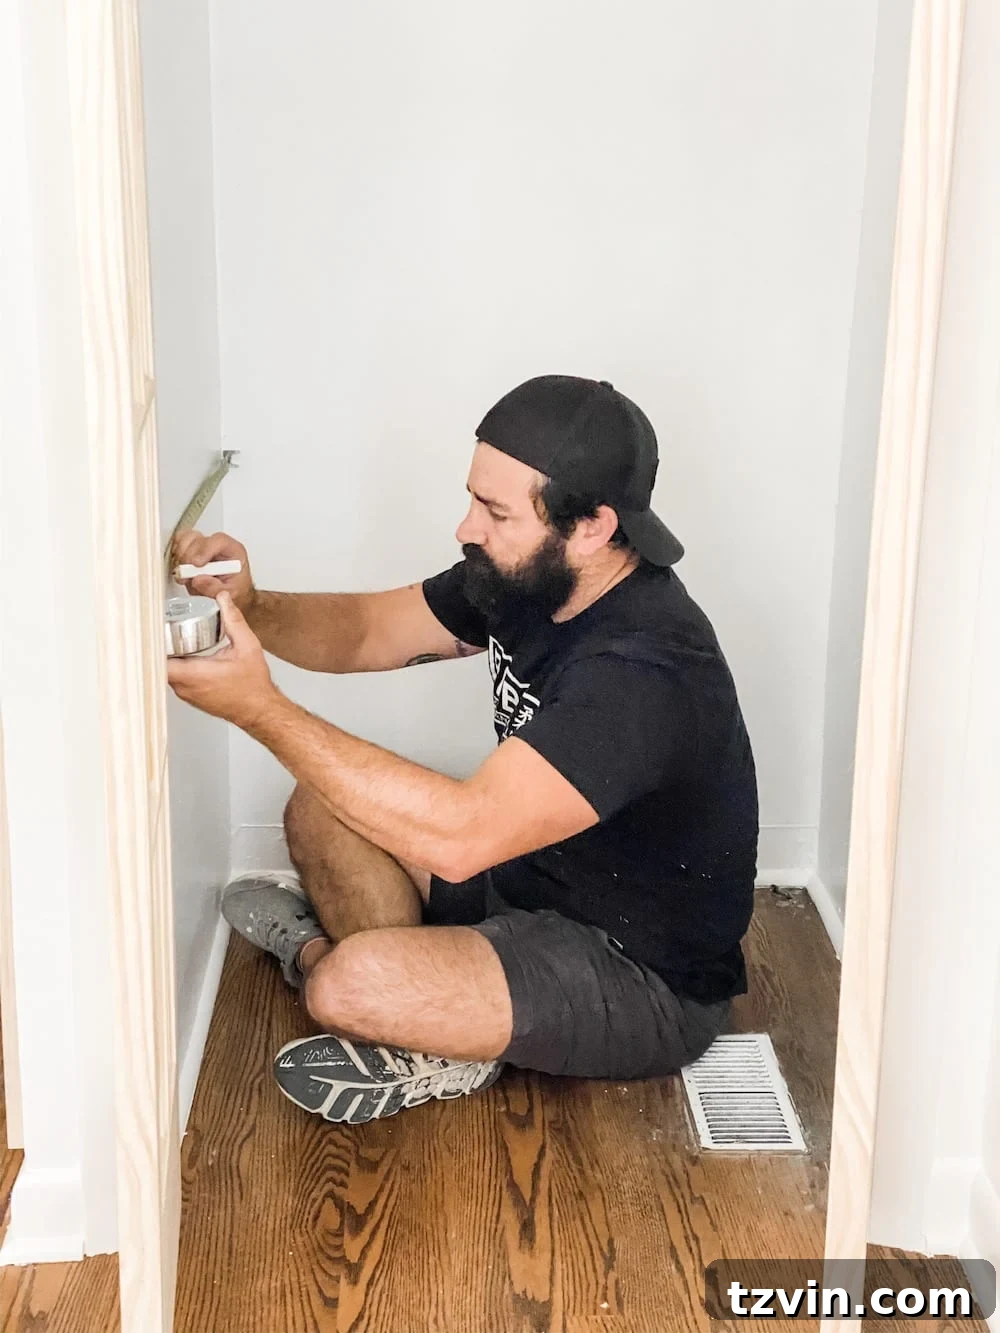
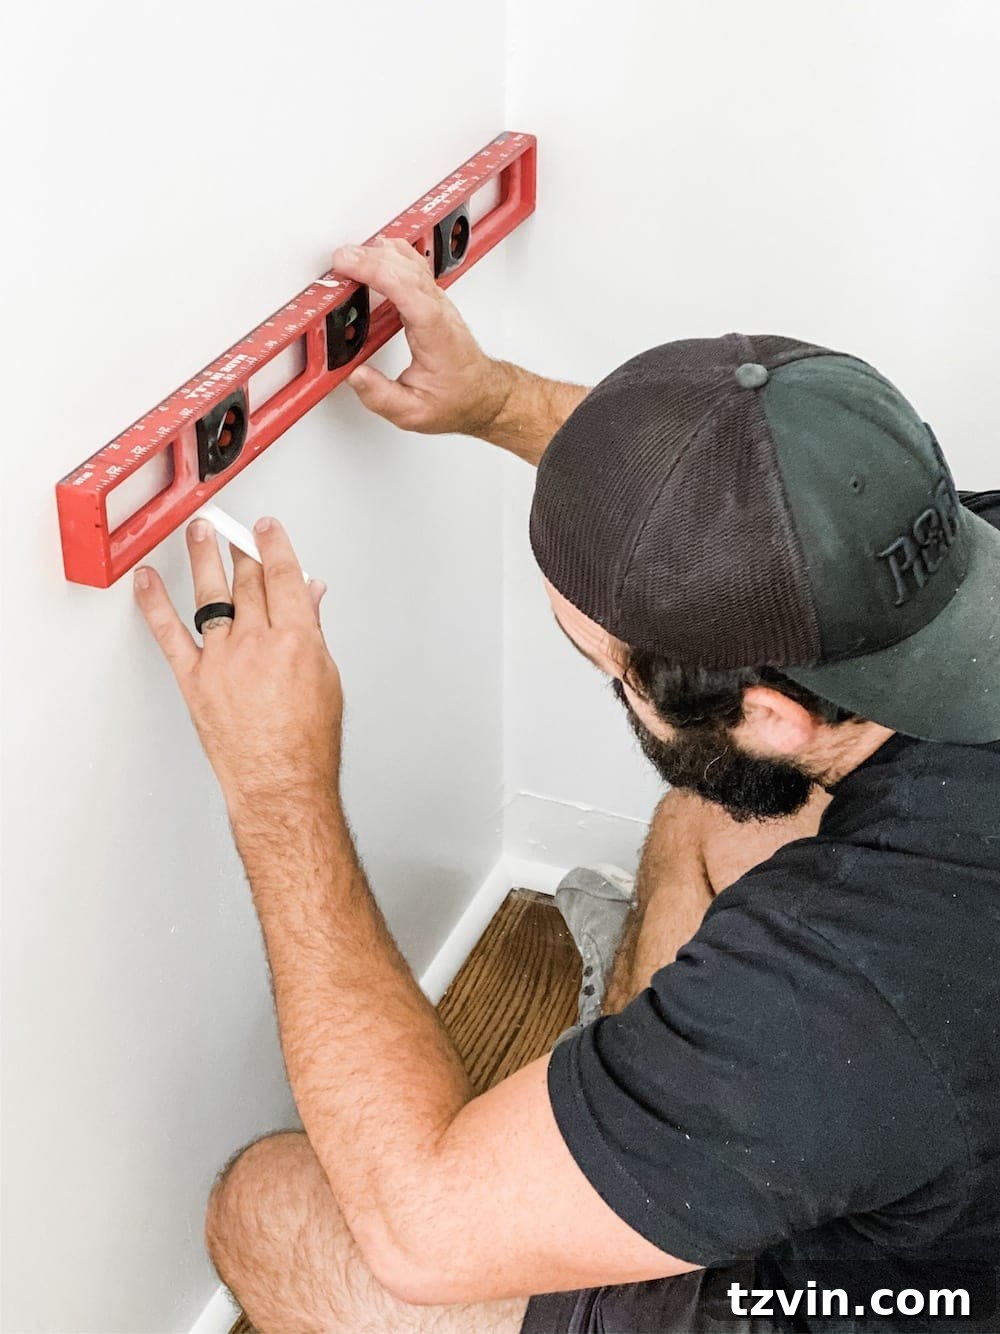
2. Draw Level Lines and Locate Wall Studs: Precision is key for sturdy, level shelves. Using your marked points, place a level against the wall and draw continuous, straight lines across the back and side walls where each shelf will sit. These lines will serve as guides for attaching your support boards. Next, use a reliable stud finder to locate and mark the exact positions of the wall studs along these lines. Attaching your support boards directly into studs is essential for ensuring your shelves can bear significant weight without sagging or pulling away from the wall.
3. Cut Plywood for Shelf Bases: With your measurements confirmed, it’s time to cut your plywood. Measure the depth of your closet to determine the appropriate width for your shelves. Using a circular saw, carefully rip down the 1/2-inch plywood into the desired shelf depths. For safety and accuracy, ensure your plywood is securely clamped before cutting. If you’re not comfortable with power tools, most hardware stores offer cutting services for plywood sheets, which can save you time and ensure straight, precise cuts.
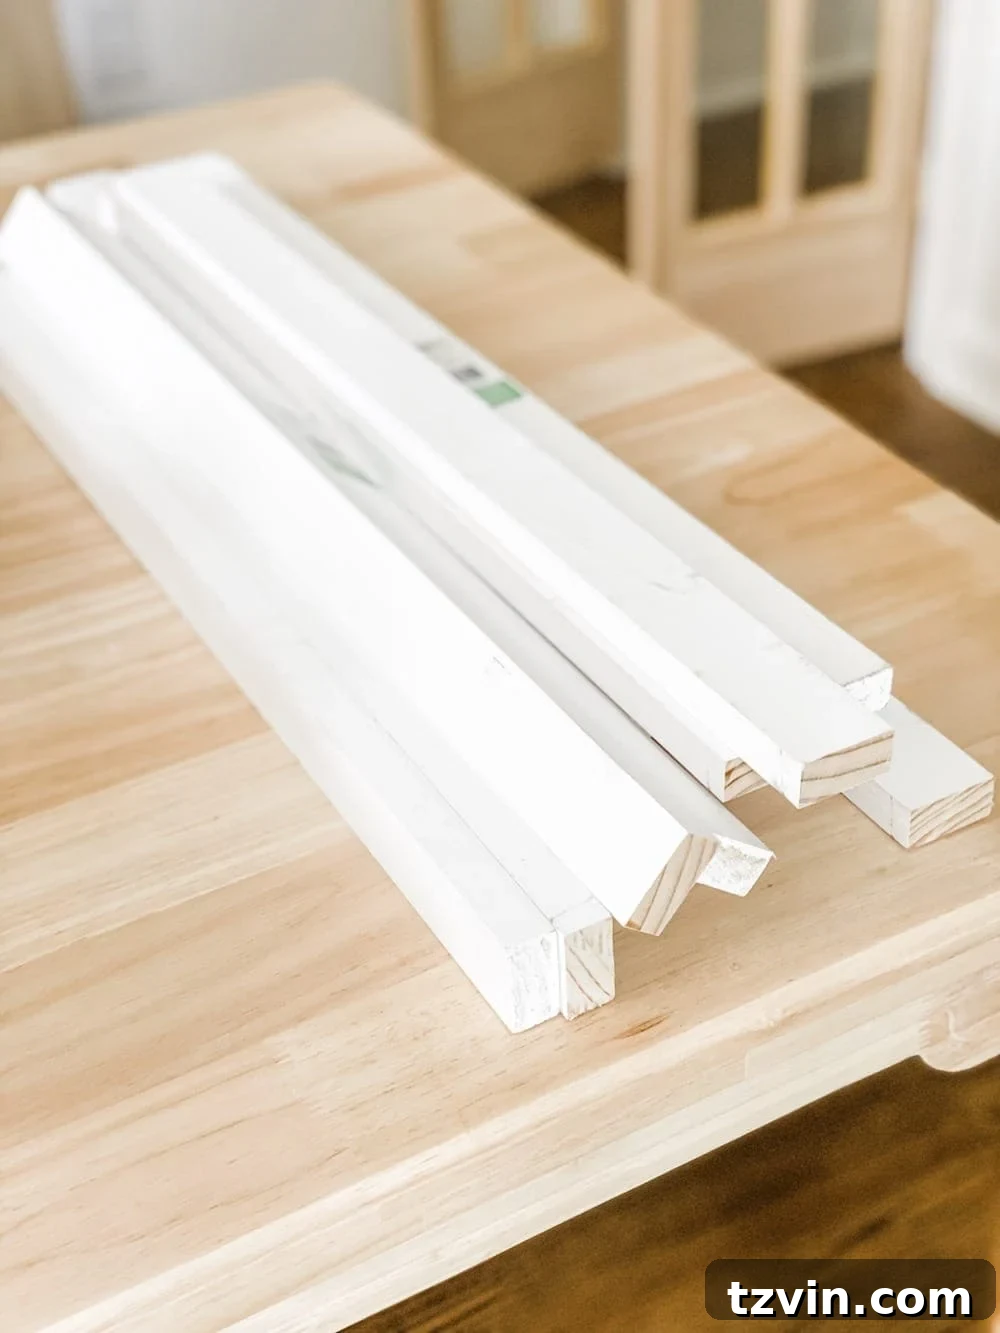
4. Cut 1×2 Boards for Support Braces: Next, cut your 1×2 boards. You’ll need pieces for the back and sides of each shelf. Measure the length of the back wall and the depth of the side walls for each shelf level. Cut the 1×2 boards to these exact lengths. These boards will form the sturdy ledger system that supports the plywood shelves. Ensure your cuts are clean and square for a flush fit against the wall.
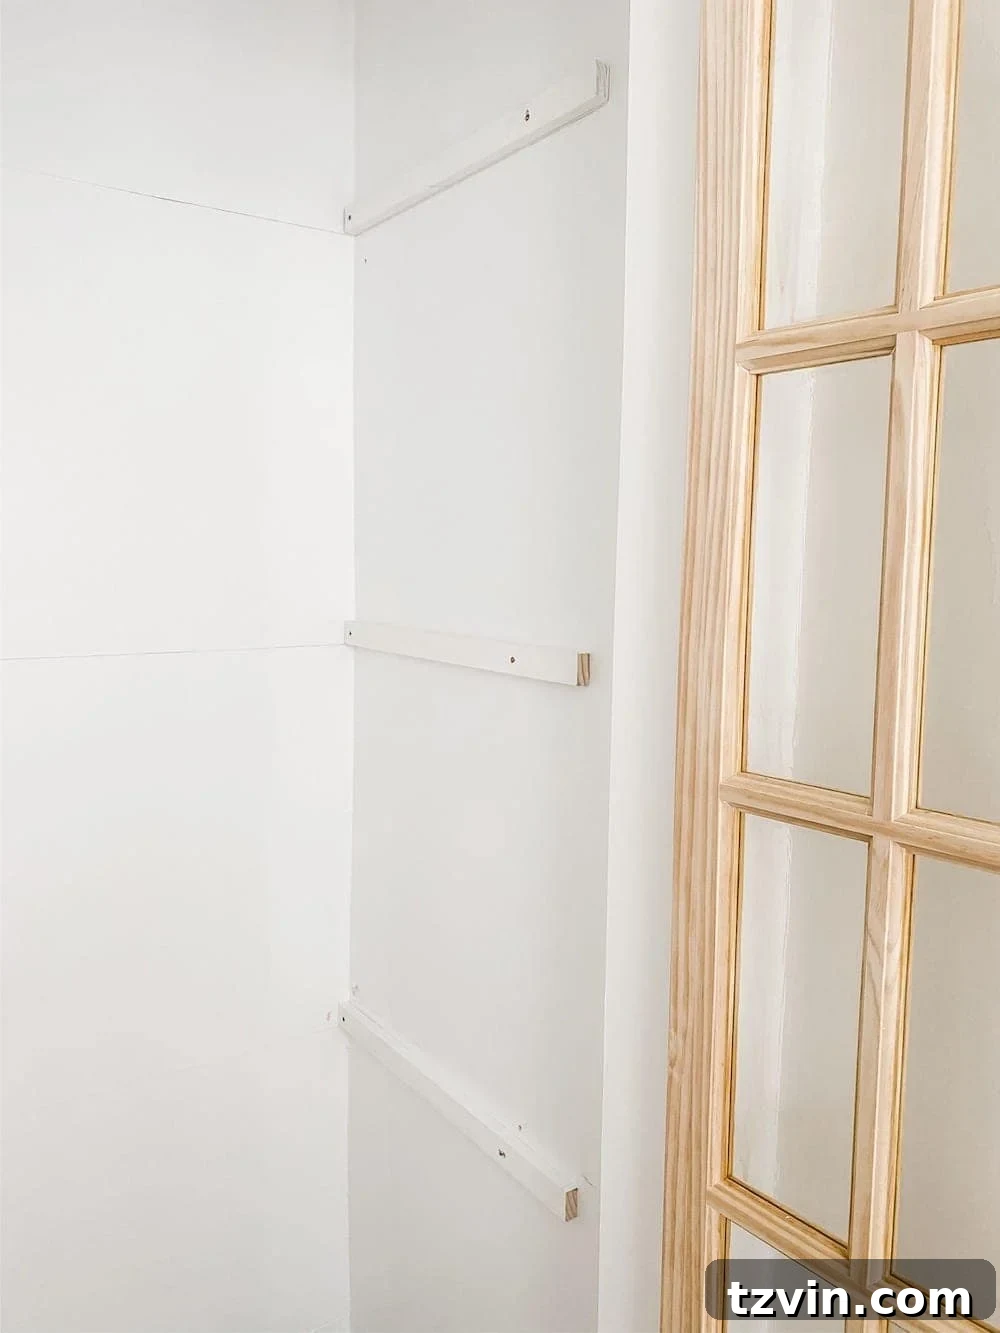
5. Install Shelf Braces: Now, attach the cut 1×2 boards to the wall, aligning them with the level lines you drew and screwing them directly into the studs you marked. Use wood screws that are long enough to penetrate through the 1×2 and into the center of the stud (typically 2.5-3 inches). Drive screws every 12-16 inches along the board for maximum strength. Install the back brace first, then the two side braces, ensuring they meet snugly in the corners. These braces will create a robust ledge upon which your plywood shelves will rest.
6. Fit Plywood and Finish: Once all the 1×2 braces are securely in place, carefully fit your pre-cut plywood pieces on top of them. You might need to make minor trims to the plywood for a perfect, snug fit. With the shelves in place, it’s time for finishing. We opted for a clean, unified look by painting both the 1×2 supports and the plywood shelves in Benjamin Moore Chantilly Lace. This bright white perfectly matches the existing walls, making the shelves appear built-in and seamless. Before painting, consider sanding any rough edges or filling screw holes with wood filler for a professional finish.
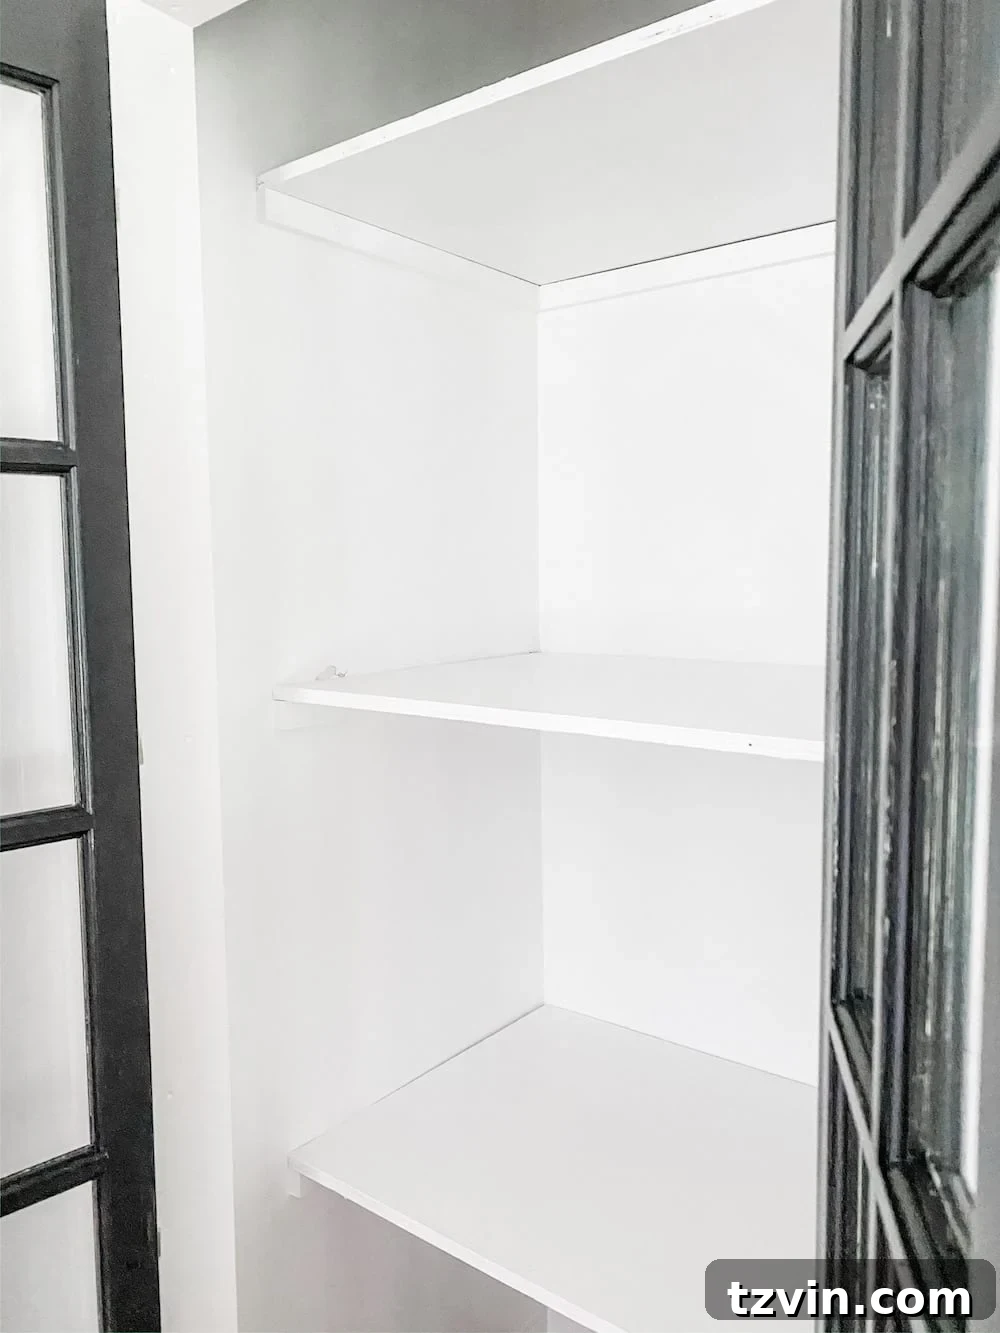
While the shelves were drying, we simultaneously tackled the painting of our newly converted French doors. To achieve a crisp, clean finish on the multi-paned glass doors, we employed our trusty masking liquid trick. This innovative product makes painting French doors significantly easier and less messy than traditional tape, allowing for precise lines without tedious individual pane taping. We chose Benjamin Moore Wrought Iron for the doors, a sophisticated dark gray that provides a stunning contrast against the light walls and adds a touch of dramatic elegance to the office entrance. (You can find the masking liquid here to simplify your own French door painting projects!)
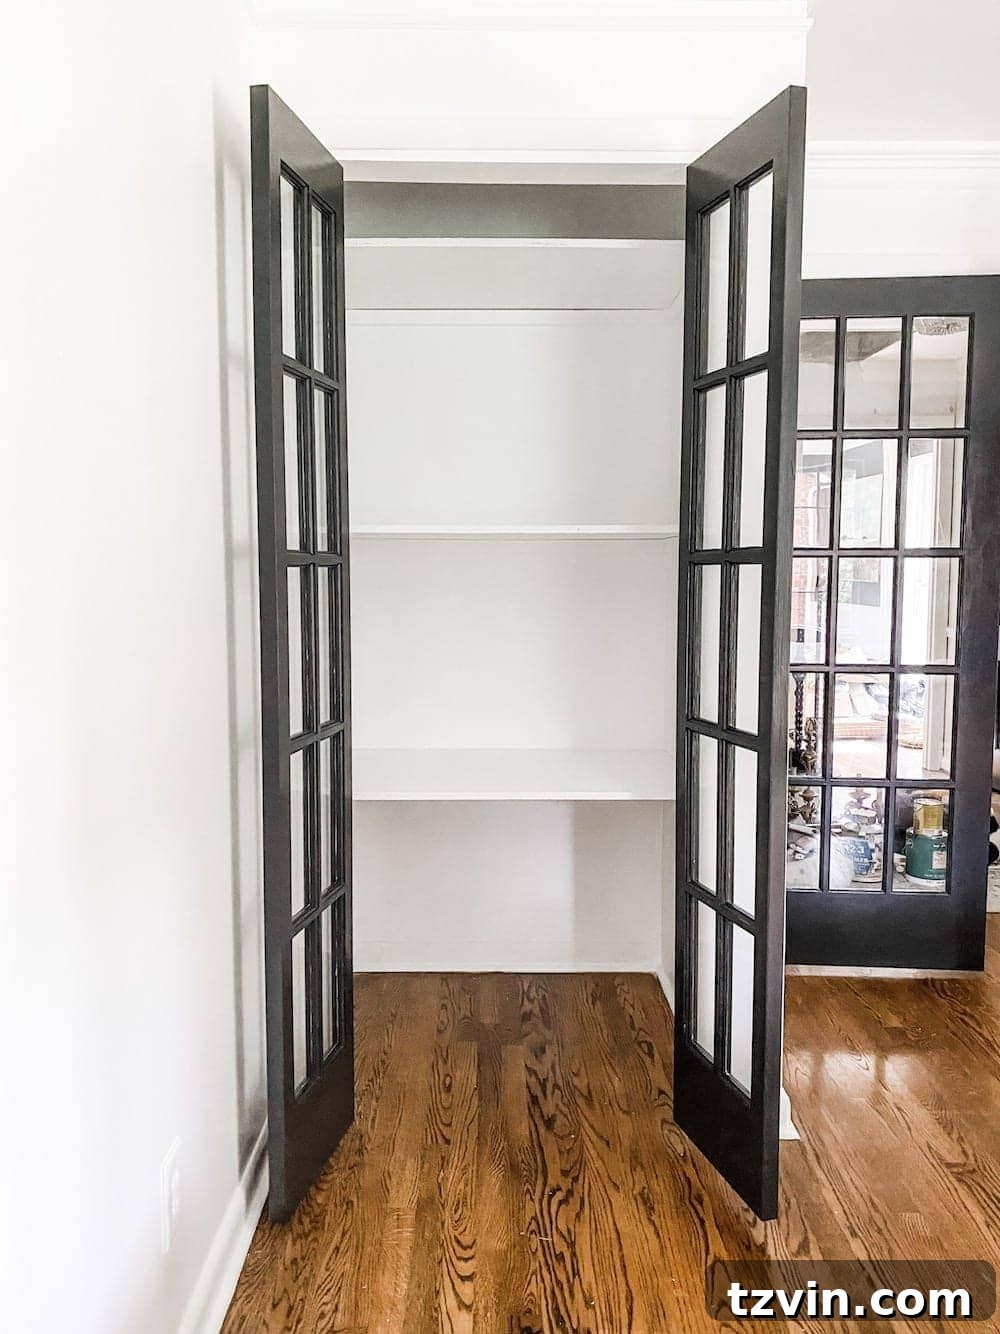
Ready for Organization: Styling Your New Functional Closet
With the new French doors swinging gracefully and the custom shelves gleaming with fresh paint, the excitement for organizing these closets is almost overwhelming! There’s something incredibly satisfying about transforming a cluttered, underutilized space into a perfectly tailored storage solution. Frankly, the rest of our house often descends into a hot mess during major renovations, so seeing these organized pockets emerge is a huge relief and a motivator to tackle the next phase. Does your home also go a little coo-coo during a room makeover? Ours certainly does, every single time.
Beyond these pristine doors, the current state of affairs isn’t quite as picturesque, but that’s the beauty of focusing on one project at a time. The vision, however, extends beyond just basic shelving. For that very top shelf, I’m planning a clever storage hack: cutting down some large PVC pipes to create makeshift compartments. These will be perfect for neatly storing seasonal floral stems, keeping them upright, tangle-free, and easily accessible. While it might sound a bit unconventional right now, I can perfectly visualize how this will add unique, customized storage and contribute to the overall functionality of the space.
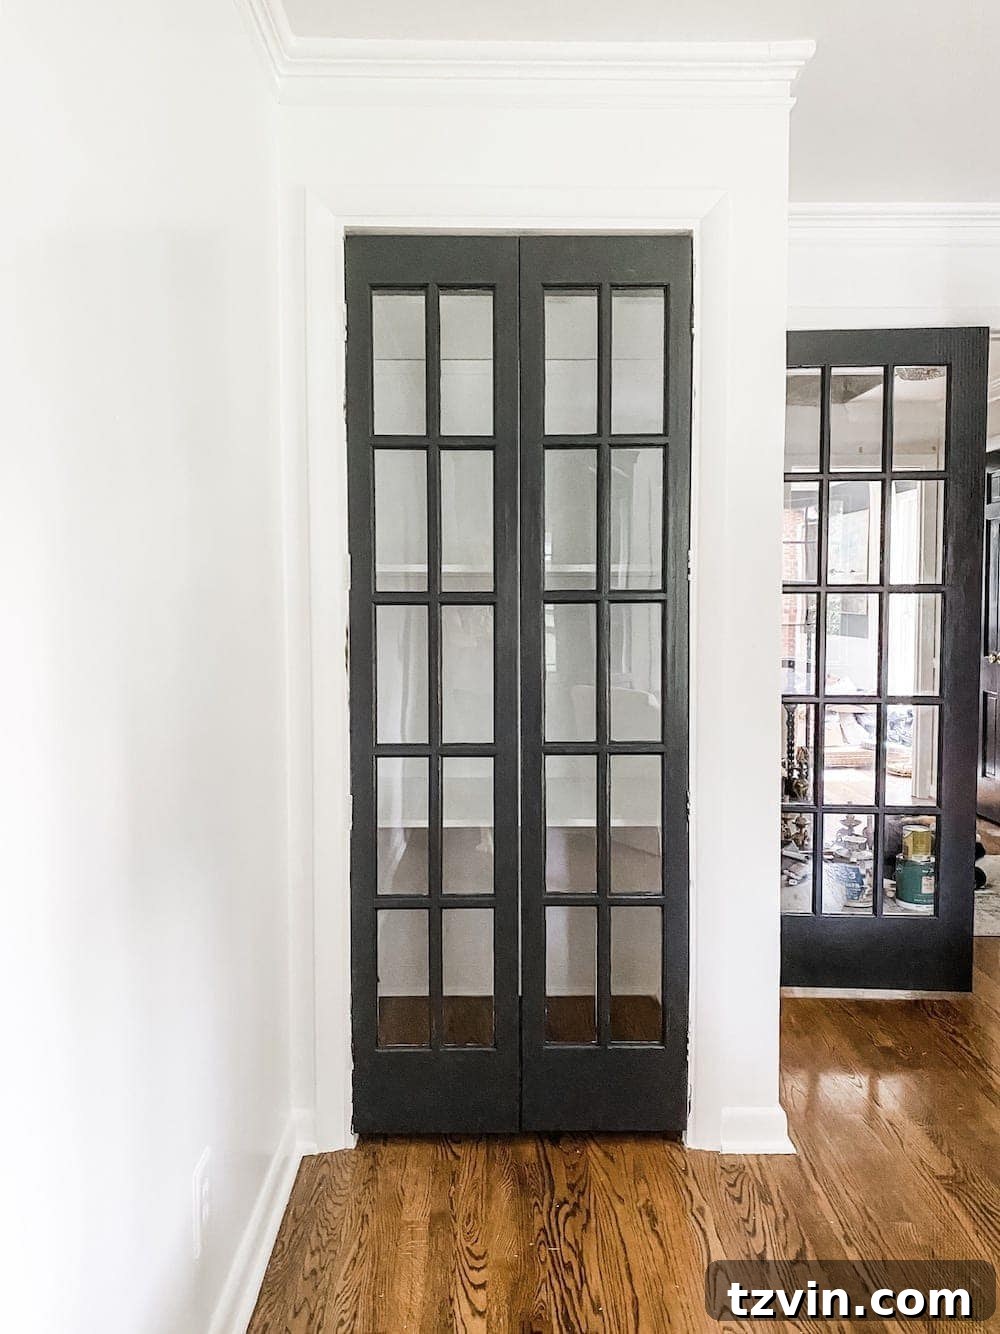
Here’s an updated look at our home office to-do list, reflecting the progress we’ve made:
Home Office Makeover To-Do List:
Build pair of closetsInstall double French doorsPaint walls & ceilingInstall closet doorsBuild closet shelvingMove air ventPaint doors- Install lighting
- Hang art
- Hang curtains
- Assemble furniture
- Paint cabinets
- Decorate & style
It’s incredibly satisfying to cross off so many major tasks! The foundational elements of our dream office are now firmly in place, and we’re excitedly moving towards the finishing touches that will truly make this space sing. From functional storage to elegant entryways, each step brings us closer to a home office that is both beautiful and highly productive.
If you’re looking for more creative ideas and inspiring projects to jazz up your own closets, whether it’s for an office, bedroom, or entryway, you can explore a wealth of options and tutorials right here. Dive into our collection of closet makeovers and find the perfect solution for your home!