Transform Your Guest Bedroom: A Vintage Cane Headboard Makeover & Restoration Guide
Every home decorator understands the thrill of the hunt – that elusive piece of furniture that perfectly completes a vision, yet remains just out of reach. For weeks, I scoured countless thrift stores and spent hours scrolling through every secondhand shopping app imaginable, all in pursuit of one specific item for our guest bedroom makeover. My determination eventually paid off when I finally discovered the vintage cane headboard of my dreams on eBay, bringing it home to the Shaver abode. (For more inspiration, explore other budget-friendly cane furniture options here).
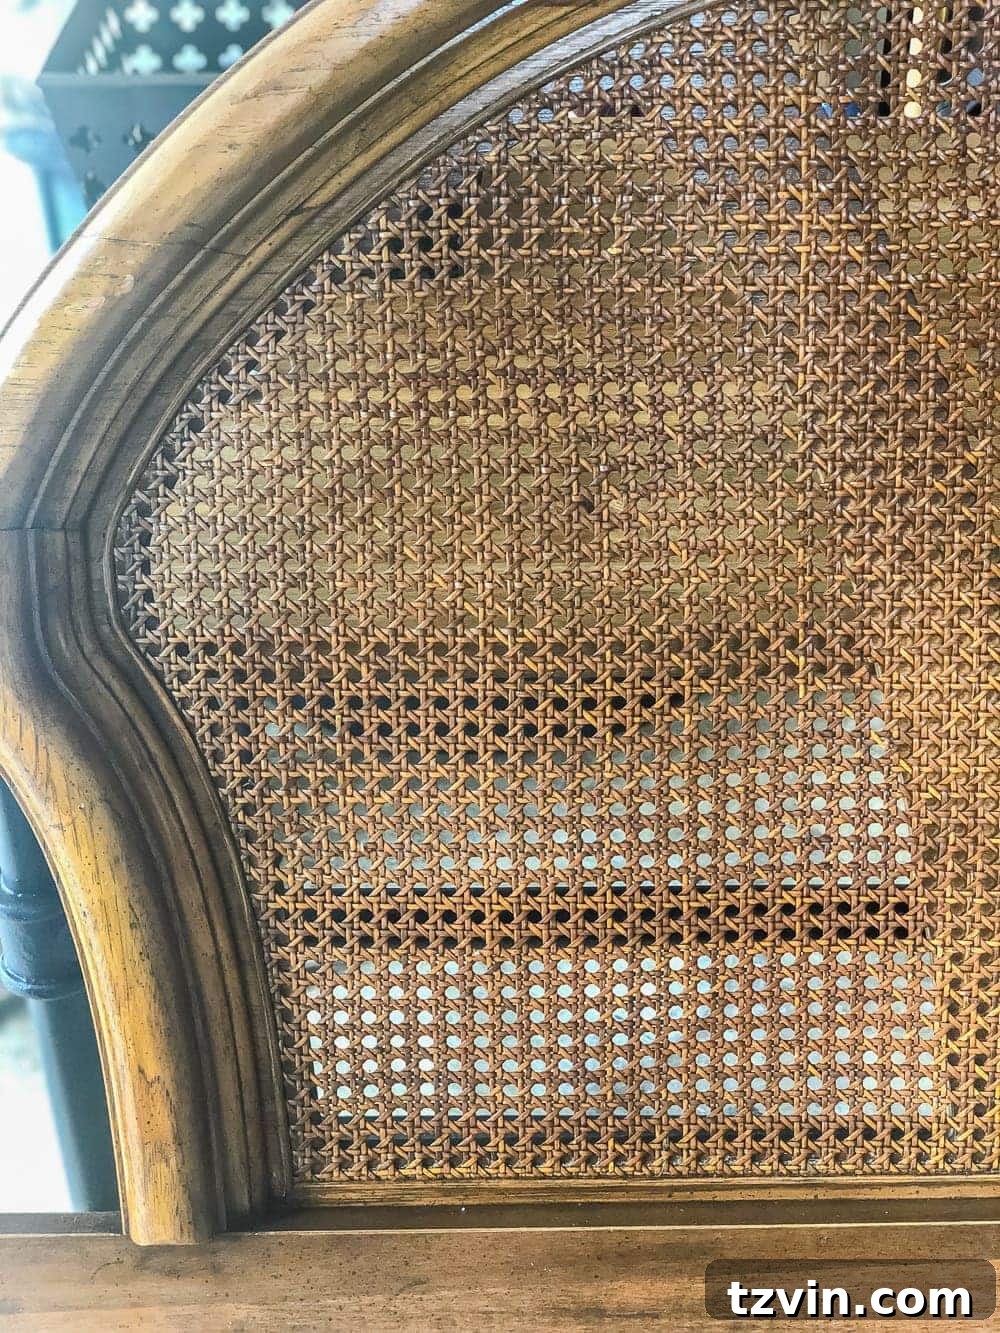
The charm of cane furniture lies in its timeless appeal and intricate craftsmanship, adding an instant touch of bohemian elegance or coastal comfort to any space. It’s a popular choice for those seeking a blend of classic style and natural texture. However, vintage finds often come with their own set of challenges, and this beautiful headboard was no exception. Despite its undeniable aesthetic, it carried the strong, lingering odor of stale cigarette smoke, and the cane itself showed noticeable signs of wear, hinting at its past life.
This article isn’t just about revealing our guest bedroom’s new look; it’s a practical guide to tackling two common dilemmas when dealing with vintage furniture: eliminating stubborn odors and restoring worn cane. Join me as I share my simple yet highly effective tips for breathing new life into cherished old pieces, transforming them into fresh, functional additions to your home.
(Some affiliate links are provided below. Full disclosure here.)
Reviving Vintage Finds: Essential Tips for Odor Removal and Cane Restoration
Bringing a vintage piece home is exciting, but often, it comes with the less-than-charming scent of its previous life. Old furniture, especially upholstered or porous materials like wood and cane, can harbor odors that seem impossible to eliminate. My vintage cane headboard, for instance, reeked of stale cigarette smoke, a common challenge with secondhand finds. But fear not, this is a solvable problem, and you don’t need expensive professional cleaning to achieve remarkable results. Our journey to a pristine guest bedroom began with a thorough cleanse.
Overcoming the Odor Challenge: Removing Stubborn Cigarette Smoke from Furniture
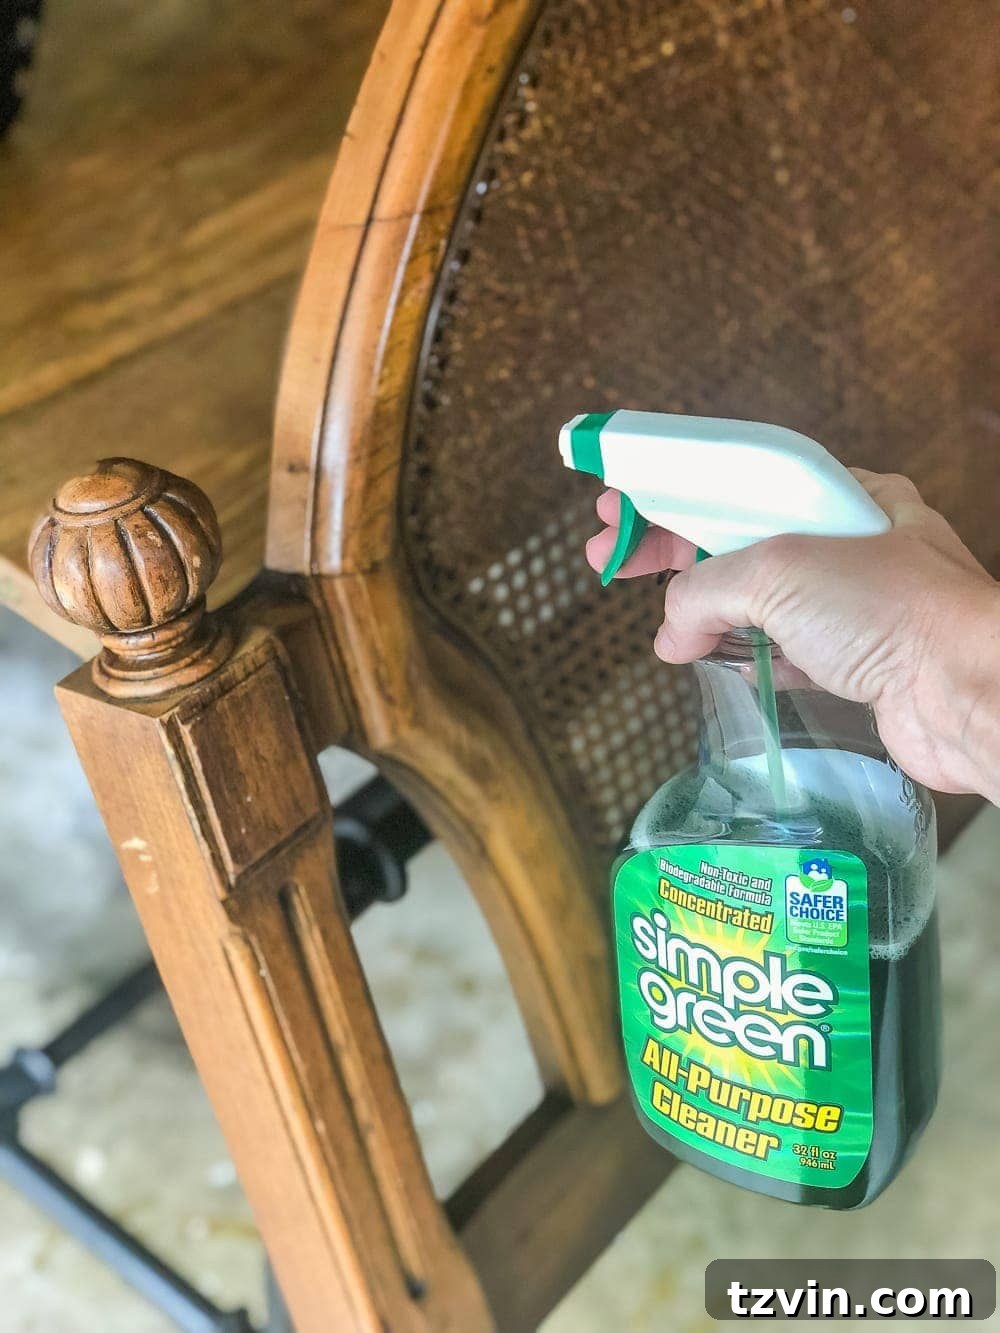
The pungent smell of cigarette smoke can deeply permeate wood and cane, making it seem like a permanent fixture. Conventional cleaners often just mask the odor temporarily. My secret weapon for this particular battle, which has never failed me, is a product called Simple Green. This powerful, yet surprisingly gentle, all-purpose cleaner works wonders by breaking down and lifting away the tar and nicotine residues that are the true source of the smell.
Step-by-Step Odor Elimination:
- Preparation: Start by wiping down the headboard with a dry cloth to remove any loose dust or debris.
- Application: Dilute Simple Green according to the instructions for heavy-duty cleaning (often 1 part Simple Green to 10 parts water, but check your product label). Spray the solution evenly over the entire cane and wood frame. Don’t saturate the cane, but ensure it’s well-misted.
- Dwell Time: Allow the solution to sit for a few minutes to penetrate the surface and break down the tar.
- Wipe Away: Using a clean, damp cloth, wipe down the furniture, paying close attention to the areas with visible staining. You’ll be amazed at the layers of brown-yellow tar that come off onto your cloth – truly a “yum” moment in a very unappetizing way!
- Repeat as Necessary: For deeply ingrained odors, you may need to repeat this process two or three times. We spritzed our headboard down three times, each time removing more residue.
- Ventilation: After cleaning, allow the furniture to air dry completely in a well-ventilated area, preferably outdoors in the sunshine if possible. Sunshine is a natural odor neutralizer.
Beyond Simple Green, other general tips for dealing with persistent odors include placing bowls of activated charcoal or baking soda near the furniture to absorb smells, or airing the piece out in fresh air for several days. But for a swift and effective solution to smoke, Simple Green is my undisputed champion.
Restoring Worn Cane: Bringing Back its Natural Beauty
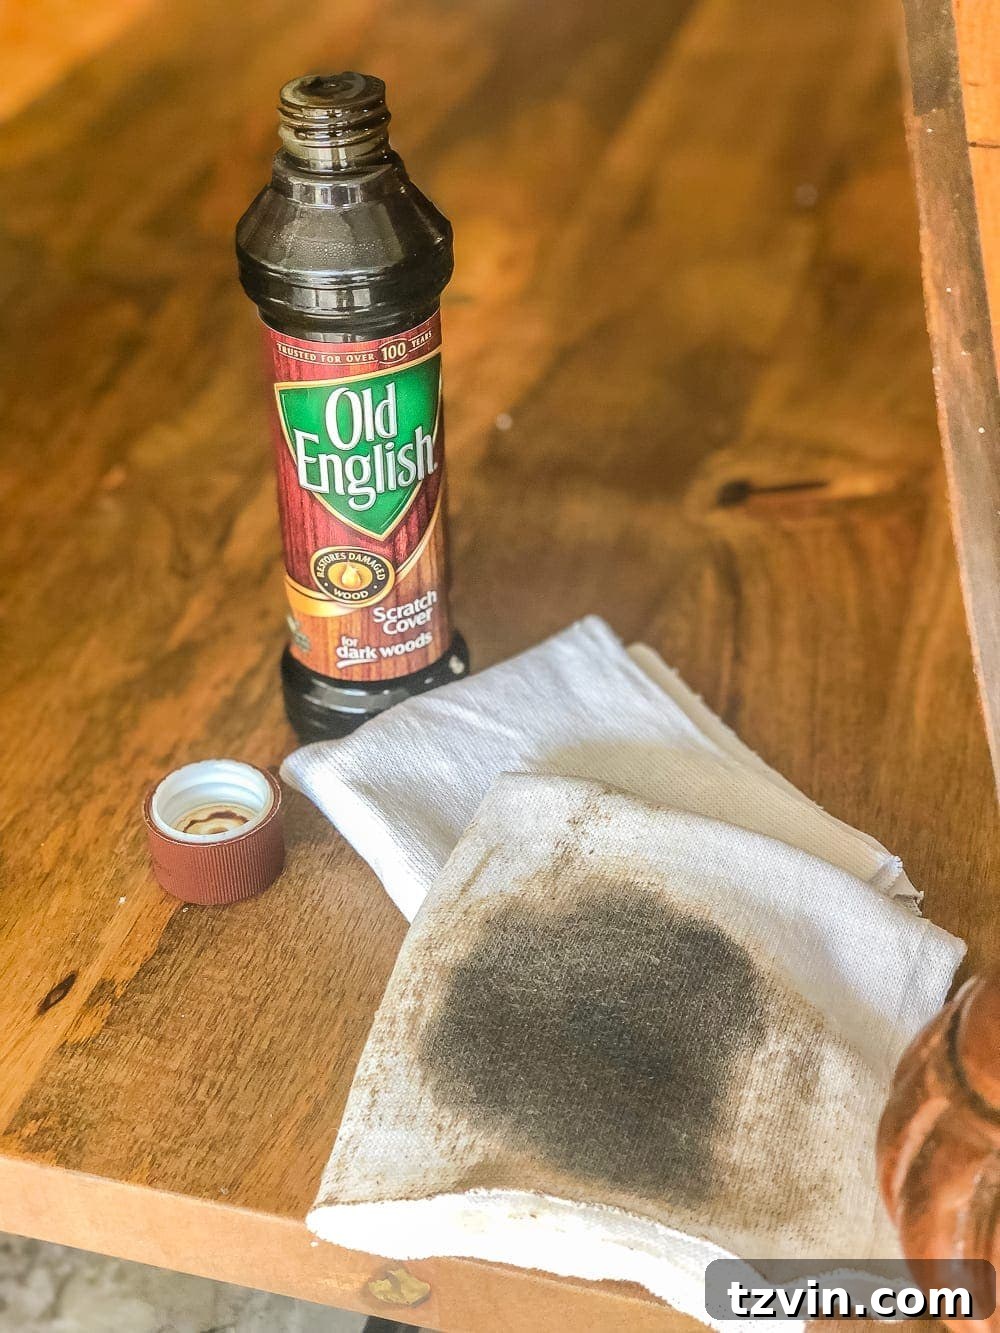
Once the headboard was free from unpleasant odors, my attention turned to the worn areas of the cane. Over time, cane can become dry, brittle, and develop minor surface scratches or dullness, losing its lustrous sheen. Instead of resigning myself to a piece that looked less than perfect, I reached for another one of my trusted restoration staples: Old English Scratch Cover. This product is not just for scratches on wood; it absolutely “rocks my socks” for revitalizing worn cane.
Simple Steps for Cane Rejuvenation:
- Clean Surface: Ensure the cane and surrounding wood are completely clean and dry from the odor removal process.
- Apply Sparingly: Shake the Old English Scratch Cover bottle well. Apply a small amount to a clean, soft cloth.
- Wipe and Rub: Gently wipe the cloth over the worn cane and any scratched wood areas. Rub it in with the grain of the wood and the direction of the cane weave. You’ll notice it immediately works to moisturize the cane, deepen its natural color, and minimize the appearance of minor imperfections.
- Buff: Use a separate clean, dry cloth to buff the surface, removing any excess product and leaving a subtle sheen.
The beauty of Old English Scratch Cover is its simplicity and immediate results. It moisturizes the dry cane, making it appear healthier and less brittle, while also blending away superficial scratches on both the cane and the wooden frame. This quick fix drastically improved the overall appearance of the headboard, bringing back its original warmth and character. With these two simple steps, our vintage headboard was transformed from a smoky, worn relic into a fresh, inviting focal point for the guest room.
The Grand Reveal: A Welcoming Guest Bedroom Oasis
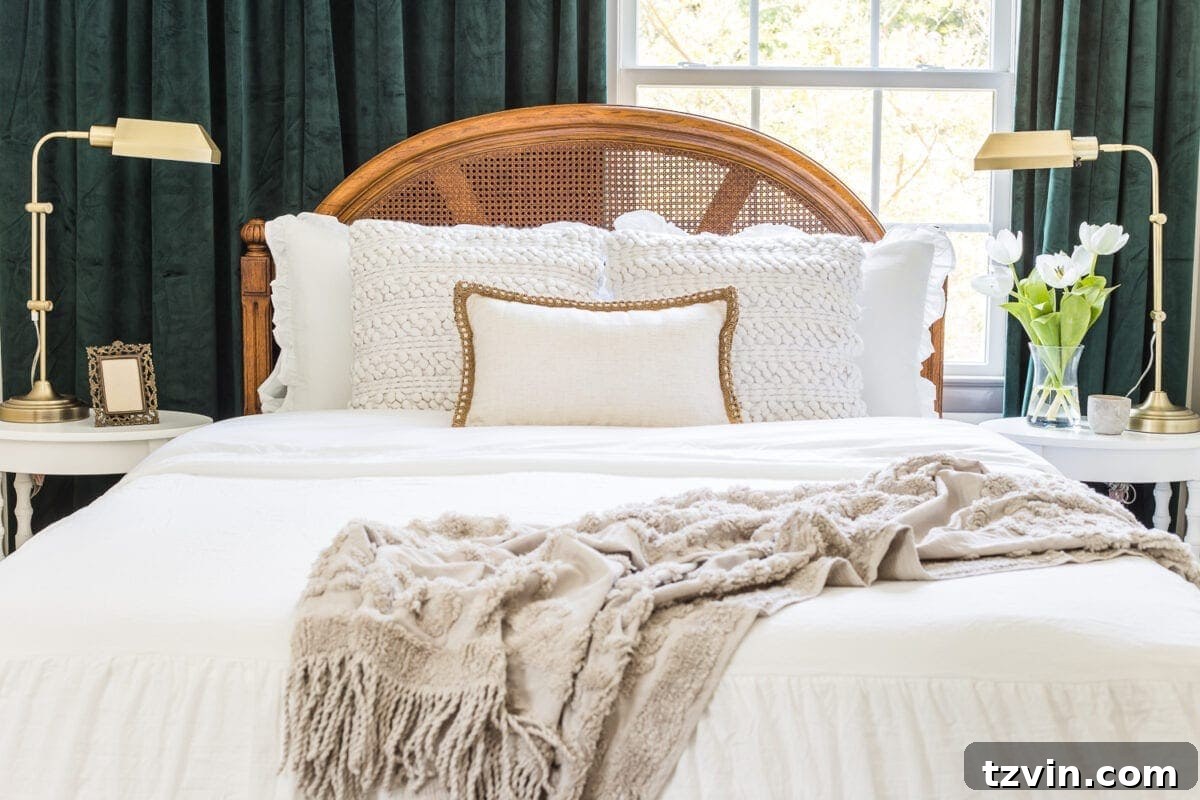
After the restoration efforts, the guest room finally began to take shape, transitioning from a collection of ideas into a truly welcoming space. The vintage cane headboard, once a challenge, now stands proudly as the room’s elegant centerpiece, radiating a refreshed and inviting aura. The design aesthetic is a thoughtful blend of timeless comfort and curated style, ensuring guests feel right at home.
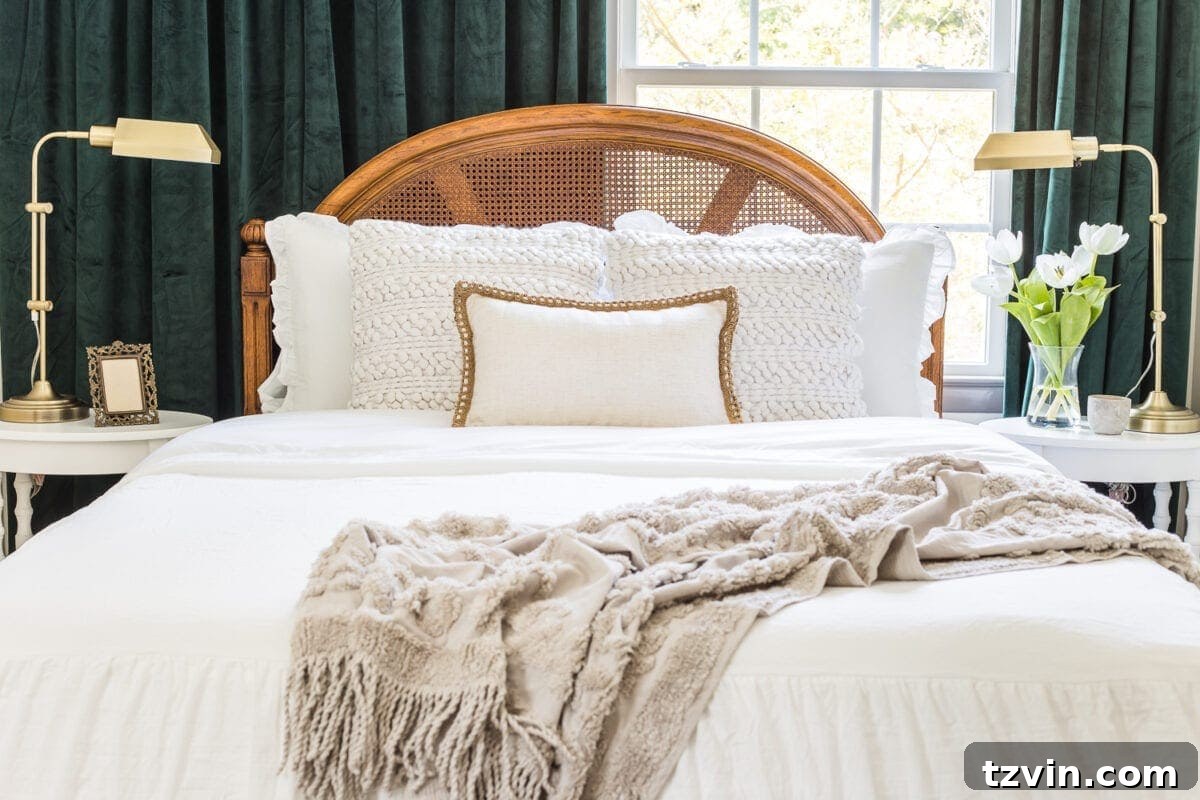
The room’s color palette creates a serene backdrop. The walls are painted in the soft, inviting hue of Benjamin Moore Swiss Coffee, offering a warm neutrality that complements various decor styles. For contrast and definition, the trim is adorned with Benjamin Moore Winter Gates, a sophisticated shade that adds a touch of depth and elegance. The window is dressed with lush green curtains, introducing a subtle pop of color and natural texture that harmonizes beautifully with the cane headboard.
The Statement Ceiling Fan: Blending Function and Style
Beyond the furniture and textiles, every element in the room was chosen with both aesthetics and guest comfort in mind. And speaking of elements that capture attention, can we just talk about this Hunter Fan Co. white and brass ceiling fan?! Er meh gersh! It’s an absolute showstopper, combining classic charm with modern functionality. The elegant white blades paired with sleek brass accents instantly elevate the room’s sophistication. Not only does it serve as a stunning design feature, but it also provides essential air circulation, ensuring our guests enjoy optimal comfort, regardless of the season. It’s a testament to how practical fixtures can also be integral parts of a room’s aesthetic narrative.
Curating Comfort: Bedding and Decor Essentials
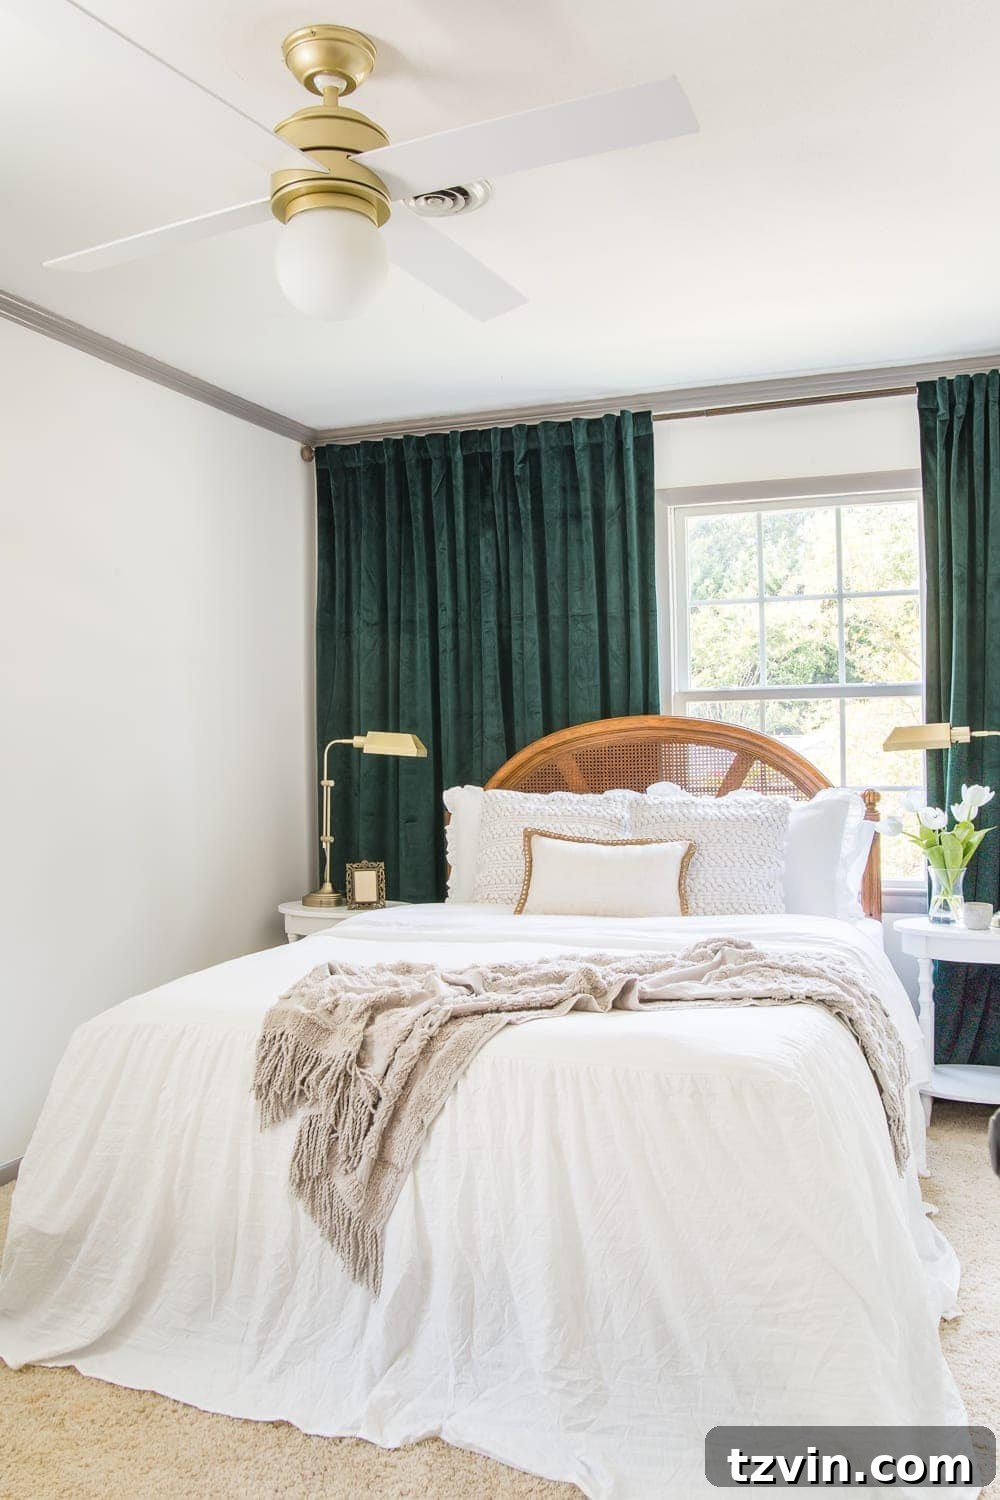
The bedding chosen for the guest room echoes the desire for a serene and inviting atmosphere. A soft comforter set creates a luxurious foundation, complemented by strategically placed pillows like the chunky knit pillows and a cozy lumbar pillow, adding layers of texture and comfort. A gray throw blanket draped artfully at the foot of the bed invites guests to snuggle in. Flanking the bed are elegant nightstands, providing convenient surfaces for personal items, illuminated by stylish brass lamps that cast a warm, ambient glow, perfect for evening reading.
While the guest room already exudes comfort and style, a few finishing touches are still in progress. We’re eagerly awaiting a massive piece of art to adorn the currently blank wall, which will serve as a powerful focal point and tie the room’s aesthetics together. Additionally, a beautiful rug will soon arrive to cover the existing old carpet, providing warmth and texture until we can eventually gather the funds to refinish the beautiful hardwoods that lie beneath. These planned additions underscore that home design is often an evolving journey, a continuous layering of elements that refine and personalize a space over time.
For now, you can find all of the other sources we’ve used here:
- Wall color: Benjamin Moore Swiss Coffee
- Trim color: Benjamin Moore Winter Gates
- Green Curtains
- Comforter set
- Nightstands / end tables
- Brass lamps
- Gray throw blanket
- Chunky knit pillows
- Lumbar pillow
- Ceiling fan
- And even though the headboard was a vintage find, this bed is similar (though not as cheap, unfortunately)
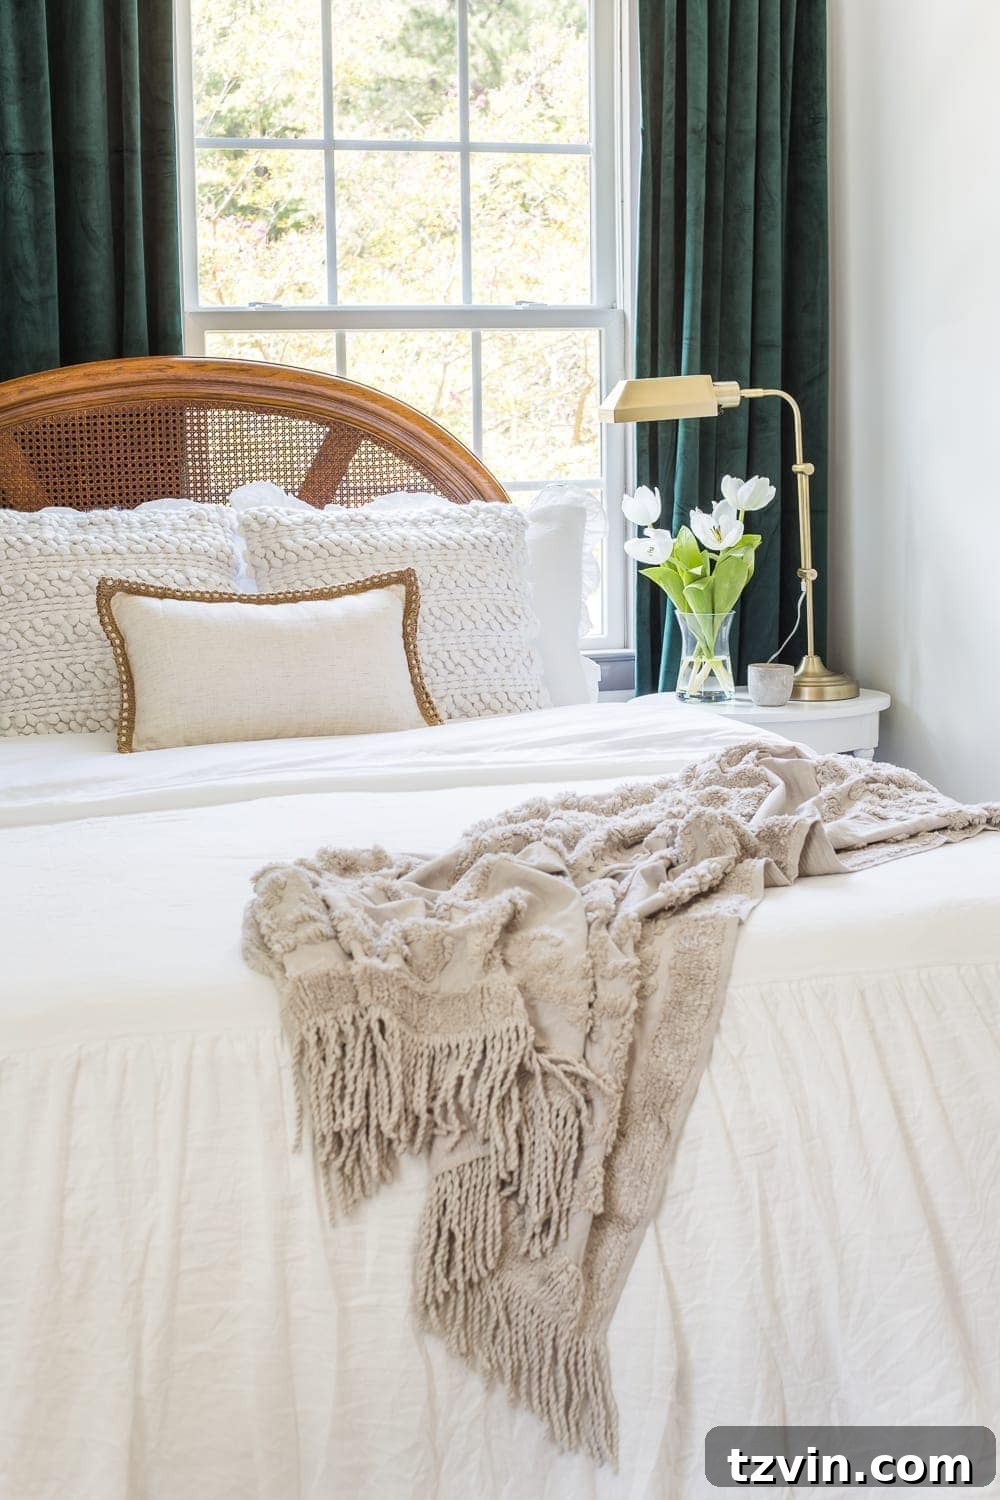
Now that the bed itself is finally complete, I’m already dreaming of taking a well-deserved nap on it! The combination of the budget-friendly mattress and incredibly soft, cheap sheets we chose feels absolutely dreamy. It goes to show that comfort doesn’t always have to come with a hefty price tag. Our aim was to create a cozy haven, and I believe we’ve achieved just that.
Your Guest Room Essentials: A Call for Ideas
The Shaver Bed & Breakfast will be opening for business soon! Just kidding. Please don’t come knocking on our door. I love y’all, but let’s not make it awkward. 😉 However, as we put the finishing touches on this space, inquiring minds want to know: what amenities do you look for in a guest room? A framed sign with the Wi-Fi password is already high on our list of must-haves. But what else truly makes a guest feel special and comfortable? Perhaps bottled water, a small snack basket, extra blankets, or even a local guide to the area? Maybe a discreet charging station for devices? Your insights could inspire a helpful future post, so please share your best guest room tips in the comments below!
DIY Furniture Restoration: Embrace the Journey
This project is a perfect example of the rewarding journey that DIY furniture restoration offers. Instead of discarding a piece with potential, we were able to transform it, saving money and giving a beautiful vintage item a second life. Restoring furniture is not only sustainable but also allows you to infuse your home with unique pieces that tell a story. It’s about seeing the potential, getting a little hands-on, and enjoying the immense satisfaction of bringing something beautiful back from the brink.
Whether you’re tackling a smoky vintage find or simply refreshing a beloved older piece, the principles remain the same: patience, the right tools (or products, in this case), and a little bit of creative vision. We hope this guide inspires you to embark on your own restoration adventures and create spaces that are uniquely yours, full of character and comfort.
Pin It For Later!
If you found these tips helpful and are planning your own guest bedroom makeover or furniture restoration project, be sure to save this post for future reference. You can pin it here: