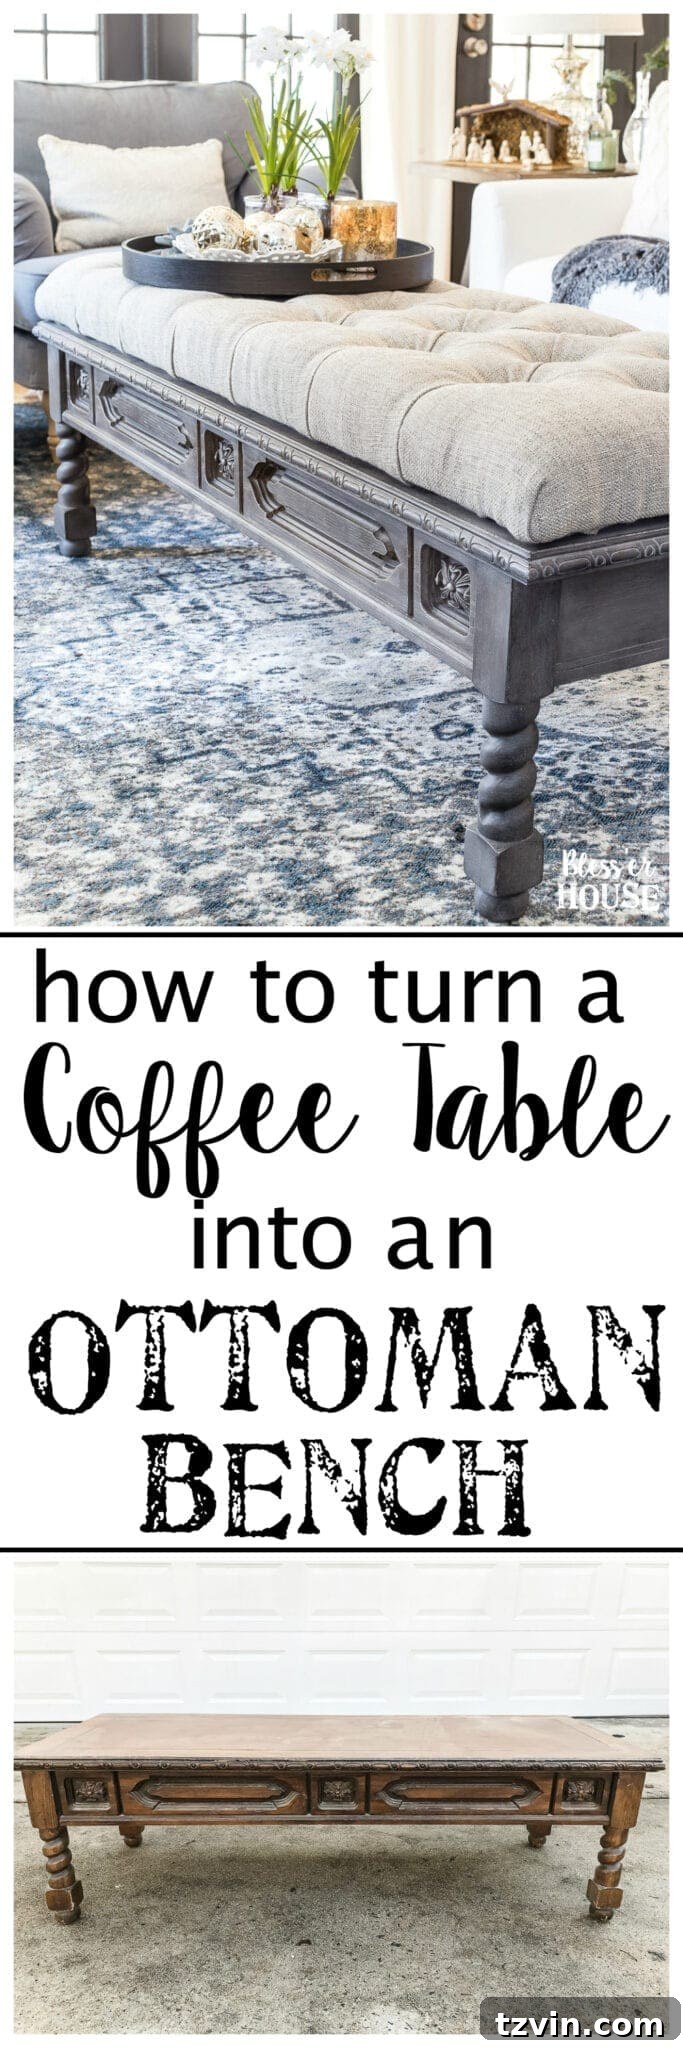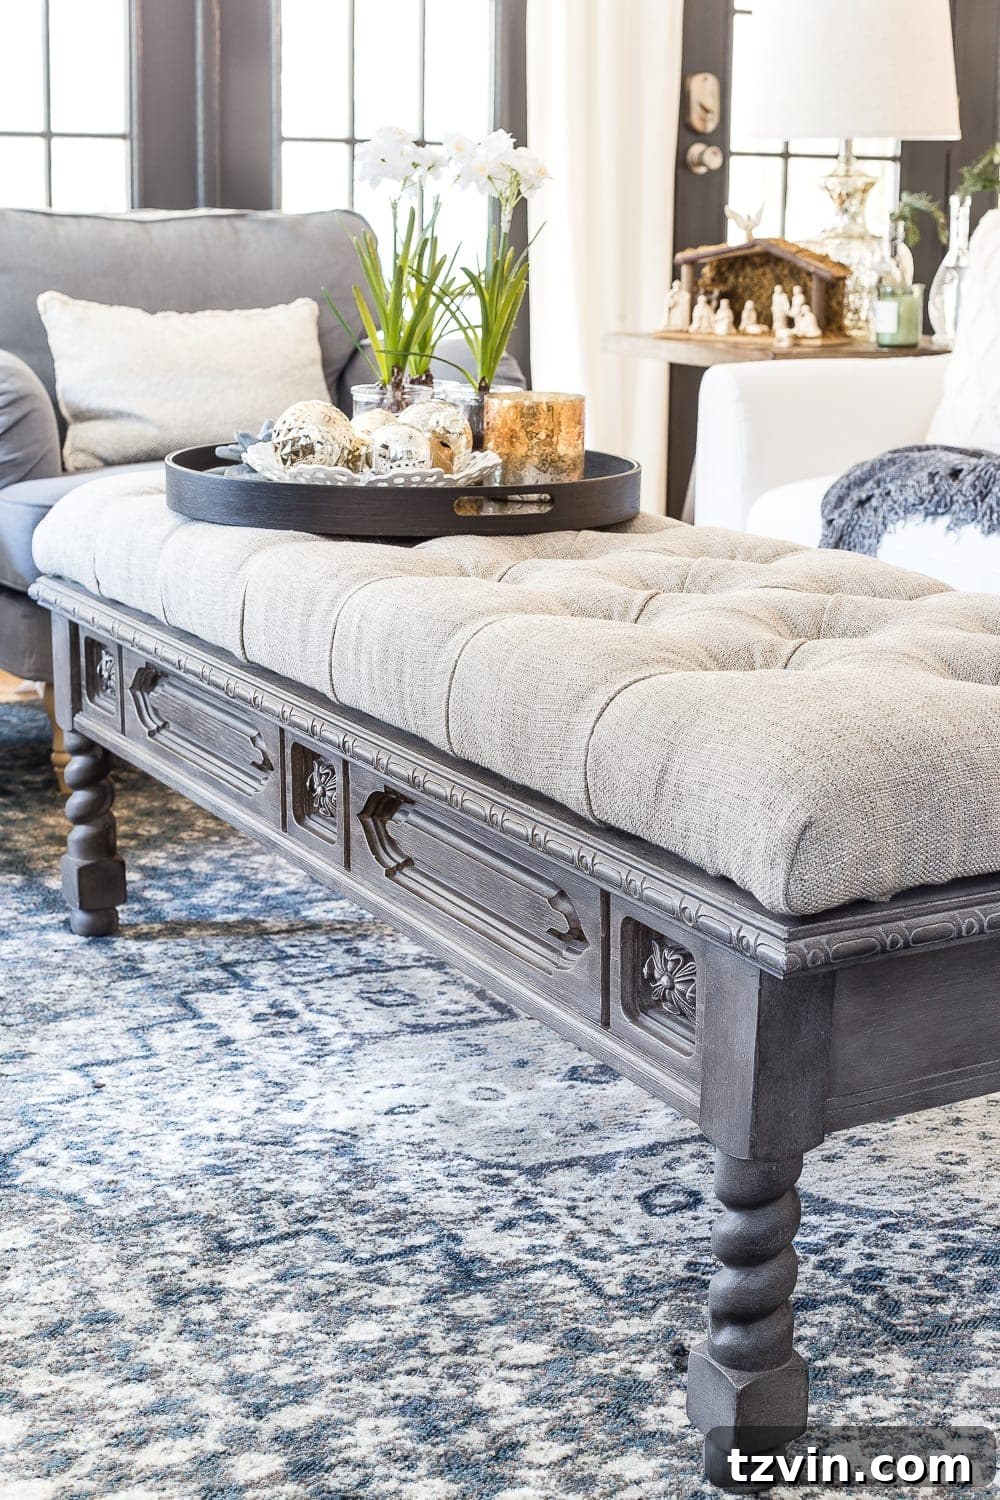
Transform Your Old Coffee Table: DIY Designer-Inspired Tufted Ottoman Bench with a Faux Weathered Wood Finish
Have you ever stumbled upon a hidden gem at a thrift store, a piece with undeniable potential just waiting for a second life? For many DIY enthusiasts, these serendipitous finds are the spark for creativity. That’s precisely how this project began – with a humble coffee table, patiently awaiting its remarkable transformation into a designer-inspired, tufted ottoman bench.
This ambitious yet incredibly rewarding furniture makeover wasn’t just a weekend project; it was a journey of vision, patience, and a little elbow grease. We’re going to guide you through every step of turning an ordinary, pre-loved coffee table into a stylish, functional, and surprisingly affordable centerpiece for your home. Learn how to achieve a coveted faux weathered wood look for the base and master the art of diamond tufting for a luxurious upholstered top.
The Inspiration Behind the Ottoman Bench Transformation
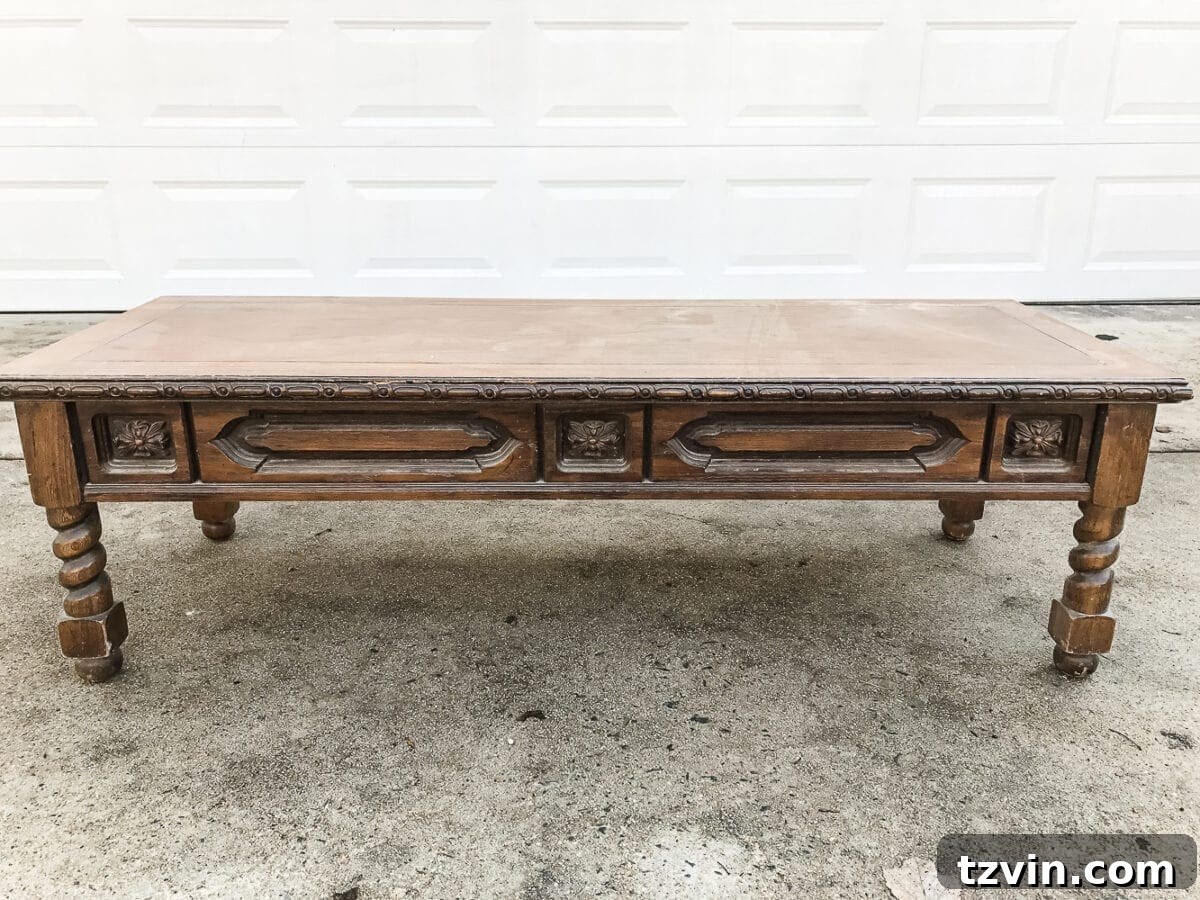
Our story starts, as many great DIY tales do, with a casual stroll through a local thrift store. It was one of those rare “goldmine” days, right before Thanksgiving, when it seems everyone in the Charlotte area decides to declutter, filling the aisles with treasures. Among the various finds, a robust, solid wood coffee table caught my eye. Priced at an unbelievable $15, its classic lines spoke to me, whispering promises of a grander future. I knew instantly it wasn’t destined to remain a coffee table; its true calling was to become an elegant ottoman bench.
This realization sparked the vision for a high-end, designer-inspired piece without the designer price tag. Ottoman benches of similar style, particularly those from brands like Restoration Hardware, often retail for upwards of $600. Our goal was to create a luxurious alternative for a fraction of that cost, leveraging smart repurposing techniques and a bit of DIY upholstery magic. This project became my contribution to “Trash to Treasure Tuesday,” celebrating the art of giving discarded items a beautiful new purpose.

Essential Supplies for Your DIY Ottoman Bench Project
Embarking on a furniture transformation of this scale requires a specific set of tools and materials. Many of these items are common in a DIYer’s arsenal, which significantly reduces the overall cost. For your convenience, some affiliate links are provided below, but always feel free to source materials from your local hardware and craft stores. This entire project, excluding tools I already owned, came in at an impressive $174.32, a true testament to the power of repurposing!
Materials Needed:
- Coffee table (your thrift store find!) – approximately $15
- Annie Sloan Chalk Paint in French Linen (or similar light gray/beige chalk paint)
- Annie Sloan Black Wax (or a dark/espresso furniture wax)
- Fusion Mineral Paint Casement (or any preferred white/off-white paint for dry brushing)
- 3/4″ hardwood plywood (cut to desired ottoman top size)
- 3-inch high-density foam sheet
- Twin size hi-loft batting
- Upholstery button making kit
- 3 yards of upholstery fabric (choose a durable, high-quality fabric for longevity)
- #8 3/4″ wood screws
- #10 flat washers
- Loctite 300 spray adhesive
- High heat hot glue gun and glue sticks
- 3/8″ 10mm staples
- Liquid Nails (or other strong construction adhesive)
Tools Required:
- 2 natural bristle brushes (one for paint, one for wax)
- Small chip brush (for dry brushing)
- Paper towels
- Dry lint-free rags
- Power drill/driver
- Electric knife (optional, but highly recommended for foam cutting)
- Sharpie marker
- Tape measure
- Yardstick (or long straight edge)
- Fabric scissors
- Manual staple gun
- A generous dose of patience (especially for the tufting!)
For even more in-depth details on achieving a stunning diamond tufting effect, I highly recommend consulting the excellent resources from Addicted 2 Decorating, which served as a significant inspiration for this project.
Crafting the Faux Weathered Wood Base
The first step in our transformation is giving the coffee table base a beautiful, aged look. This faux weathered wood finish adds character and depth, elevating the entire piece. It’s a technique I adore and have used in previous projects, proving its versatility and charm.
Step 1: Base Coat Application
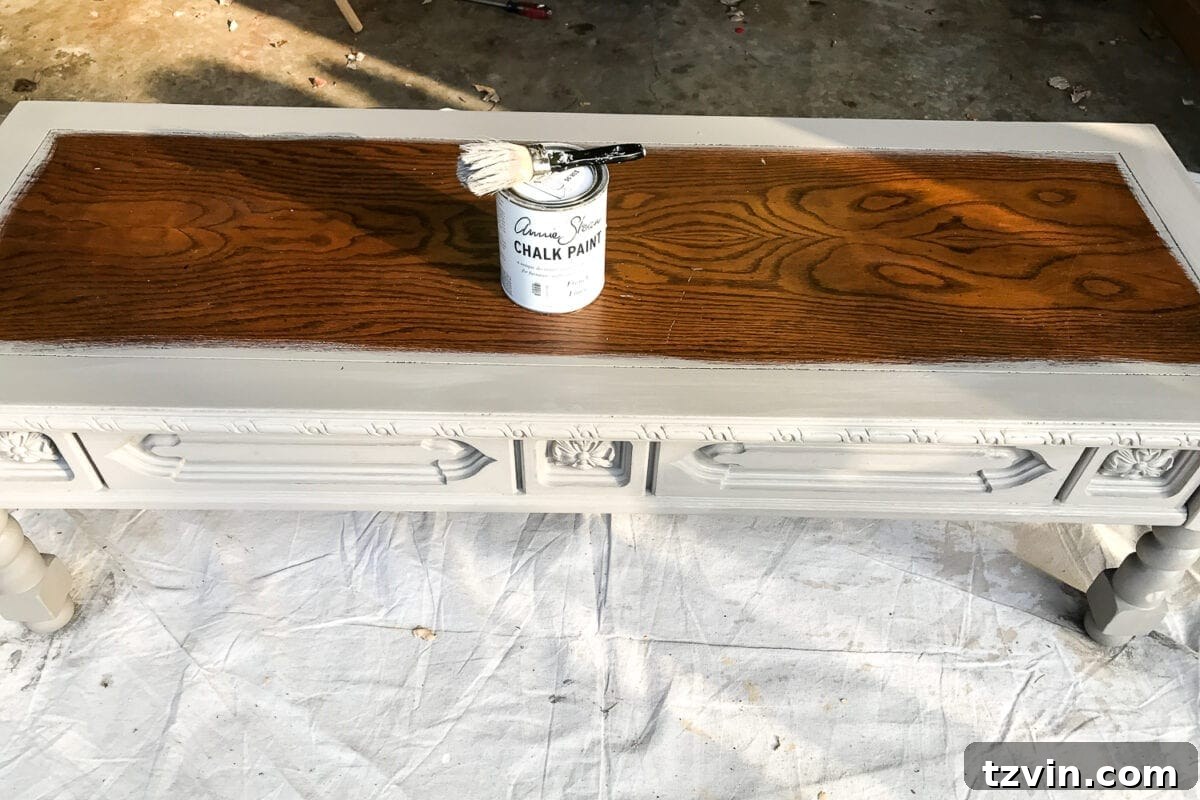
Begin by applying two thorough coats of Annie Sloan Chalk Paint in French Linen to the entire coffee table base. This specific shade provides an excellent neutral base, mimicking the natural undertones of aged wood. While French Linen is my go-to, other similar chalk paints like Fusion Mineral Paint in Algonquin would also work beautifully if you happen to have them on hand. I prefer using a natural bristle brush for this step, as its bristles are excellent for working the paint into any intricate carvings or details on the furniture piece, ensuring complete coverage and a rustic texture.
Step 2: Dry Brushing for Texture and Highlights
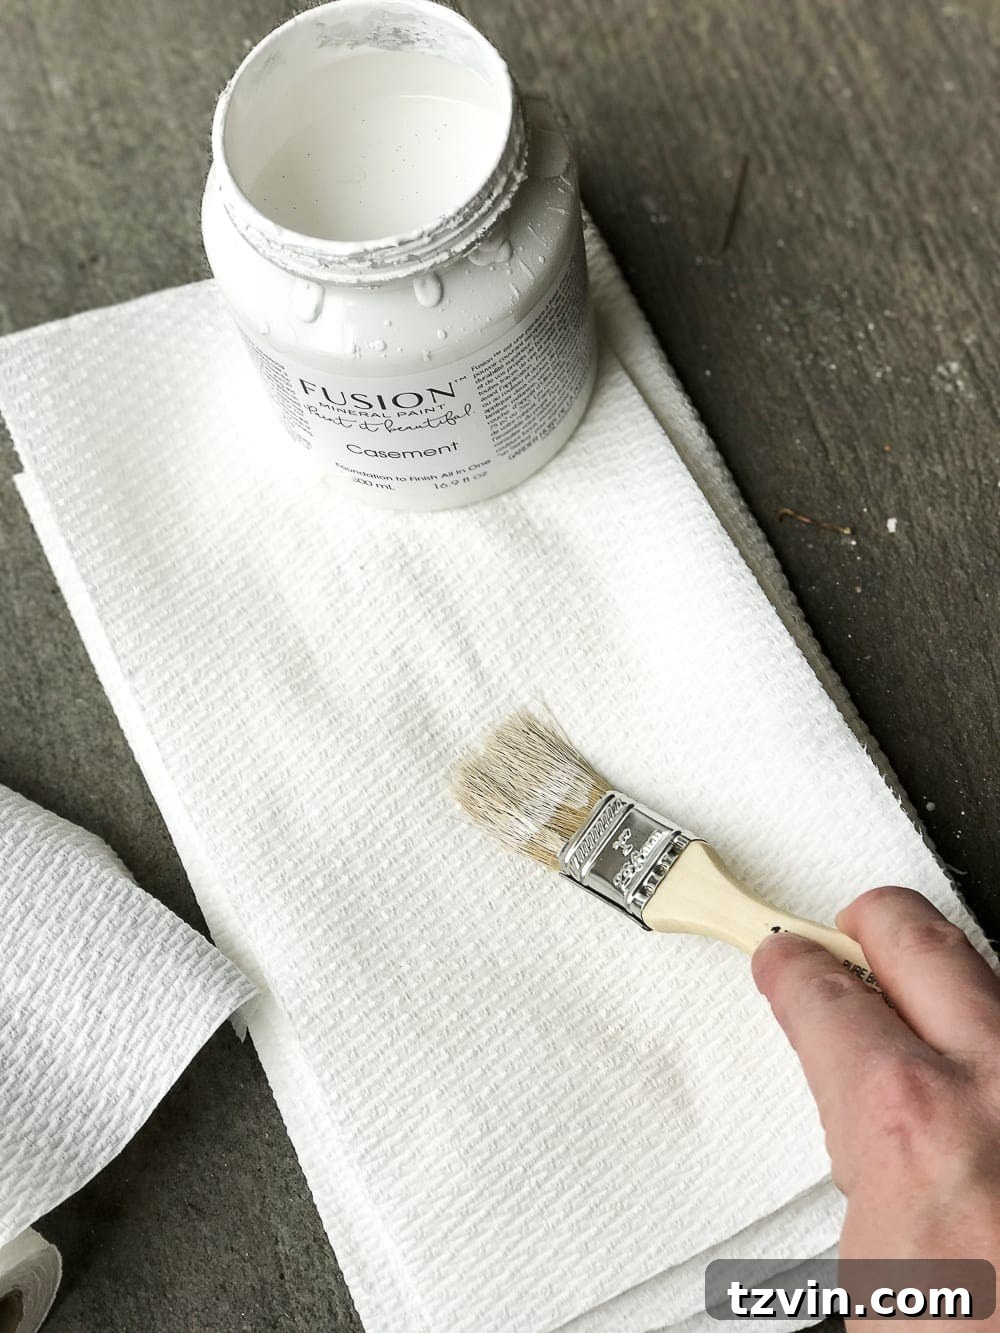
Once your French Linen base coat is completely dry, it’s time to introduce the weathered effect using a dry brushing technique with Fusion Mineral Paint Casement. This off-white shade adds a subtle layer of lighter tones, enhancing the aged appearance. You can, of course, substitute with any white paint you prefer. To dry brush effectively, dip only the very tip of a small chip brush into the paint. Then, wipe almost all the paint off onto a dry paper towel until the brush feels nearly dry, leaving just a hint of pigment.
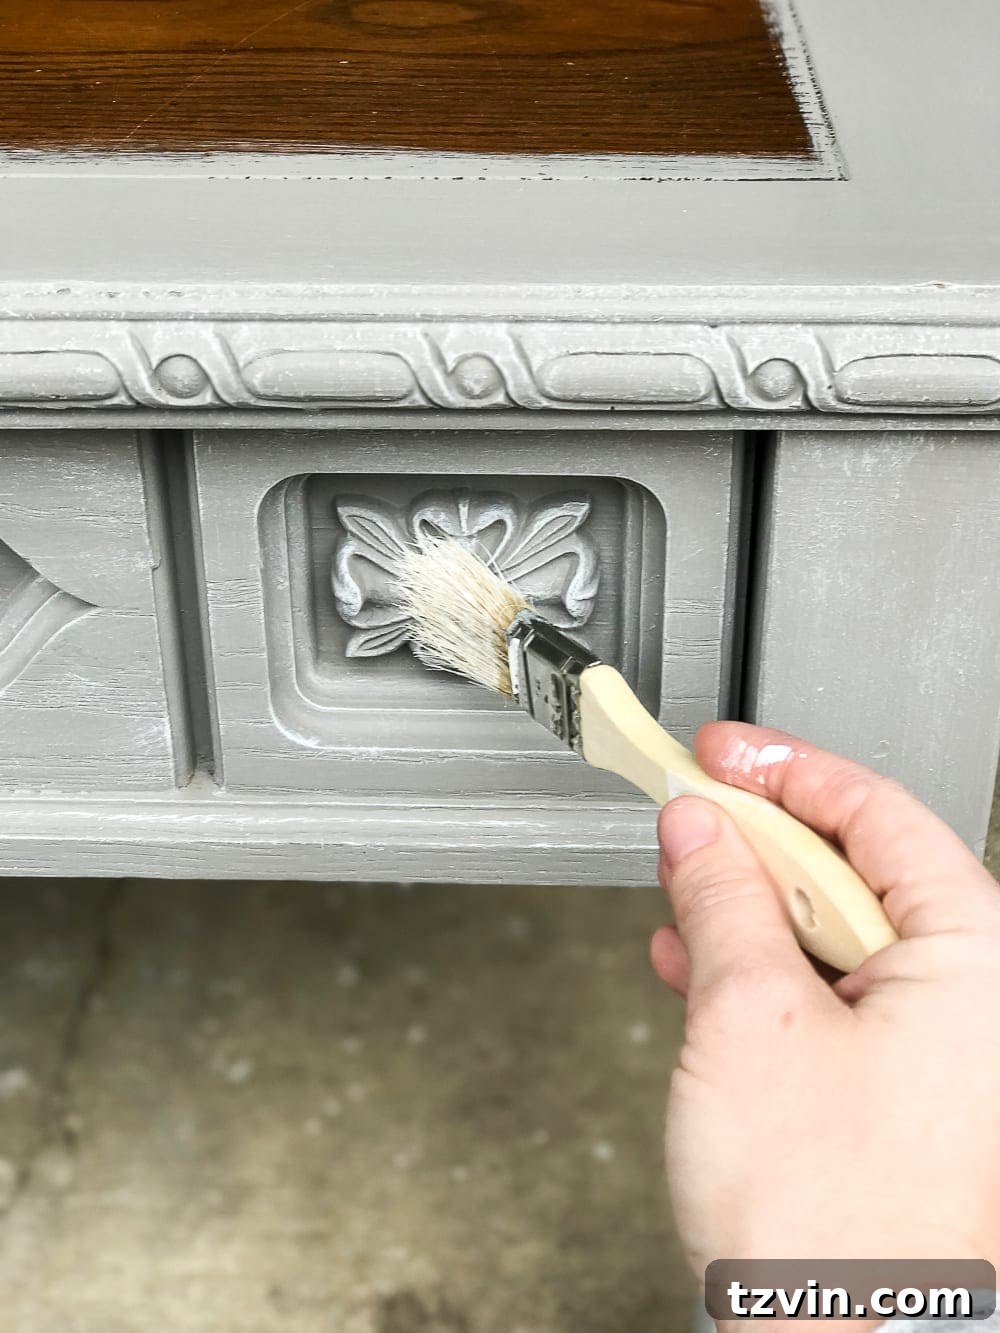
With a very light hand, gently brush this minimal amount of paint onto your piece. Focus on areas where natural wear would occur, such as edges, carved details, and raised surfaces. This technique adds incredible texture and subtly highlights the architectural features of the coffee table, contributing significantly to the weathered aesthetic.
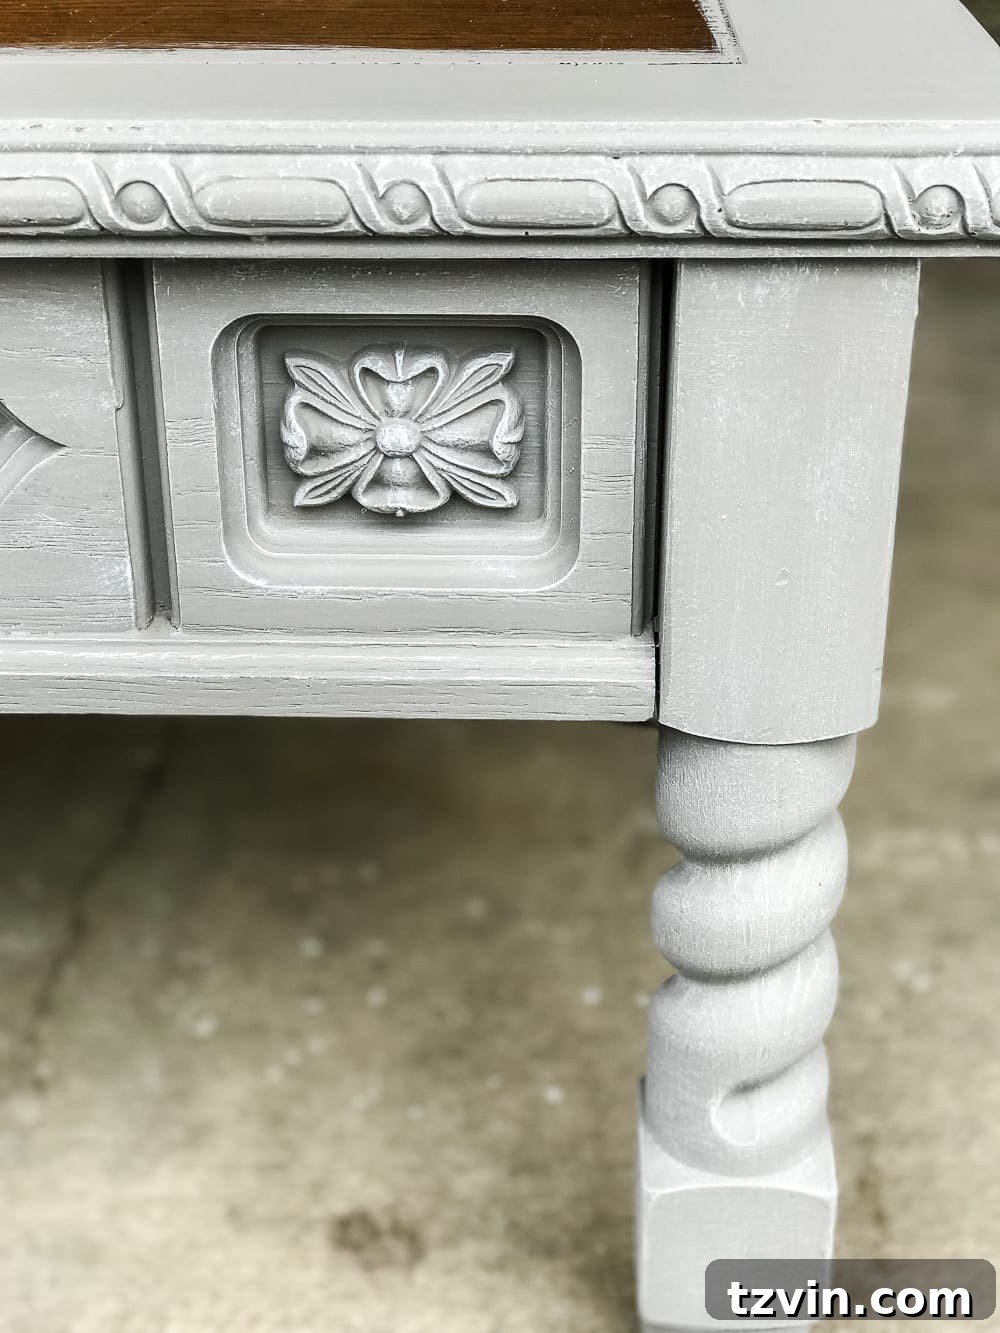
The subtle contrast and added depth created by dry brushing truly bring the “weathered” illusion to life.
Step 3: Sealing and Antiquing with Wax
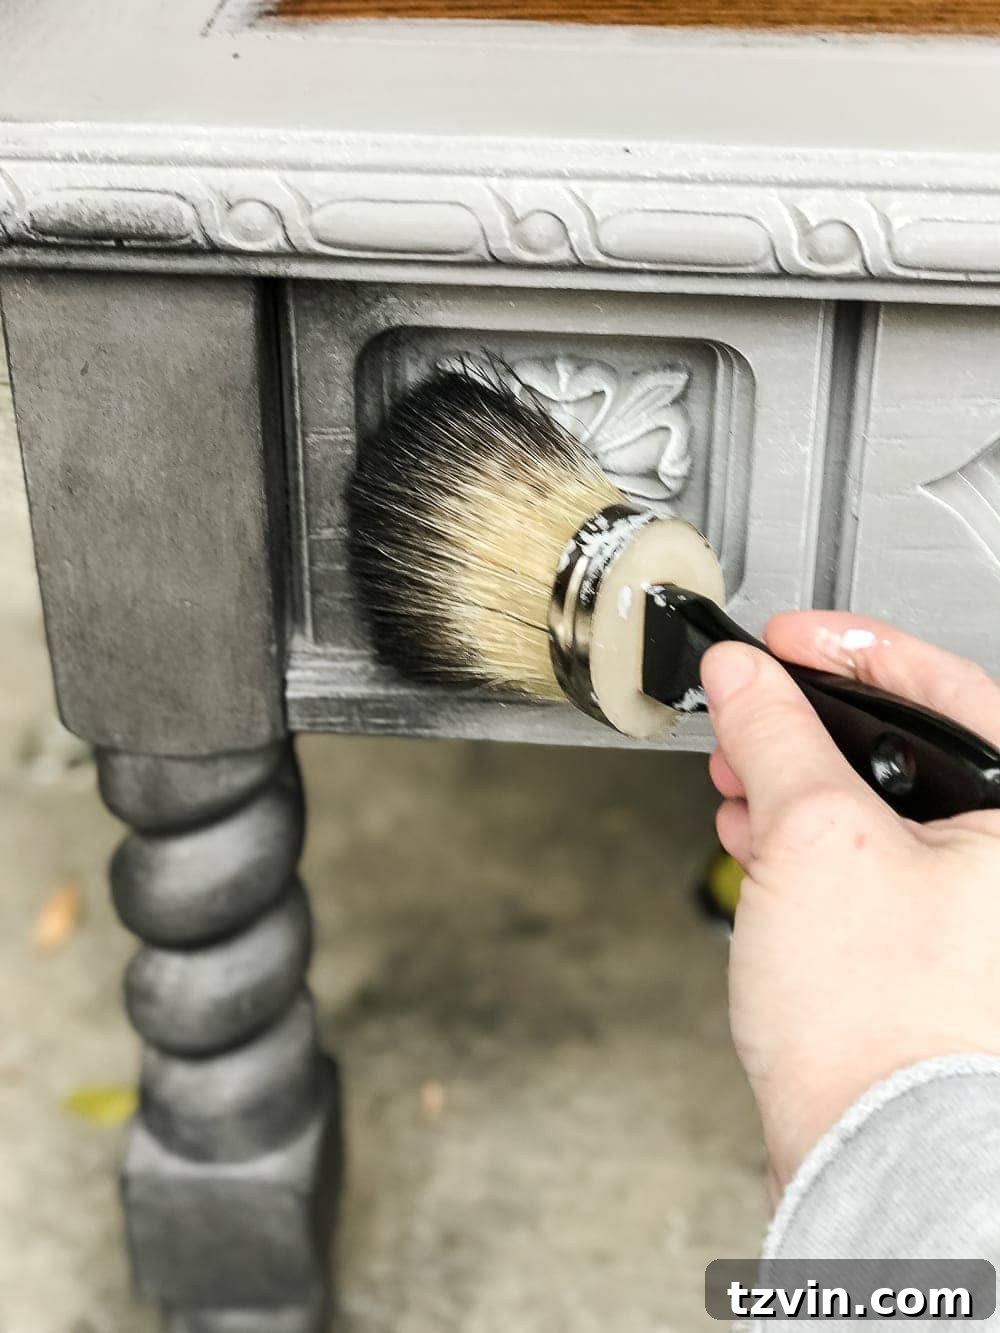
The final touch for our weathered wood base is applying wax to seal the paint and deepen the aged effect. I use Annie Sloan Black Wax, but a dark or espresso wax can achieve a similar result. If you desire a more brown, rustic weathered look instead of a gray one, opt for a dark brown wax. Using a fresh natural bristle brush, dip it only once into the wax – a little goes a very long way. Work in small sections, brushing the wax onto the surface and thoroughly working it into the paint and carved details with the bristles.
Avoid applying the wax too thickly, as this can leave a sticky residue. After about a minute, use a clean, dry, lint-free rag to wipe away any excess wax. This step is crucial, as wiping off the excess will not only prevent stickiness but also highlight the raised details and contours of the wood, creating beautiful depth and dimension. The wax settles into the crevices, accentuating the aged texture achieved through dry brushing, completing the weathered wood illusion.
Building the Tufted Upholstery Top
Now that the coffee table base boasts its charming weathered finish, it’s time to construct and upholster the luxurious tufted top. This is where your ottoman truly takes shape, gaining its plush comfort and designer appeal. Accuracy and patience are key for a professional-looking result.
Step 4: Preparing the Plywood Base
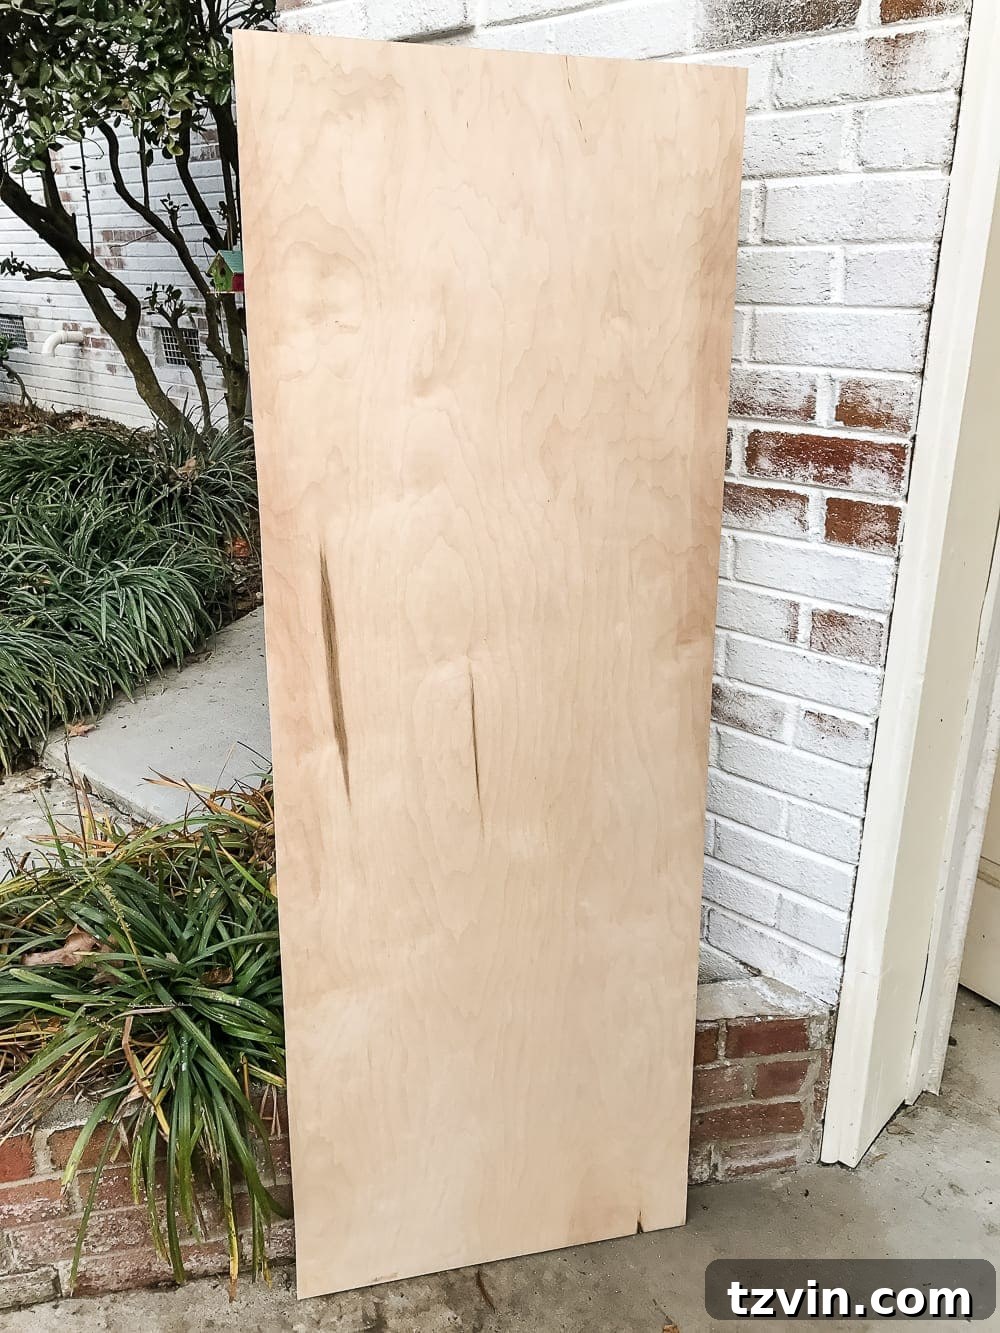
For the foundation of our tufted top, we’ll use a 3/4-inch hardwood plywood sheet. Head to your local hardware store, such as Home Depot, and have them cut the plywood to the exact dimensions needed for your coffee table top. It’s often helpful to measure your coffee table top precisely beforehand to ensure a perfect fit.
Step 5: Cutting the Foam Cushion
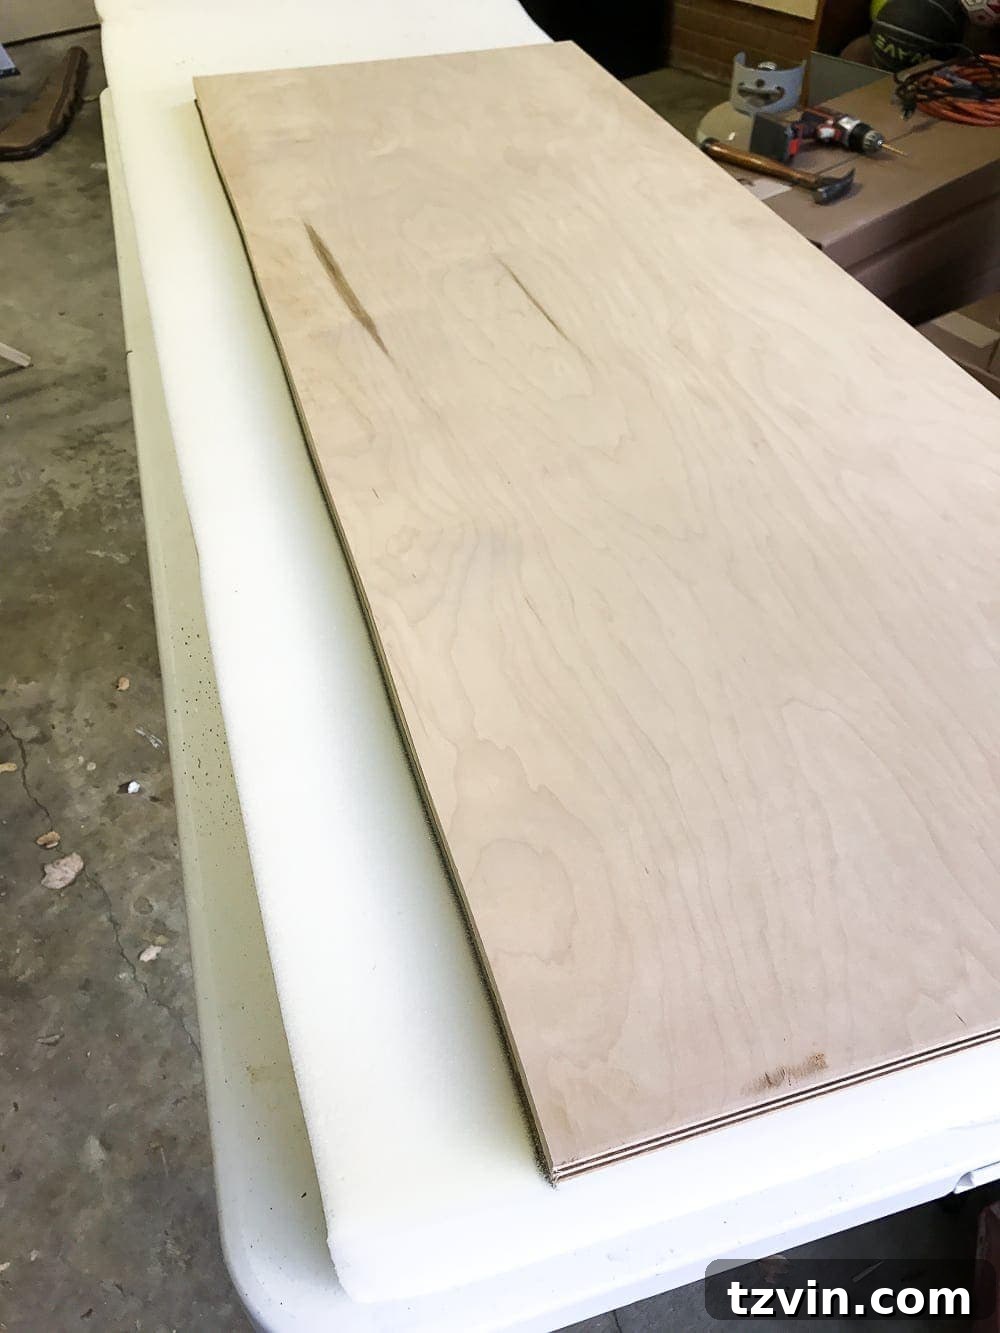
A comfortable ottoman needs ample padding. Roll out your 3-inch high-density foam sheet on a flat surface. For ease of working and to save your back, I highly recommend using a sturdy folding table for these next few steps. Place your cut plywood on top of the foam and carefully trace its outline using a Sharpie marker. This will ensure your foam perfectly matches the plywood dimensions.
Step 6: Precision Foam Cutting
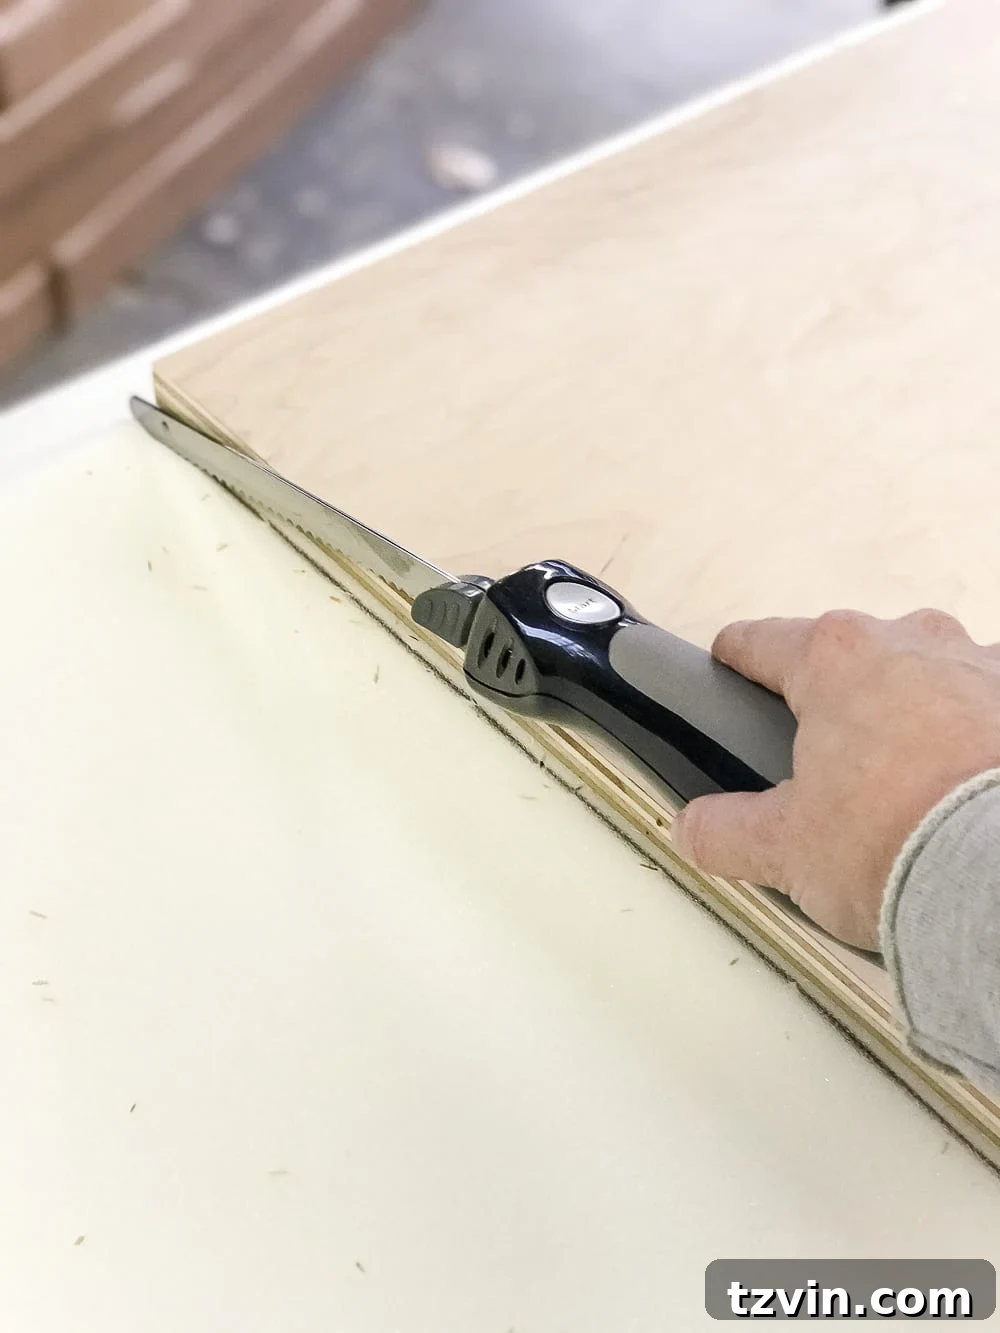
To cut the foam to your traced line, an electric carving knife (the kind you might use for Thanksgiving turkey) is an absolute game-changer. It slices through high-density foam with incredible ease and precision, giving you clean, straight edges that are difficult to achieve with standard scissors or utility knives. If you don’t own one, it’s a worthwhile investment for foam-related DIY projects.
Step 7: Adhering Foam to Plywood
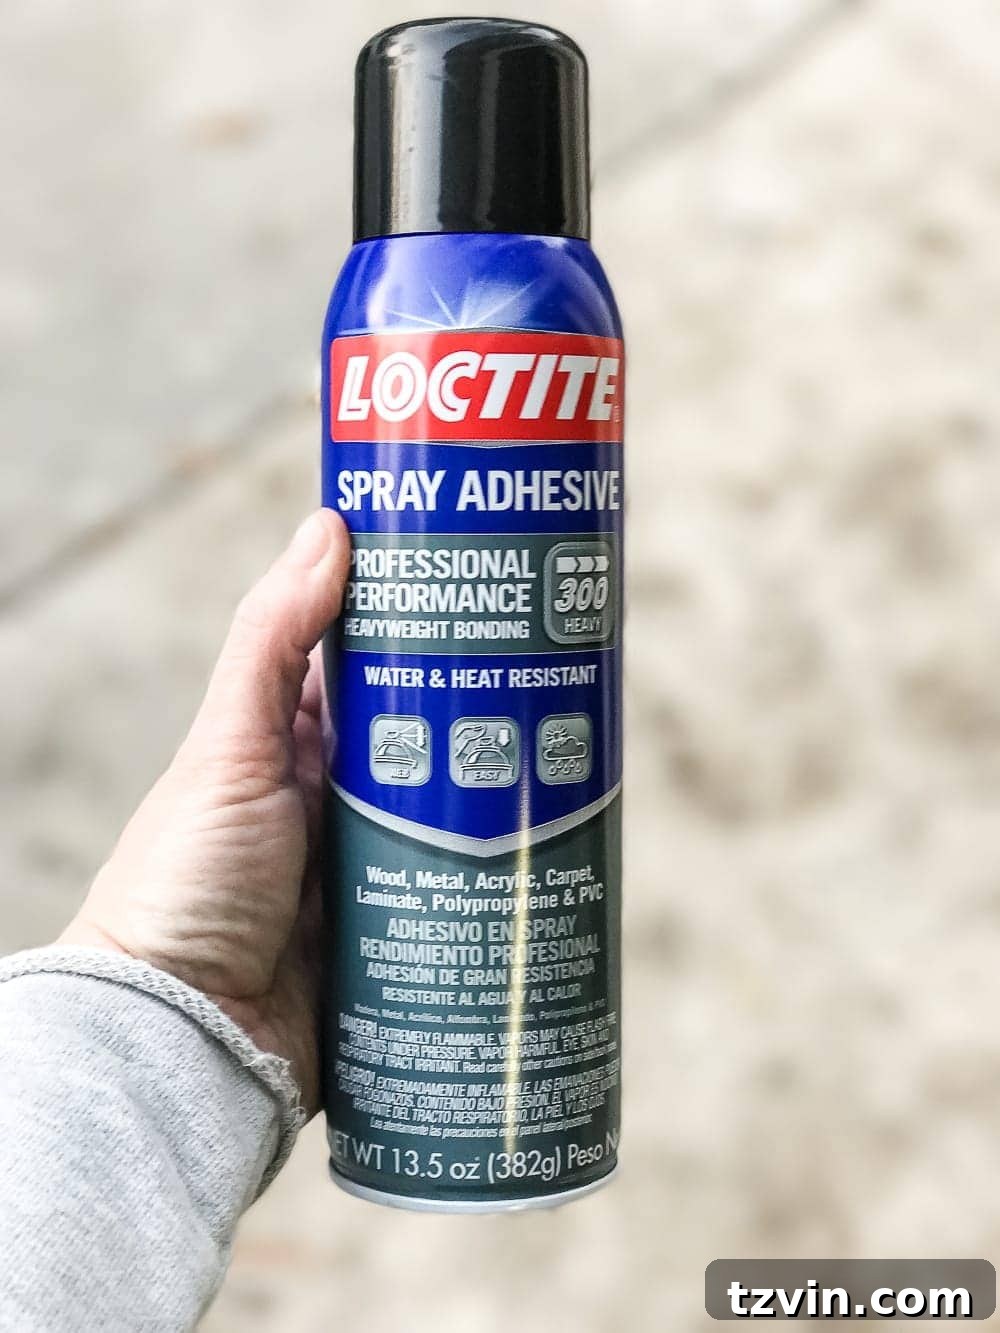
To secure the foam to the plywood, use Loctite 300 spray adhesive. This adhesive creates a strong, lasting bond suitable for upholstery. Spray one side of the foam evenly and one side of the plywood. Allow the adhesive to become tacky according to the product’s instructions, usually a minute or two.
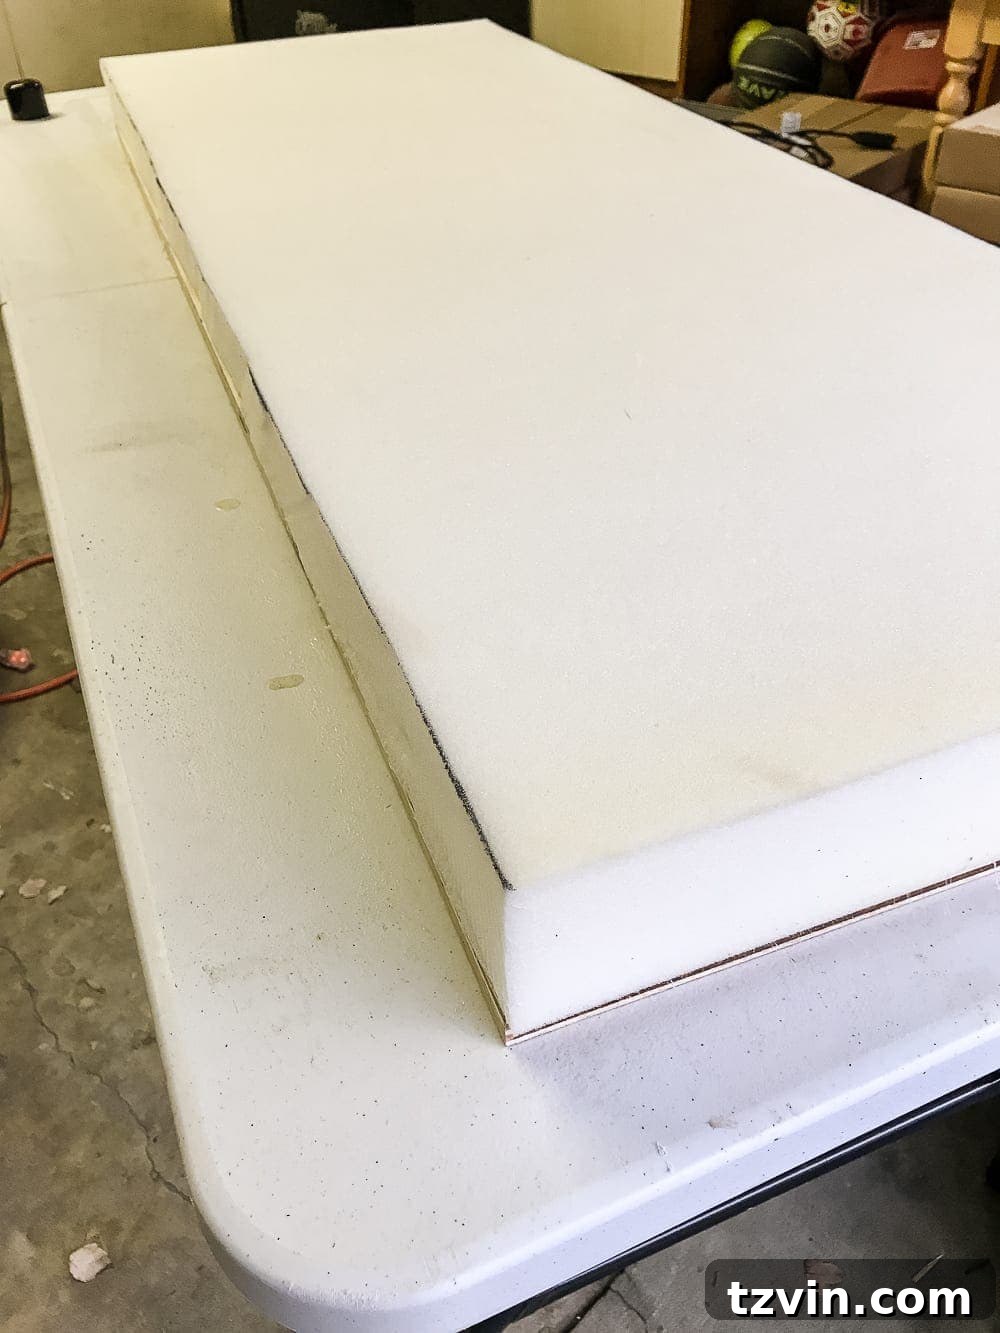
Step 8: Bonding the Layers
Carefully align the foam with the plywood, ensuring all edges match perfectly. Once aligned, press down firmly across the entire surface to bond the adhesive. Work from the center outwards to smooth out any air bubbles and ensure a secure, flat attachment.
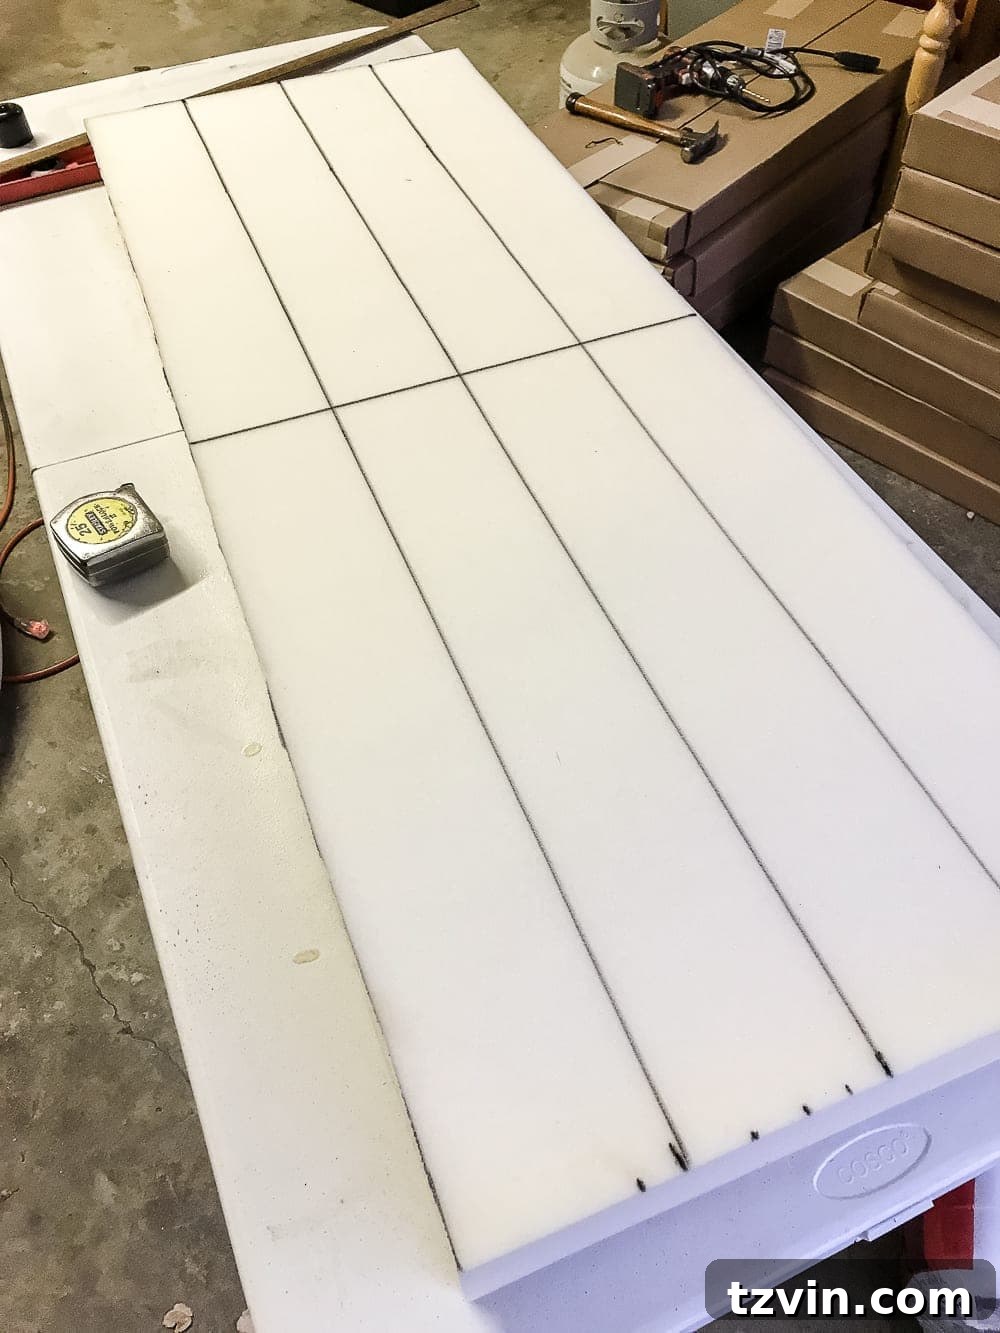
Step 9: Marking for Tufting – Grid Layout
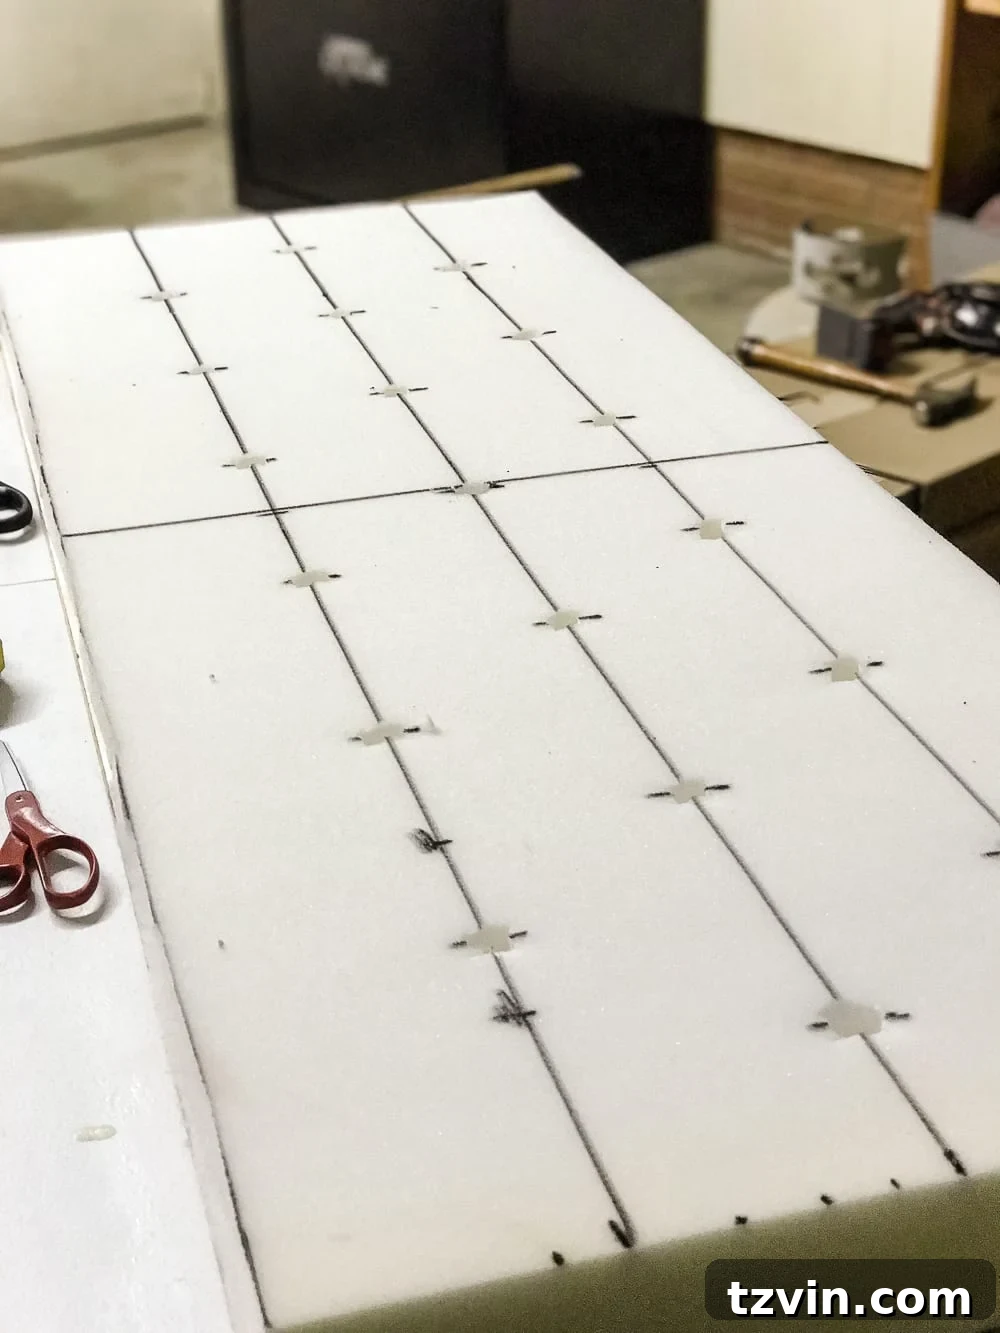
Achieving symmetrical tufting is crucial for a polished look. Using a tape measure and a yardstick as a straight edge, mark your foam piece into quarters horizontally and then find the precise vertical middle point. These initial lines will serve as your primary guides for the button placement.
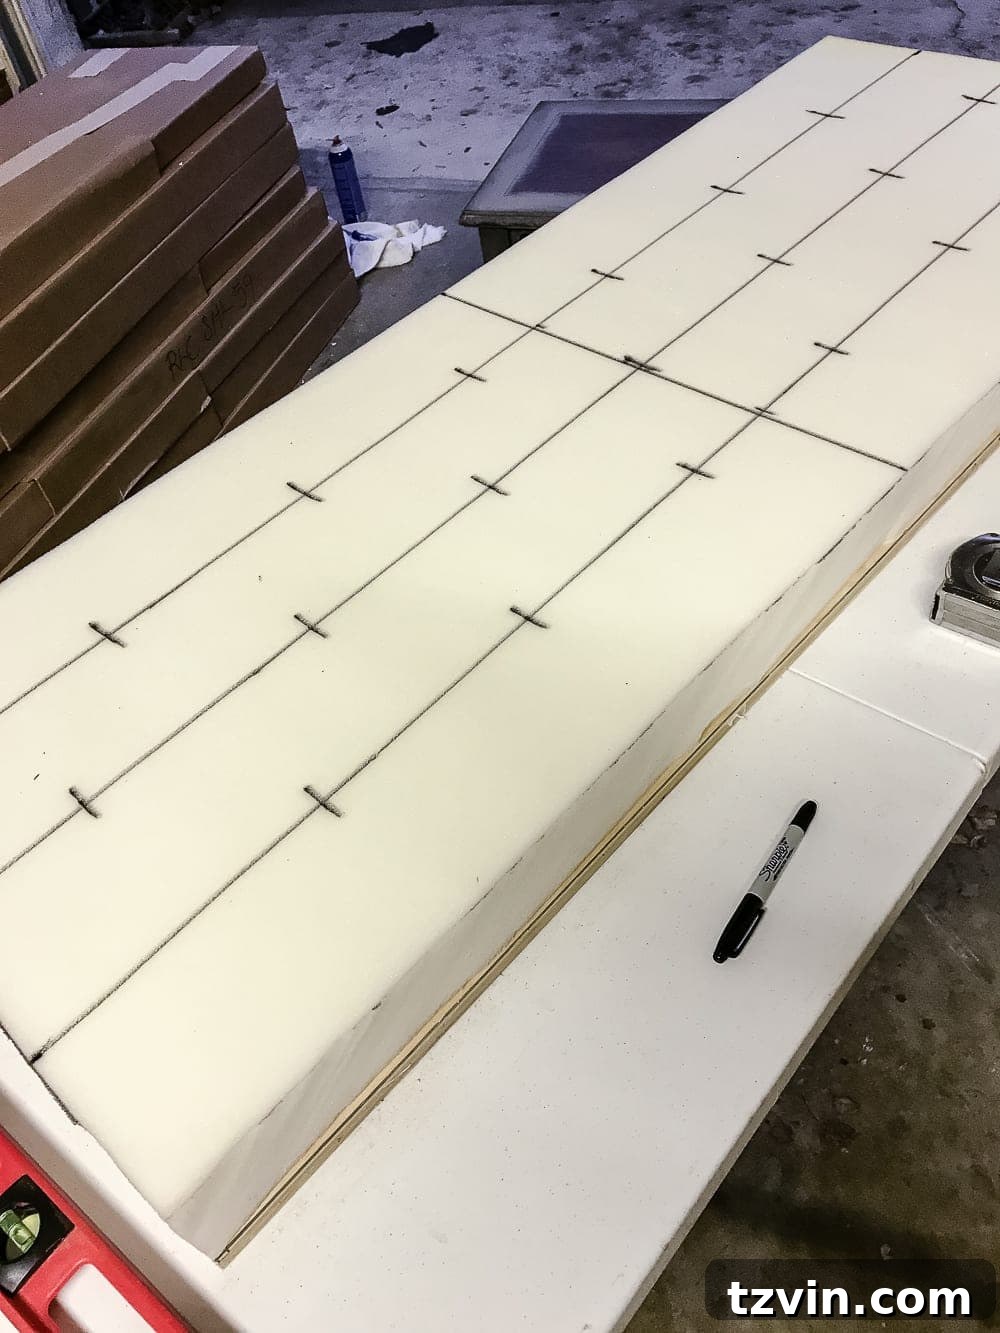
Step 10: Precision Button Marking
From your initial grid, use the tape measure again to accurately mark all the precise locations where your buttons will be placed. Ensure even spacing for a consistent tufted pattern. Precision in this step will significantly impact the final aesthetic of your ottoman. You may want to sketch out your desired diamond pattern before making permanent marks.
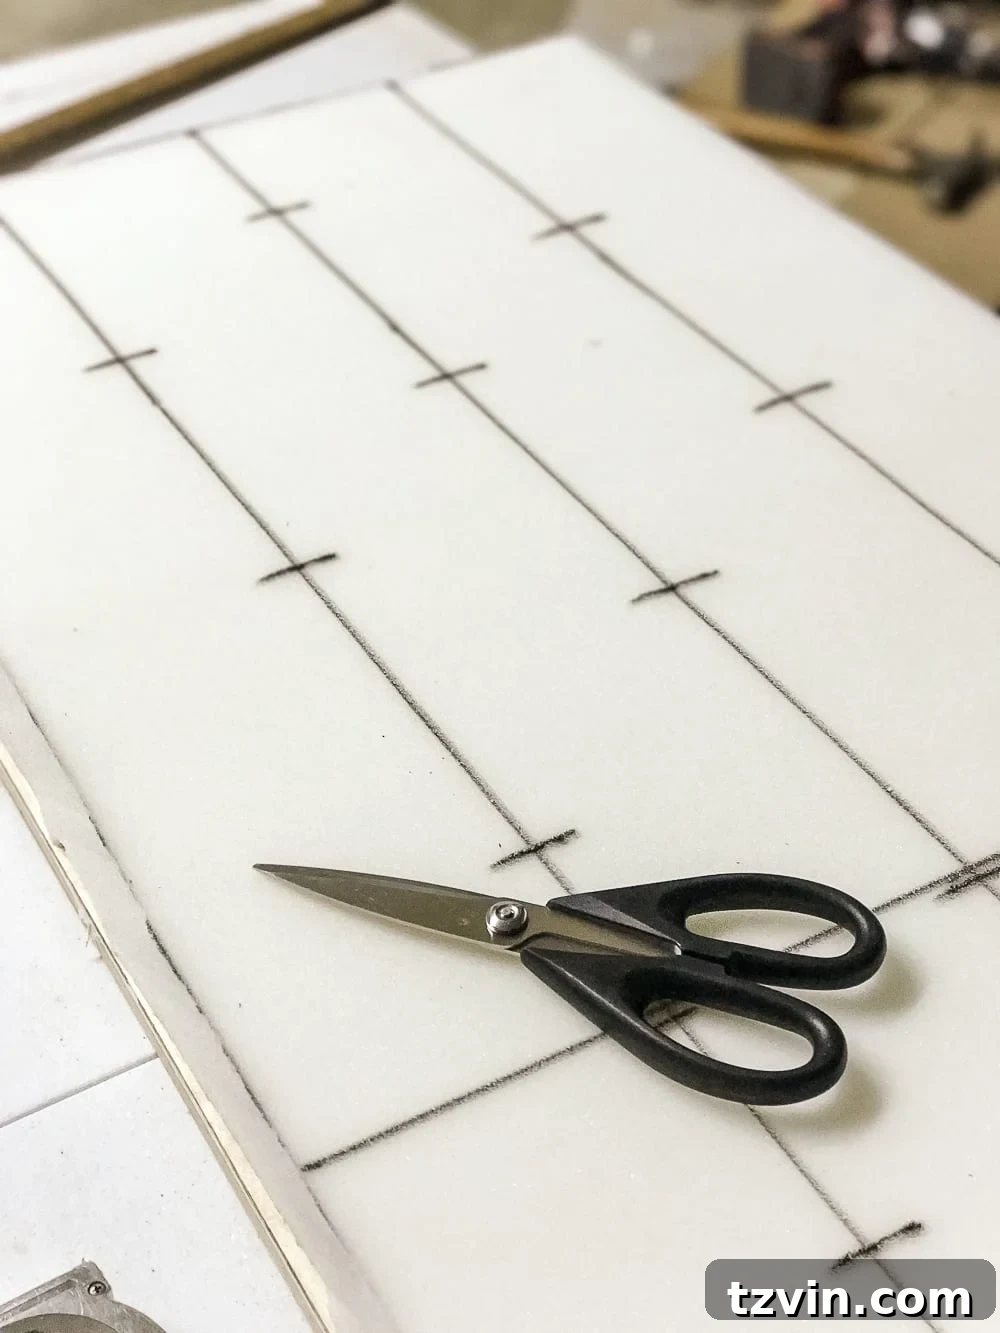
Step 11: Preparing Foam for Buttons
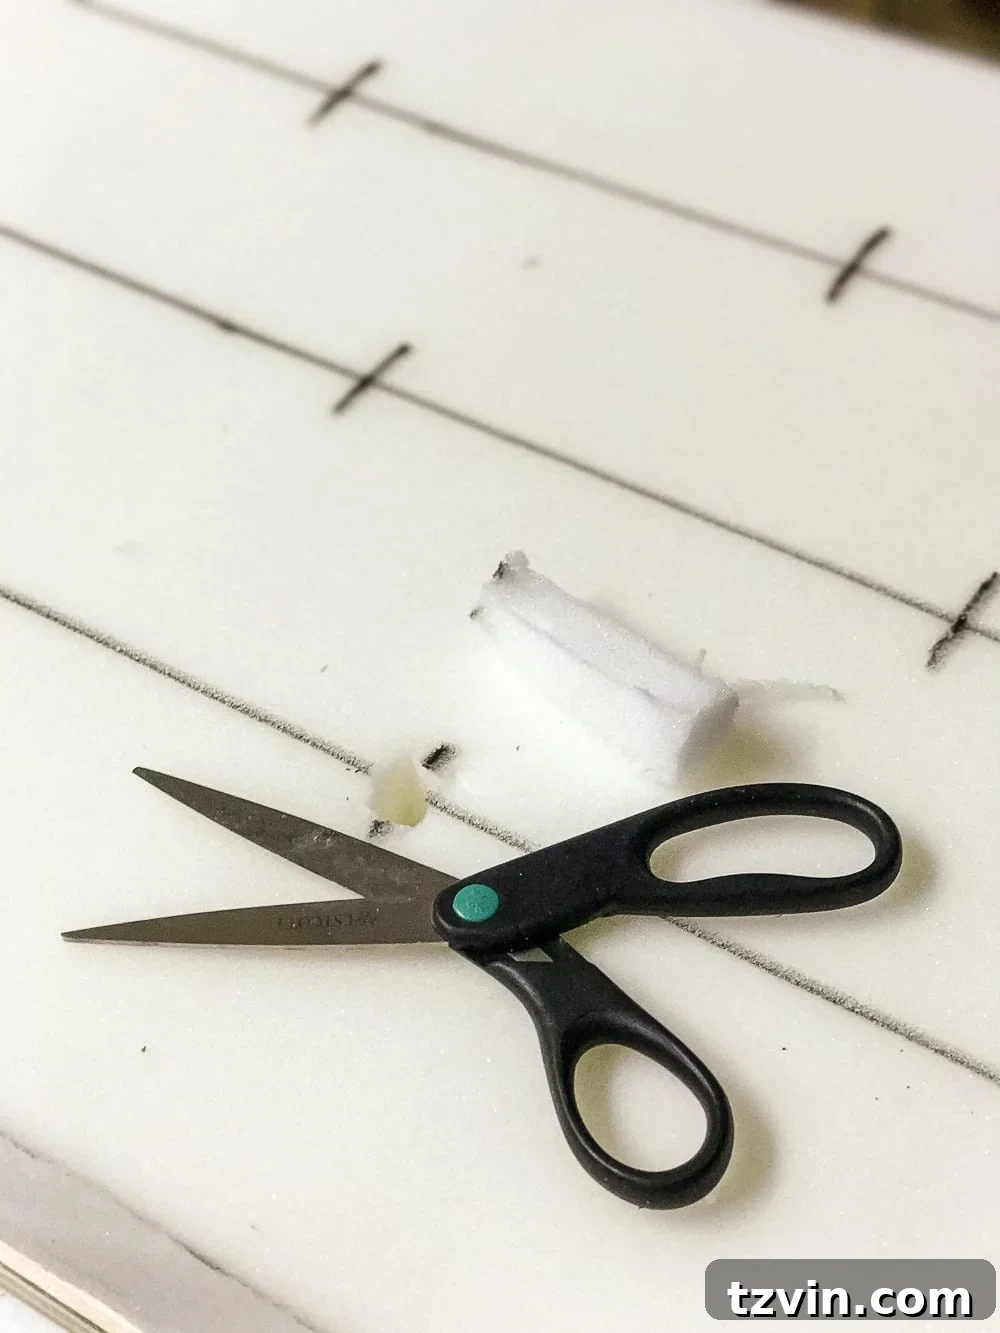
To allow the fabric and buttons to sink into the foam and create the tufted effect, you need to cut small incisions. At each button marking, use sharp fabric scissors to cut four one-inch lines around the mark. These cuts will create a small opening that allows the tufting mechanism to pull the fabric deeply into the foam.
Step 12: Adding Batting Layers
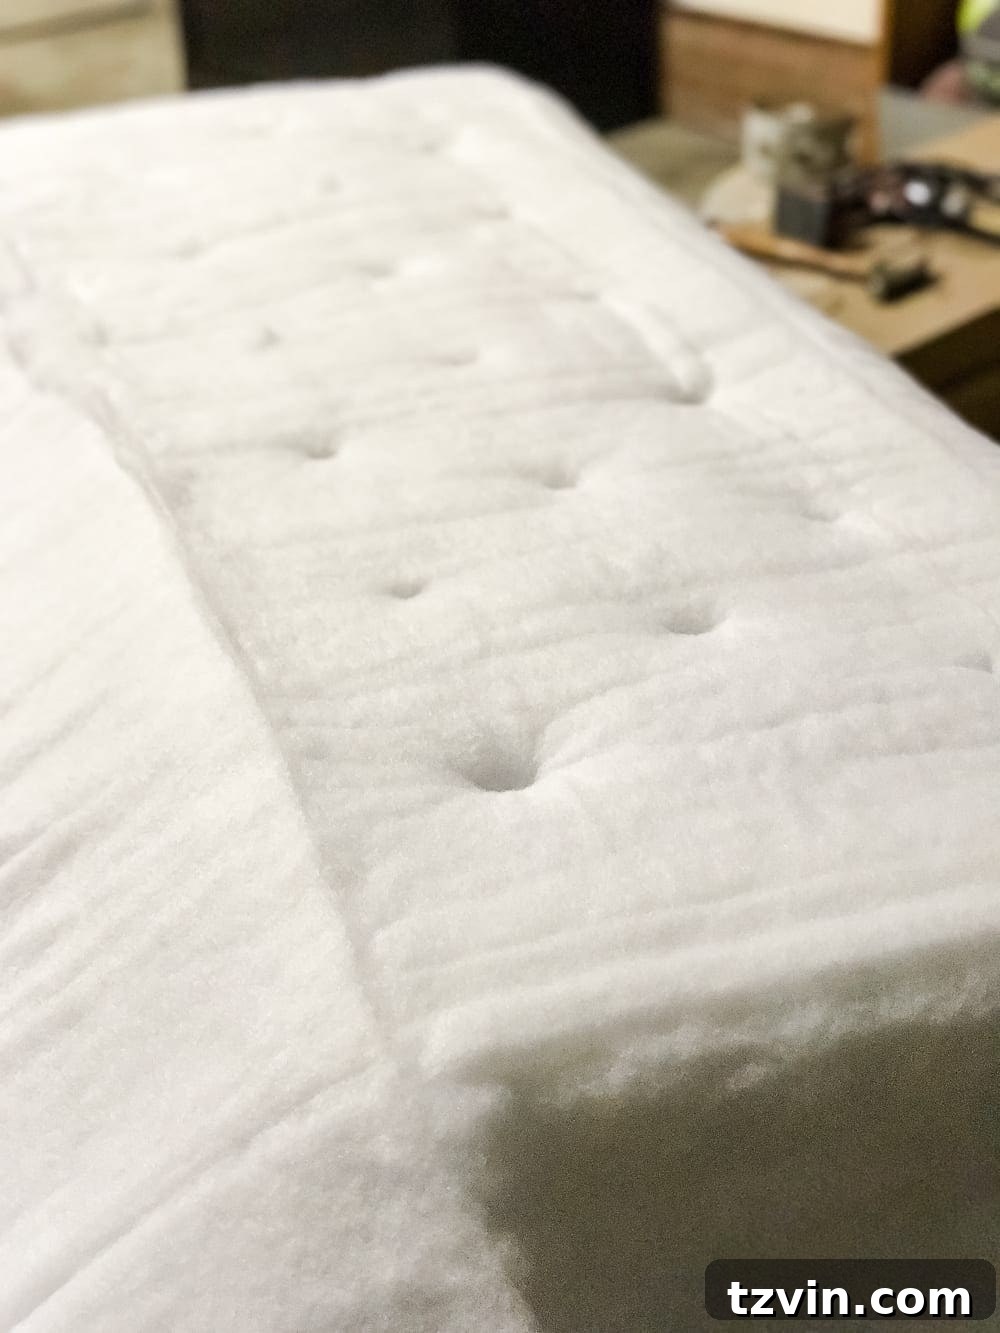
Once all your holes are cut in the foam, lay down two generous layers of hi-loft batting over the entire foam surface. Batting adds an extra layer of softness, smooths out any imperfections, and helps create a fuller, more luxurious look for your tufts. After positioning the batting, use your thumb to gently press through the batting at each location where you previously cut holes in the foam underneath. This creates a clear path for your tufting screws.
Step 13: Starting the Tufting Process – The Tricky Part!
Now for the most satisfying, yet challenging, part: the tufting! Lay your chosen upholstery fabric smoothly over the batting, ensuring you have plenty of excess fabric hanging over all sides of the foam. This excess is crucial for pulling and adjusting as you create the tufts.
Start with a bottom corner tuft. Begin pushing the fabric down through the first hole, aiming to minimize creases as much as possible. Don’t worry if it looks a bit messy at first; you’ll have opportunities to smooth and adjust the fabric as you work your way through the pattern. The key is to start creating the initial depression that will define your tuft.
Step 14: Securing Your First Tuft
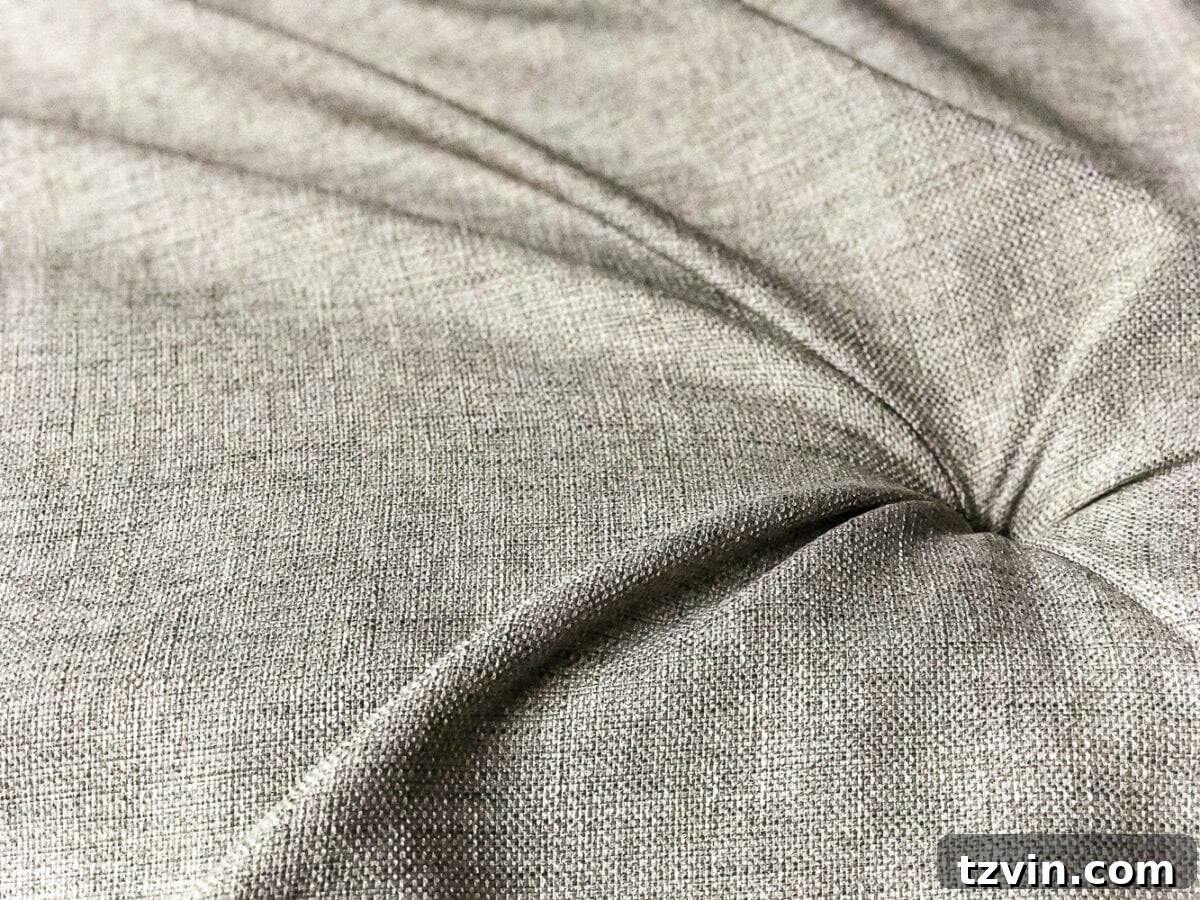
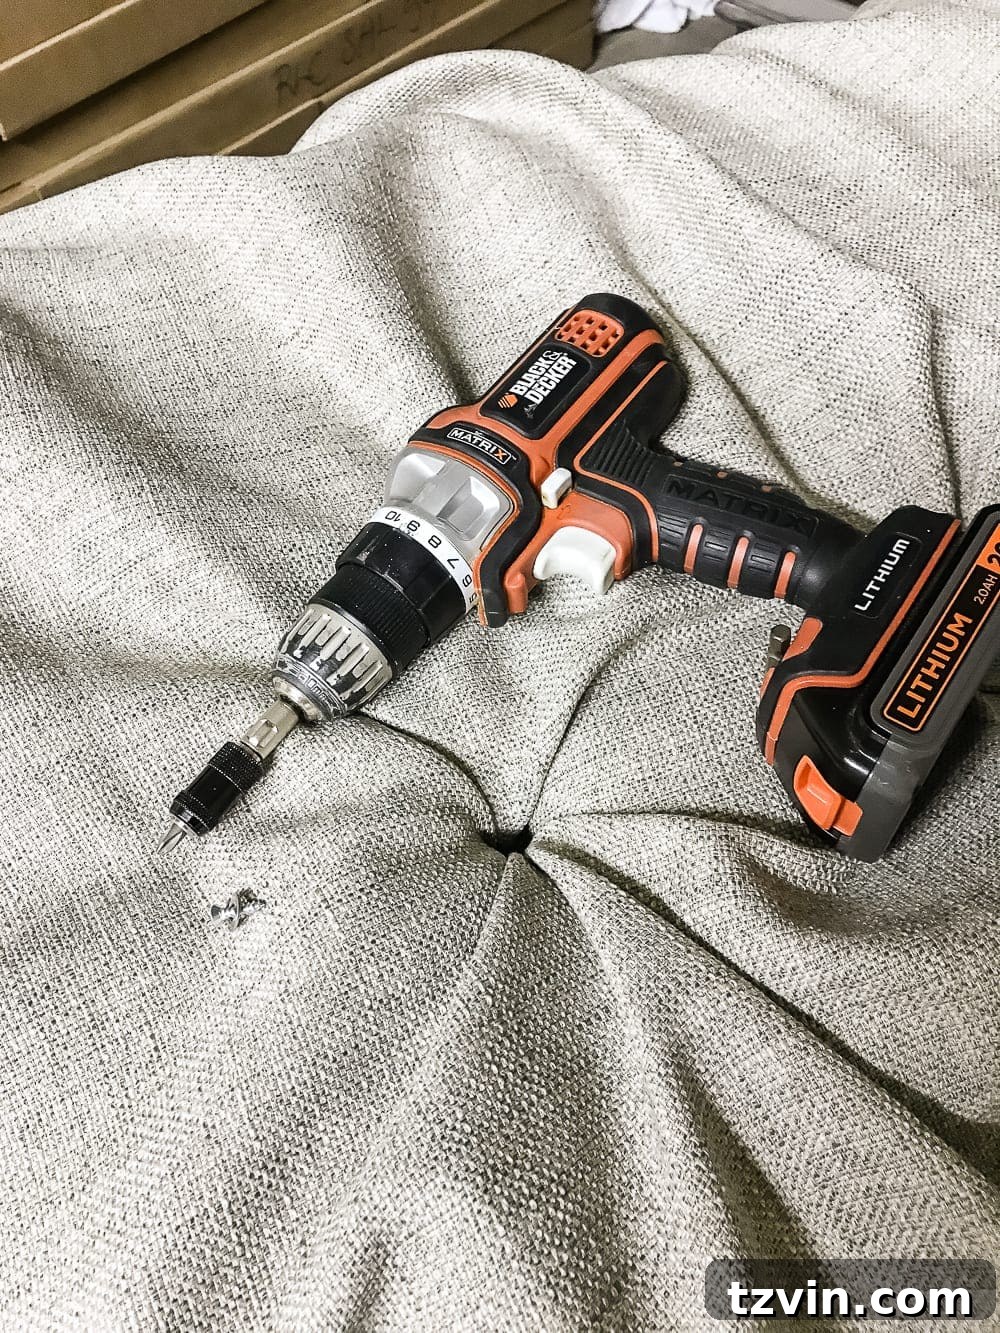
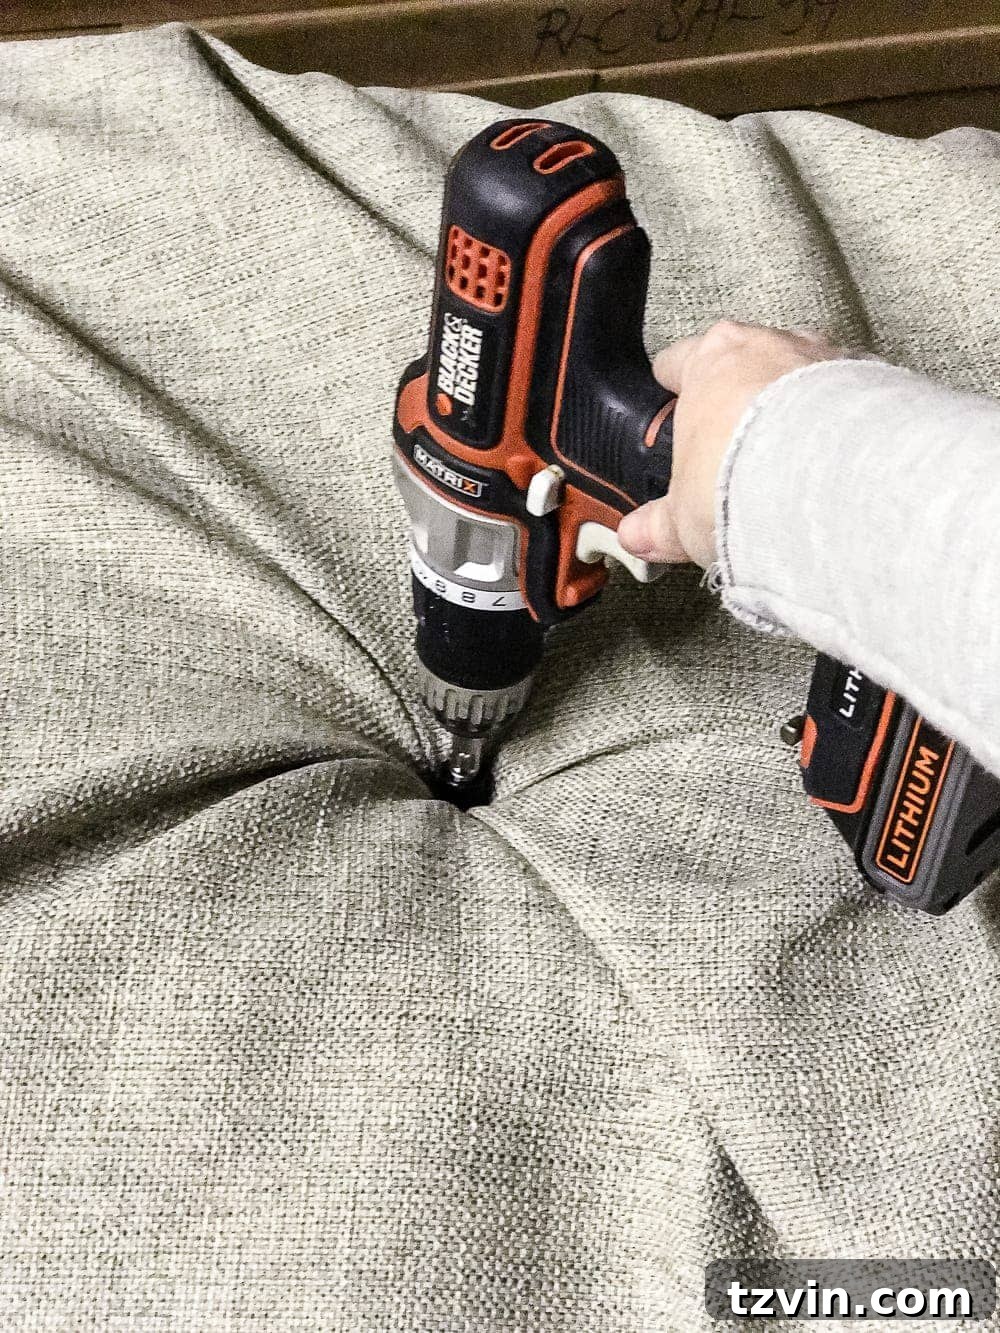
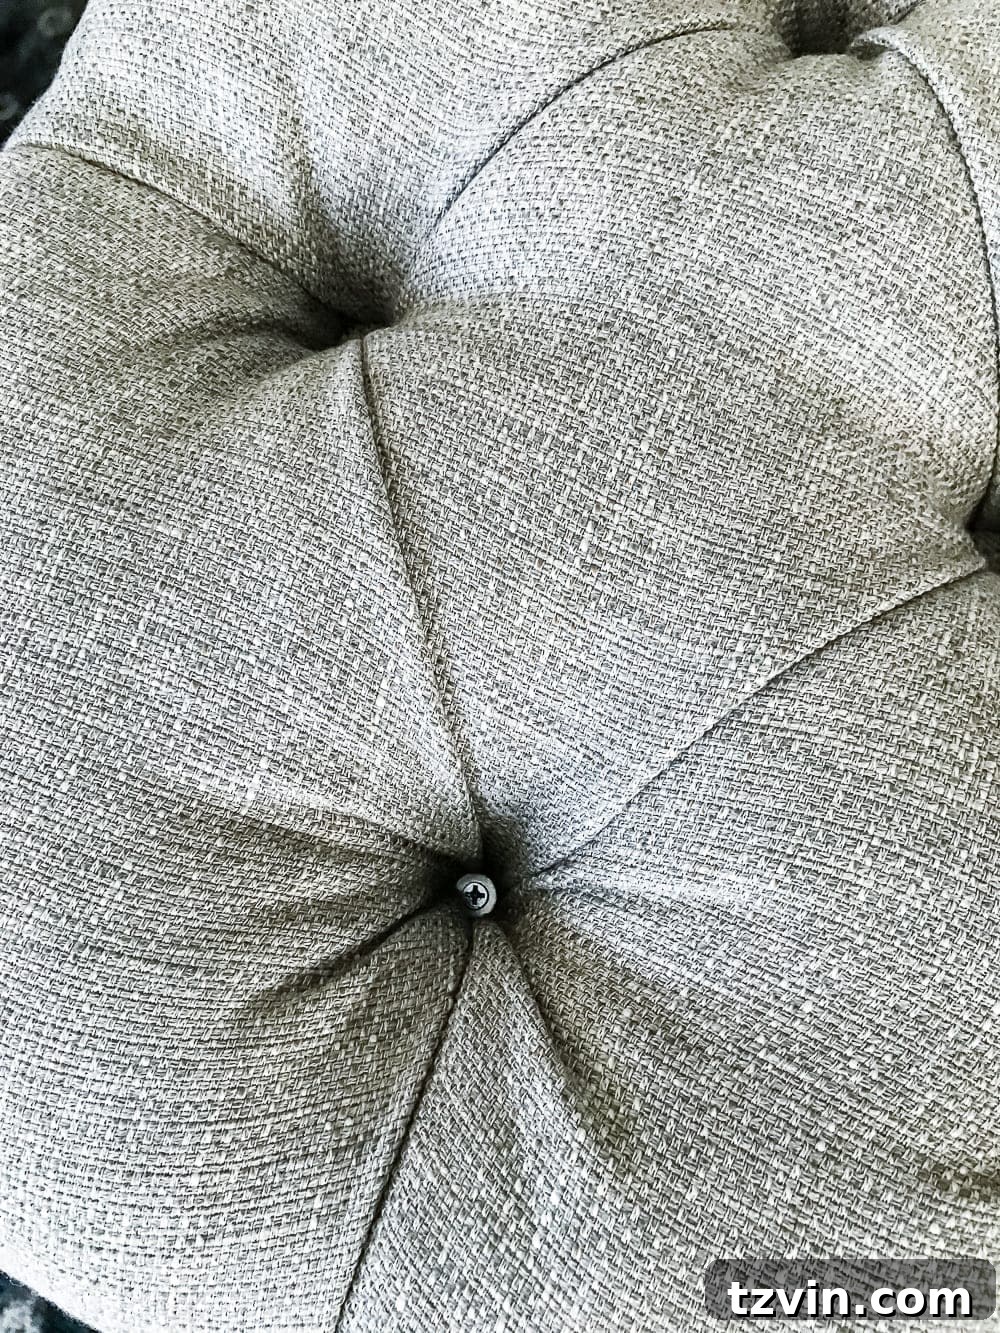
To secure your initial tuft, use a power drill to drive a #8 screw through the fabric and foam into the plywood base. Place a #10 flat washer between the screw head and the fabric. The washer helps distribute the pressure and prevents the screw from tearing through the fabric, ensuring a firm and lasting hold on your tuft. Make sure the screw is driven in deeply enough to create a noticeable indentation.
Step 15: Working Adjacent Tuft Sections
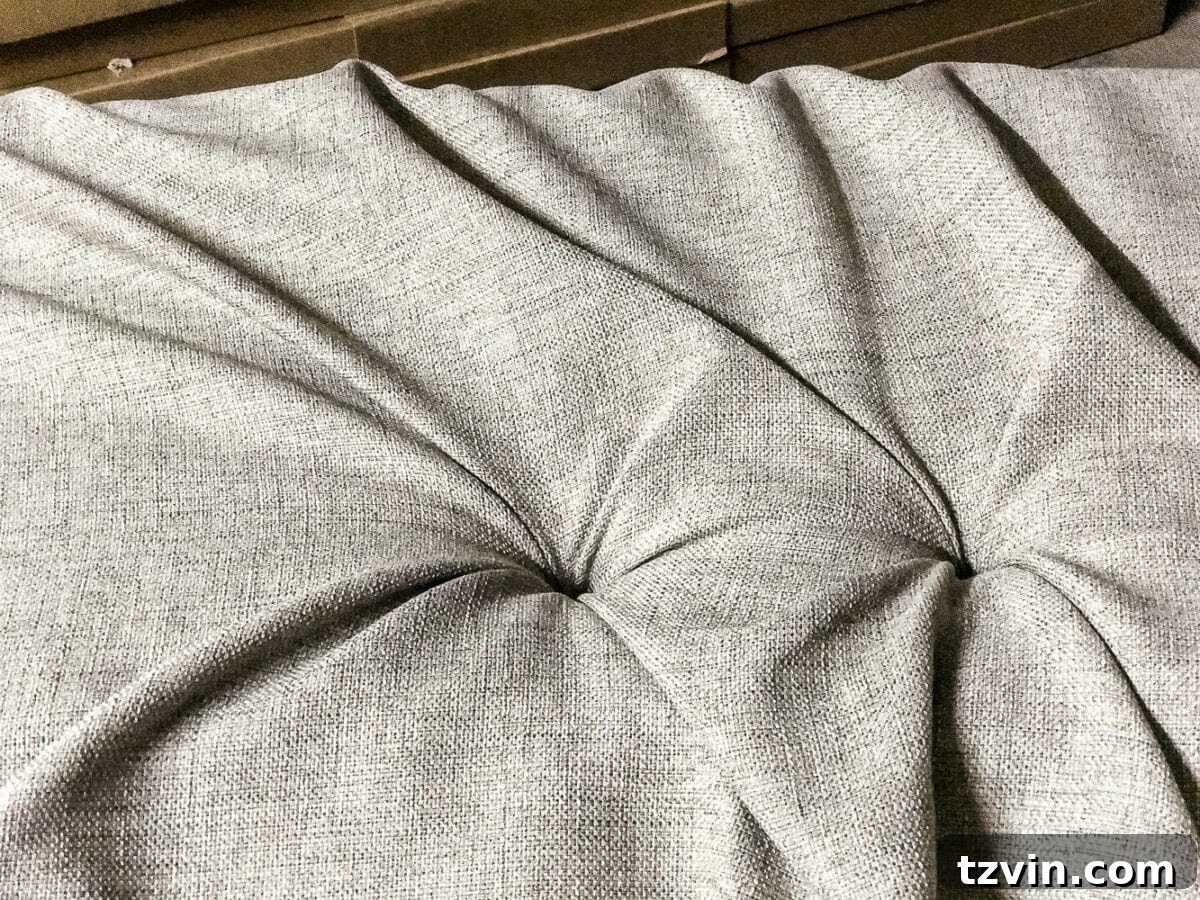
Once your first tuft is secured, move to an adjacent tuft. When pulling fabric to create this new tuft, always draw the excess fabric from the slack *opposite* your current working tuft, not from the tuft you just secured. Pulling from a secured tuft can cause puckering and unevenness. The goal is to ensure the fabric between two secured tufts remains smooth and taut, without any unwanted pulling or creasing. This technique helps maintain the crisp lines of the tufted pattern.
Step 16: Continuing the Tufting Pattern
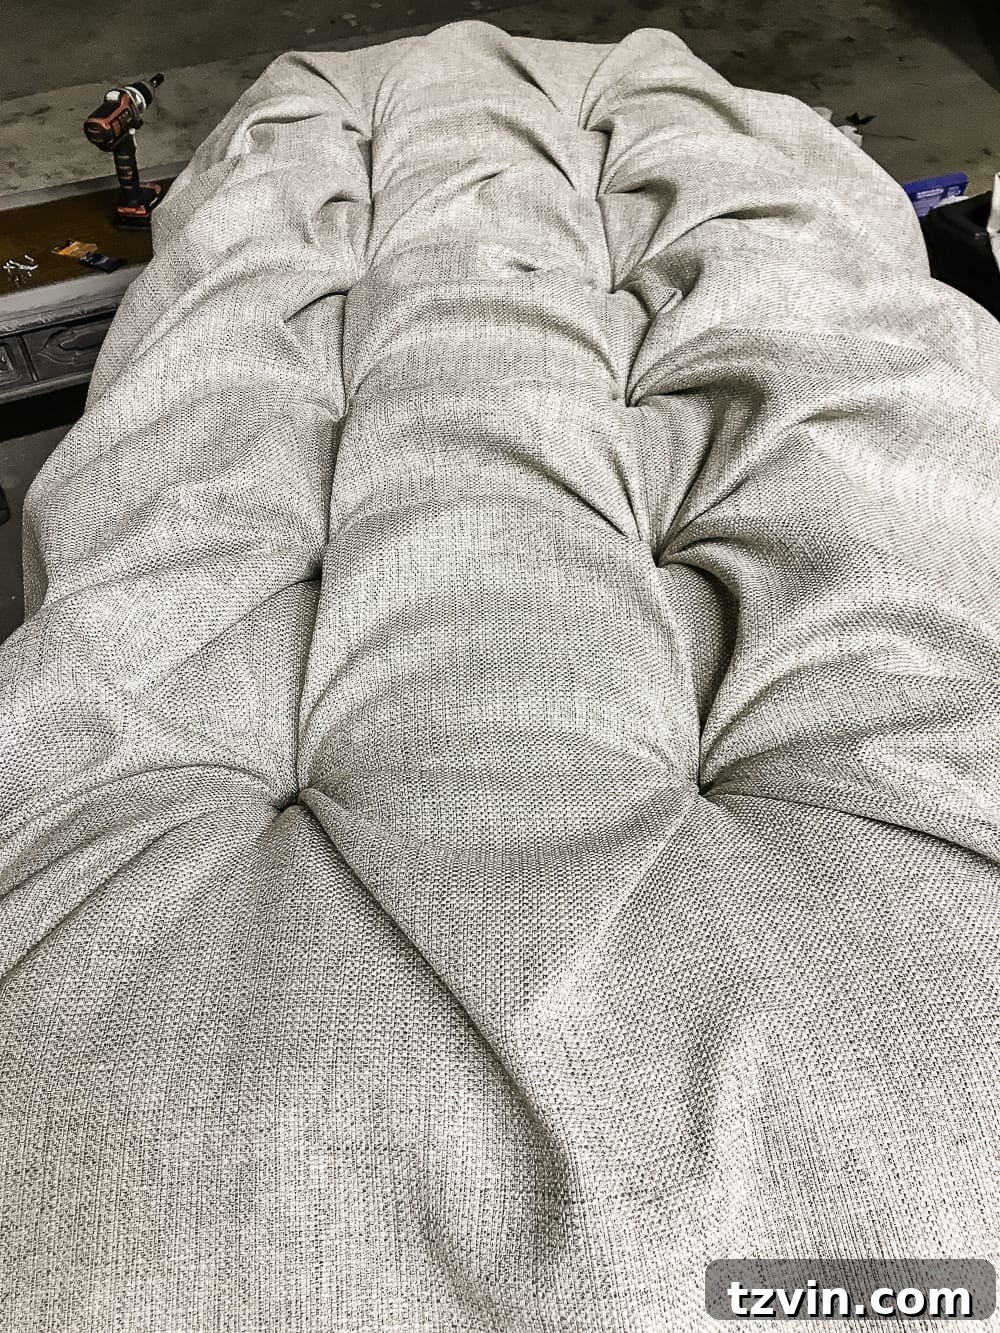
Continue working your way down the lines of your marked pattern, pulling fabric and securing each loose tuft with a screw and washer as described in Step 14. For now, skip the middle row of holes and save those for last. Focusing on the outer rows first helps establish the overall shape and tension of the fabric, making the central tufts easier to manage later.
Step 17: Mastering the Diamond Creases (Middle Row)
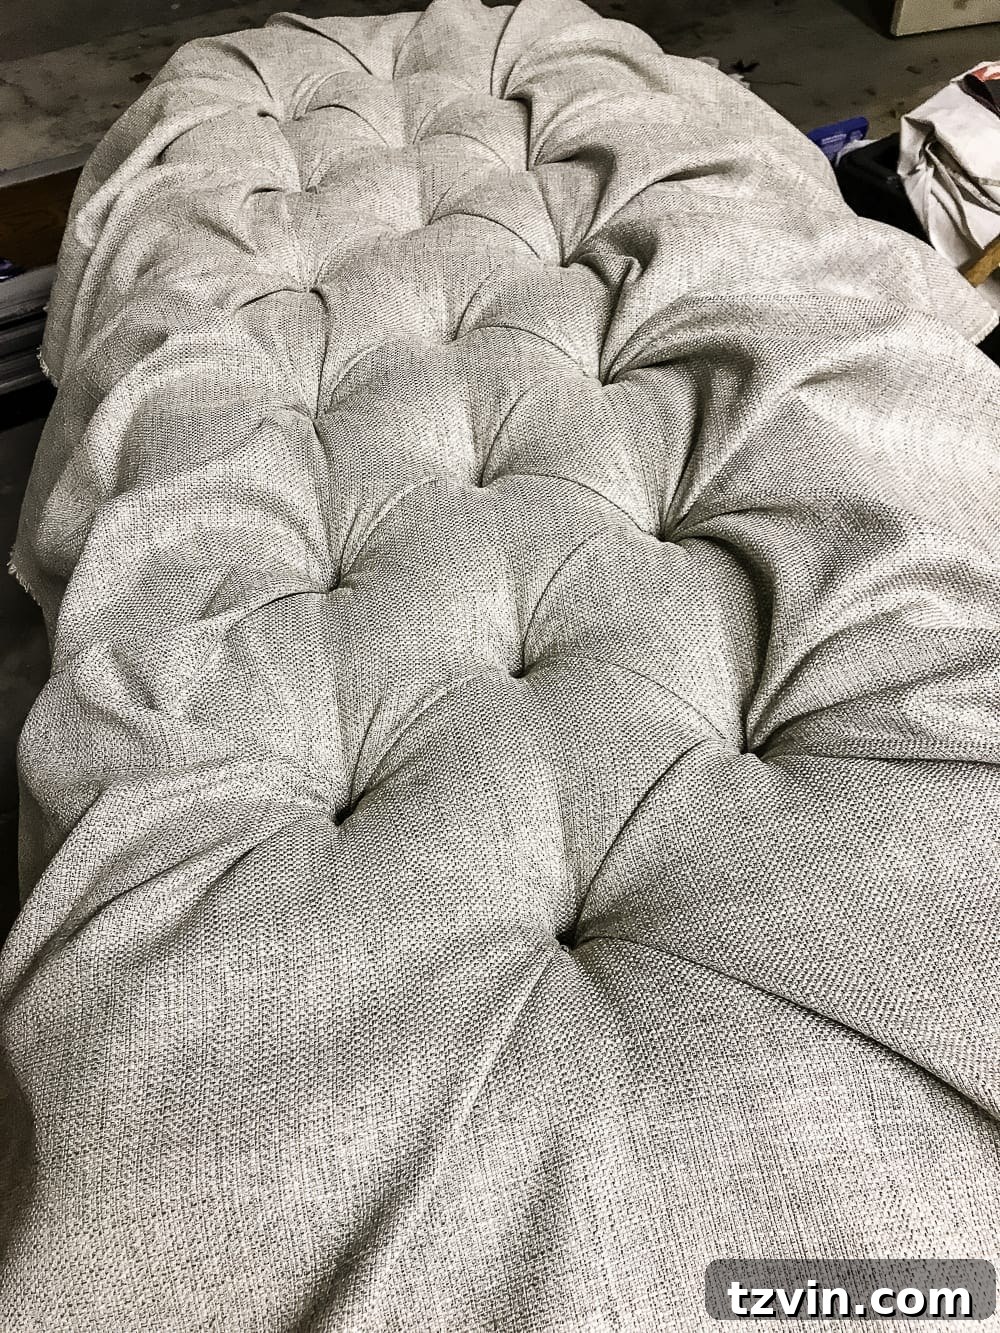
The middle row of tufts is often the trickiest because it’s where you truly begin to form the distinctive diamond pattern. This step requires patience and a keen eye for detail. Think of it like wrapping a present: you need to carefully tuck and pinch your fabric at the corners of your tufts to create clean, crisp “seams” or creases that radiate from each tuft. Ensure that the fabric between tufts forms a smooth, concave diamond shape. Once you achieve a straight and defined crease on all four corners leading to a central tuft, screw it into place. This attention to detail is what gives diamond tufting its luxurious, tailored appearance.
Step 18: Finishing the Edges with Staples
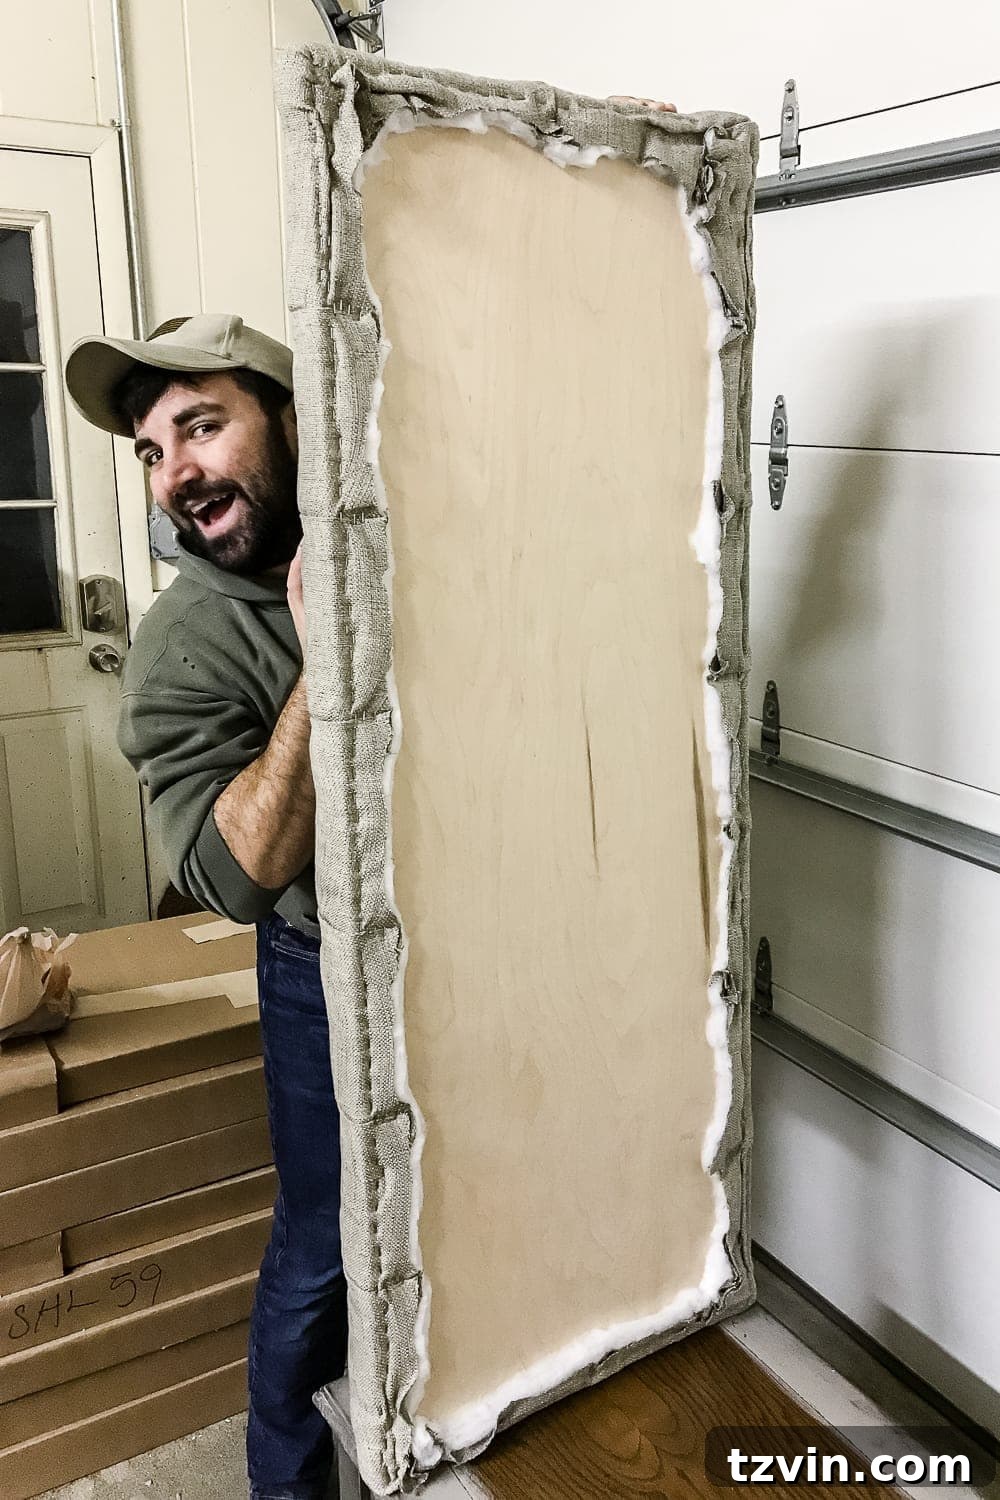
With all your tufts secured, it’s time to neatly finish the edges of your ottoman top. Continue the “present-wrapping” method by tucking and pulling the excess fabric around the edges and corners of the plywood. Ensure the fabric is taut and smooth, free of wrinkles. As you create these crisp folds and tucks, use your manual staple gun to secure the fabric to the back side of the plywood base. Work in sections, pulling firmly before stapling, to maintain an even tension across the entire upholstered top. A friendly assistant (even a goofy one!) can be incredibly helpful during this stage to hold the fabric taut while you staple.
Step 19: Trimming Excess Fabric and Batting
Once all the edges are stapled securely, use your fabric scissors to trim away any excess batting and fabric on the back of the plywood. A clean finish on the underside contributes to the overall professional look of your DIY ottoman bench. Be careful not to cut too close to the staples, ensuring the fabric remains firmly attached.
The Finishing Touches: Adding Buttons and Final Assembly
With the tufting complete, it’s time to add the decorative buttons that conceal the screws and give your ottoman that truly finished, designer look. This last stage brings all your hard work together.
Step 20: Crafting Upholstery Buttons
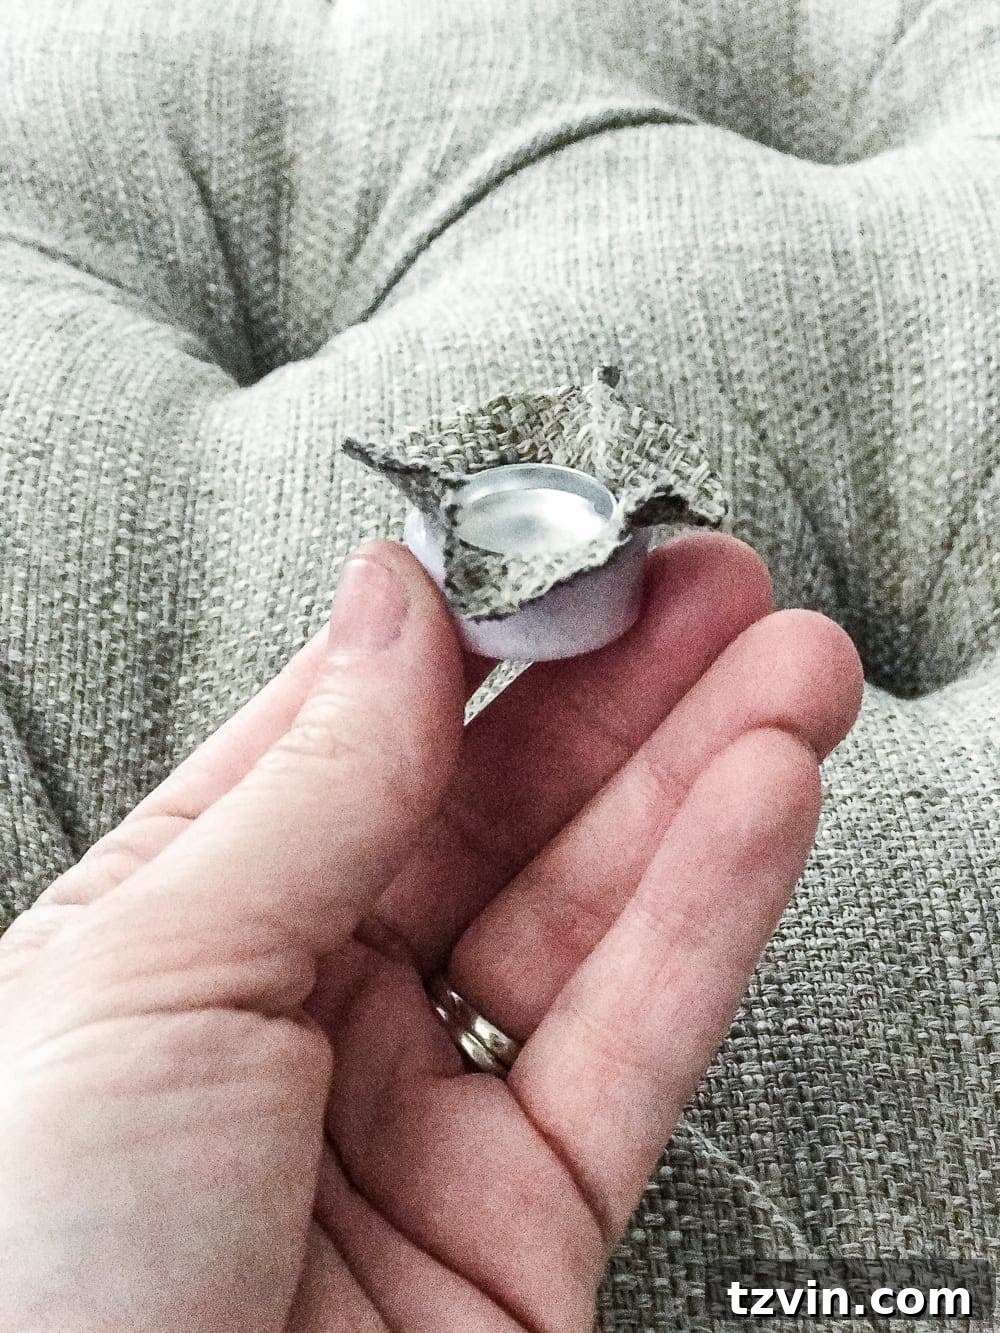
To cover the exposed screws within your tufts, you’ll use a fabric button making kit. These kits allow you to create custom buttons using the same upholstery fabric as your ottoman, ensuring a seamless and elegant finish. Simply follow the kit’s instructions to cut fabric circles and press them into the button shells. Due to the thickness of our chosen upholstery fabric, the button backs didn’t snap into place easily. A quick solution was to firmly press the fabric into the button cup and secure the fabric on the back with a dab of hot glue.
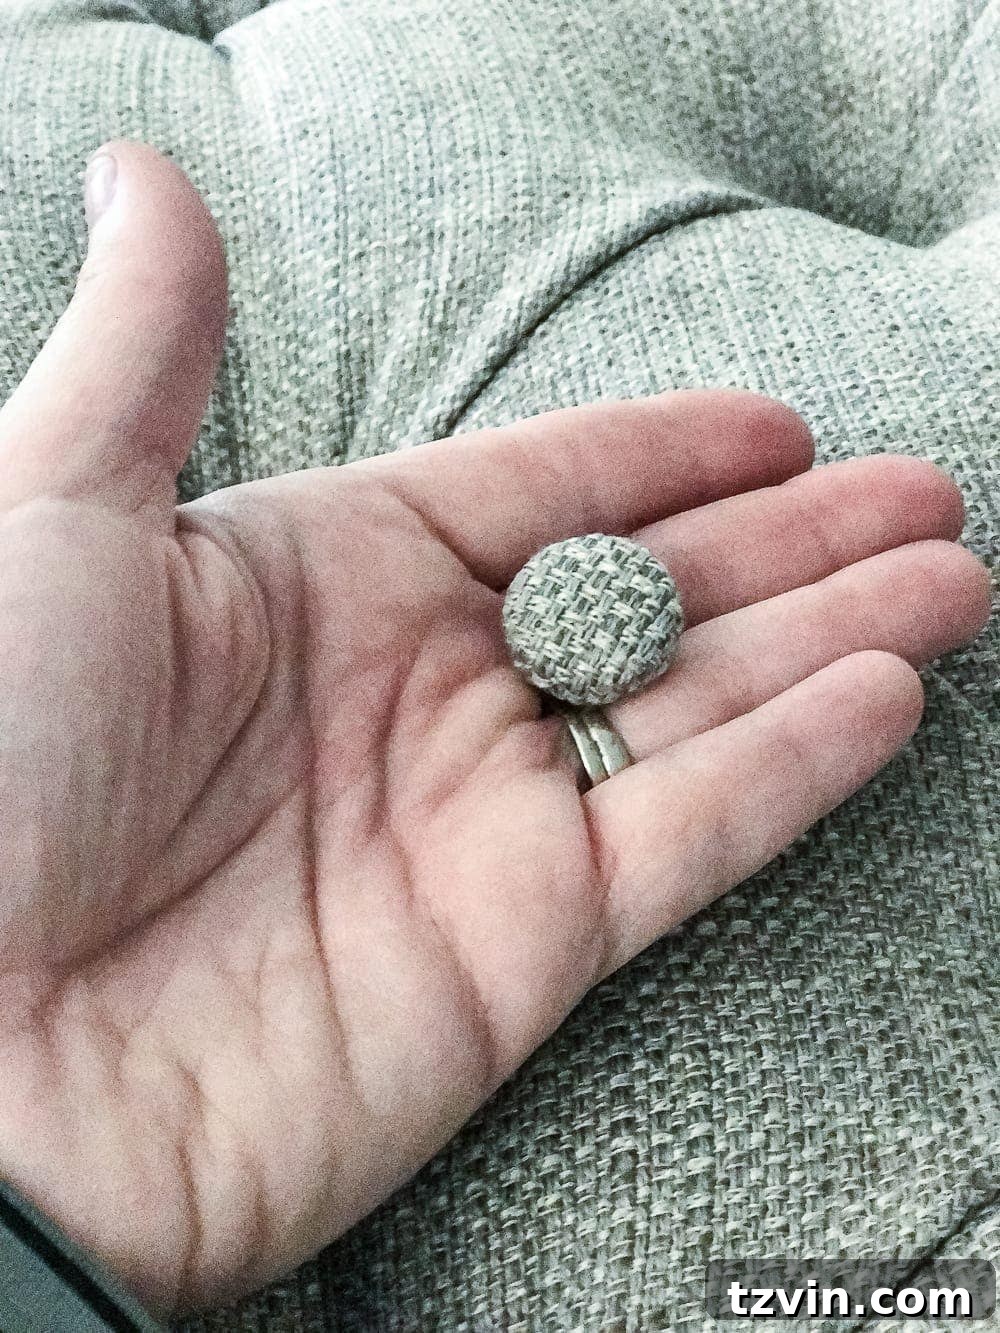
Step 21: Attaching the Buttons
Apply a small amount of hot glue to the back of each fabric button. Then, carefully press each button directly onto the exposed screw head within each tuft, ensuring it sits snugly and evenly. Repeat this process until every tufted indentation is crowned with a beautiful, custom fabric button. This final detail truly elevates the look of your DIY ottoman, making it indistinguishable from a high-end, store-bought piece.
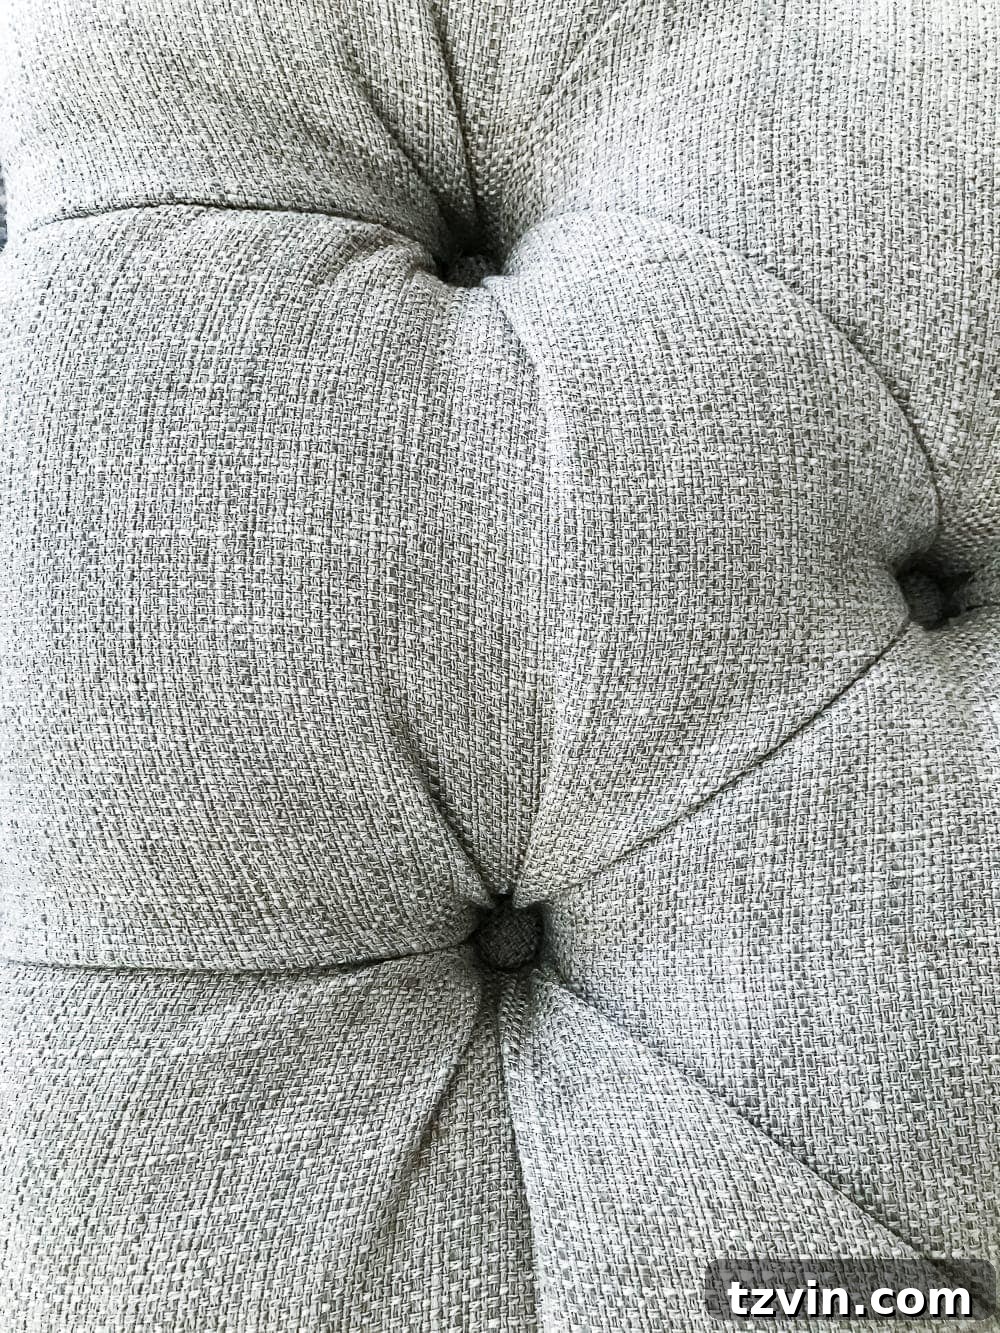
Step 22: Permanent Assembly of Top to Base
The final step is to permanently attach your stunning new upholstered top to the weathered coffee table base. Apply a generous bead of Liquid Nails (or another strong construction adhesive) to the top surface of the coffee table base. Carefully center the tufted ottoman top onto the base and press firmly into place. Follow the adhesive manufacturer’s directions regarding drying and curing times to ensure a secure and lasting bond. And with that, your designer-inspired tufted ottoman bench is complete! All the hard work has paid off, yielding a beautiful, functional, and custom piece of furniture.
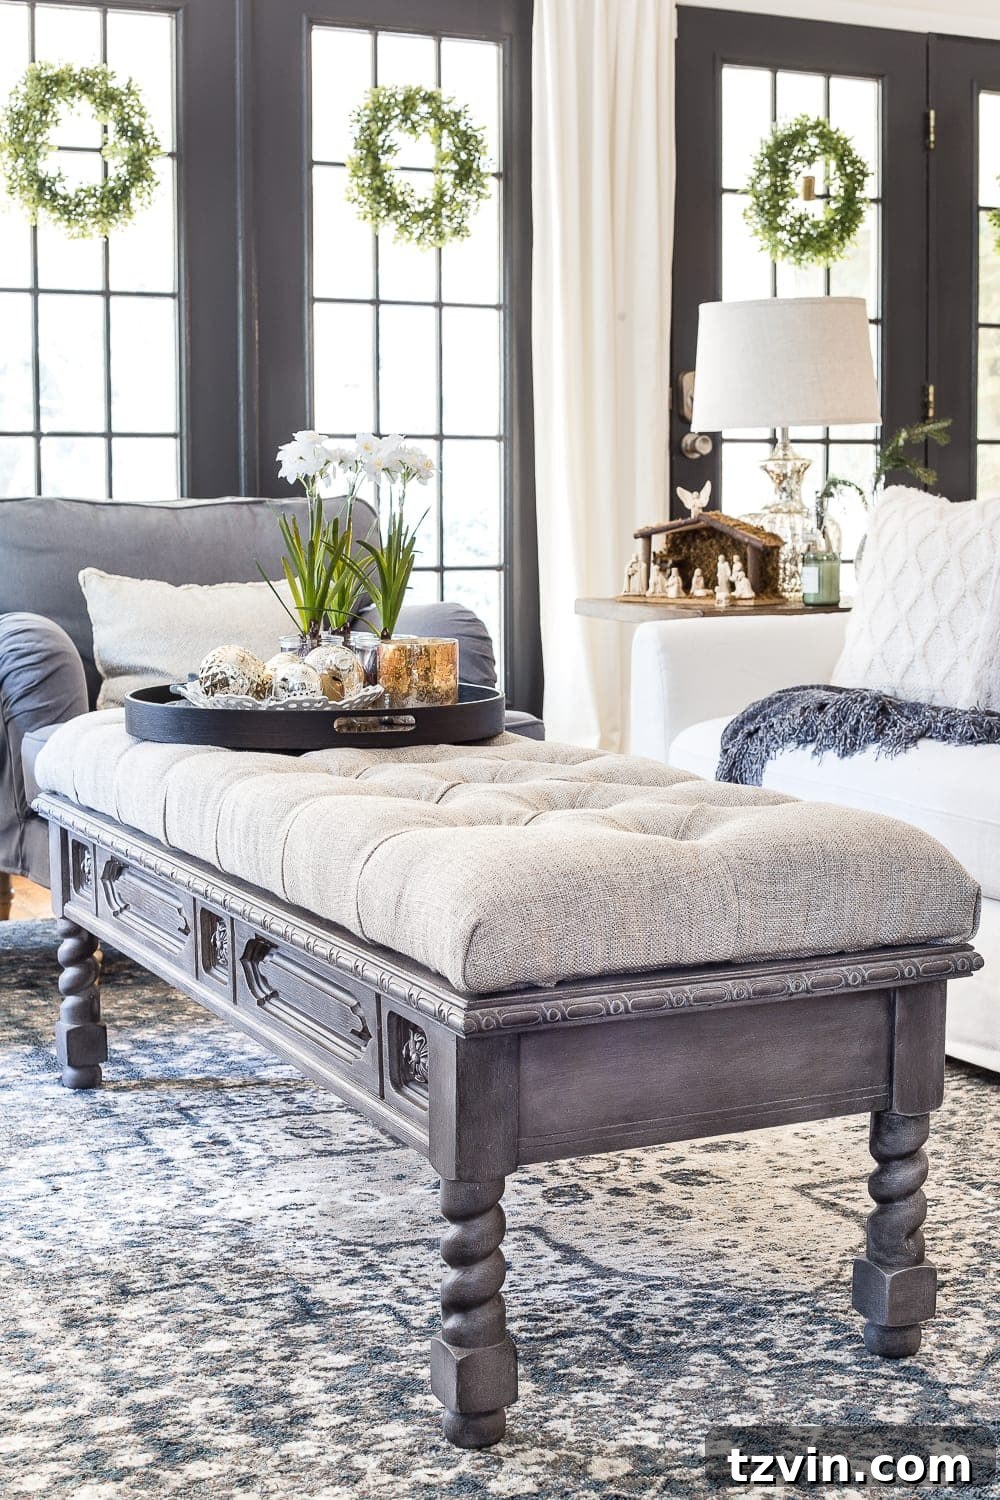
The Finished Masterpiece: A Versatile Home Decor Addition
Stepping back to admire the completed ottoman bench, the sense of accomplishment is immense. While initially, I considered adding some piping or trim around the edge where the upholstered top meets the base, the sheer satisfaction of completing this challenging project made me pause. For now, it’s perfectly imperfect, a charming reminder of the hands-on effort involved. And honestly, for only our second upholstery attempt ever (the first being Restoration Hardware knock-off dining chairs years ago), the results exceeded all expectations!
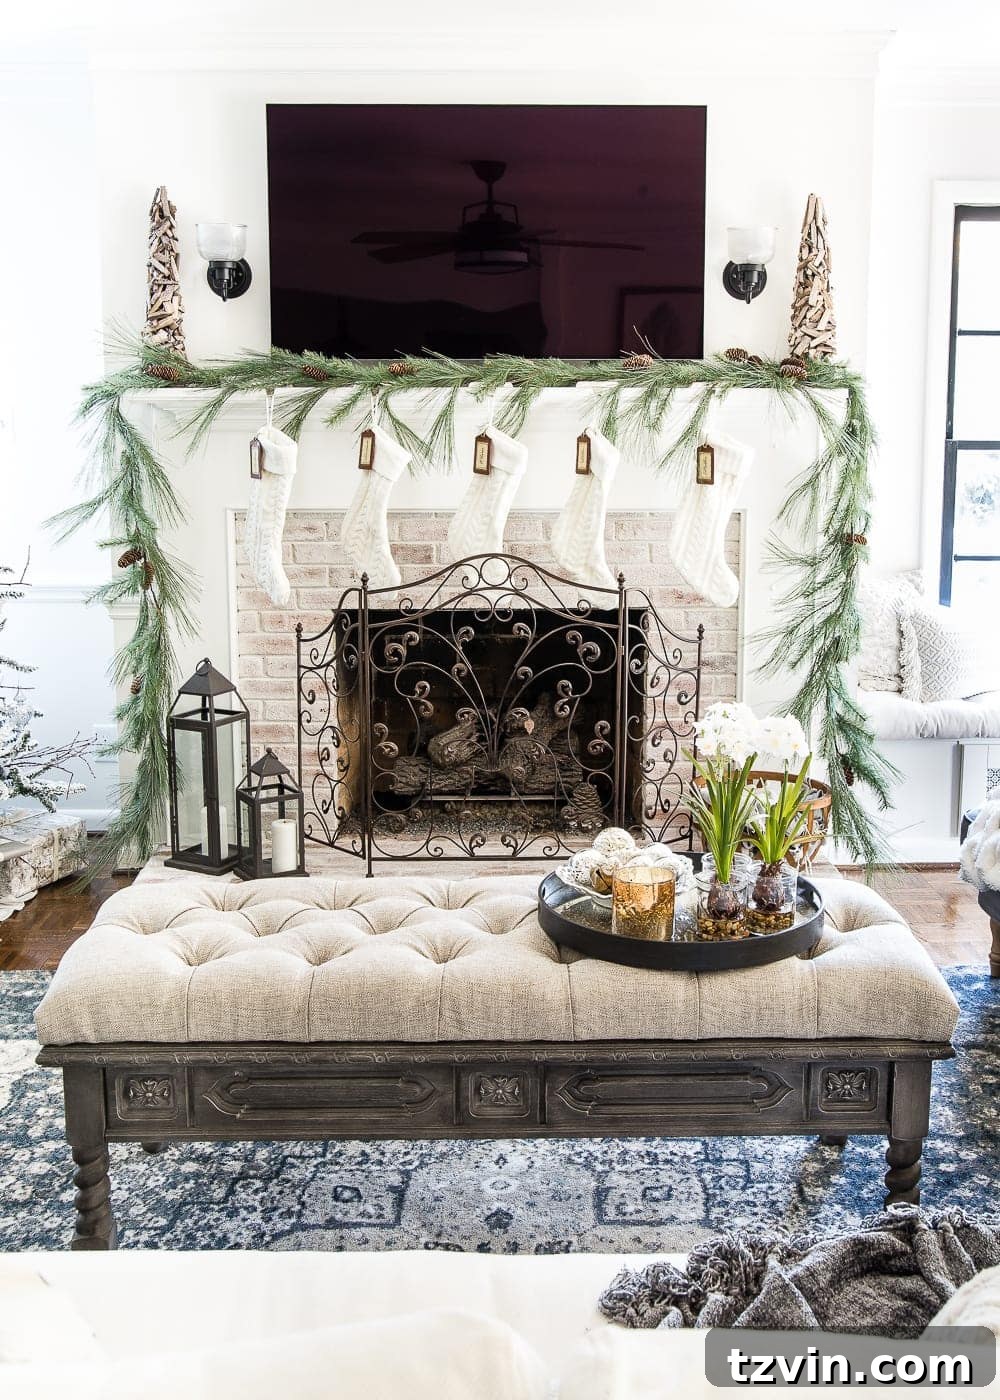
This DIY tufted ottoman bench has become an instant favorite in our living room. Its perfect height makes it ideal for propping up tired feet after a long day, especially on chilly winter evenings by the fire. We gave it a thorough “test drive” this past weekend, and it passed with flying colors – comfortable, sturdy, and stylish. It truly feels like it was destined to be an ottoman all along, a testament to the transformative power of repurposing.
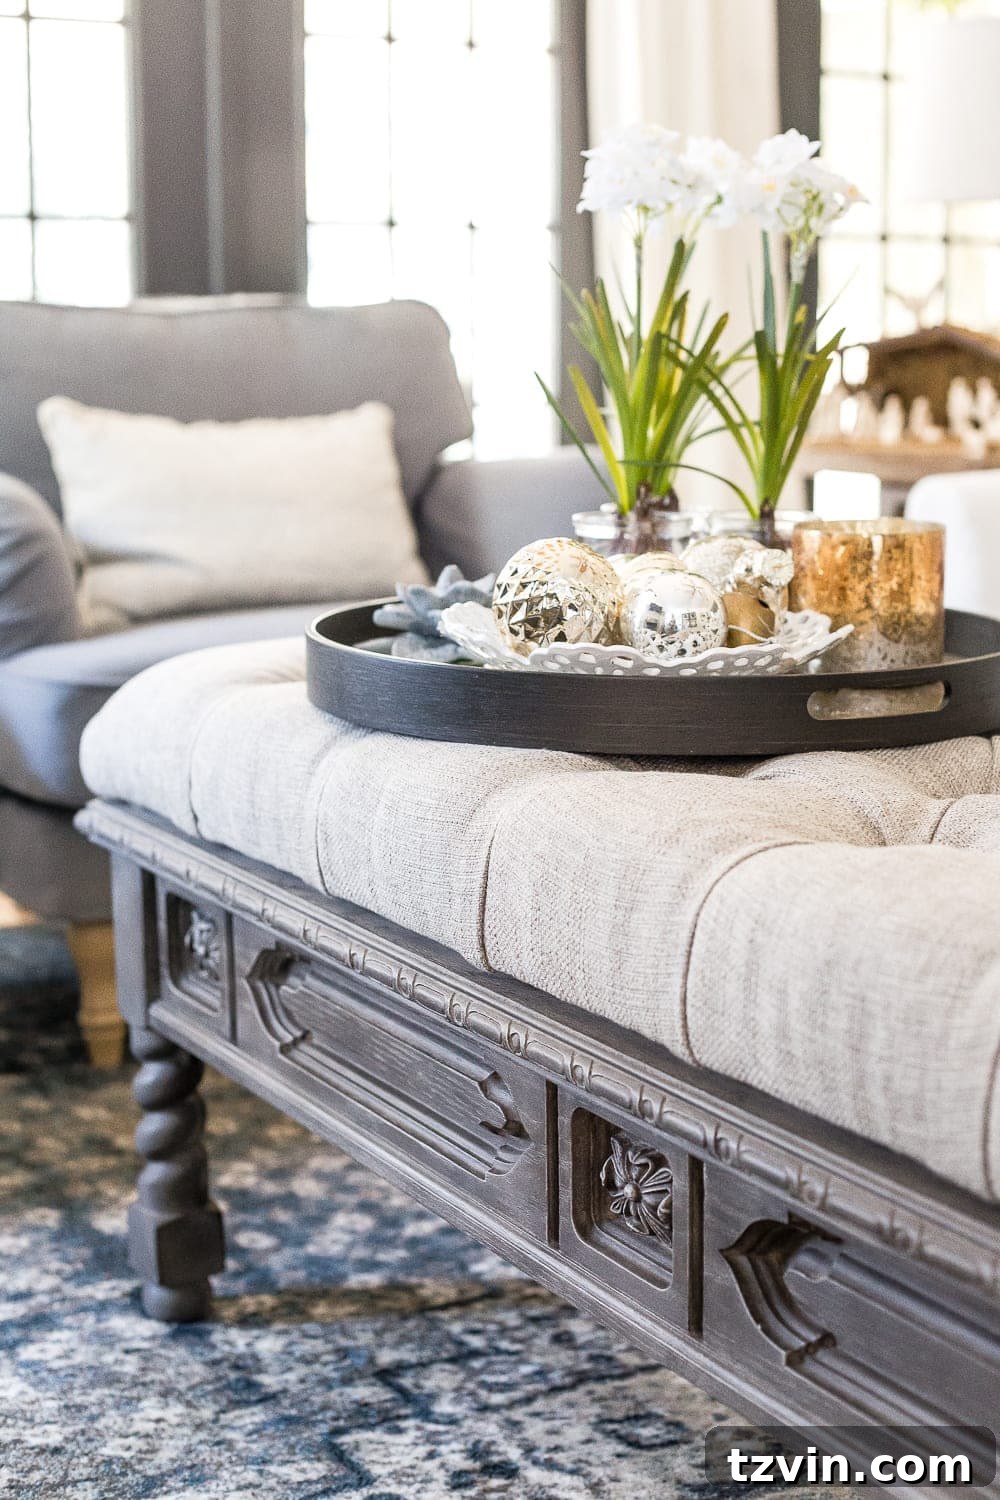
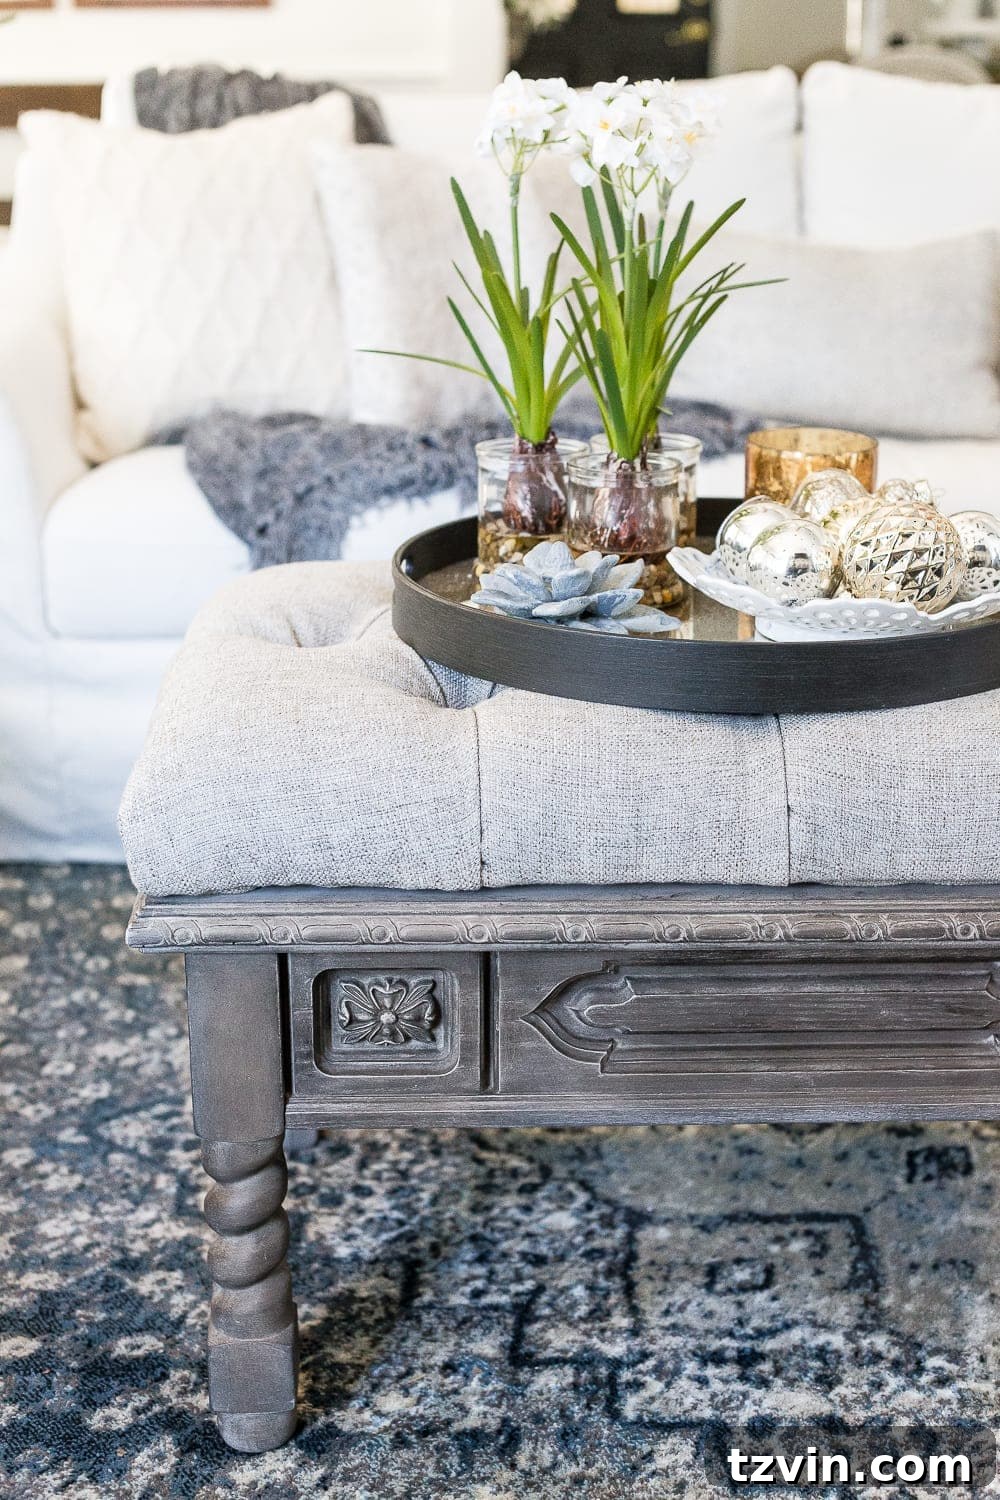
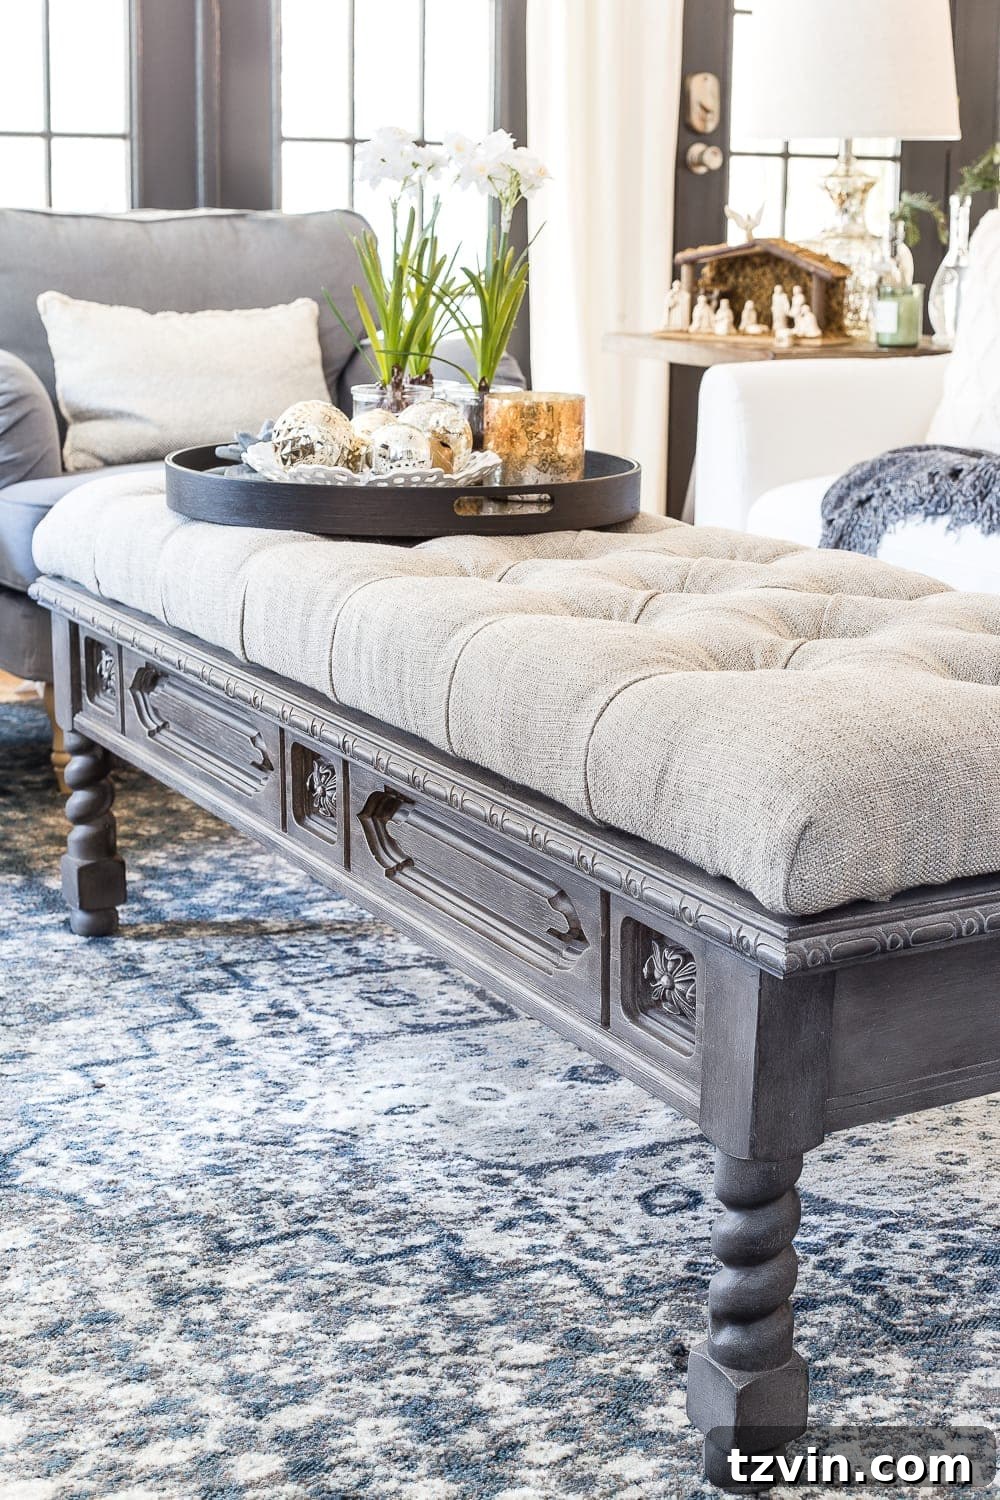
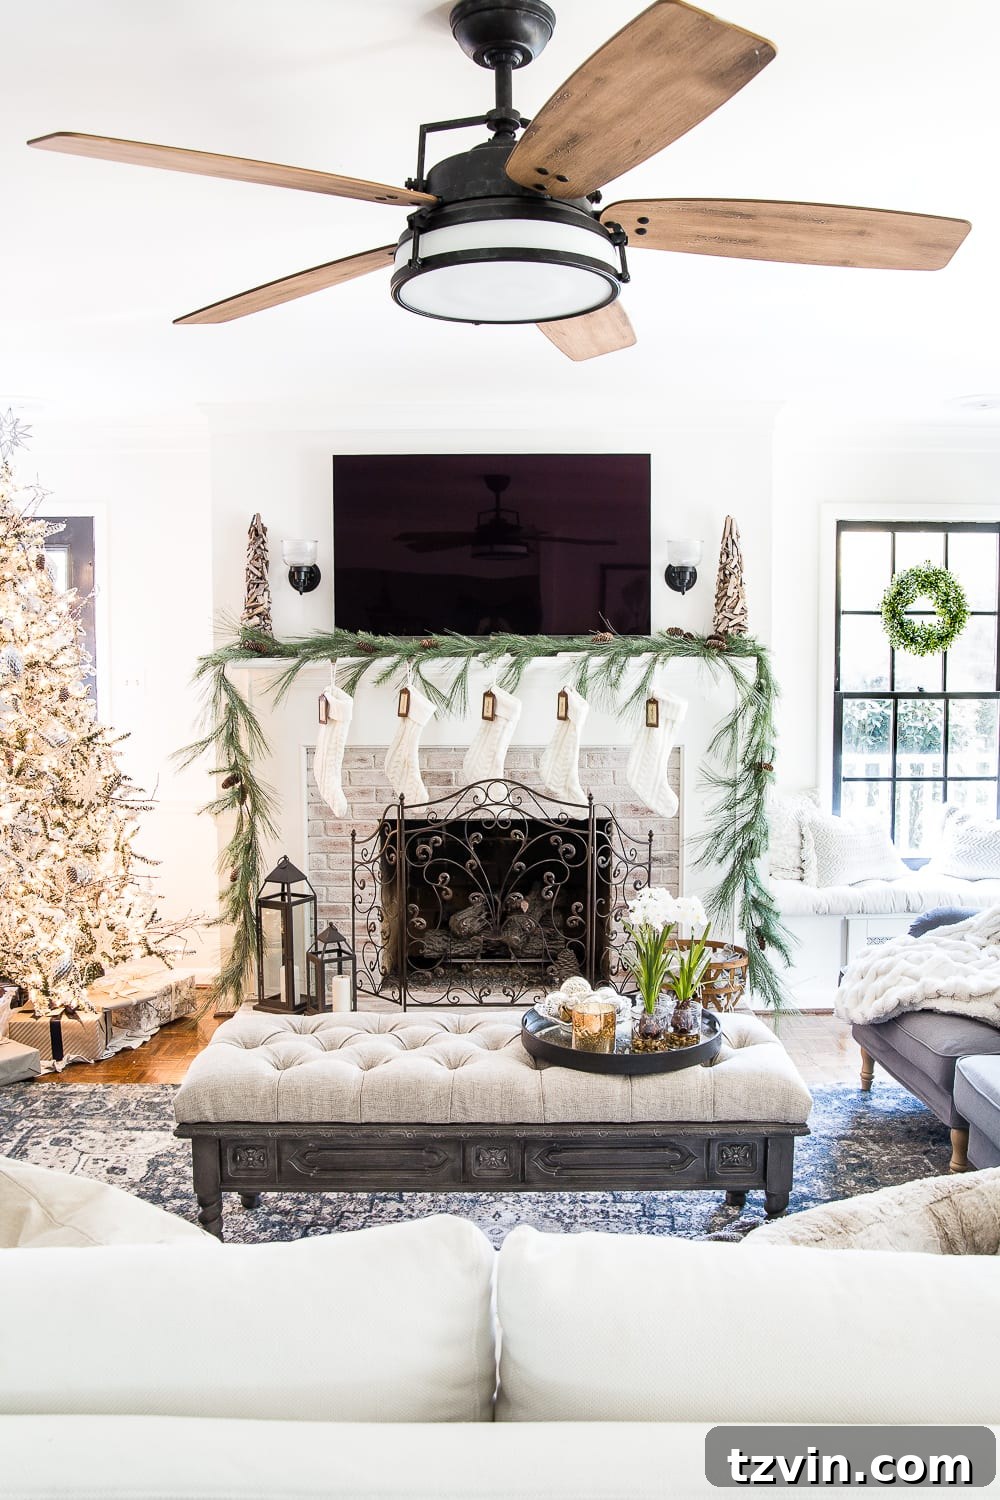
While my initial thought was for this bench to eventually reside in our guest room as a chic dressing bench, its current place in the living room feels undeniably right. It’s incredibly versatile, easily pulled aside to offer extra seating when guests visit, blending seamlessly with our existing decor (which you can see in our Christmas living room tour, if you haven’t already!). This project not only saved us a significant amount of money but also gave a forgotten piece of furniture a new life, proving that with a little imagination and effort, you can create stunning, custom pieces that perfectly fit your home and style.
Join the Repurposing Movement & Get More Inspiration!
We hope this detailed guide inspires you to tackle your own furniture repurposing projects. There’s immense satisfaction in transforming something old into a beautiful, functional piece that reflects your personal style and saves you money. Don’t forget to check out the incredible “afters” from my fellow Trash to Treasure friends. Their creativity knows no bounds, and their projects are sure to spark even more DIY ideas!
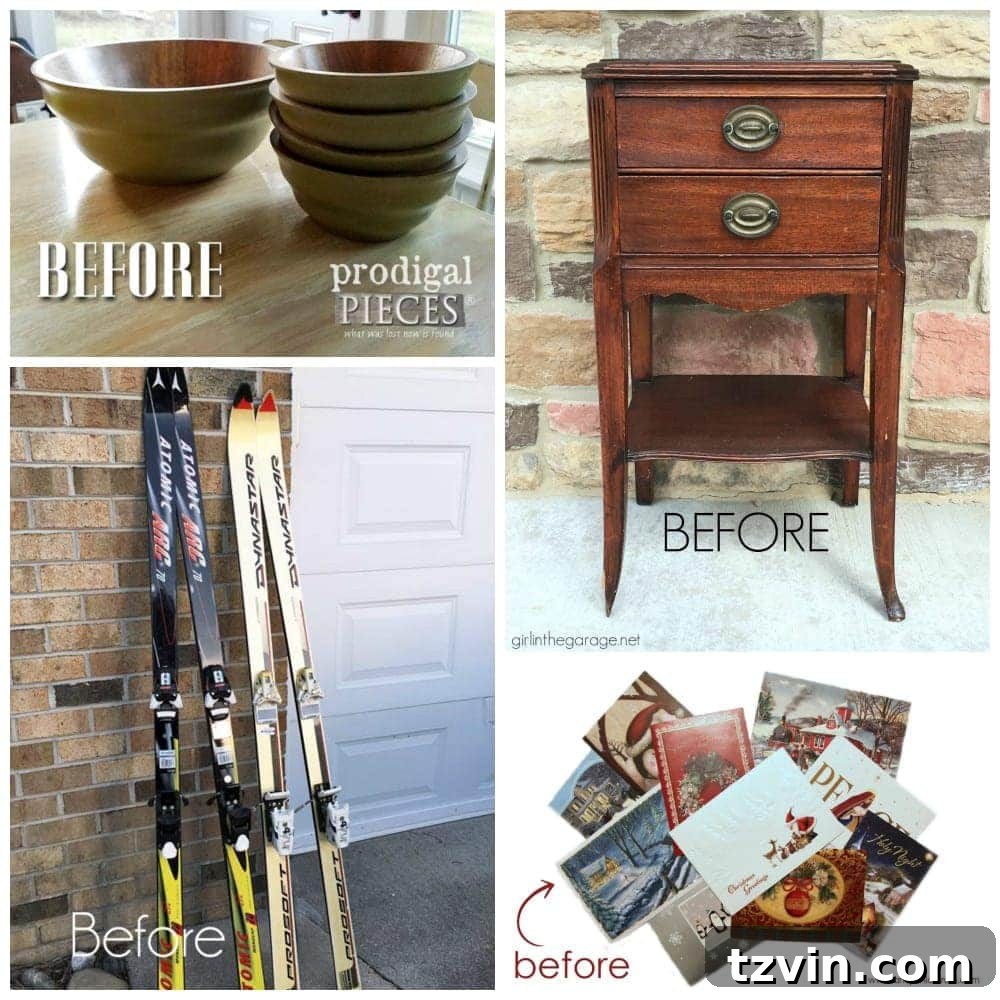
Clockwise from top left:
Prodigal Pieces | Girl in the Garage | Artsy Chicks Rule | Confessions of a Do-It-Yourselfer
Pin this project for later inspiration!
Loved this transformation? Don’t forget to save it to your Pinterest board for future reference when you’re ready to embark on your own coffee table to ottoman bench makeover!