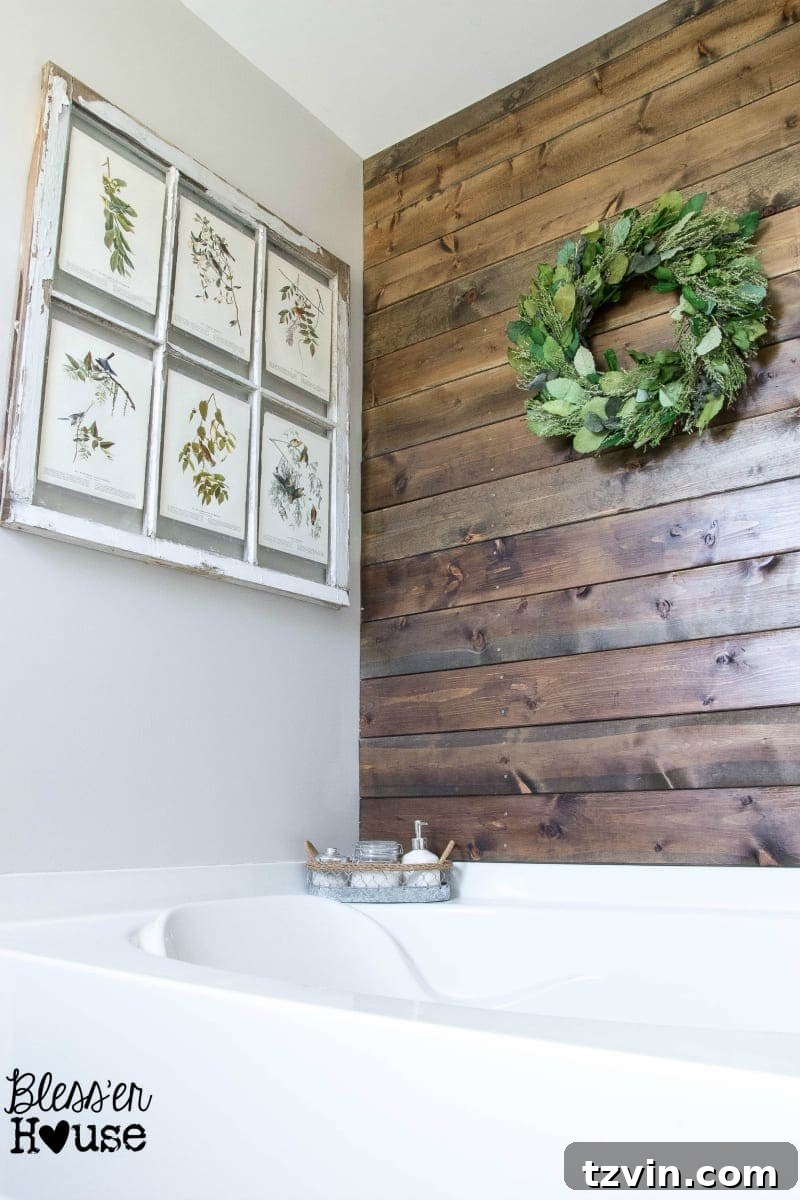
Unlock the secret to achieving a stunning, authentically aged wood finish using simple, natural ingredients you likely already have in your pantry. Skip the high cost and harsh chemicals of commercial stains and embrace a DIY method that delivers gorgeous, unique results every time.
Are you looking to enhance your home with character and warmth without breaking the bank? Or perhaps you’re on a mission to replace chemical-laden products with healthier, natural alternatives in your DIY projects? If so, this guide to making your own natural wood stain is precisely what you need. Prepare to transform ordinary wood into pieces that tell a story, reflecting the beauty of time-worn timber.
I recently uncovered what I consider the holy grail of natural wood staining techniques, and the results are truly remarkable! If you’ve ever admired the rich, deep patina of aged wood – that coveted barnwood aesthetic or the subtle gray tones of weathered lumber – this simple recipe will show you how to replicate that look on new, unfinished wood. It’s a fascinating process that combines strong black tea with a special vinegar and steel wool solution, initiating a natural chemical reaction that beautifully darkens and ages the wood’s surface.
My journey into natural wood staining began with a little experiment in my own home, specifically on our bathroom plank wall project. The outcome was so impressive that I knew I had to share this game-changing method with fellow DIY enthusiasts.
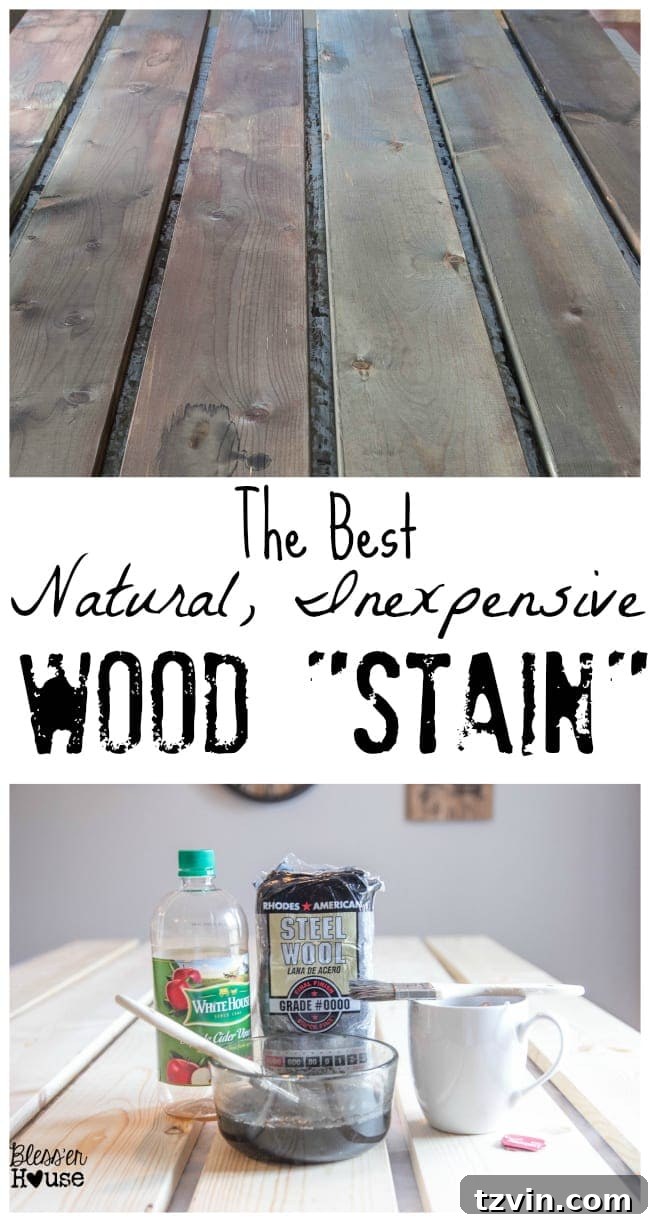
After seeing the incredible transformation, I can confidently say I’m never going back to conventional store-bought wood stains as long as I can help it. This method truly revolutionized my approach to wood finishing! I’d heard whispers about various wood oxidation techniques for achieving color changes on different wood types, so I decided to put them to the test. My goal was to find that perfect, authentic barnwood finish, and this tried-and-true homemade wood stain delivered beyond expectation.
The entire process required only about 30 minutes of active “labor,” involved minimal and easy cleanup, and completely avoided the use of harsh synthetic chemicals. Best of all, it only cost me around $5 because most of the necessary ingredients were already staples in my kitchen pantry. This is truly a win-win for anyone seeking budget-friendly, eco-conscious, and uniquely beautiful home improvements.
The Science Behind Natural Wood Aging
Before diving into the steps, it’s helpful to understand the simple chemistry at play. This natural staining method relies on the reaction between tannins present in wood (and enhanced by tea) and iron acetate. When steel wool (iron) is left to soak in vinegar (acetic acid), it produces iron acetate. When this solution is applied to wood, especially wood pre-treated with a high-tannin solution like strong tea, the iron acetate reacts with the tannins to create a dark, aged appearance. Different wood types have varying tannin levels, which explains why results can differ, creating truly unique finishes.
Perfecting the Color: Tailoring Your Natural Wood Stain
Going into my initial experiment, I had a clear vision: a rich, aged wood tone with a subtle hint of gray-blue. To achieve this specific hue, I dedicated time to testing various combinations on scrap pieces of wood. Over several days, I mixed different grades of steel wool with various types of vinegar to observe the resulting colors and reaction times. My key discovery was that 0000 grade steel wool is ideal for the impatient DIYer, as it significantly speeds up the dissolution process, allowing you to create the stain in just 24 hours rather than waiting several weeks.
Homemade Pre-Stain Conditioners: Harnessing Tannins
The first crucial step in achieving a deep, even, and predictable aged finish is to prepare your wood with a pre-stain conditioner. This step effectively pulls the natural tannins to the surface of your raw wood, making it more receptive to the iron acetate solution. The type of wood you choose will significantly influence the final color. Woods naturally rich in tannins, such as oak or walnut, will naturally exhibit a darker, more pronounced aged color. Lighter-tannin woods like pine or poplar, however, will still age beautifully but might require a stronger tea solution or multiple applications to achieve a similar depth. Always test your homemade stain on a scrap piece of the same wood before applying it to larger, visible areas.
Excellent natural pre-stain conditioners include:
- Strongly brewed black tea
- Strongly brewed coffee
While coffee can bring out more brown tones in the wood, a very strong black tea brew is my preferred choice for achieving those desirable gray, weathered tones.
The Vinegar Method: Experimenting for Your Perfect Hue
The vinegar solution is the reactive component that interacts with the tannins. You can experiment with different types of vinegar to fine-tune the color outcome, as each can yield subtle variations in the final shade. Here are some common options:
- White distilled vinegar
- Red wine vinegar
- Apple cider vinegar
- Balsamic vinegar
In my personal experiments, apple cider vinegar consistently produced a more pronounced gray tint compared to white distilled vinegar. This gray tone was exactly what I was aiming for to create that authentic aged barnwood look. The combination of black tea to enhance tannins and apple cider vinegar with steel wool proved to be the winning method for my project, offering a beautiful, complex aged gray finish.
DIY Natural Aged Wood Stain: Step-by-Step Guide
Ready to create your own gorgeous, aged wood? Here’s everything you’ll need and the detailed steps to follow for a beautiful, natural finish.
Ingredients and Tools to Make Natural Wood Stain
- 2 cups of boiling water
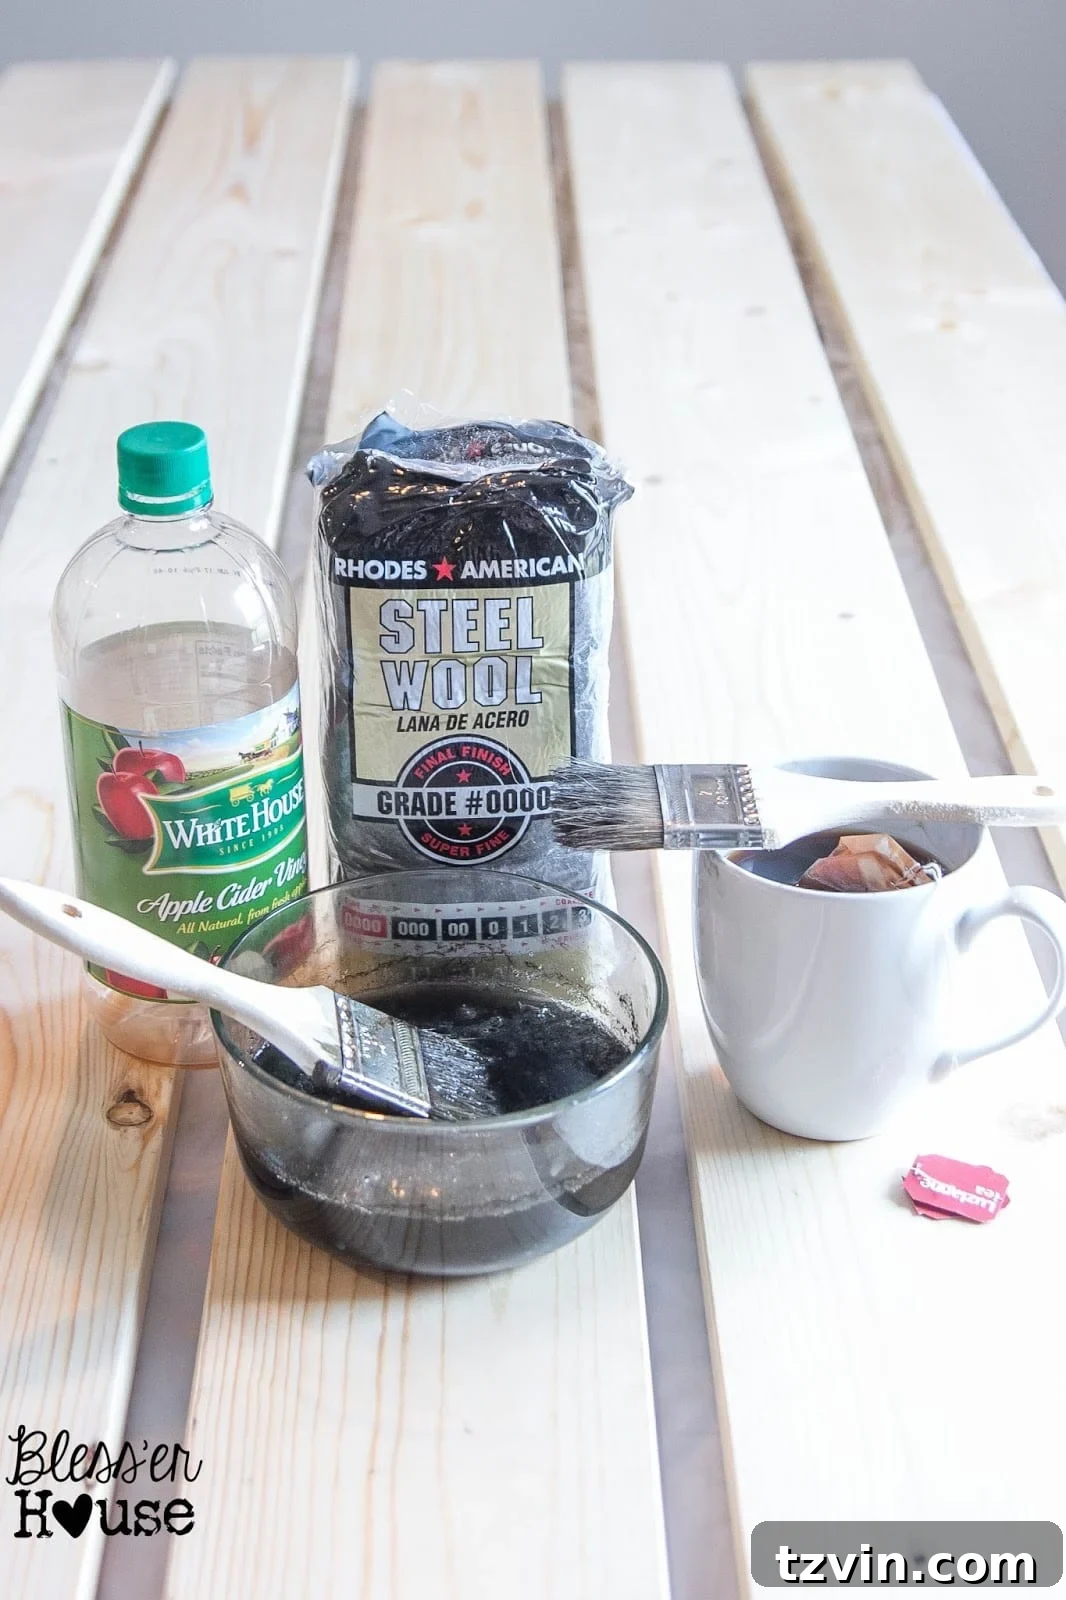
- 4 family-sized black tea bags (For specific results, I used Luzianne tea bags. Any strong black tea will work.)
- 1 pad of 0000 grade real steel wool (I recommend these for optimal dissolution.)
- 2 cups of vinegar (Specifically, White House brand apple cider vinegar for its graying properties.)
- 2 inexpensive chip brushes or foam brushes for application
- 1 large glass jar (with a wide mouth is ideal)
- Medium-grit sandpaper (around 120-150 grit)
- Pieces of unfinished wood of your choice (pallet wood, pine boards, or reclaimed wood are excellent for this technique due to their character)
WORK SPACE SAFETY: It is crucial to wear protective gloves throughout this process to avoid skin staining. Additionally, protect your work surface with waterproof drop cloths or old newspapers to prevent accidental spills and stains.
Step 1 – Prepare Your Wood Surface by Sanding
Begin by lightly sanding the entire wood surface with medium-grit sandpaper. This step helps open up the wood grain, allowing the tea and vinegar solutions to penetrate more evenly, resulting in a more consistent stain. After sanding, meticulously remove any dust using a tack cloth or a slightly damp rag. A clean surface is essential for optimal stain absorption.
Step 2 – Create Your Powerful Wood Conditioner
To make the crucial wood conditioner, place the 4 family-sized black tea bags into 2 cups of boiling water. Let this mixture steep for a full 24 hours, ensuring the tea is incredibly strong. For maximum tannin extraction, I recommend leaving the tea bags in the water for the entire steeping period. This concentrated tea solution will be instrumental in preparing the wood for the aging process.
Step 3 – Mix the Vinegar and Steel Wool Stain Solution
For the oxidizing stain, take your 0000 grade steel wool pad and place it into a large glass jar. Pour 2 cups of vinegar over the steel wool. Allow this mixture to sit for 24 hours. During this time, the vinegar will react with the iron in the steel wool, creating iron acetate, which is the key ingredient for aging the wood.
IMPORTANT SAFETY NOTE: It is absolutely essential to leave the jar uncovered (or very loosely covered) while the steel wool and vinegar solution is reacting. This homemade stain will release hydrogen gas, which needs to dissipate safely into the air. Covering the jar tightly could lead to pressure buildup.
After 24 hours, both your tea conditioner and vinegar stain will be ready, and the real fun can begin!
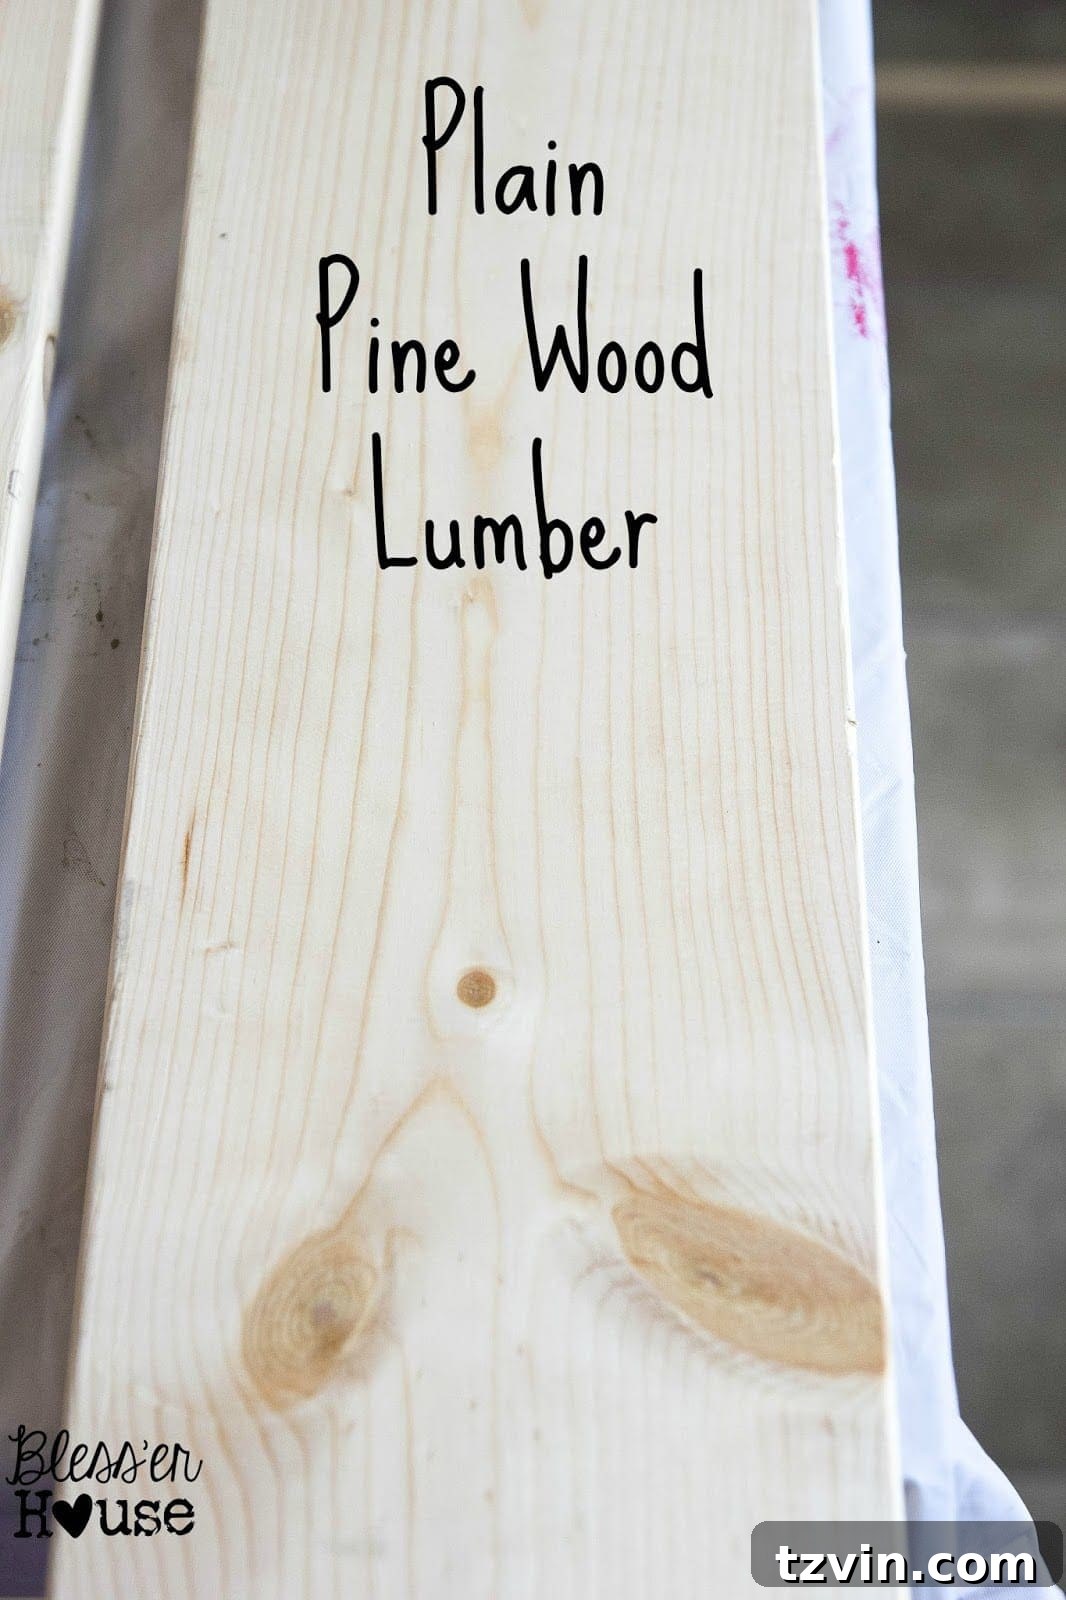
Step 4 – Apply the Tea Conditioner to the Wood
Once both solutions have steeped for 24 hours and you are ready to stain, it’s time to prepare the wood. Using one of your chip or foam brushes, liberally apply the cold, strong black tea mixture evenly over all surfaces of the wood. The purpose of this step is to pull the natural tannins (or add them if the wood is low in tannins) to the surface, making the wood more reactive to the iron acetate solution. Allow the tea-treated wood to sit and absorb the conditioner for at least one hour. This waiting period is crucial for the tannins to properly settle and prepare the wood for the next step.

(Below) The left three planks are untreated, plain wood, while the right three planks have been brushed with the strong black tea conditioner, showing a subtle initial color shift.
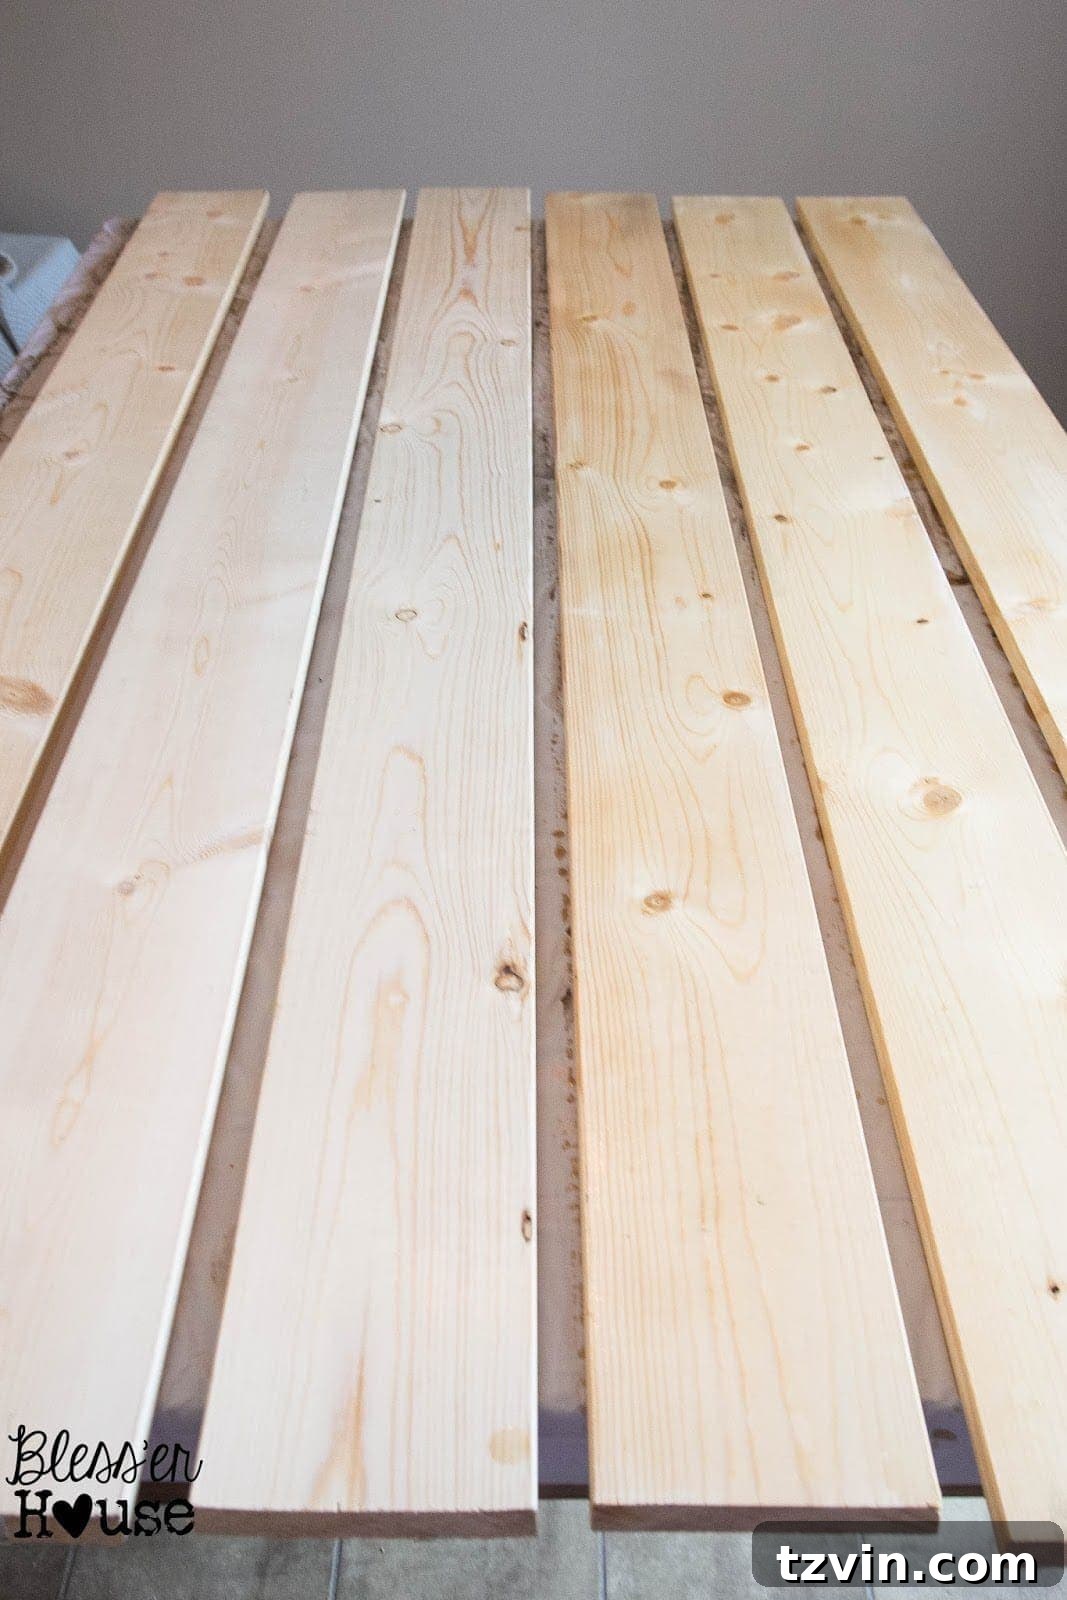
Step 5 – Apply the Vinegar and Steel Wool Stain for Instant Aging
After the hour-long tea conditioning period, it’s time for the real magic to happen. Using your second clean chip brush or foam brush, apply the steel wool and apple cider vinegar mixture evenly over the tea-treated wood. You will witness an almost instantaneous reaction as the wood begins to turn gray, sometimes within seconds! This rapid transformation is incredibly exciting and a testament to the power of natural chemistry. Ensure even coverage, working in manageable sections.
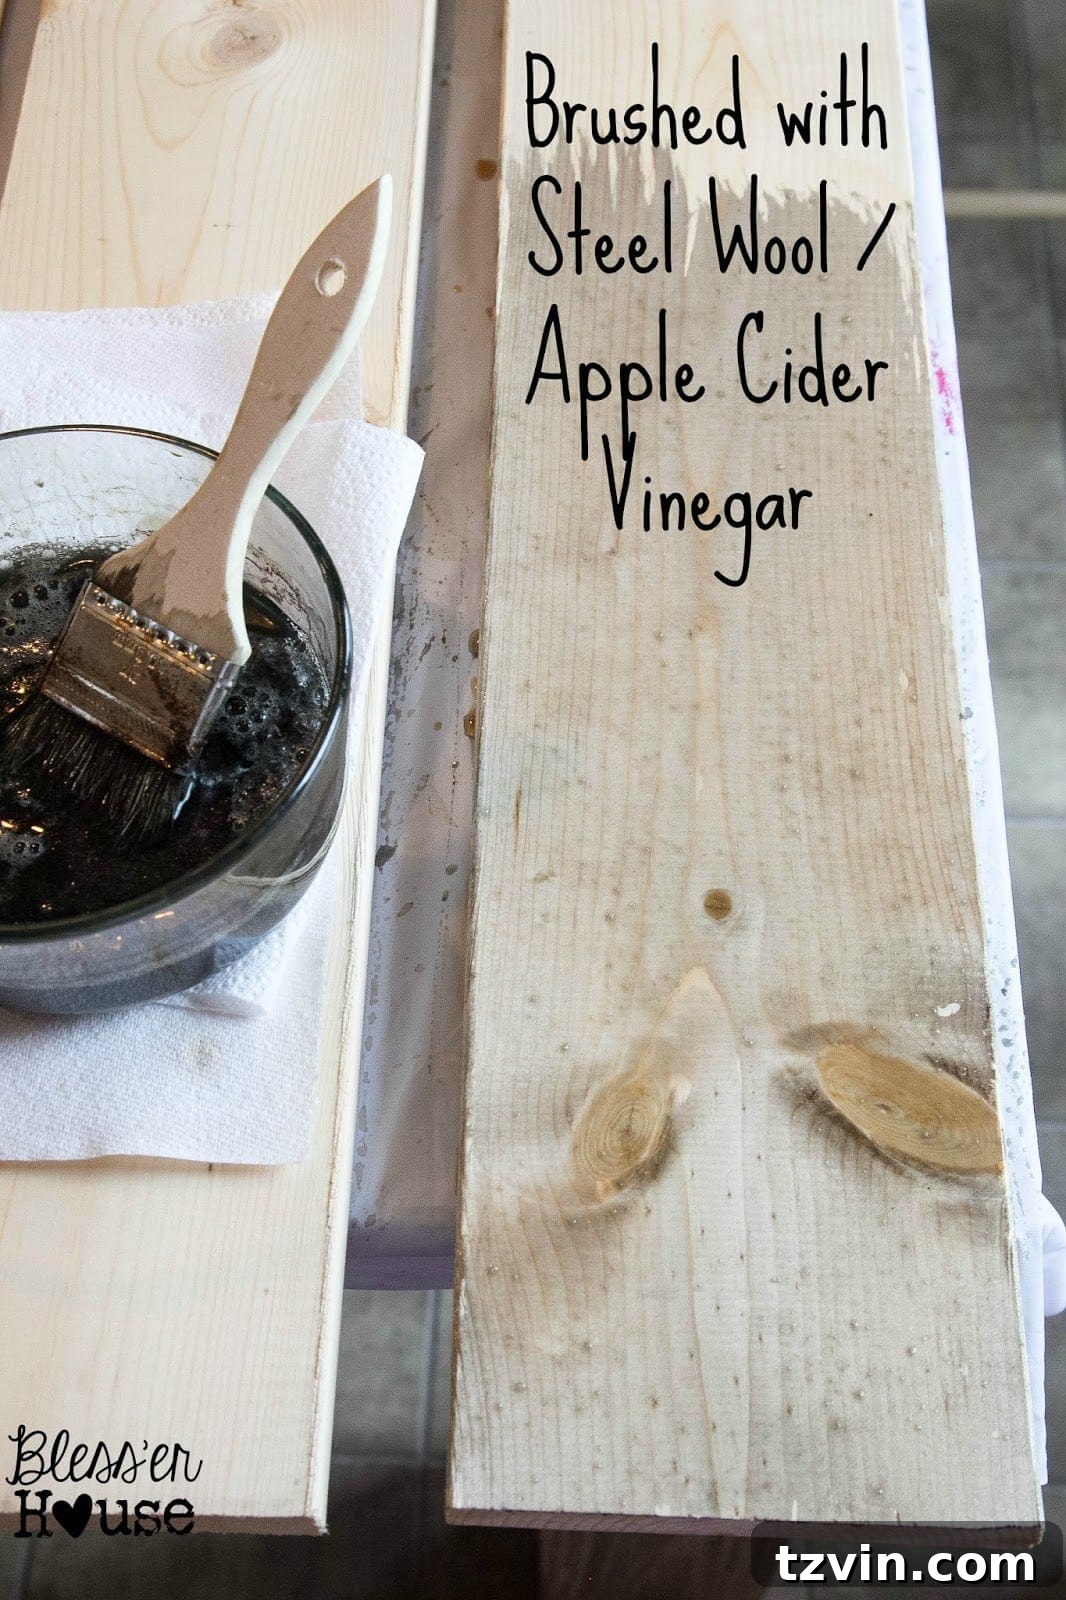
The beauty of this process is truly in watching the color deepen over time. Just 5 minutes after application, the gray tones will intensify, giving you a clear indication of the gorgeous aged finish to come.
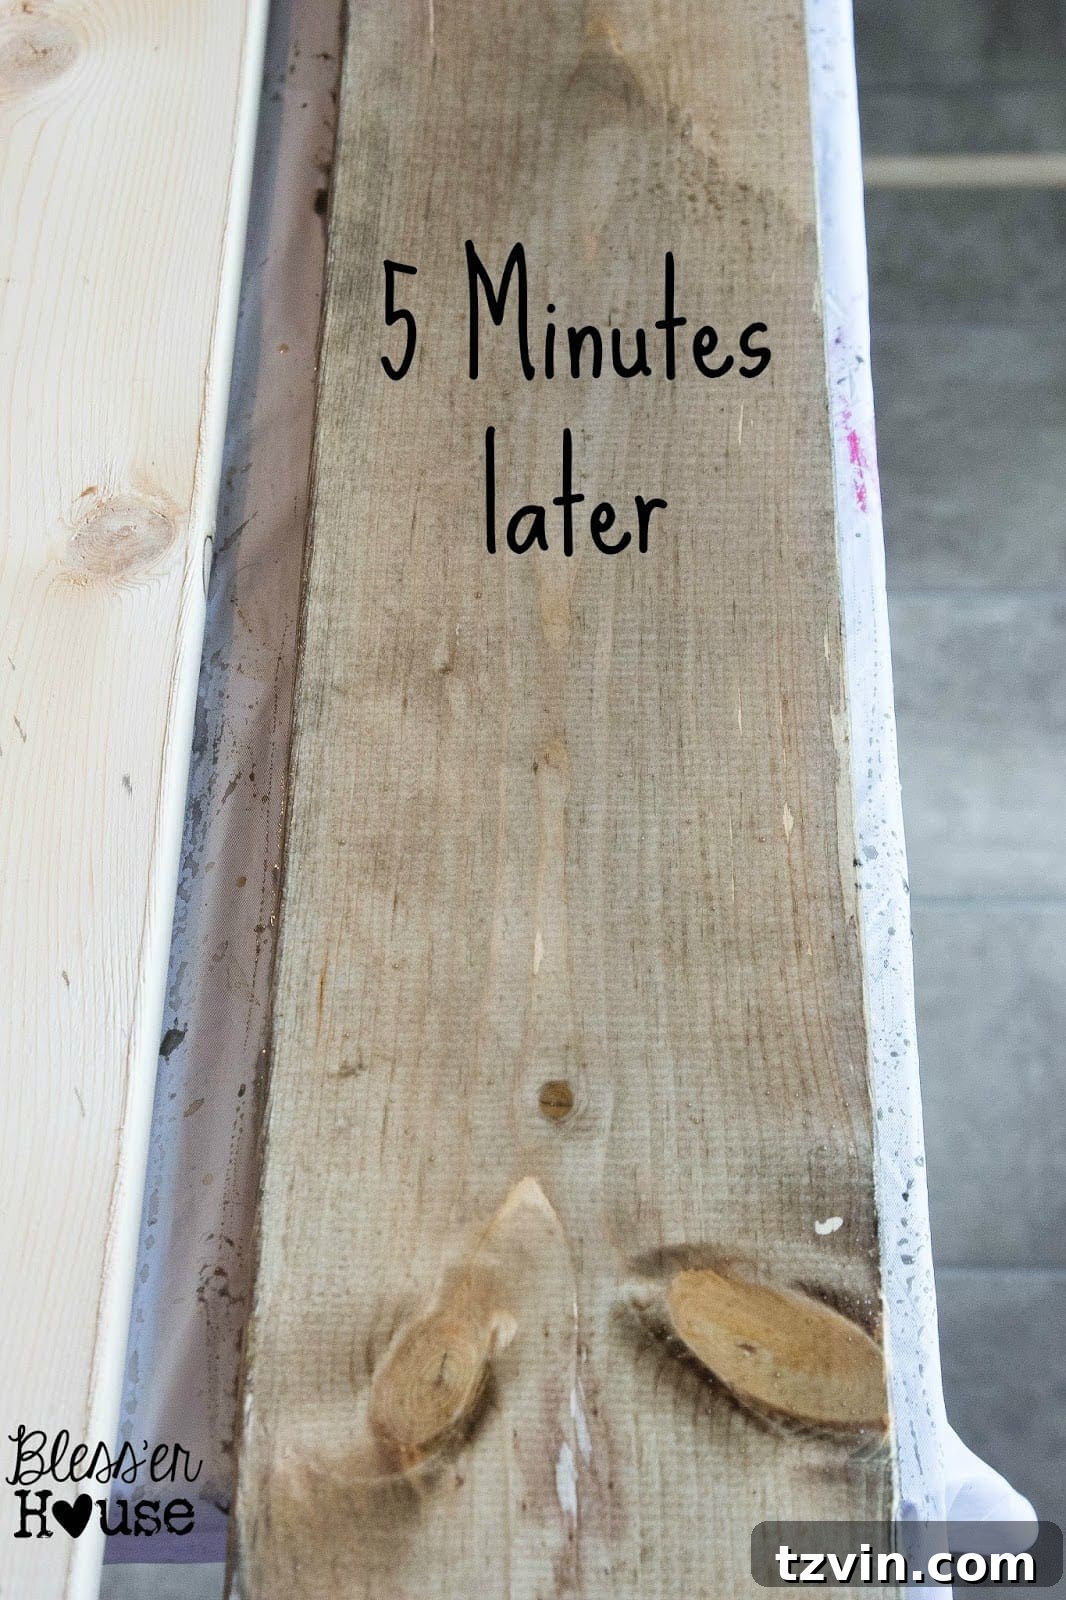
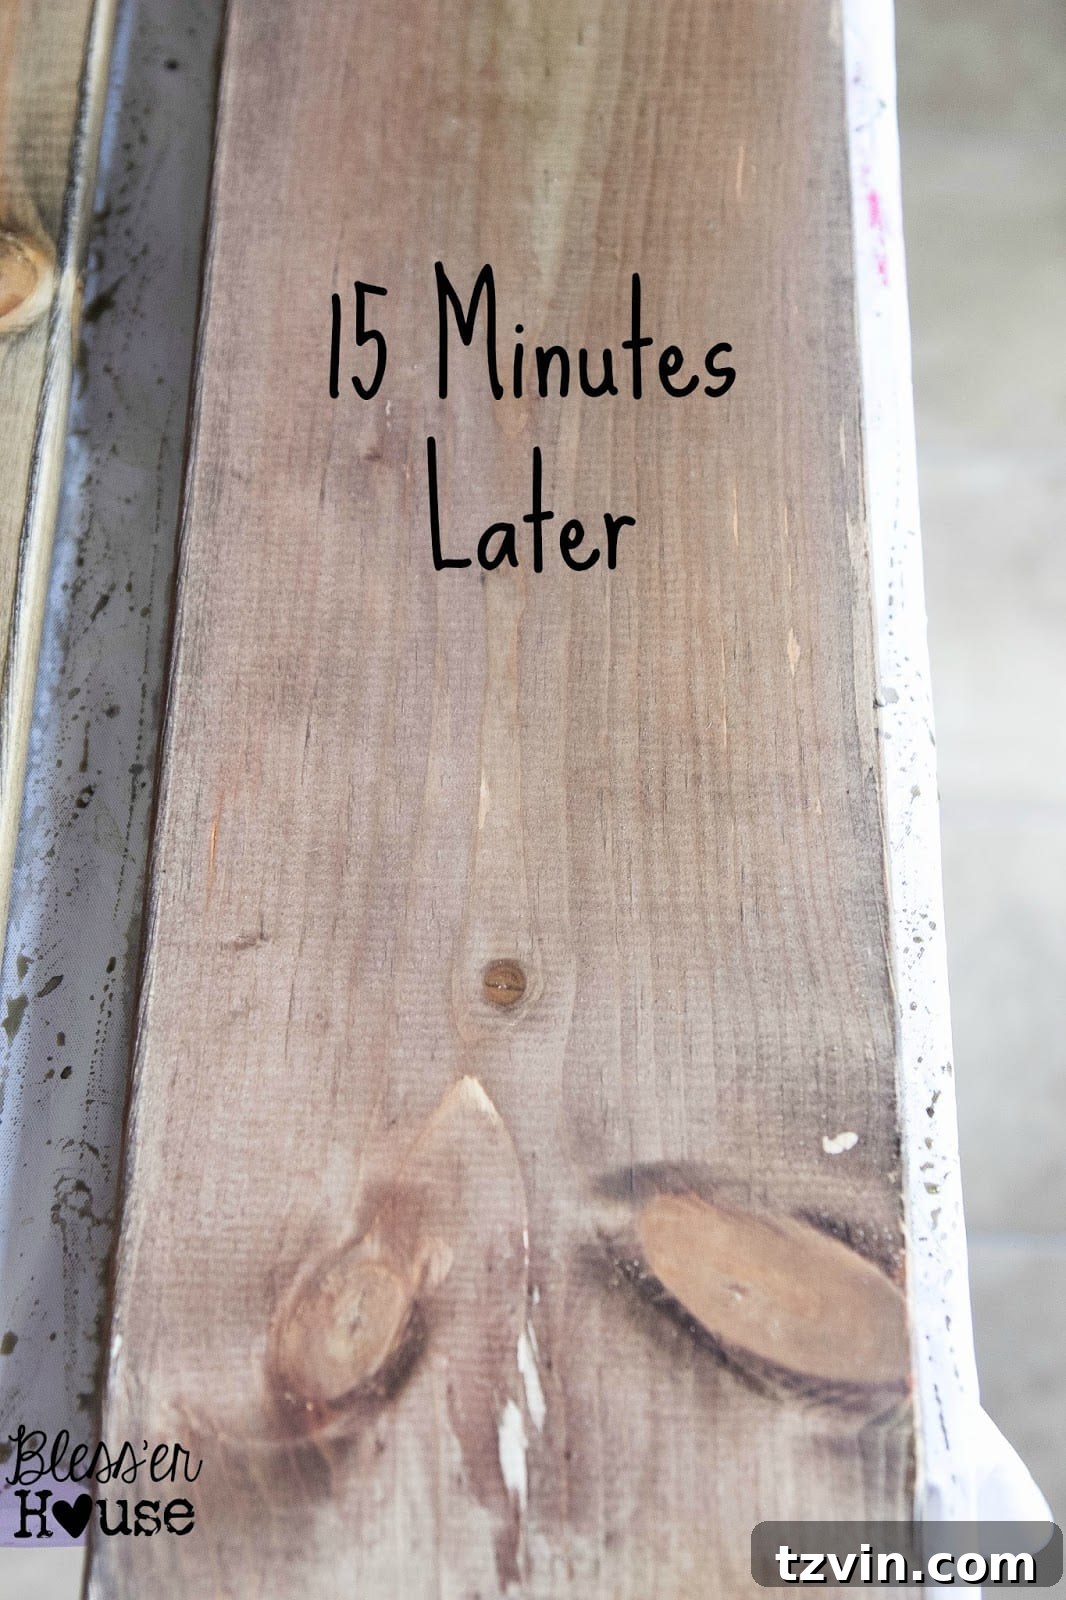
Wait another 10 minutes, for a total of 15 minutes since application, and observe further darkening and development of character.
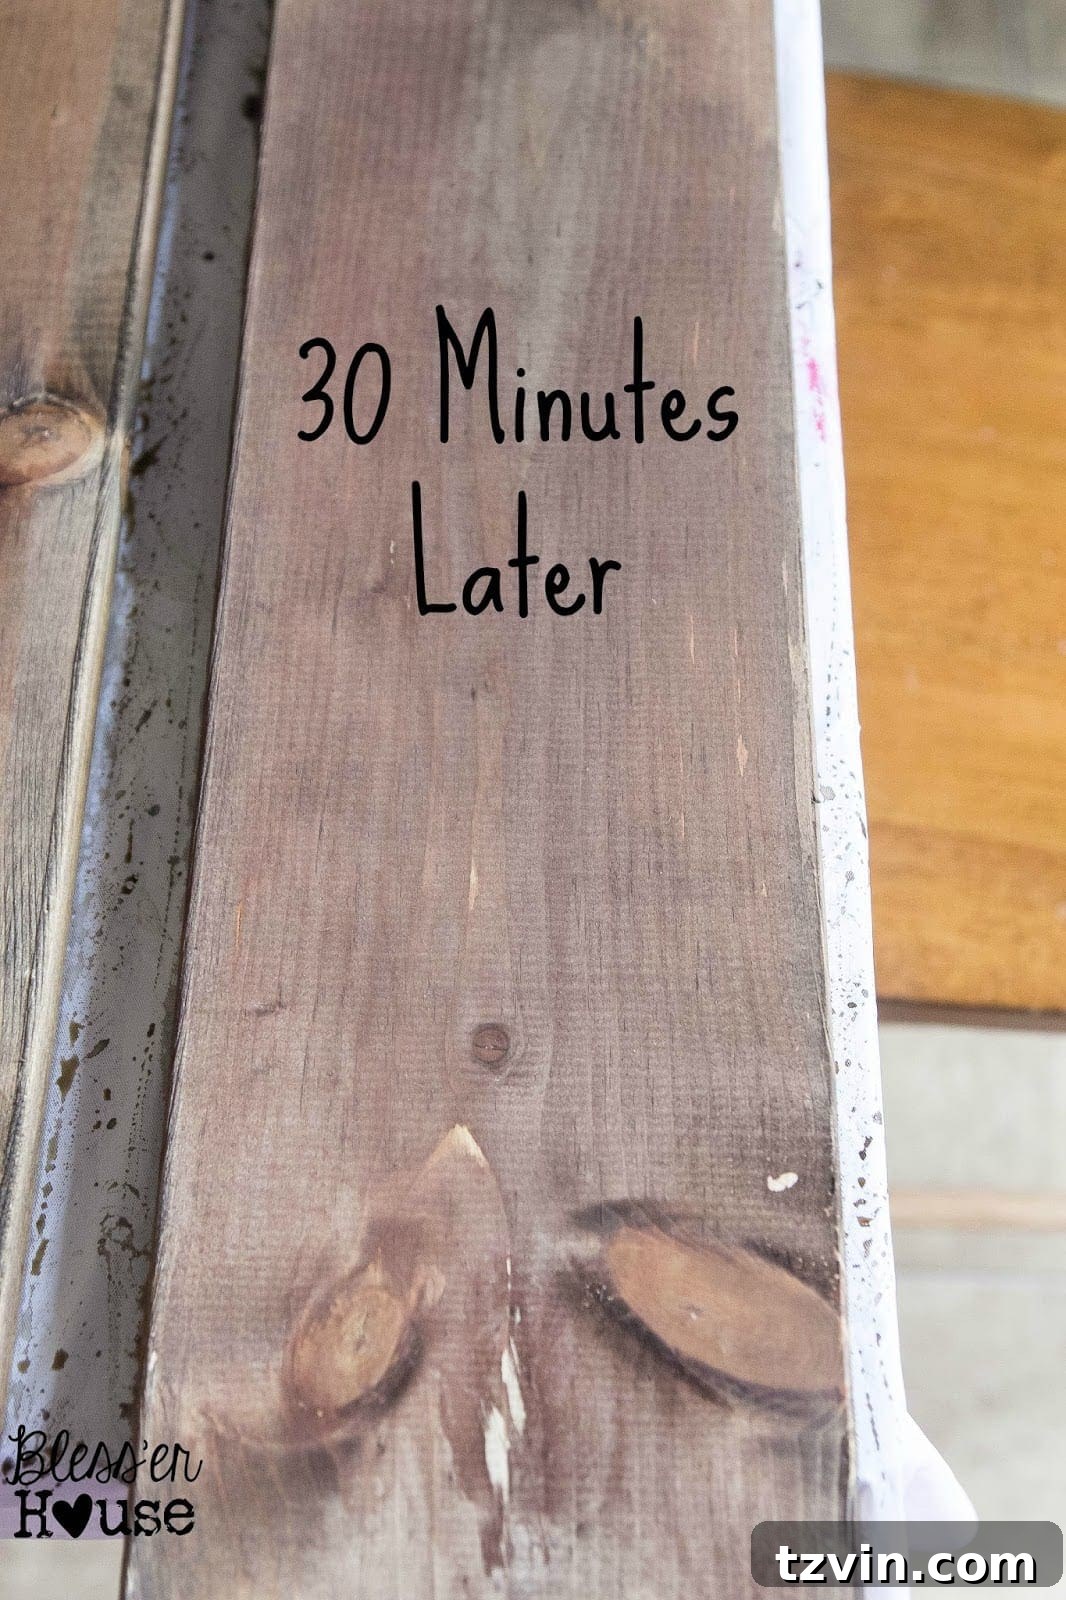
And 30 minutes in, the wood will have taken on a significant depth of color, often revealing darker brown undertones mixed with the gray, emulating truly old wood.
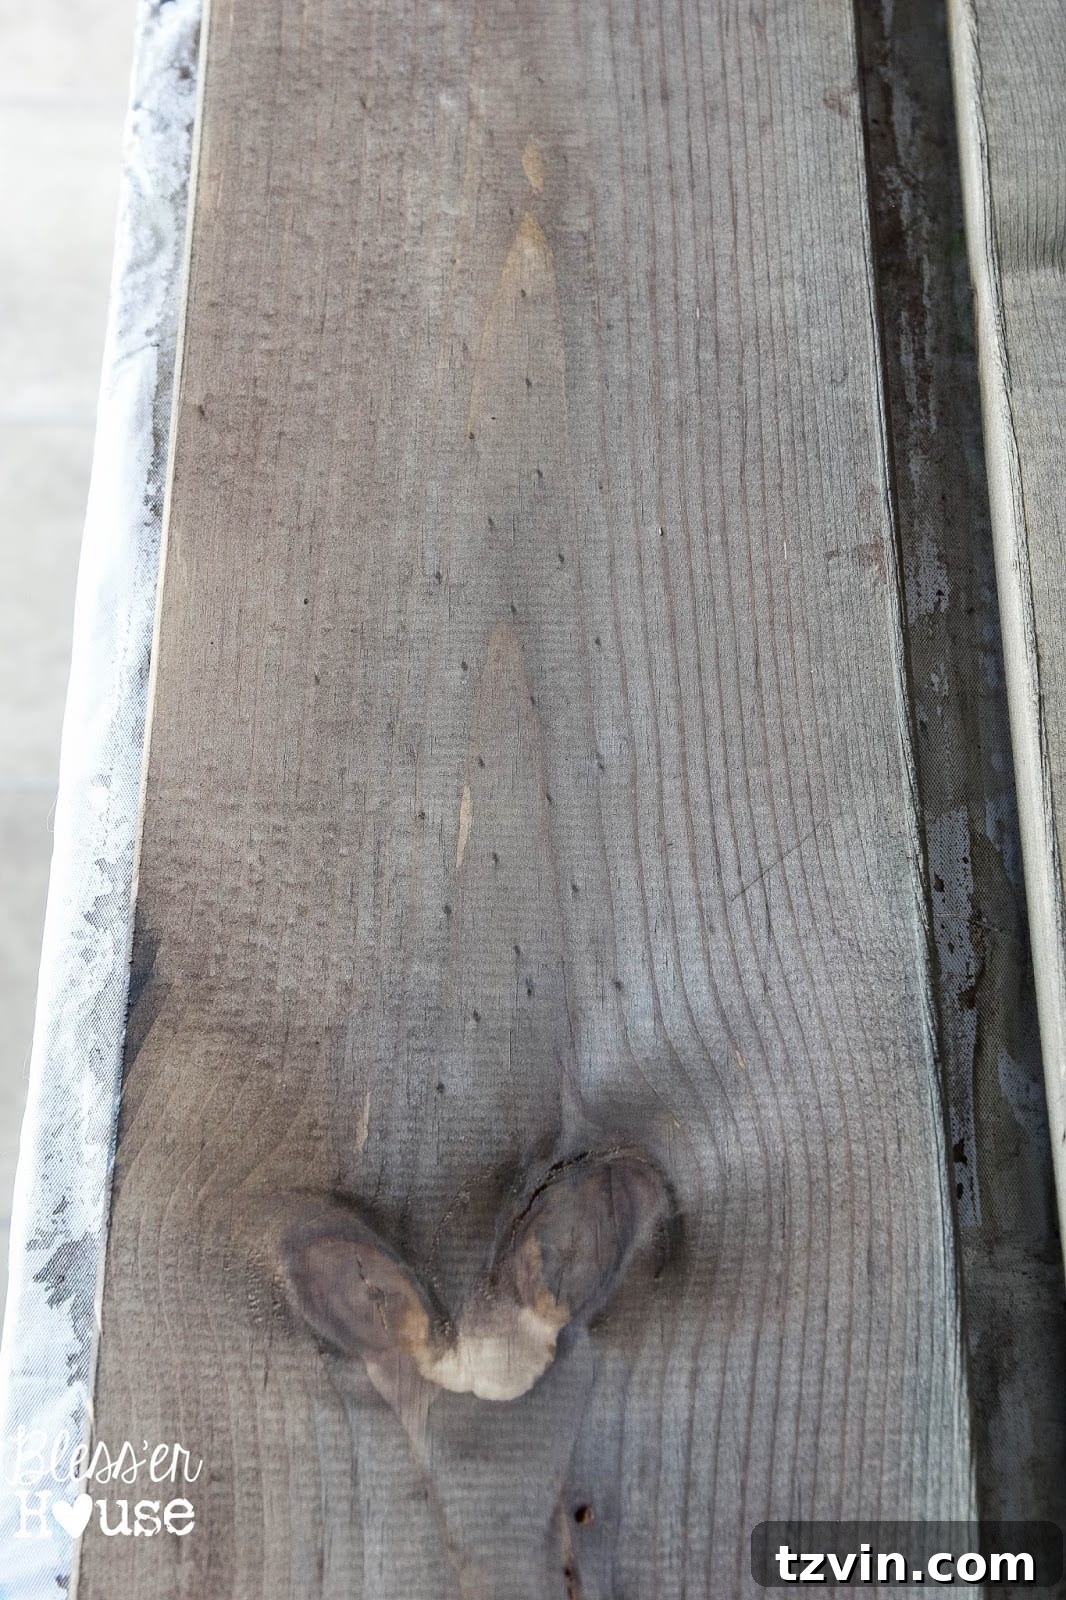
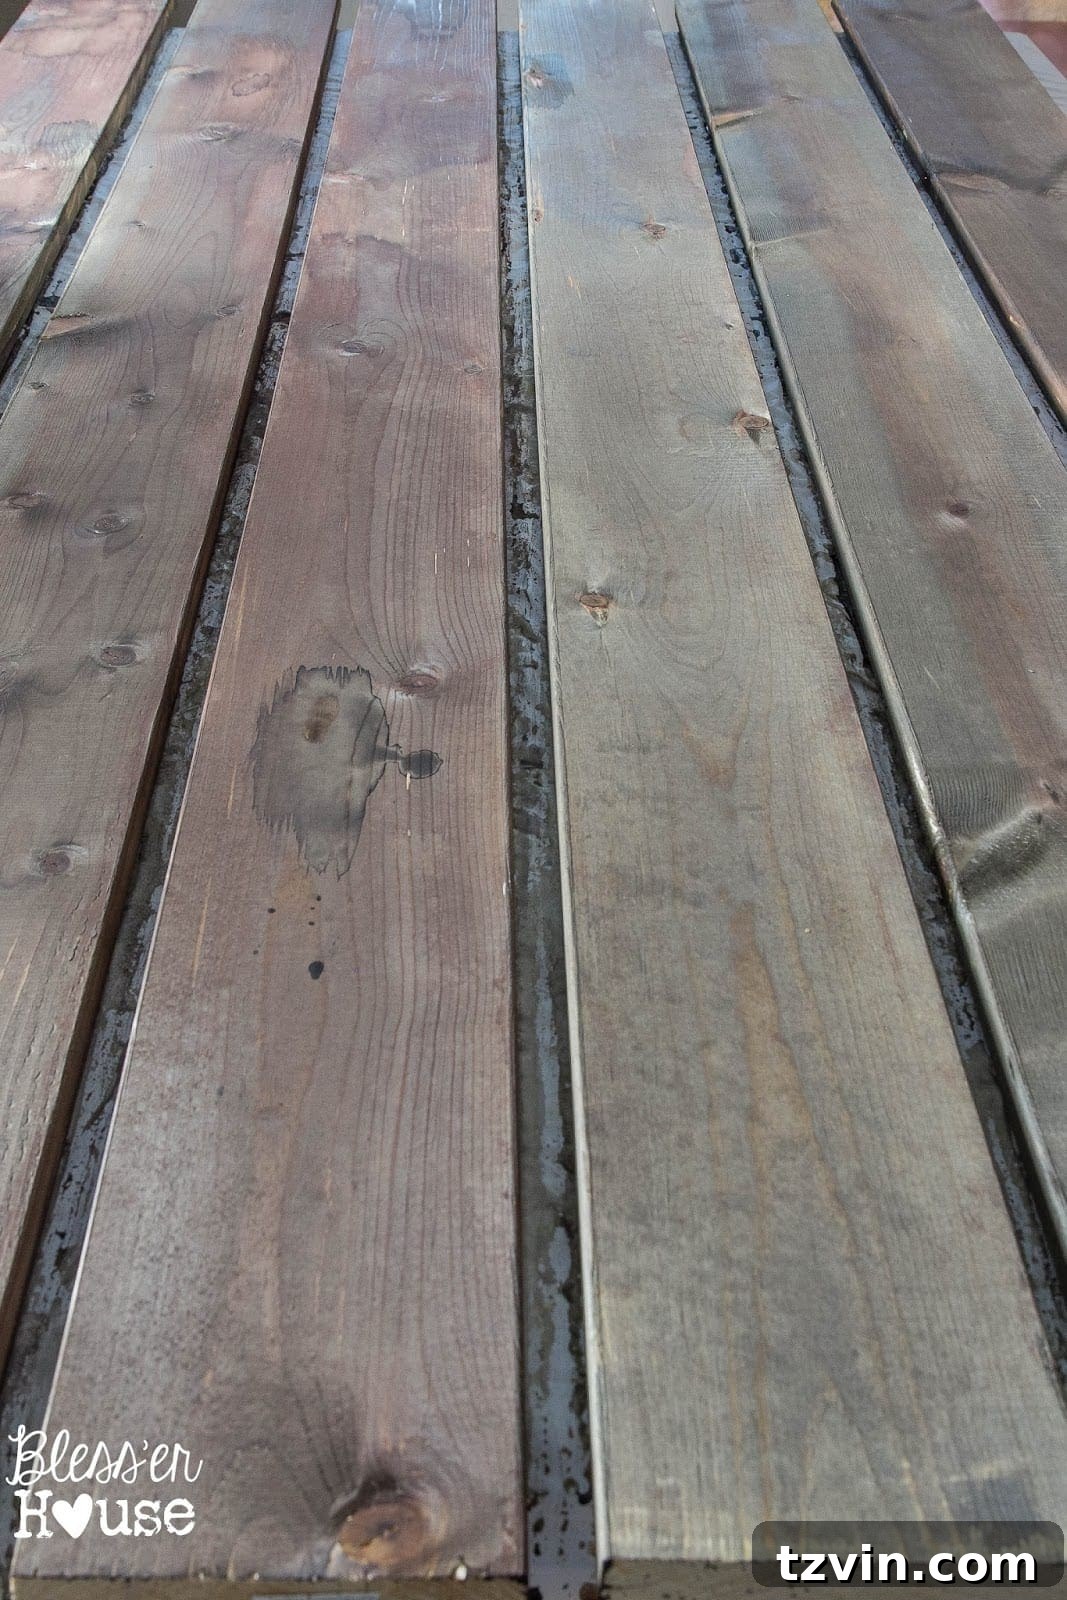
After approximately one hour, your wood should have achieved its perfectly aged look. The depth and exact shade will continue to cure slightly over the next few hours as it fully dries. Unlike commercial stains that aim for uniform color, this reactive finish will naturally produce slightly different results on each wood board. This variation is a beautiful characteristic of the method, depending on the wood’s natural tannic acid content and how it reacts with the solution. This technique is especially appealing for those who appreciate the genuine, organic character of naturally aged and distressed wood, embracing its unique imperfections.
Considering that the ingredients cost only about $5 from your local grocery store, this method is an incredible steal for achieving that coveted distressed wood aesthetic! You might find a few spots that require a little extra attention or a light touch-up with the oxidizing stain. If any blotches appear, a gentle sanding can help even them out. Personally, I believe these slight imperfections only enhance the realistic barnwood appeal.
For most projects, a single coat of this natural stain will be sufficient to achieve a rich, dark color. However, if you desire an even deeper, more intense dark stain, you can certainly apply an additional coat of the steel wool/vinegar solution after the first coat has fully dried. Remember to always test on a hidden area or scrap wood first to achieve your desired depth.
Step 6 – Seal Your Beautiful Aged Wood with a Top Coat
The final and crucial step is to protect your newly aged wood and seal in its beautiful color. For low-traffic items or decorative pieces, apply a clear coat of wax using a lint-free cloth, buffing it to a gentle sheen. For items that will see more wear and tear, such as a dining table top, coffee table, or for applications in high-humidity areas like a bathroom plank wall, it’s best to brush on a durable protective layer of polycrylic or polyurethane. These topcoats will not only safeguard the wood from moisture and abrasion but also enhance the depth and richness of your aged finish, ensuring its longevity.
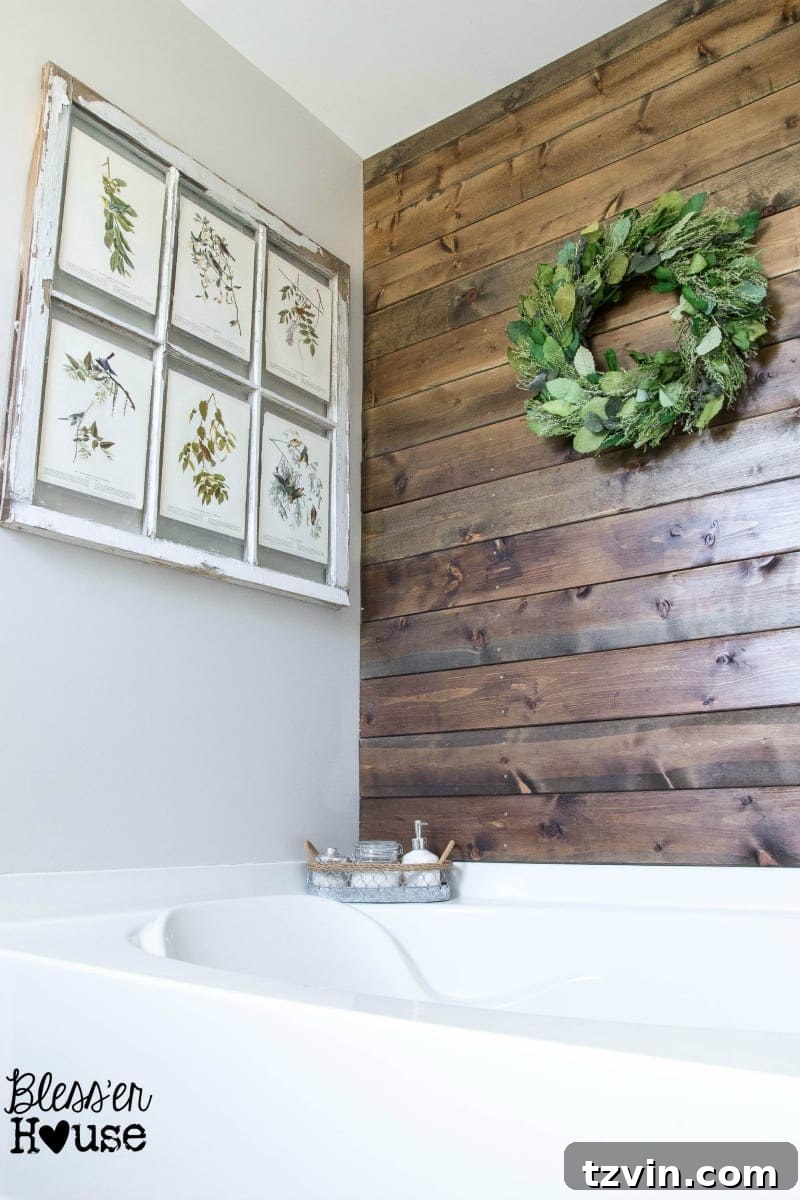
The resulting finish reminds me so much of the glorious, naturally weathered wood from my in-laws’ “magic barn,” which I’ve always been utterly captivated by. I’m now incredibly eager to get this plank wall installed in our bathroom, showcasing its unique, handcrafted beauty!
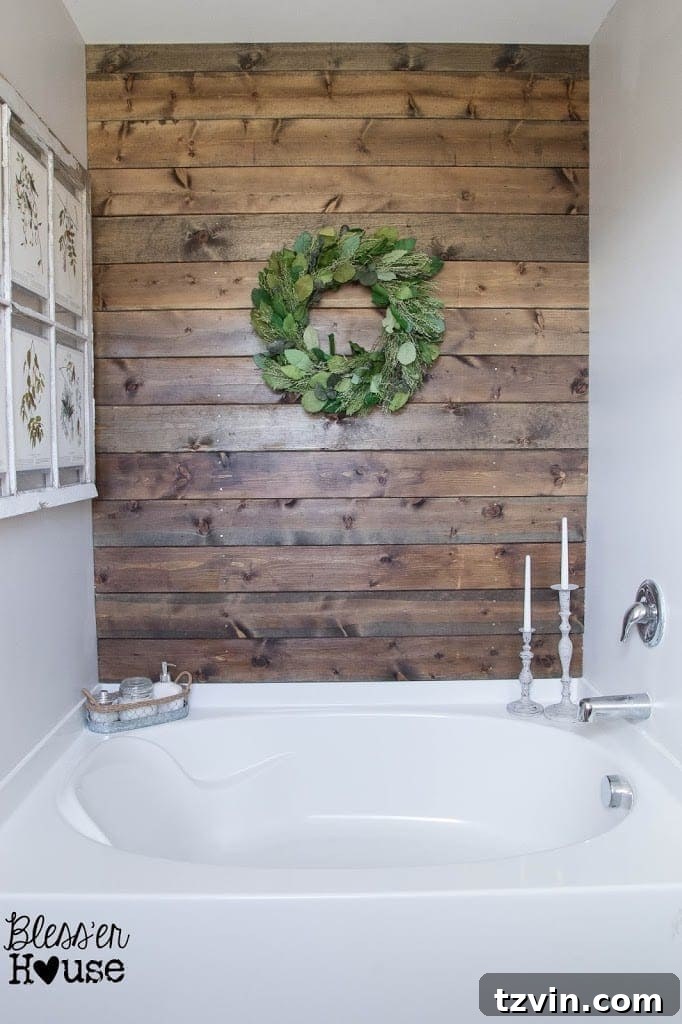
You can see the stunning final look of our DIY natural wood stained plank wall here, offering inspiration for your own projects!
Shelf Life and Storage: The steel wool/vinegar homemade stain solution is most potent and effective within 1-2 weeks of preparation. Over a longer period, its effectiveness can diminish as the iron continues to oxidize or settle. For best results, prepare a fresh batch for each new project or within this timeframe. The tea conditioner, if kept refrigerated, can last a few days, but fresh is always best.
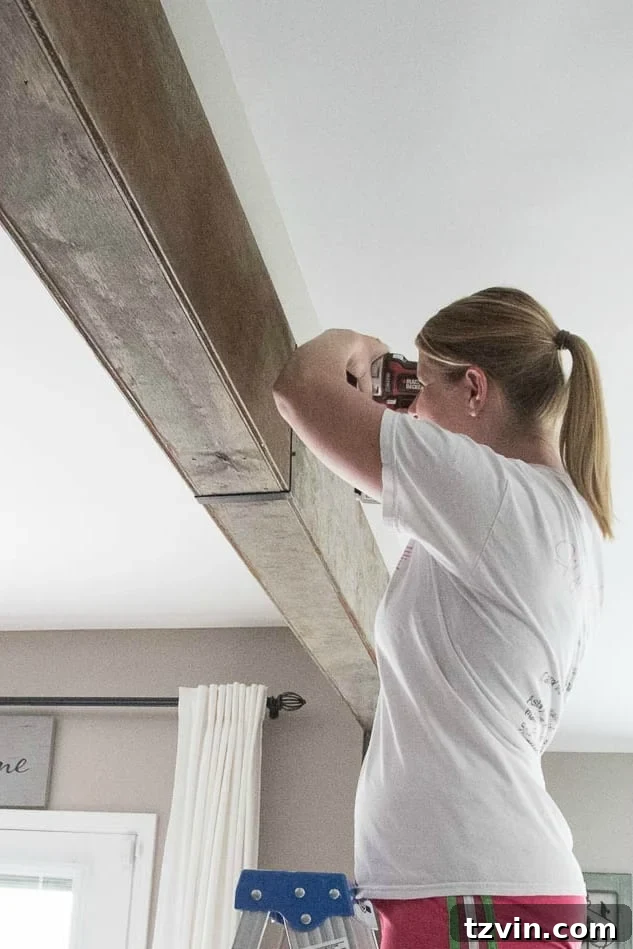
We even used this same fantastic staining method on our DIY wood beam doorway, demonstrating its versatility and consistent, beautiful results across different applications!

Explore More Wood Project Ideas and Finishing Techniques
If you’re inspired by the beauty of natural wood and DIY transformations, check out these other popular projects and finishing guides:
- DIY Faux Driftwood Outdoor Dining Table Makeover
Discover the Best Deck Stain Color for a Neutral Driftwood Look
DIY Faux Driftwood Outdoor Dining Table Makeover: A Complete Guide
How to Refinish Wood Furniture Without Stripping: A Desk Chair Makeover
Comprehensive Guide: How to Restore Wood Outdoor Furniture