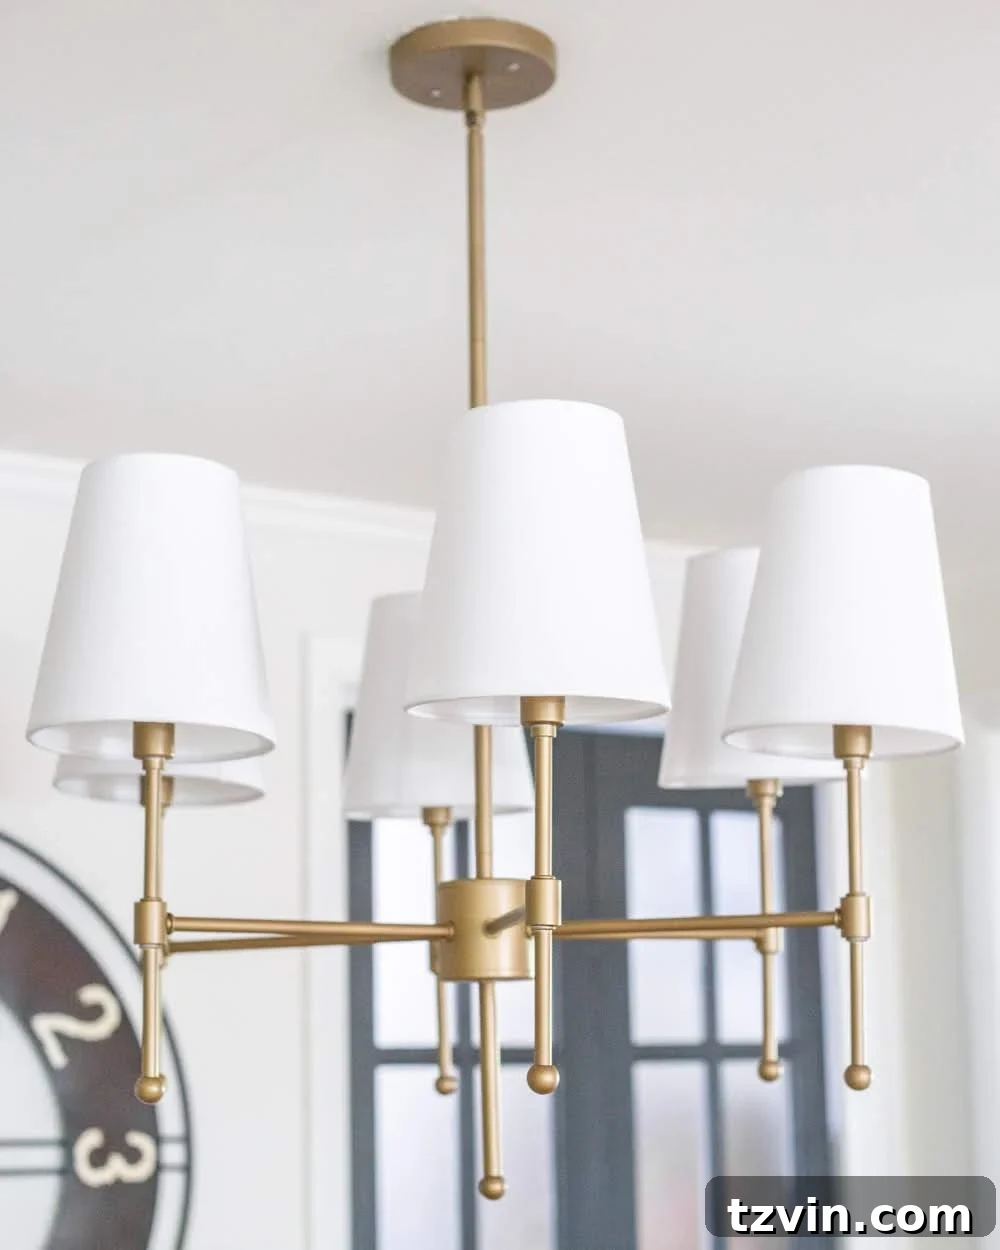
Transforming a house into a home is a journey, not a destination. And in our ongoing quest to infuse every corner with personality and purpose, our breakfast nook has presented a particularly delightful challenge. For months, we’ve been meticulously planning and slowly executing a comprehensive refresh for this often-used yet tricky space. What started as a vision back in February is finally taking shape, and we couldn’t be more excited to share the latest monumental step: a stunning DIY aged brass chandelier makeover!
From Farmhouse Charm to Timeless Elegance: Our Breakfast Nook Evolution
Since moving into our traditional colonial home, the breakfast nook has been a stylistic enigma. While I deeply appreciate the rustic allure of farmhouse decor, I’ve always felt a gentle dissonance with its placement in our more classic surroundings. The key, I realized, was not to abandon warmth or character, but to reinterpret it through a lens of refined elegance that complements our home’s inherent style. This understanding sparked a series of transformations, each bringing us closer to the perfect balance.
A Journey Through Tables: Finding the Perfect Fit
Our breakfast nook’s evolution began with a decidedly rustic, almost dilapidated table—charming in its own right, but ultimately ill-suited for the space’s long-term vision. This initial choice, though temporary, underscored the need for thoughtful design in every area of the home, no matter how small.
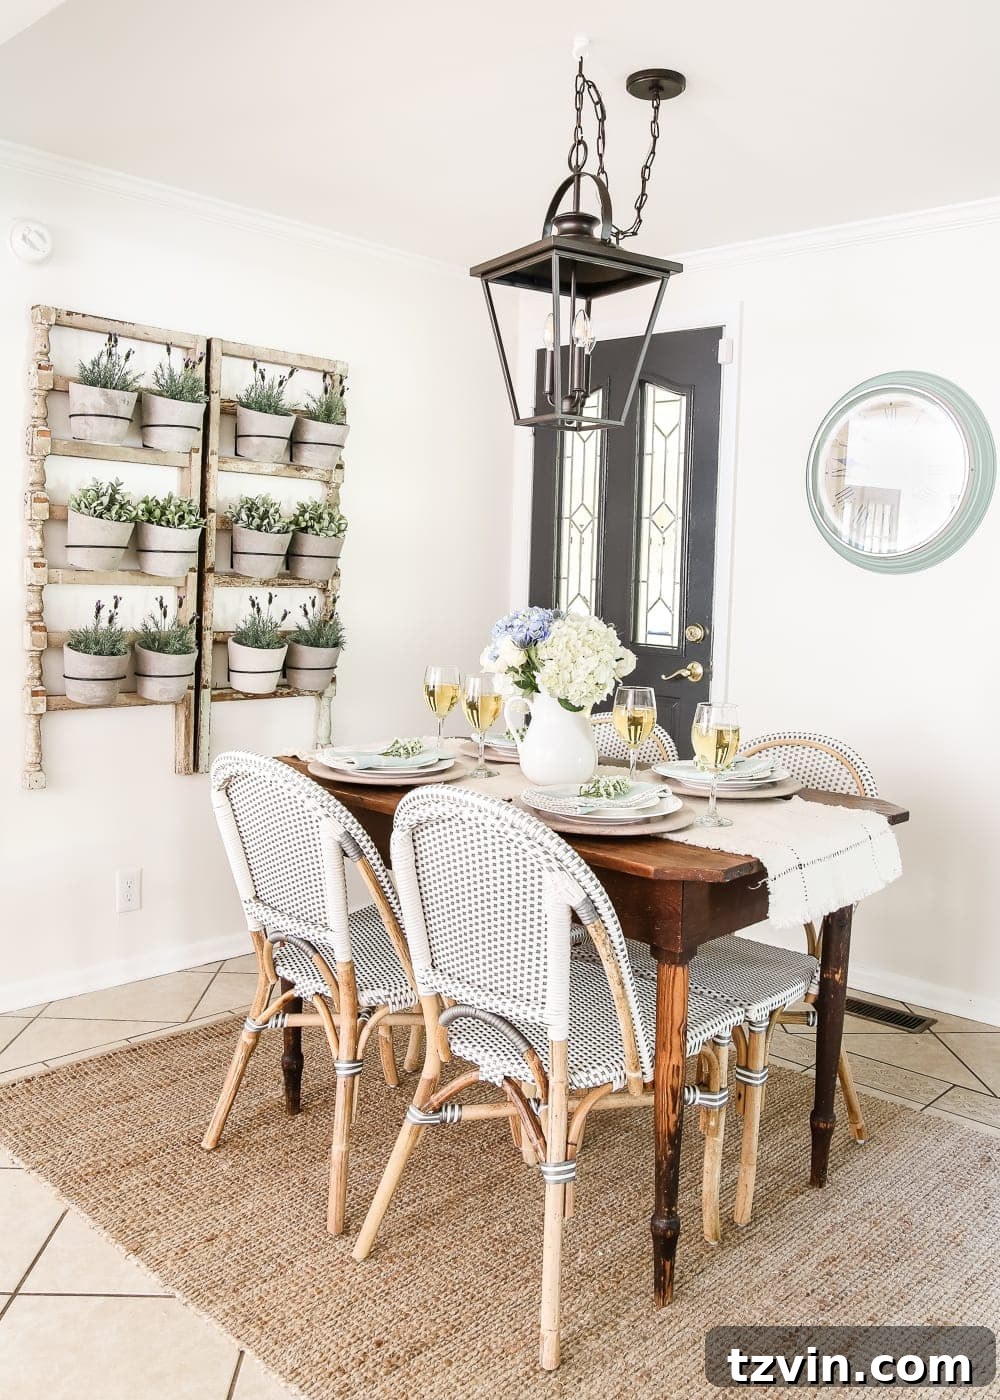
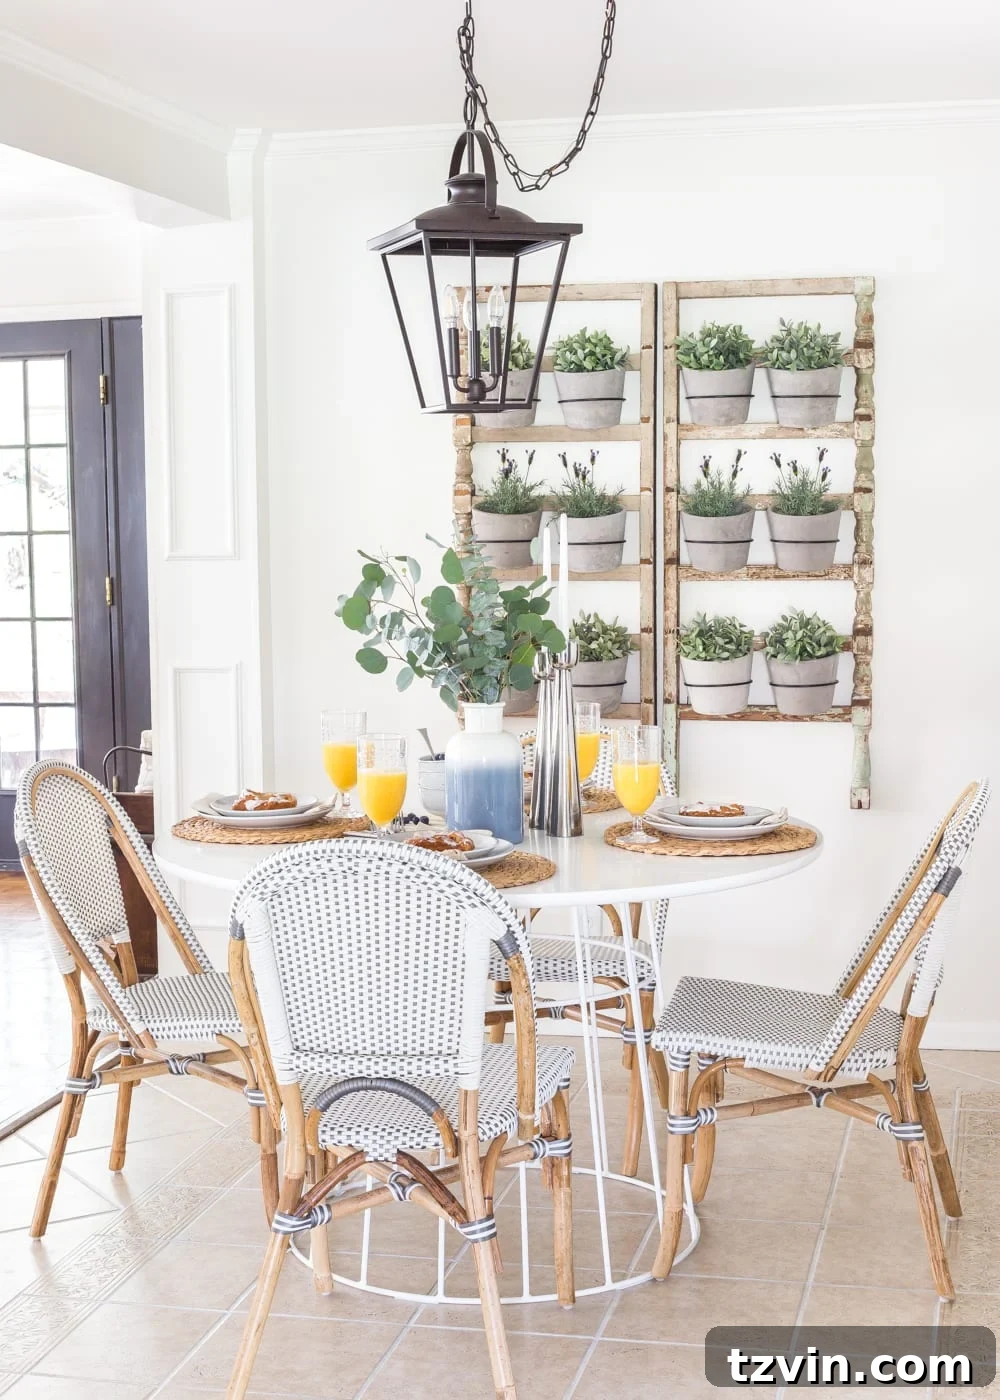
Next, we introduced a more modern table, hoping to strike a contemporary note. While aesthetically pleasing, it proved to be an ill-fitting giant for our compact nook, creating an inconvenient traffic bottleneck. This phase was a crucial learning experience, reminding us that sometimes, achieving the perfect design requires a few missteps. It’s through these trials that we truly understand the spatial dynamics and functional needs of a room. After this, we finally found a table that truly “works” – a piece that offers both style and practicality without overwhelming the limited footprint. Persistence, it turns out, is a virtue in home decor as much as in life.
The Quest for the Perfect Chandelier: A Budget-Friendly Revelation
With the table finally settled, our attention shifted upwards. The lighting fixture above the breakfast nook needed to be more than just functional; it needed to be a statement piece that seamlessly bridged the gap between traditional and modern aesthetics, while steering clear of overly rustic farmhouse vibes. The search for a “not-too-expensive, less farmhouse-y chandelier” proved surprisingly difficult through conventional channels. Just as I was about to give up hope, a new platform entered my radar: OfferUp.
Discovering OfferUp: A Thrifter’s New Paradise
As a relative newcomer to OfferUp, I can confidently say it has quickly become a favorite alternative to Craigslist and Facebook Marketplace for finding incredible deals. This platform offers a treasure trove of secondhand items, often brand new or barely used, at deeply discounted prices. It was through OfferUp that I stumbled upon the chandelier of my dreams – a modern-meets-traditional piece that perfectly encapsulated the style I envisioned for the breakfast nook. Originally retailing for $330, I managed to snag it for just $100. This was a deal too good to pass up, proving that patience and exploring new resources can yield extraordinary results.

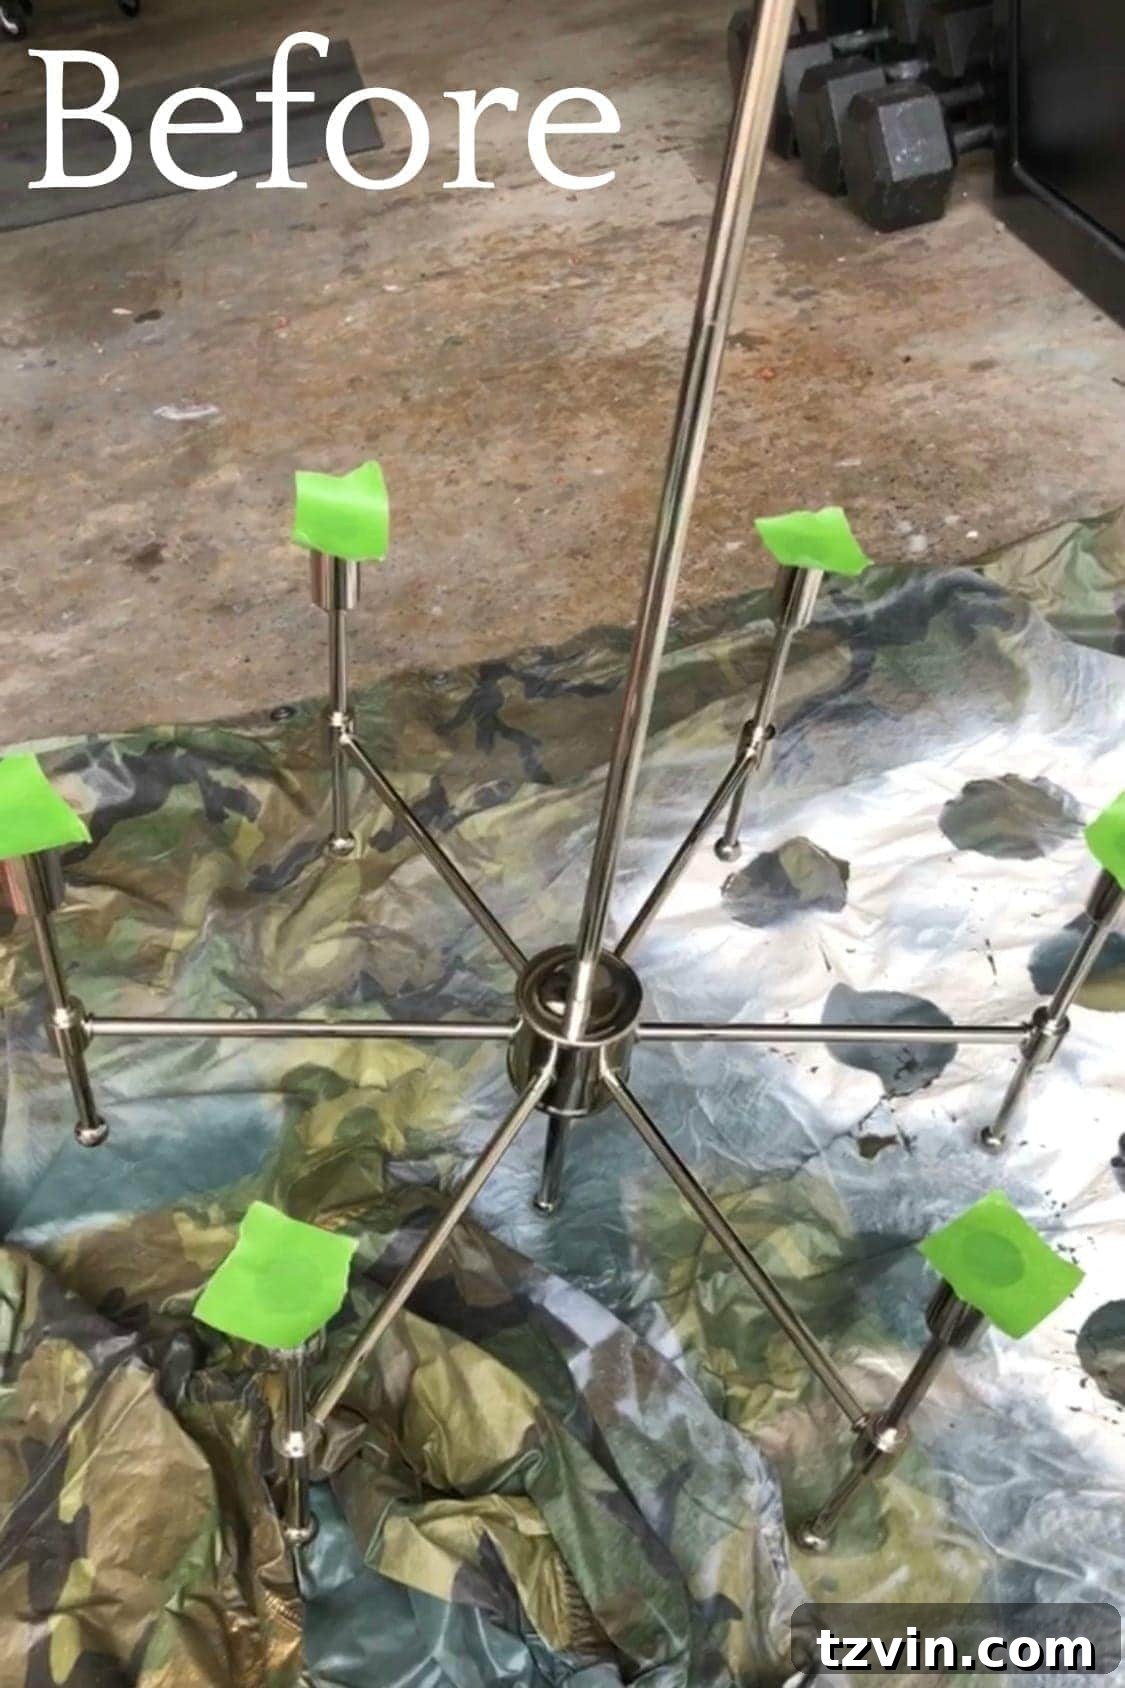
However, there was one minor detail: the chandelier was brushed nickel, and my heart was set on the warm, inviting glow of aged brass. But a true DIY enthusiast sees not a problem, but an opportunity for transformation. This was the perfect canvas for a budget-friendly DIY project, a true “Trash to Treasure Transformation Tuesday” candidate!
DIY Aged Brass Chandelier: Achieving a High-End Look on a Budget
Embracing the spirit of creative repurposing, I decided to give this brushed nickel chandelier a luxurious aged brass finish, a look often associated with high-end designer fixtures. This transformation not only saved us hundreds of dollars but also allowed us to customize the piece to our exact aesthetic preferences. While this chandelier wasn’t “trash” in the traditional sense, giving it a second life and a completely new look definitely falls under the “treasure” category. (A quick note of caution: when dealing with thrifted electrical fixtures, always exercise prudence and consider having them inspected by a professional to ensure safe wiring.)

The Search for the Perfect Gold Spray Paint
Over the years, I’ve experimented with countless brands and shades of gold spray paint, always on the hunt for that elusive, authentic aged brass look. Many fall flat, appearing too yellow, too shiny, or simply cheap. While products like Rub n’ Buff offer a beautiful finish, they can be more labor-intensive to apply, especially on intricate fixtures. After much trial and error, I’m thrilled to announce I’ve finally found a true winner—a spray paint that delivers a genuinely high-end, aged brass appearance with remarkable ease!
Essential Supplies for Your Chandelier Makeover
Before diving into the painting process, gather these crucial supplies to ensure a smooth and successful transformation:
- Frog Tape (or any high-quality painter’s tape)
- Krylon spray primer (or your preferred brand)
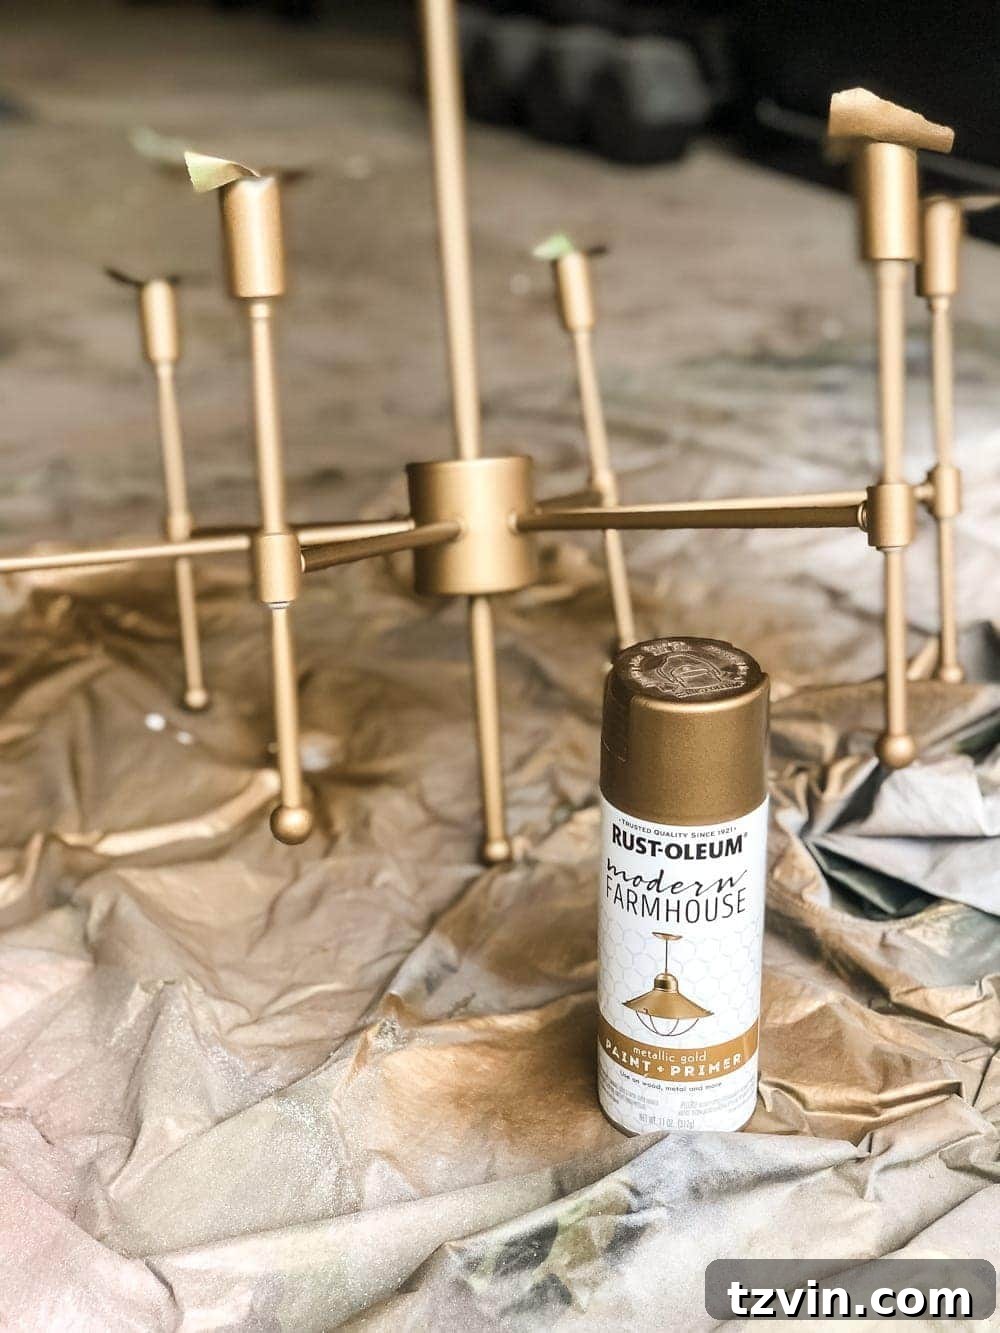
- Rust-Oleum Modern Farmhouse Metallic Gold spray paint
Step-by-Step Guide to Aged Brass Perfection
-
Protecting Electrical Components:
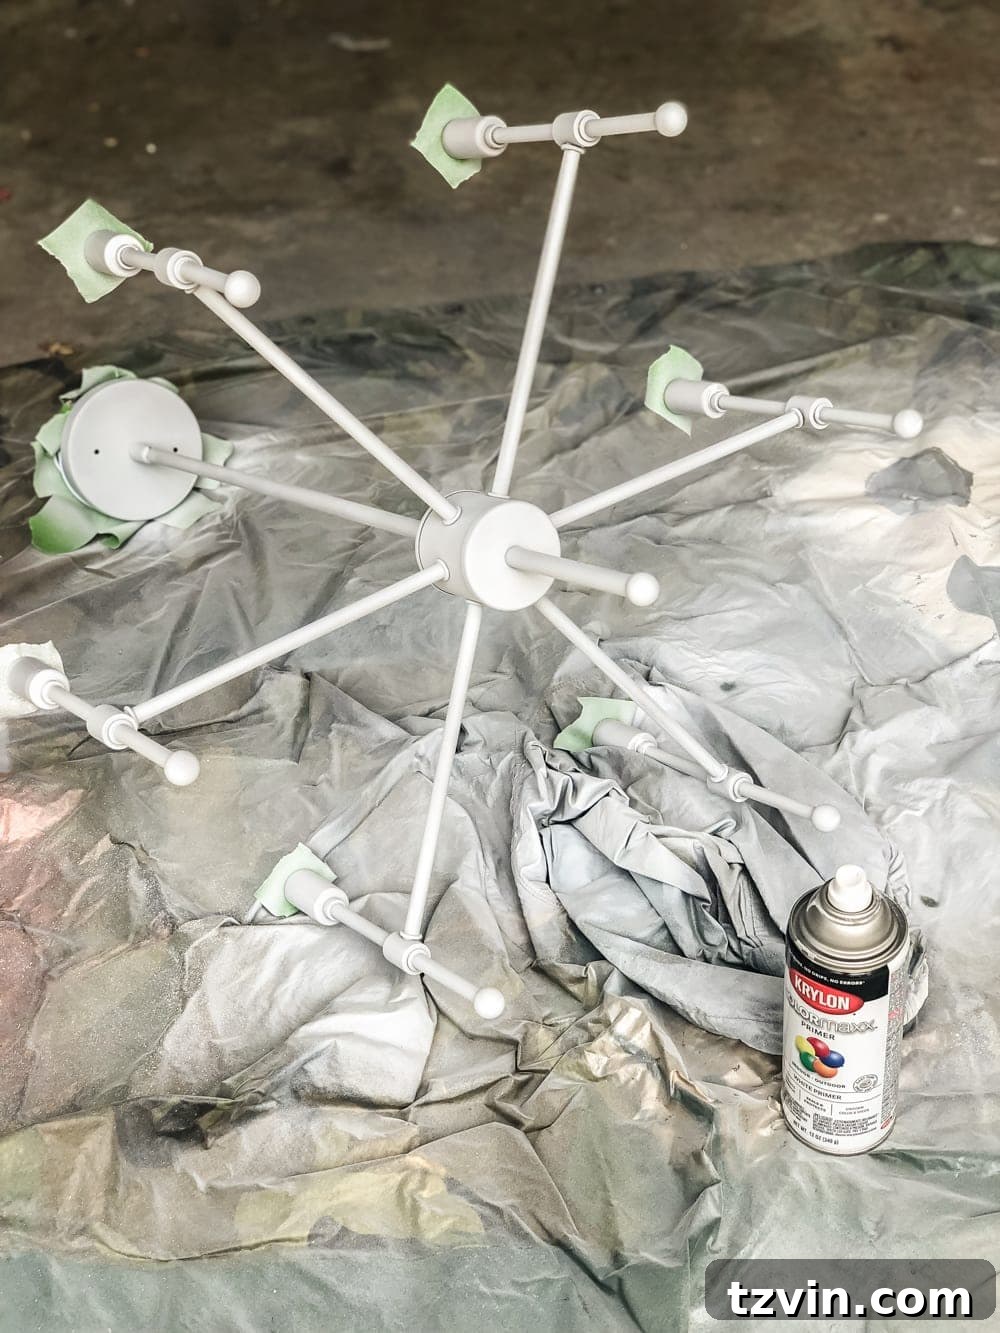
Safety first! When painting any light fixture, it is absolutely essential to protect all bulb sockets and wiring from paint. I meticulously covered these areas with Frog Tape, ensuring no paint seeped in. This step prevents potential electrical issues and ensures the fixture remains safe and functional for years to come.

-
The Power of Primer:
While many spray paint cans boast “paint + primer” formulas, my experience has taught me never to fully trust this claim for a truly professional finish. A dedicated primer coat is non-negotiable for superior adhesion and an even, durable surface. I applied a thorough coat of Krylon spray primer to the entire chandelier. This crucial base layer prepares the metal perfectly, ensuring the subsequent gold coats adhere flawlessly and achieve that sought-after smooth, high-end look.
-
Achieving the Perfect Gold Finish:
Once the primer was completely dry, it was time for the magic. I applied three thin, even coats of the Rust-Oleum Modern Farmhouse Metallic Gold spray paint. The key here is patience and precision. Multiple thin coats are always superior to one thick, gloopy layer, which can lead to drips, unevenness, and a less professional appearance. Allow sufficient drying time between each coat for the best results. This particular Rust-Oleum shade perfectly captured the rich, deep tones of aged brass, transforming the chandelier from a humble brushed nickel piece into a sophisticated focal point.
The Stunning Reveal: A Nook Transformed
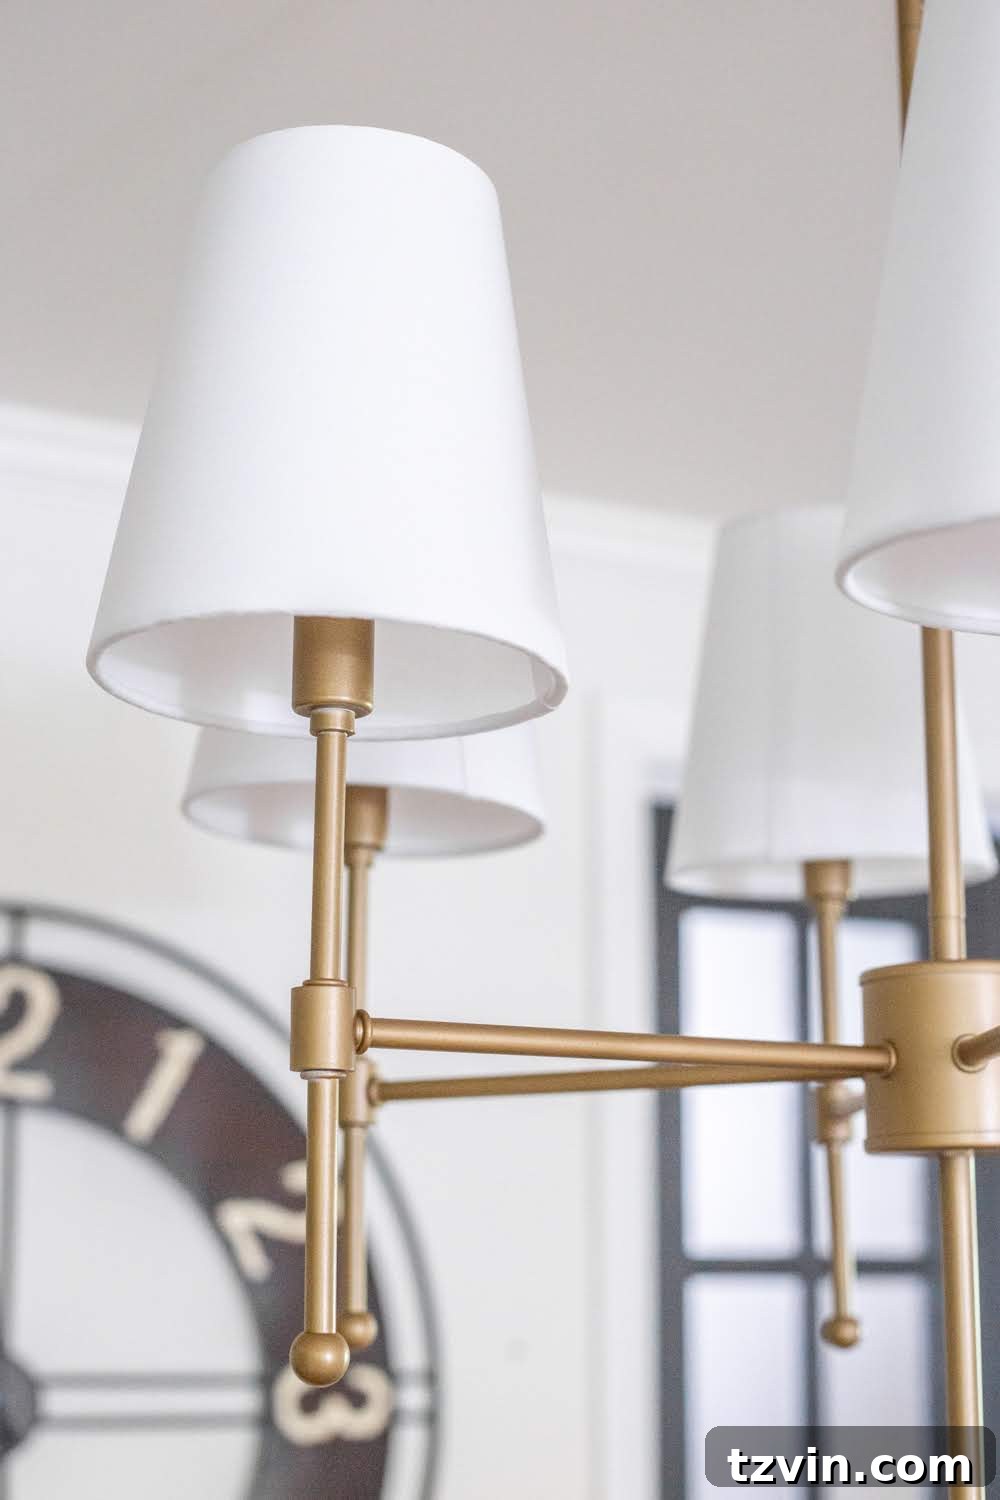
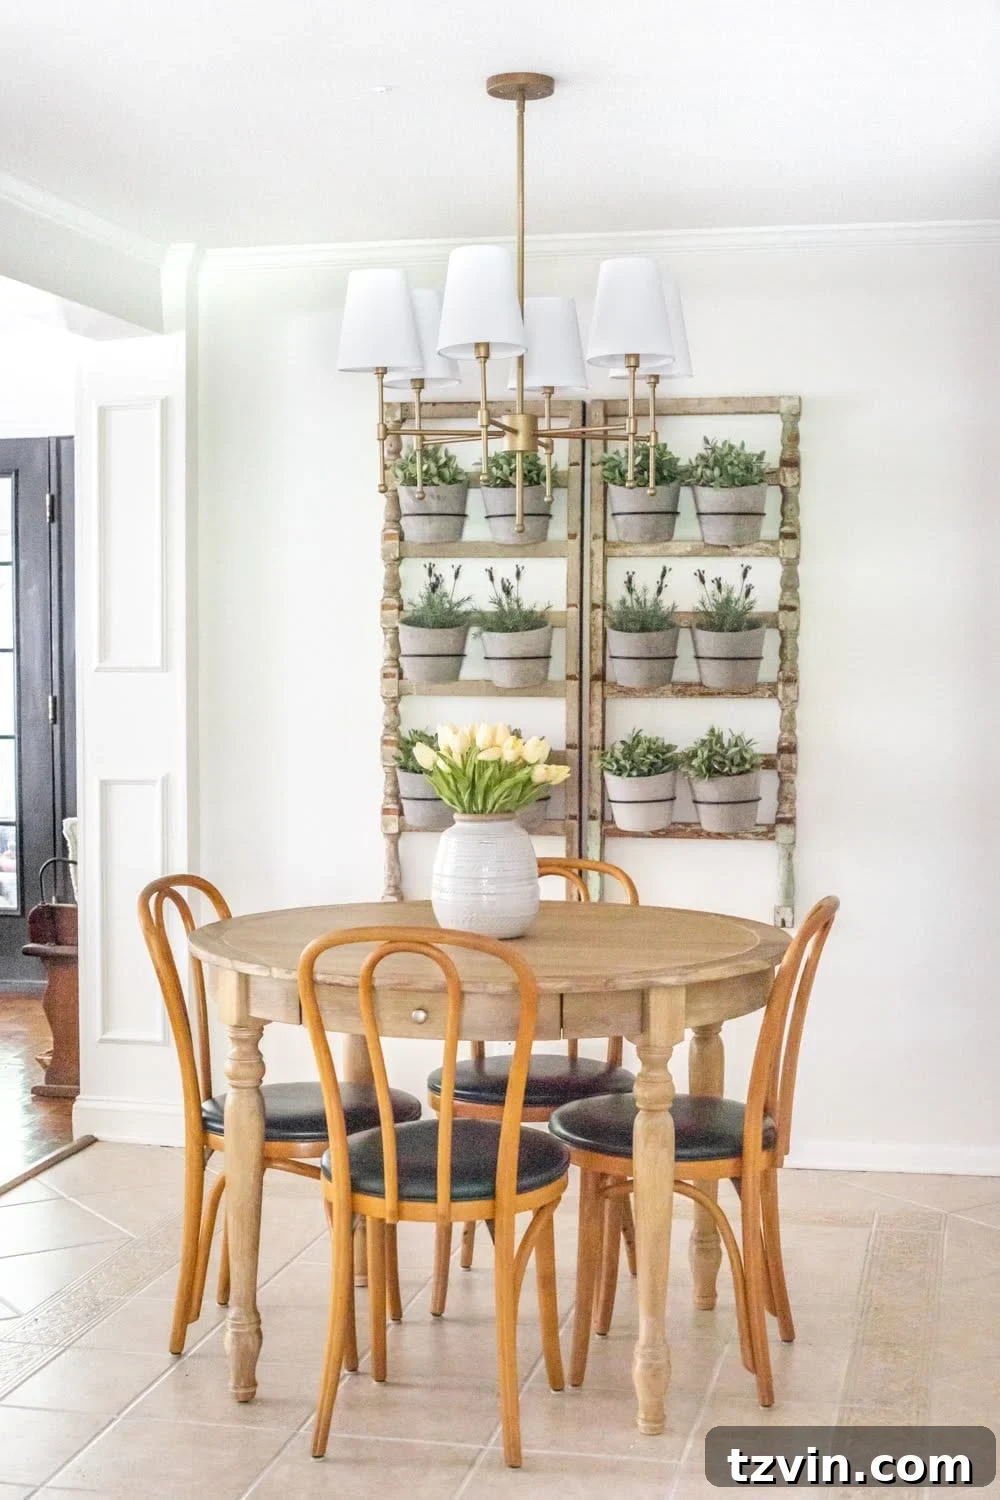
And just like that, with minimal effort and a few coats of paint, we achieved a truly breathtaking transformation! The result is a gorgeous, high-end aged brass chandelier that looks like it cost a fortune, but was created for a fraction of the price. This project perfectly embodies the essence of “Trash to Treasure” – taking something with potential and elevating it into a statement piece. The warmth of the aged brass finish instantly adds a touch of elegance and character, beautifully complementing the traditional elements of our home while still feeling fresh and modern.
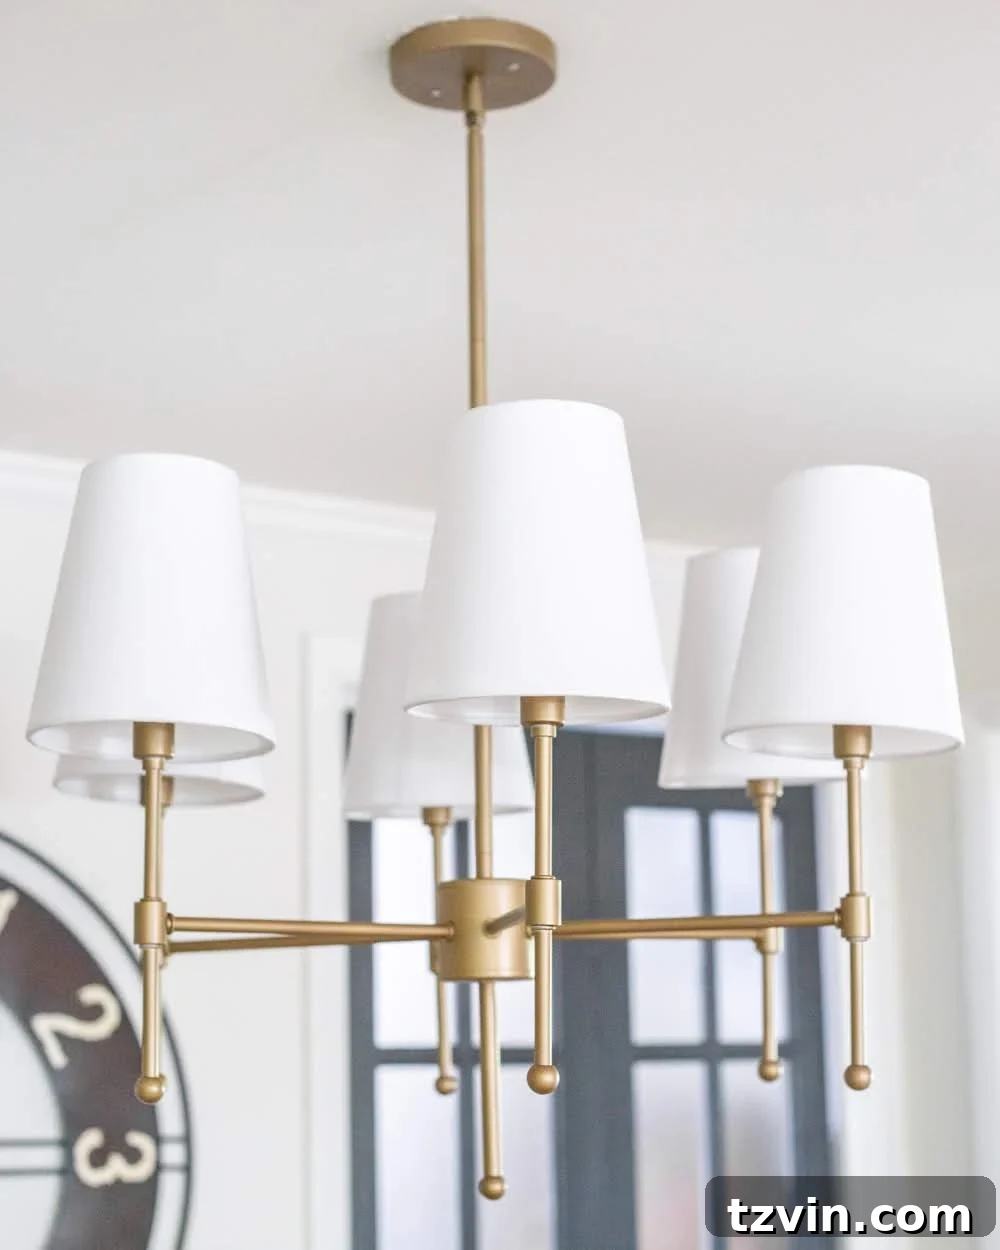
With this exquisite new chandelier illuminating the space, our breakfast nook is truly “going places” in terms of style and sophistication. The overall aesthetic is starting to gel beautifully, moving away from a purely farmhouse look towards a more refined and enduring design that feels perfectly at home in our colonial setting.
Continuing the Nook’s Evolution: Next Steps
Our breakfast nook refresh is an ongoing passion project, and while the chandelier is a major milestone, the journey continues! I also discovered those charming vintage soda shop bentwood chairs on OfferUp, and with the new, perfectly sized table now in place, I’m contemplating painting them black instead of their current orange-y wood finish. What do you think? A bold black might add a touch of modern contrast and sophistication. Additionally, I’m actively searching for a replacement for our beloved antique banister planter wall to find something that aligns more with our evolving style, but rest assured, that planter is far too cute to discard; it will find a new home in our backyard oasis!
As every homeowner knows, a truly personalized space isn’t built in a day. It’s a continuous process of creativity, experimentation, and finding joy in every transformation. We are always a work in progress around here, and that’s precisely where the beauty lies.
Join the Transformation Journey: More “Trash to Treasure” Inspiration
If you love the idea of giving forgotten items a new life, you’re in for a treat! This chandelier makeover is part of our monthly “Trash to Treasure Transformation Tuesday” series, where we, along with some incredibly talented blogger friends, share our latest thrifty makeovers. Get ready to be inspired by these ingenious projects:
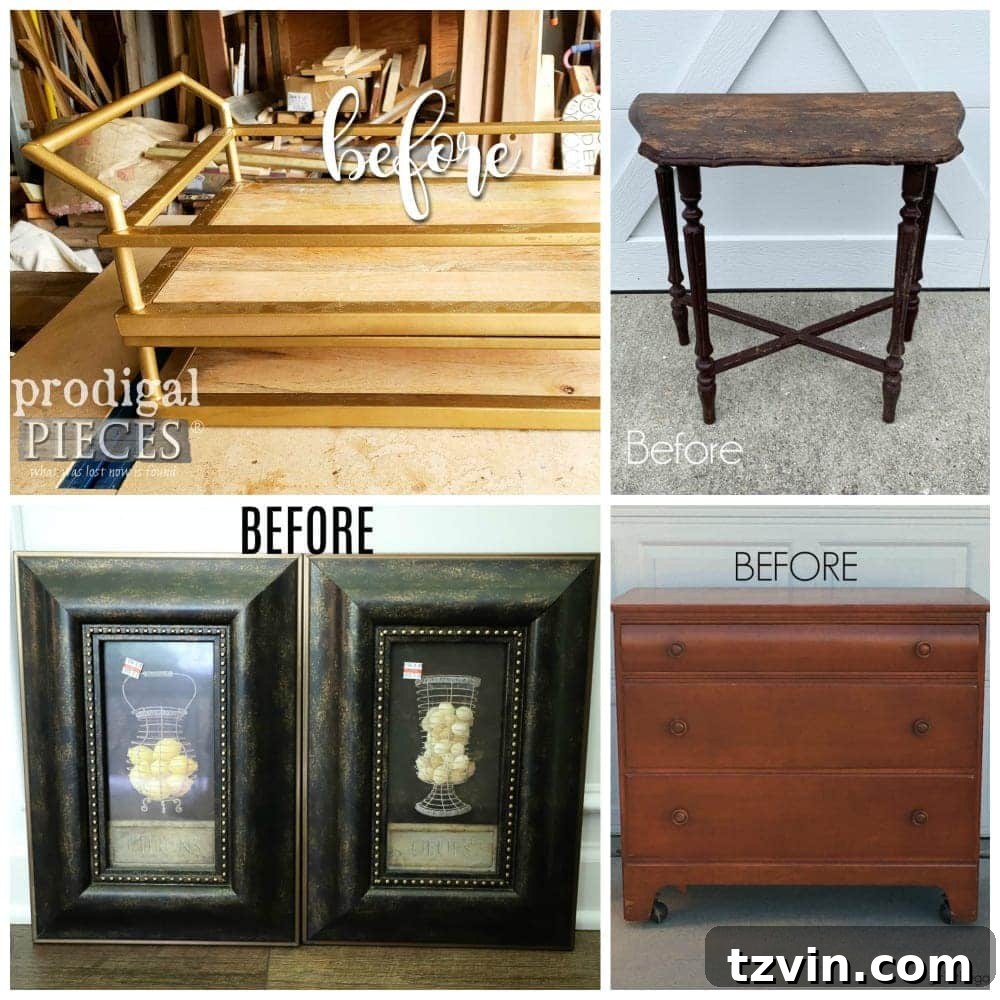
Clockwise from top left:
Prodigal Pieces | Confessions of a Serial DIYer | Girl in the Garage | Artsy Chicks Rule
And for even more inspiration, you can explore all our past Trash to Treasure transformations and discover a wealth of creative ideas for your own home right here.