There are moments in life that feel like a full circle, a beautiful echo from your past reverberating in the present. For me, one such moment arrived just a few weeks ago, reminding me vividly of a cherished childhood memory. Back in 5th grade, I embarked on my very first interior design project: my own bedroom. Armed with a small notebook and an overwhelming surge of creativity, I meticulously drew diagrams, planned furniture layouts, and sketched every decor piece, down to its exact placement. The central theme that tied it all together? Butterflies.
I still can’t pinpoint why, at the tender age of ten, I developed such an intense fascination with butterflies. Perhaps it was their delicate beauty, their vibrant colors, or the magical transformation they undergo. Whatever the reason, my mom fully embraced my ambitious plans. She joined me on countless shopping trips, helping me select every detail, from the iconic butterfly-printed inflatable chair from Limited Too to the purple beaded butterfly curtains from Claire’s. It was peak 90s groovy style, and I loved every bit of it. Looking back, this early obsession with decorating and transforming spaces makes perfect sense, foreshadowing a passion that has stayed with me ever since.
The Spark of Inspiration: A Childhood Dream Revisited
Fast forward several decades, and the universe decided to send me a truly heartwarming deja vu. When I asked my sweet daughter, Olivia, how she envisioned her new bedroom, her response made my jaw drop. With innocent excitement, she looked up at me and asked, “Can I have butterflies, Mommy?” My heart instantly melted. It was a moment of pure magic, a beautiful connection across generations, validating my own childhood dreams and making them relevant once more.
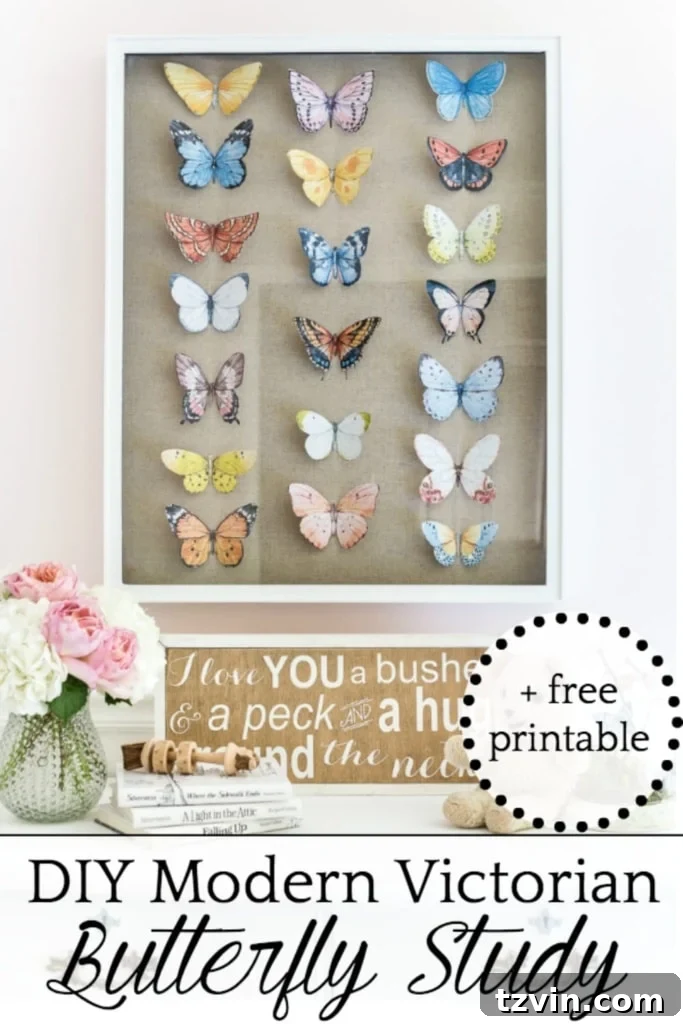
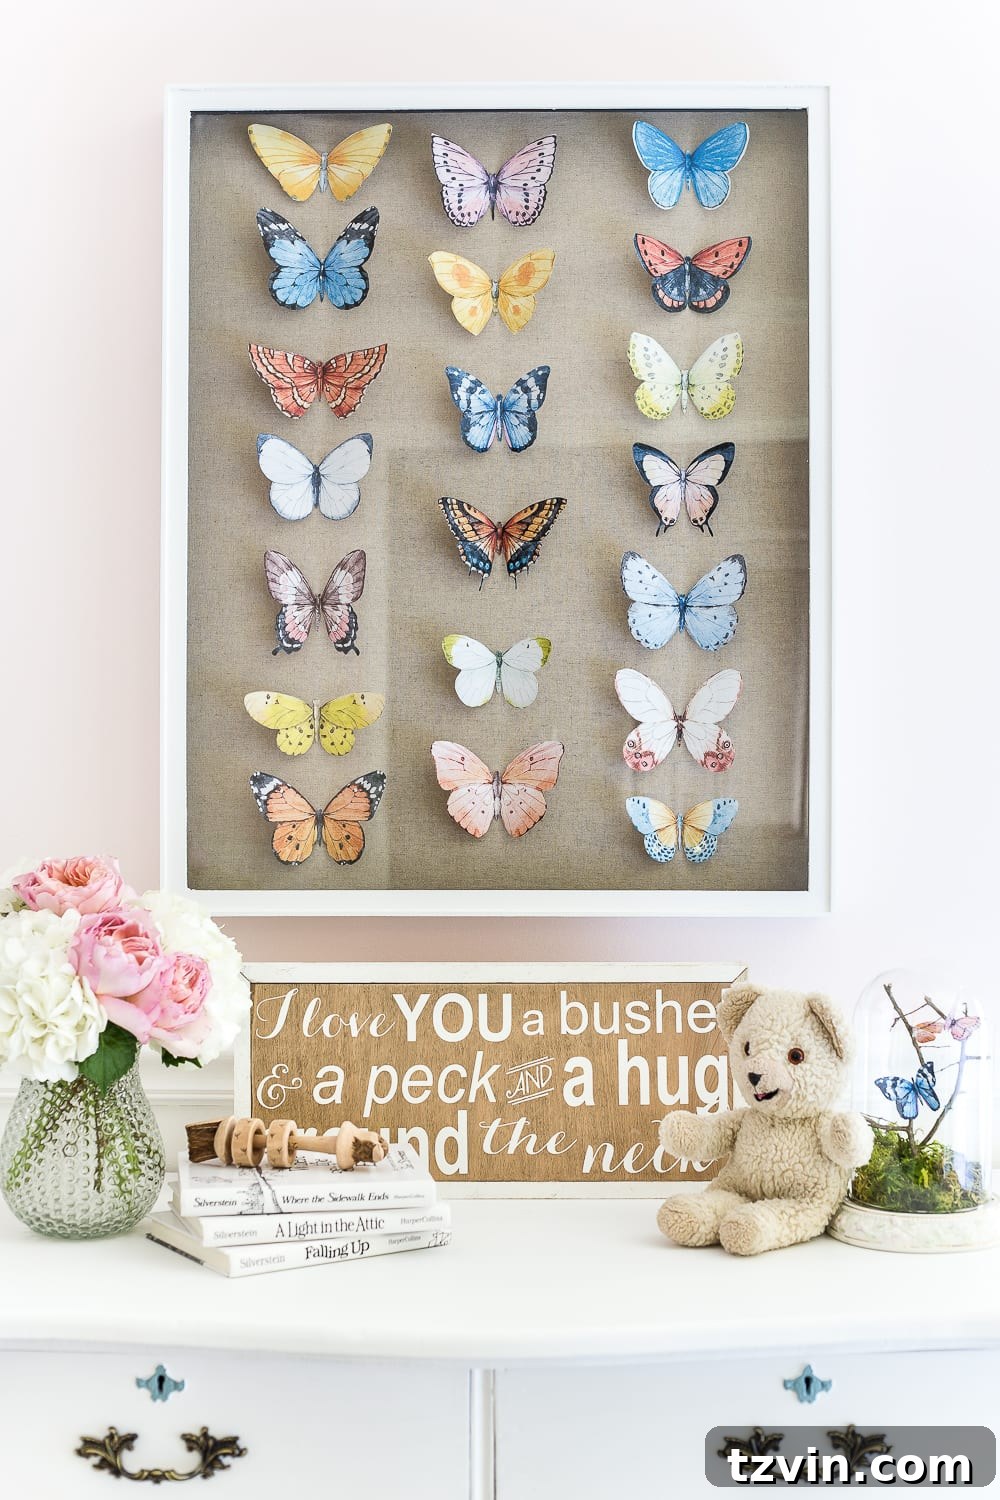
This request immediately sparked an idea in my mind. I envisioned a sweet, delicate version of a Victorian butterfly study shadow box for her wall. However, I wanted something less literal and certainly less gruesome than the actual dead butterfly specimens Victorians would carefully arrange in frames. My goal was to capture the essence of a butterfly collection – the sense of wonder, scientific curiosity, and artistic display – but with a modern, child-friendly twist. Instead of real insects, I opted for beautiful watercolor paper butterflies, bringing life and color into her space without any of the historical macabre.
This project became more than just a DIY; it was a way to share a piece of my own history with Olivia, to foster her creativity, and to create a personalized space that she would cherish. It’s amazing how a simple request can ignite such a rich tapestry of memories and creative energy.
DIY Butterfly Study Shadow Box: Creating Enchanting Wall Art
The idea of a butterfly study shadow box is rooted in a historical fascination with the natural world, a way to preserve and admire delicate specimens. While the traditional Victorian style often involved real dried butterflies, our modern take focuses on celebrating their beauty through art, making it a perfect, cruelty-free addition to a little girl’s bedroom. This project is not only budget-friendly but also offers a wonderful opportunity for personalization, allowing you to choose colors and arrangements that perfectly suit your child’s taste and room decor.
Gathering Your Creative Toolkit: Supplies You’ll Need
Creating this stunning yet simple butterfly shadow box is easier than you might think. With just a few key supplies, you can transform a plain wall into a captivating display. Here’s what you’ll need to embark on your DIY journey:
- Butterfly Graphics Printed on White Cardstock: The quality of your prints will significantly impact the final look. Using white cardstock, rather than regular printer paper, gives the butterflies a more substantial, almost sculptural feel and ensures the watercolor designs pop beautifully.
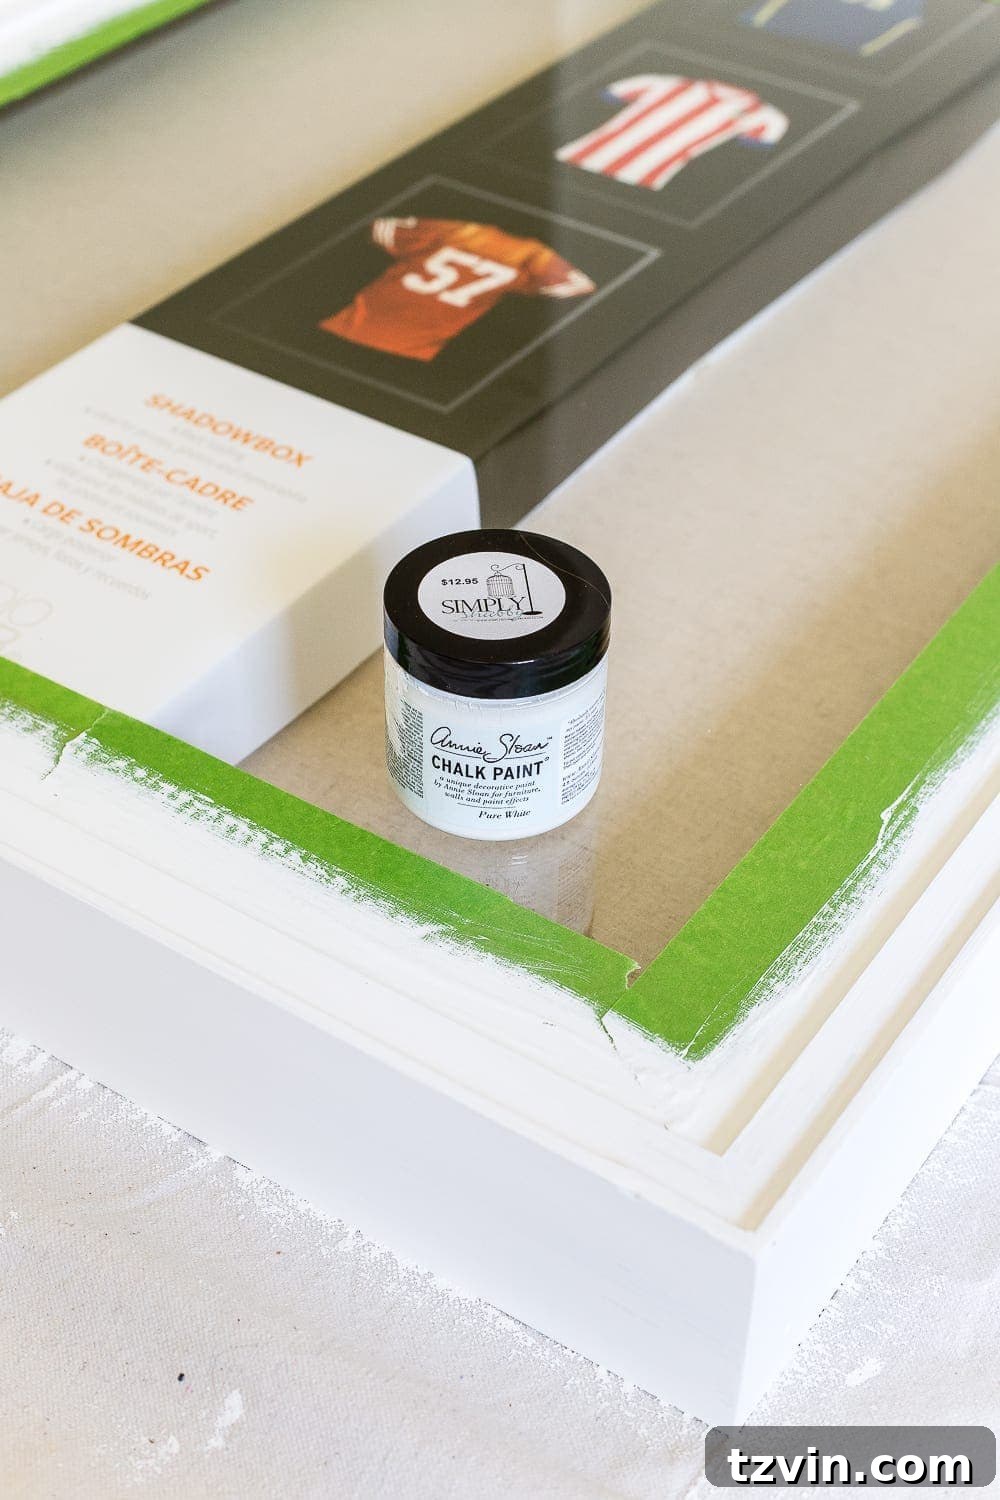
- Jersey Size Shadow Box: A large shadow box provides ample space to create a striking arrangement of butterflies. Look for one with a good depth to allow for the three-dimensional effect of the folded butterflies. My specific find was a jersey-sized box from Michael’s, a perfect canvas for this project.
- White Chalk Paint and Paint Brush: Unless you find a shadow box in your desired color, a good quality chalk paint can work wonders. I chose white chalk paint because it offers excellent coverage, a beautiful matte finish, and adheres well to various surfaces without extensive prep, making it ideal for transforming a brown or black frame into a bright, airy piece.
- Scissors: Sharp scissors are crucial for precise cutting of the butterfly shapes, ensuring clean edges and a professional finish.
- Hot Glue Gun and Hot Glue Sticks: A hot glue gun is your best friend for quickly and securely attaching the butterflies to the backer board. The instant bond is perfect for positioning each butterfly exactly where you want it.
Step-by-Step Guide to Beautiful Butterfly Wall Art
Follow these simple steps to create your own exquisite butterfly study shadow box, perfect for any child’s room or even a whimsical adult space.
1. Preparing Your Shadow Box Canvas: My initial search for a large white shadow box proved challenging. Most stores only stocked brown or black options in the size I needed. But that’s where the magic of DIY comes in! I happily scored a large shadow box at Michael’s for 60% off – a fantastic deal. To achieve the bright, fresh look I envisioned for Olivia’s room, I used a sample pot of Annie Sloan Pure White Chalk Paint. Chalk paint is incredibly forgiving and creates a beautiful, soft matte finish. Apply a thin, even coat with your paintbrush, letting it dry completely between coats. You might need two or three coats to get full, opaque coverage, especially if you’re painting over a dark frame. This step alone can transform an ordinary frame into a sophisticated base for your artwork.
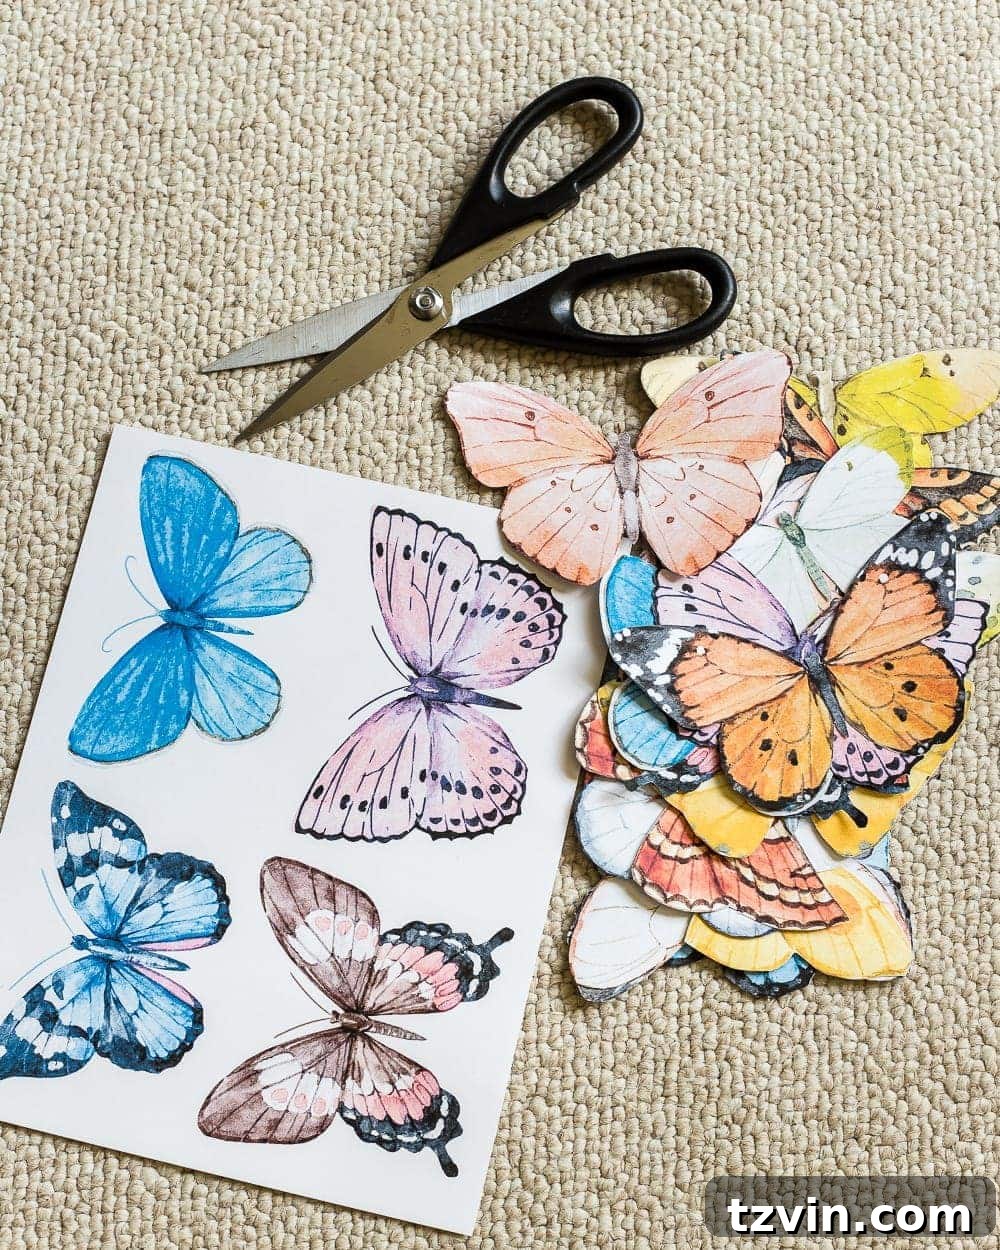
2. Bringing Butterflies to Life Through Print: The heart of this project lies in the stunning watercolor butterfly graphics. I sourced a collection of beautiful watercolor butterfly printables, which truly elevate the project beyond simple paper cutouts. These delicate designs bring a touch of elegance and realism to your “specimens.” I highly recommend printing them on good quality white cardstock. Cardstock provides the necessary rigidity for the butterflies to hold their shape once folded, giving them a lovely three-dimensional quality. You can download these specific graphics from the printable library; simply sign up to receive the subscriber link in your inbox. If you’re already a subscriber, you can click here to access them directly – the password is always at the bottom of my emails. Printing them at home allows you full control over size and quantity, ensuring you have enough variety for your display.
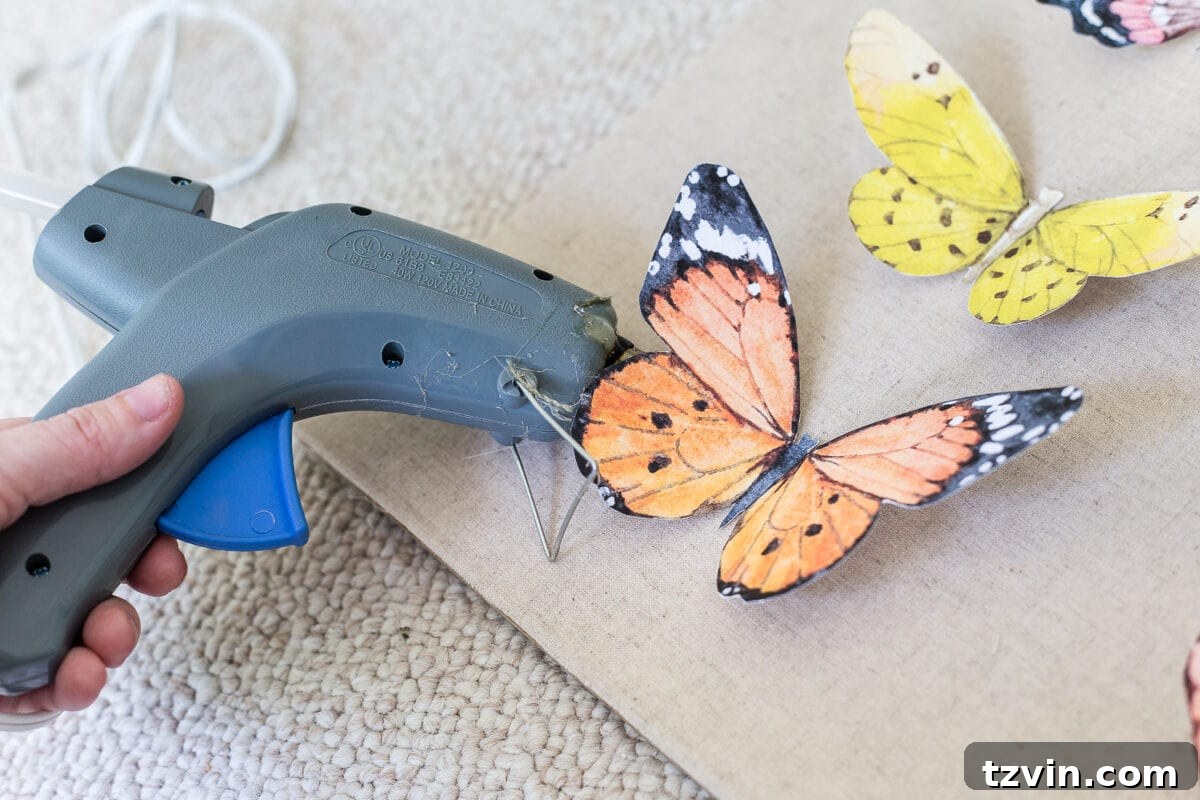
3. The Art of Cutting and Folding for Dimension: Once your butterflies are printed and the ink is dry, it’s time to cut them out. Take your time with this step, using sharp scissors to achieve clean lines around each delicate wing. After cutting, the magic really happens: fold each butterfly precisely in half down its body. This simple fold is crucial for giving your butterflies that wonderful three-dimensional effect, making them appear as if they’ve just landed and are ready to take flight within the shadow box. The slight lift from the surface adds incredible depth and realism, distinguishing your project from flat artwork.
4. Arranging Your Fluttering Friends: Before you reach for the glue gun, lay out all your cut and folded butterflies on the shadow box’s backer board. This dry run is essential for planning your arrangement. Experiment with different patterns, sizes, and colors. The goal is to create a visually balanced composition, ensuring that similar colors or sizes aren’t clustered too closely together. Think about creating a sense of movement or a natural flow. You might want to arrange them in neat rows for a more traditional “study” look, or in a more organic, free-form cluster. This stage allows you to play and refine your design until it feels just right.
5. Securely Attaching Your Delicate Display: Once you’re satisfied with your layout, it’s time to make it permanent. Using a hot glue gun, carefully attach each butterfly to the backer board one at a time. Apply a small dot of glue to the center crease of the butterfly, where it touches the board. Press gently, holding for a few seconds until the glue sets. As you glue them down, keep a watchful eye on your arrangement, ensuring they remain lined up in your desired pattern – especially if you’re going for neat rows. The hot glue provides a strong, instant bond, preventing any shifting. Once all butterflies are secured, gently pop the backer board back into your freshly painted shadow box frame.
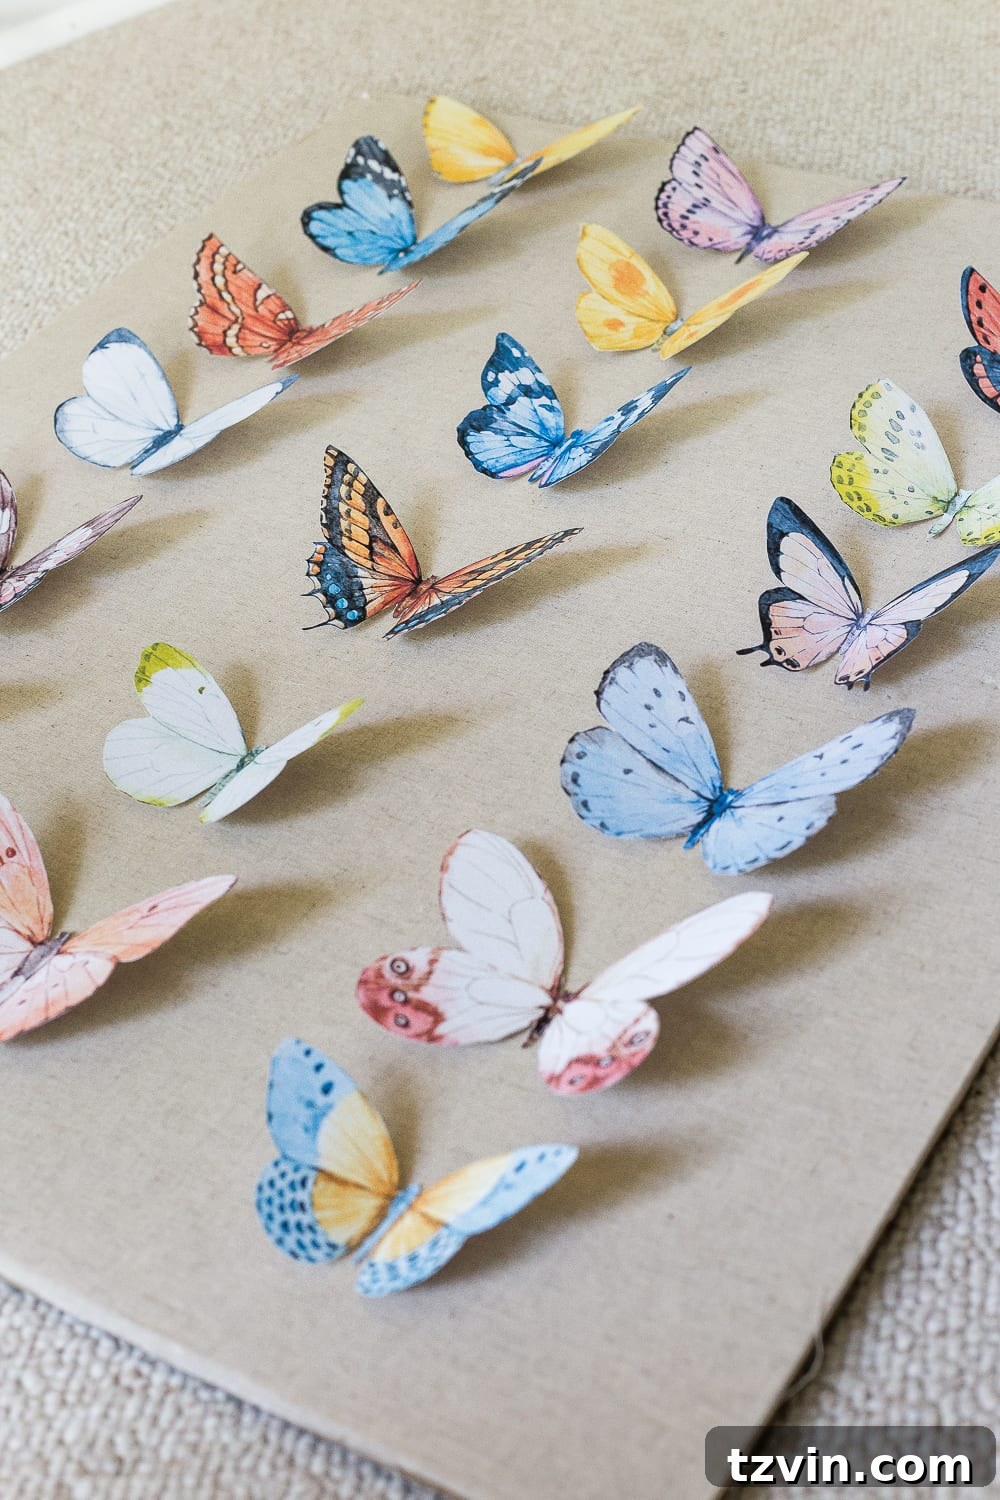
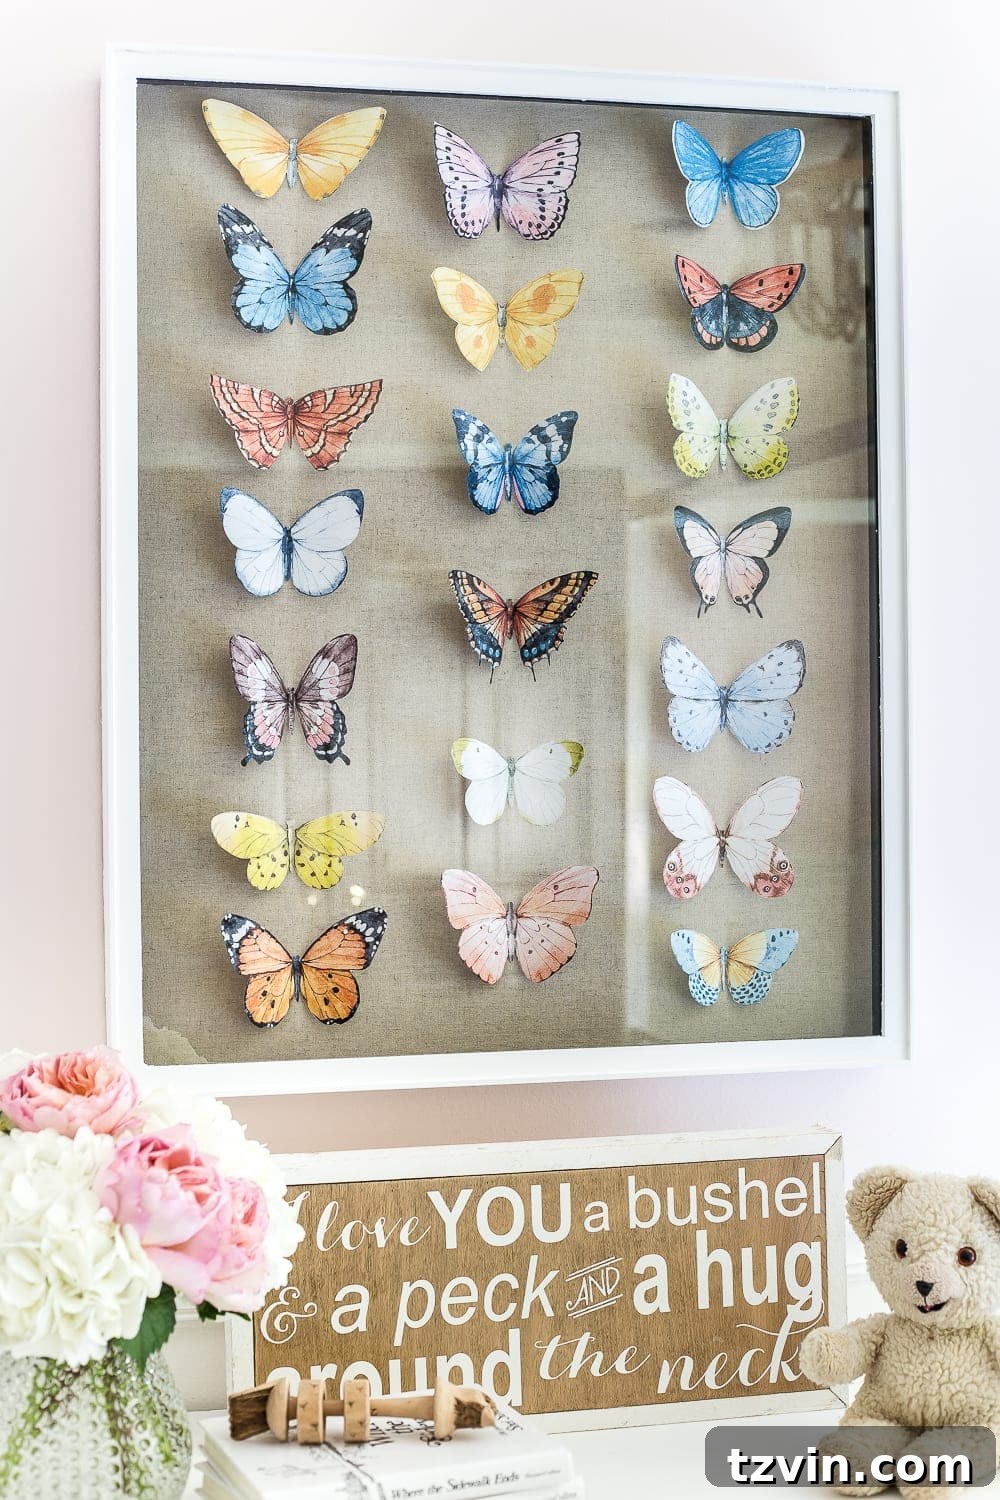
The transformation is truly remarkable! With the board back in place, the DIY butterfly study shadow box instantly looks like a professional, high-end piece of art. The best part? It achieves the sophisticated aesthetic of a true Victorian butterfly study, but at a mere fraction of the cost. More importantly, it’s a cheerful, modern, and compassionate take on the classic, perfect for a child’s space. The depth and dimension created by the folded paper butterflies add an incredible visual interest that makes the piece feel alive and dynamic.
A Touch of Whimsy: Integrating the Shadow Box into Olivia’s Room
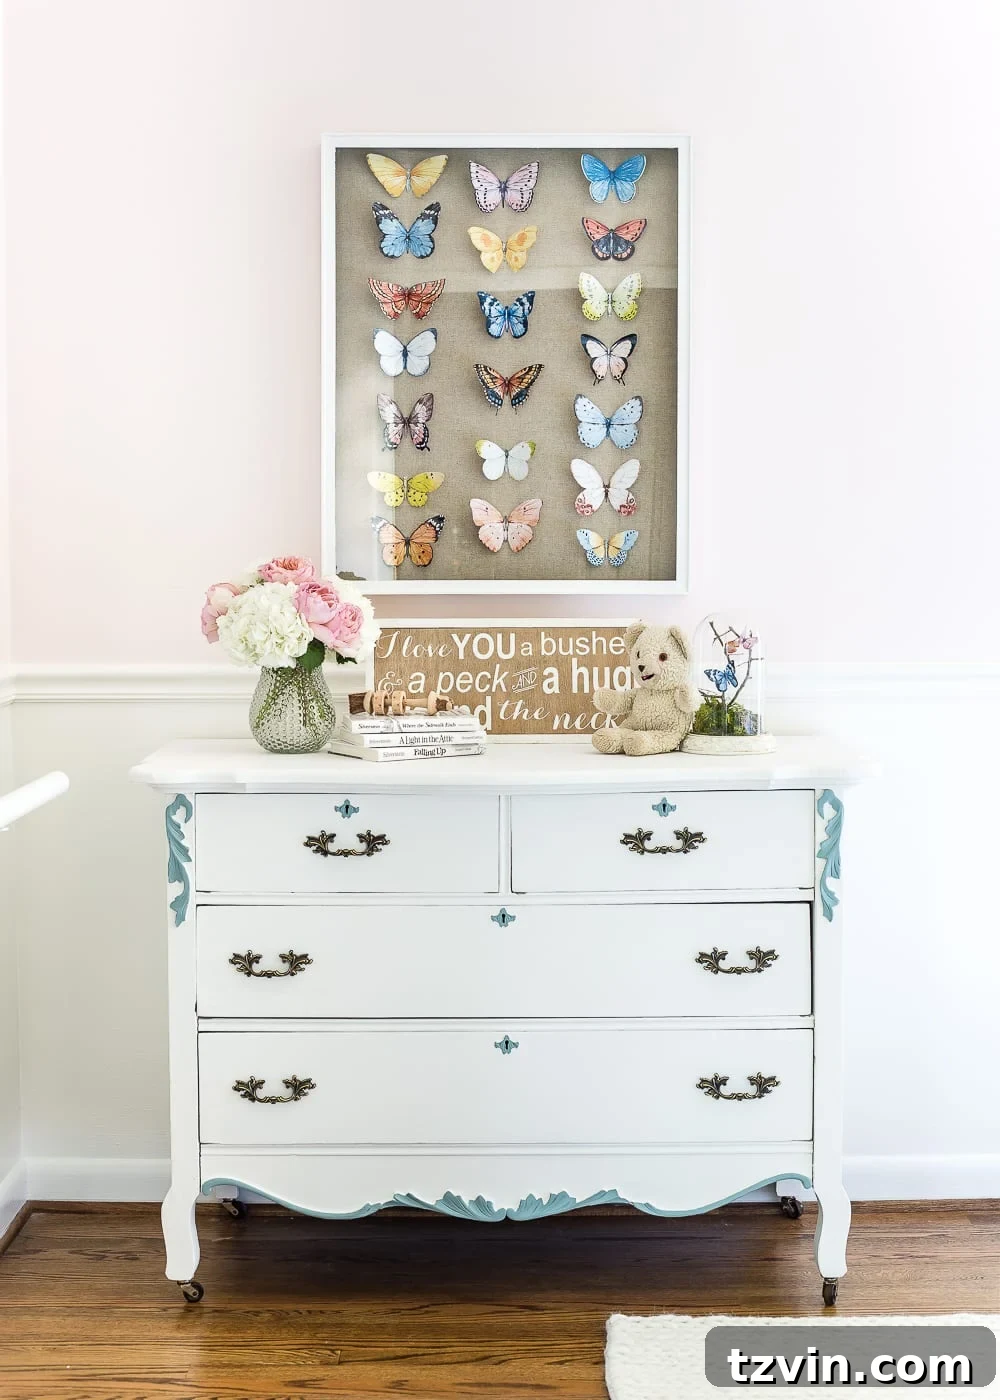
Once hung, the butterfly shadow box immediately became a focal point in Olivia’s room, adding so much depth and character to her little corner. It has that coveted look of something you might find in a high-end catalog, like Pottery Barn Kids, but with the added warmth and sentiment of being handmade. The varied sizes and vibrant yet soft watercolor hues of the butterflies create an enchanting display that draws the eye and sparks imagination.
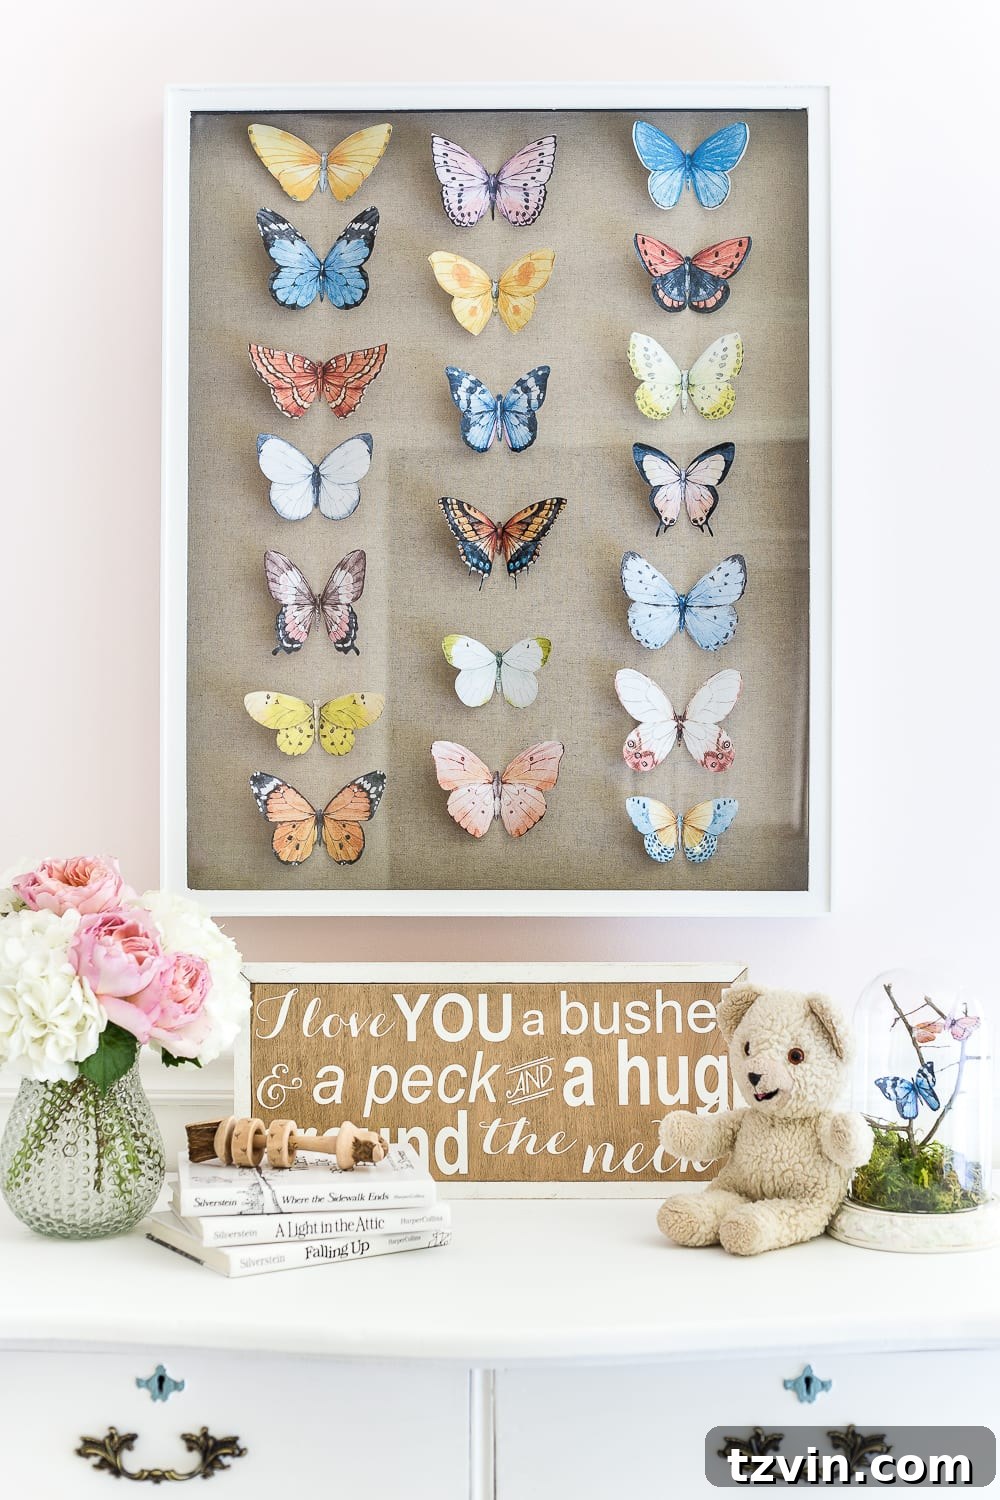
Beyond the stunning wall art, I love to infuse a child’s room with playful details that hold special meaning. On Olivia’s dresser, I added a few carefully chosen items that tell a story. The “I love you a bushel and a peck” sign (similar one here) isn’t just a charming accent; it’s a nod to a lullaby my mom used to sing to me when I was a child. Now, I sing that same sweet song to Olivia, making the sign a constant, tangible reminder of our loving bond and a beautiful generational connection. These small, sentimental touches are what truly make a space feel like home.
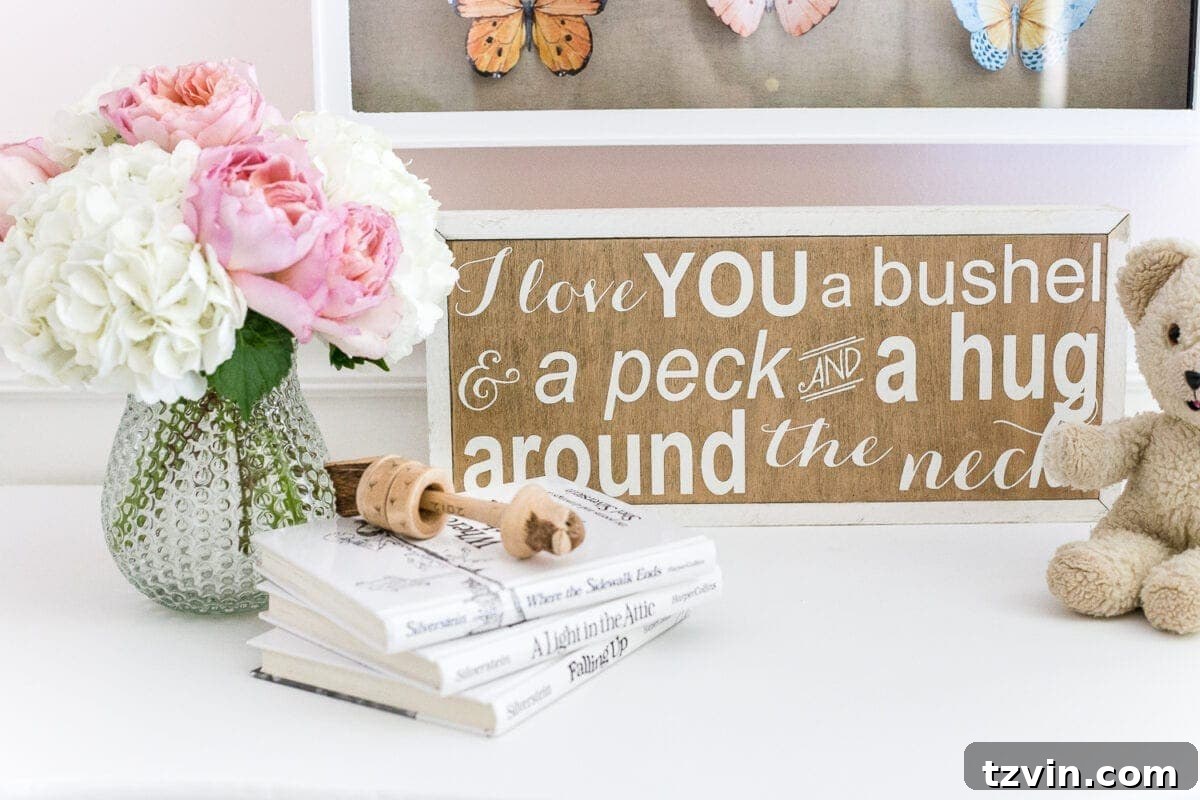
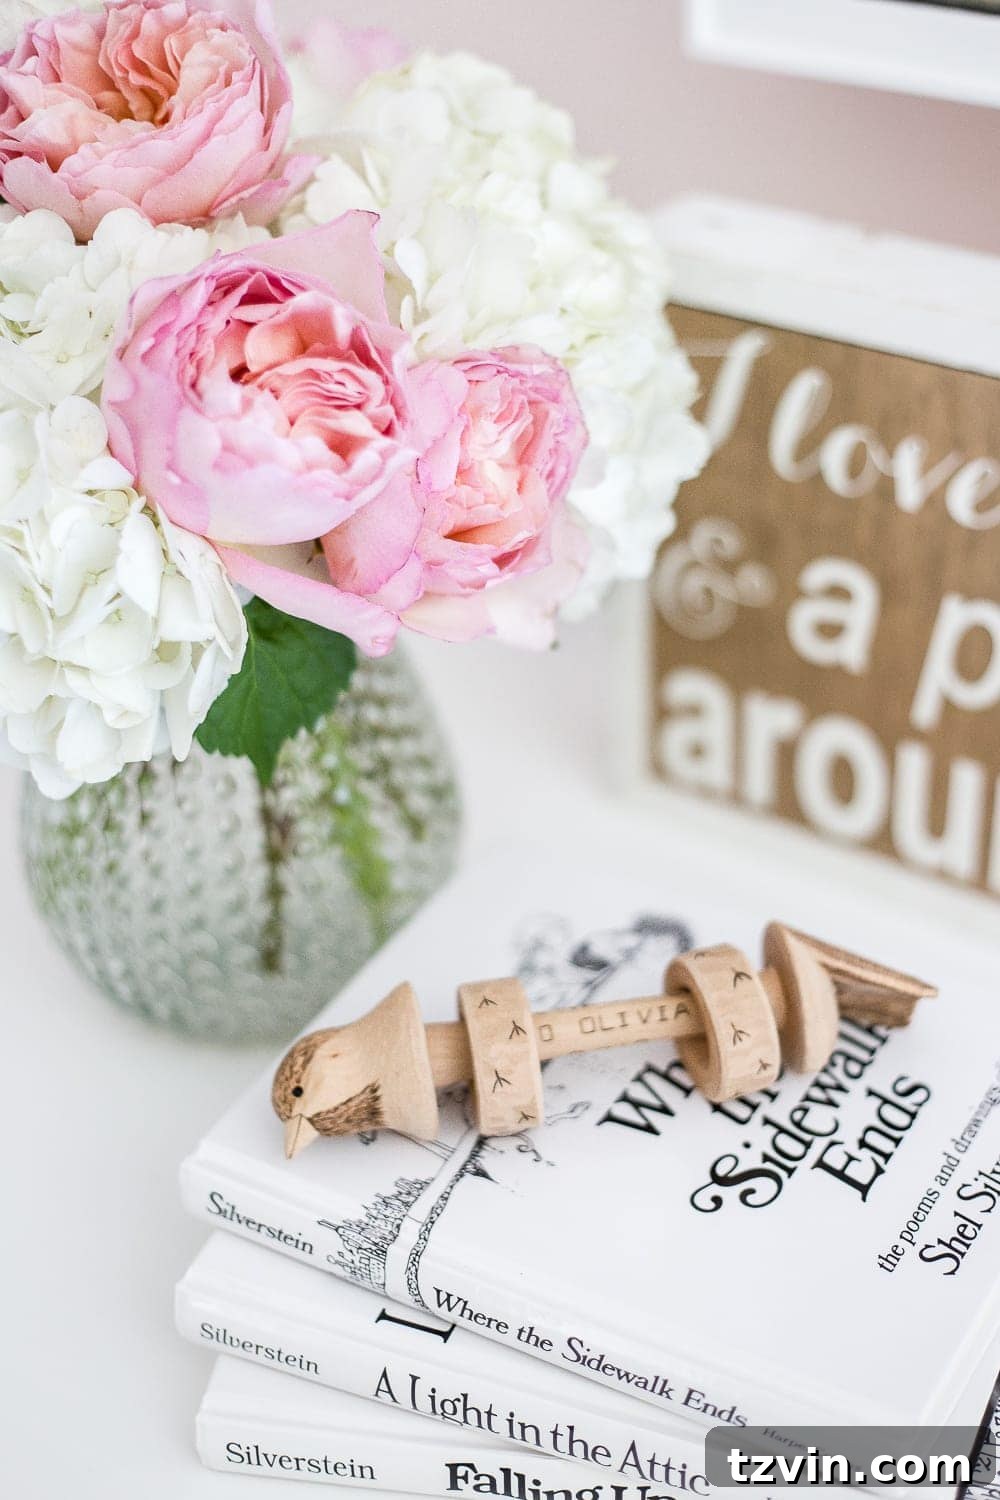
Another incredibly precious item is the rattle, meticulously hand-carved out of a single piece of wood by Olivia’s grandpa (find his work here) when she was born. This artisan piece isn’t just a toy; it’s a family heirloom, a testament to craftsmanship and the deep love of a grandparent. Placing it proudly on her dresser adds a layer of heritage and personal narrative to her room, surrounding her with reminders of family love and creativity.
Alongside these treasures, I’ve also placed Robert’s first teddy bear – an original Snuggle bear. This vintage plush toy sits comfortably beside my DIY butterfly terrarium, and together, all these elements seem to find their perfect place, creating a harmonious and deeply personal tableau. They are more than just objects; they are anchors of memory, love, and childhood whimsy that contribute to the room’s overarching narrative of comfort and joy.
And of course, no child’s room is complete without books. The Shel Silverstein collection, specifically, is a nightly fixture during story time. Olivia absolutely adores his hilarious poems and has even memorized “Fancy Dive” by heart. Watching her recite it in the most adorably animated way, with a distinct emphasis on “wuarter” at the end, is one of the greatest joys of my day. These books, while functional, also add to the character and warmth of the space, signaling a love for reading and imagination.
The Heart of Home Decor: Why DIY Matters
This butterfly shadow box project, and indeed all the thoughtful touches in Olivia’s room, underscore the profound value of DIY and personalized decor. In a world saturated with mass-produced items, creating something with your own hands infuses a space with unmatched character and a unique story. DIY projects often allow for greater customization, ensuring that the final piece perfectly matches your aesthetic and functional needs. Moreover, they are frequently more budget-friendly, enabling you to achieve a high-end look without breaking the bank. More than just saving money, the act of creation itself is deeply satisfying and fosters a sense of accomplishment. It’s about building memories, not just objects.
For children’s rooms especially, DIY decor holds immense significance. It allows you to tailor the environment to their evolving personalities, incorporating elements that resonate with their interests and dreams. It also provides an opportunity to involve them in the creative process, fostering their imagination and giving them a sense of ownership over their space. When a child sees something made with love by their parent, it becomes more than just decor – it becomes a cherished part of their childhood narrative, brimming with sentimental value.
Looking Ahead: The Full Room Reveal & Your Decor Stories
This DIY butterfly study shadow box is just one piece of Olivia’s new bedroom puzzle. I’ll be sharing the full room reveal very soon, once a few final touches are complete. You can follow the entire makeover journey from the beginning to see how we’ve transformed her space, creating a haven that is both beautiful and deeply personal.
Reflecting on Olivia’s request and my own childhood, it makes me wonder: Did you ever have a themed bedroom as a kid that you went absolutely wild decorating? Or perhaps you knew, even at a young age, what your true passion or dream was? I’m still amazed by how clear that vision was for me at ten years old, and how sweetly it has come full circle with my daughter. These early inclinations often shape who we become, and decorating is no exception.
We’d love to hear your stories and see your creations! Share your most memorable childhood bedroom decor, or any DIY projects that hold special meaning for you and your family.
If you want to save this post for later, you can pin it here: