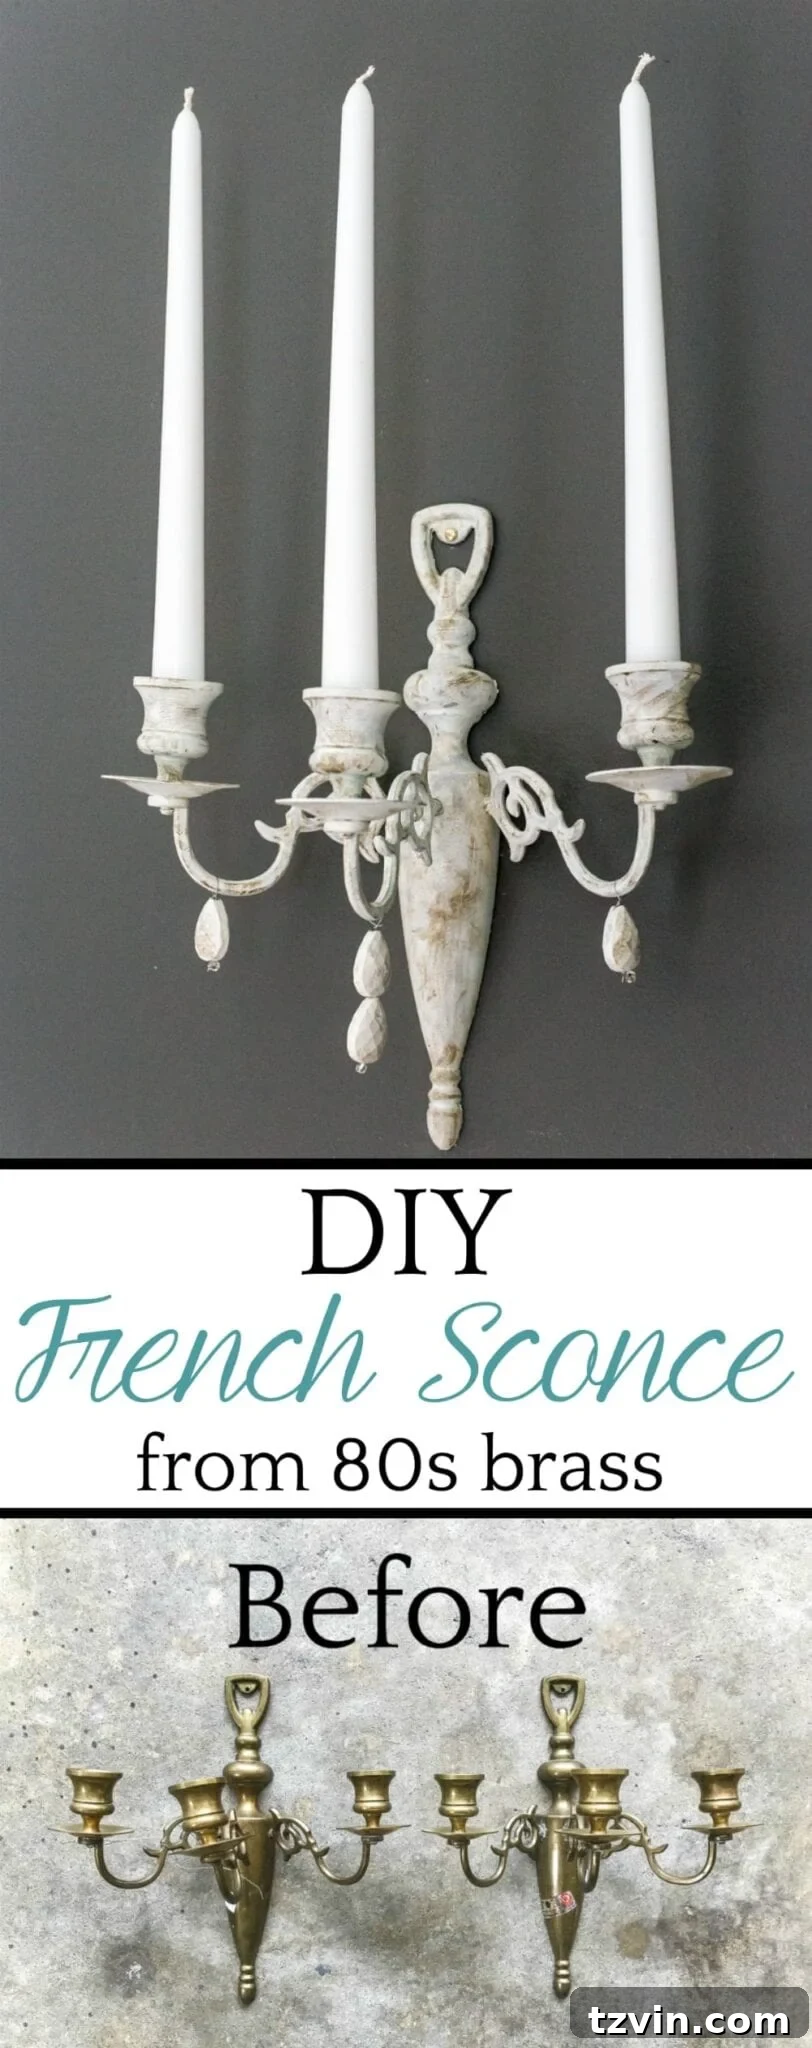
Transform Your Dated Brass Sconces into Chic French Antiques: A Budget-Friendly DIY Guide
Welcome to a world where yesterday’s forgotten treasures become today’s bespoke statement pieces. If you’ve ever felt the urge to challenge conventional wisdom and give something old a completely new identity, then you’re in good company. My personal philosophy often feels like “Opposite Day” when it comes to home decor: I find myself transforming non-brass items to *look* like aged brass, yet when confronted with actual dated brass, my instinct is to paint it a different hue altogether. This creative paradox is precisely what inspired today’s project, turning overlooked brass sconces into stunning, Restoration Hardware-inspired French wall decor.
The satisfaction of taking something unloved and giving it a luxurious, custom finish without breaking the bank is unparalleled. It’s about seeing beyond the outdated finish to the potential within. Join me as we embark on a transformative journey, proving that a little paint, a few beads, and a touch of vision can elevate humble thrift store finds into high-end decorative accents.
The Thrill of the Hunt: Discovering Your Diamond in the Rough
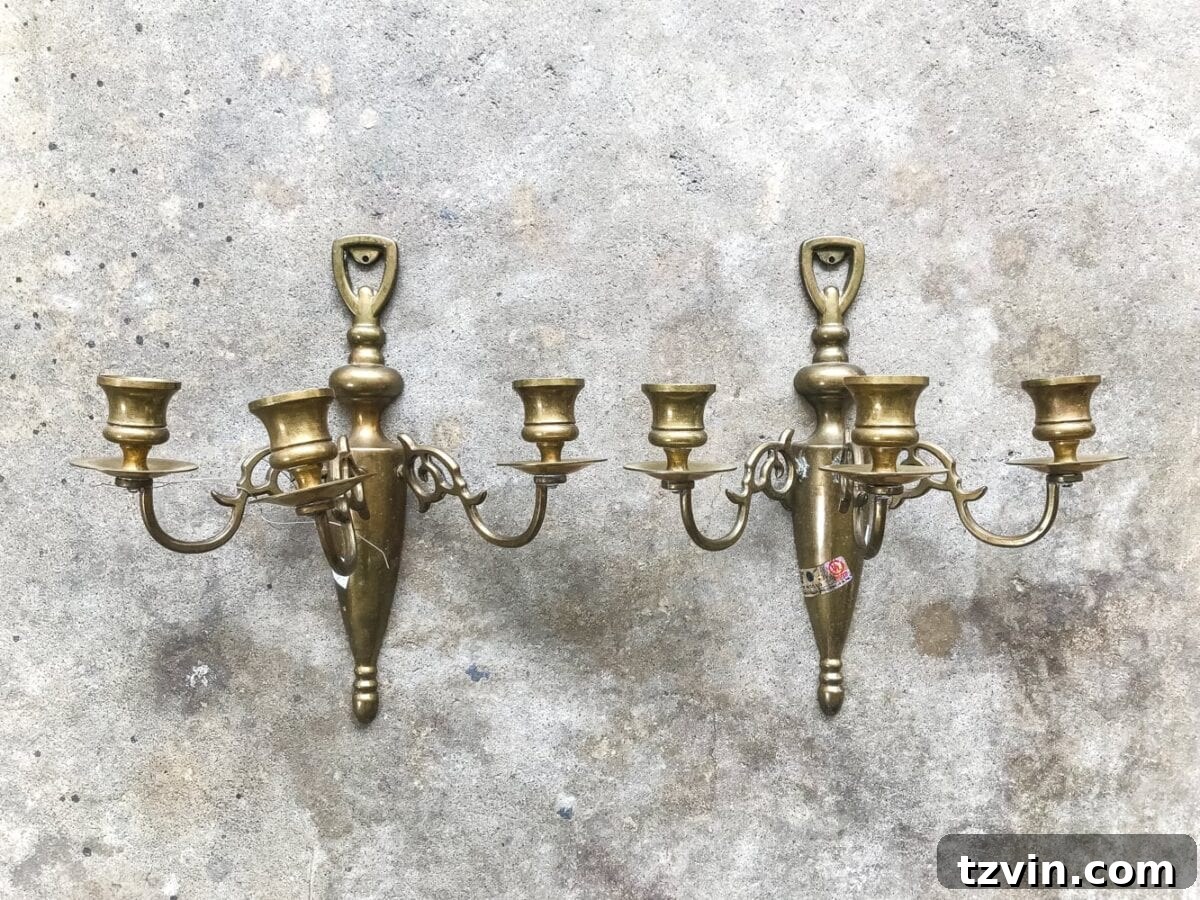
My latest adventure led me to a local thrift store, where I stumbled upon a pair of brass sconces, each priced at a mere $3. These pieces, undoubtedly relics from the 80s, were brimming with potential despite their current outdated appearance. While I’ve previously enjoyed making new items look like aged brass light fixtures or white mirrors, these genuine brass sconces presented a unique opportunity for a different kind of transformation. Instead of enhancing their brass, we’re going to completely reinvent them.
Thrift stores, flea markets, and online marketplaces like eBay are fantastic resources for finding similar brass pieces. Look for sconces with interesting shapes, ornate details, or classic lines that lend themselves well to a French Provincial or antique aesthetic. Don’t be deterred by tarnished finishes or minor imperfections; these are often superficial and easily corrected with paint. The key is to see the underlying form and envision its elegant future. This project is a perfect example of what we celebrate every month with “Trash to Treasure Tuesday,” where we breathe new life into forgotten items.

Crafting Your Vision: The Restoration Hardware French Sconce Aesthetic
For some time, I had been searching for the perfect French-inspired sconces to flank our dining room window, aiming to add a touch of understated elegance to the blank wall space. High-end retailers like Restoration Hardware often showcase beautiful, aged French sconces, but their price tags can be prohibitive. This DIY project allows us to achieve that coveted look for a fraction of the cost, making sophisticated design accessible to everyone.
The essence of a French sconce lies in its delicate details, often featuring muted tones, subtle distressing, and sometimes a hint of sparkle from crystals or beads. Our goal is to replicate this antique charm, making these $3 brass pieces appear as though they’ve graced the walls of a Parisian apartment for decades. By carefully selecting our paint colors and finishing techniques, we can create depth, texture, and an overall sense of history that belies their humble origins.
Essential Supplies for Your Sconce Makeover
Transforming these sconces requires a few key materials, many of which you might already have on hand from previous DIY projects. Opting for sample sizes of paint or using leftovers is a fantastic way to keep costs down, proving that a high-impact makeover doesn’t require a significant financial investment.
- Brass Sconces: As mentioned, thrift stores are ideal. If you’re short on luck, a quick search on eBay for “brass candle sconce” will yield many affordable options.
- White Paint: I used a sample of Fusion Mineral Paint in Raw Silk. Mineral paints are excellent for their durability and matte finish, which is perfect for an antique look. Any good quality chalk or mineral paint in an off-white or creamy shade will work beautifully as a base.
- Gray Paint: Leftover Fusion Mineral Paint in Sterling provided the subtle depth needed. A soft, neutral gray is ideal for creating contrast without overpowering the white base.
- Dark Wax: Annie Sloan Dark Wax is my go-to for achieving an authentically aged patina. Dark wax settles into crevices and creates shadows, mimicking years of natural wear and grime.
- Medium Sized Artist Brush: A brush with fine bristles, around this size, is perfect for detailed work and dry brushing techniques.
- Glass Teardrop Jewelry Beads: A strand of these beads adds the quintessential French detail. If you can’t find individual strands, consider repurposing beads from an old necklace or chandelier. These chandelier pendants could also be a fantastic alternative.
- Fishing Line or Jewelry Wire: Essential for securely attaching the beads. Jewelry wire offers more rigidity, while fishing line provides an almost invisible attachment.
Step-by-Step Transformation: Creating Your Antique French Sconces
The magic of this project lies in its simplicity. By layering paint and wax with specific techniques, we’ll build up an aged appearance that makes these sconces look genuinely old and cherished. Remember to work in a well-ventilated area and allow adequate drying time between coats for the best results.
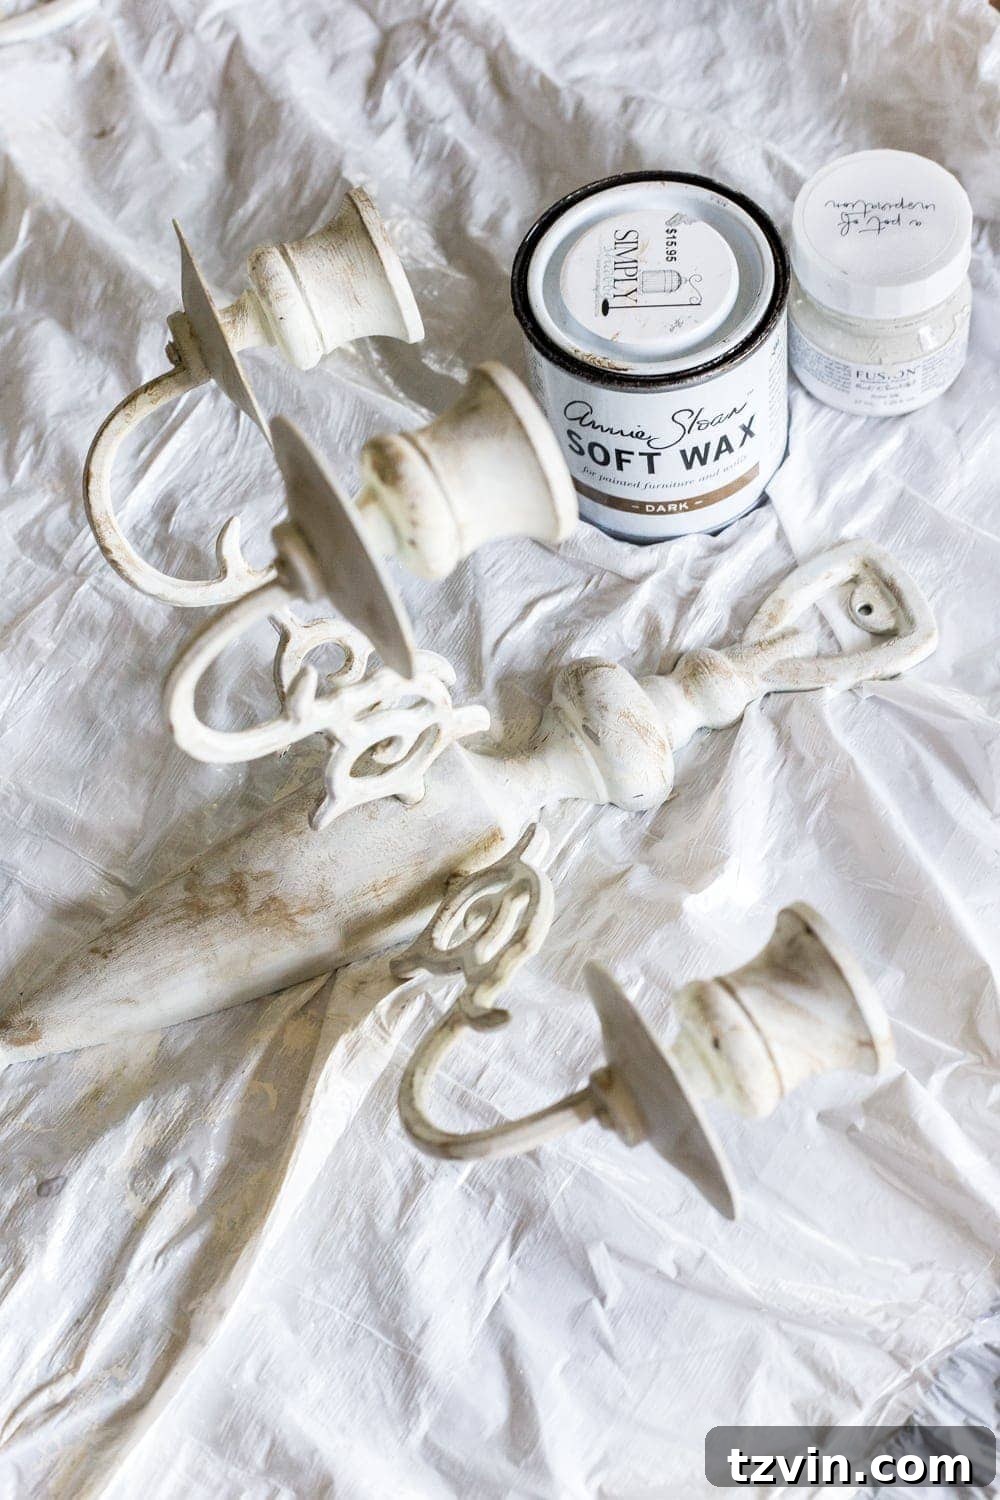
Step 1: The Pristine Base Coat
Before applying any paint, ensure your brass sconces are clean and free of dust, grime, or any loose particles. A quick wipe-down with a damp cloth and then allowing them to dry completely is usually sufficient. Once prepped, begin by painting the entire surface of each sconce with two thorough coats of your white paint (Fusion Mineral Paint in Raw Silk, in my case). The goal here is complete coverage, transforming the dated brass into a fresh, blank canvas. Allow each coat to dry completely according to the paint manufacturer’s instructions, usually an hour or two, to prevent tackiness or smudging in subsequent steps.
Step 2: Adding Subtle Dimension with Gray Dry-Brushing
With the white base fully dry, it’s time to introduce dimension. This is where the dry-brushing technique comes in handy. Dip just the very tip of your artist brush into the gray paint (Sterling), then wipe almost all of it off on a dry paper towel until the brush feels barely damp with paint. Lightly “brush” this nearly-dry brush over the raised areas and details of the sconce. This technique allows only a minimal amount of paint to transfer, highlighting textures and creating a subtle, weathered effect. It’s like creating soft shadows and highlights that mimic natural aging and wear.
Step 3: The Antique Patina with Dark Wax
To deepen the antique effect, repeat the dry-brushing technique, this time using dark wax. Just as with the gray paint, load a tiny amount of dark wax onto your brush and wipe off the excess. Gently brush the dark wax over the entire sconce, paying particular attention to recesses, crevices, and edges. The wax will settle into these areas, creating a darker, aged patina that simulates years of accumulated dust and character. This step truly transforms the sconce from merely painted to authentically antique-looking. You can build up the wax in layers to achieve your desired level of distressing and antiquity.
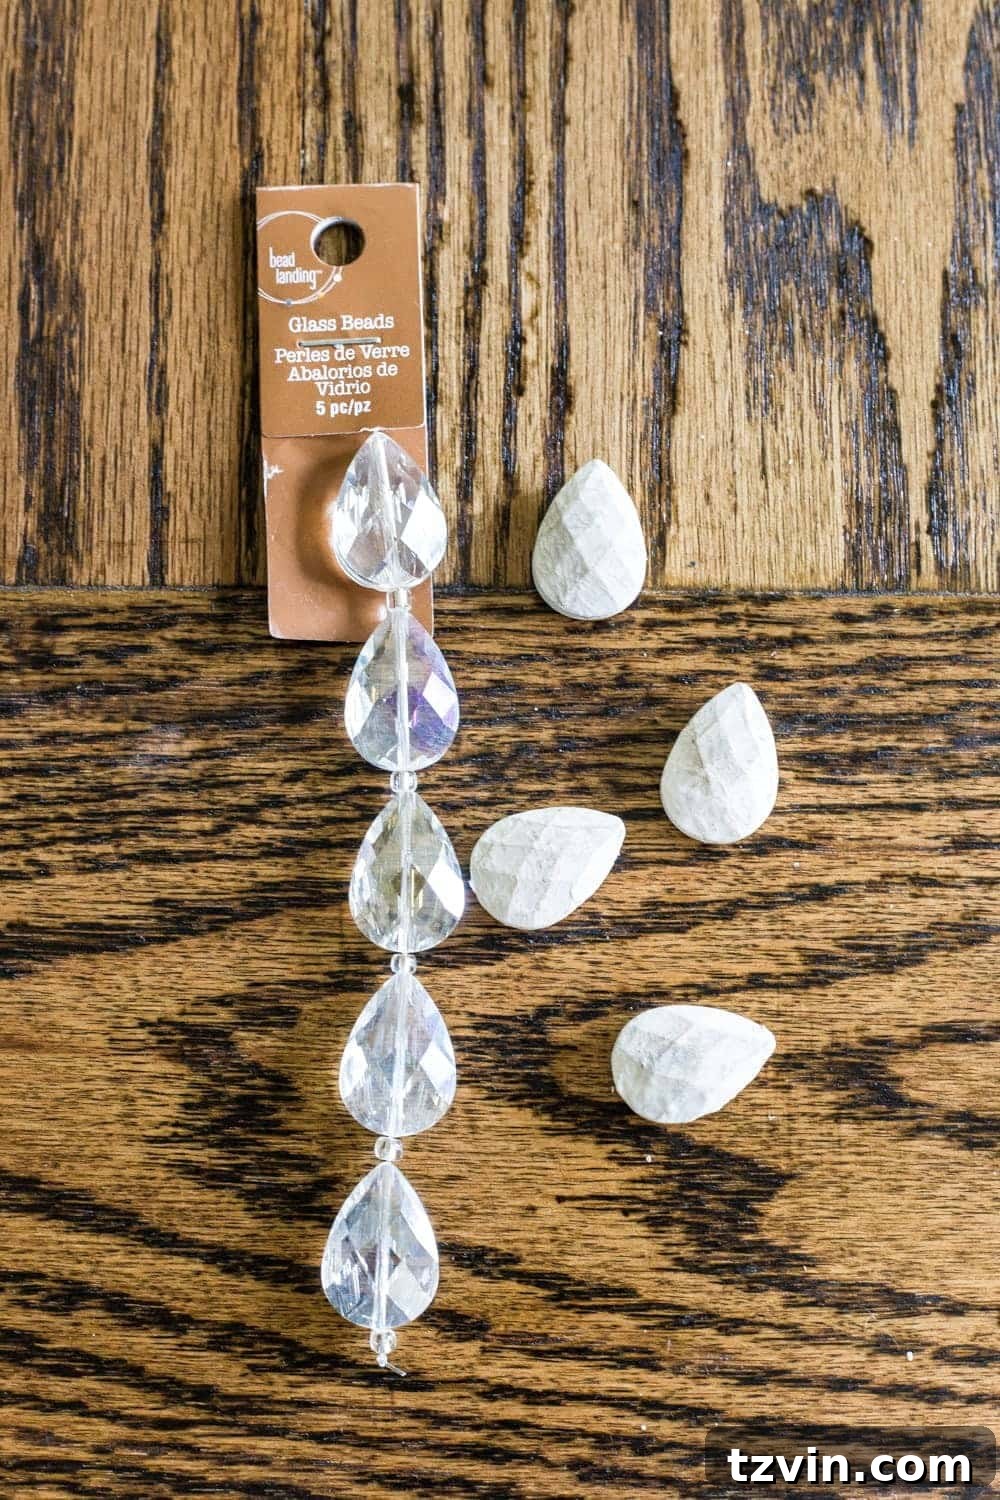
Step 4: Customizing Your Teardrop Beads
For that extra touch of French elegance, the glass teardrop beads also get a makeover. If you’re using a strand of beads, carefully cut them apart into individual pieces. Then, apply the exact same three-step painting process to each bead: first, two coats of white paint; second, a light dry-brushing with gray paint; and finally, a subtle dry-brushing with dark wax. This ensures the beads seamlessly integrate with the sconce’s aged aesthetic. Alternatively, if you prefer a more glamorous or sparkling look, you could leave the beads unpainted to catch the light, creating a different but equally beautiful effect.
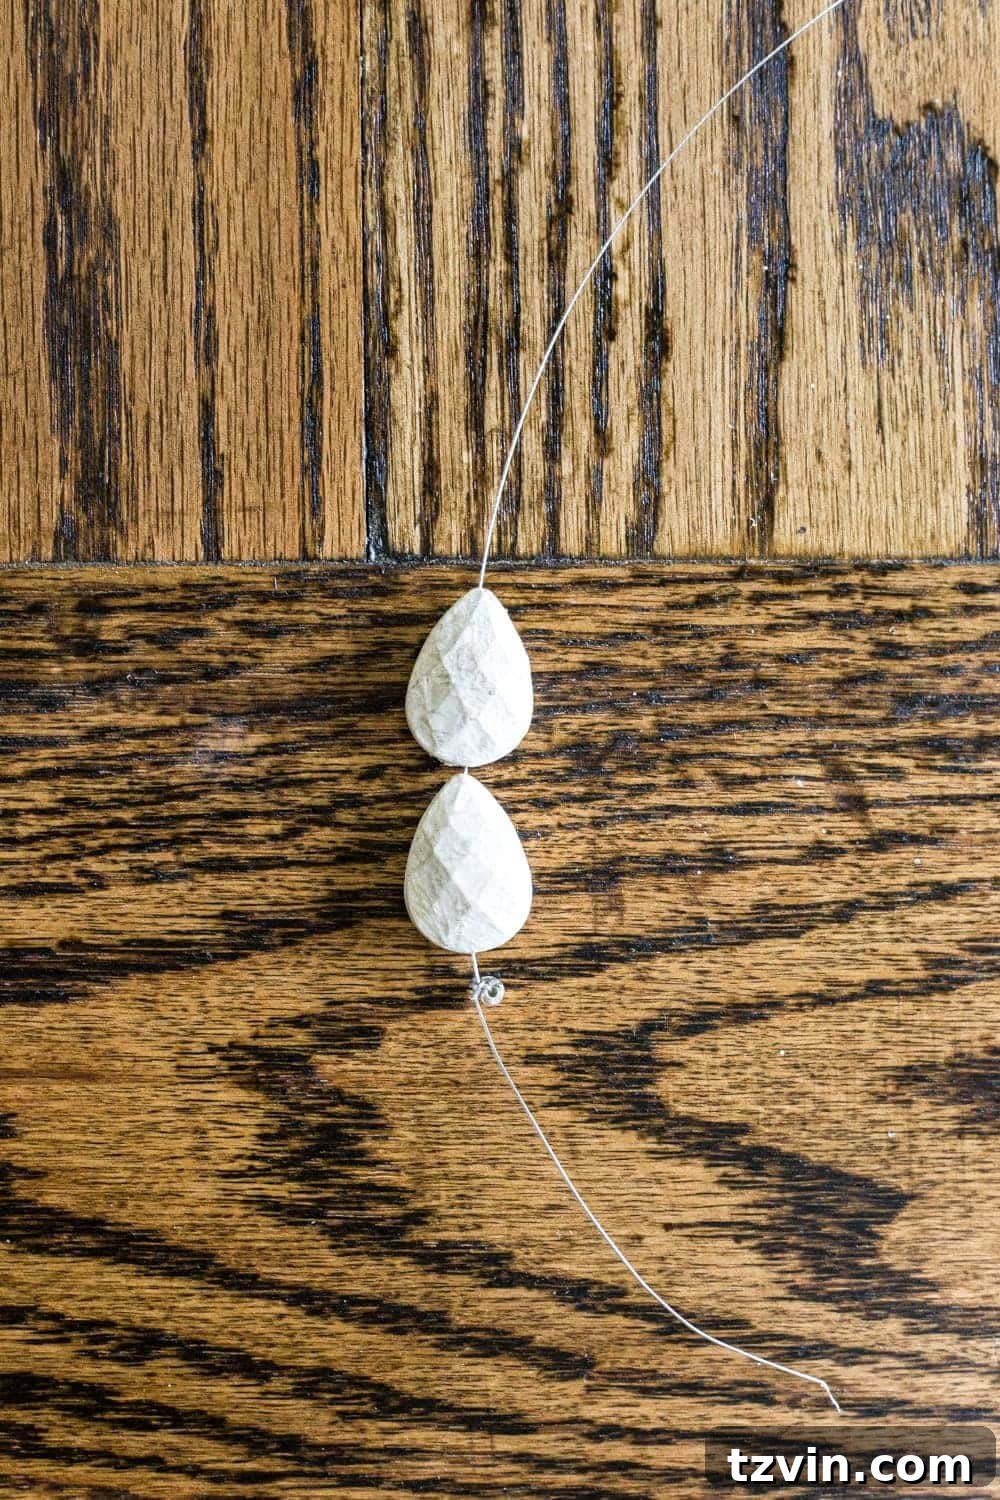
Step 5: Attaching the Elegant Embellishments
Once your painted beads are thoroughly dry, it’s time to attach them to the arms of the sconce. Using either fishing line for an almost invisible attachment or fine jewelry wire for more structural integrity, thread each bead and then securely tie or wrap them onto the designated spots on the sconce’s arms. Experiment with placement to achieve a balanced and aesthetically pleasing drape. Once all beads are firmly in place, use wire cutters to snip any excess wire or fishing line, ensuring a neat and professional finish.
The Grand Reveal: High-End Style on a Thrifty Budget
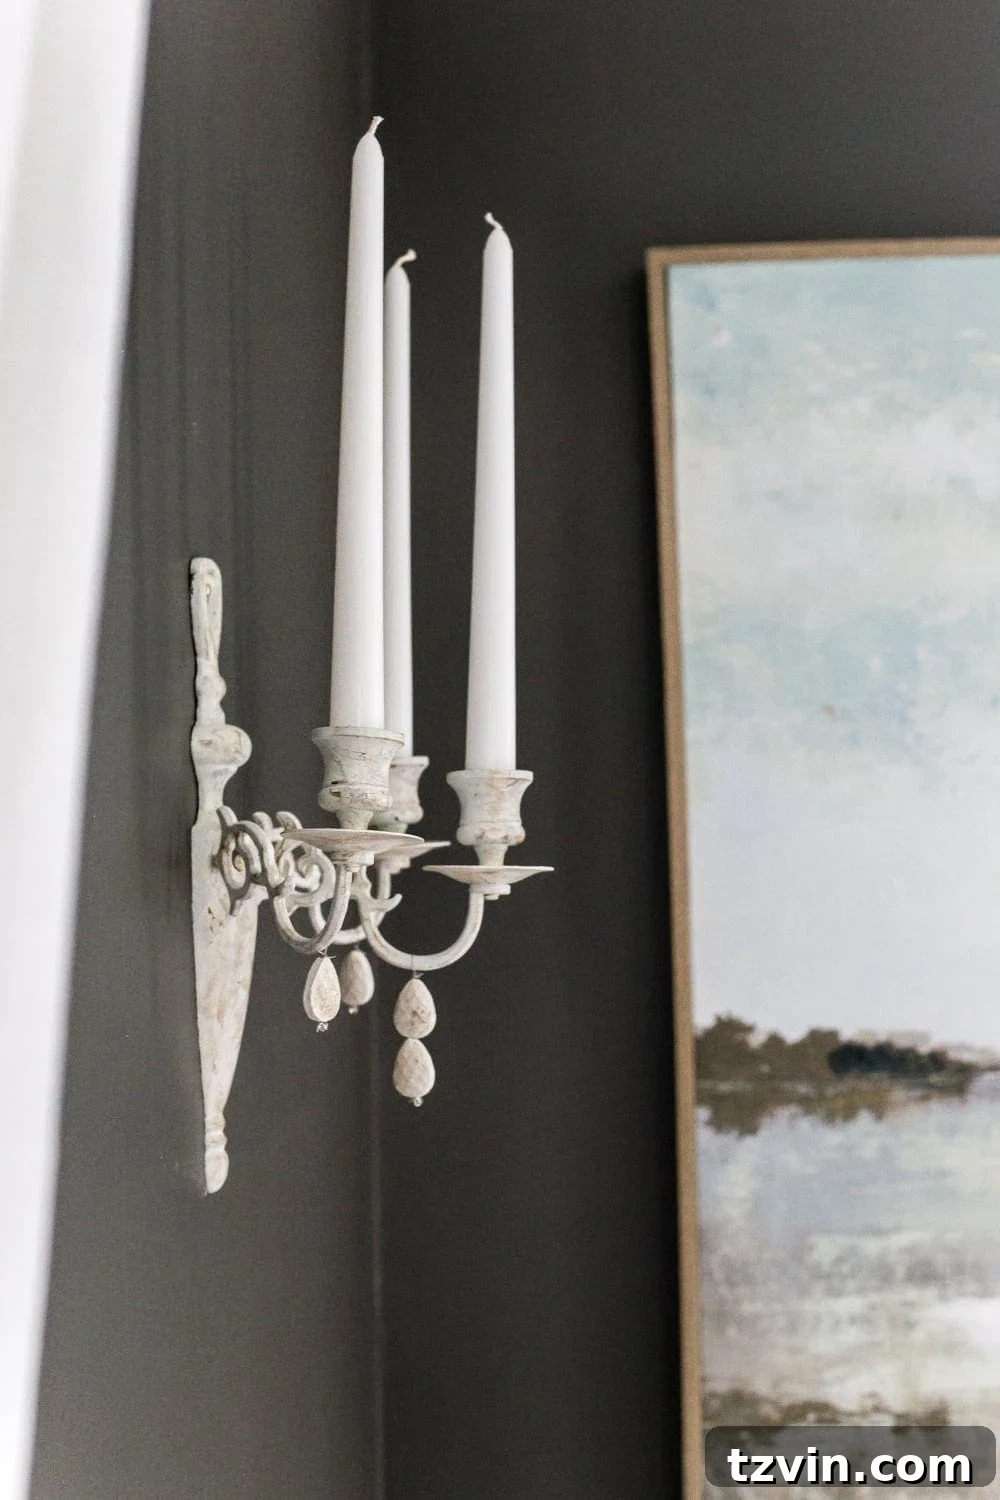
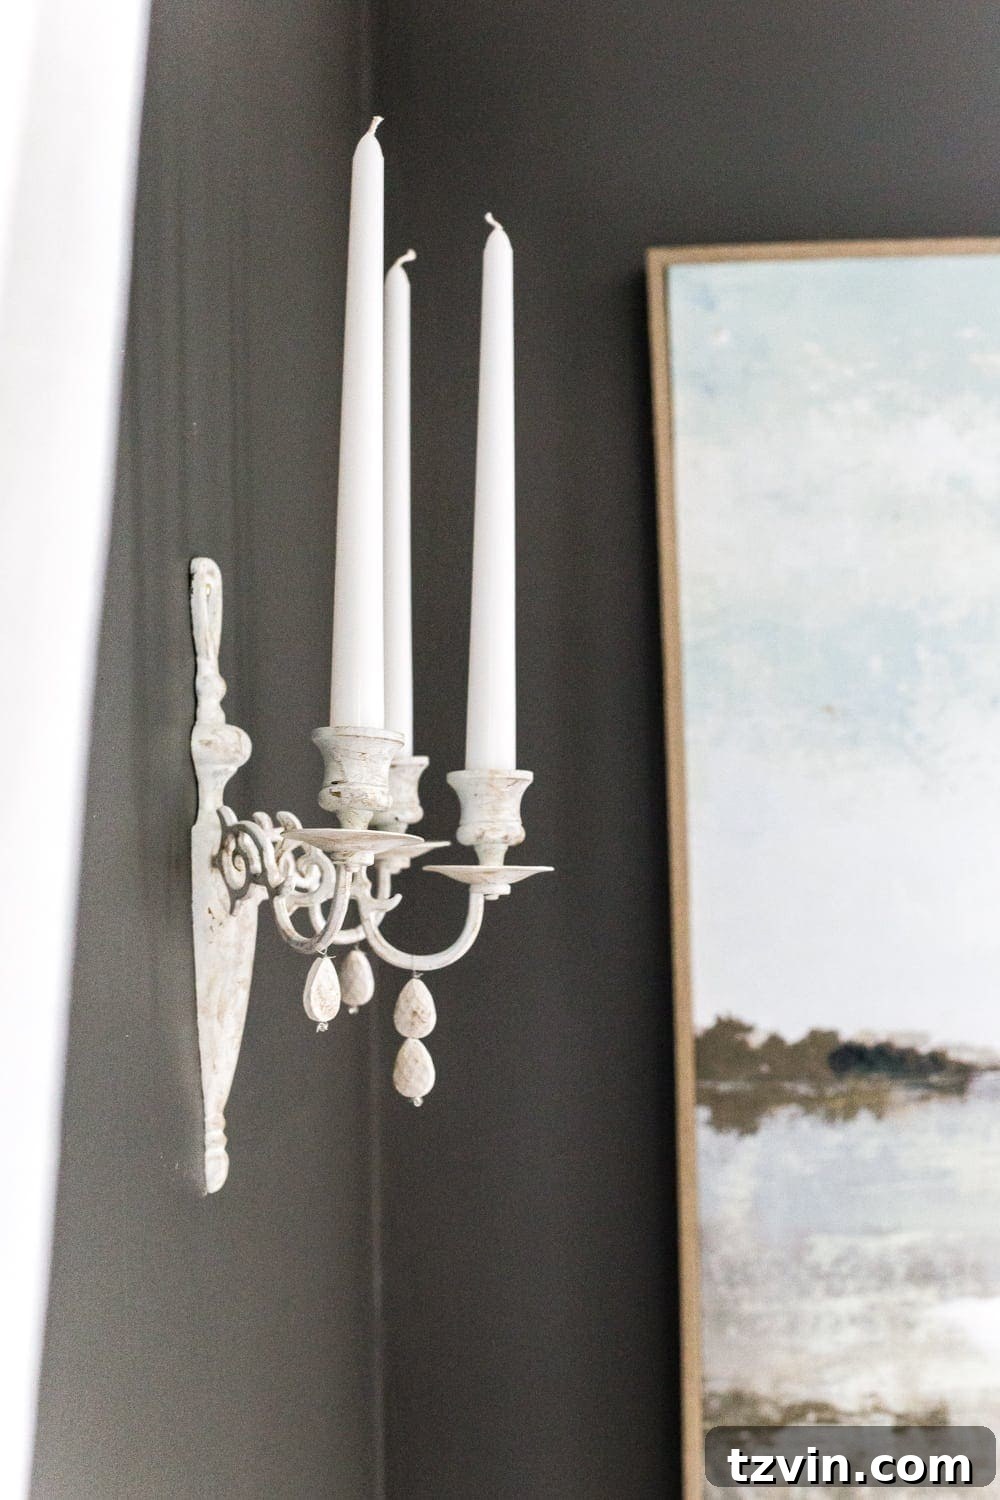
And just like that, with a dash of creativity and a few simple steps, your dated brass sconces are transformed! The final result is a pair of antique French-inspired sconces that exude charm and sophistication. The best part? This entire transformation cost me a mere $8 – that’s $6 for the sconces and about $2 for the glass beads, as I already had all the paints and wax leftover from other furniture projects. It’s truly a testament to the power of DIY to create expensive-looking decor on an incredibly tight budget.
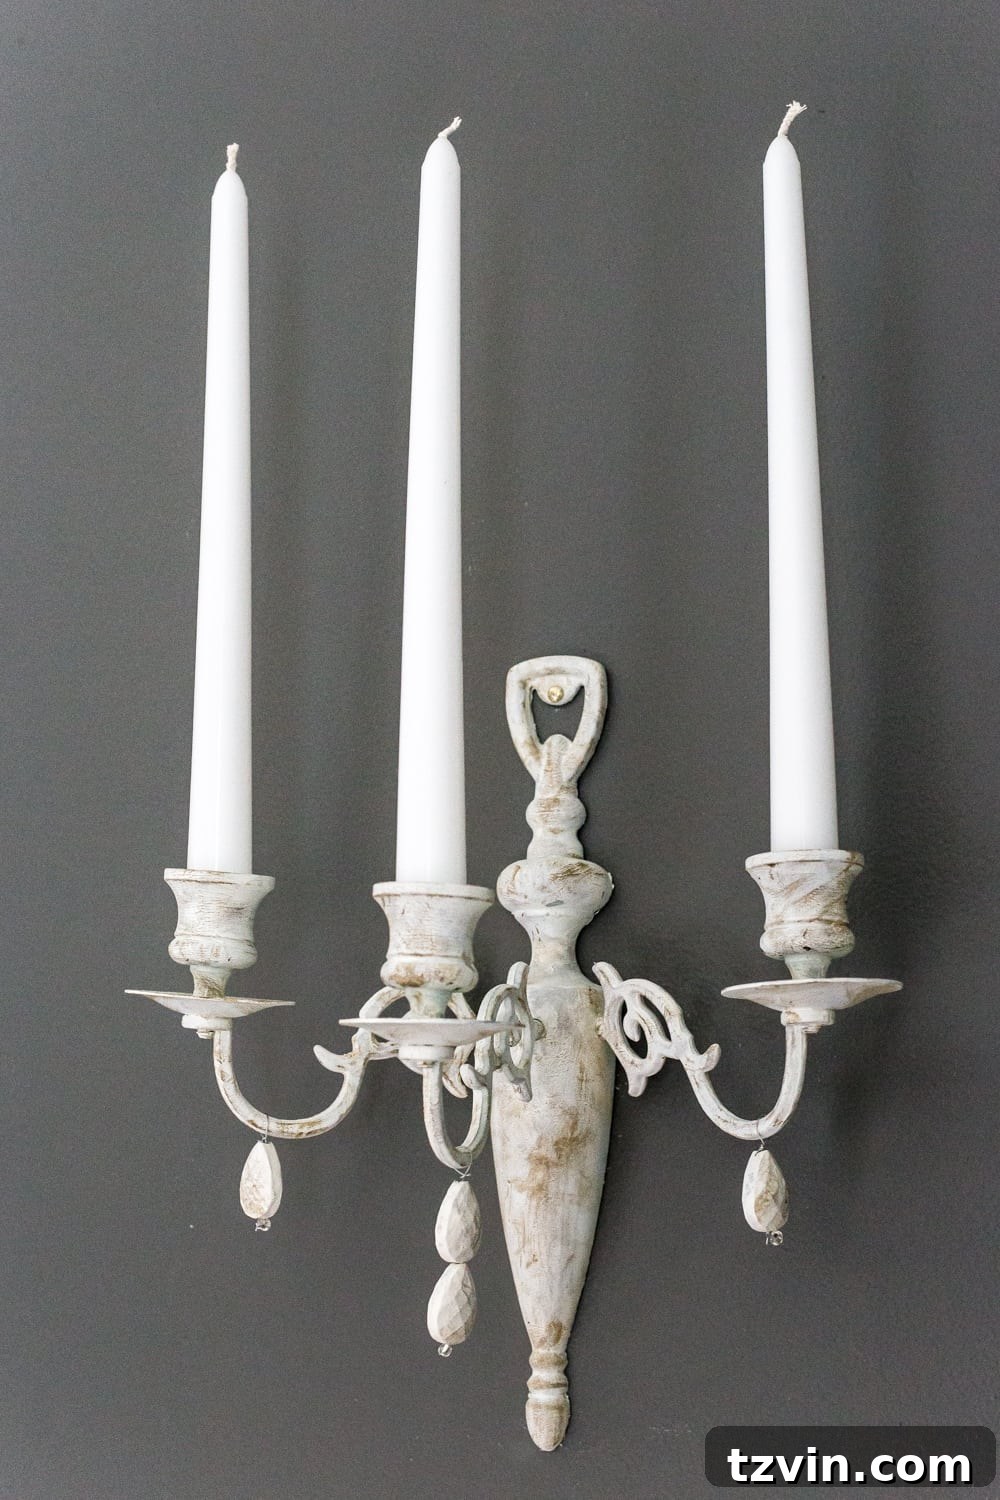
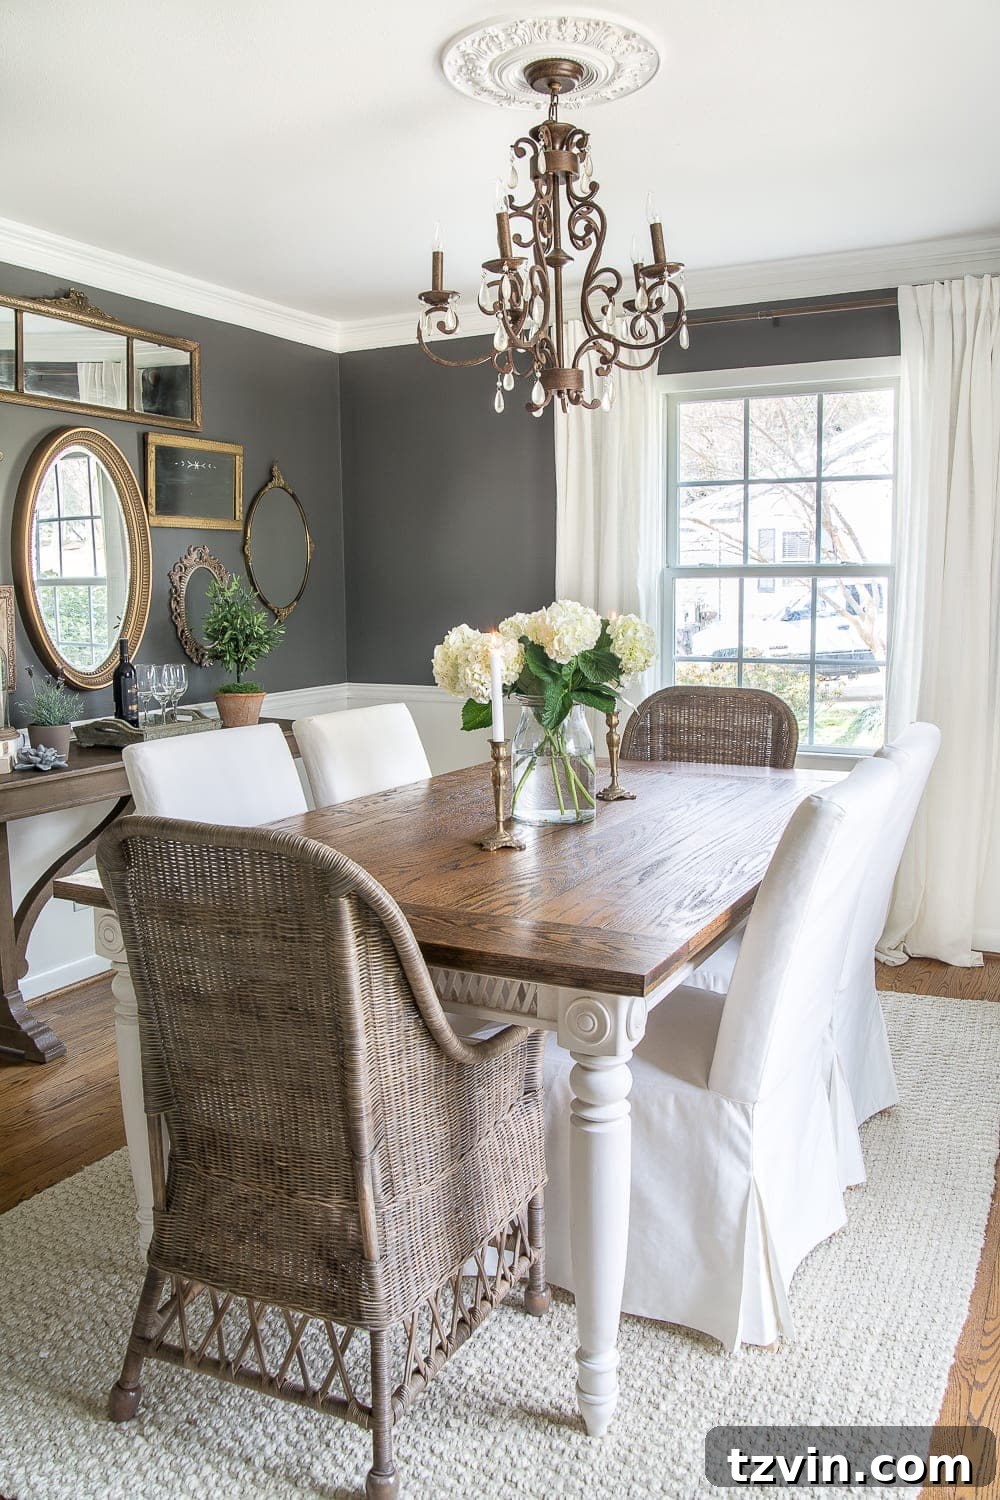
These sconces now look far more expensive than their $8 price tag suggests. They instantly elevate the aesthetic of our dining room, providing the perfect subtle detail on either side of the window. The muted tones and aged finish complement the existing decor beautifully, creating a cohesive and inviting atmosphere. It’s amazing how a small decorative change can have such a significant impact on the overall feel of a room.
Beyond the Sconces: Embracing the DIY Lifestyle
This project is more than just a sconce makeover; it’s an invitation to embrace the possibilities of DIY in your home. It’s about recognizing potential where others see obsolescence, and daring to transform. The satisfaction of creating something beautiful with your own hands, especially when it saves you a considerable amount of money, is incredibly rewarding. It fosters a sense of pride and individuality in your home decor that mass-produced items simply cannot replicate.
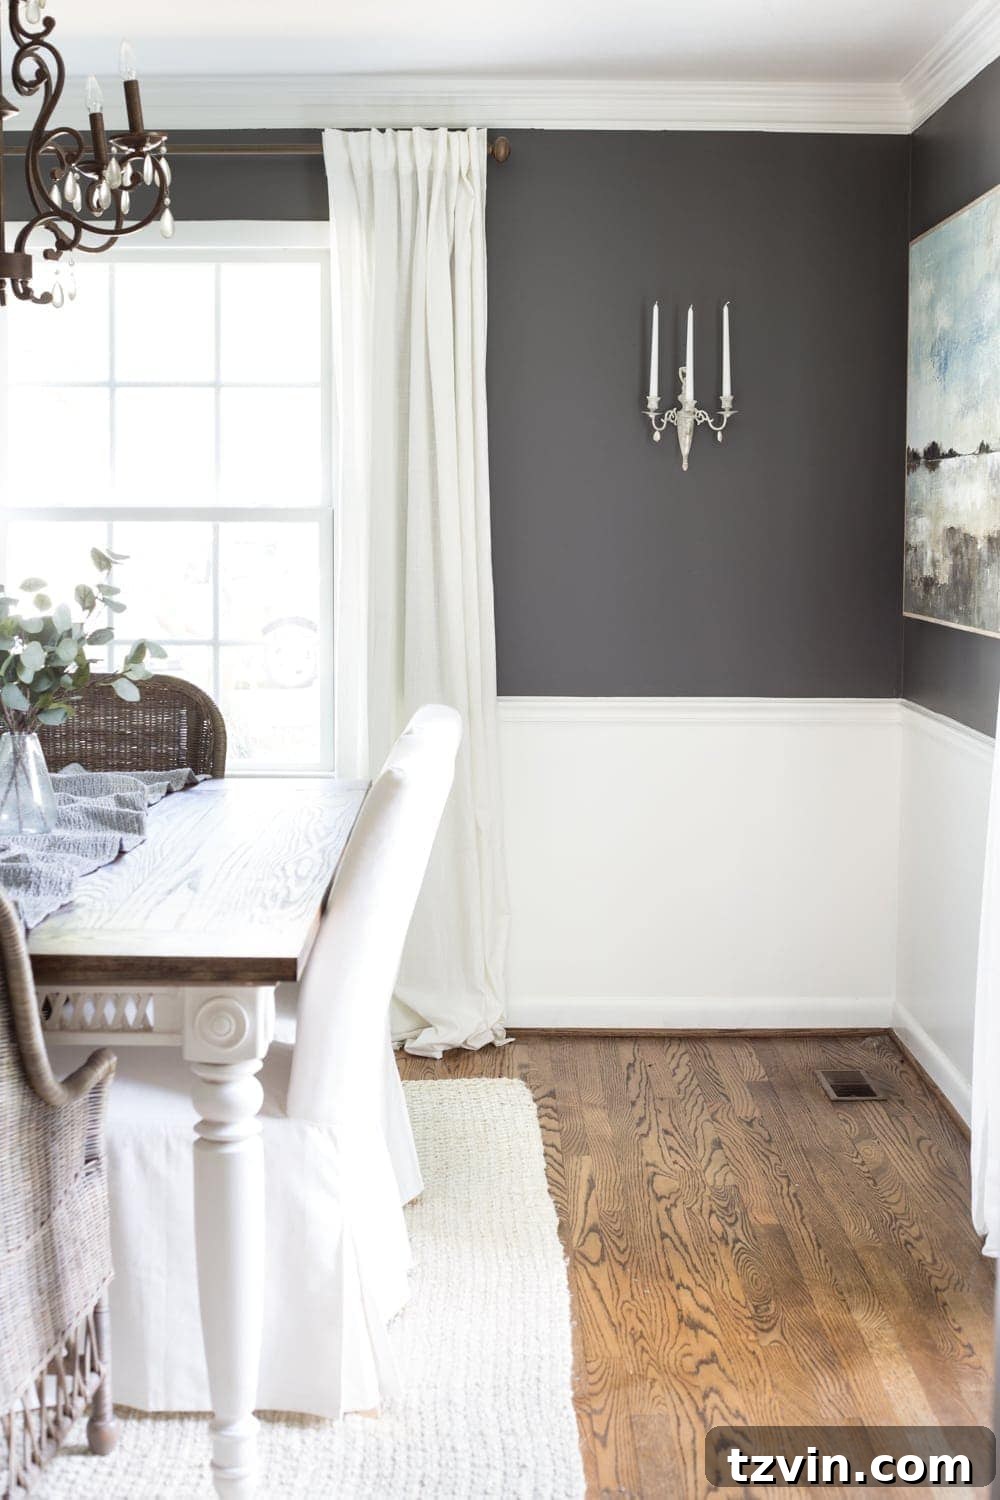
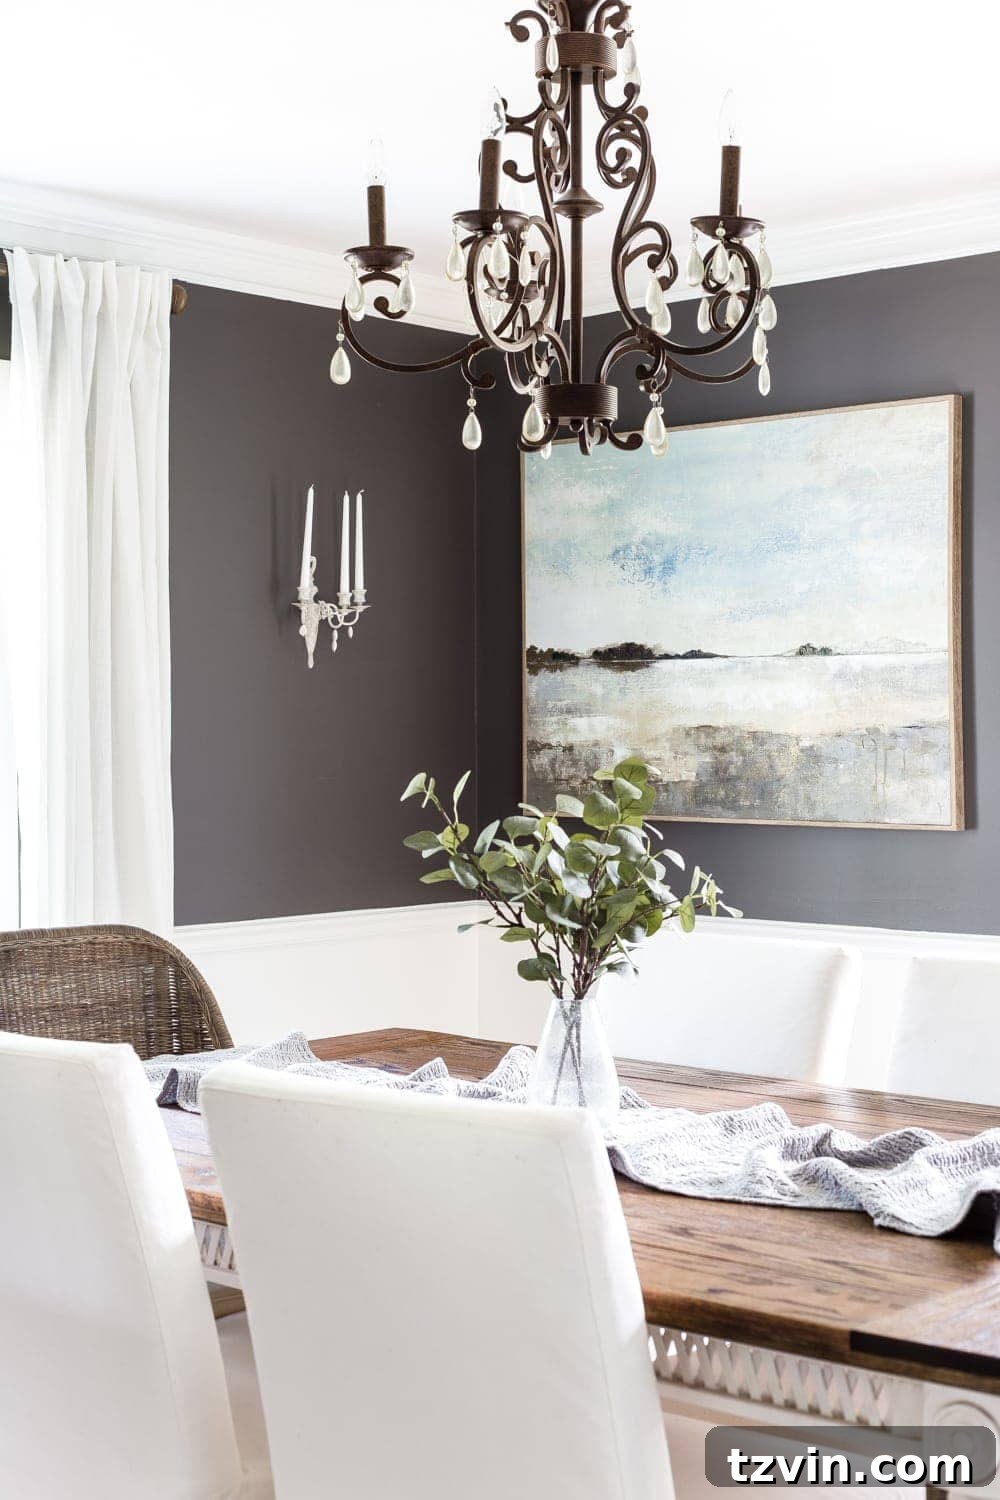
Our dining room, currently painted in Benjamin Moore Kendall Charcoal, now benefits immensely from these soft, antique accents. While I still plan to replace the existing dining room chandelier with something more aligned with our aesthetic, other home refresh projects have kept us happily distracted. We’ve recently tackled a kitchen refresh, a living room refresh, and a considerable amount of nursery planning. Perhaps I’ll find a brass chandelier and paint it to match these sconces, continuing my “Opposite Day” streak, or maybe I’ll stick to aged brass for a different kind of balance. The beauty of DIY is the freedom to change your mind and experiment!
I hope this guide inspires you to look at dated items with a fresh perspective and perhaps even try your hand at transforming your own thrift store finds. The possibilities are endless when you combine a little creativity with practical DIY skills. Don’t be afraid to experiment with paint, wax, and embellishments to achieve your desired high-end look on a budget. Happy crafting!
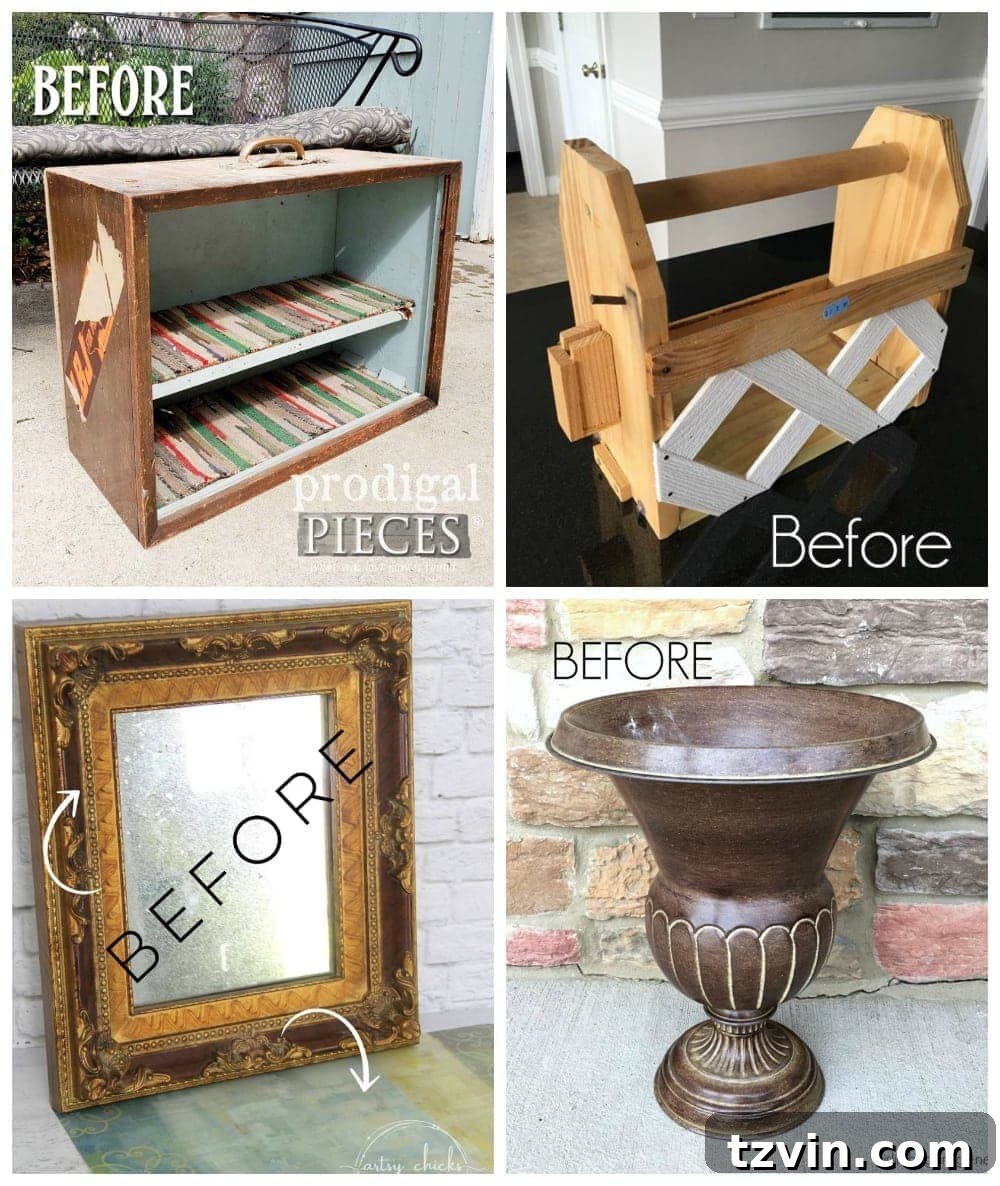
For even more fantastic thrifty ideas and inspiring transformations, be sure to check out what my fellow “Trash to Treasure Tuesday” blogger friends have created this month:
(Clockwise from top left):
Prodigal Pieces | Confessions of a Serial DIYer | Girl in the Garage | Artsy Chicks Rule
Pin This Project for Later!
If you’re planning your own brass sconce makeover or simply want to save this inspiring idea for future reference, make sure to pin this post to your favorite Pinterest board!