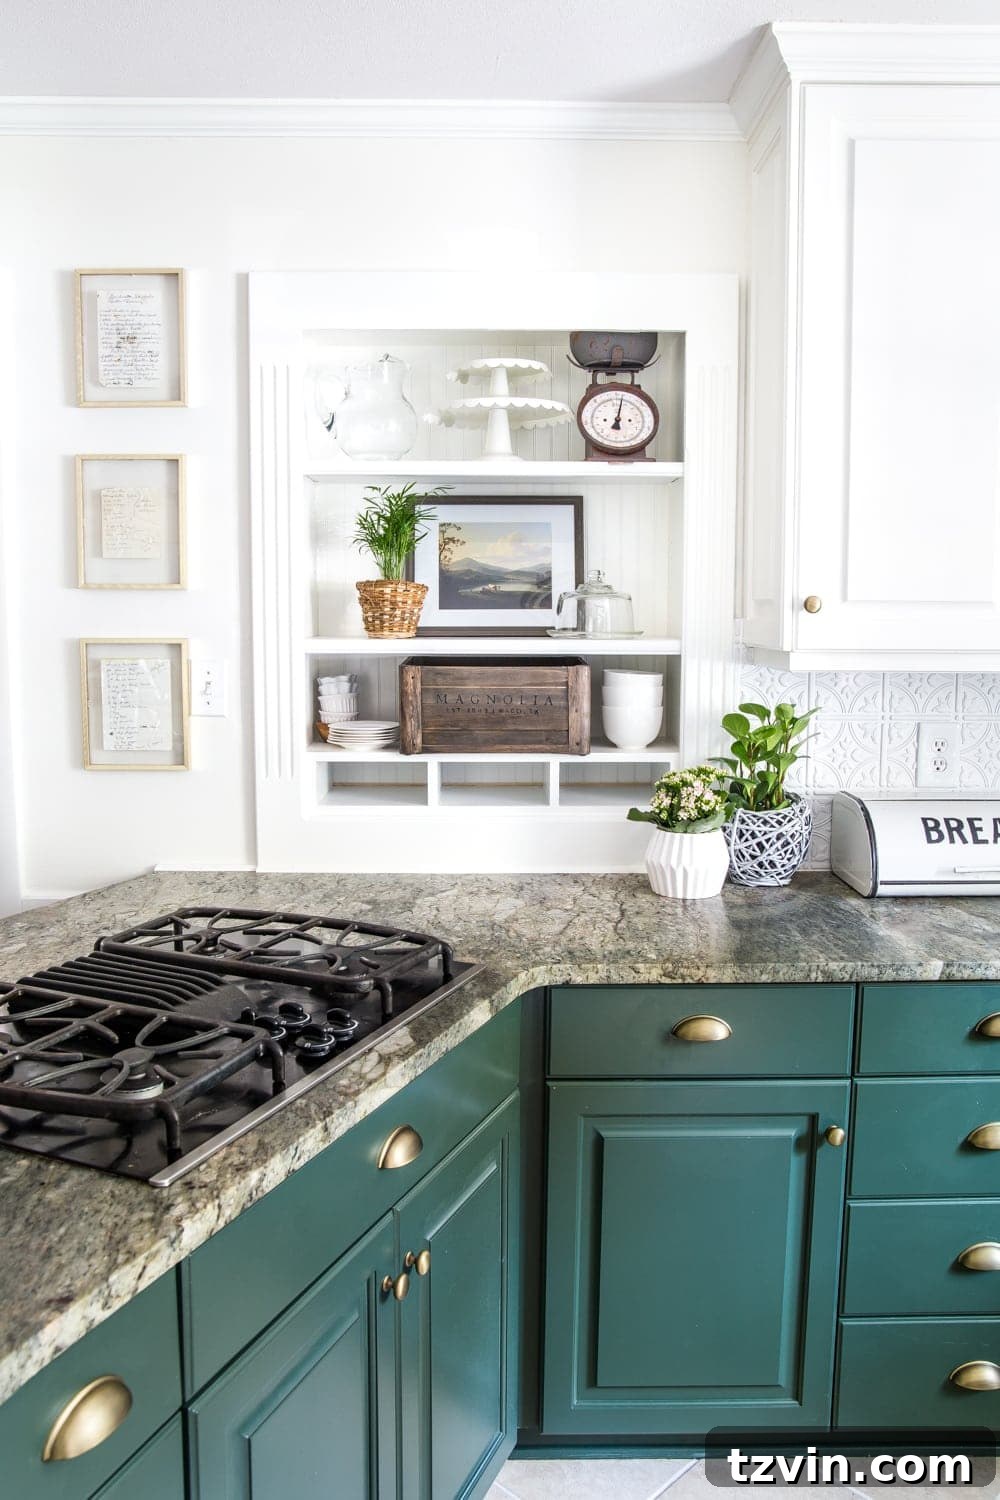
In an increasingly digital world, there’s something profoundly special about tangible connections to our past. We often find ourselves moved by heartfelt gestures, whether it’s the raw emotion of an Olympic commercial or the nostalgic pang of seeing kids grow up too fast in a car advertisement. But what about home decor? It might not typically elicit a tearful response, yet some pieces carry an emotional weight that transforms a simple wall into a gallery of cherished memories. This is precisely the sentiment when it comes to preserving and displaying handwritten recipes and letters from loved ones.
Recently, a treasure trove emerged from my mom’s collection: a stack of handwritten recipes, each a poignant reminder of family, heritage, and delicious traditions. These weren’t just instructions for cooking; they were tangible pieces of history, scrawled with the familiar penmanship of my grandmothers and my mother herself. Some pages, like those from an old Betty Crocker cookbook, bore the unmistakable marks of frequent use – smears, wrinkles, and splatters. You know a recipe is truly special, truly beloved, when it carries such evidence of its journey through generations of family kitchens.
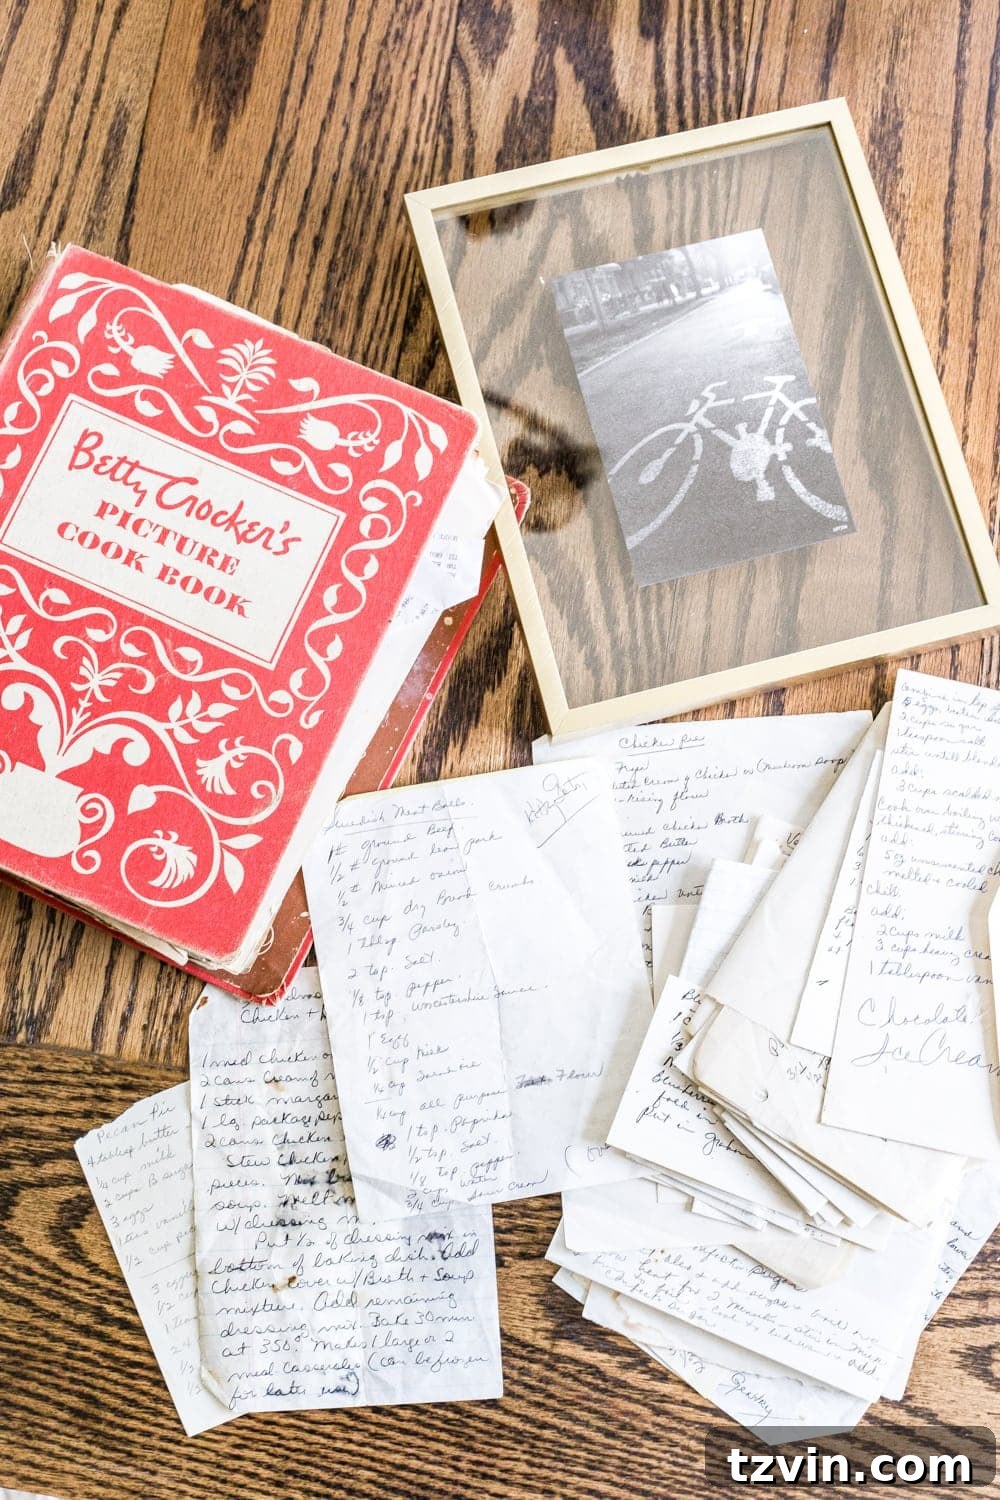
Upon receiving this priceless collection, I knew immediately they deserved more than just a drawer or an old recipe box. They were destined for a prominent place on our walls, framed and celebrated. But beyond mere display, I recognized the crucial need to protect these precious gems. Their sentimental value demanded a preservation method that would ensure their longevity, safeguarding them against the inevitable wear and tear of time, so future generations could cherish them just as much.
Related: 28 Creative DIY Wall Decor Ideas for Your Blank Walls
Why Preserve Handwritten Treasures? More Than Just Decor
Handwritten documents are more than just paper and ink; they are direct conduits to the past, carrying the unique essence of the person who penned them. In an age of digital communication, the personal touch of a handwritten letter or recipe stands out as profoundly meaningful. Preserving these items isn’t just about decor; it’s about safeguarding history, personal stories, and the legacy of loved ones.
The “why” behind preservation is multifaceted:
- Emotional Connection: A handwritten note reveals personality through its unique strokes, flourishes, and imperfections. It’s a tangible piece of a person you love, making it an invaluable keepsake.
- Protecting Against the Elements: Paper, especially older paper, is susceptible to various forms of degradation. Exposure to sunlight (UV rays), humidity, dust, and even the natural acidity of the paper itself can lead to fading ink, yellowing, brittleness, and eventual disintegration. Proper preservation helps mitigate these risks.
- Heirlooms for Future Generations: By protecting these documents now, you’re creating enduring heirlooms. Imagine your children or grandchildren discovering a great-grandmother’s recipe in her own hand—it’s a connection across time that no printed copy can replicate.
- Displaying Love and Legacy: Framing these items transforms them into meaningful art, turning a blank wall into a narrative of your family’s history and love. It’s a constant, gentle reminder of those who came before and the traditions they passed down.
It’s important to note that the method we’re discussing here is primarily for display and protection against common household elements, ensuring these sentimental pieces can be handled and enjoyed without immediate damage. This is different from museum-grade archival preservation for historical documents, which involves more complex, often reversible, processes recommended by institutions like the Smithsonian. For truly historical and extremely fragile documents, consult their guidelines (such as those for preserving historical documents) or a professional conservator.
Essential Supplies for Lasting Preservation
To embark on this heartfelt project, you’ll need a few key items. The beauty of this method lies in its accessibility and the relatively simple tools required to achieve a lasting result.
Supplies You’ll Need:
- Float Frames (8×10 or custom size): 8×10 float frames are ideal for showcasing the rough, organic edges of old paper, creating an elegant, suspended look that highlights the document itself. Consider the size of your recipes or letters when selecting frames.
- UV Filtering Laminating Film: This is the cornerstone of our preservation strategy. A good quality UV filtering laminating film will protect the ink from fading due to light exposure and add a protective layer against physical damage.
- Iron and Ironing Board: While laminators are an option, a standard household iron can effectively activate the adhesive in the laminating film, making this a DIY-friendly project.
- Scissors: For neatly trimming the laminated document to fit your chosen frame.
- Your Treasured Document: Select the most loved-looking recipe or letter in your possession. These are often the ones with the most character and the deepest stories.
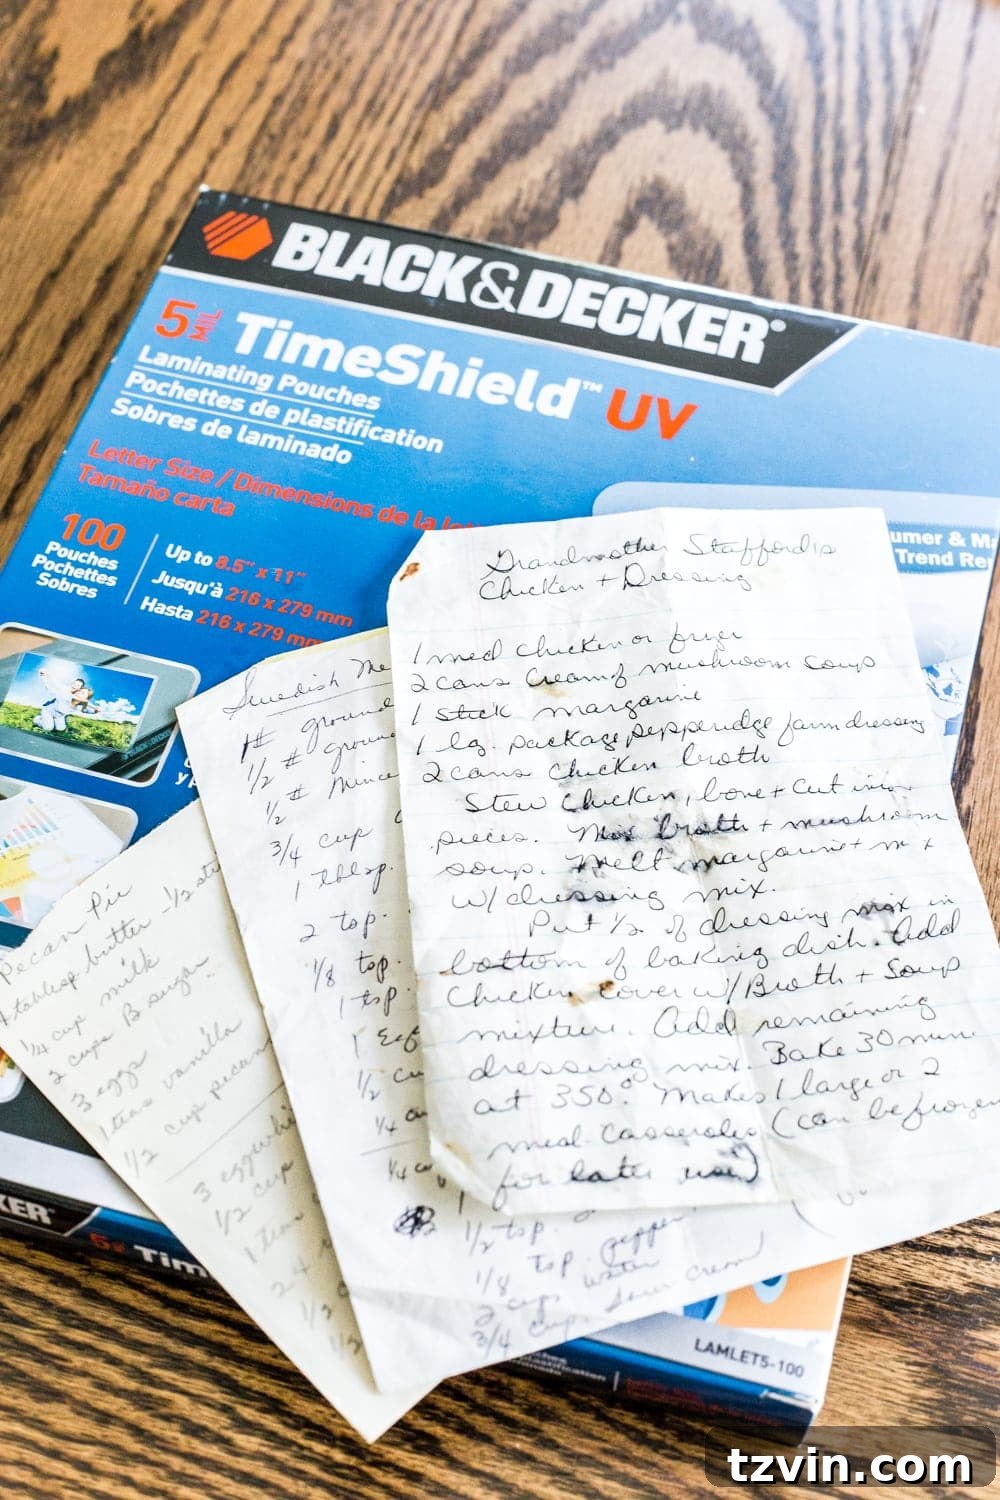
Understanding UV Protection: Why It Matters
You might be tempted to simply place your handwritten treasures directly into a frame and hang them. While this offers some protection from dust and physical handling, it leaves them vulnerable to one of their greatest enemies: ultraviolet (UV) light. Both natural sunlight and artificial indoor lighting emit UV rays that can cause inks to fade, paper to yellow, and the overall integrity of the document to diminish over time.
This is precisely why incorporating UV protection is a critical step in preserving your sentimental items. By using a UV laminating film, you create a barrier that filters out harmful UV radiation, effectively slowing down the fading process and ensuring the ink remains vibrant for years to come. This added layer of protection means your family recipes and heartfelt letters can be displayed prominently without the constant worry of degradation.
UPDATE: While laminating film offers excellent protection, it’s a permanent process. Once applied, it cannot be easily removed without potentially damaging the document. If you prefer a less permanent or reversible option, consider using UV blocking acrylic instead of standard glass in your frames. Many hardware stores, like Home Depot, can cut UV blocking acrylic sheets to your exact specifications, offering robust protection without altering the original document.
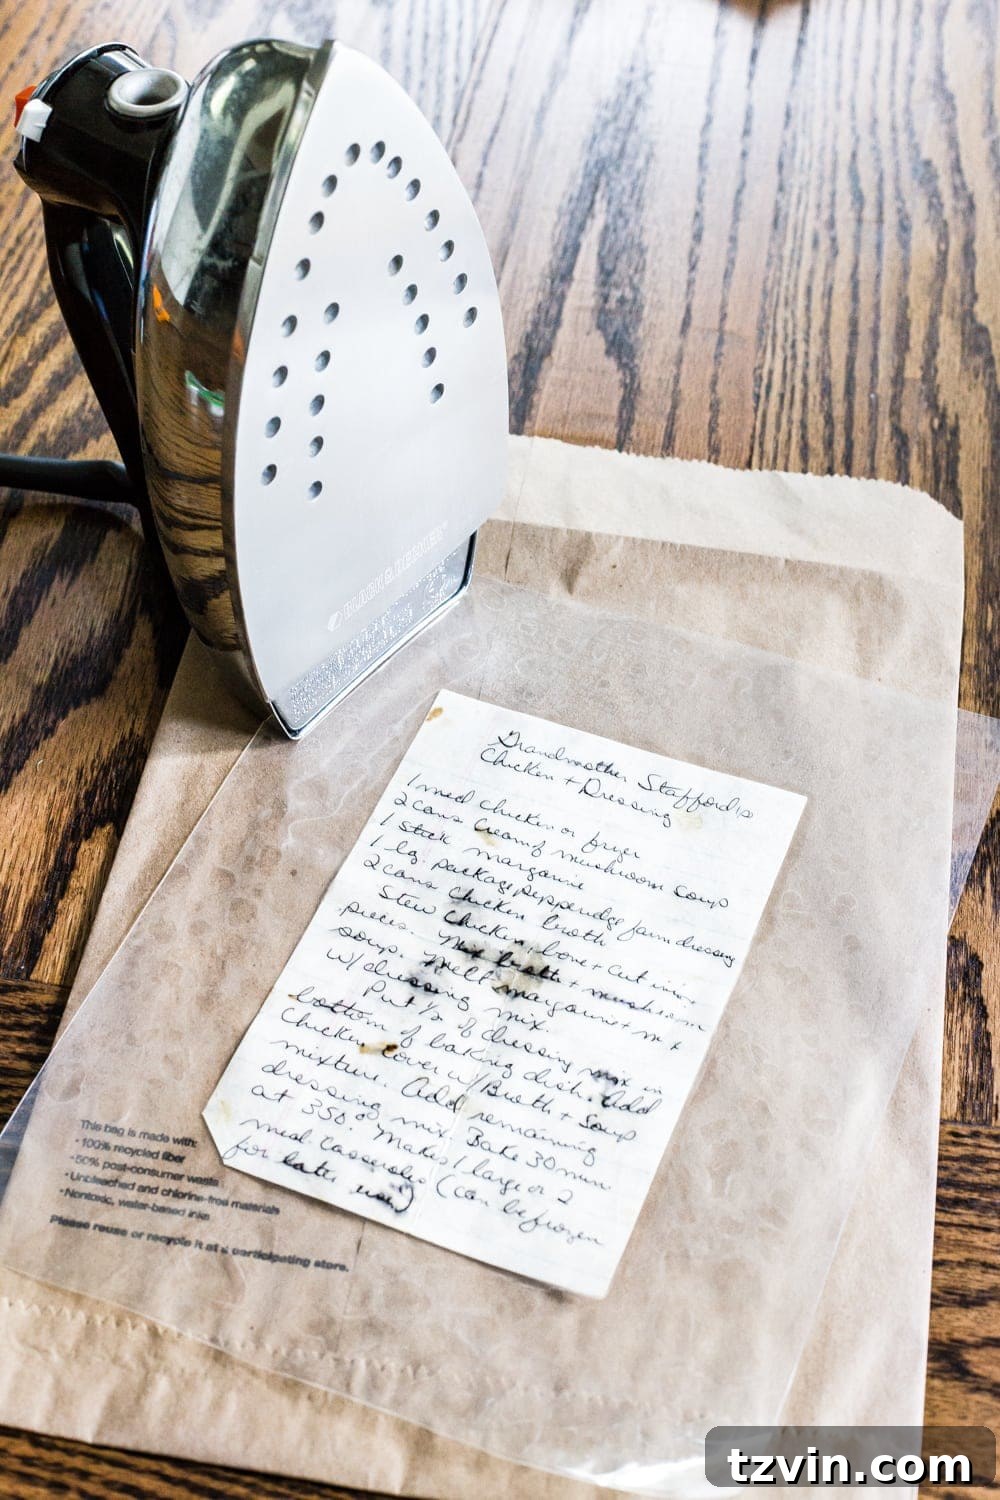
Although laminating films often come with instructions for use with a dedicated laminator, a regular hot iron can achieve excellent results for this DIY project. This makes the preservation process accessible to everyone, without the need for specialized equipment.
Step-by-Step Guide: How to Preserve and Frame Your Sentimental Pieces
Transforming these fragile memories into enduring works of art is a straightforward process. Follow these simple steps to ensure your handwritten treasures are protected and beautifully displayed.
Step 1 – Preparing Your Keepsake and Laminating Film
Begin by carefully separating the two sheets of your laminating pouch. Place your chosen recipe or letter precisely between them, ensuring it is centered and free of any dust or debris. Take your time with this step, as proper alignment will result in a cleaner, more professional finish. The laminating film should slightly overlap the edges of your paper to create a complete seal.
Step 2 – The Ironing Process for Secure Lamination
Lay the laminating pouch containing your document onto an ironing board. To provide a firmer surface and help prevent bubbles, consider placing a piece of cardboard or a thick towel underneath the pouch. Set your iron to a low-to-medium heat setting initially. Gently press the iron over the pouch, applying even pressure. Move the iron slowly and continuously across the surface. You’ll notice the film starting to adhere to the paper. If the film isn’t sticking well, gradually increase the iron’s temperature. The key is to achieve a smooth, bubble-free surface. Avoid holding the iron in one spot for too long, as this can overheat and potentially damage the film or the document. Continue ironing until the entire document is securely laminated, ensuring all edges are sealed.
Step 3 – Trimming and Framing for Display
Once the laminating film is fully adhered and has cooled completely, it’s time to trim. Using sharp scissors, carefully cut around the laminated document, leaving a small, consistent border of film around the edges. This ensures the seal remains intact. Now, your preserved masterpiece is ready for its frame! Gently place the laminated recipe or letter into your chosen float frame, arranging it so it appears to float between the glass or acrylic panes. Secure the frame back in place, and admire your newly preserved piece of history.
Related: Free Oil Painting Kitchen Art Prints
Creating a Gallery of Memories: Displaying Your Framed Keepsakes
With your precious documents now beautifully preserved, the next step is to integrate them into your home decor, transforming a simple space into a heartfelt gallery of family memories. The choice of floating frames was deliberate and adds an extra layer of charm, allowing the rough, authentic edges of the old paper to show through. This visual detail emphasizes the age and history of each piece, making them feel even more special.
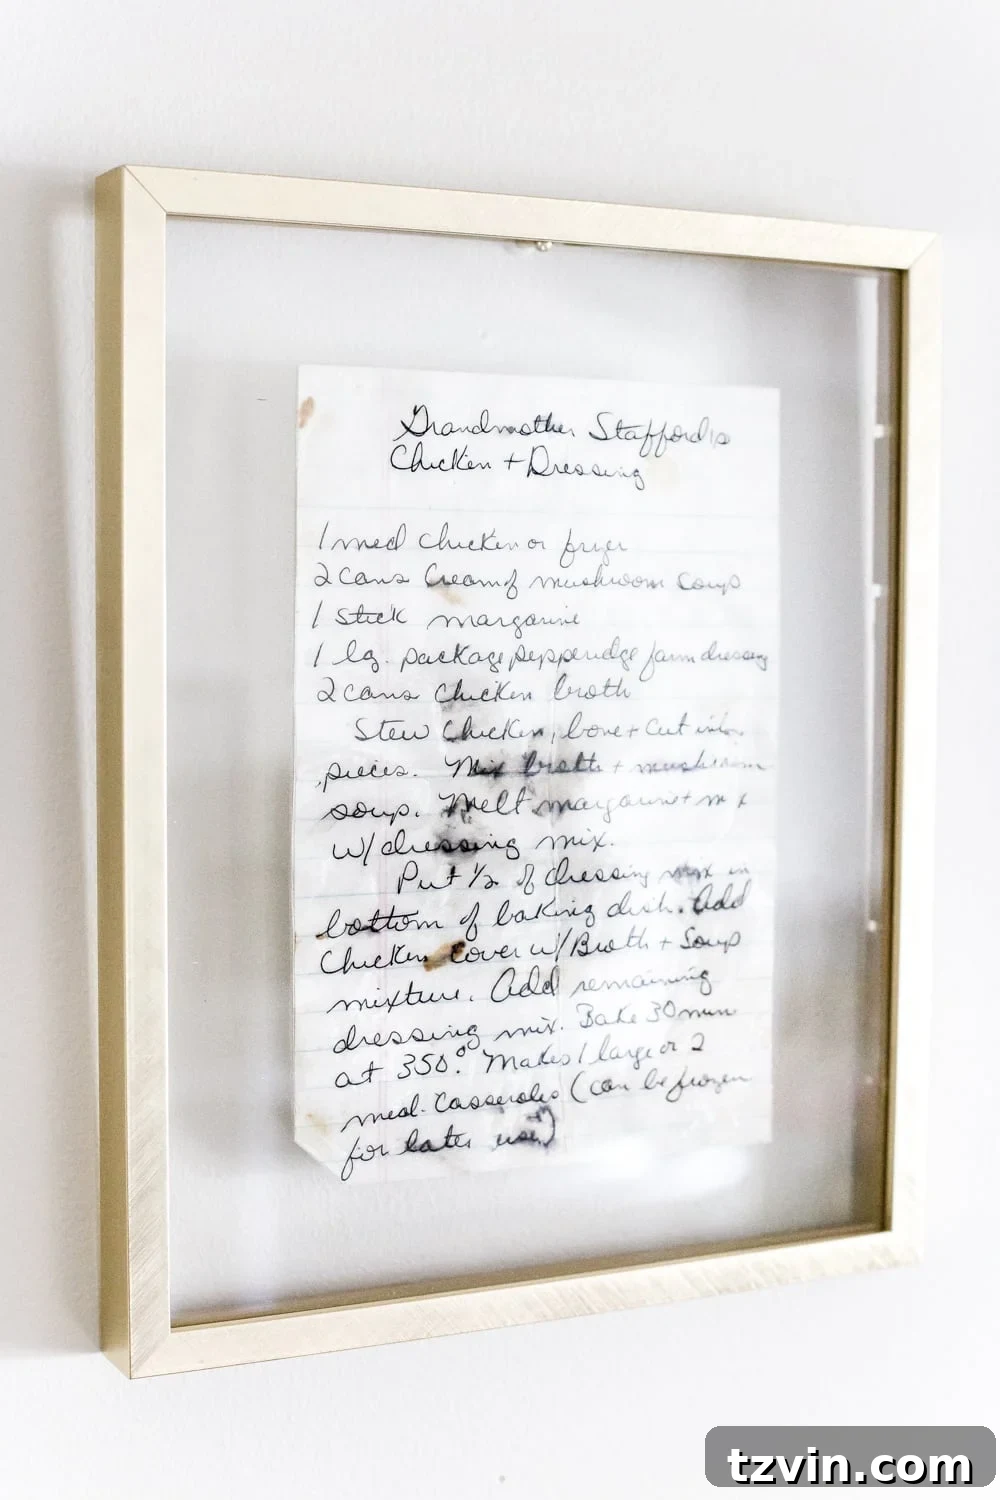
One particular favorite is my mom, Elaine’s, handwritten version of my great-grandmother Gussy’s chicken and dressing recipe. Those smudges aren’t imperfections; they’re badges of honor, proof of countless holiday meals and the enduring legacy of a family classic passed down even before I was born. Displaying this isn’t just about a recipe; it’s about honoring a lineage of culinary love.
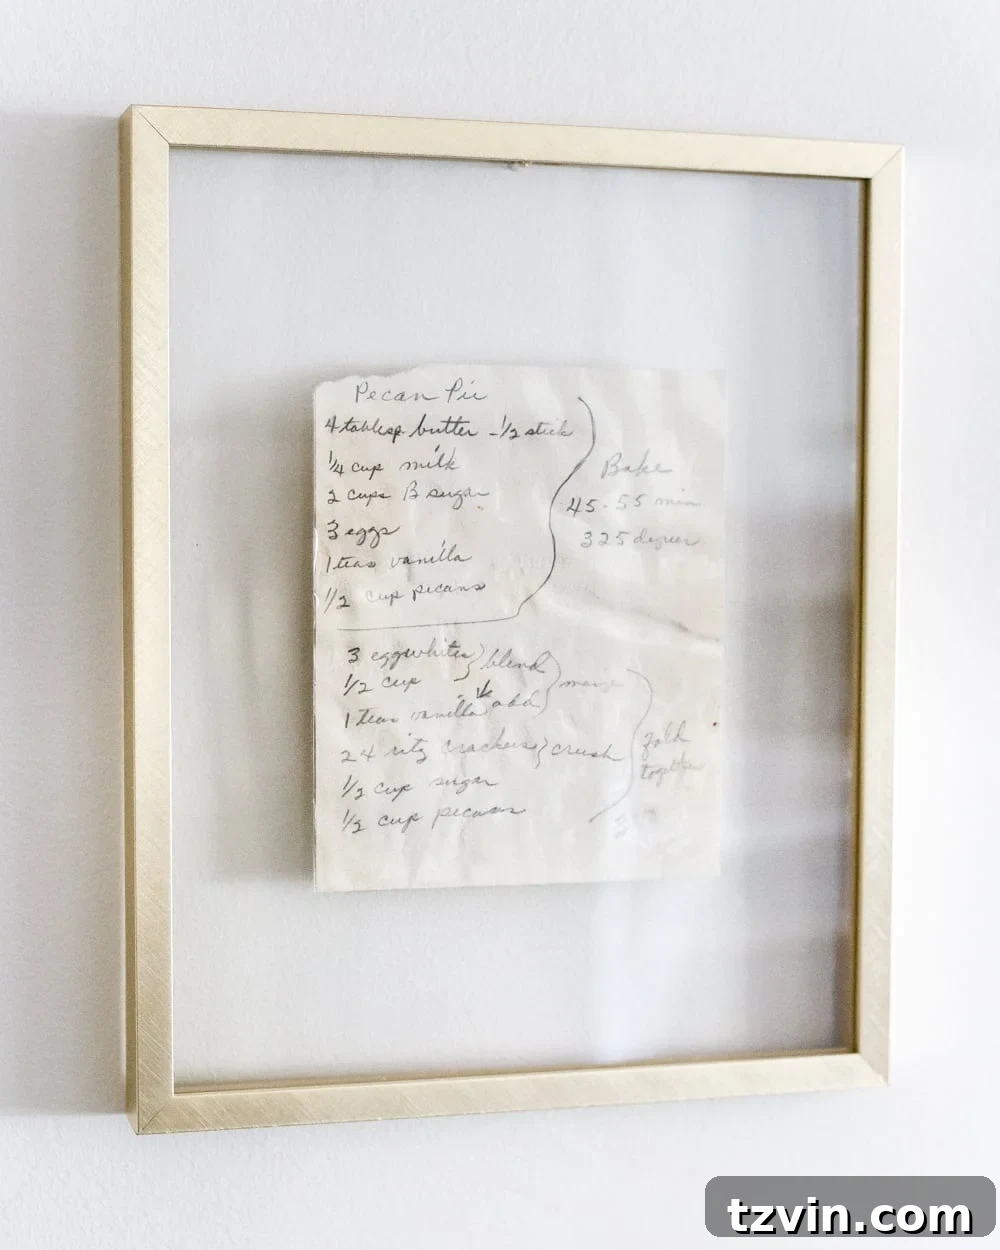
Another treasured piece is from my maternal grandmother, Janice. This recipe, for a beloved pecan pie, was handed down to her by her mother, MeeMaMa Winnie, who lived to be 96 and passed away just eight weeks after my daughter Olivia was born. Thanksgiving wasn’t truly complete without MeeMaMa Winnie’s pecan pie, a tradition that my husband Robert now especially cherishes. Displaying this recipe is a tribute to enduring love, family gatherings, and the sweet taste of tradition.
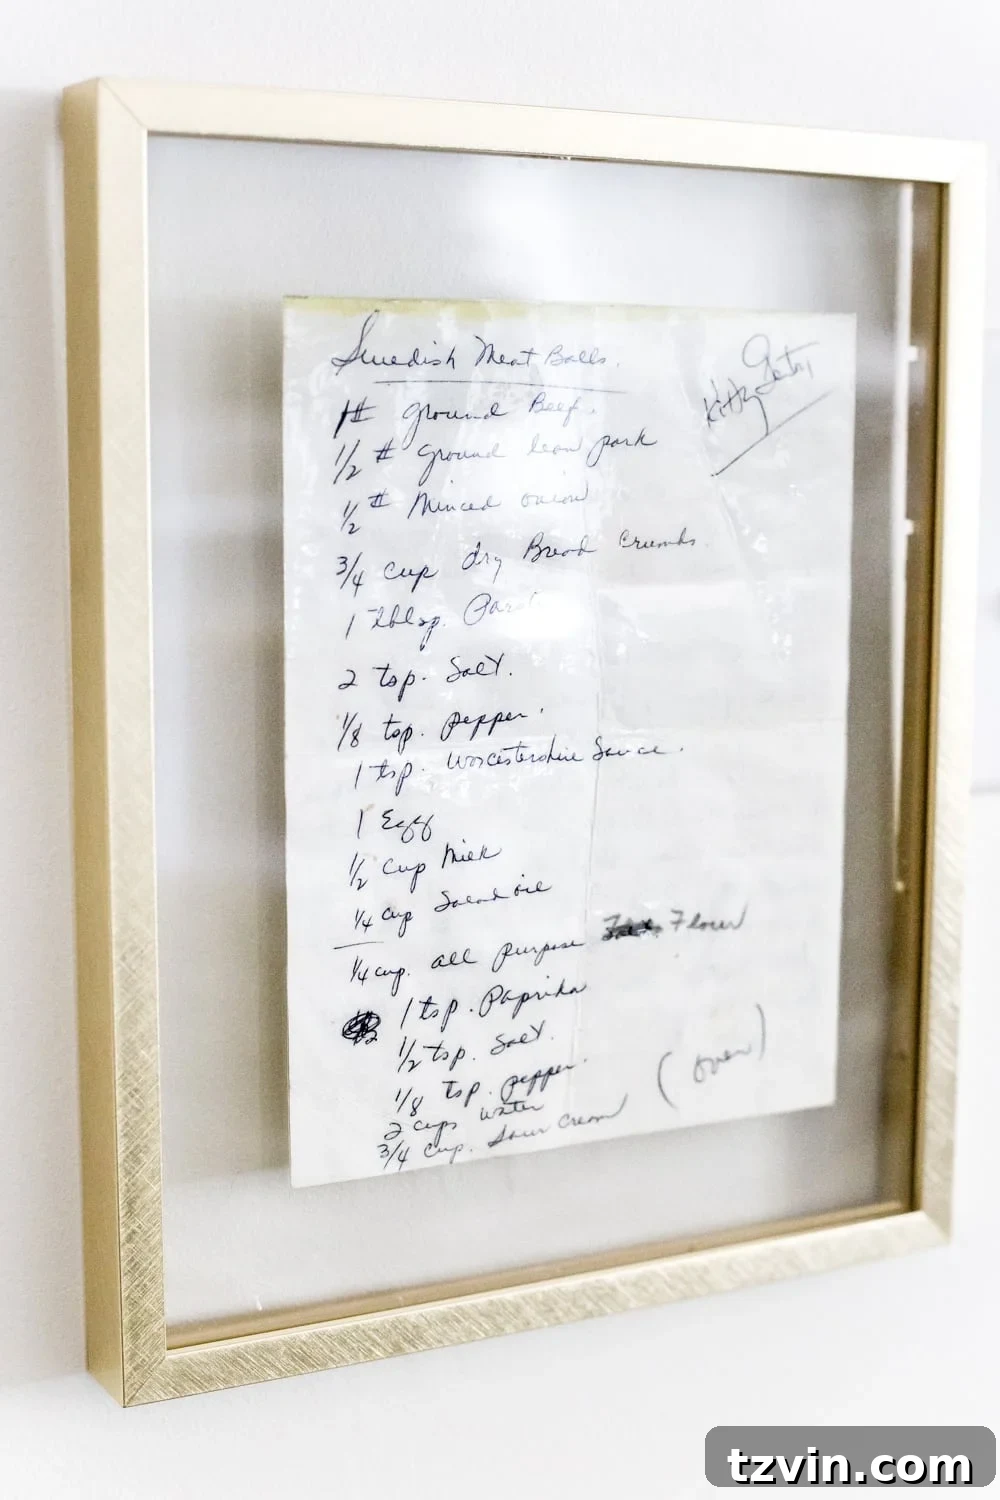
From my paternal grandmother, Kitty, comes a recipe for Swedish meatballs, complete with her signature. Kitty was an incredible cook, but she passed away when I was only twelve. While her famous Swedish pancake recipe, likely made from memory every time, remains elusive, these meatballs serve as a wonderful reminder of her culinary prowess and spirit. Each framed recipe tells a unique story, creating a rich tapestry of family history right in our home.
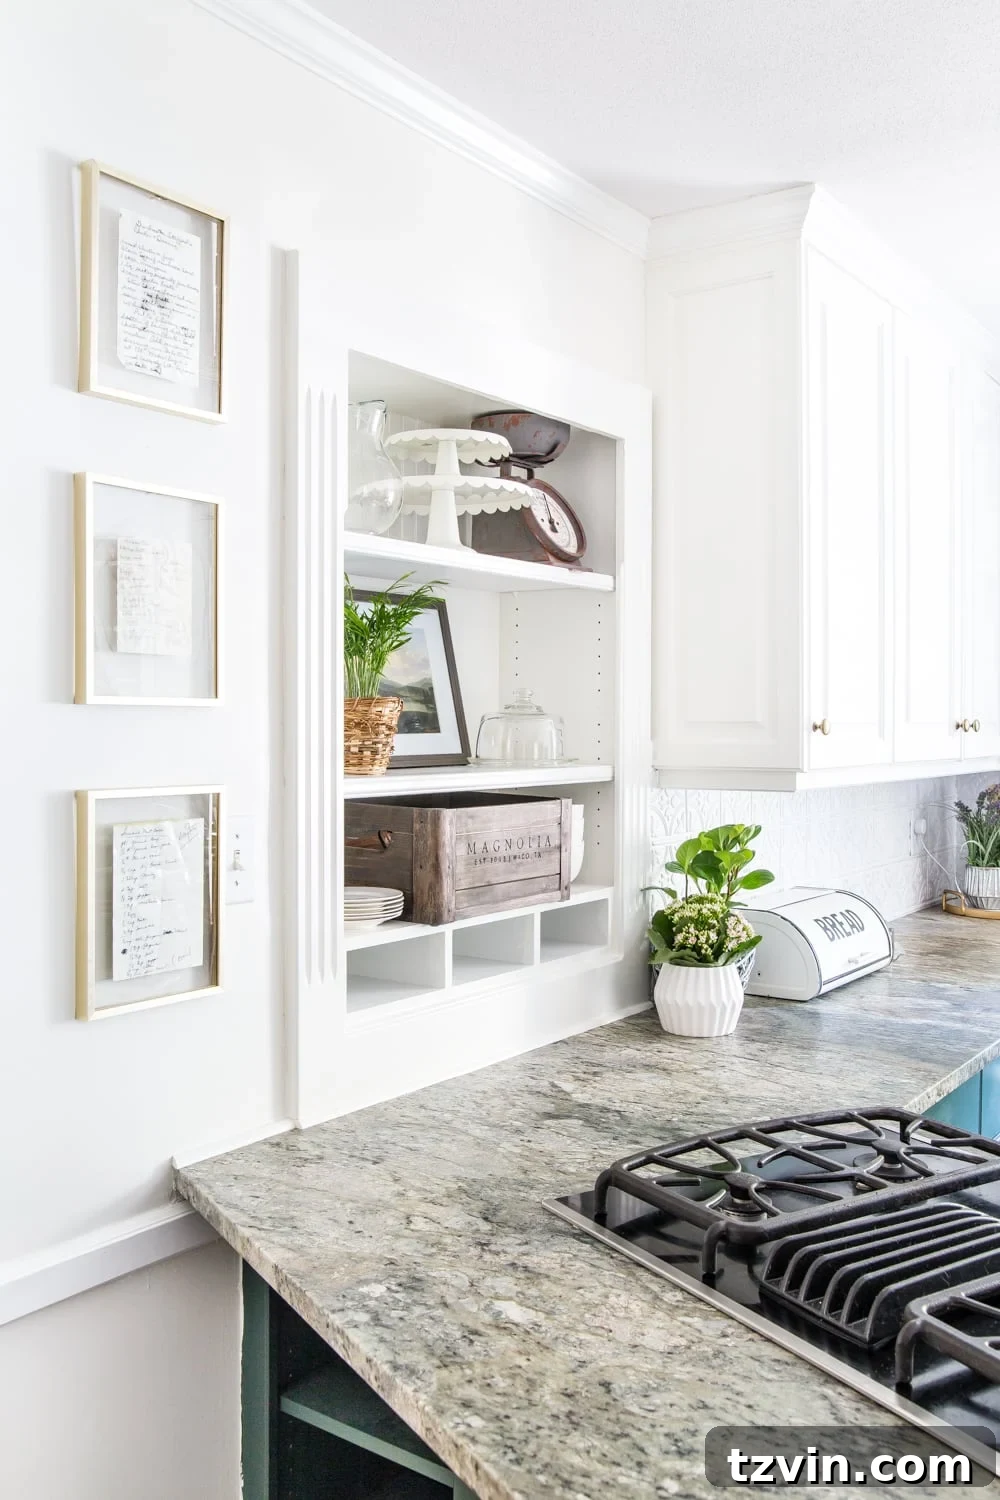
These framed keepsakes now hang proudly beside our stove, a fitting location where I strive to uphold their culinary legacies in my own kitchen. They serve as a constant source of inspiration and a beautiful connection to the past every time I cook.
Related: The Secret to Find Free Printable Wall Art Online
Integrating Memories with Kitchen Decor
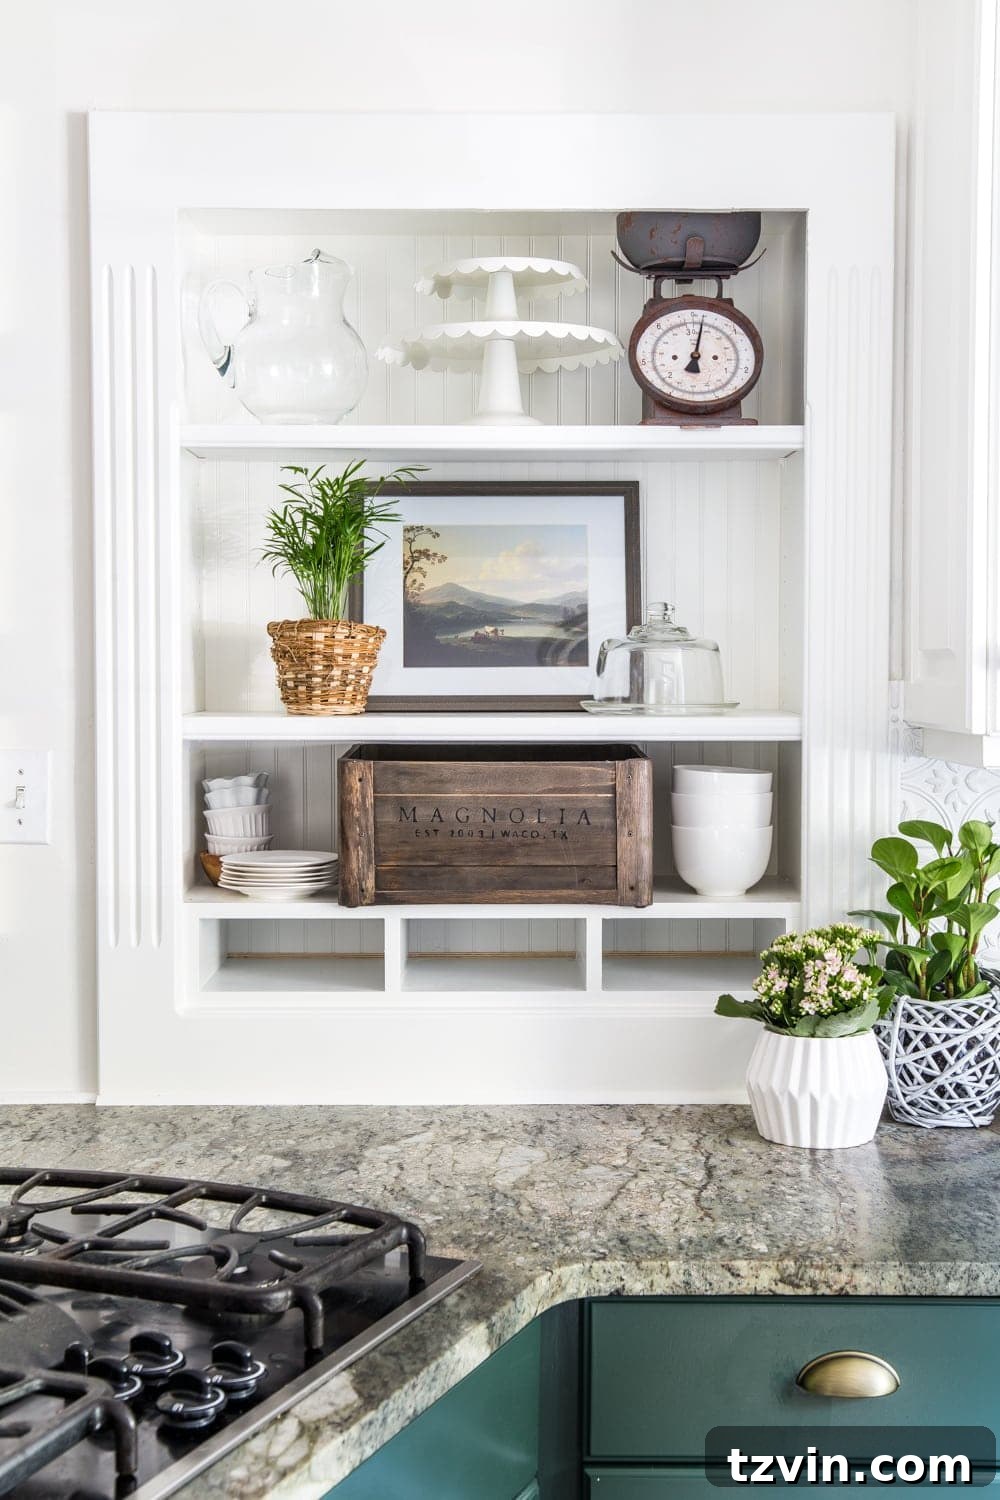
Beyond the framed recipes, I’ve enjoyed decorating the adjacent shelves with a few complementary pieces that add character and warmth. For instance, a stunning landscape art print, which I managed to print for a mere $3.00, now resides in a charming thrifted frame. This budget-friendly art blends seamlessly with the sentimental display, proving that beautiful decor doesn’t have to break the bank.
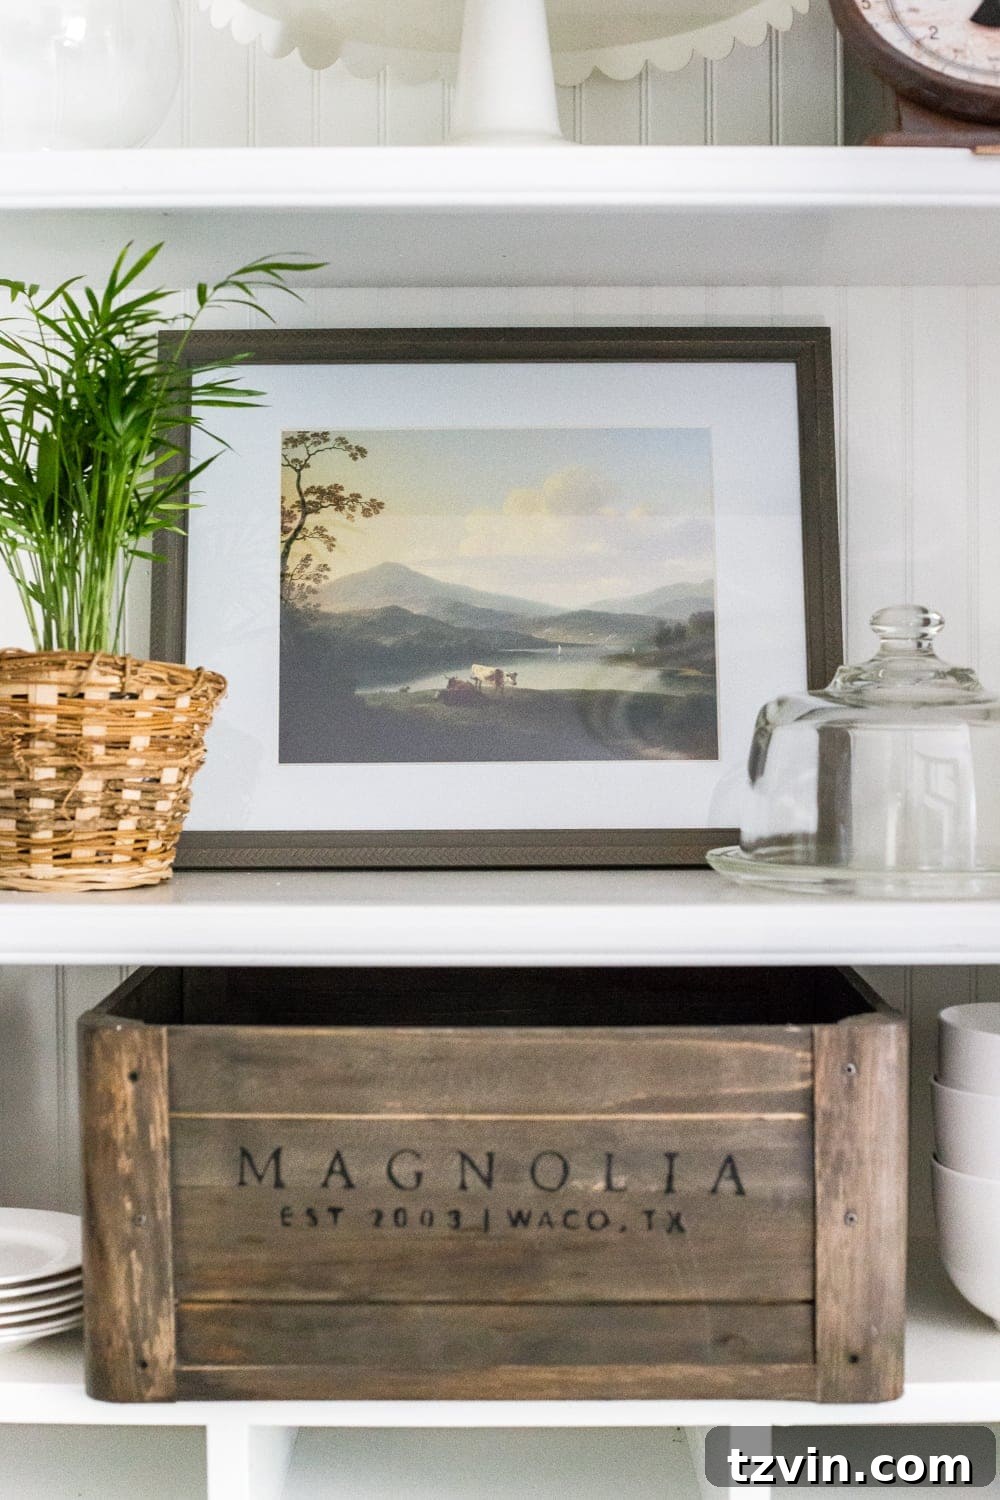
A lovely Magnolia crate, a thoughtful gift from the team behind Joanna Gaines a few years back, has found its perfect purpose here. It’s become our convenient spot for incoming mail, keeping the kitchen counter clear and organized until sorting. Practicality meets charm!
Related: Where to Buy Vintage Art Online and How to Print Digital Art
You might also recognize the thrifted scale that underwent a charming transformation into a faux-rusted antique. These curated pieces, each with its own story or refreshed look, combine to create a truly inviting and personalized “corner of happiness” in our kitchen. It’s a space that not only functions beautifully but also resonates with deep personal meaning.
This project has been a wonderful reminder of the profound impact of simple, handwritten connections. It has inspired me to spend more time penning notes to loved ones and writing down recipes to pass on to my daughter, Olivia. It’s a clear testament that often, the smallest, most personal gestures are the ones that grow into the biggest, most cherished memories over time.
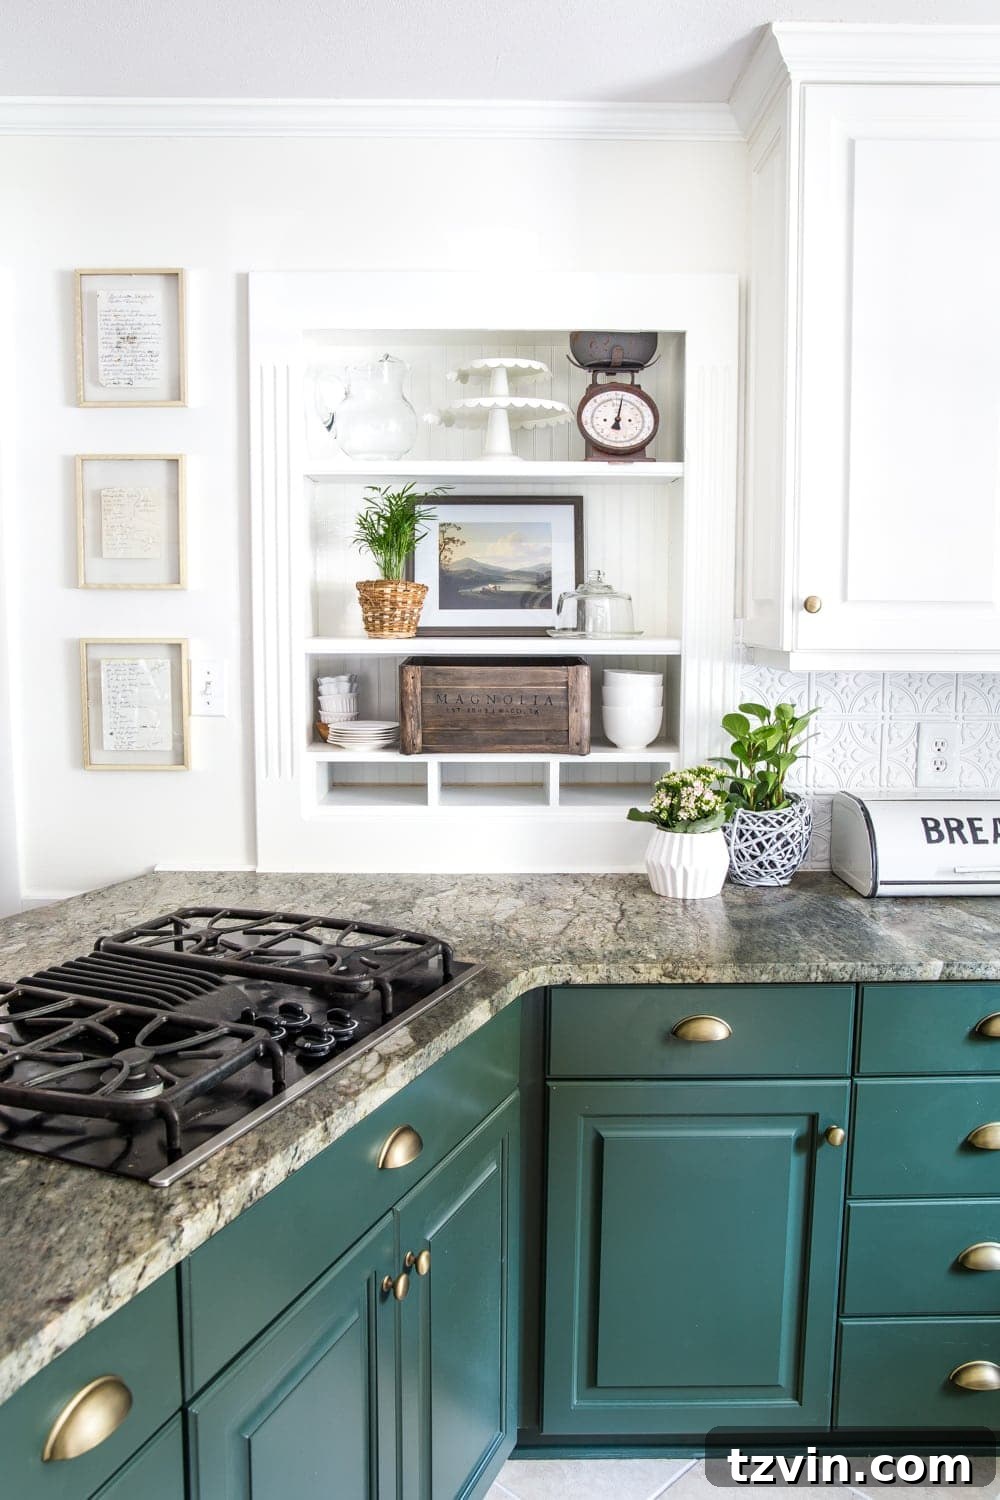
With this sentimental corner now complete, our kitchen refresh is officially finished! Stay tuned for the full reveal of this updated space, which I hope to share with you all very soon.
UPDATE: See our budget kitchen refresh here!
In the meantime, you can explore all our kitchen updates here:
- Memory foam layered kitchen rug and grout refresh
- Green painted kitchen cabinet update
- Kitchen refresh mood board plan
- 5 tips to create an organized command center
- Arbor art printable set
Have you ever used sweet handwritten mementos as art in your home? I’ve heard of turning recipes into kitchen towels, which sounds like another fantastic way to honor these irreplaceable pieces of family history. The possibilities are endless when it comes to celebrating the unique legacy of handwriting!
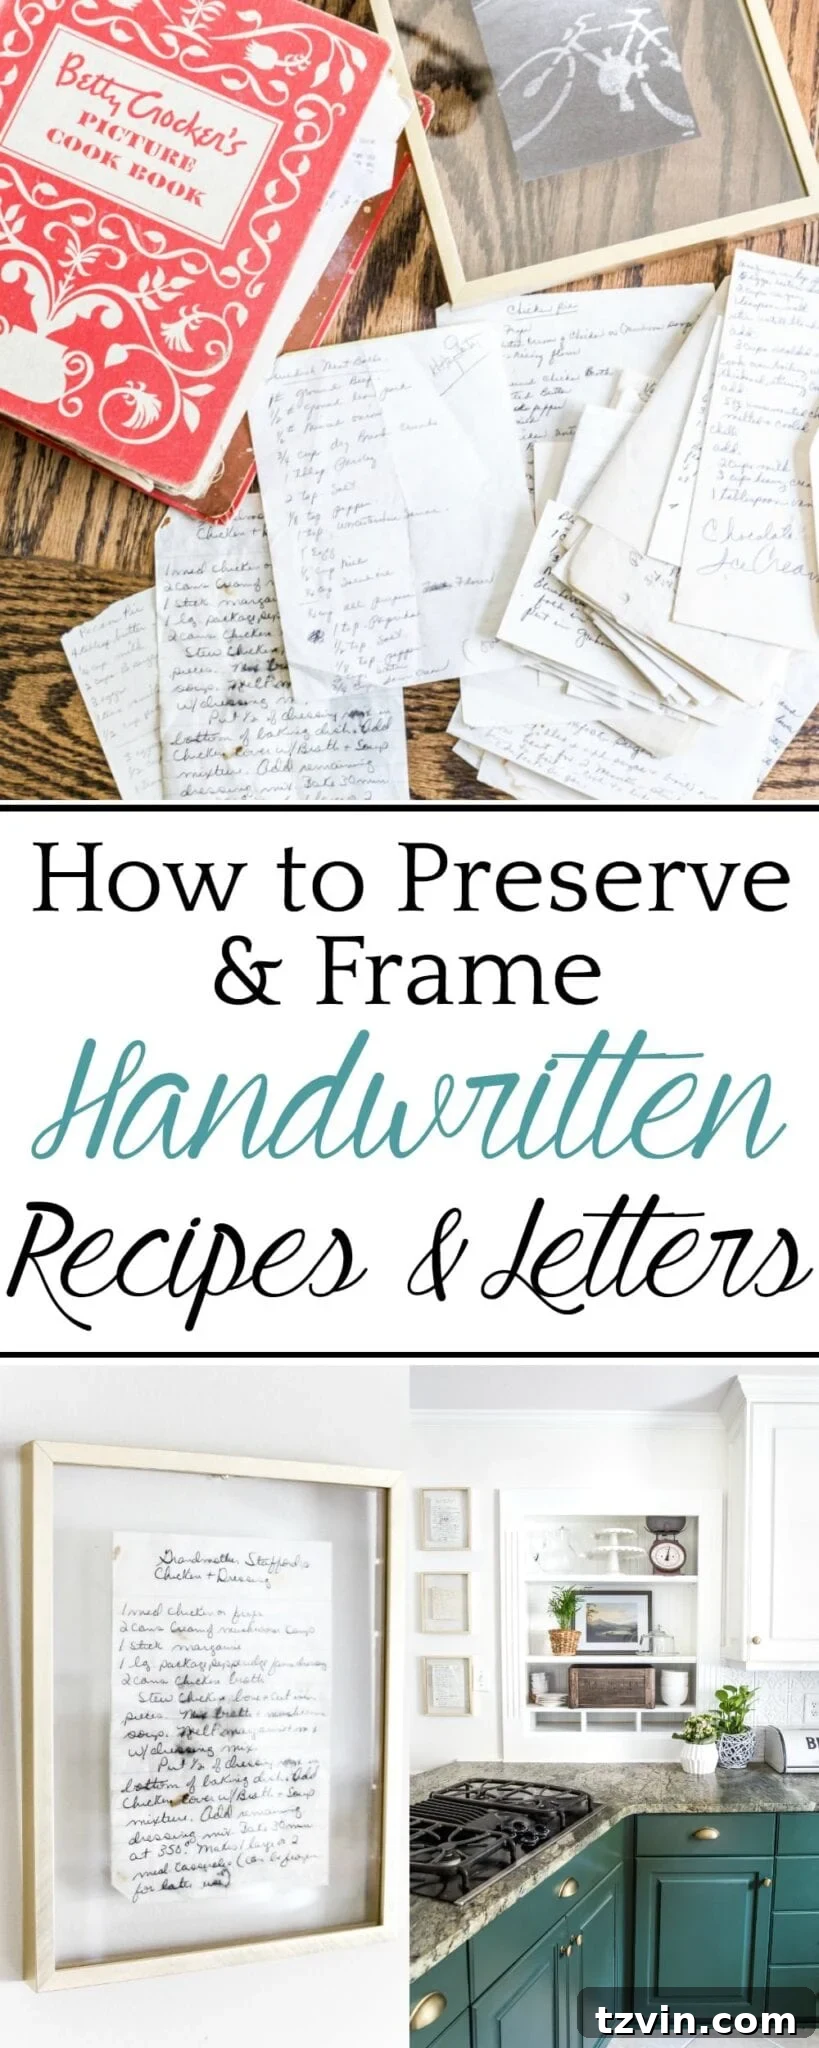
If you want to save this post for later, you can pin it here:
Frequently Asked Questions
What are some unique gift ideas for preserving handwriting?
How do you turn handwriting into a digital font?
Can I preserve other types of documents using this method, such as certificates or children’s artwork?
What are the disadvantages of laminating sentimental documents?