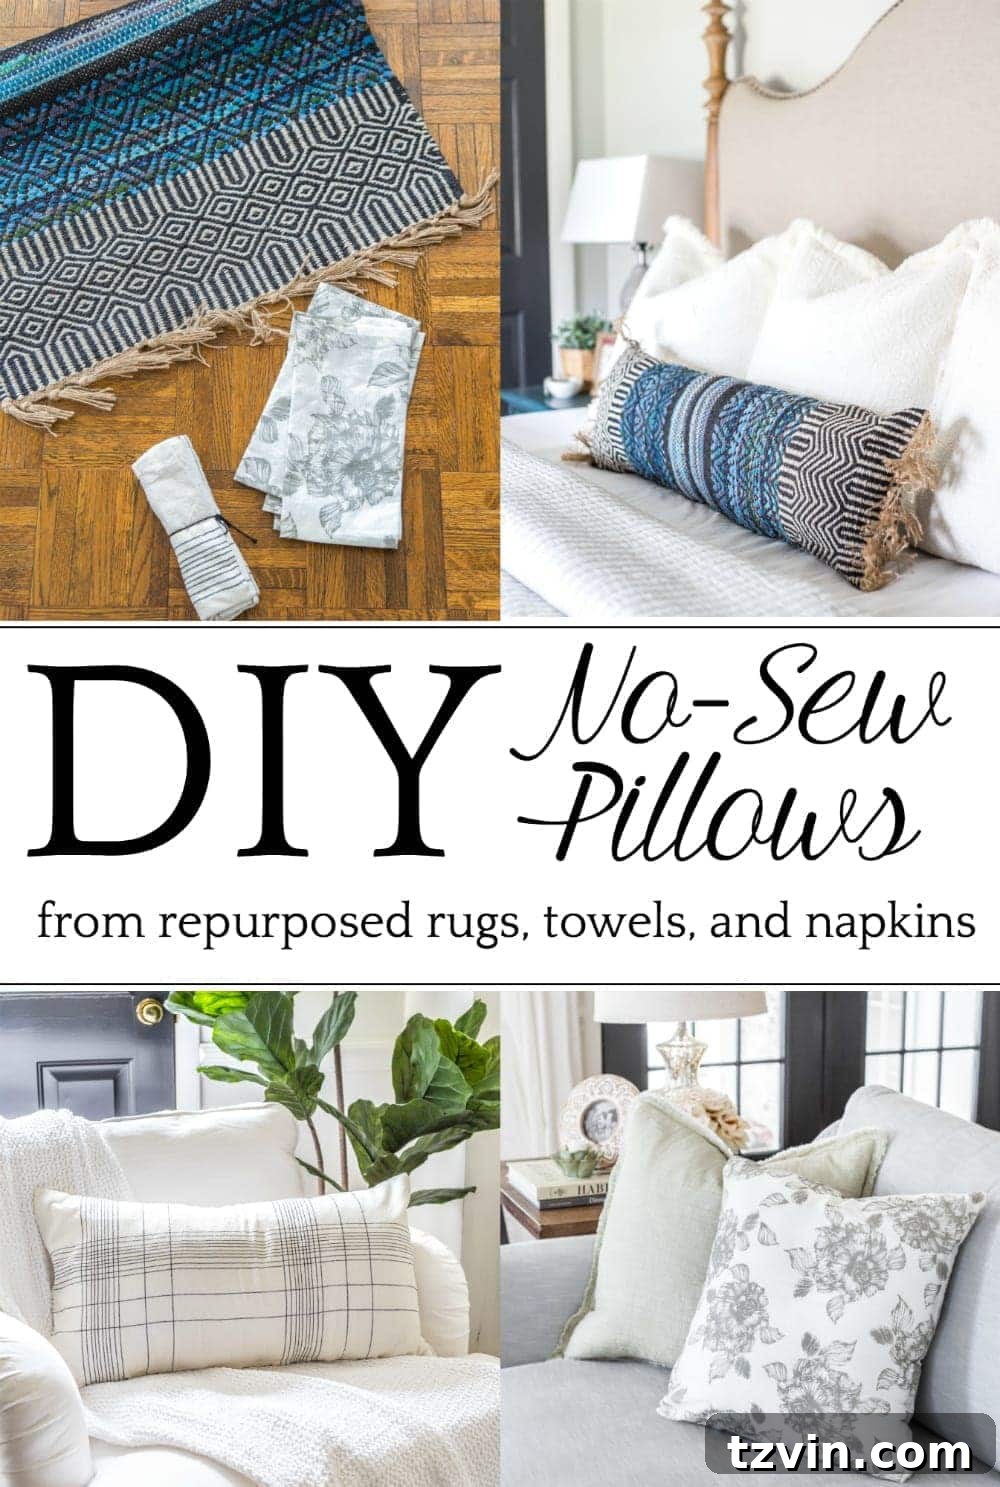
Elevate Your Home Decor with Stunning No-Sew Throw Pillows: A Budget-Friendly DIY Guide
Are you a decorating enthusiast who loves a cozy, stylish home but feels a pang of guilt every time you eye those expensive throw pillows in stores? Or perhaps, like me, you’ve always admired beautiful textiles but confess to being utterly hopeless with a sewing machine? If the thought of intricate stitches or complex patterns sends shivers down your spine, then you’ve found your sanctuary! I’m here to let you in on a little secret that completely bypasses the need for a needle and thread, allowing you to create gorgeous, custom throw pillows in mere minutes, using items you might already have tucked away in your home.
For years, I’ve admired the craft of sewing from a distance. My dear mom, bless her heart, tried tirelessly to impart her needlework wisdom during my formative years. But alas, my journey with a sewing machine was short-lived and, frankly, quite disastrous. It quickly became clear that I was destined for a different path in the DIY world – one that didn’t involve becoming “one with the sewing machine.” (And let’s not even talk about my gardening endeavors; my thumb is decidedly black, making Martha Stewart’s skills look like pure magic compared to mine. 😉 Ha! A girl can dream, right?)
Yet, my mom’s influence on my passion for DIY runs deep. She was the one who taught me the invaluable lessons that now form the backbone of this blog: how to breathe new life into old furniture with a fresh coat of paint, how to unearth treasures from thrift stores and remake them into something spectacular, and most importantly, how to decorate our home beautifully and thoughtfully using what we already possess. I am eternally grateful for every skill and every creative spark she ignited in me. It’s a joy to carry on that DIY adventure and share it with all of you, hoping to inspire your own budget-friendly home transformations.
While I may still secretly wish I could effortlessly sew a pair of custom curtains, whip up a stylish dress pattern, or even craft a tailor-made sofa slipcover, I’ve embraced my strengths. And one area where I truly excel, even without a stitch of sewing ability, is making stunning throw pillows for next to nothing. This past weekend, my mom and I relived some old memories with a delightful craft day, conjuring up a few new no-sew pillows. It was just like old times, filled with laughter, creativity, and the satisfaction of a project well done.
(Some affiliate links are provided below for your convenience. Full disclosure on how we operate can be found here.)
The Secret to Effortless DIY Pillows: Unexpected Household Materials
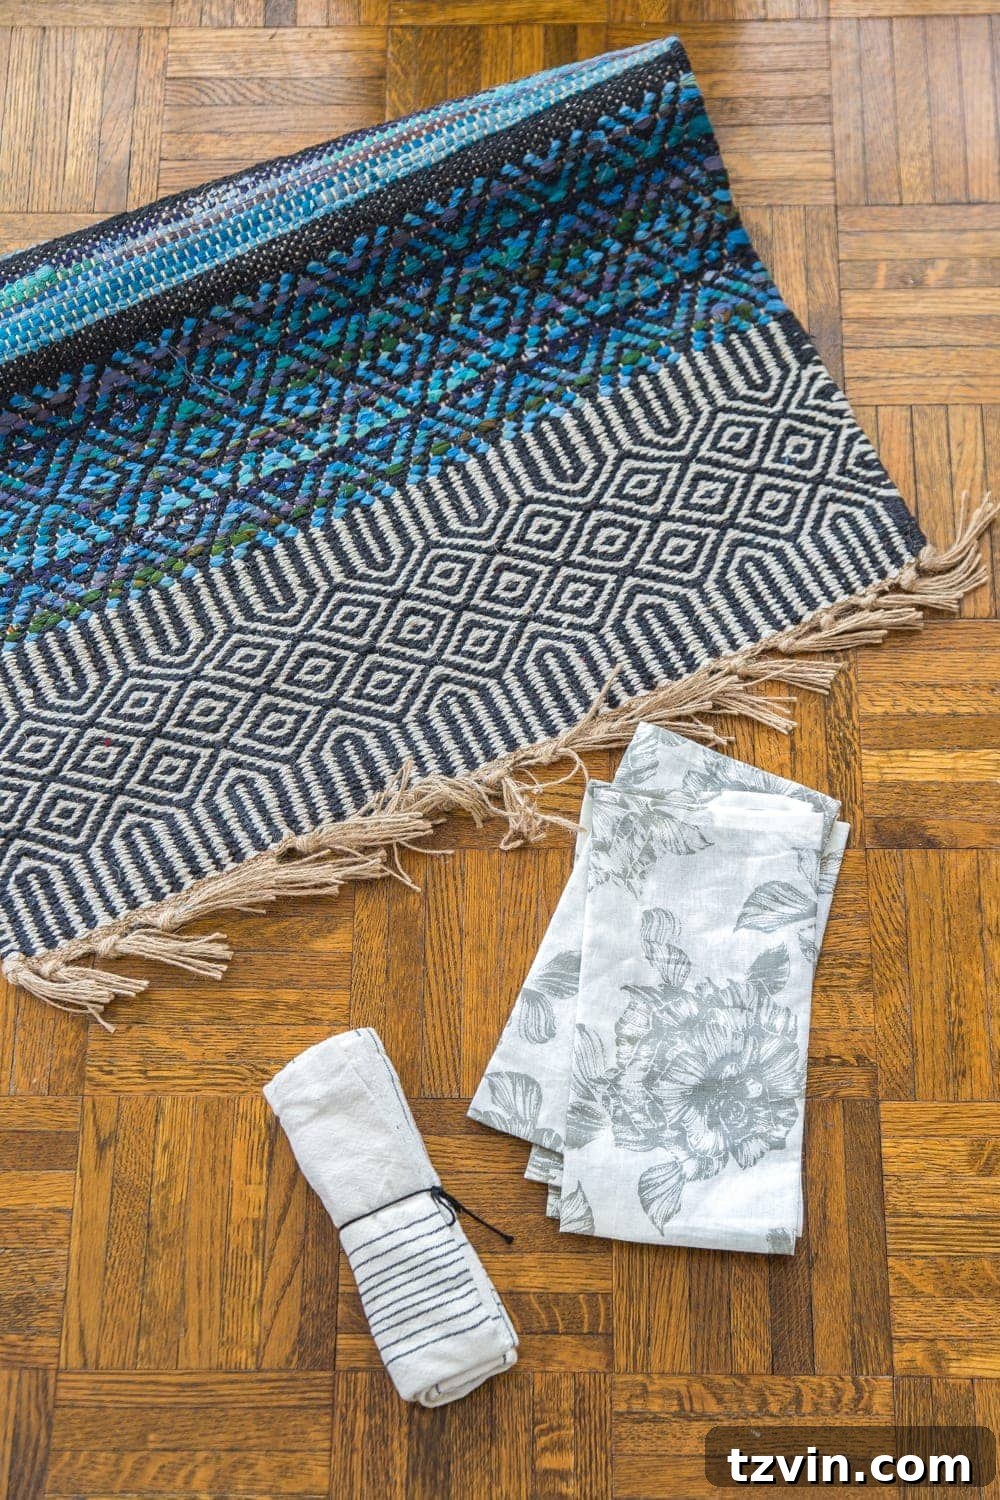
The beauty of this no-sew method lies in its simplicity and the ingenious use of everyday items. Forget expensive fabrics or complicated patterns; your next show-stopping throw pillow might be waiting in your linen closet or even on your floor! I’ve discovered three incredibly versatile items that are perfect for transforming into stylish pillow covers in mere minutes:
- Cloth Napkins: These come in an astonishing array of colors, patterns, and textures. Often found in sets, they are ideal for creating matching or complementary pillows.
- Kitchen Towels: Available in countless designs, from farmhouse chic to modern minimalist, kitchen towels offer a sturdy yet decorative option, often perfect for lumbar-shaped pillows.
- Accent Rugs: For a touch of unique texture and durability, smaller accent rugs can make incredibly stylish and robust pillow covers, adding a designer touch without the designer price tag.
I recently embarked on a little treasure hunt and found each of these items for less than $10, envisioning their potential as charming pillow covers. Beyond the sheer thrill of a bargain, this approach also supports my ongoing effort to be more mindful about my decor purchases. Instead of buying entire pillows from home decor stores, which inevitably leads to a massive collection of inserts, I now focus on acquiring only pillow covers. This smart strategy allows me to swap out designs seasonally or whenever inspiration strikes, all while reusing existing pillow inserts. If you, too, suffer from a “pillow addiction” – a delightful affliction where one can never have too many cushions – you know how quickly that collection can escalate into a massive, overflowing stash. Opting for covers gives me my decorating fix without adding to the chaos of an already out-of-control pillow pile.
Crafting Your Own No-Sew Throw Pillows: A Simple Step-by-Step Guide
This method is incredibly versatile and can be adapted for any plain fabric you might have. However, I particularly love using napkins, kitchen towels, and accent rugs because they come pre-cut to convenient sizes and boast beautifully finished edges, saving you even more time and effort. It’s truly a game-changer for anyone looking for quick, stylish home updates.
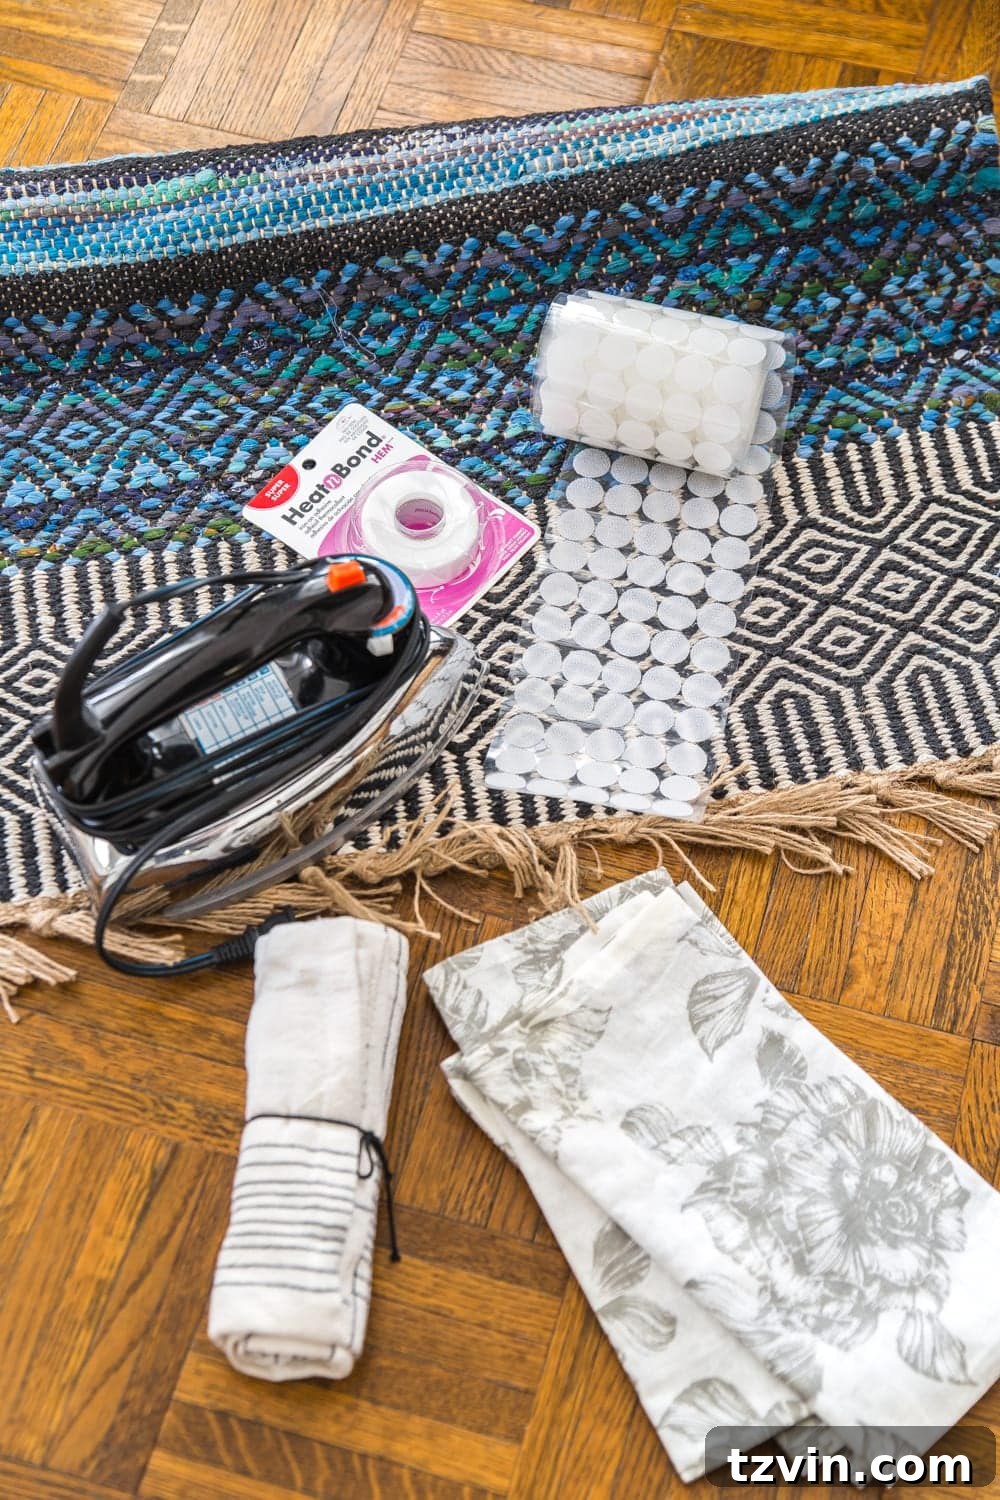
Essential Supplies for Your Stitch-Free Project:
Gathering your materials is the first step towards transforming your vision into reality. Luckily, the supplies for this no-sew project are minimal and easily accessible:
- Material of your choice: Whether it’s cloth napkins, a kitchen towel, or an accent rug, pick something that inspires you! Consider texture, color, and pattern to complement your existing decor.
- Iron & ironing board: Crucial for a smooth, wrinkle-free foundation and activating the hemming tape.
- Heat n Bond hemming tape: This ingenious product is the hero of our no-sew journey, creating strong, durable bonds between fabric layers. Make sure to get a decent width for a secure seal.
- Sharp Scissors: For precise cuts, especially when trimming the hemming tape.
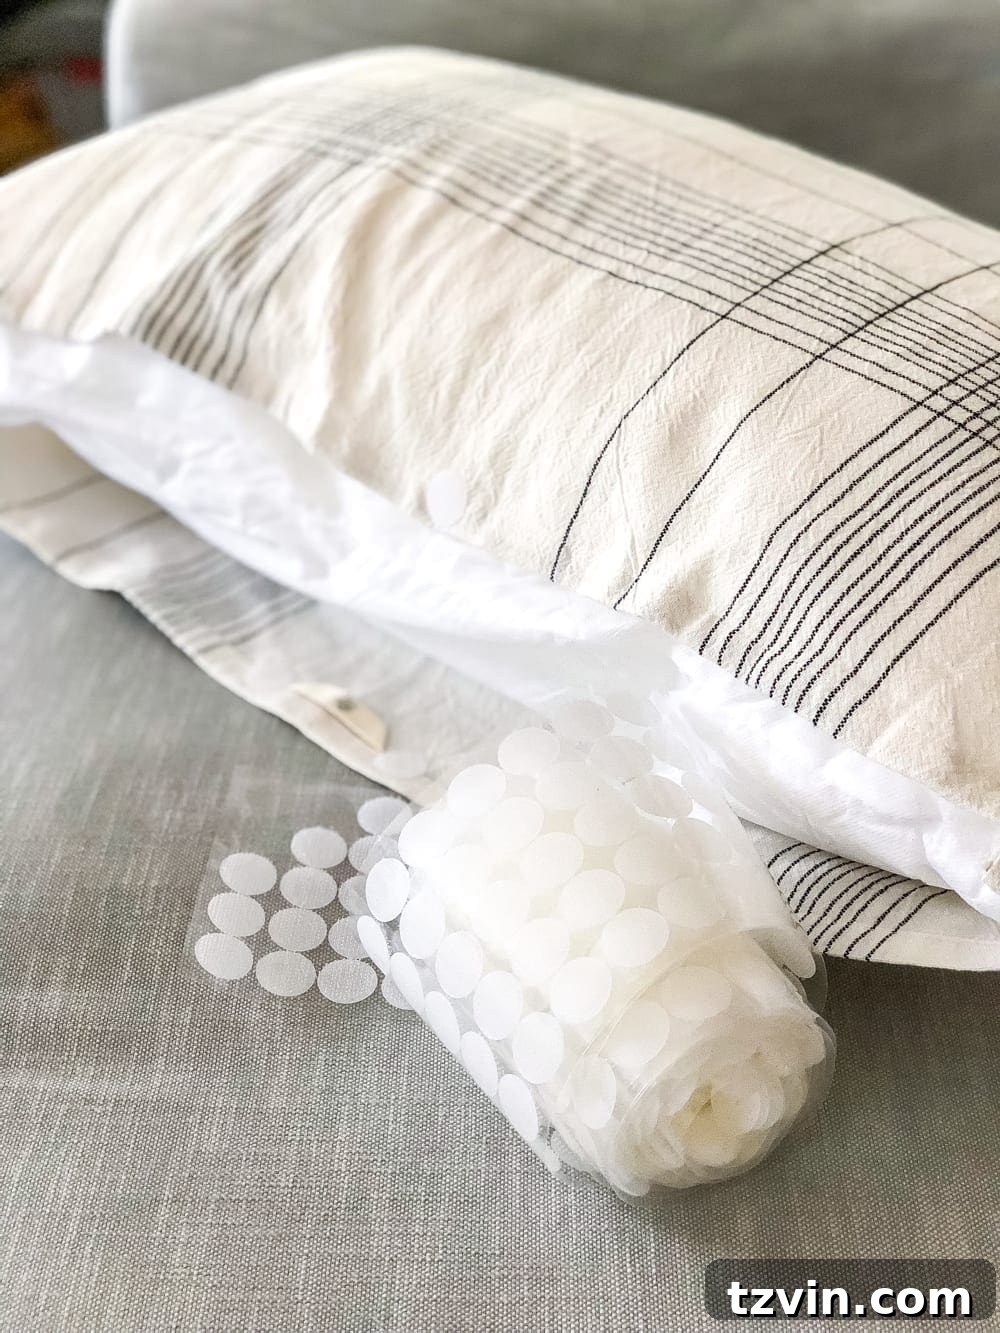
- Velcro dots: These are perfect for creating a removable closure for your pillow, making it easy to swap out inserts or clean the cover. Alternatively, you can use a continuous strip of Velcro.
- Pillow inserts: Reusing existing inserts is a fantastic way to save money. You can also repurpose polyfill from any old, tired pillows that are ready for retirement, giving them a new lease on life inside your DIY creation. New inserts can also be purchased affordably online or at craft stores.
To give you an idea of the incredible savings, I recently picked up a set of four charming napkins for just $8, which yielded two beautiful pillows. This stylish kitchen towel set me back a mere $4, while a lovely accent rug was a steal at less than $10 during a sale. When you factor in the cost of the hemming tape and Velcro dots, my total outlay per pillow ranged from approximately $5 to $12. That’s a phenomenal score compared to retail prices!
Step-by-Step Instructions for Your No-Sew Pillows:
Let’s get crafting! Follow these simple steps to bring your vision to life.
1. Preparation is Key: Iron Your Material
Before you begin, thoroughly iron your chosen material. This crucial step removes any wrinkles, creases, or folds, ensuring a smooth, crisp surface for your pillow cover. A perfectly ironed fabric not only looks professional but also allows the hemming tape to adhere more effectively, creating a stronger, cleaner bond.
2. Laying the Foundation: Arrange Your Fabric
The way you arrange your fabric depends on the material you’re using.
If you’re using two separate pieces of material, such as two cloth napkins, lay one piece flat on your work surface with the printed side (or the “right” side) facing up. Then, place the second piece directly on top of the first, with its printed side facing down. This means the two decorative sides of the fabric will be facing each other, ready to be joined.
If you’re working with a larger piece like a kitchen towel or an accent rug, you can simply fold it in half. Ensure that the patterned or “right” side of the material is folded inwards, creating a pouch-like shape. This method is often ideal for creating elongated lumbar pillows or square pillows, depending on the towel or rug’s dimensions. Take a moment to align the edges perfectly to ensure an even pillow shape.
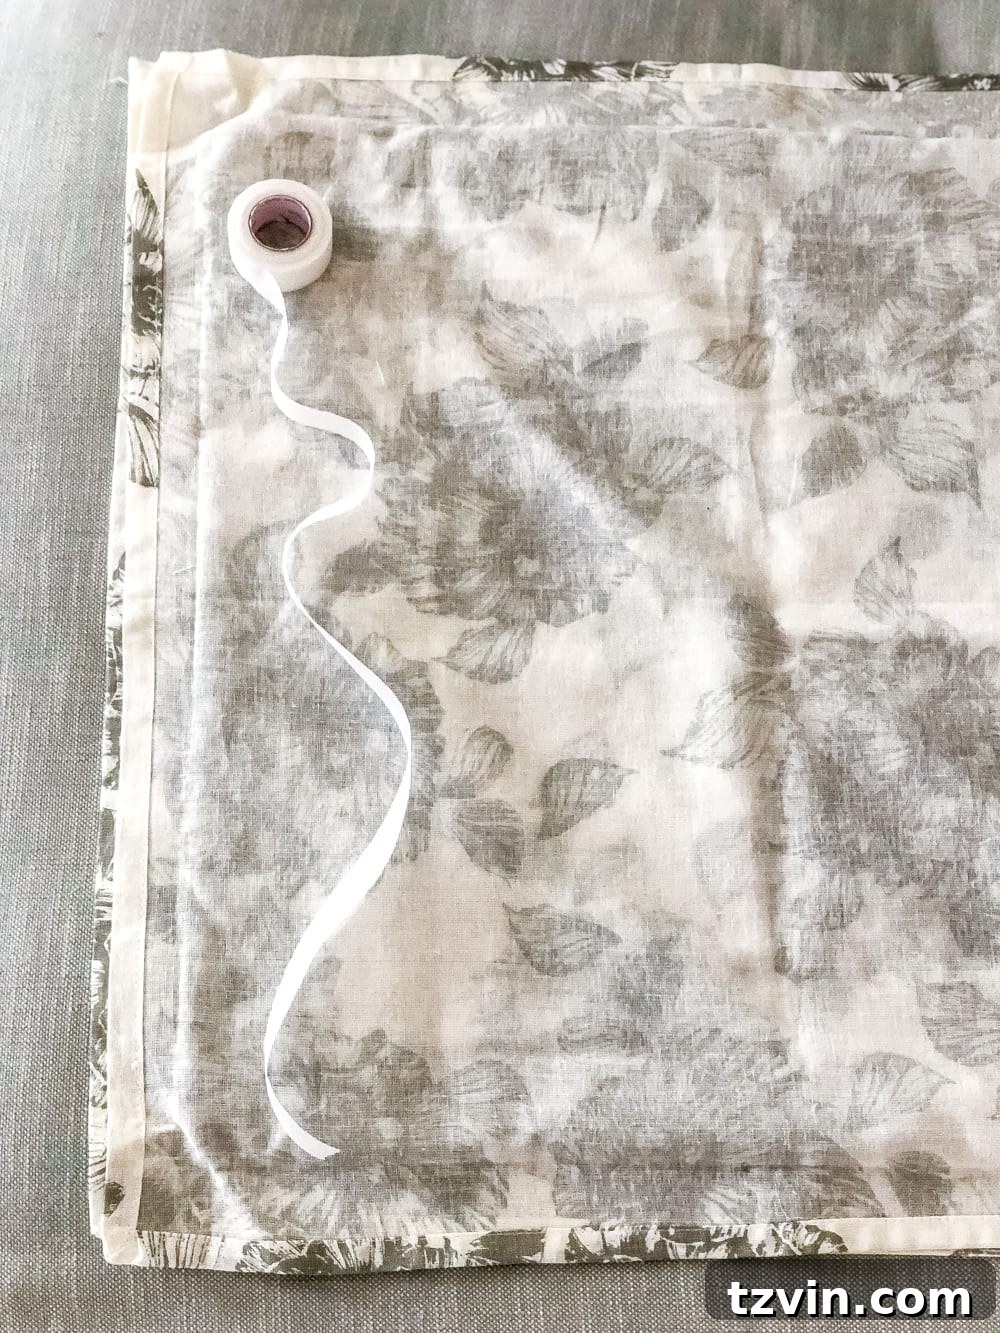
3. Sealing the Edges with Heat n Bond
Now, for the magic of the hemming tape! Unroll your Heat n Bond hemming tape and measure it along one edge of your fabric. Cut the tape to the appropriate length. Carefully position the hemming tape between the two fabric edges you wish to fuse together. Follow the specific instructions provided with your Heat n Bond product, which typically involves pressing a hot iron firmly over the fabric edges for a specified duration. The heat activates the adhesive, creating a strong, permanent bond. Repeat this process for three of the four edges, leaving one side completely open. This opening is crucial for inserting your pillow form or polyfill later on.
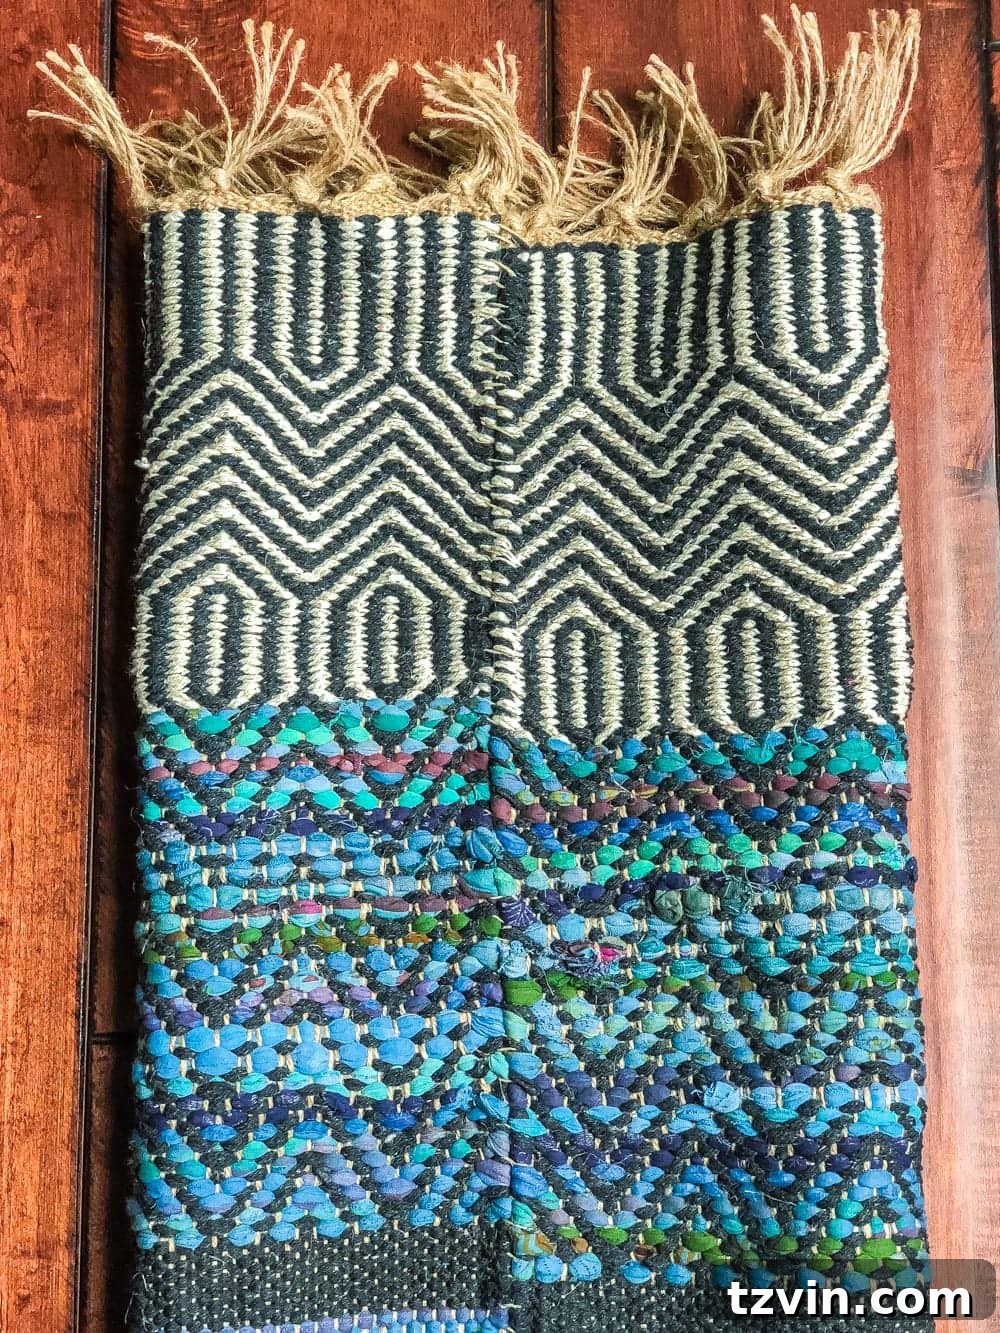
Special Note for Thicker Materials (like Rugs): While Heat n Bond is incredibly effective for most fabrics, very thick or densely woven materials like some accent rugs might require a bit more reinforcement. For these robust textures, hand-stitching can offer a more secure and lasting bond. My mom, with her impressive (and enviable!) sewing skills, graciously handled this step for me on my rug pillow. She used a sturdy carpet needle and durable hemp cord to create a strong whip stitch along the edges. If even a simple hand stitch feels daunting, don’t despair! Look for “super strength” or “heavy-duty” fabric fusing tapes specifically designed for upholstery or thicker materials, as these might offer enough adhesive power to tackle those tougher rug textures without a single stitch.
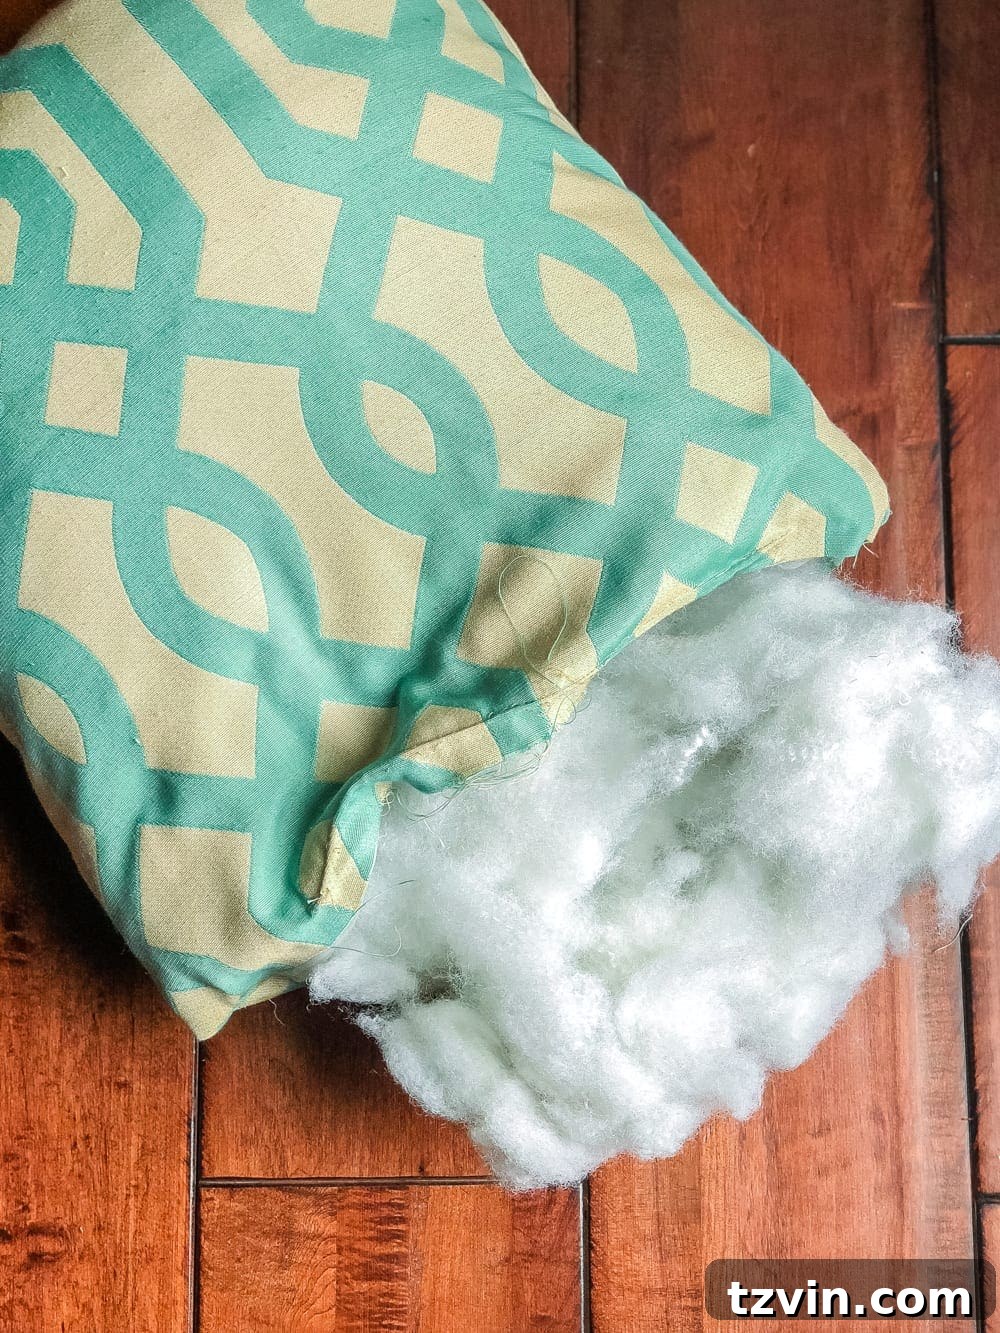
4. Filling Your Pillow with Inserts or Polyfill
Once three of the four edges are securely fused, it’s time to turn your newly formed pillow cover right side out. Gently push out all the corners to ensure a crisp, defined shape. Now, carefully insert your chosen pillow form or stuff the cover with polyfill. If you’re repurposing polyfill from old pillows, gently pull apart any clumps to ensure an even, fluffy fill. For my long lumbar rug pillow, which had a unique, elongated shape, we found it perfectly suited to be stuffed with polyfill from a couple of my mom’s old, retired pillows, saving us from needing a custom-sized insert. This approach is not only economical but also incredibly eco-friendly!
5. The Final Closure: Securing the Opening
With your pillow nicely stuffed, it’s time to close the final opening. The easiest and most versatile method is to attach Velcro dots along the inside edges of the opening. Simply peel, stick, and press firmly to secure. This creates a convenient, removable closure, allowing you to easily take the cover off for cleaning or to swap out inserts. If you prefer a more permanent solution and are certain you won’t need to access the interior again, you can also fuse this final edge shut with another strip of Heat n Bond hemming tape.
And there you have it! Not bad for a girl who wouldn’t know a bobbin from a button, huh? The transformation is truly remarkable, yielding professional-looking pillows with minimal effort and absolutely no sewing skills required. The pride of creating something so stylish and functional with your own hands, and on a budget, is incredibly rewarding.
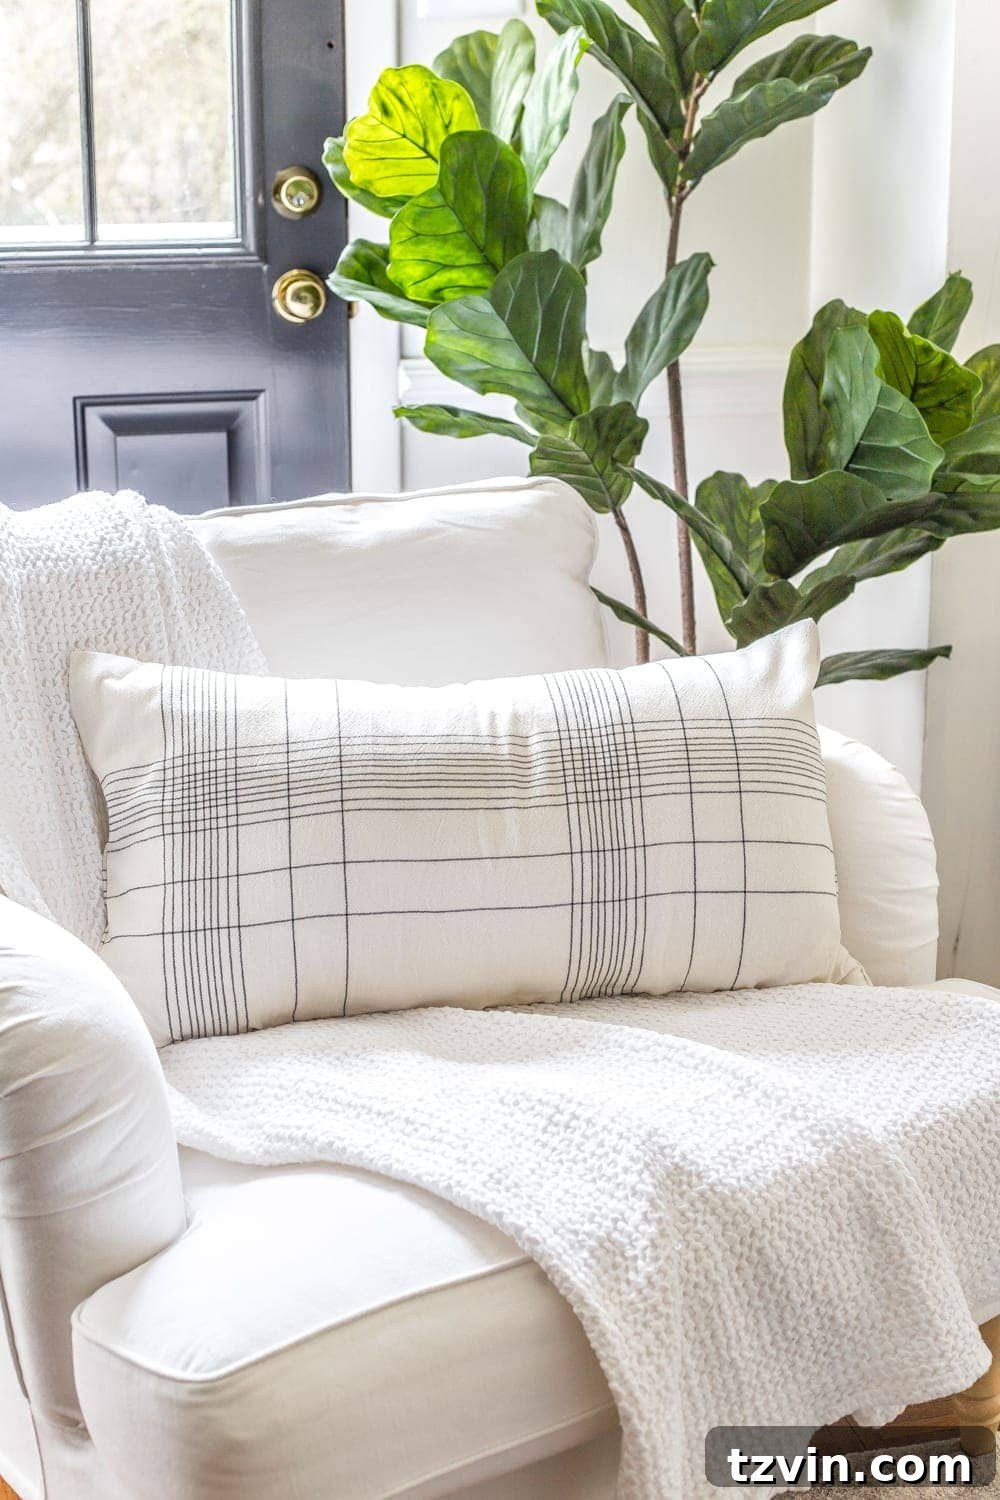
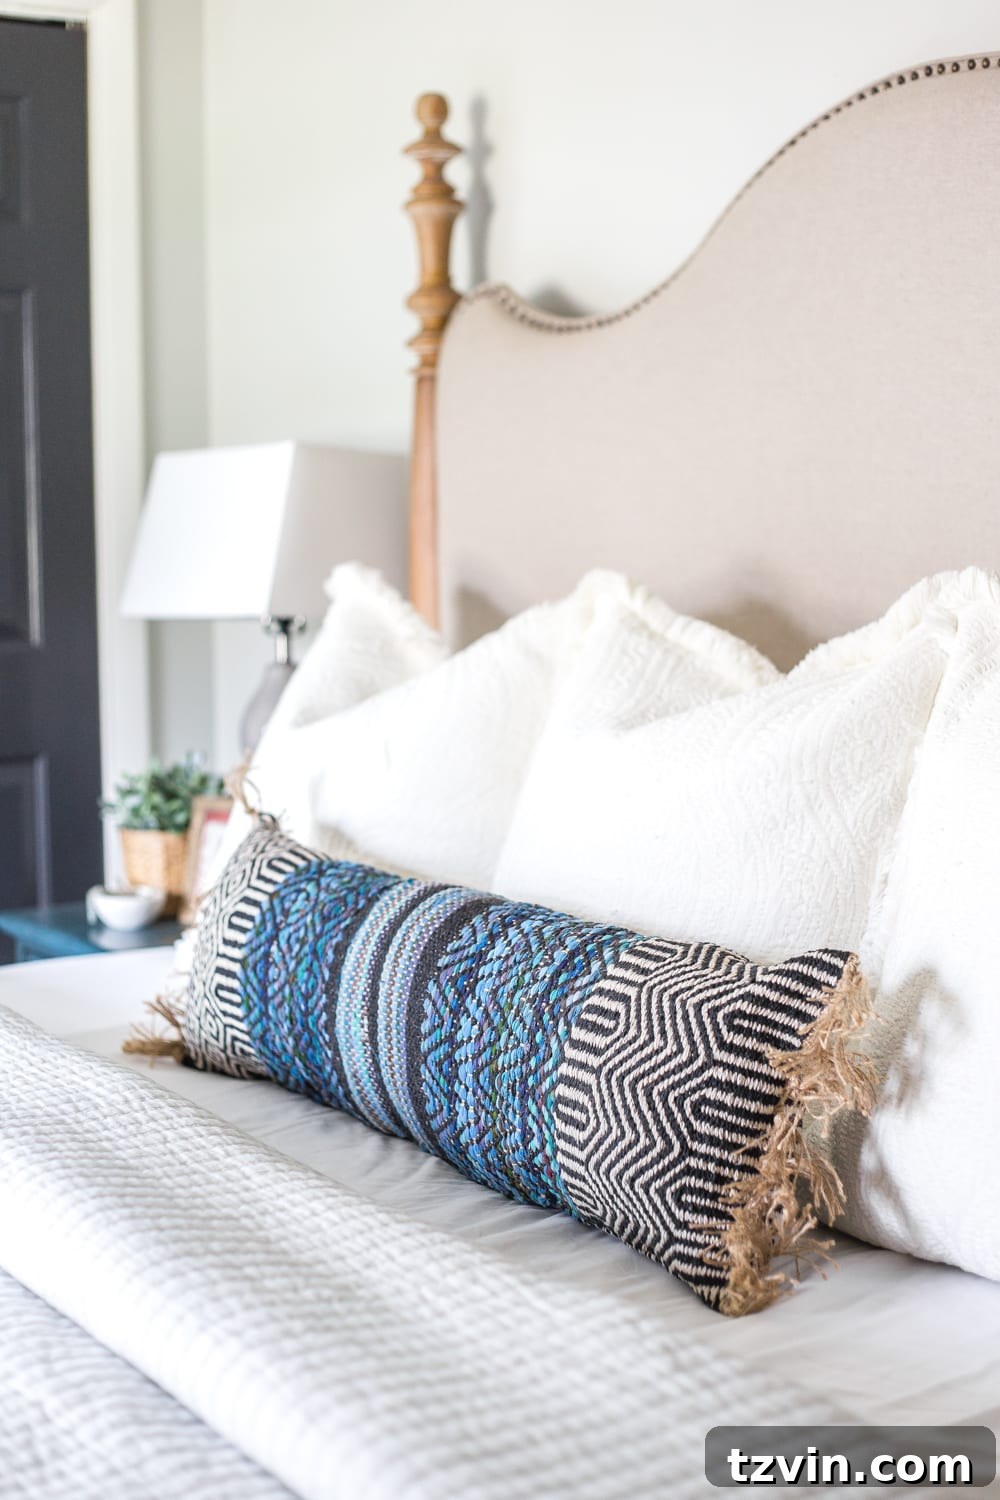
Looking at this beautifully textured lumbar pillow, you’d never guess it started its life as a simple $4 kitchen towel. The fabric’s inherent charm and durability make it an ideal candidate for such a stunning repurpose. It’s a testament to the power of imagination and the versatility of everyday items.
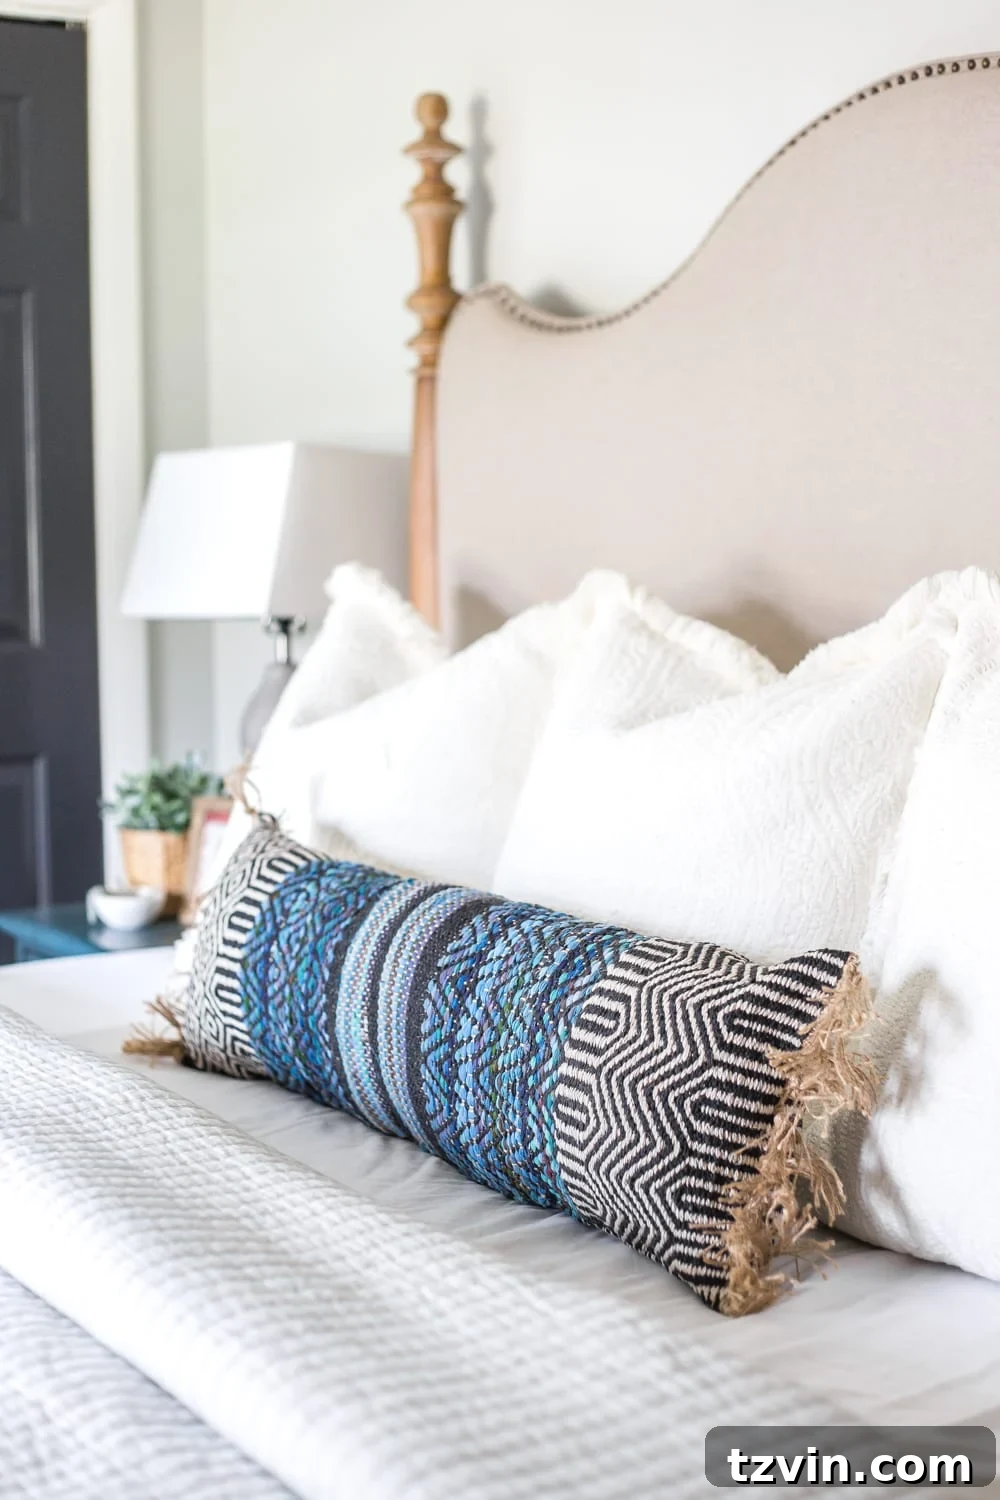
And since we have a king-sized bed, this long rug pillow is absolutely perfect, adding an exquisite layer of texture and comfort. The robustness of the rug material ensures it will hold up beautifully, providing both style and practicality.
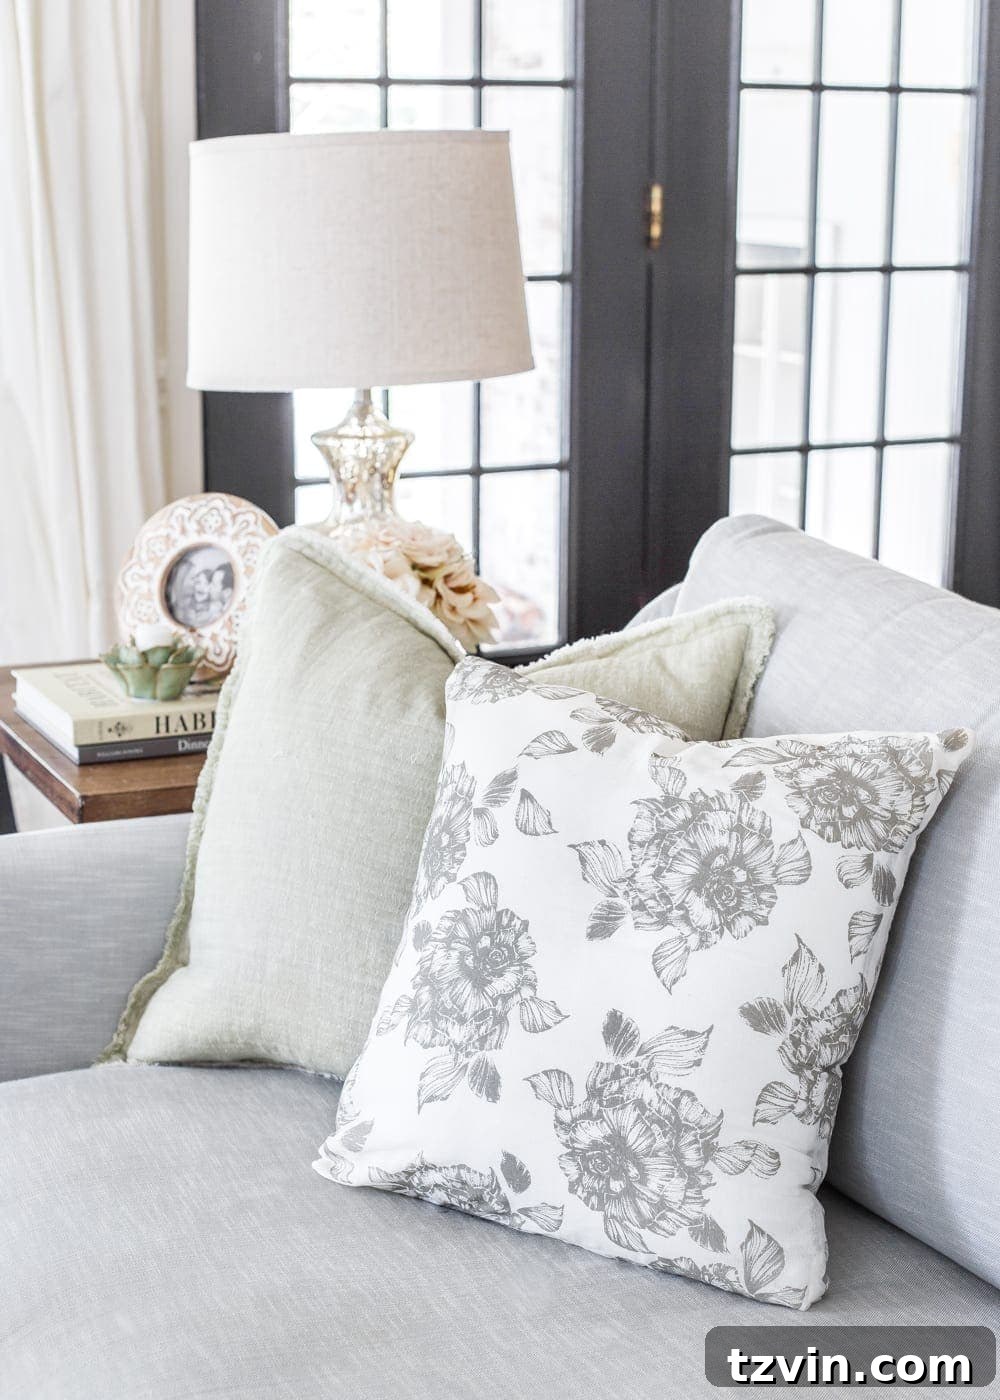
I absolutely adore how these elegant gray rose napkin pillows effortlessly integrate with the simplified spring vibe we’re cultivating throughout our home right now. Their subtle pattern and soft hue add just the right touch of sophistication and freshness, proving that stunning decor doesn’t require a hefty price tag.
This entire project is compelling proof that you don’t need to shell out $20-$40 (or more!) for stylish throw pillows. Sometimes, all it takes is a little bit of creative thinking and the willingness to look at everyday items – perhaps something tucked away in a forgotten kitchen drawer or linen closet – with fresh eyes. Repurposing and DIY projects like this not only save you money but also allow you to infuse your home with unique pieces that tell a story.
Have you ever experimented with making pillows from unconventional items around your house? I’m always eager to discover new ideas and expand my repertoire of no-sew projects. Please share your clever tips and tricks in the comments below – I’d love to be inspired by your creativity and try more of these delightful DIYs one of these days!
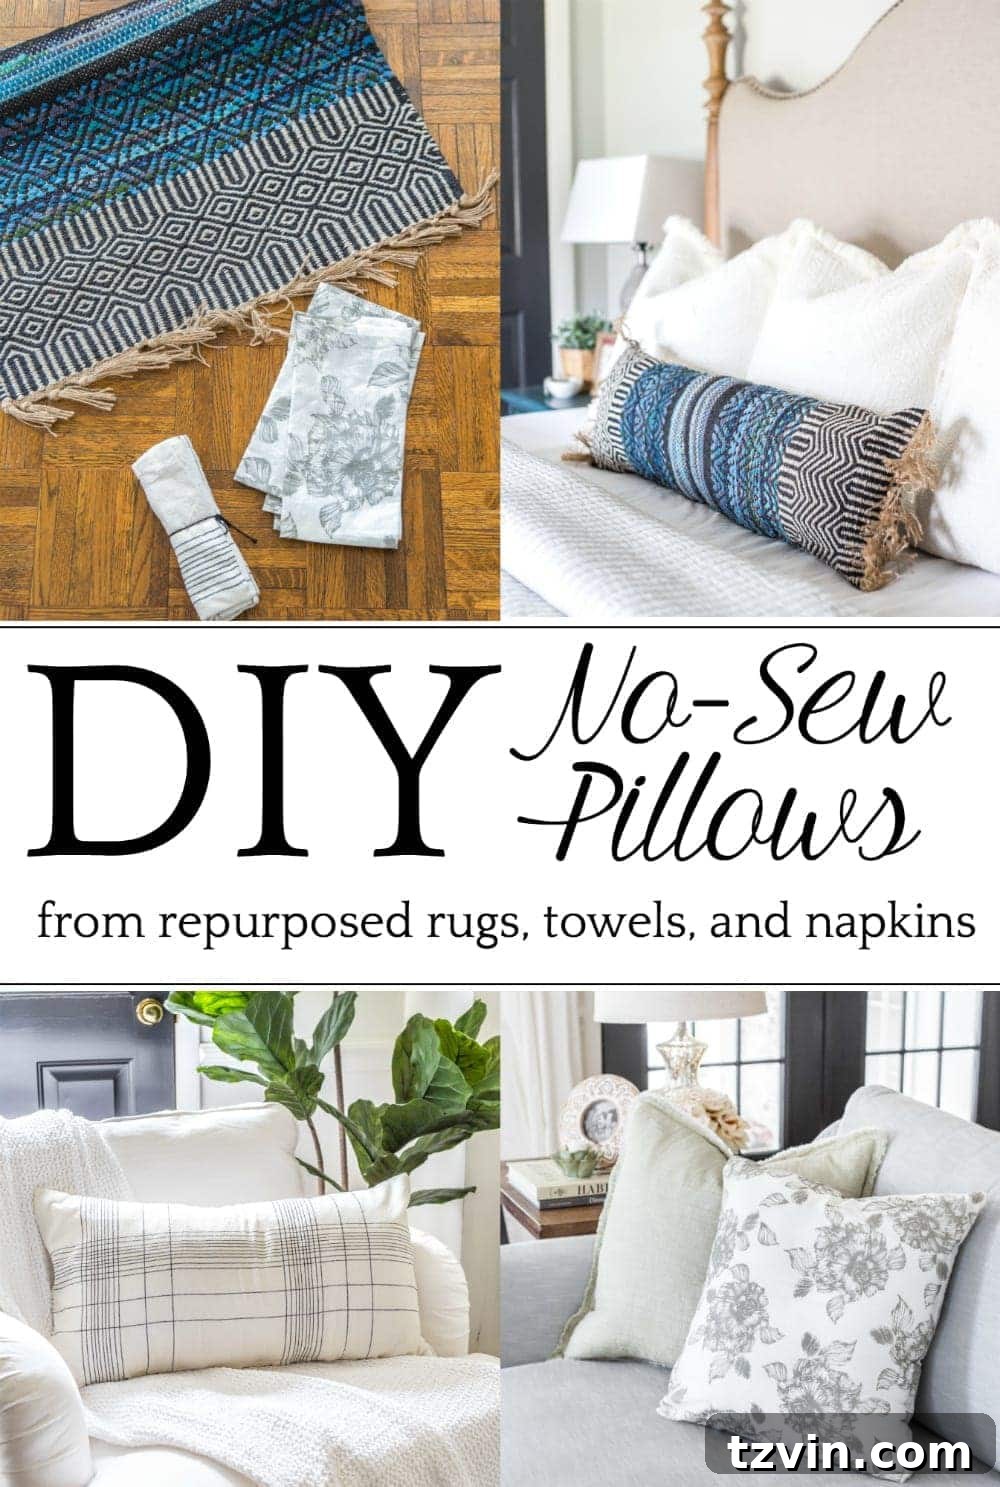
If you found this guide helpful and want to revisit it later, be sure to pin it to your favorite DIY or home decor board: