DIY Dining Table Makeover: Building a Retrofitted Wooden Table Top
Remember that amazing dining table I snagged for just $100 on Facebook Marketplace? Well, it didn’t always look like the stunning centerpiece it is now!
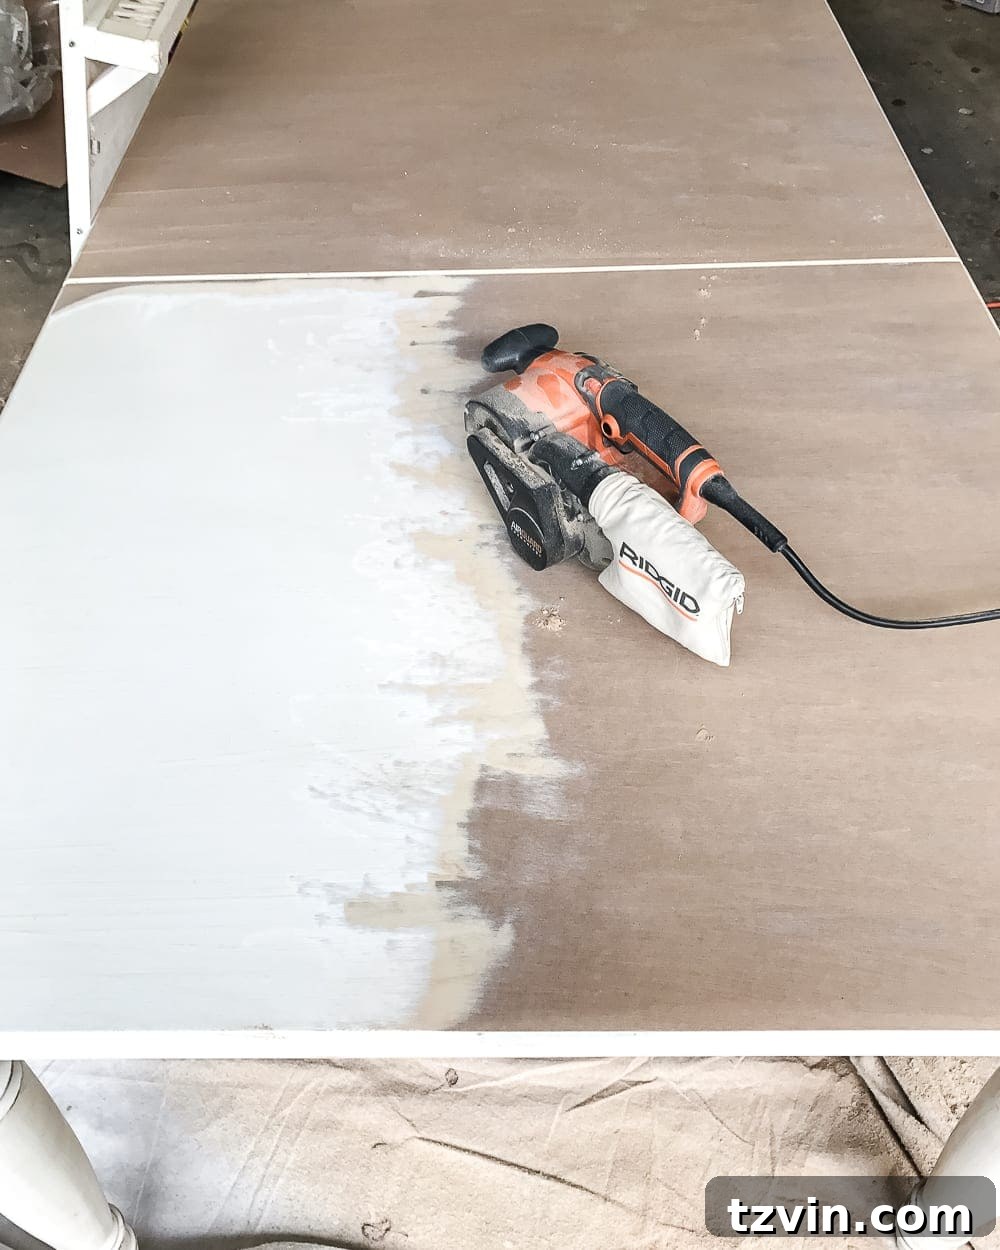
Initially, the plan was a complete sanding and refinishing job to reveal the hidden beauty of the wood grain. Unfortunately, the existing tabletop was made of less-than-ideal MDF, which proved difficult to work with. It was a bit of a setback, but I decided to make the best of it.
So, welcome to Plan B! And you know what? It turned out even better than I could have imagined. This is a story about embracing Plan B and achieving a fantastic result.
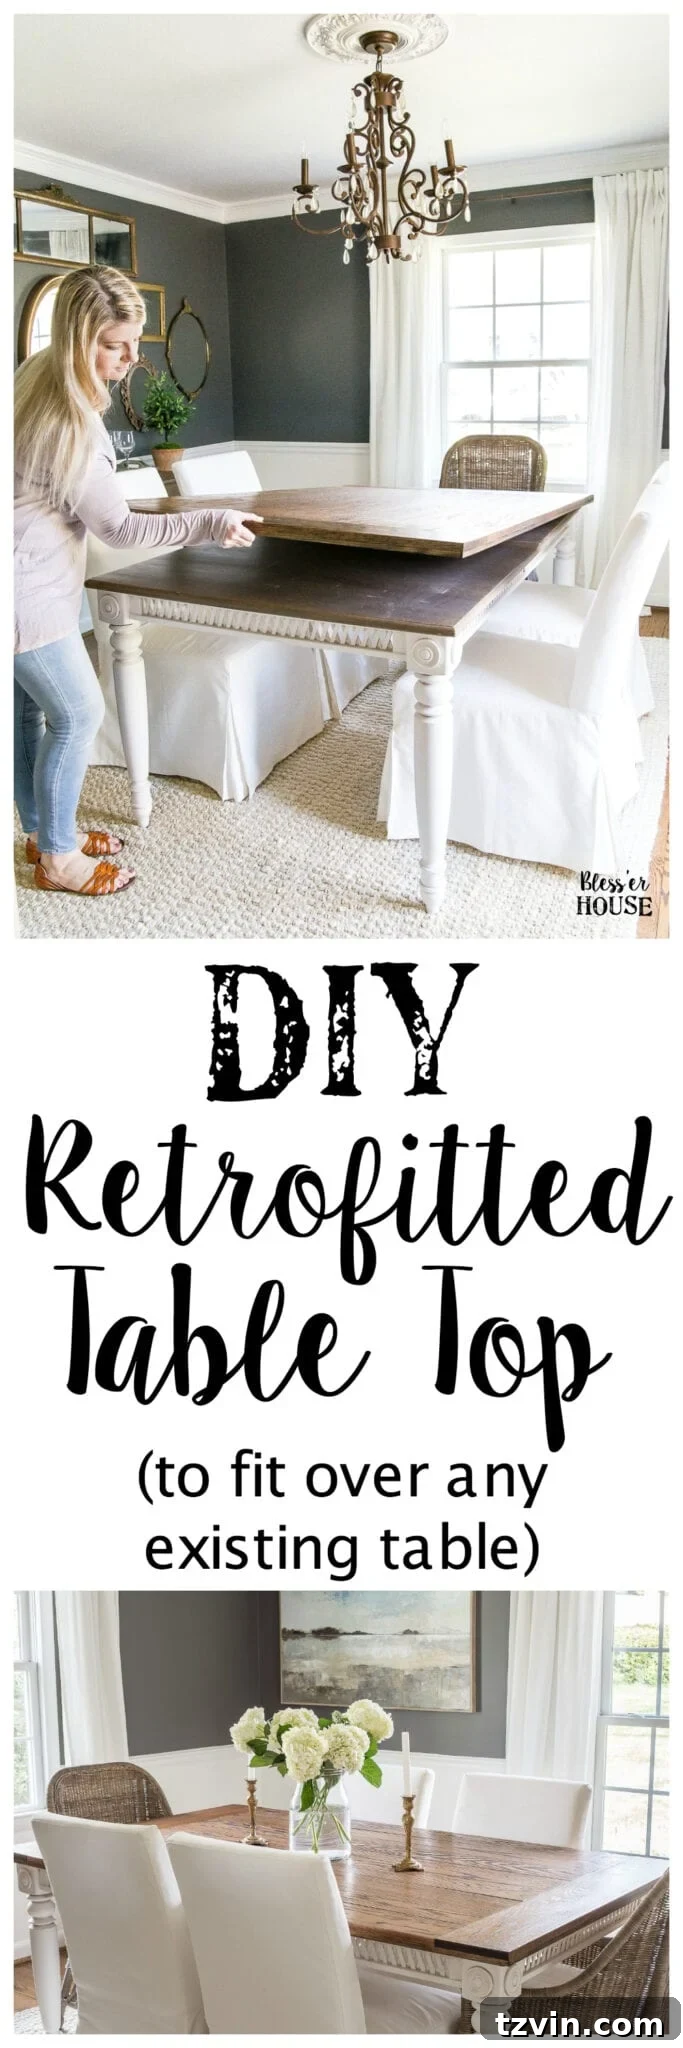
My husband, Robert, and I explored various table-building plans, but then we had a brilliant idea: why not build a new, retrofitted tabletop that would simply fit over the existing one? This way, we could avoid taking the old table apart or causing any damage.
(This method works perfectly for coffee tables, end tables, nightstands, dressers—any surface that could benefit from a beautiful, real wood upgrade.)
Building a Retrofitted Table Top: The Plan
Here’s the plan we came up with to create a stunning, custom-built dining table top.
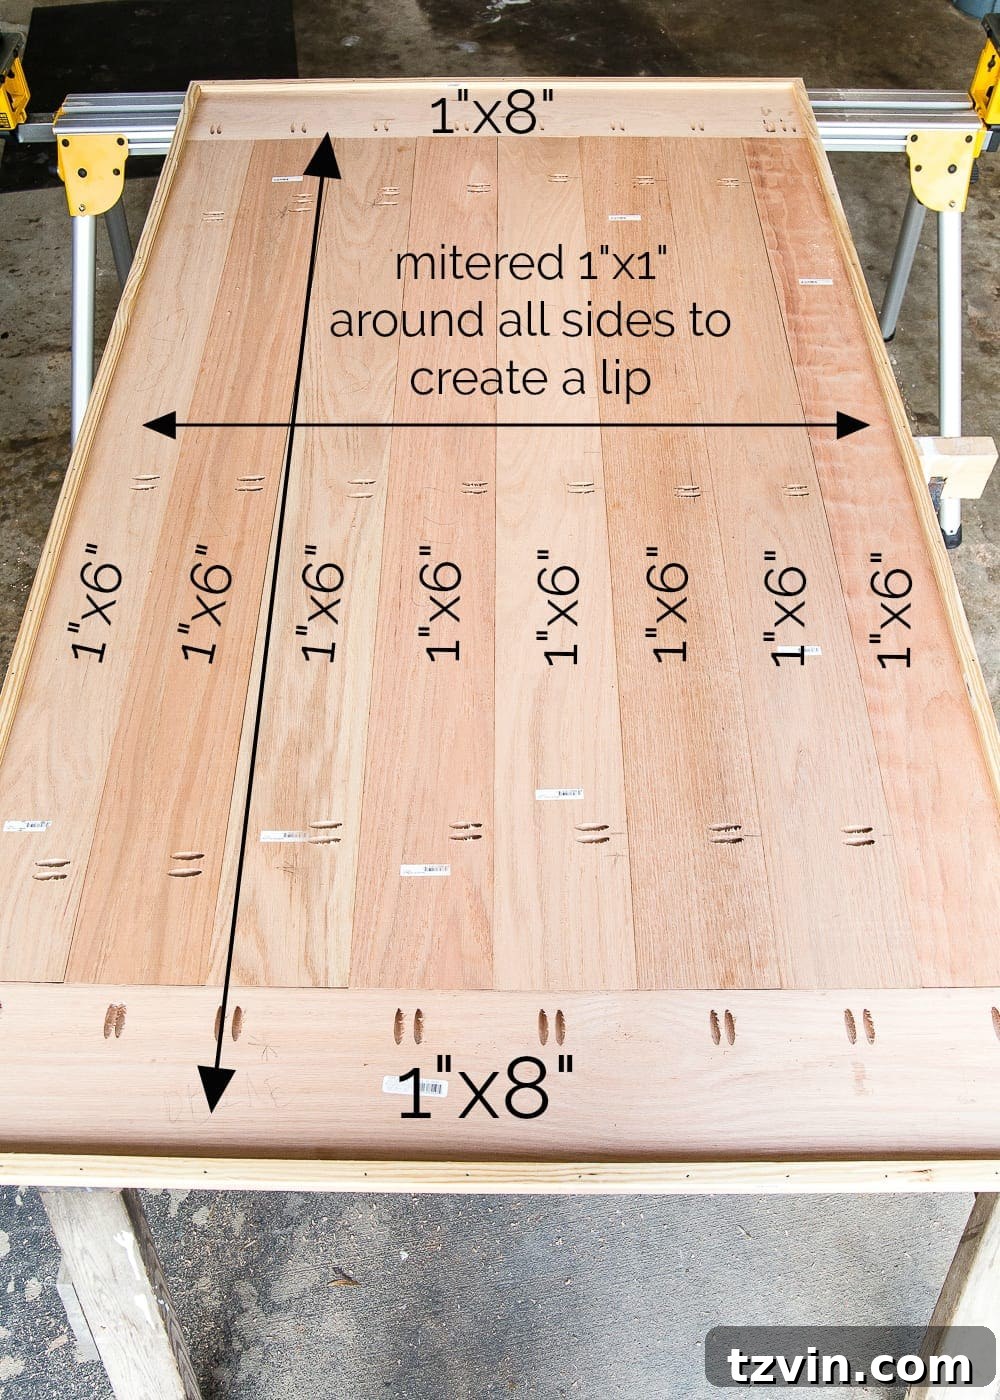
Materials Needed:
- 8 – 1″x6″x6′ boards (Red oak was our choice, but choose your favorite wood type)
- 2 – 1″x8″x6′ boards
- 2 – 1″x1″x6′ boards
- 2 – 1″x1″x8′ boards
- Miter saw
- Nail gun with 1 1/4″ finishing nails
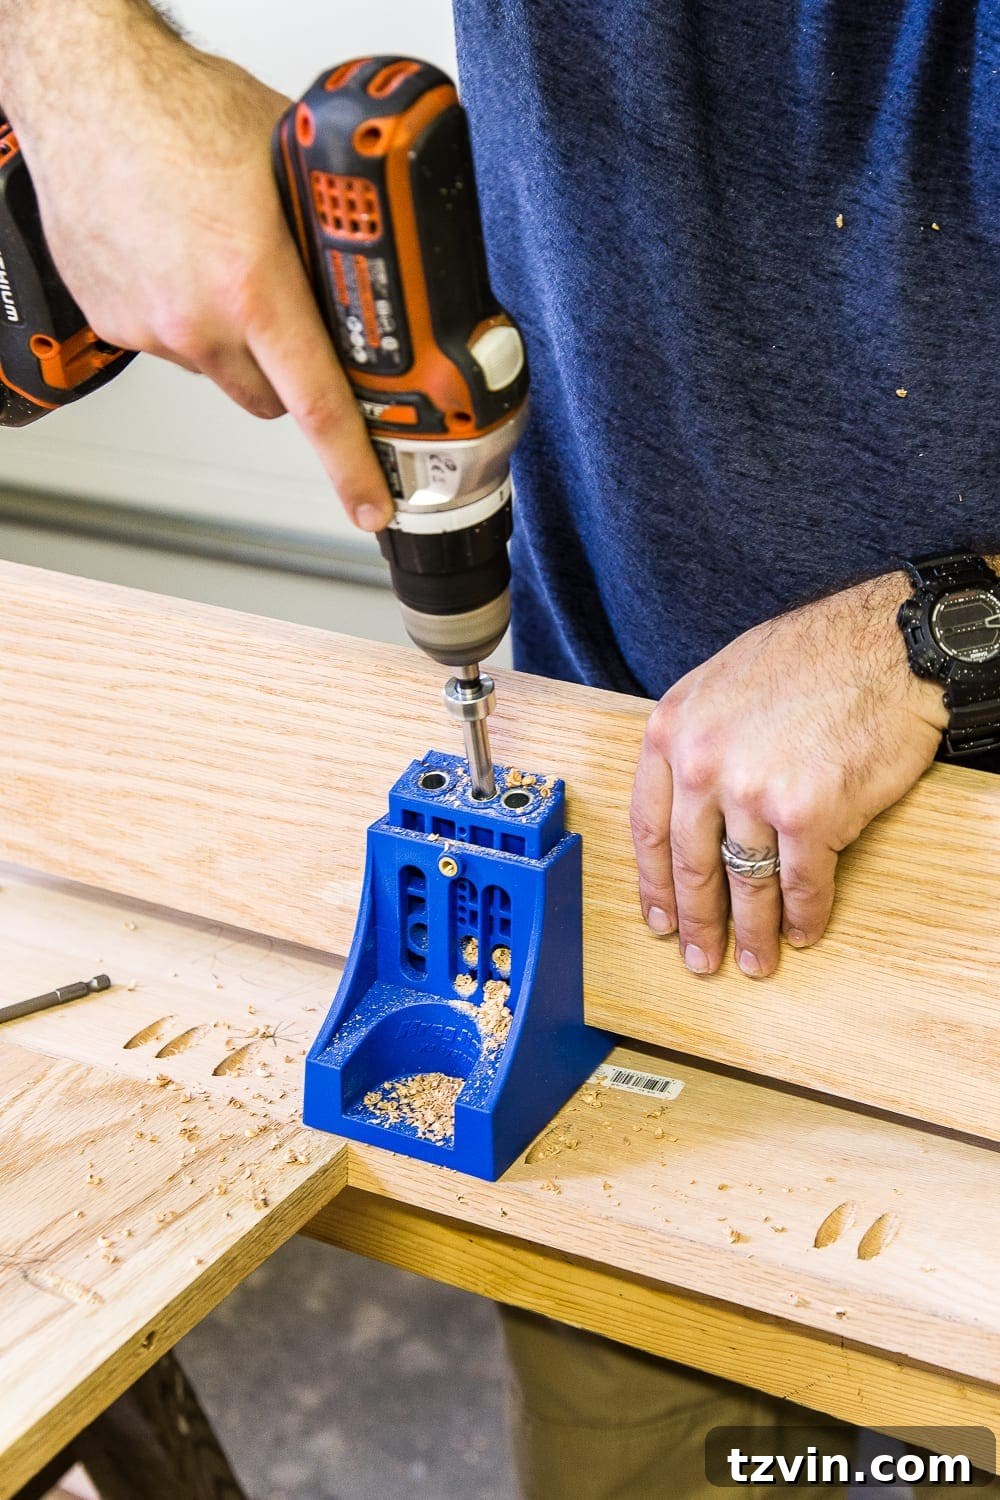
- Kreg Jig
- 1 1/2″ Kreg Jig wood screws
- Power drill
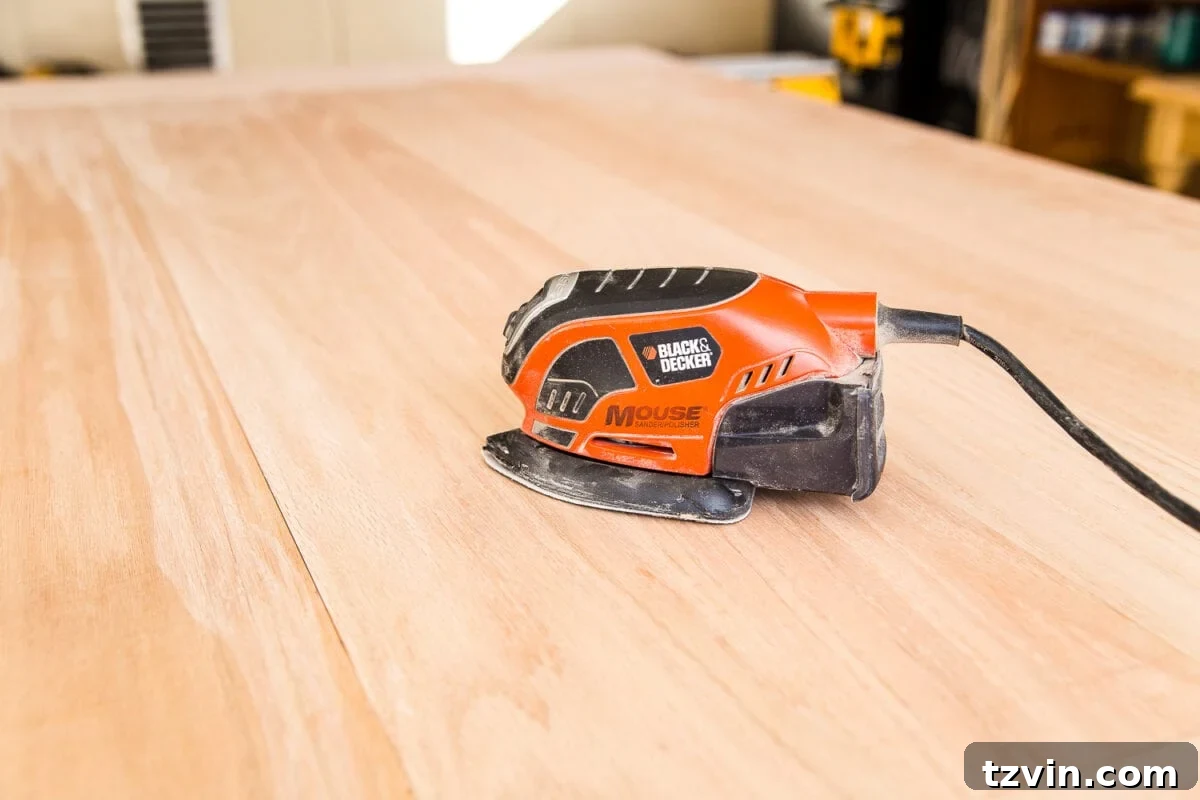
- Palm sander
- Sandpaper pads (220, 120, 180, and 80 grit)
- Tape measure
- Pencil
- Hand clamps
- 2-3 bar clamps
- Minwax Stainable Wood Filler
- Putty knife
- Clean, dry rags
- Stain brush
- Large foam brush
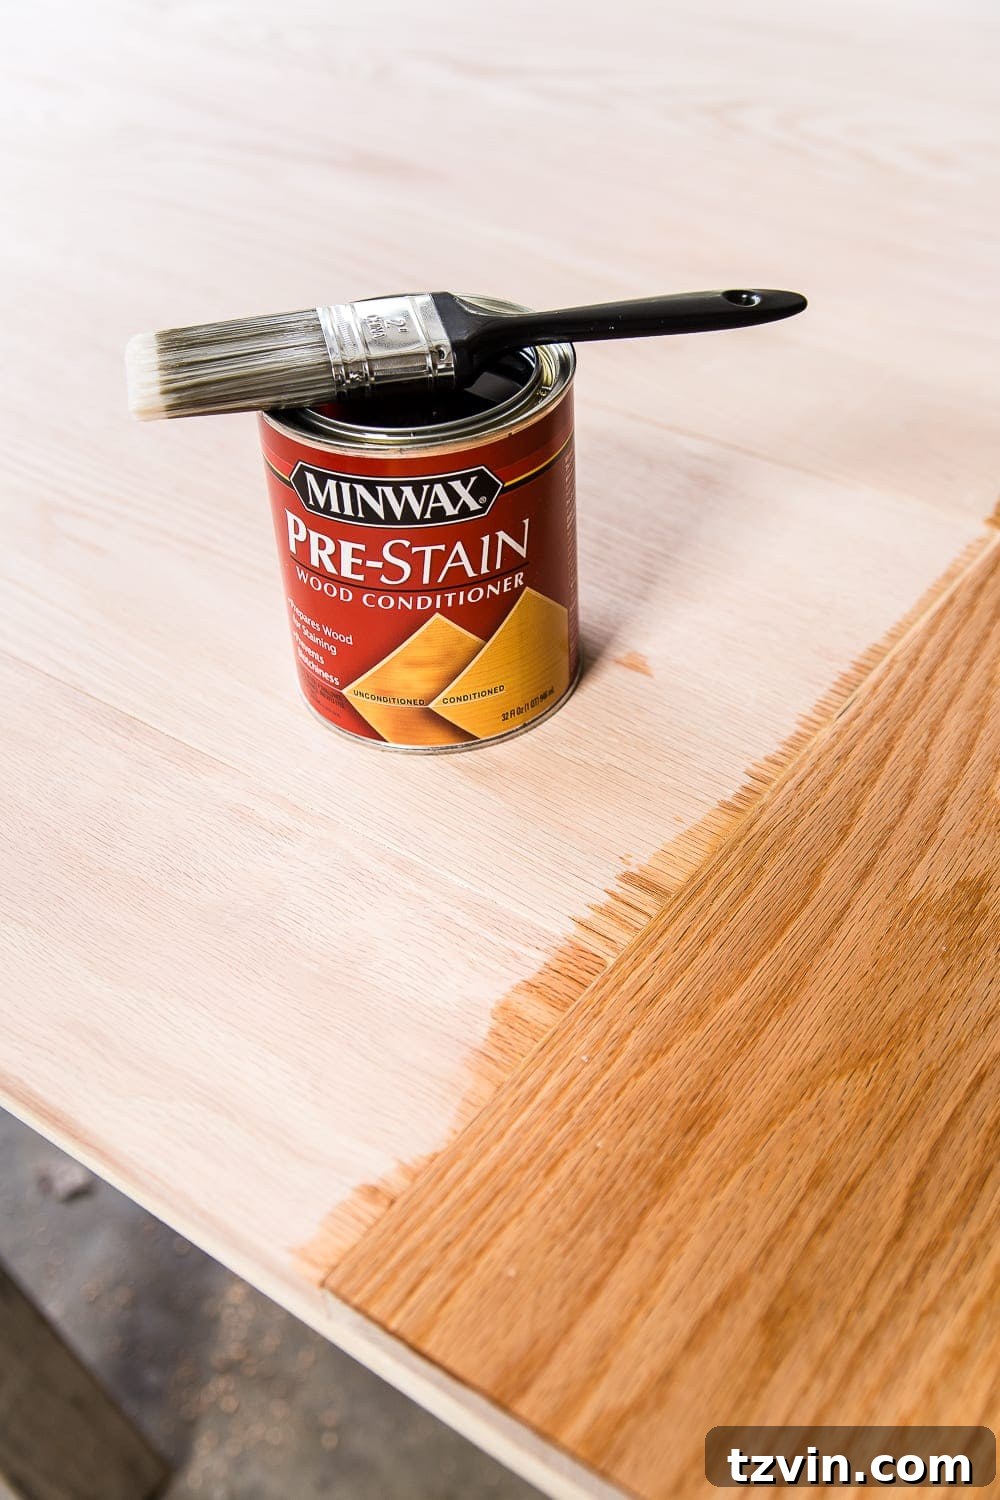
- Minwax Pre-Stain Wood Conditioner
- Minwax Dark Walnut Stain (We chose this color, but more options are below)
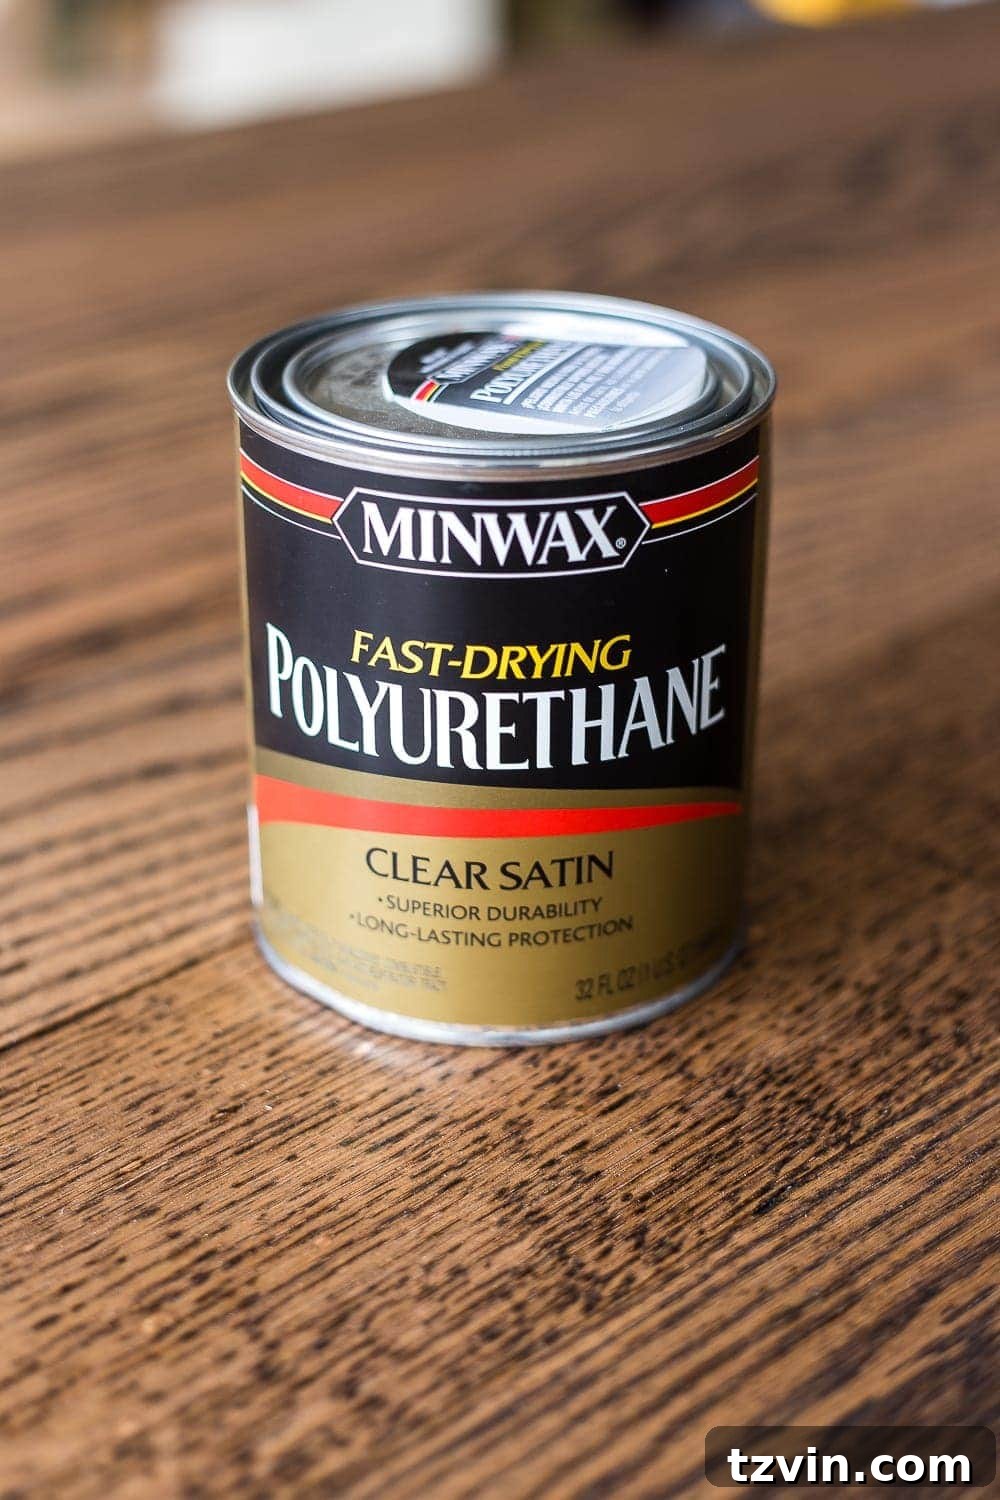
- Minwax Fast-Drying Polyurethane in Clear Satin (Choose your preferred sheen)
Note: We initially considered 1″x2″ boards for the lip, but later switched to 1″x1″ boards. The best choice depends on the thickness of your existing table’s top.
Step-by-Step Guide: Building Your Table Top
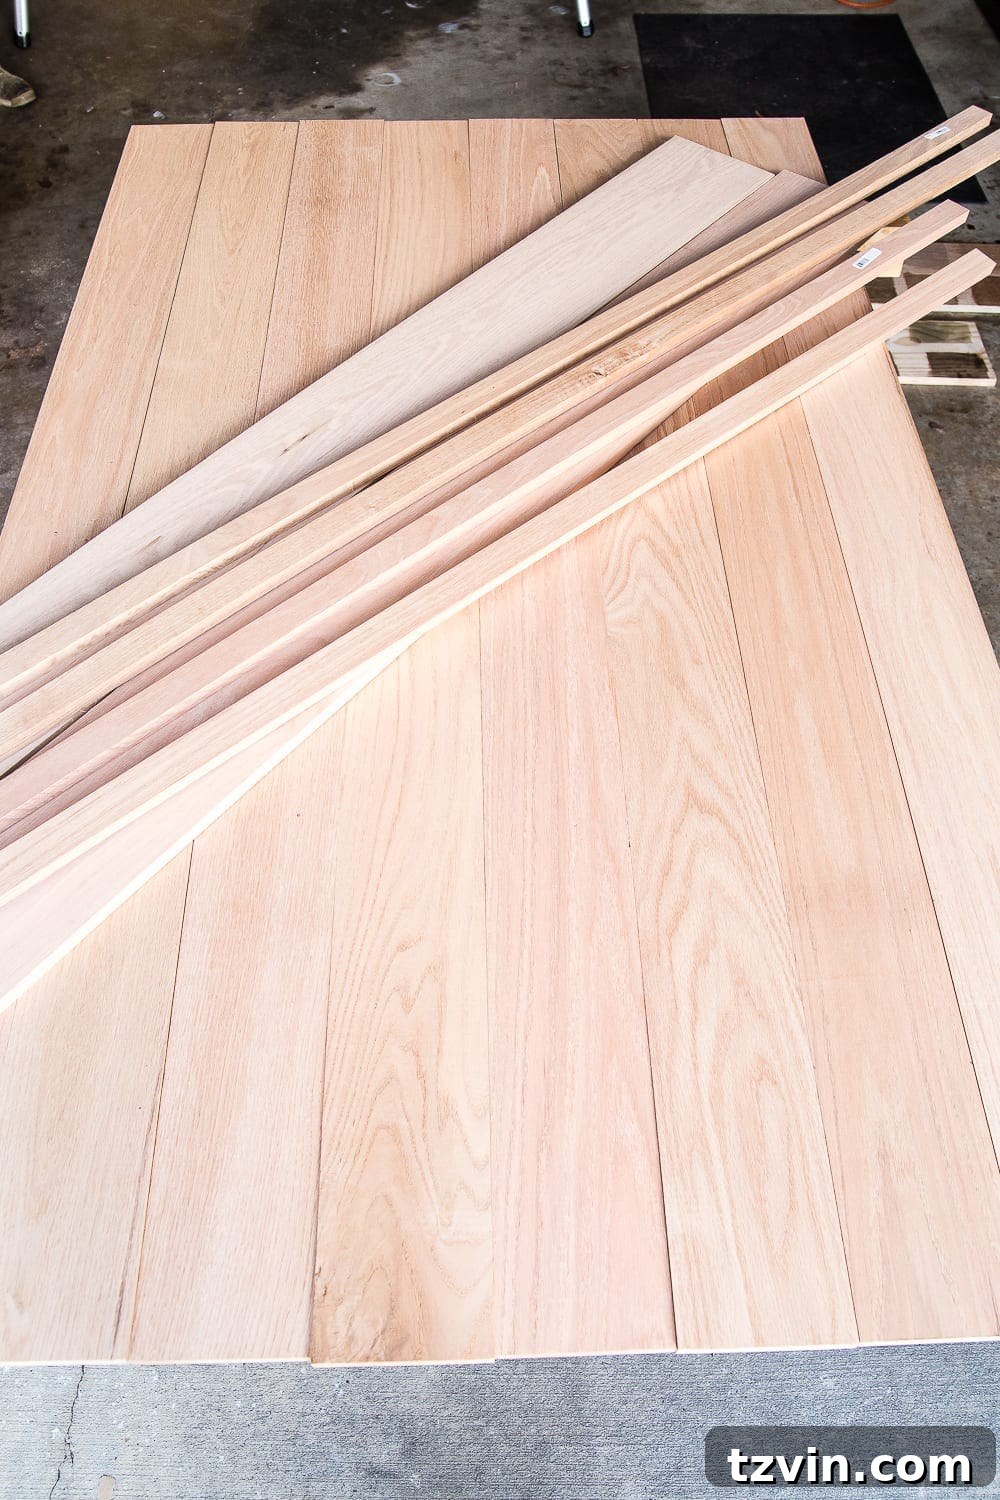
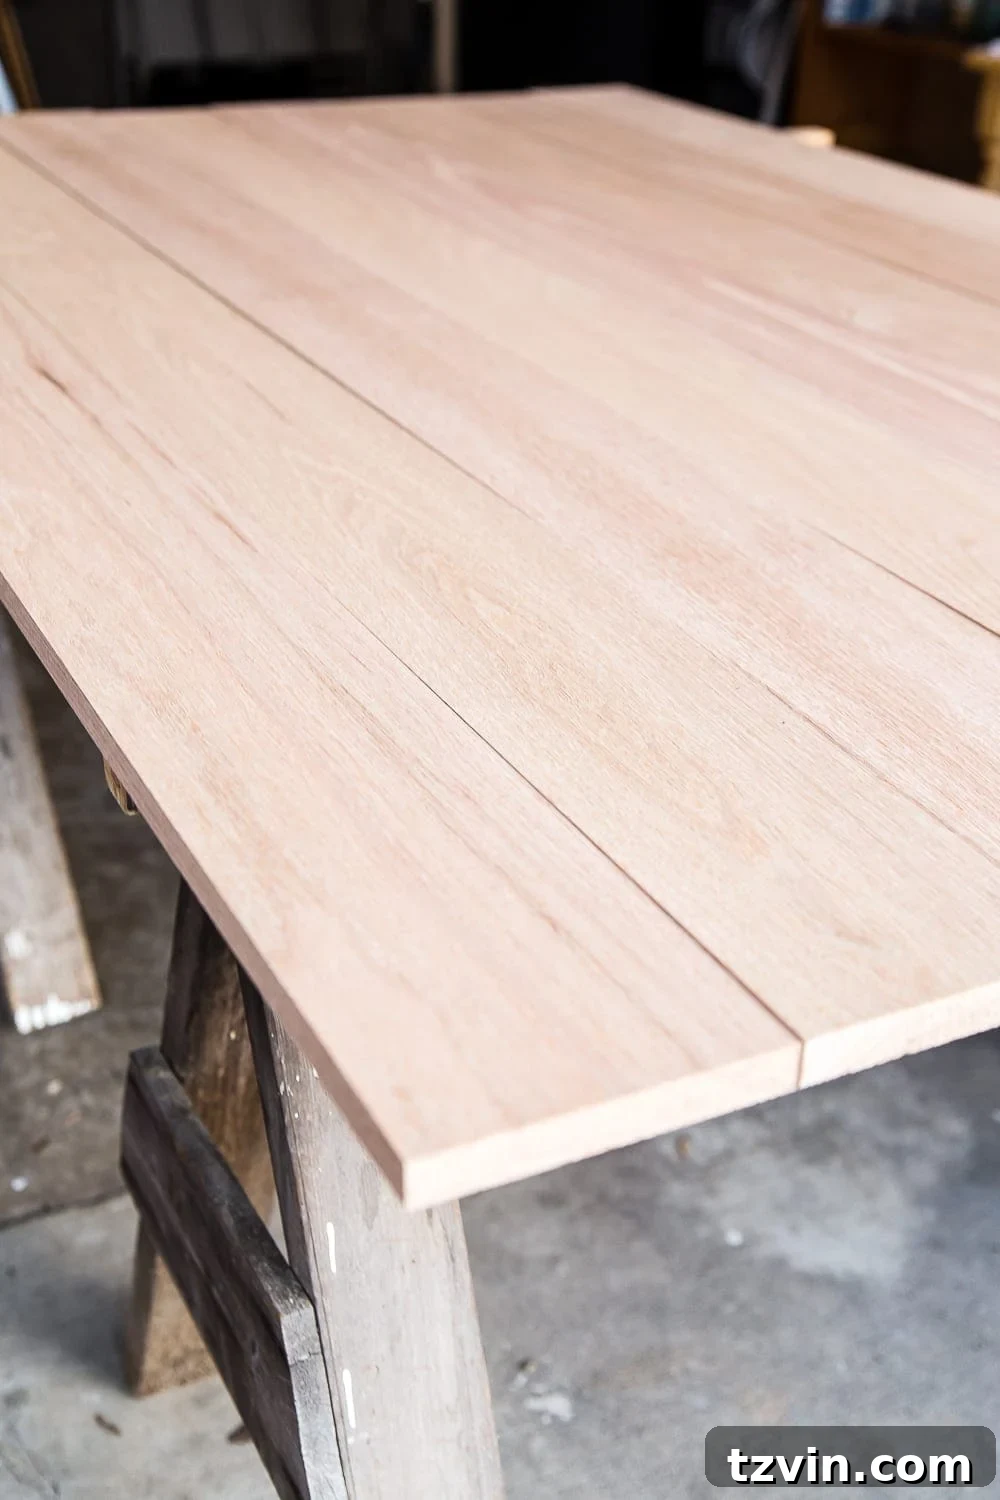
- Arrange the 1″x6″ Boards: Begin by laying out your 1″x6″ boards side by side to form the main surface of the table top.
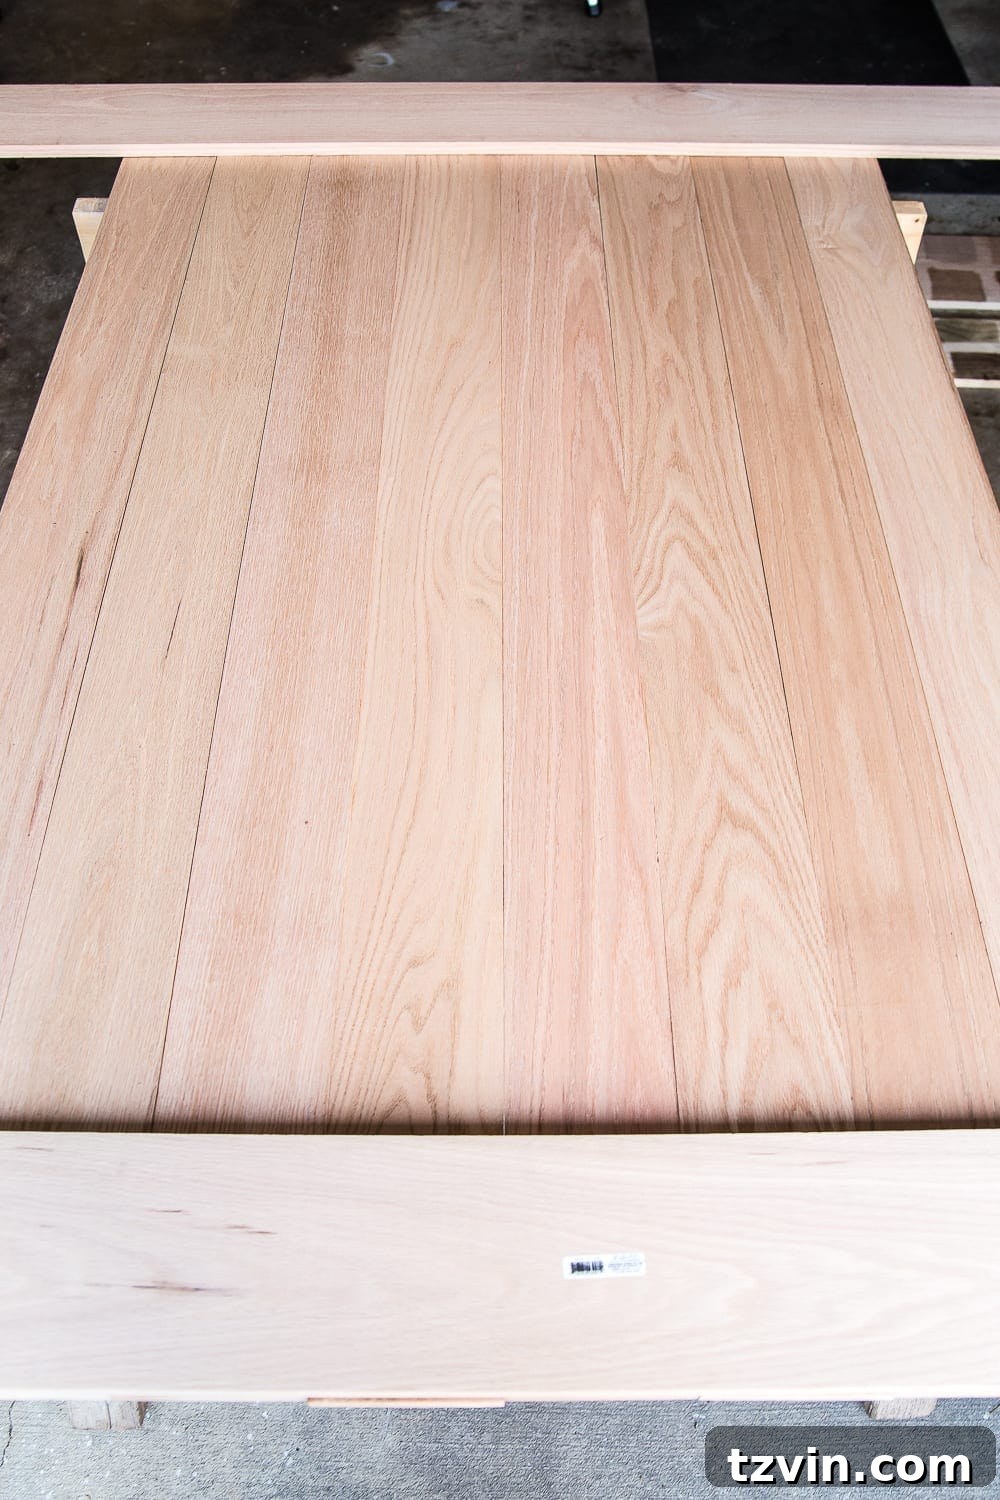
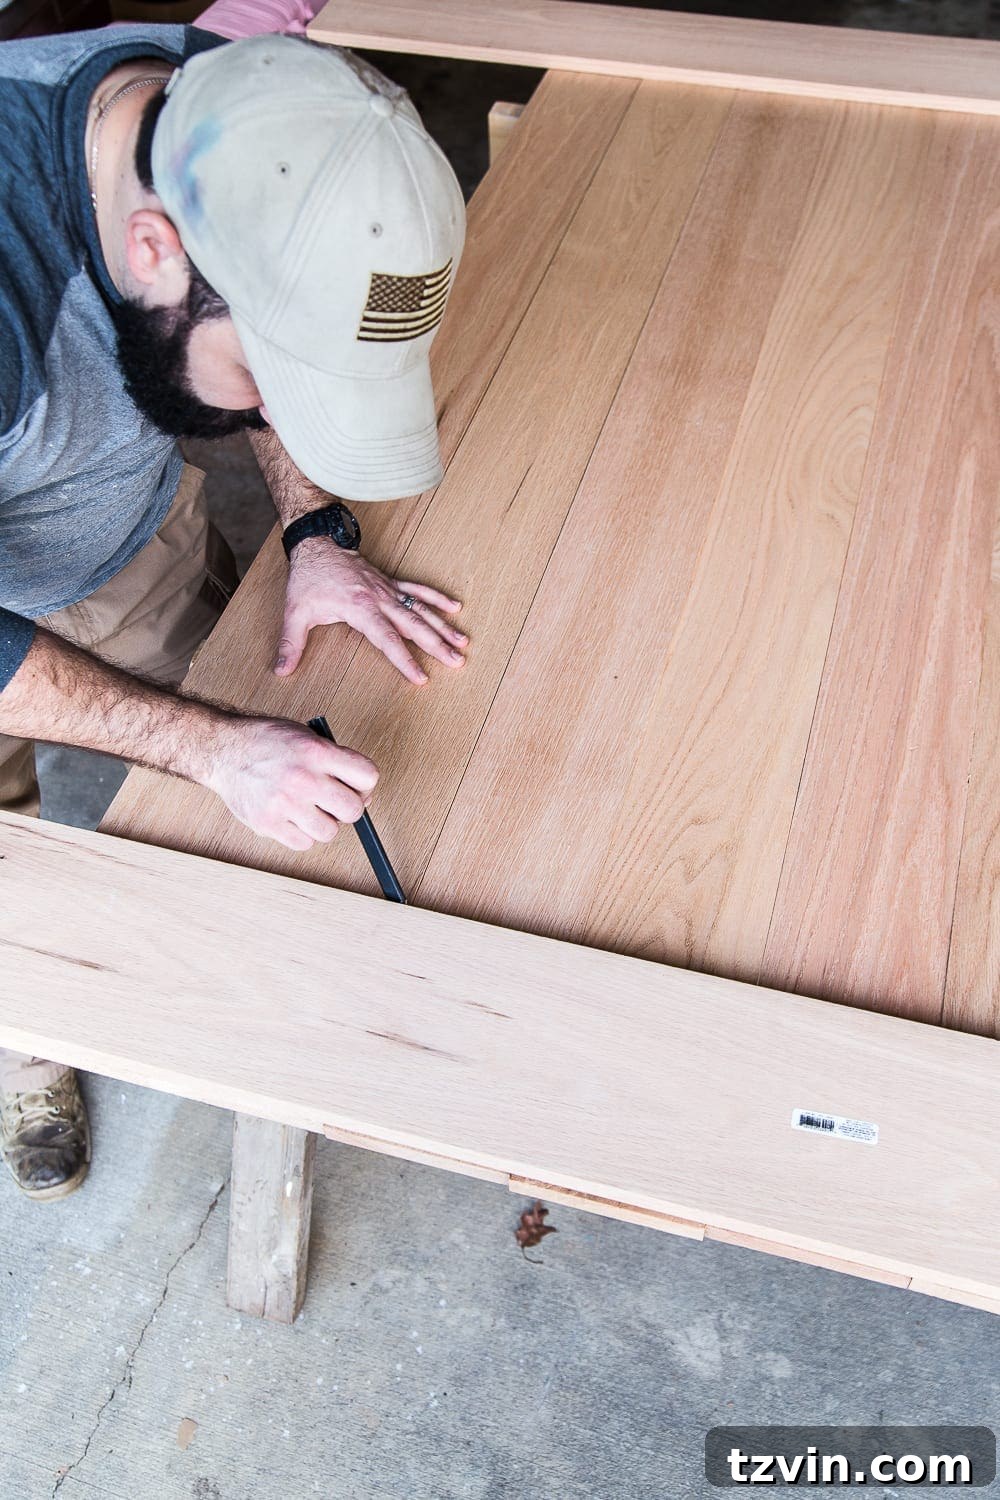
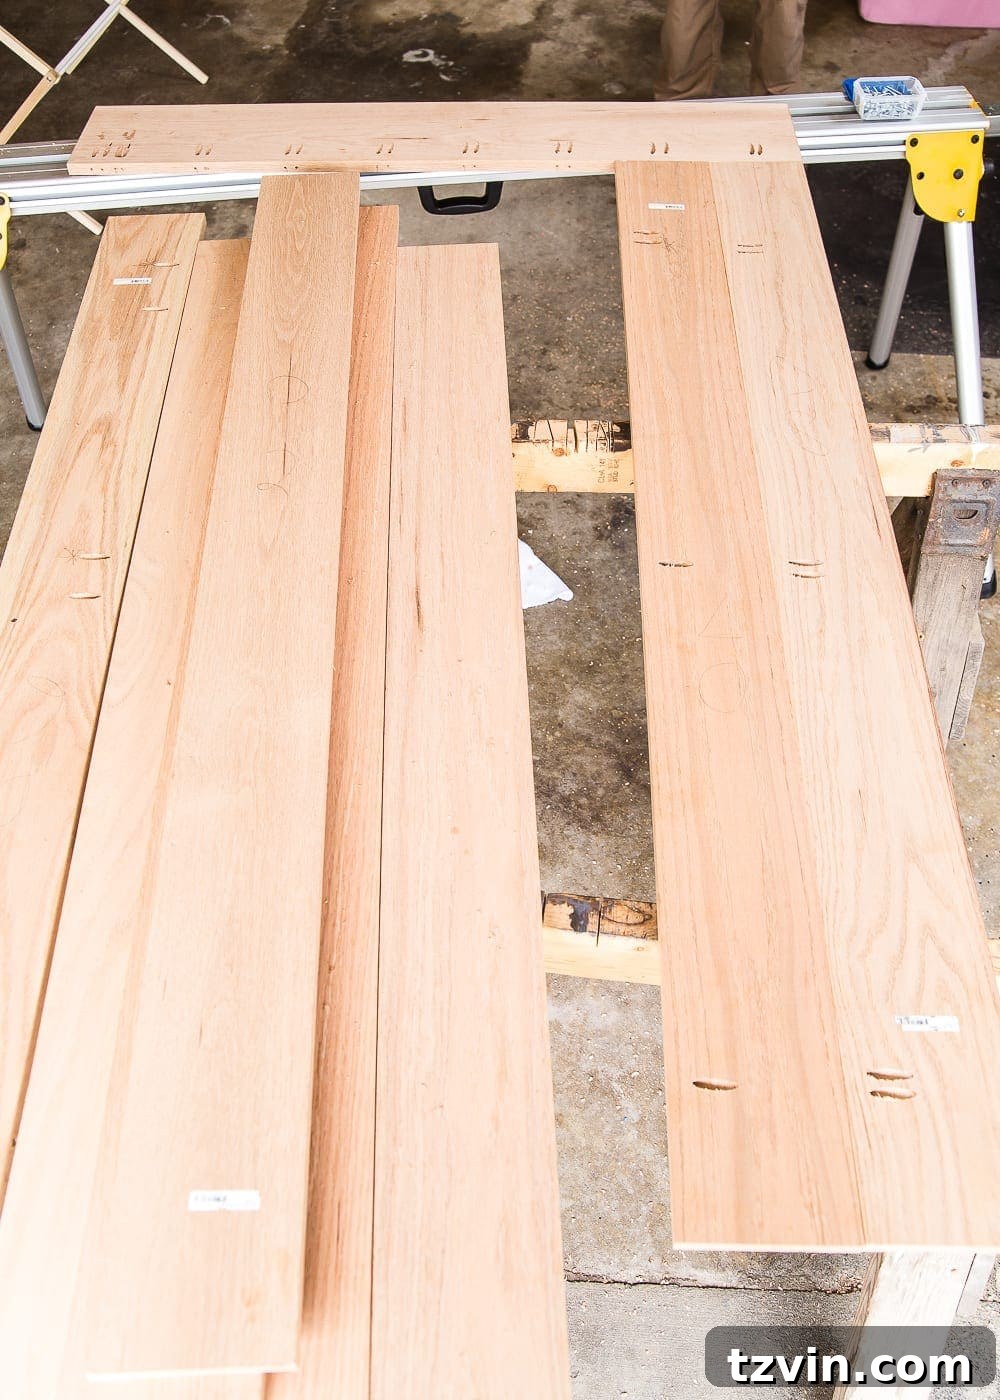
- Mark the Edges: Place the 1″x8″ boards at the ends of the 1″x6″ boards. Use a pencil to mark the edges of the 1″x6″ boards.
- Cut the 1″x6″ Boards: Using your miter saw, cut the 1″x6″ boards along the marked lines. This ensures the 1″x6″ boards are the perfect length to fit between the 1″x8″ boards.
- Measure and Cut the 1″x8″ Boards: Measure the width of your assembled 1″x6″ boards. Use your saw to cut the 1″x8″ boards to the correct length, ensuring they fit flush against the ends of your 1″x6″ boards.
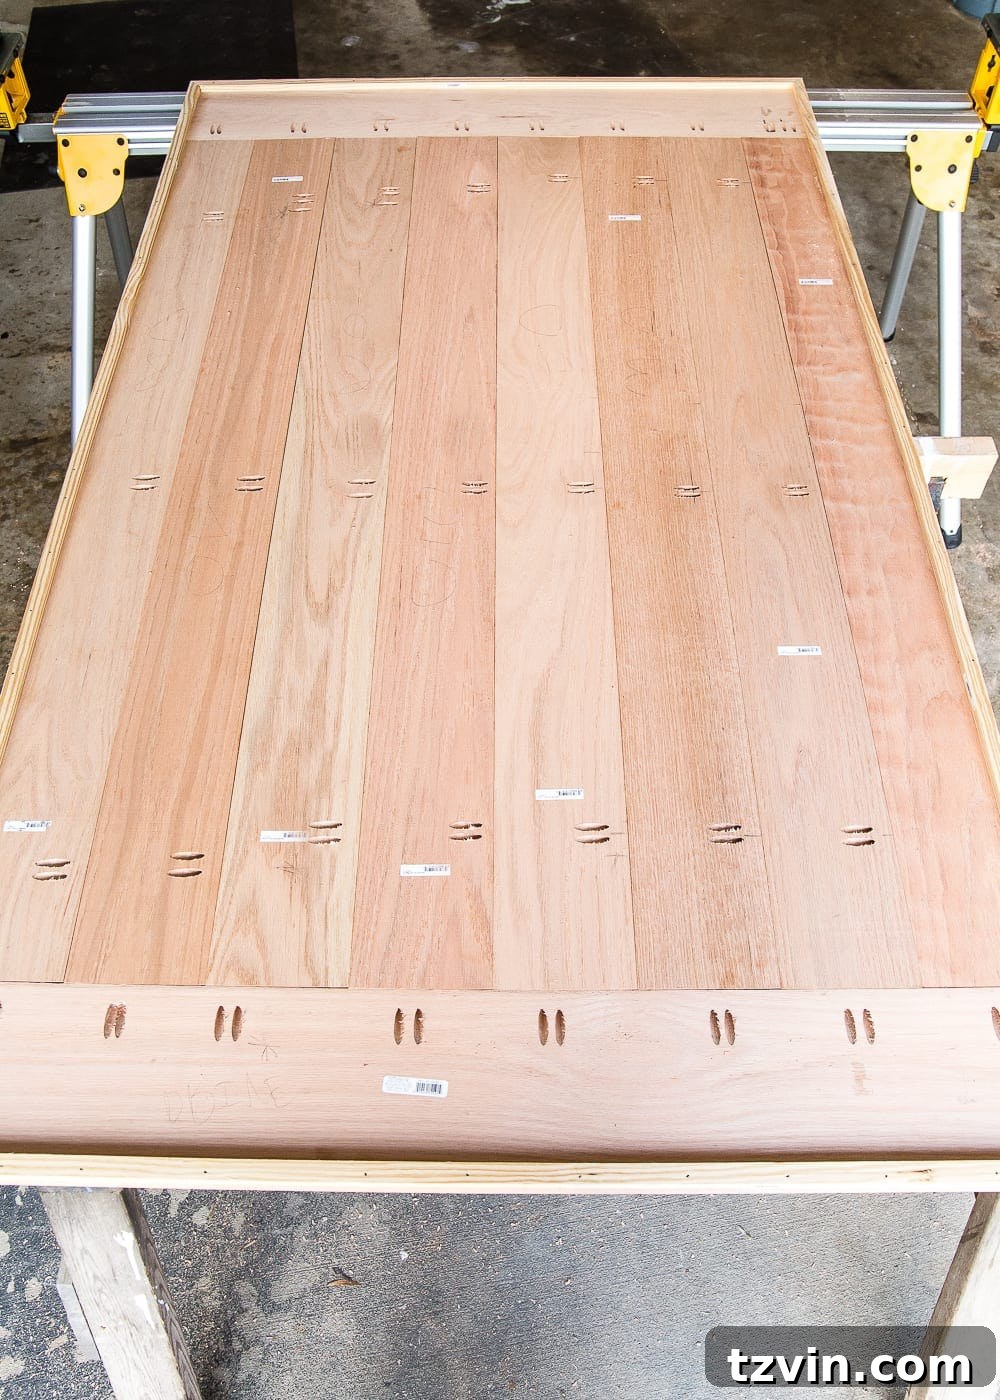
- Drill Pocket Holes: Lay the boards back in their positions. Mark where you’ll need to drill pocket holes on the 1″x6″ boards to connect them to each other and to the 1″x8″ boards.
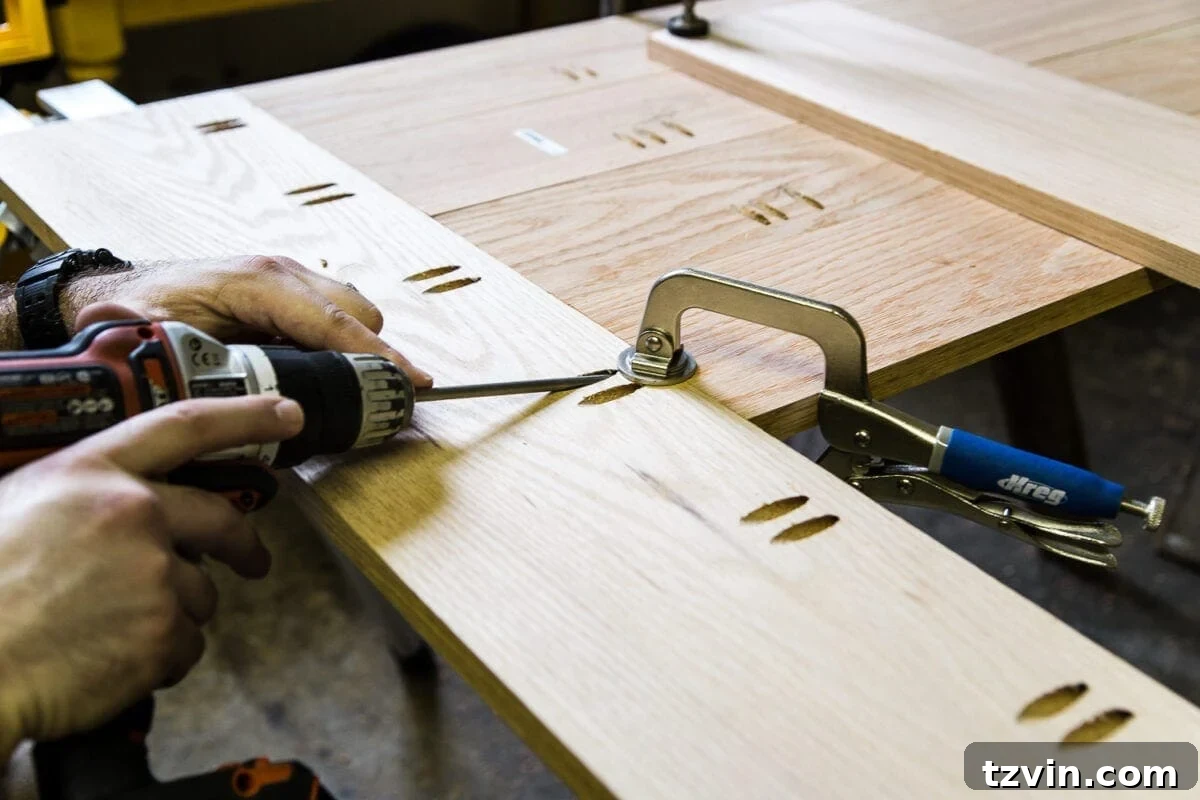
- Drill Pocket Holes with a Kreg Jig: Use a Kreg Jig to drill pocket holes along the marked areas. This creates angled holes that will allow you to securely screw the boards together.
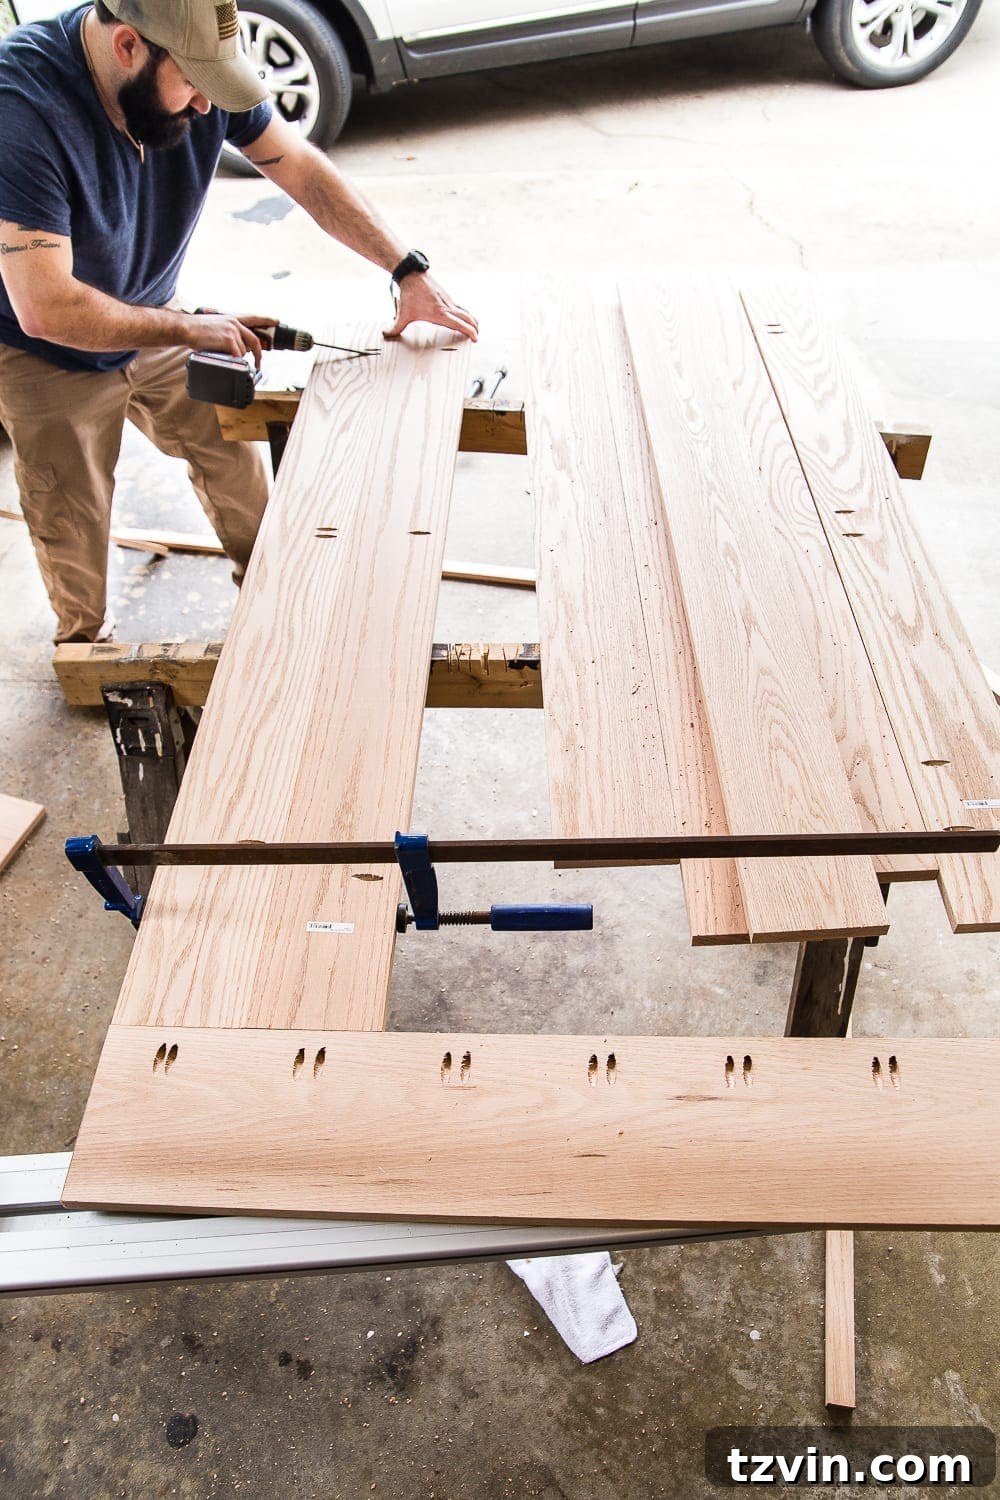
- Assemble the Table Top: Use bar clamps to hold the 1″x6″ boards together, aligning the edges carefully. Drive 1 1/2″ Kreg Jig wood screws into the pocket holes to join the boards.
- Attach the Ends: As you assemble the 1″x6″ boards, secure the ends with the 1″x8″ boards, using more Kreg Jig screws. Use a hand clamp to keep everything aligned during this step.
- Build the Lip: Once the main table top is assembled, measure and mark the 1″x1″ boards to create a lip around the perimeter.
- Cut the Lip Boards: Use a miter saw to cut the corners of the 1″x1″ boards at a 45-degree angle to create a neat, mitered corner.
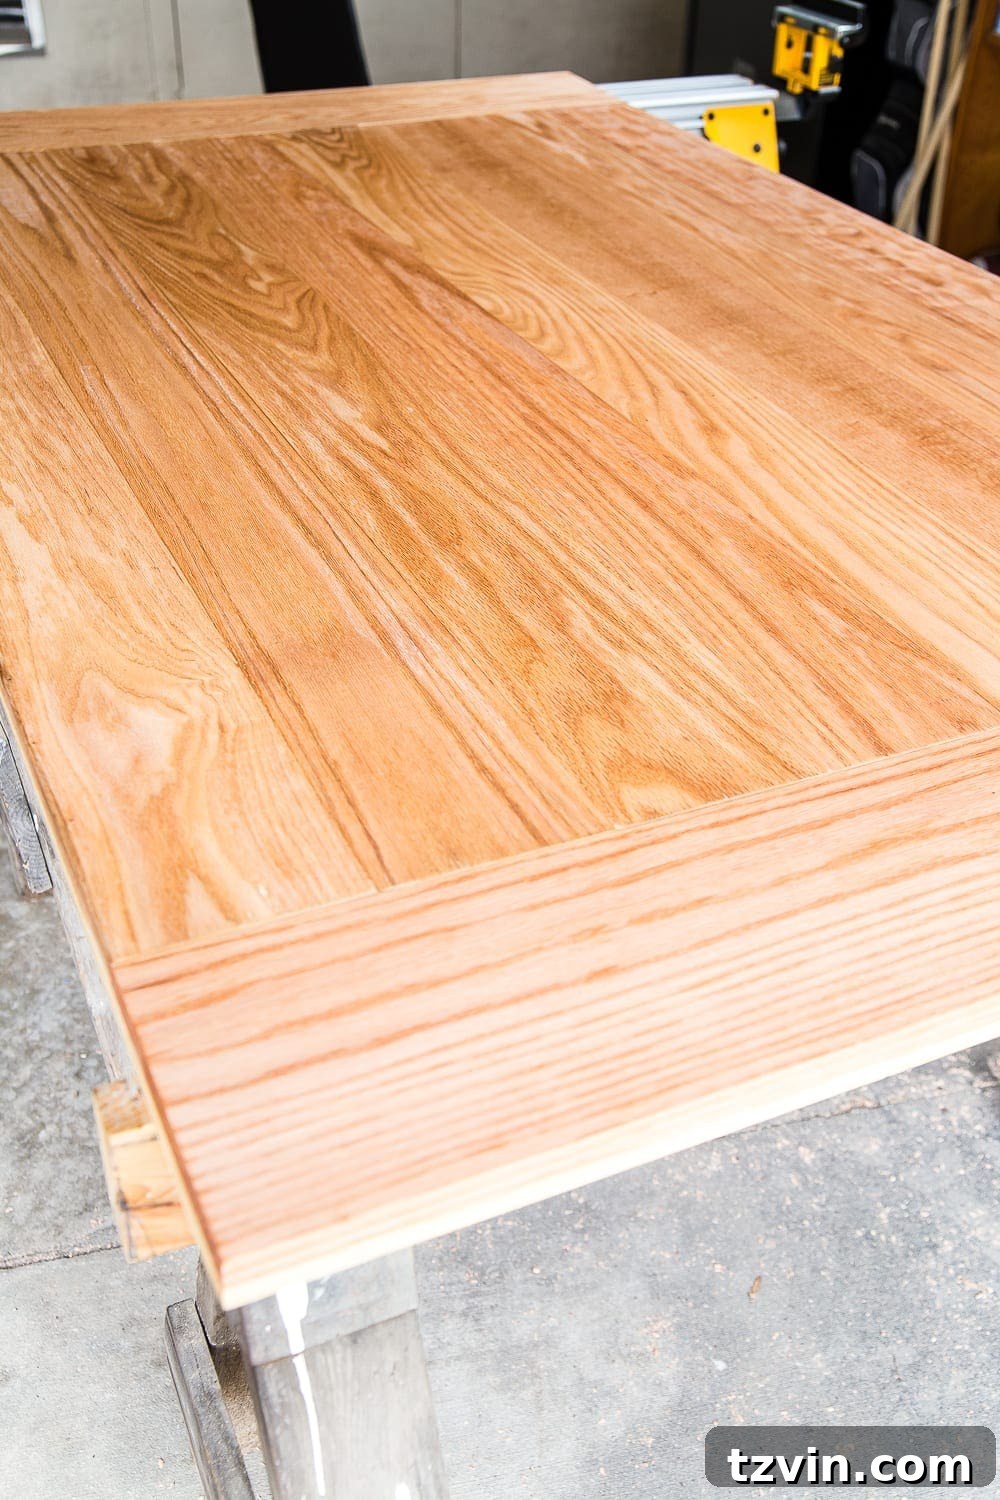
- Attach the Lip: Use a nail gun with 1 1/4″ finishing nails to attach the 1″x1″ boards around the outer edges of the table top. Make sure they are flush with both the top and side edges.
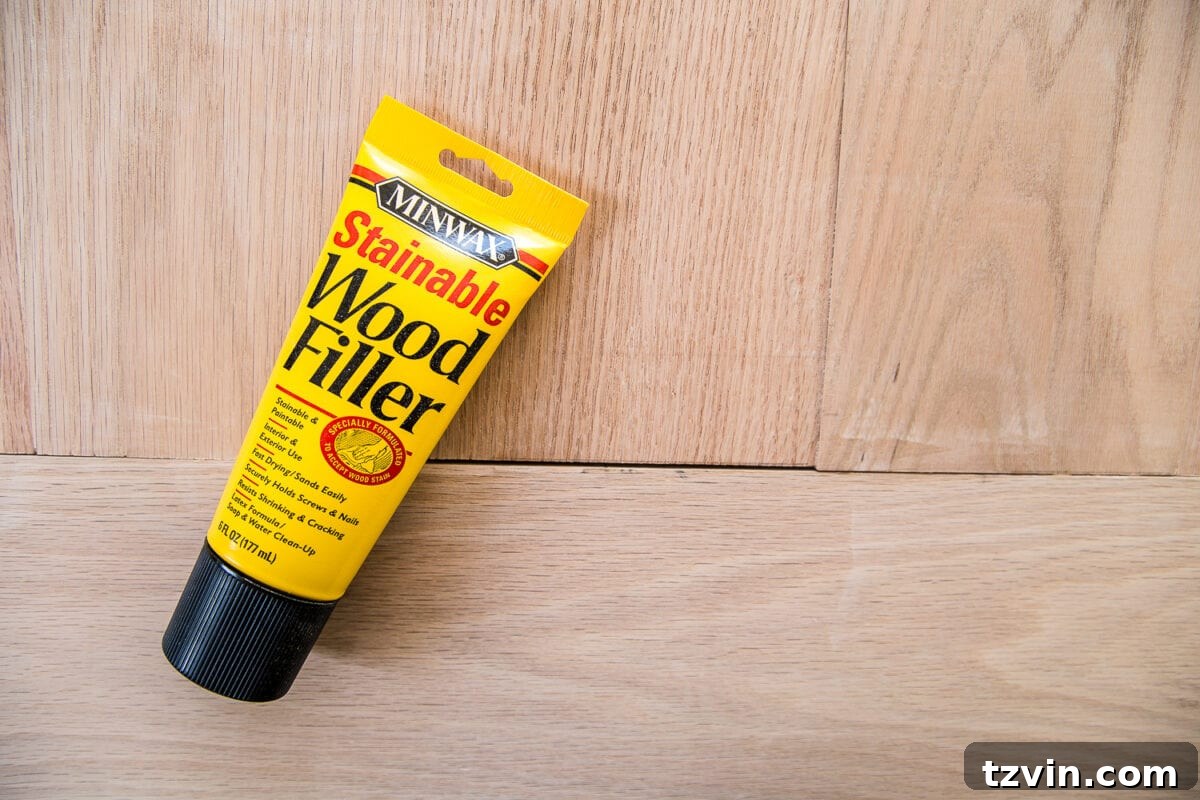
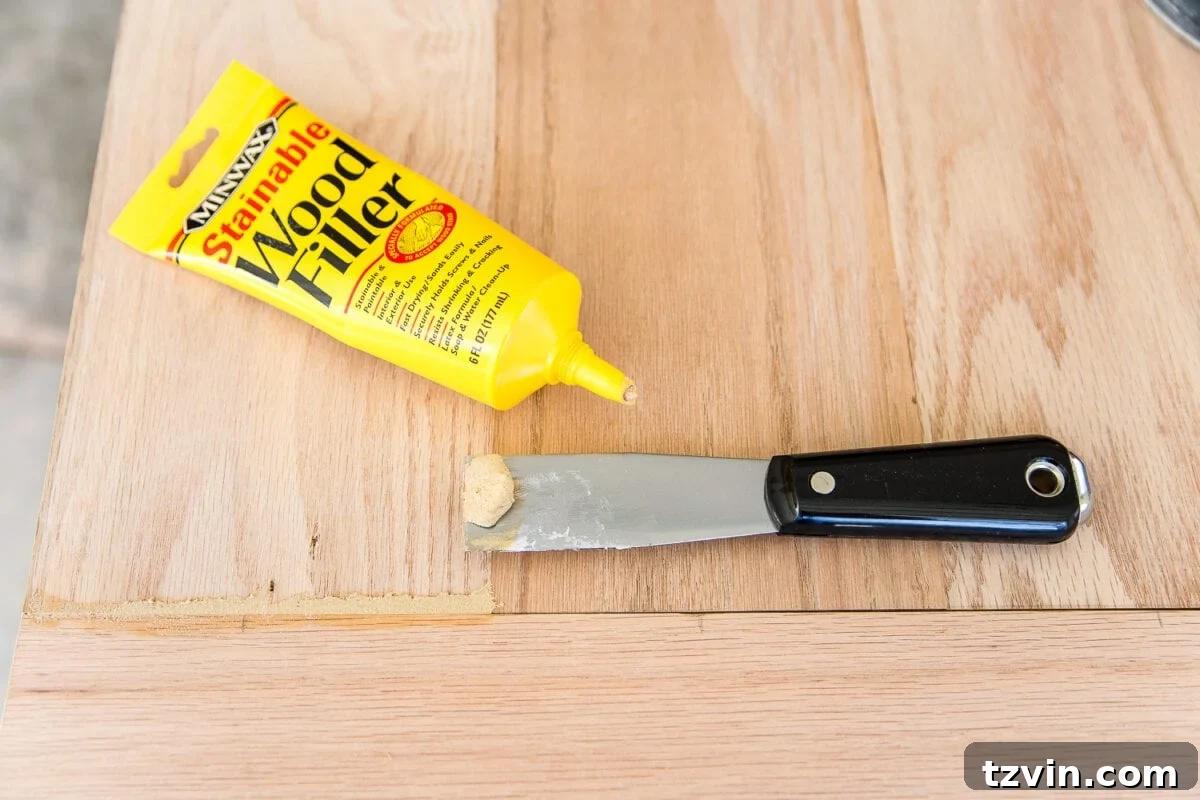
- Fill Gaps (If Any): Flip the table top over to reveal the pocket holes and any small gaps. Use Minwax Stainable Wood Filler to fill any gaps, ensuring a smooth surface. Let the filler dry completely.
- Sand the Surface: Use a palm sander to smooth the entire surface. Start with a coarser grit (80 grit) and gradually move to finer grits (120, 180, and finally 220 grit) for a beautifully smooth finish. Sand down the dried wood filler as well.
- Prepare for Stain: Wipe off all sanding dust using a clean cloth or tack cloth. Apply Minwax Pre-Stain Wood Conditioner to ensure even stain absorption.
- Apply the Stain: After the wood conditioner has set for the recommended time, wipe off any excess and apply your chosen stain. We used Minwax Dark Walnut for a rich, warm look.
- Protect with Polyurethane: After the stain has dried completely (usually 24 hours), apply 2-3 coats of Minwax Fast-Drying Polyurethane in your preferred sheen. We used satin for a subtle glow. Use a foam brush for a bubble-free finish.

Choosing the Right Stain
Before settling on Dark Walnut, we tested eight Minwax stain colors on three different wood species. This allowed us to visualize the final look and choose the best option for our dining table.
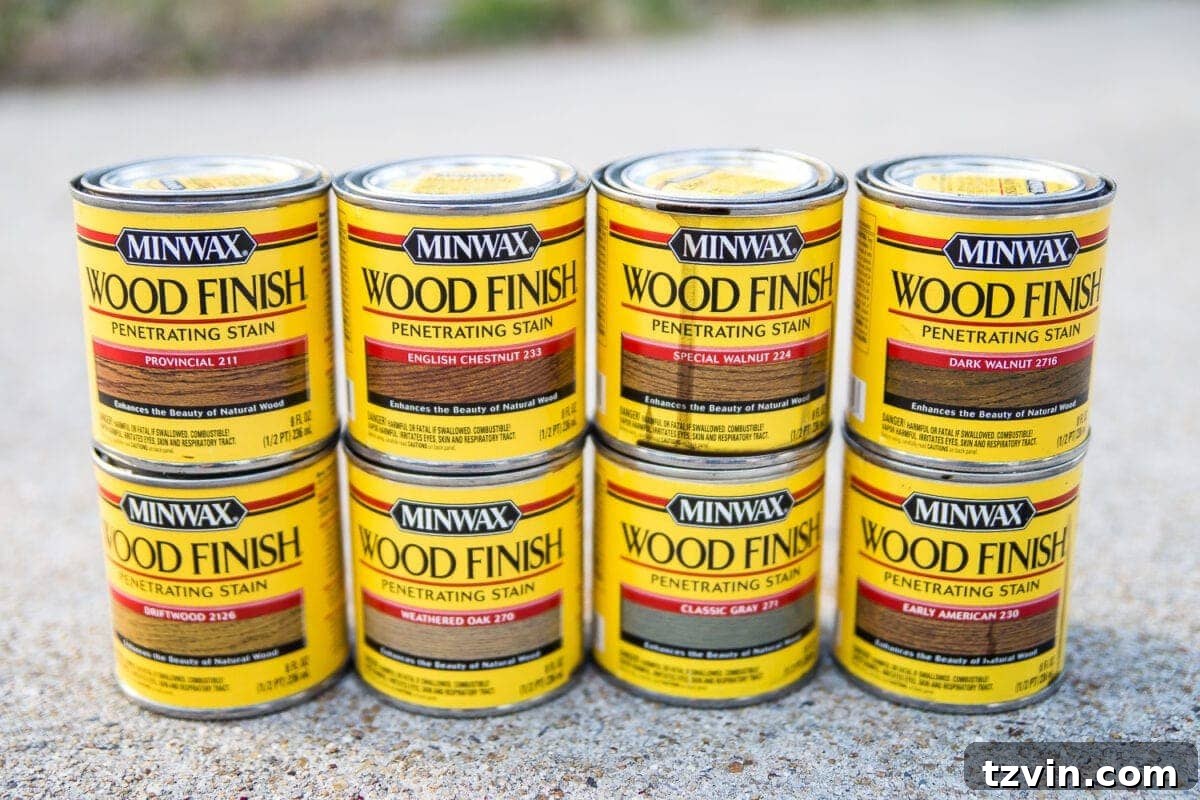
We ultimately chose red oak for its beautiful grain and durability. It’s a hardwood that promises to stand the test of time.
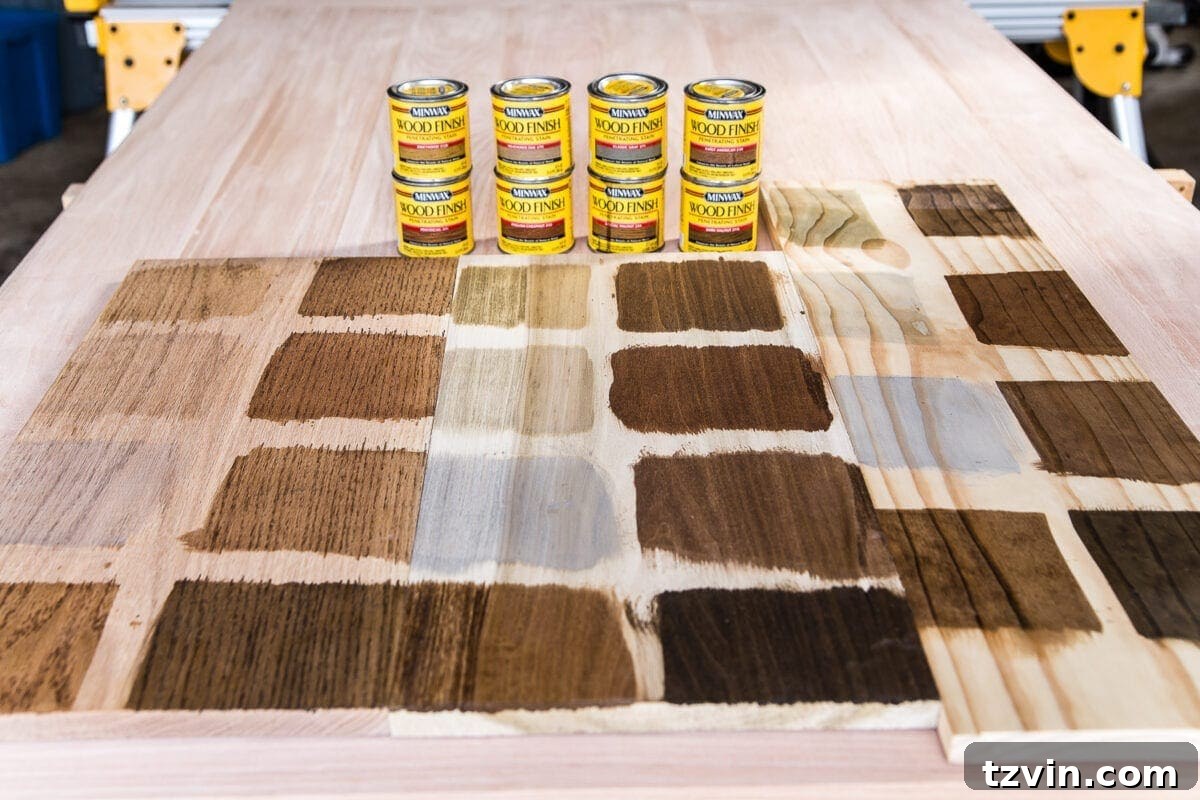
Here’s a quick look at how the stains appeared on each wood type. This can help you choose the best stain for your project!
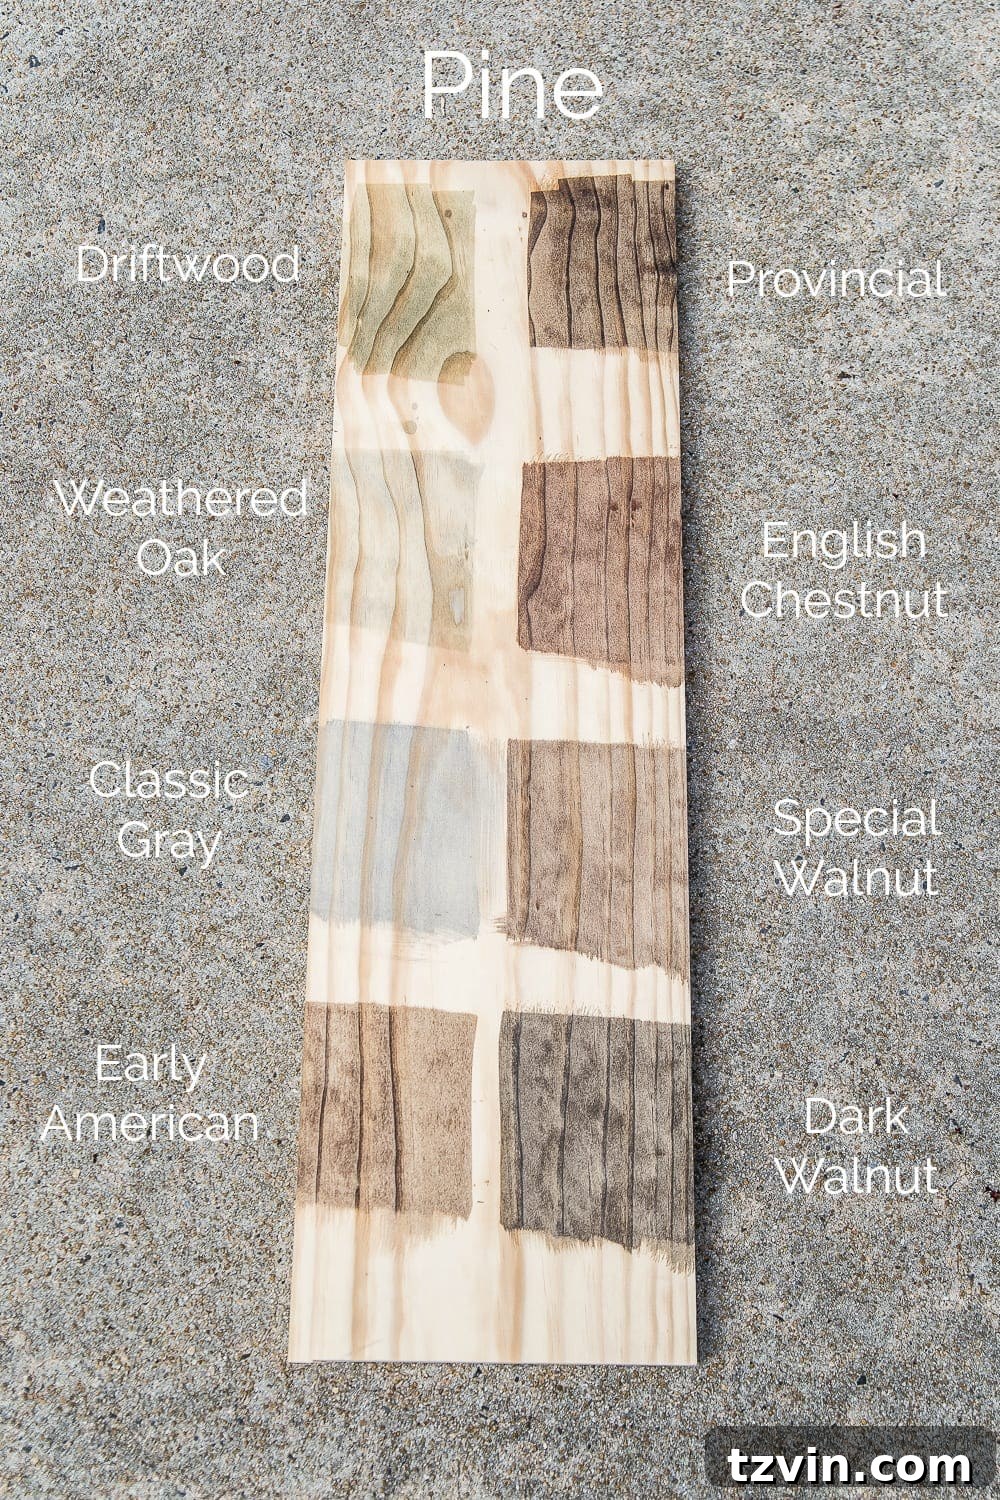
Notice how uneven the stain looks on pine? Always use wood conditioner on pine before staining!
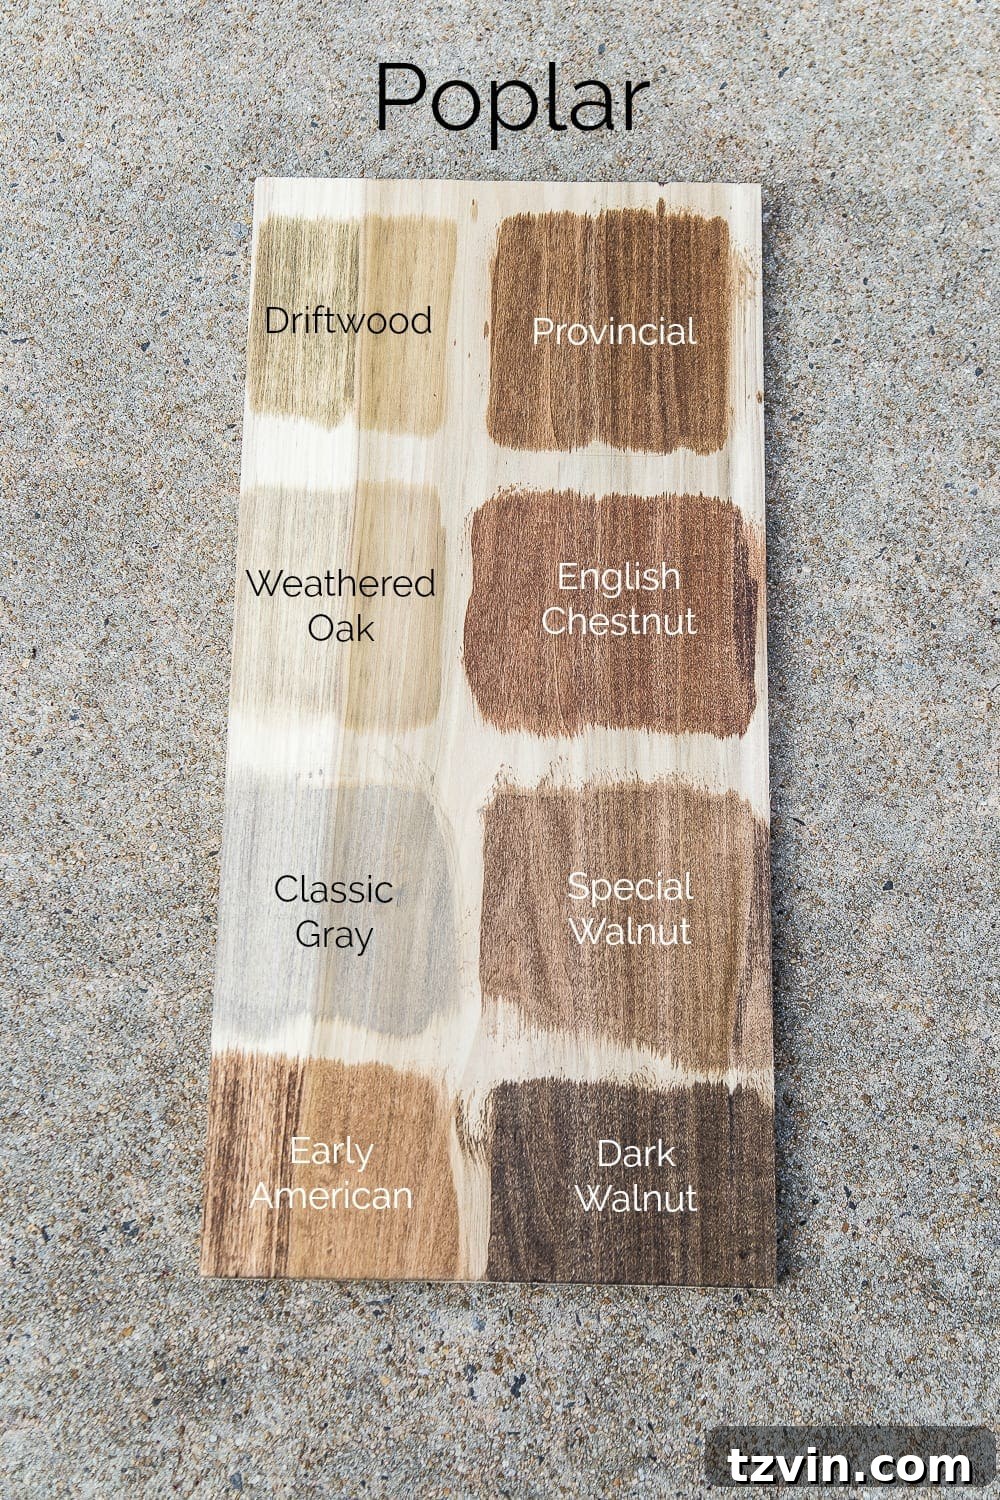
Poplar was also a strong contender due to its affordability and appearance.
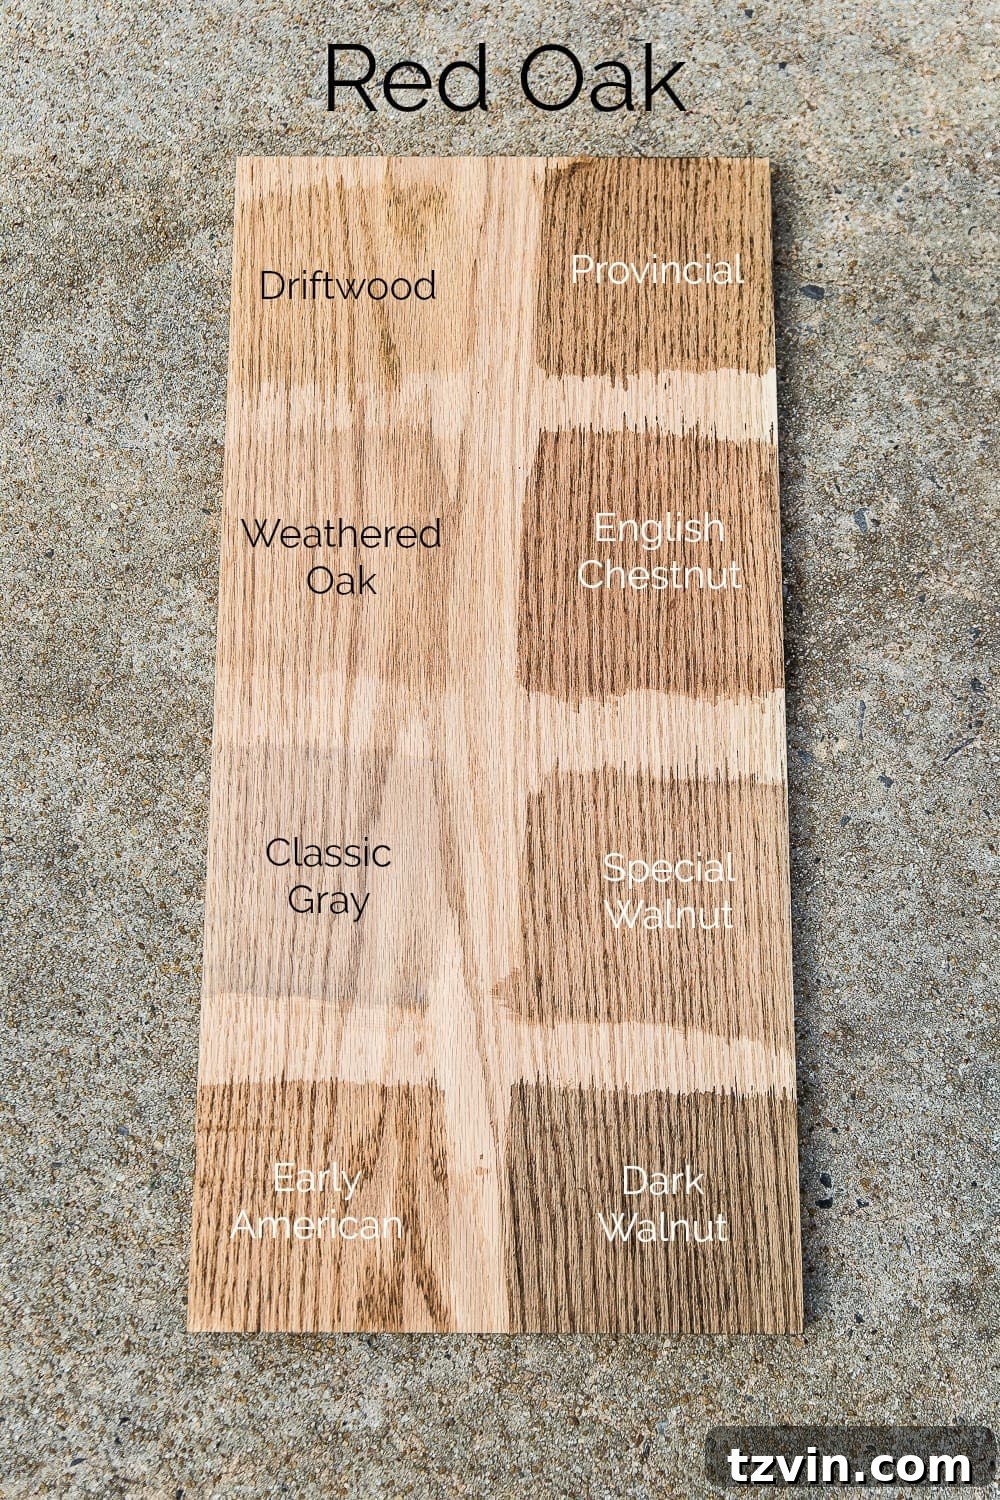
Ultimately, the beautiful grain of the red oak won us over. It was worth the splurge, especially considering the table’s original cost!
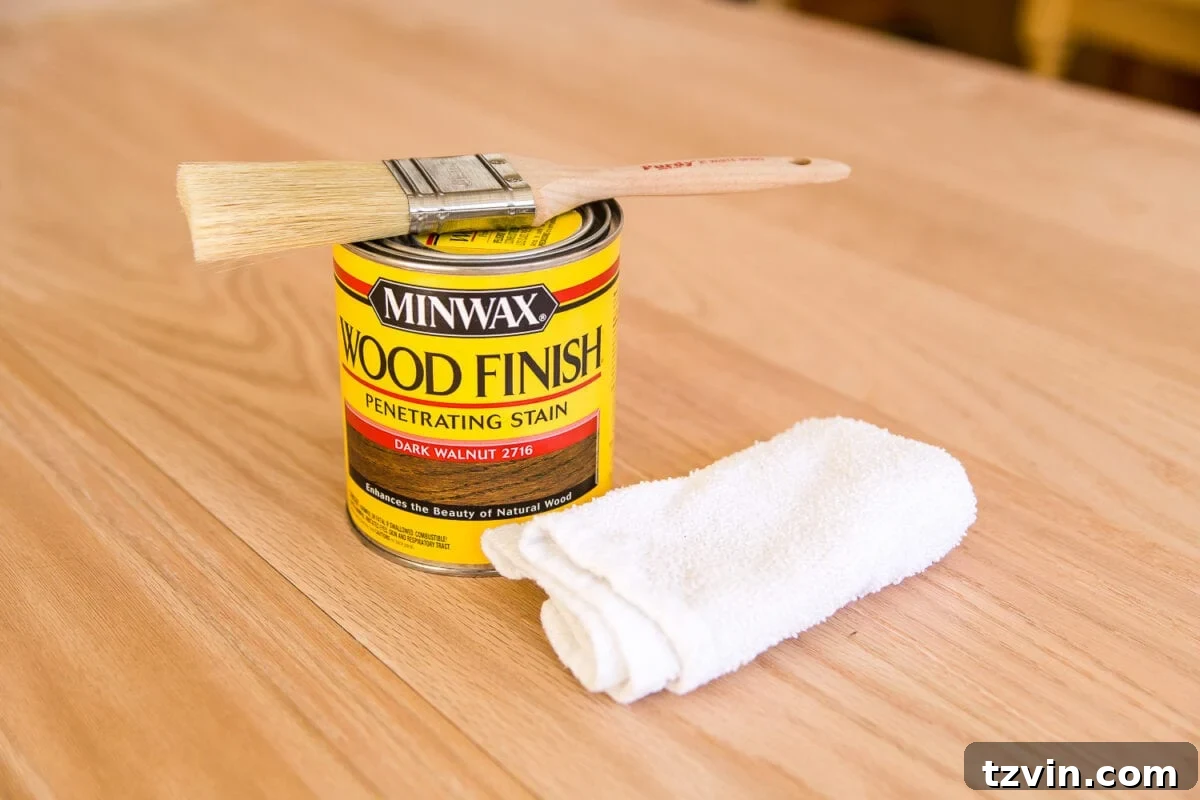
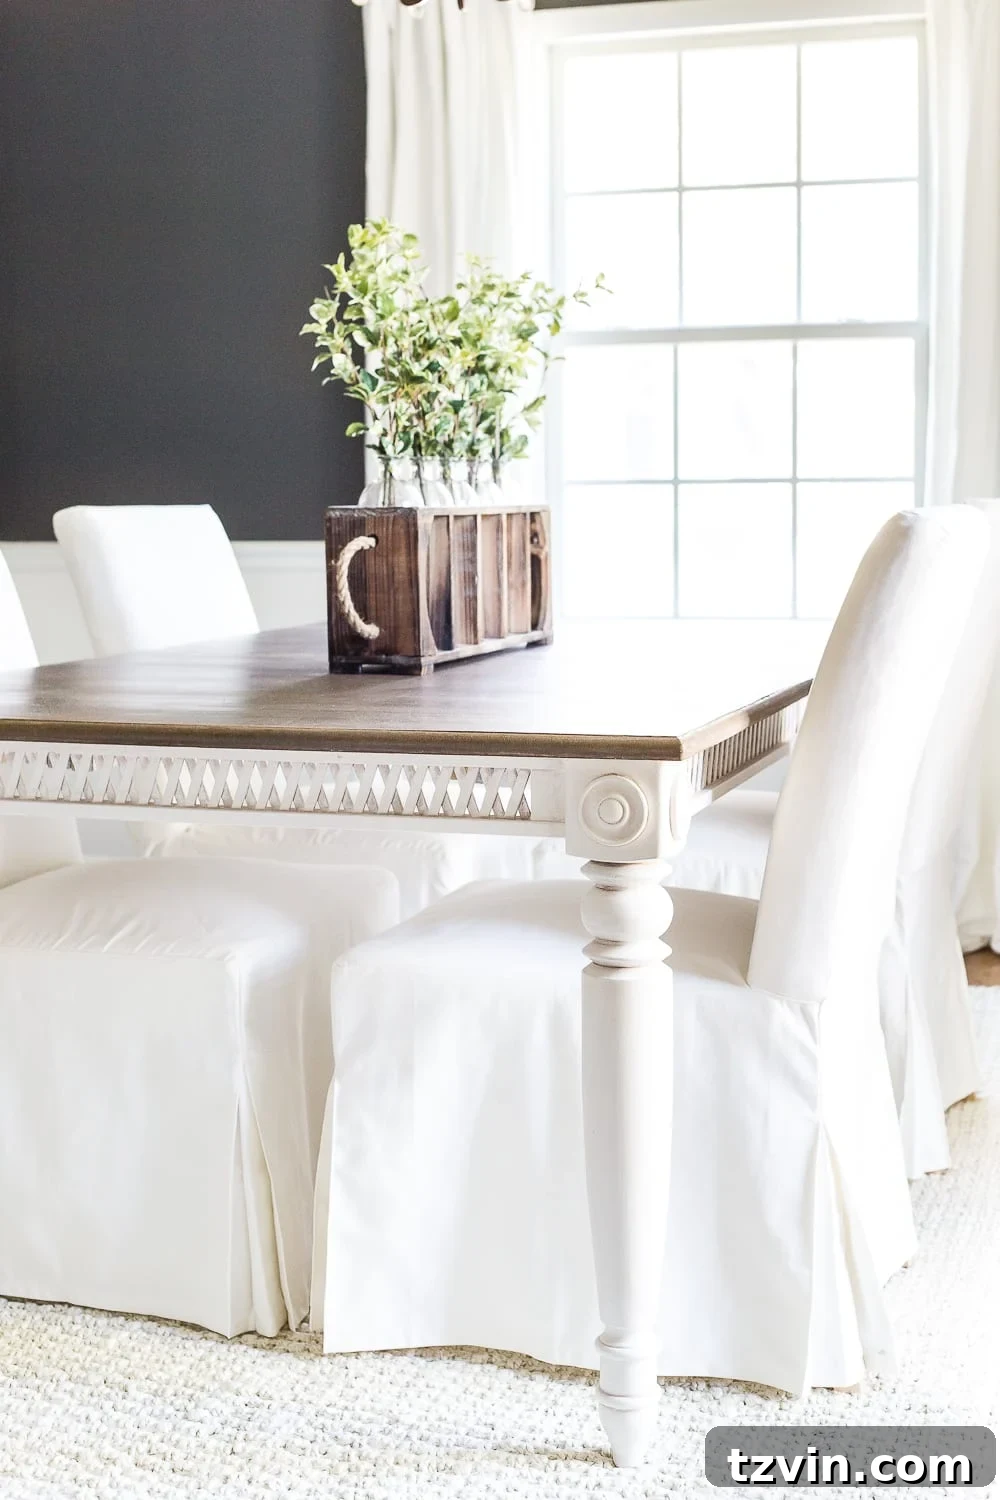
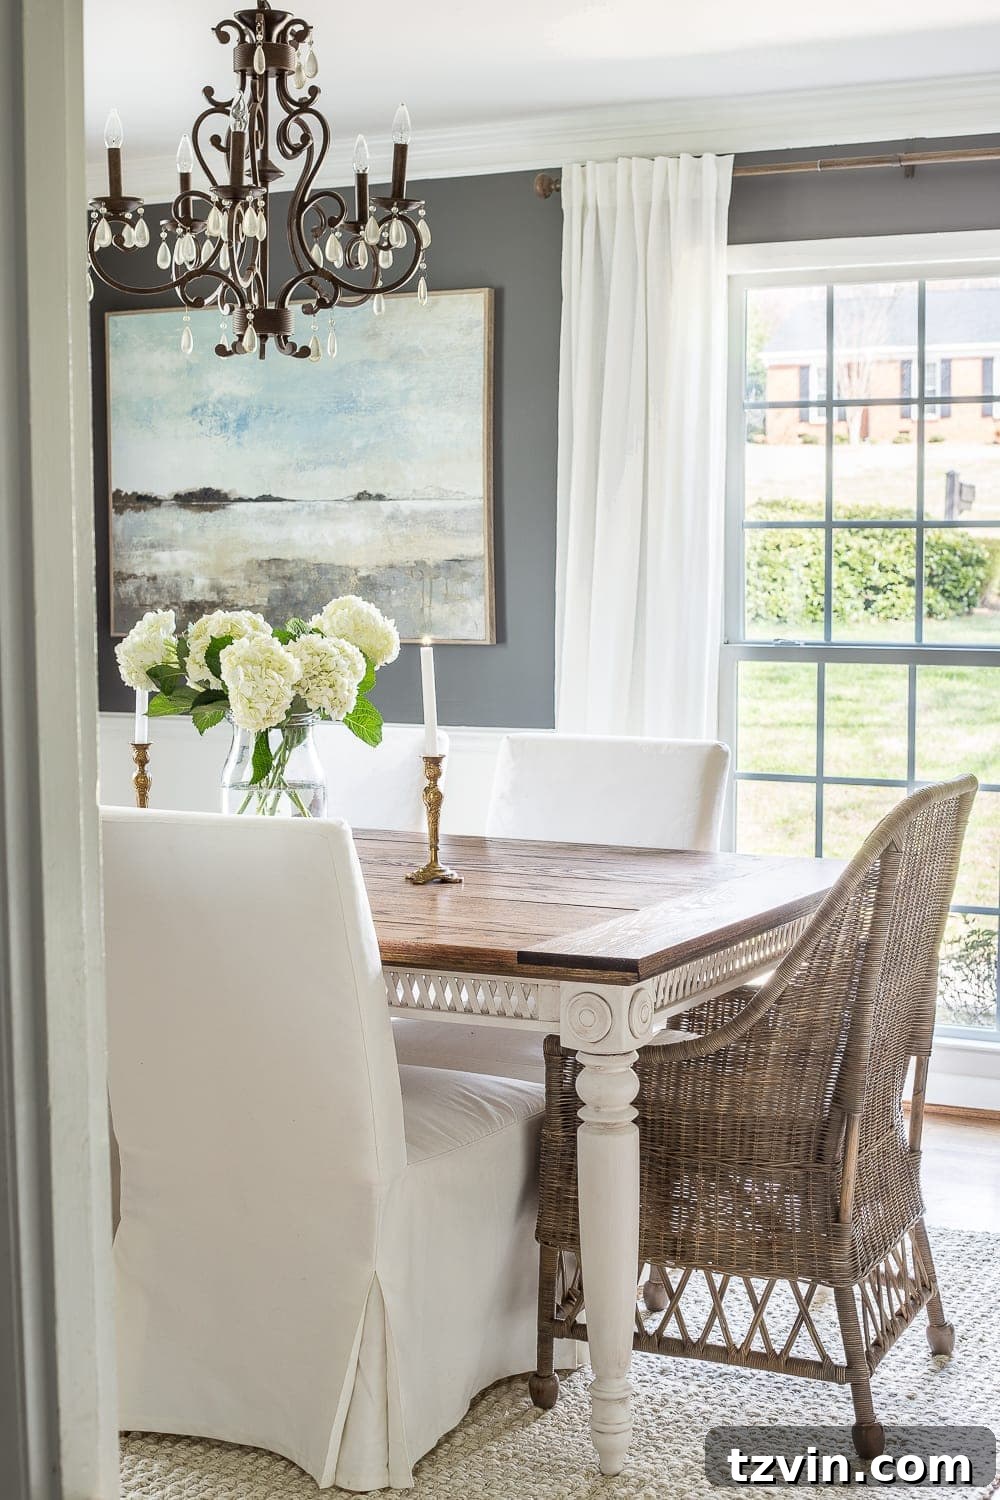
We chose Dark Walnut for its striking contrast with our white table base. It’s a classic and timeless combination that complements the dining room perfectly.
Now, let’s admire the finished product:
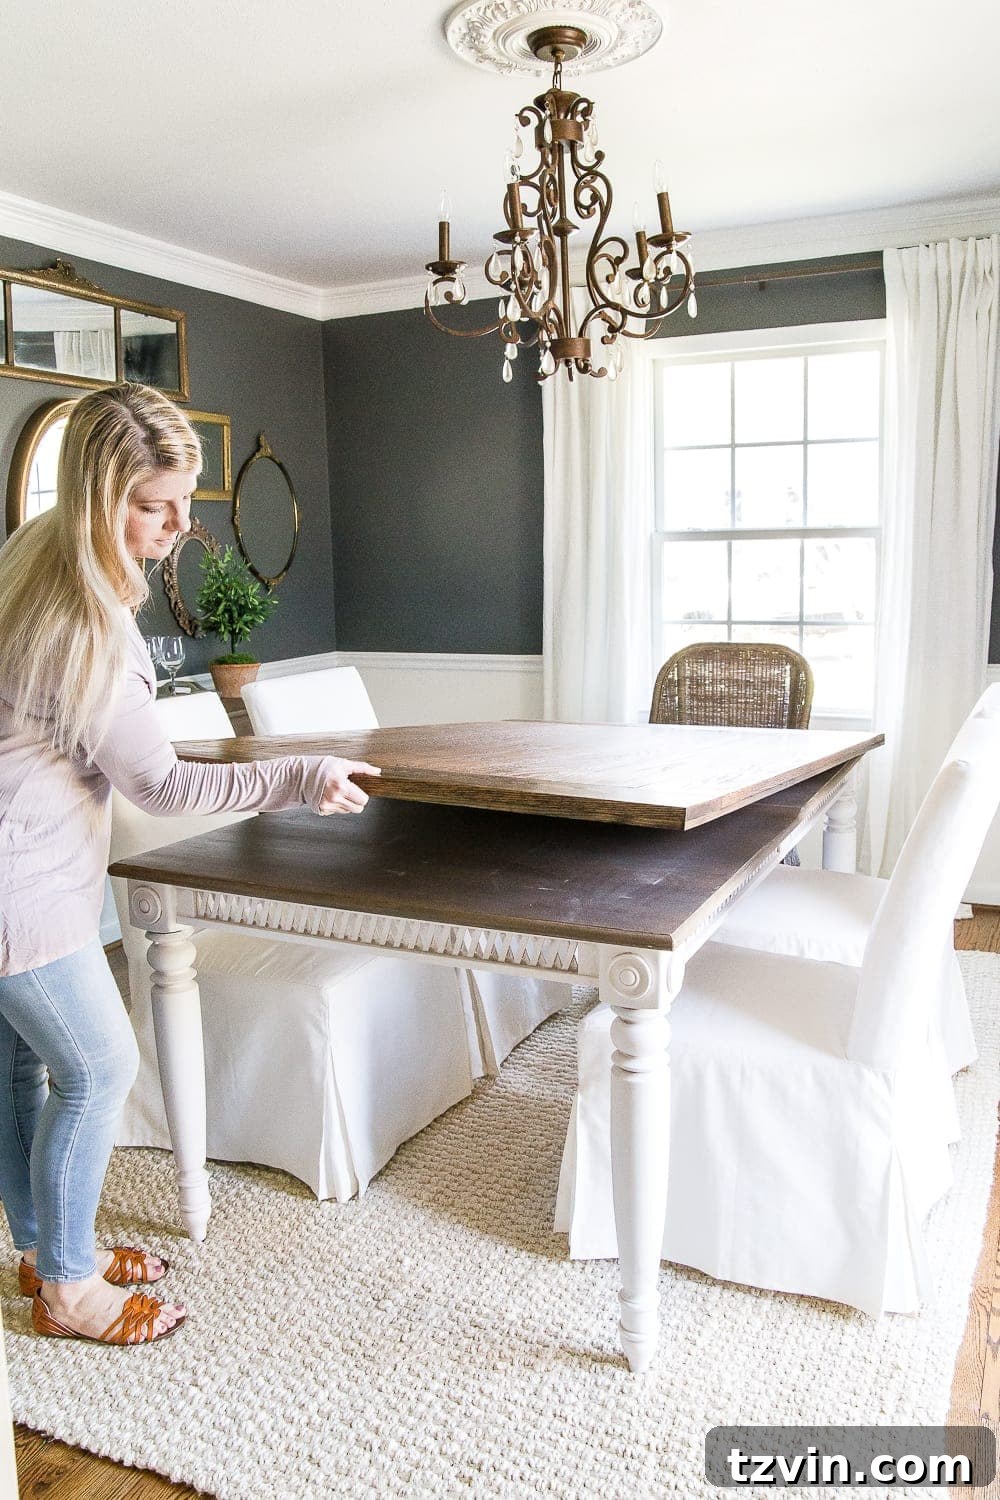
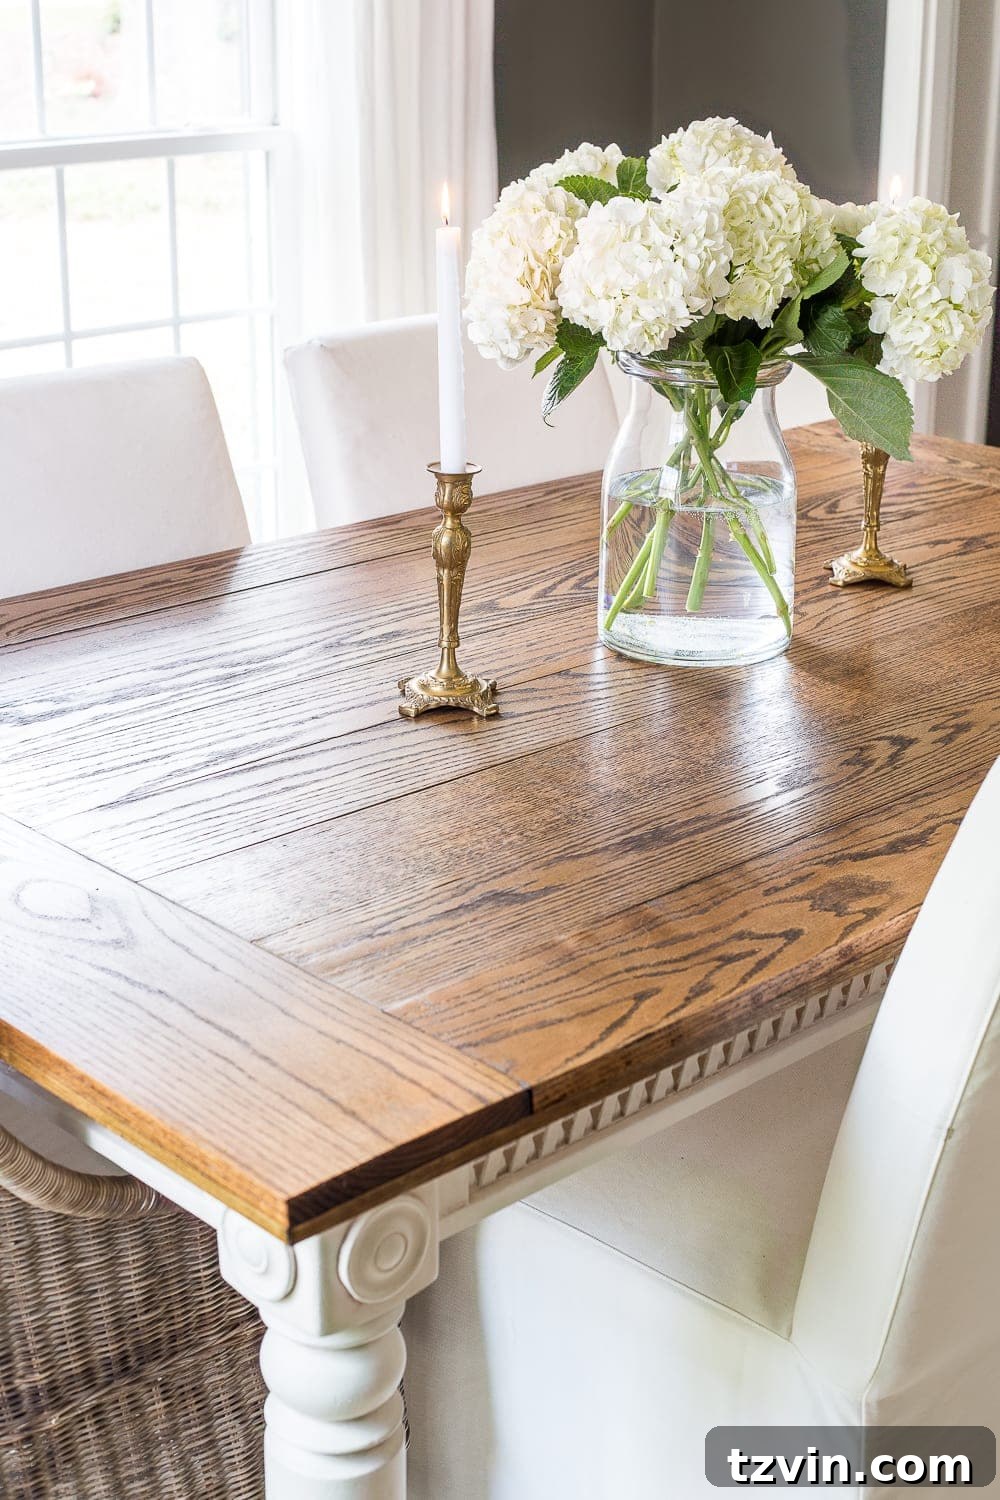
We simply placed the new top over the existing table, and it fit perfectly! This project was a huge success.
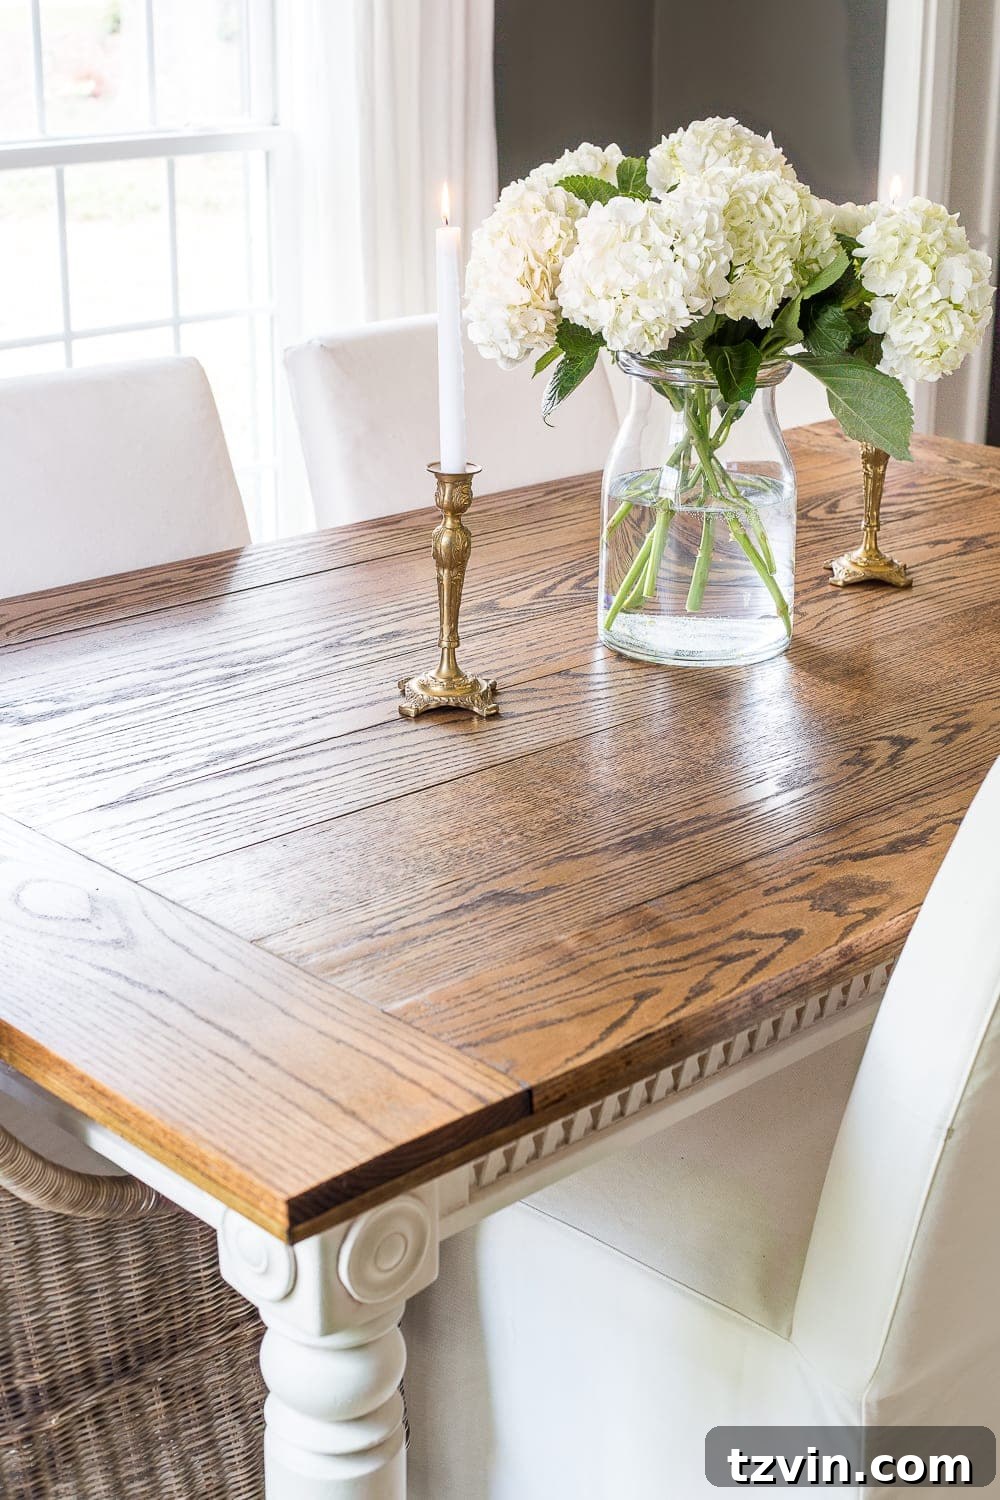
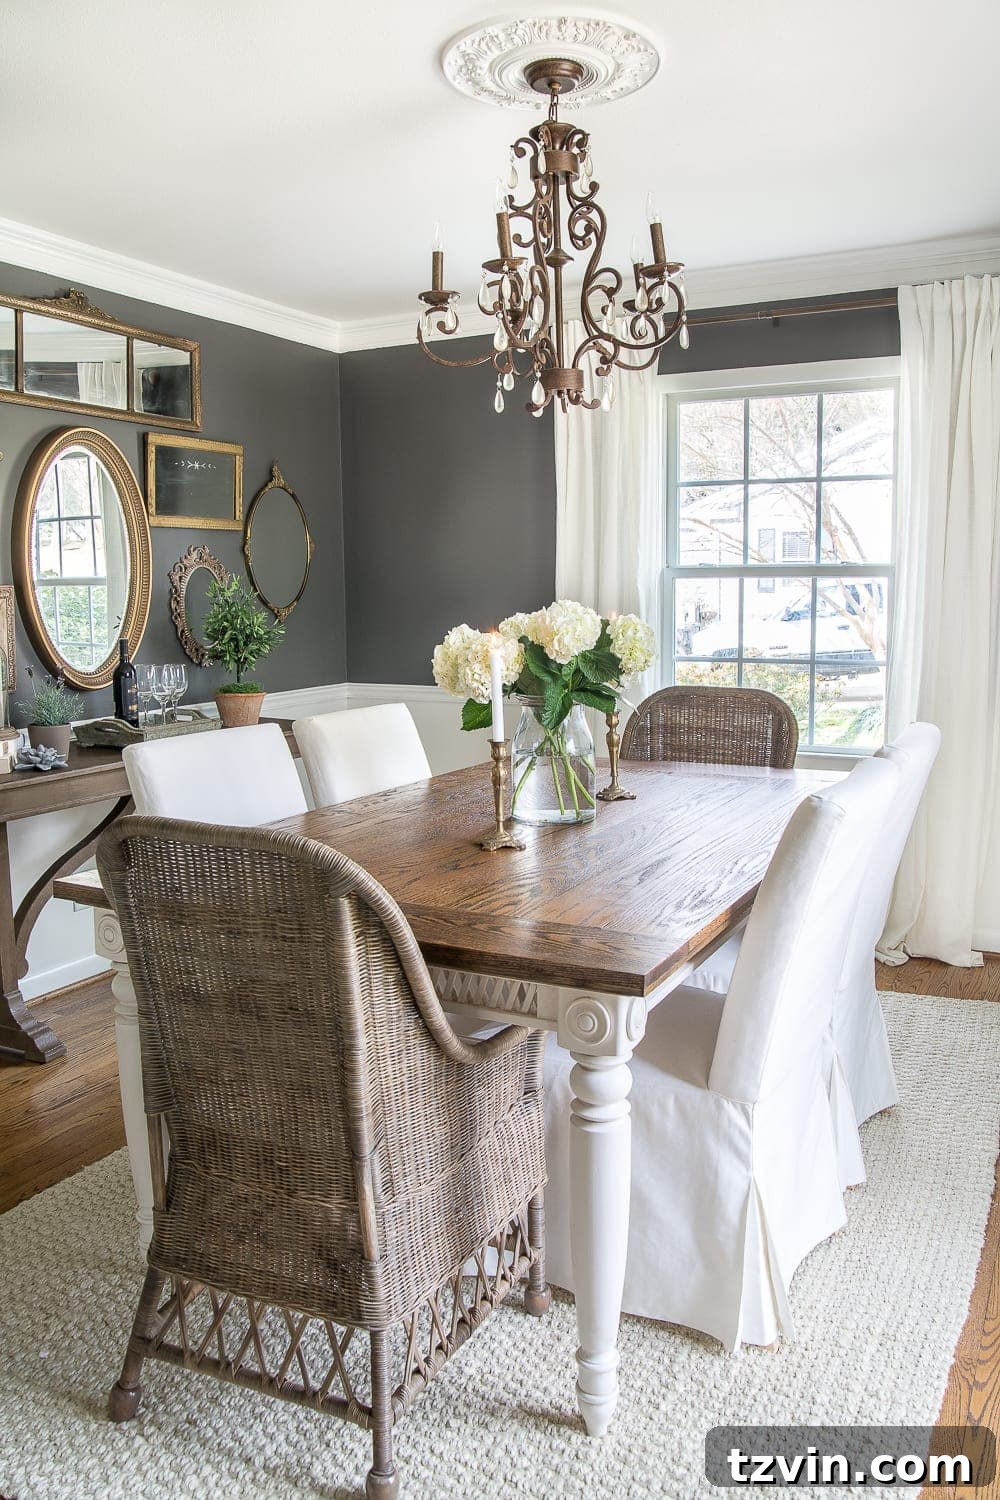
The dining room now feels warmer and more inviting, thanks to the beautiful wood grain.
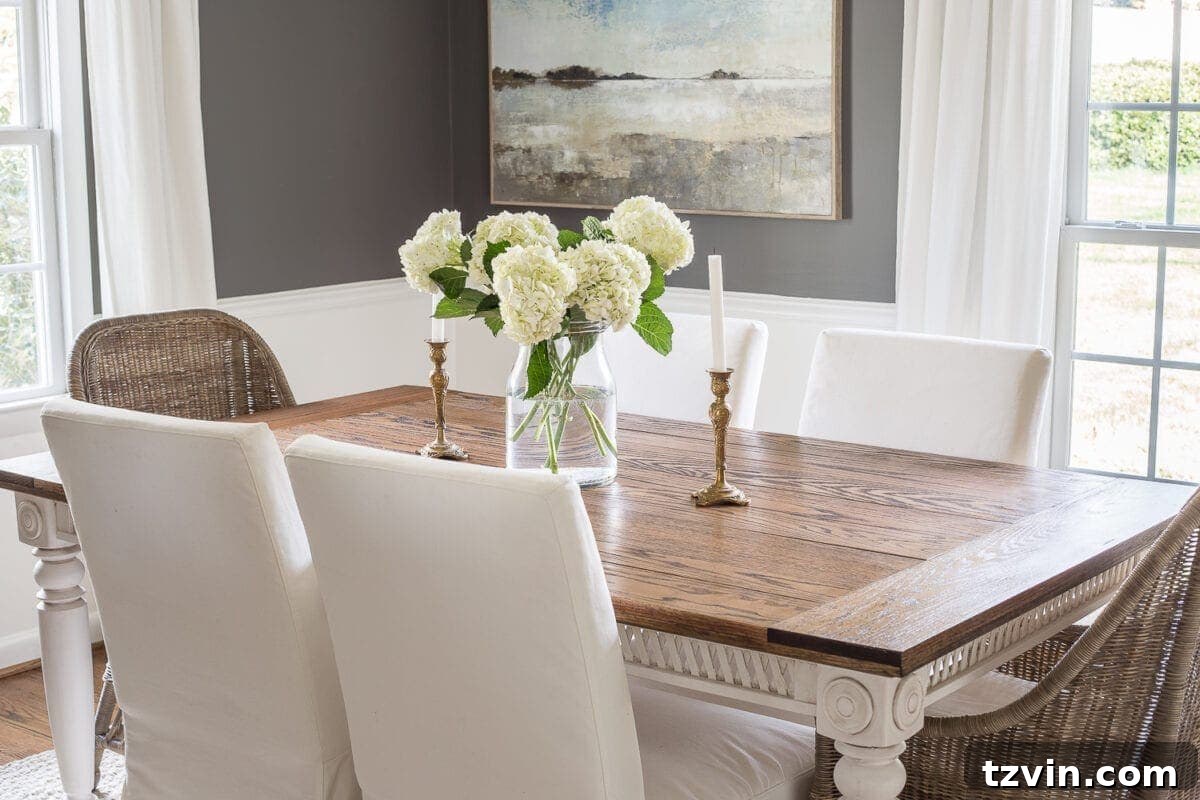
The satin finish adds a subtle sheen, making the table a focal point as soon as you enter the room.
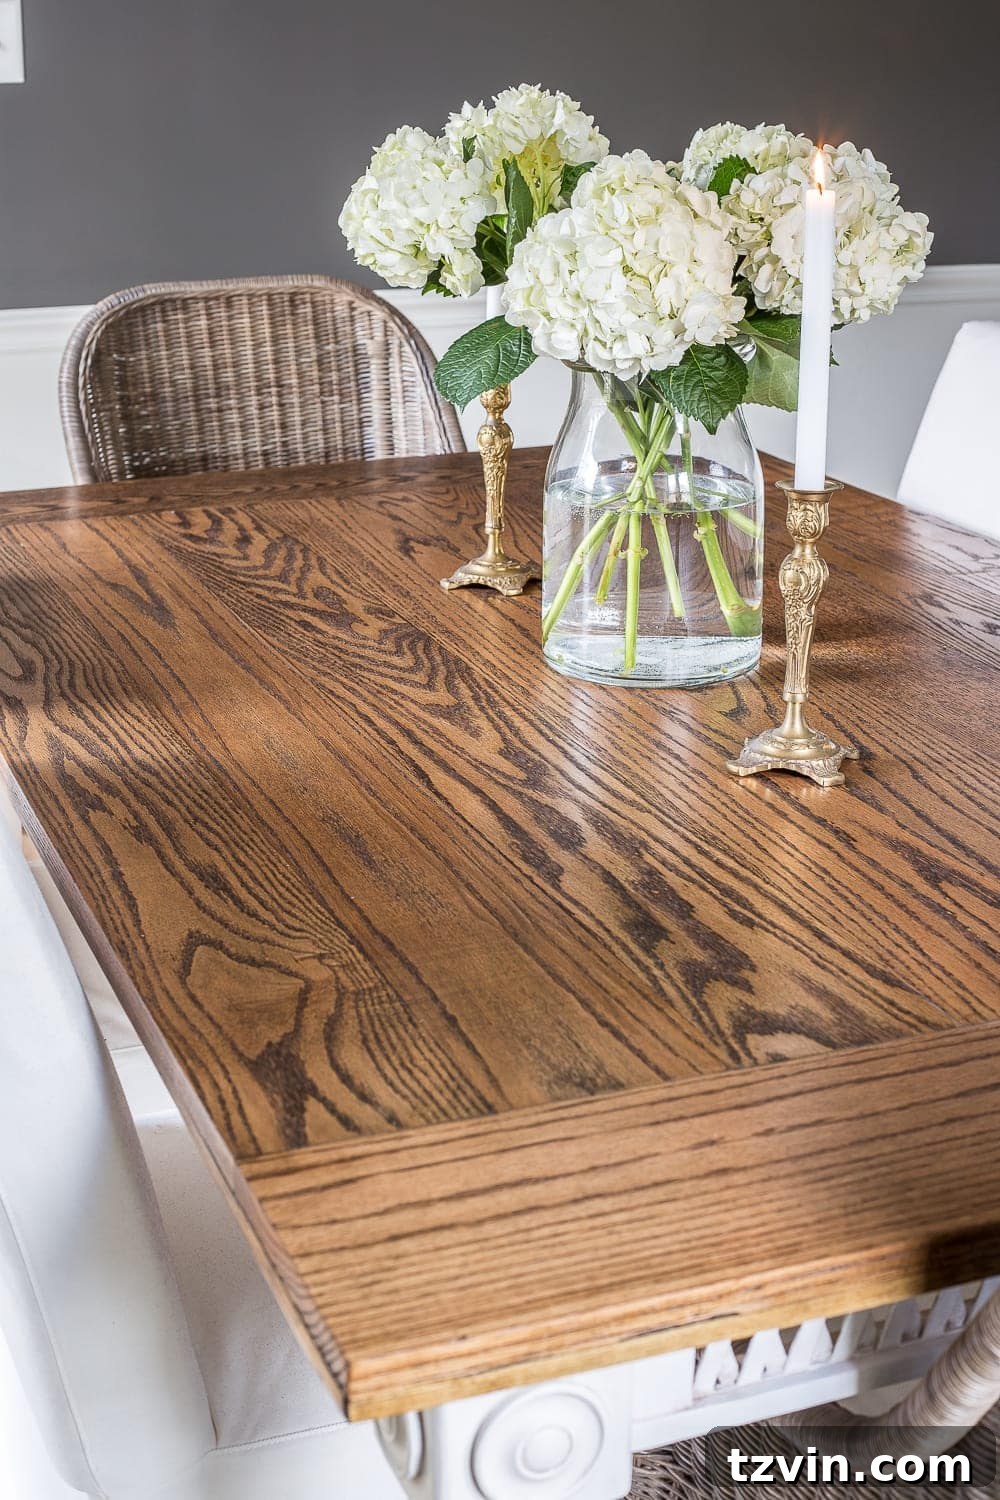
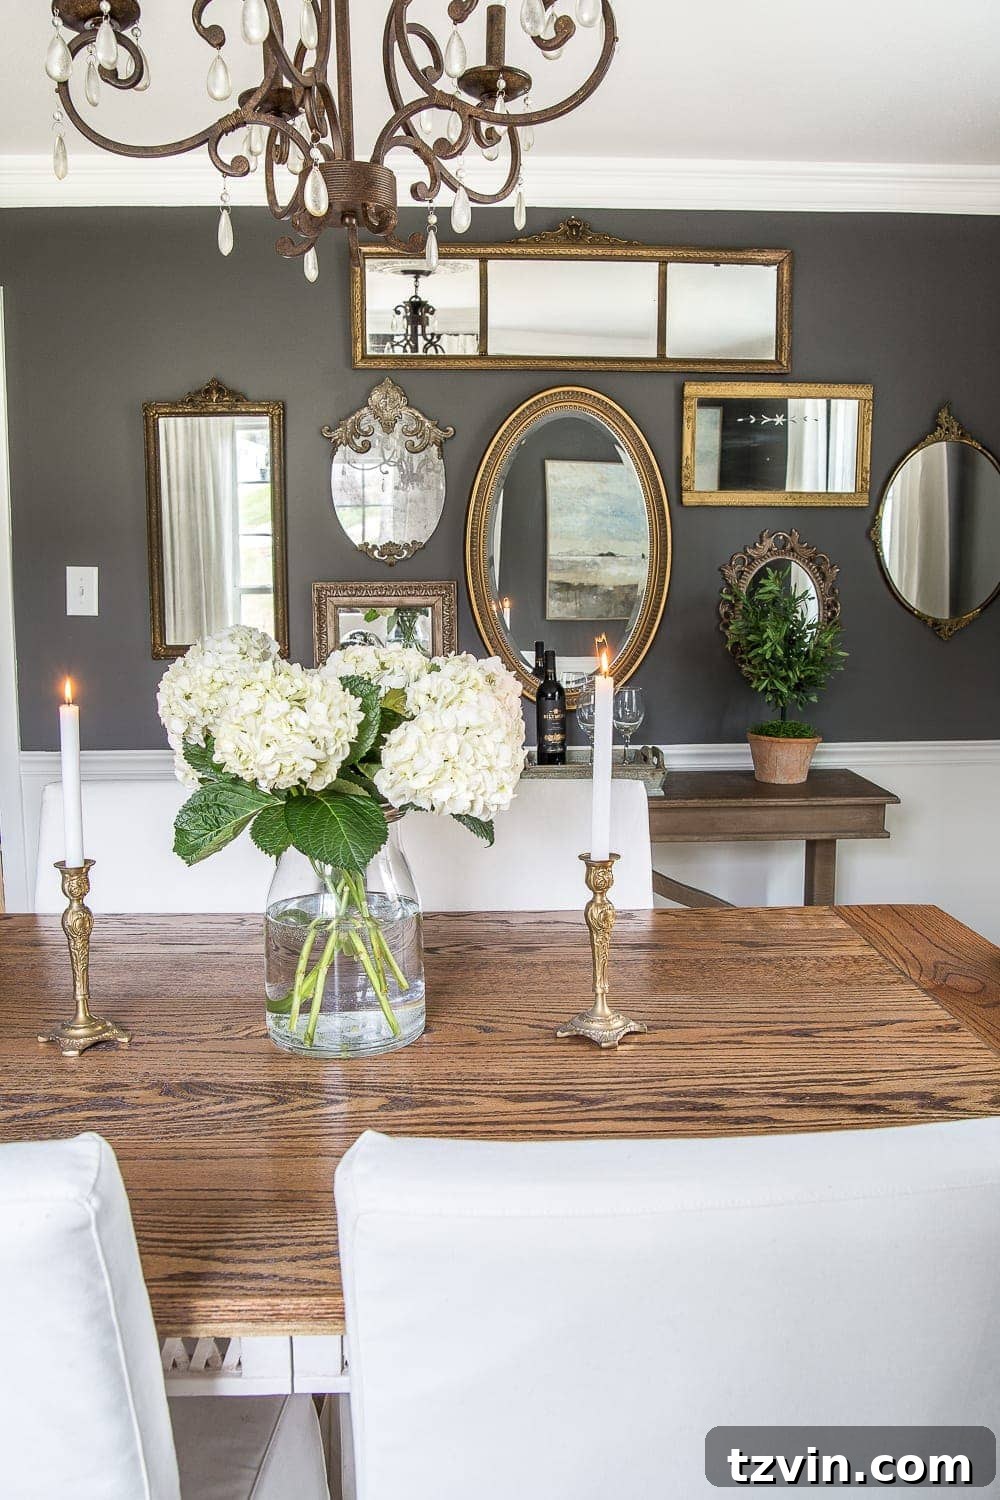
This DIY project has truly transformed the space, complementing our existing décor, including the mirror gallery wall and freshly painted walls.
Now, I’m brainstorming other furniture projects that could benefit from the retrofitted top treatment. Maybe a coffee table with a checkerboard painted on the underside? The possibilities are endless!
Happy building!