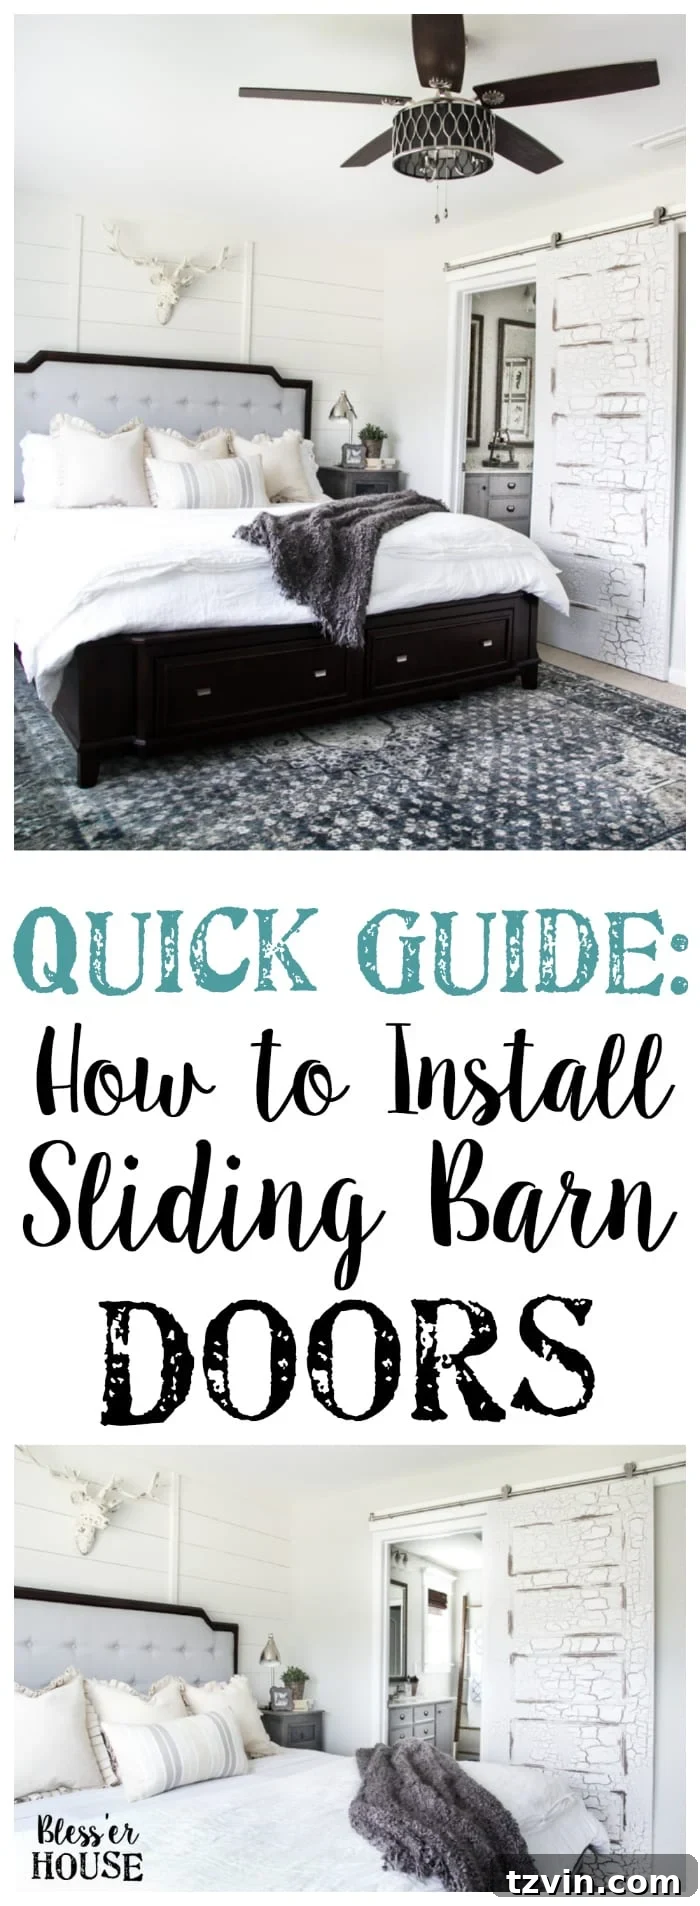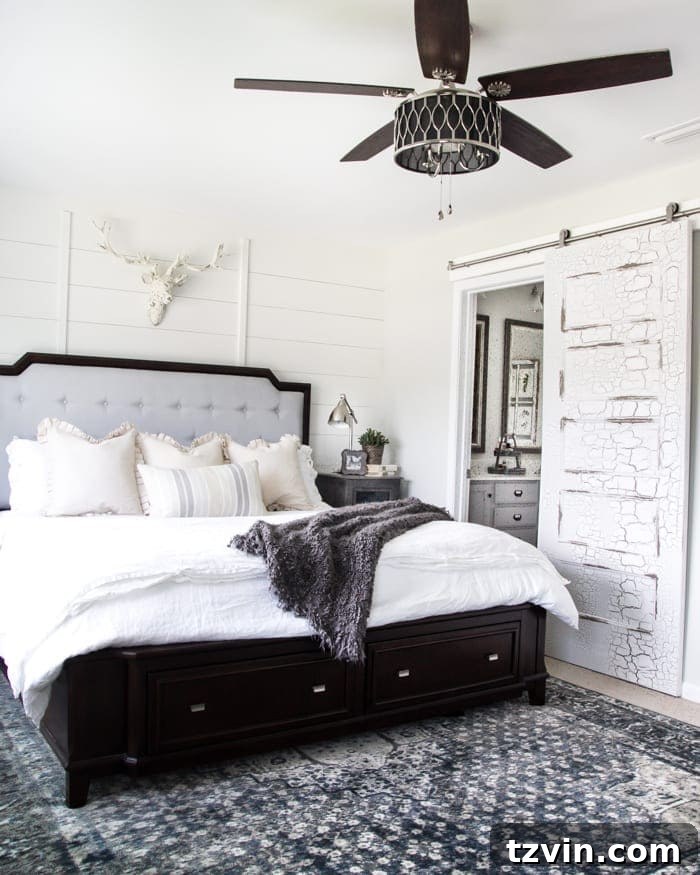
Welcome to our latest home improvement triumph, a project so transformative it instantly earns five gold stars in our DIY hall of fame! Seriously, our master bedroom has undergone a truly fan-freakin-tastic evolution thanks to a design choice that marries form and function beautifully: sliding barn doors.
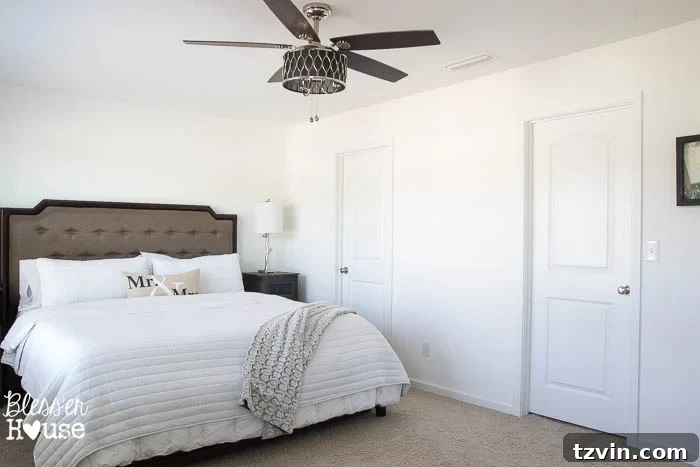
For those who’ve been with us since the early planning stages of our master bedroom makeover, you might recall the “before” scene, which looked a little something like this:
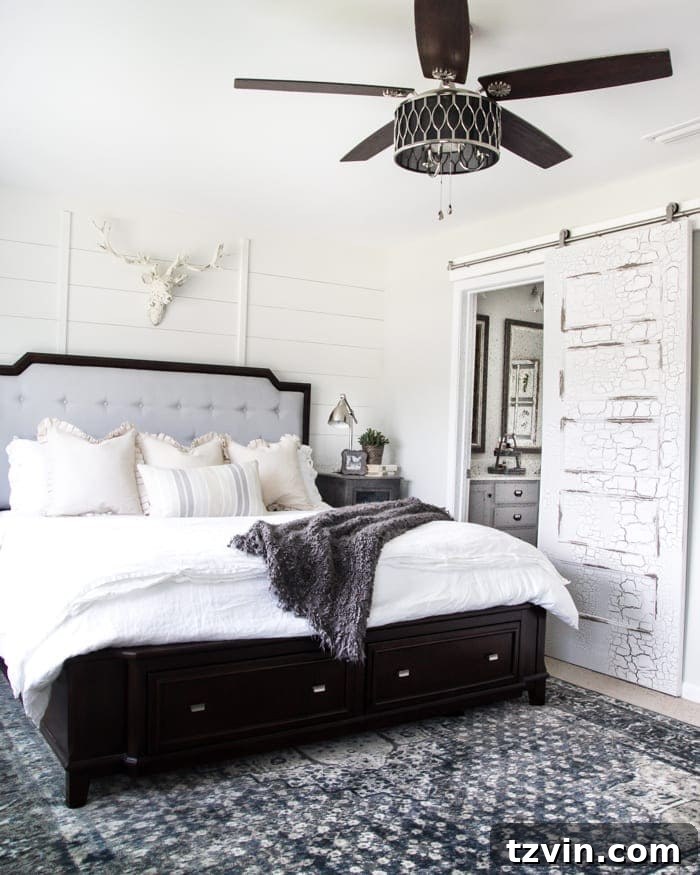
Fast forward to today, and we’re thrilled to present the new and vastly improved look, showcasing a sophisticated and incredibly practical solution that redefined the space:
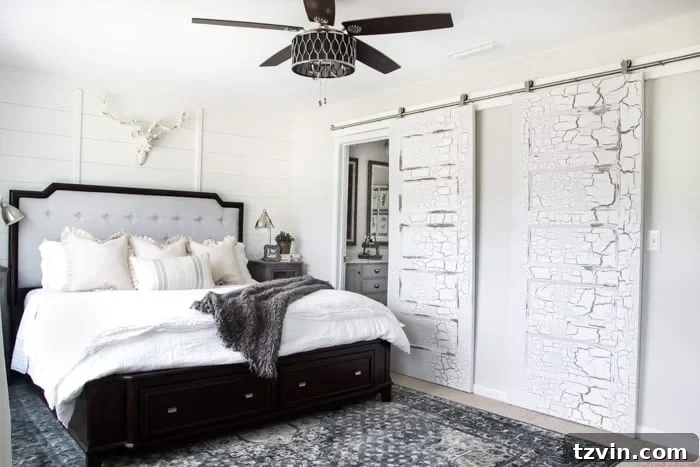
UPDATE: Discover the complete master bedroom makeover reveal and full source list here!
The addition of these sliding barn doors has undeniably transformed this wall, injecting an incredible amount of character and dimension into the room. Where once there was a rather unassuming, “blah” presence, we now have a focal point that seamlessly integrates with our modern rustic aesthetic. But beyond the striking visual appeal, the primary motivation for this project was born out of a very real, everyday functional challenge.
Solving Our Master Bedroom’s Design Dilemma with Sliding Barn Doors
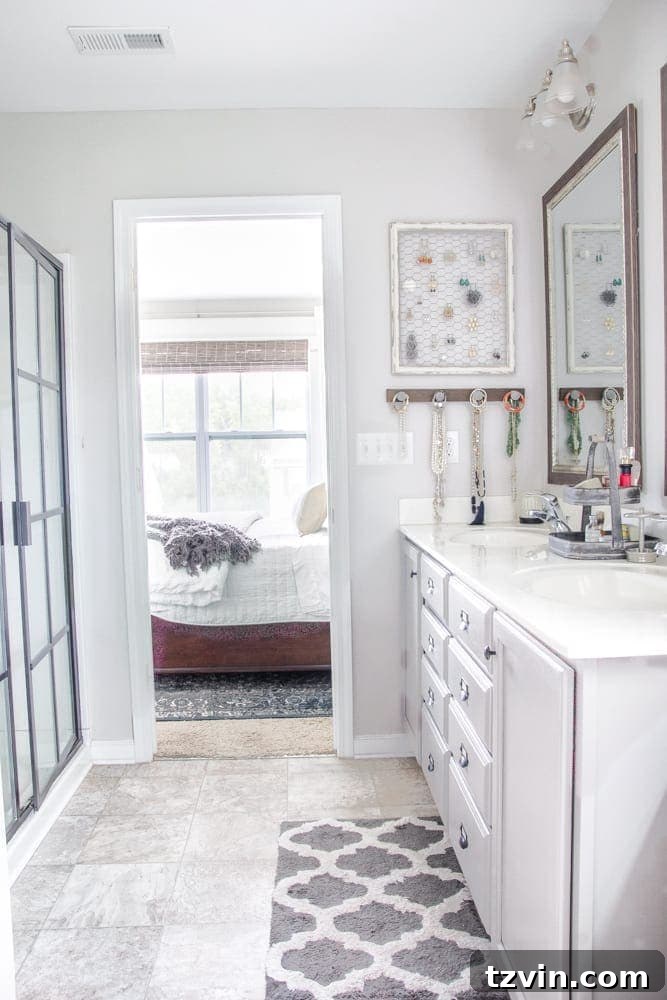
For two years, my husband Robert and I navigated a frustrating design flaw left by our builder. The traditional swing door to our master bathroom consistently slammed into the shower door when opened, creating an awkward and inconvenient traffic jam. This daily annoyance was a constant reminder that our master suite’s layout wasn’t optimized for seamless living.
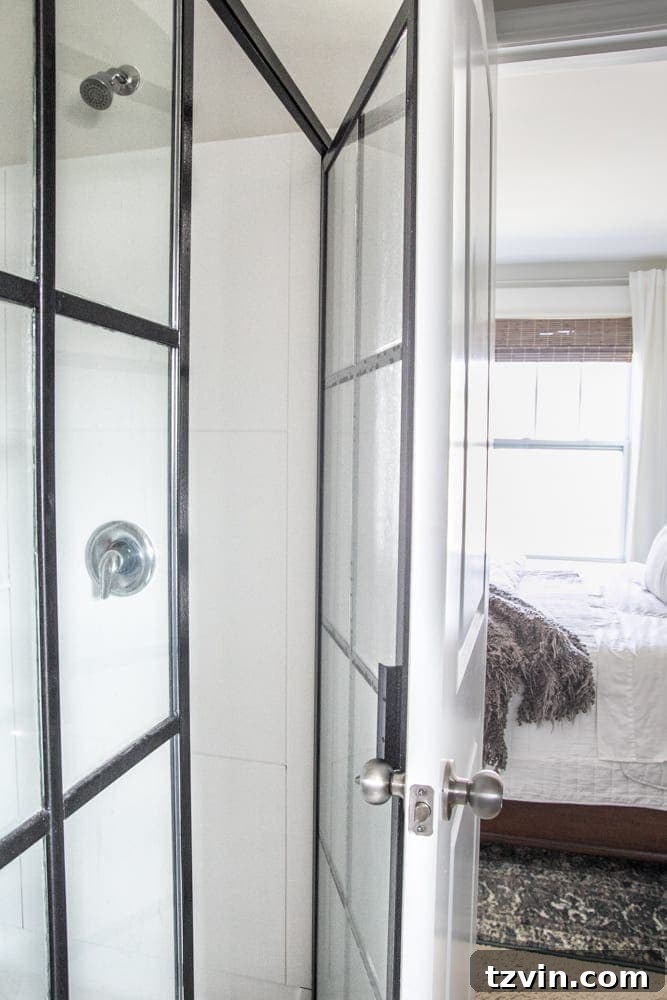
Compounding this, our closet door, also a swing-in design, consumed valuable wall space that could have been utilized for much-needed storage. We knew we needed a smarter door solution – one that would free up floor space, eliminate obstructions, and enhance the overall flow of our master suite. The answer, we decided, lay in the elegant efficiency of sliding barn doors.
Why We Chose a Barn Door Hardware Kit for a Smooth, Quiet Operation
Initially, we contemplated the ambitious route of DIYing our own sliding door track completely from scratch. However, a crucial consideration quickly emerged: the need for quiet and smooth operation. Given that one of us is often tiptoeing around early in the morning or late at night while the other is sleeping – Robert being an early bird and I a night owl – minimizing noise was paramount. The last thing we wanted was a squeaky, clunky door disturbing precious rest.
After careful deliberation, we opted for two high-quality stainless steel track kits from National Hardware. This decision proved to be an absolute game-changer. The installation process was remarkably smooth and straightforward, far more so than if we had attempted to fabricate a track using individual metal pieces from the hardware aisle. The pre-engineered kits offered a level of precision and ease that made the entire project a joy, ensuring the quiet, fluid movement we so desperately desired.
Essential Supplies for Your Sliding Barn Door Installation
Embarking on this project requires a few key materials and tools to ensure a successful and satisfying outcome. Here’s a comprehensive list of what we used:
- 2 Stainless Steel National Hardware Sliding Door Track Kits: These form the backbone of your barn door system, providing the smooth mechanism for your doors.
- 2 Doors: The stars of the show! We utilized hollow core doors and achieved a unique look by distressing them to complement our aesthetic.
- Connecting Track Adaptor: Essential if you have two doors side-by-side or a particularly wide opening that requires joining multiple tracks.
- 2×6 or 1×6 Board (Header Board): This piece provides crucial structural support for mounting the track system. Choose based on your door’s weight and desired projection from the wall.
- Paint: Select a color to match your existing trim or room decor. We used leftover white paint from a kitchen cabinet project.
- Tape Measure: For precise measurements, which are critical for alignment.
- Level: Absolutely vital for ensuring your header board and track are perfectly horizontal.
- Pencil: For marking measurements and stud locations.
- Power Drill: Necessary for securing screws quickly and efficiently.
- 2.5″ Interior Screws: To firmly attach the header board to wall studs.
- Stud Finder: (Highly recommended, though not explicitly listed in original, crucial for securing header).
- Ladder: For safely reaching high areas during installation.
Step-by-Step Guide: Installing Your Own Sliding Barn Doors
Step 1: Preparing and Installing the Header Board
Accurate preparation is key to a successful barn door installation. We began by leaning one of our doors flush against the wall in its intended final position. From the top edge of the door, we measured up 2.5 inches and marked this point with a pencil. This mark indicated the exact placement for the bottom edge of our header board, ensuring adequate clearance for the doors to slide smoothly.
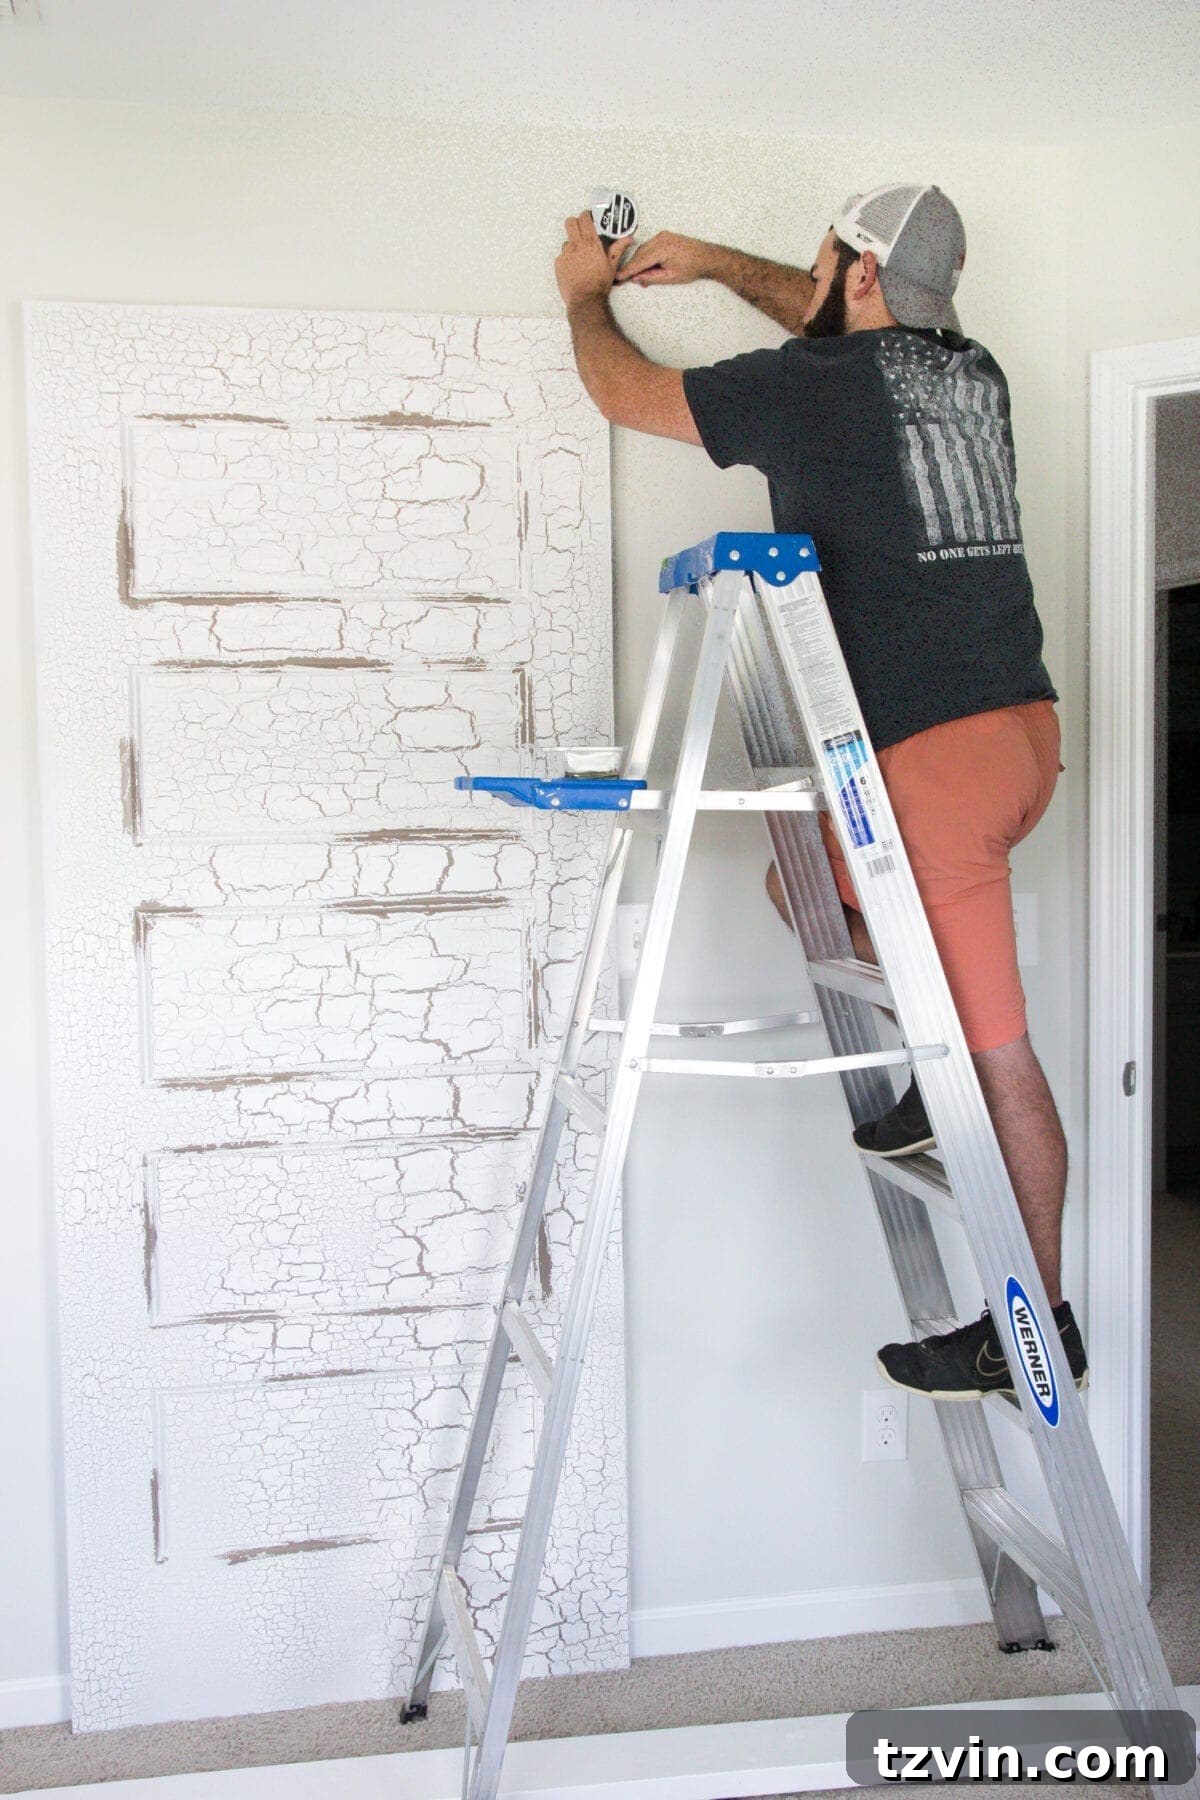
Our header board was a 2x6x12 whitewood board, sourced from the lumber section of our local hardware store. We painted it with leftover kitchen cabinet paint to perfectly match our existing trim, creating a cohesive look. In hindsight, a 1×6 board might have been slightly more ideal to minimize the doors projecting from the wall; our 2×6 resulted in about an inch more projection than originally planned. However, either option is perfectly viable for structural support.
With our mark established, we hoisted the painted header board above the door frames, aligning its bottom edge precisely with our pencil mark. Using a level, we carefully ensured the board was perfectly horizontal before securing it. This step is critical for smooth door operation. We then used a power drill and 2.5-inch interior screws to fasten the header board firmly into the wall studs. A stud finder is invaluable here to locate the studs accurately for a secure installation.
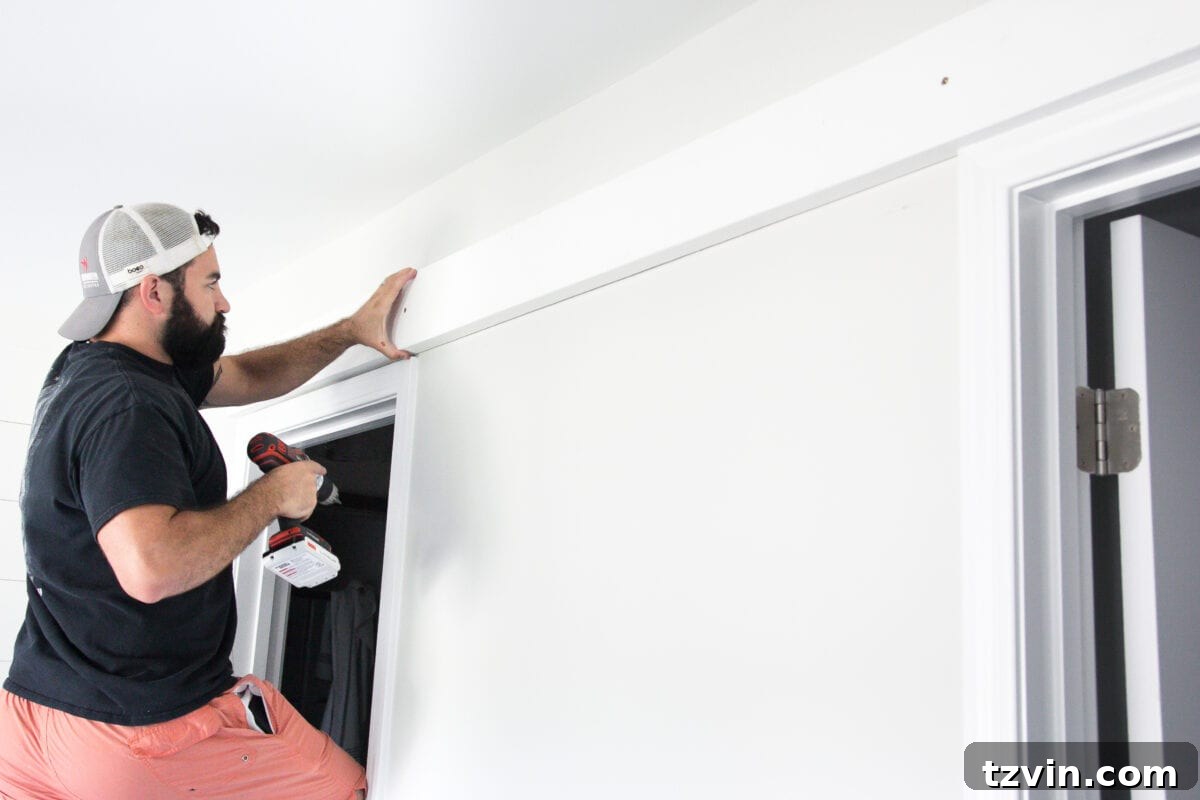
With the header board securely in place, the stage was set for the “magic” to unfold. Robert was particularly excited at this point, sporting a rather impressive beard he’s quite proud of! (Side note: this also gave a sneak peek into our never-before-seen closet, which is definitely on our future makeover hit list.)
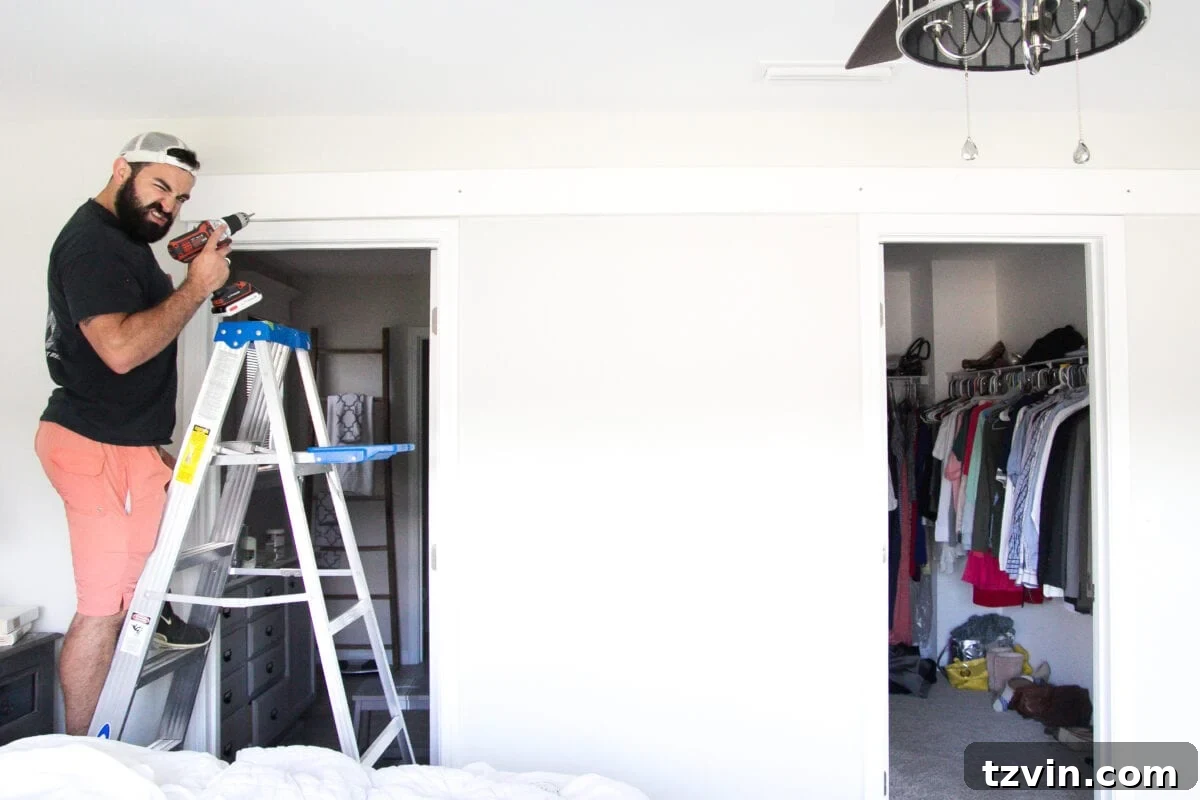
Step 2: Assembling and Mounting the Track System
Given the length of our wall and the need for two sliding doors, we utilized two separate track kits. To create one continuous, long track, we joined them using the provided connector piece. This adaptor is specifically designed for such configurations, ensuring a seamless transition for the door rollers.
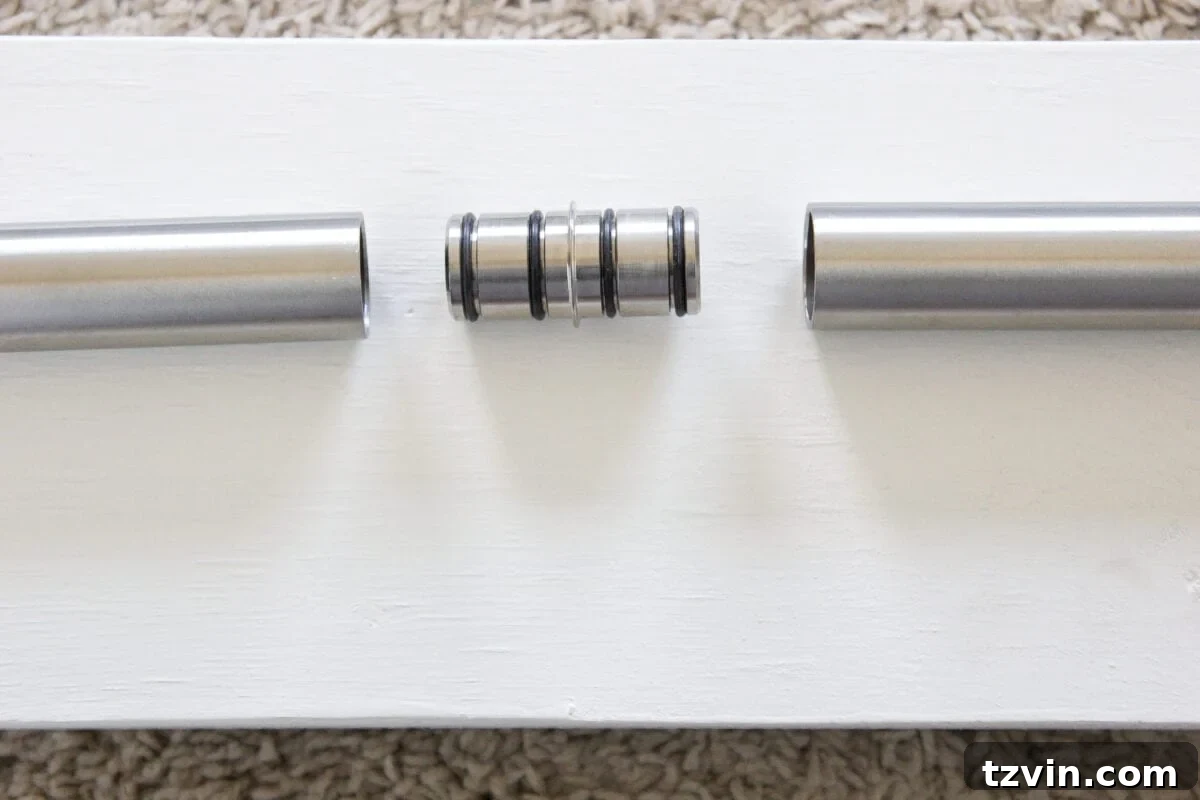
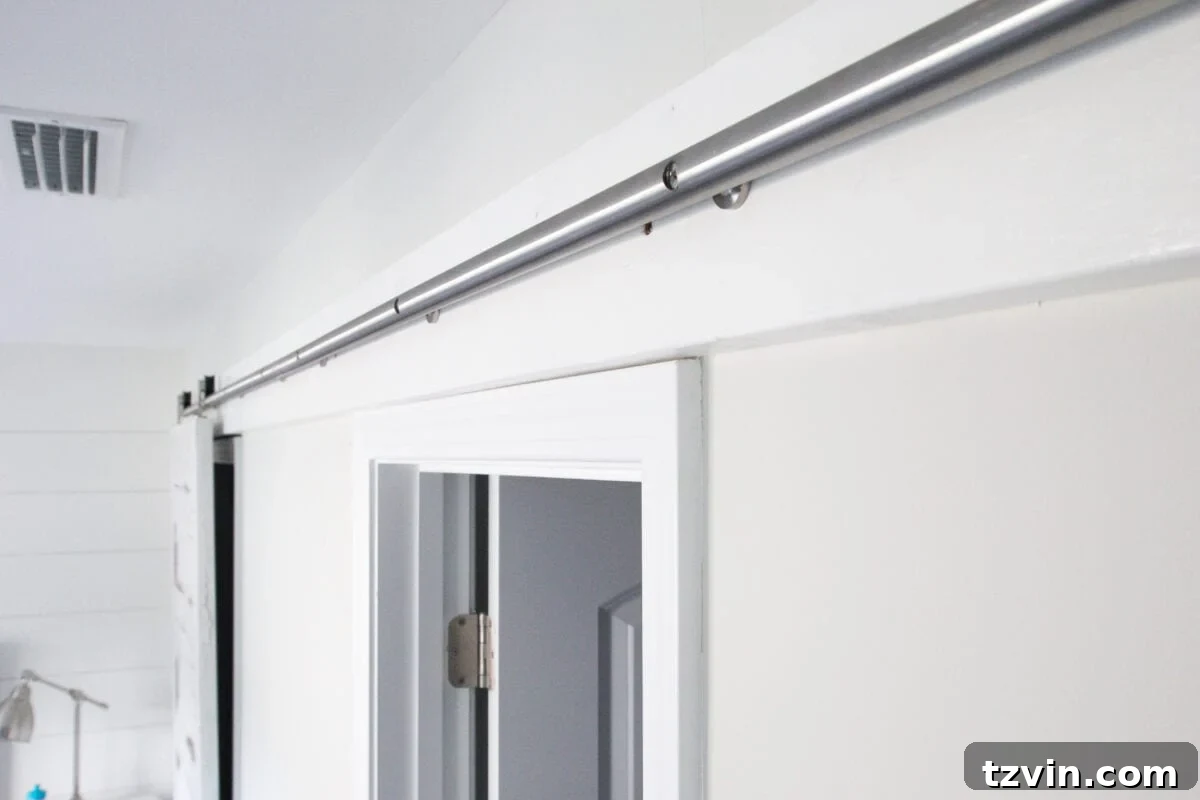
Once assembled, we carefully aligned the entire track system along the center of our header board. Using the hardware attachments supplied in the National Hardware kit, we screwed the track firmly into the header. It’s crucial to ensure every mounting point is secure and the track remains level throughout this process. The quality of the kit’s hardware greatly simplified this step, providing robust support for the doors.
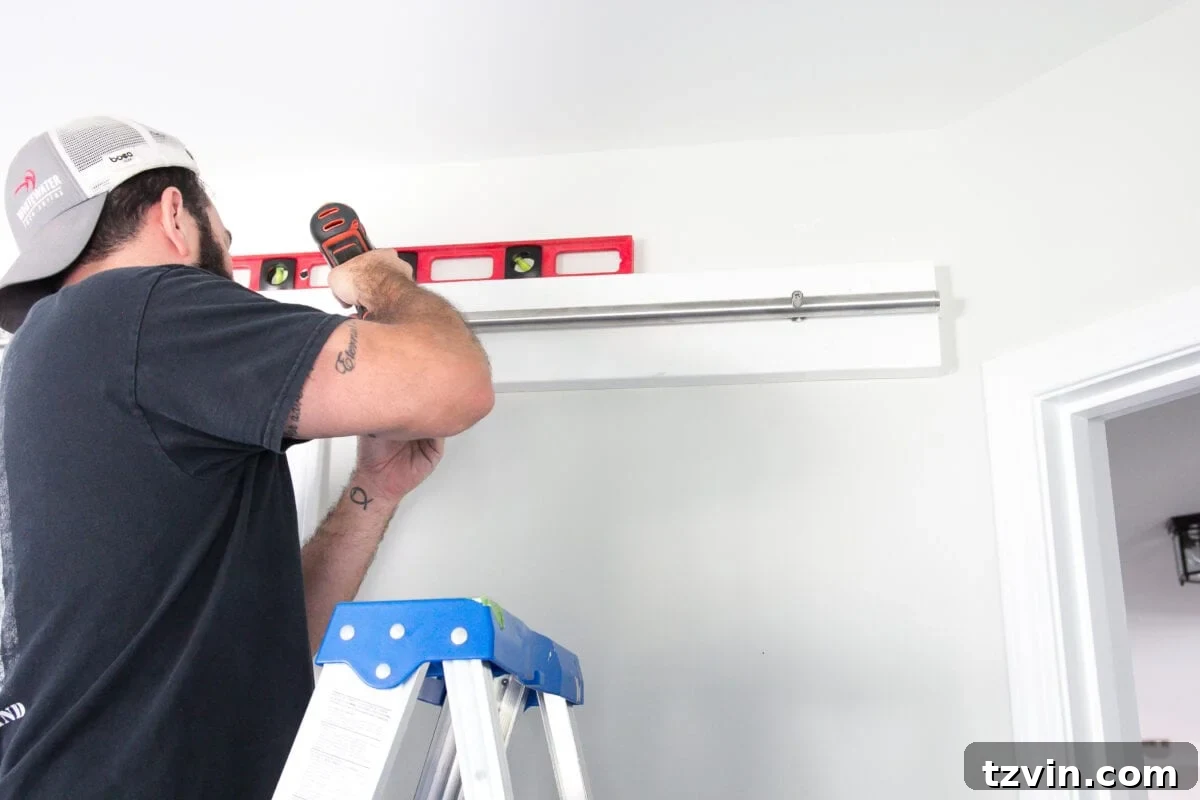
With the track securely mounted, we officially had a robust and ready-to-use system, eager to receive its doors!
Step 3: Preparing the Doors with Rollers
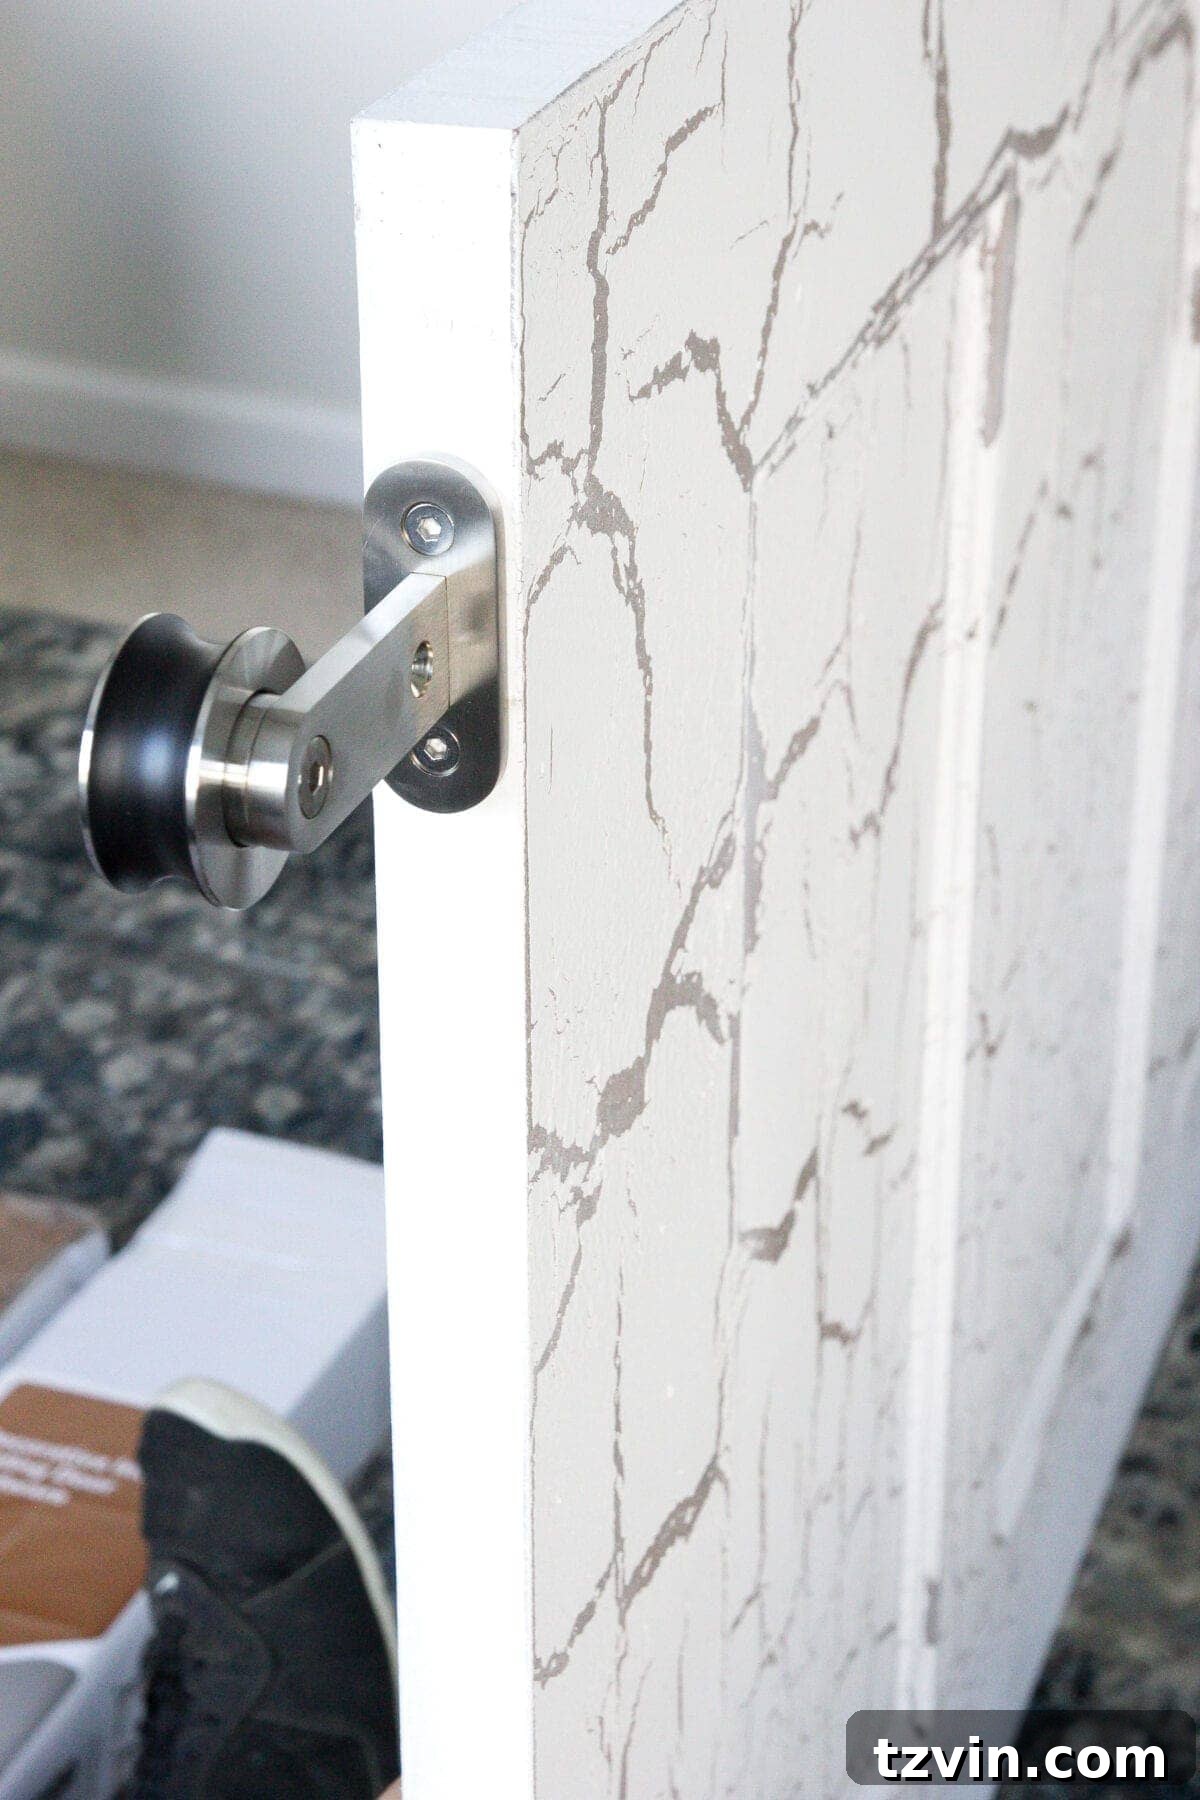
The next step involved preparing our hollow core doors for hanging. If you’re interested in how we achieved their unique look, you can refer to our guide on how to distress hollow core doors. Each National Hardware kit comes with a handy template for precise roller placement. We carefully used this template to mark the screw points on the top edge of each door and then drilled and screwed in the rollers. Ensuring these are firmly attached and correctly oriented is crucial for the doors to hang and slide properly.
Step 4: Hanging the Barn Doors
With the track installed and the rollers attached to the doors, it was time for the satisfying moment of hanging them. This usually requires two people: one to lift and hold the door, and the other to guide the rollers onto the track. We carefully lifted each door and engaged the rollers with the track system. Once hung, we spent a delightful hour admiring them, testing their smooth glide back and forth. The difference was immediately apparent – the doors moved with an effortless grace that was incredibly rewarding to witness.
Step 5: Adding Finishing Touches (Handles & Locks)
While the doors were fully functional at this point, we planned to add stylish door handles and, potentially, a lock for privacy. These final touches would complete the aesthetic and practical elements of the installation, and we’ll be sharing details on those in a future post. However, even without these accessories, our master bedroom was officially transformed!
The Stunning Reveal: Aesthetics and Unrivaled Functionality
Standing back, the transformation was breathtaking. We don’t regret for a second our decision to go with the store-bought National Hardware track kits. These babies are incredibly smooth, quiet, and radiate a quality that would have been exceptionally difficult to achieve with a DIY-from-scratch approach. The effortless glide of the doors is a constant pleasure, ensuring no more jarring noises or functional frustrations in our most private space.
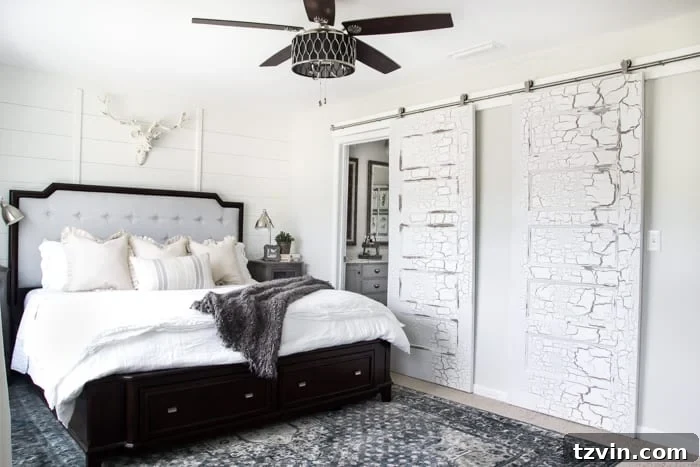
The sleek stainless steel of the hardware perfectly complements the modern industrial farmhouse hybrid look that we’ve carefully cultivated throughout our home. It’s a subtle yet impactful detail that ties the entire design scheme together, adding a touch of contemporary edge to the rustic charm.
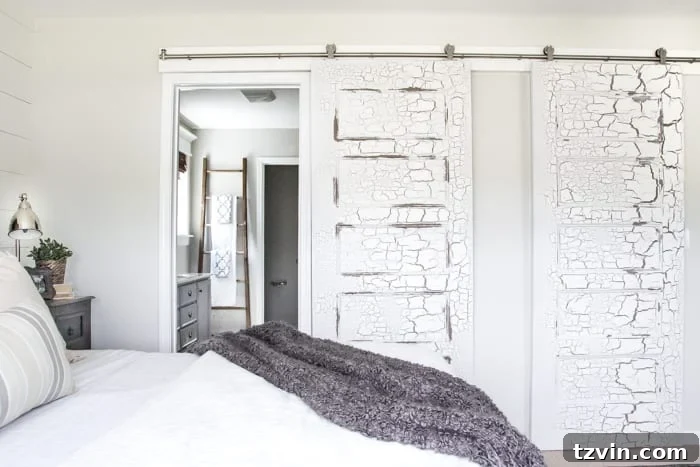
Beyond aesthetics, the practical benefits are immense. We no longer have to worry about the bathroom door colliding with the shower, making the flow between the bathroom and bedroom infinitely more sensible and functional. This simple yet profound change has elevated our daily routine, making our master suite a truly serene and efficient sanctuary.
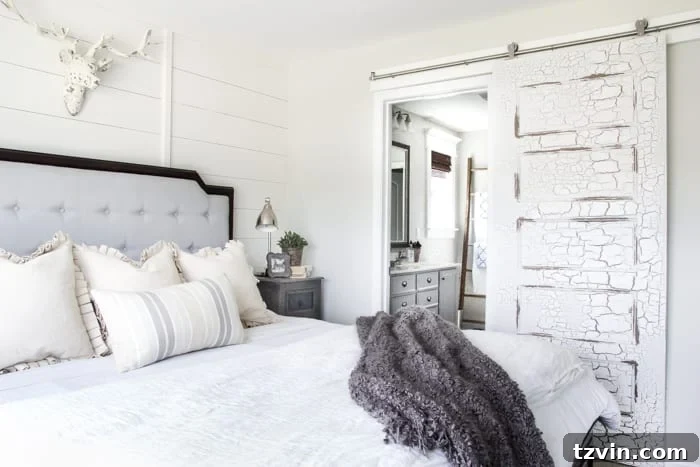
The space gained, the quiet operation, and the undeniable style boost make this one of our most satisfying home projects to date. If you’re grappling with similar space constraints or simply seeking a unique design element, sliding barn doors offer a compelling solution that combines elegance with efficiency.
Continue the Master Bedroom Transformation Journey!
We’ll soon be sharing a full tour of the entire master bedroom, complete with a detailed budget breakdown and a comprehensive source list. In the meantime, you can catch up on all the incredible progress from the very beginning of this exciting renovation:
- Modern Rustic Master Bedroom Design Plan
- Finding the Perfect Nightstands
- The Trick to Get Designer Paint Colors on the Cheap
- DIY Planked Board and Batten Focal Wall Installation
- DIY Planked Board and Batten Focal Wall Reveal
- 3 Must-Do Tricks to Upgrade Plain Windows
- New Rug in the Master Bedroom
- Beginner’s Guide to Painting Upholstery
- How to Distress Hollow Core Doors
Have you ever considered or installed barn doors in your home? What were your experiences, and do you love them as much as we do? Share your thoughts in the comments below!
If you found this guide helpful and want to save it for your next DIY project, you can easily pin it here: