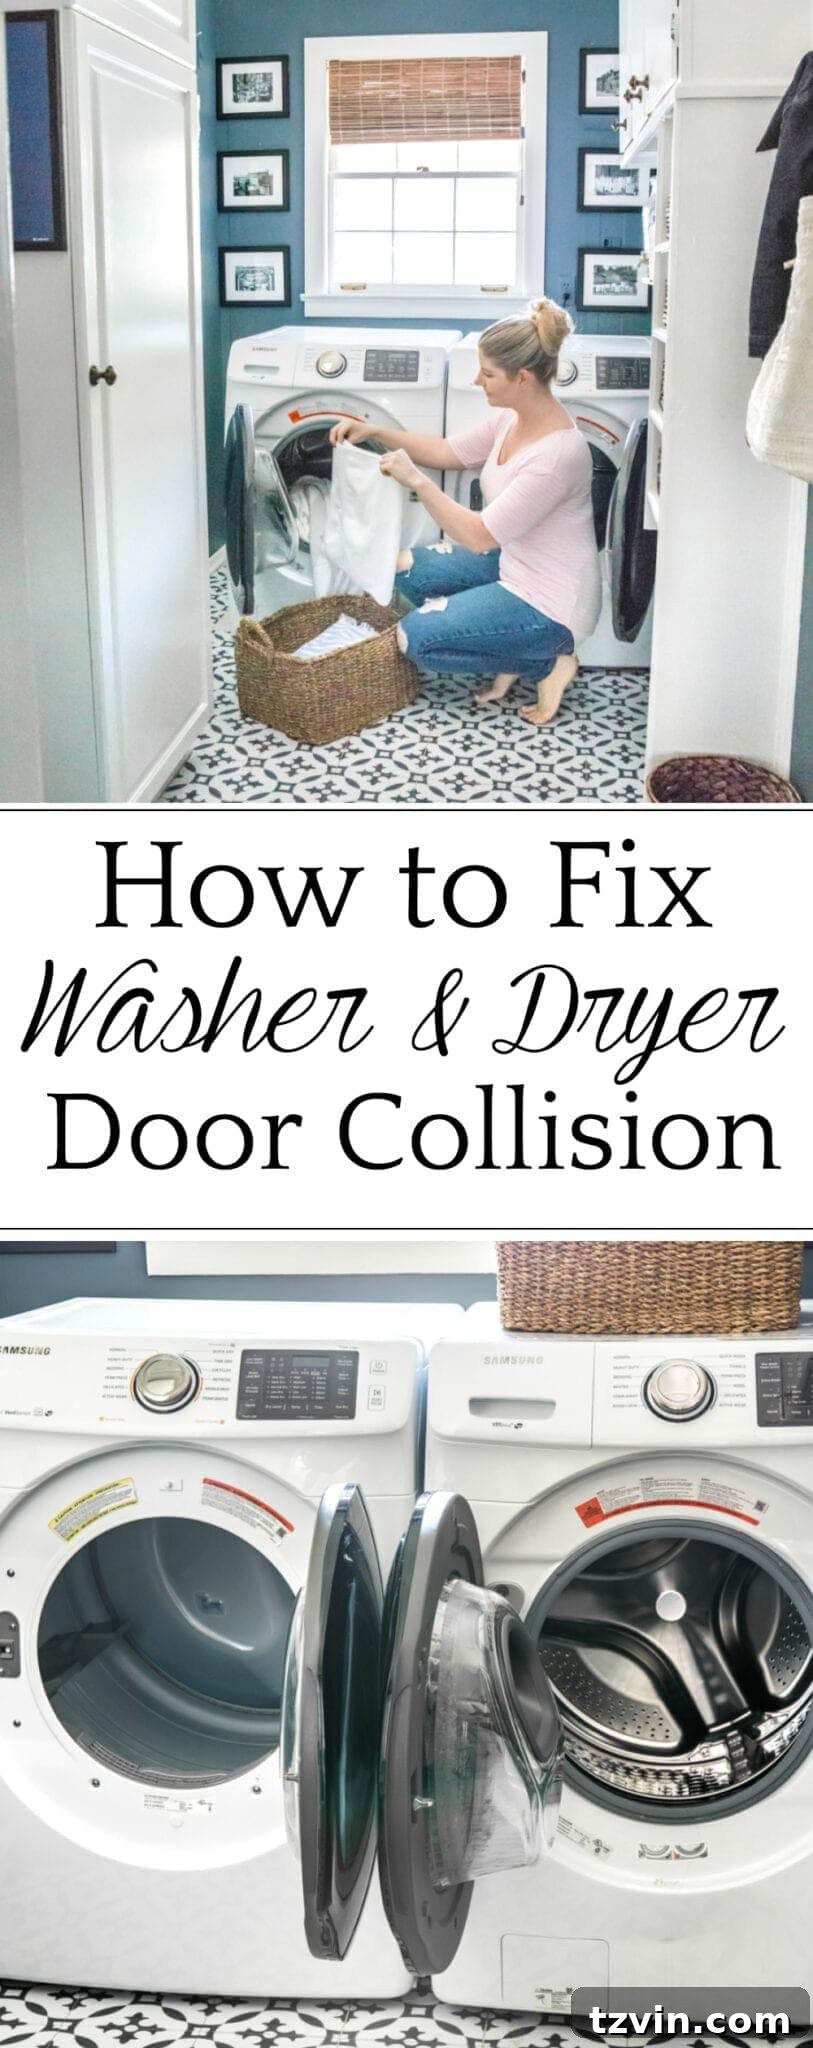
Optimize Your Laundry Room: How to Prevent Washer and Dryer Door Collisions
For countless homeowners, the laundry room often presents a unique challenge: the frustrating dance around appliance doors that constantly collide. What seems like a minor inconvenience can quickly become a daily source of irritation, disrupting the flow of laundry day and turning a simple chore into a clumsy battle. We faced this very issue for far too long, accepting it as an unchangeable quirk of an older home. But what if there was a simple, yet overlooked solution to transform your laundry experience? This guide reveals how we finally tackled this common “first-world problem” by creatively crossing our washer and dryer connections, dramatically improving the functionality of our laundry space.
Reclaiming Laundry Day: From Frustration to Functional Flow
Picture this: for two solid years, every time a load of fresh laundry needed to move from the washer to the dryer, it involved a series of awkward maneuvers, carefully navigating around two open doors vying for the same space. It was a daily ritual of bending, twisting, and holding doors ajar, all because of what we presumed were “backwards” appliance connections in an older house. This wasn’t just inconvenient; it added unnecessary time and effort to an already never-ending chore. Like many household projects that linger on the “to-do” list, we continuously wondered why it took us so long to implement such a straightforward fix once the solution finally presented itself.
Why We Love Our Samsung Laundry Set: Efficiency Meets Innovation
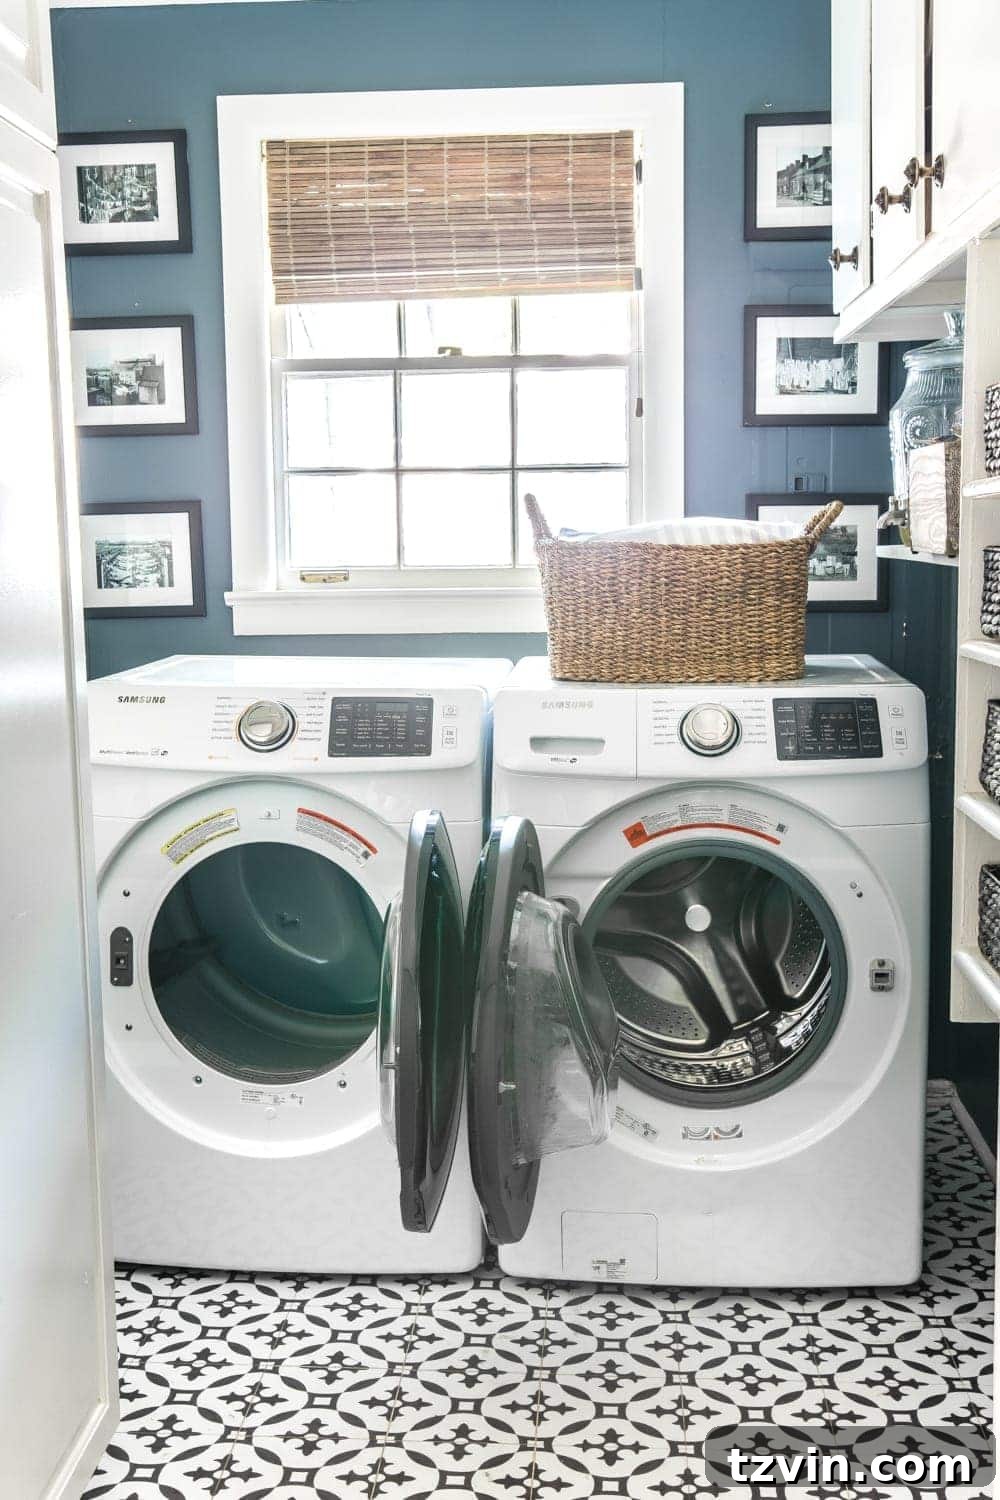
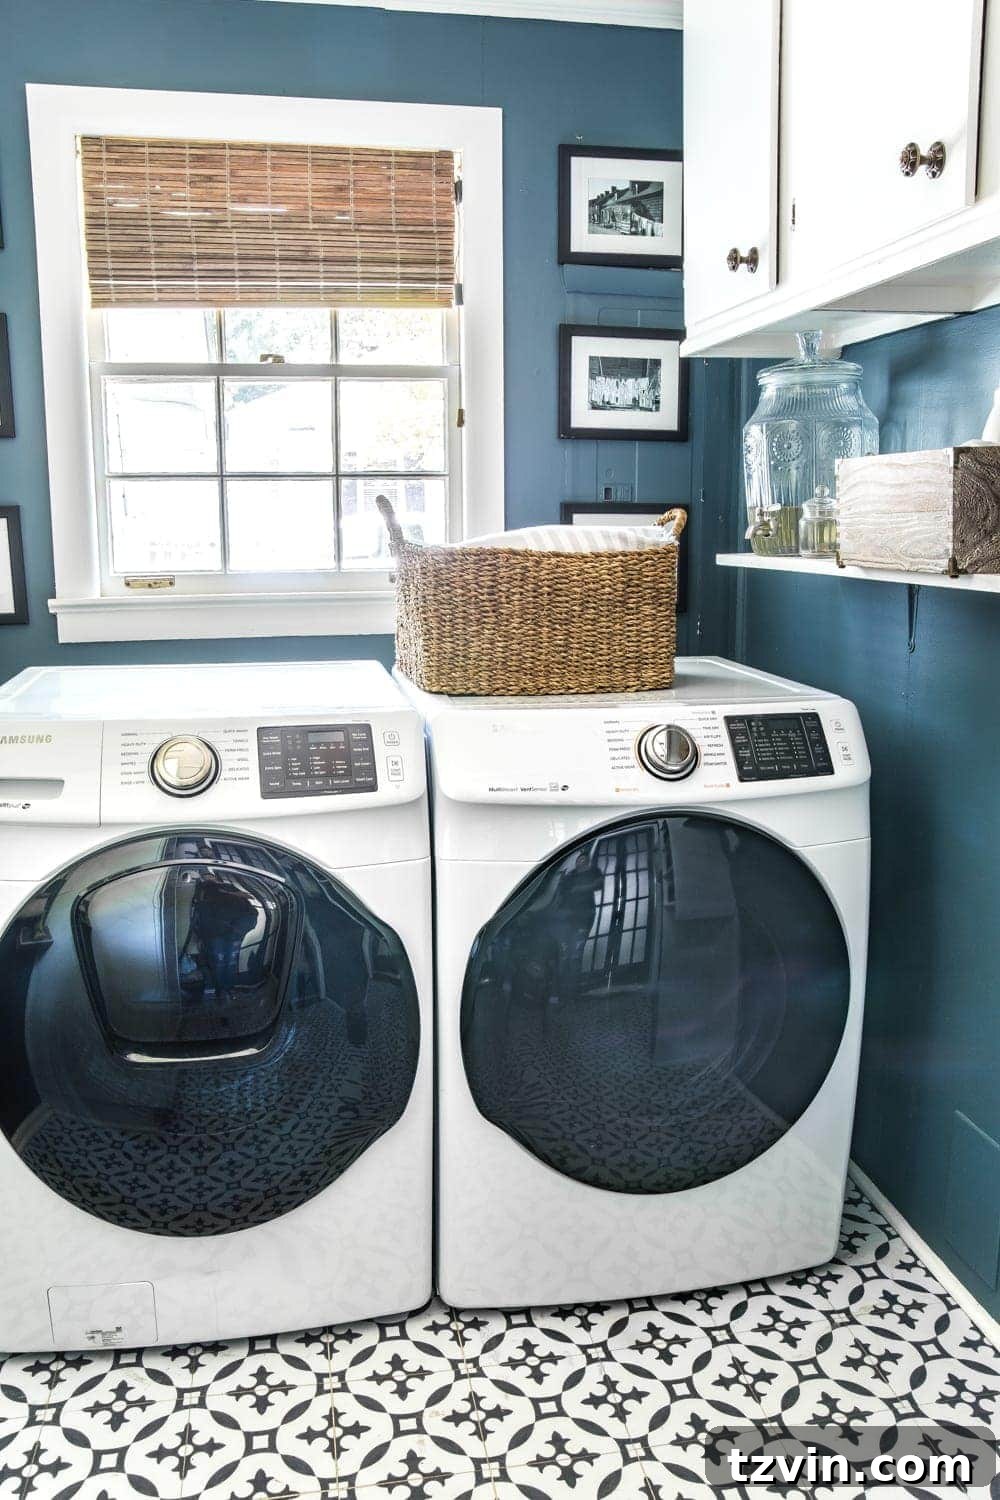
When we first moved into our home, one of our priorities was upgrading our laundry appliances. We specifically sought out a front-load washer and dryer due to their modern aesthetic and, more importantly, the practical benefit of having a flat top surface. This allows us to use the appliances as an impromptu folding table, a feature that significantly streamlines the laundry process. After careful consideration, we chose a Samsung Energy Star dryer and a complementary Samsung AddWash High Efficiency washer. These appliances have been a game-changer for our household, greatly enhancing our laundry efficiency and overall satisfaction.
The Samsung AddWash Feature: A Parent’s Best Friend
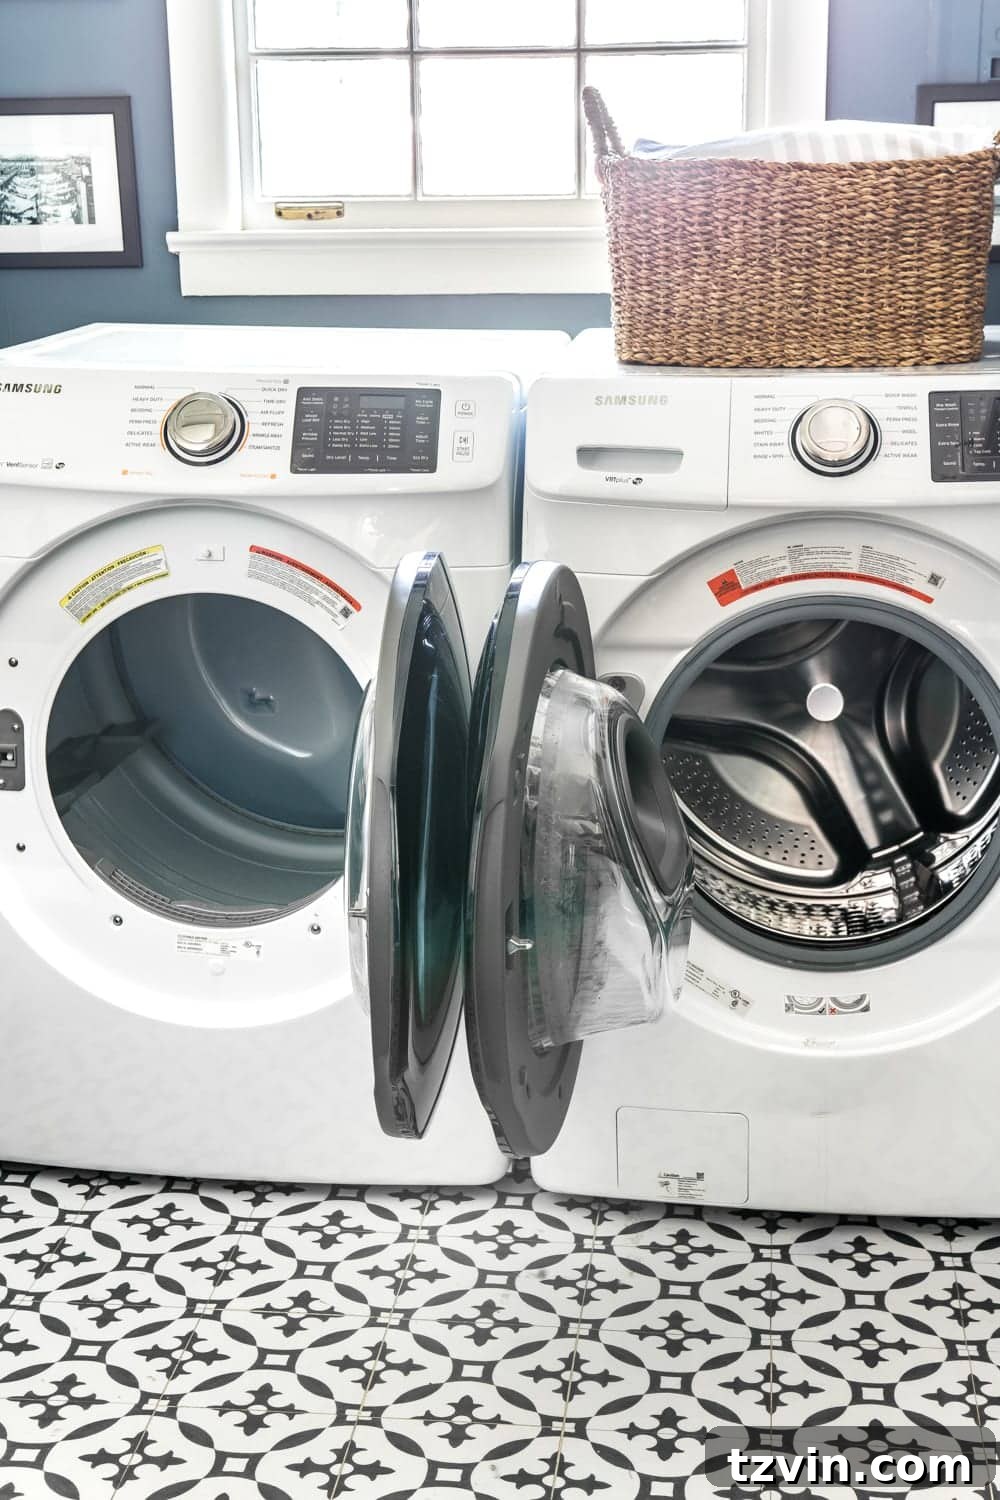
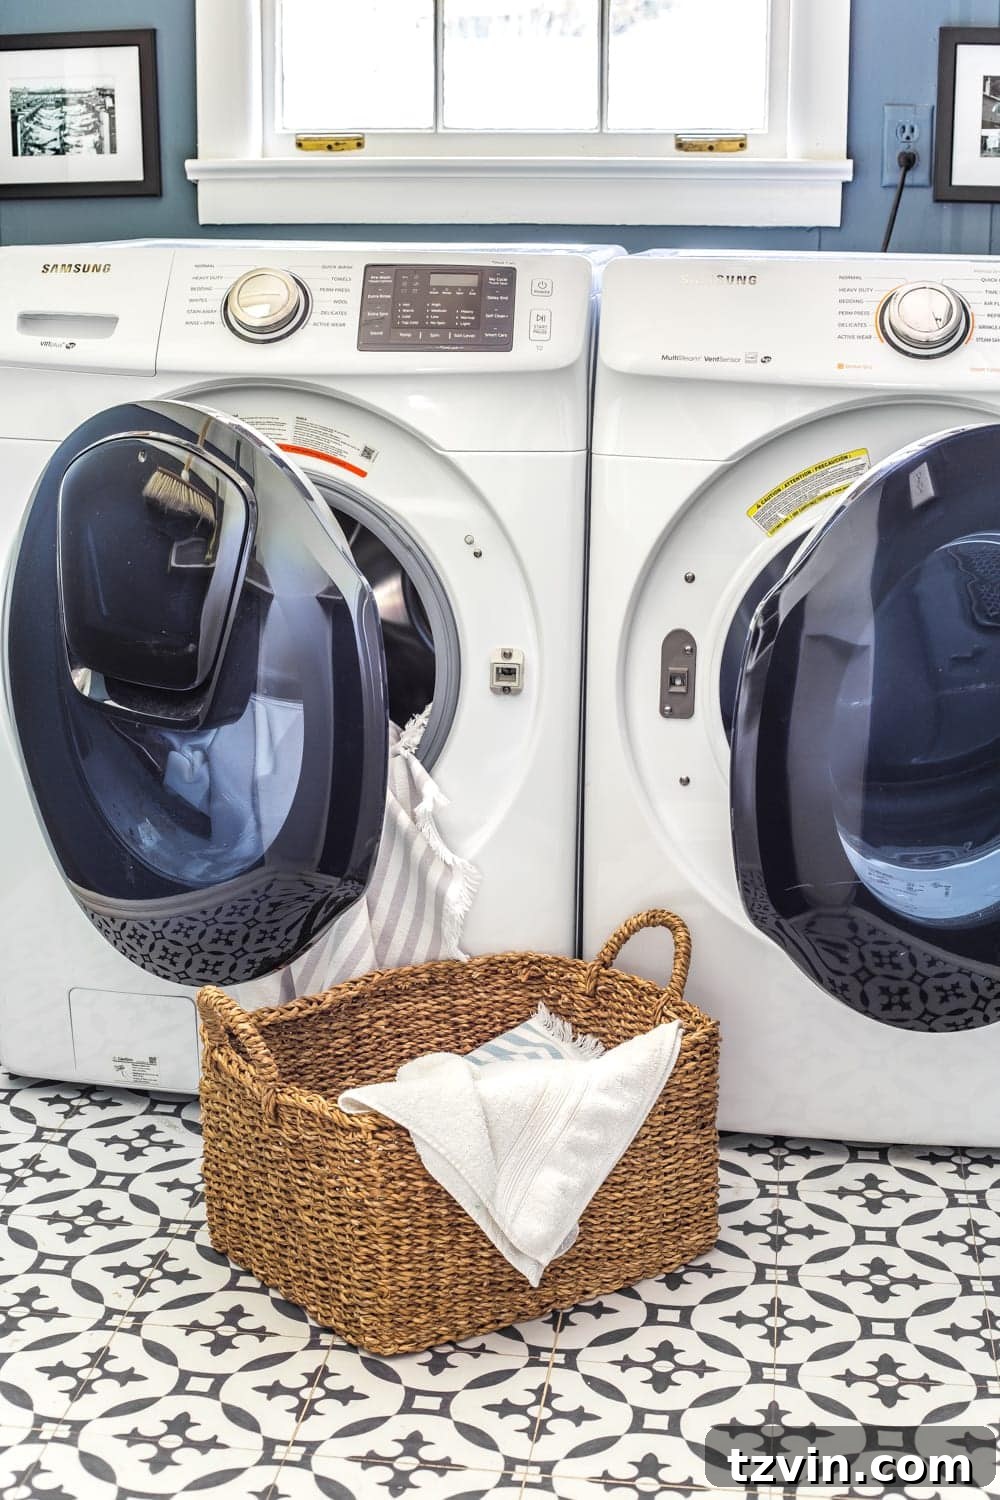
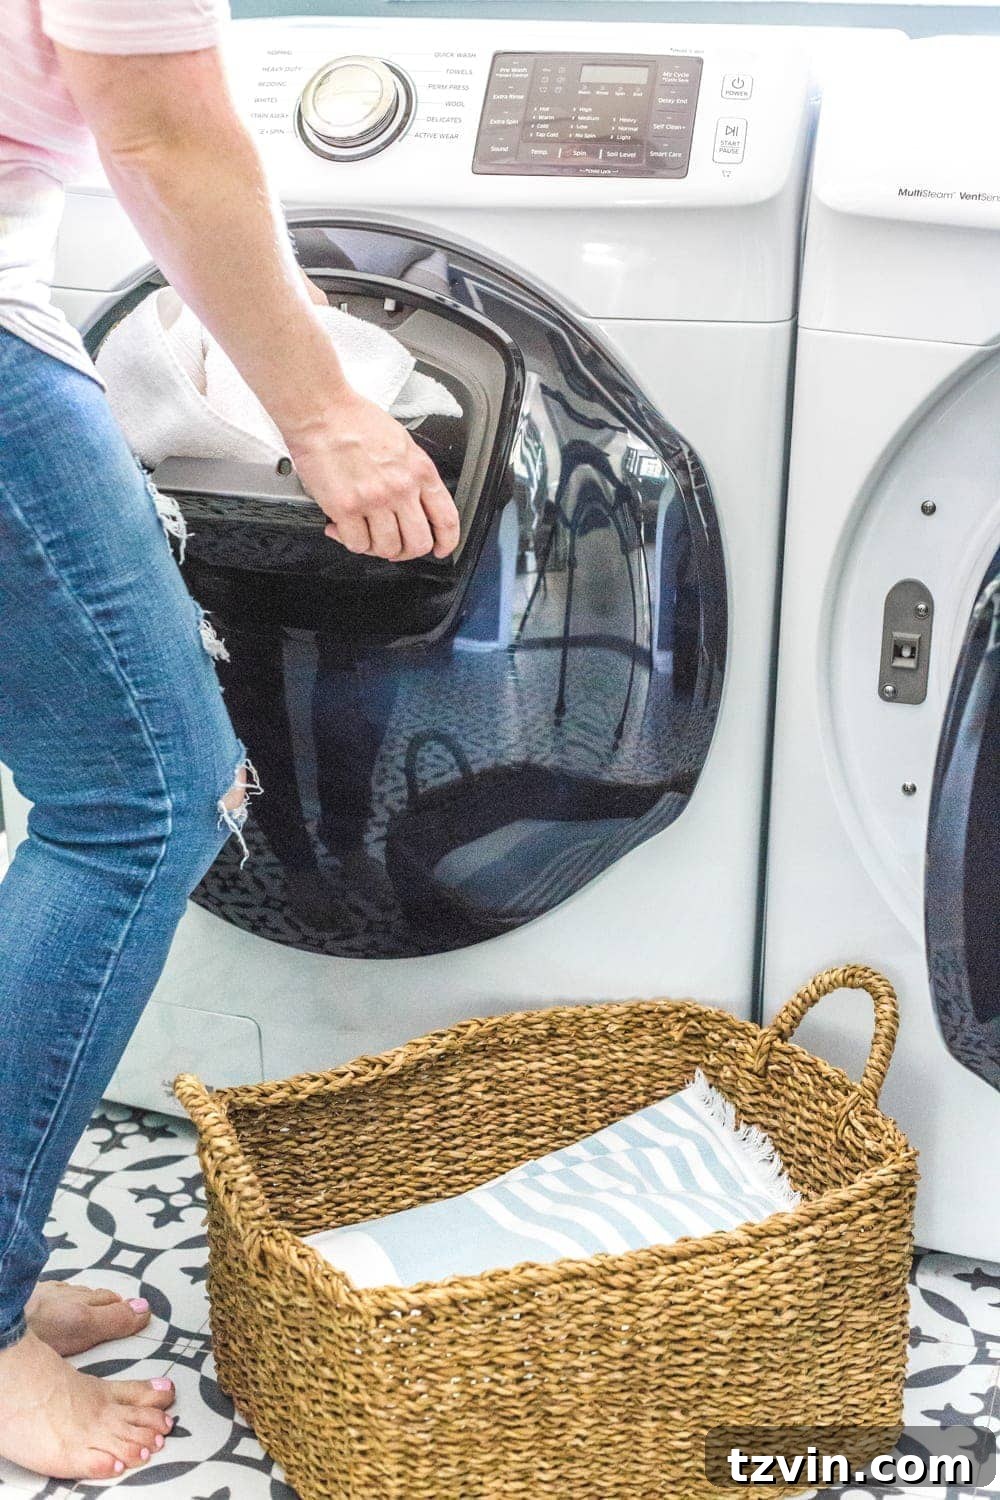
The standout feature that truly sold us on the Samsung washer was its innovative AddWash door. This ingenious little hatch in the front allows for the last-minute addition of forgotten items—a rogue sock, a stray dish towel, or even a child’s uniform that mysteriously appeared after the cycle began. For busy individuals, especially those with “mom brain” (or perhaps it’s the Nargles, as some might joke!), this feature is invaluable. It eliminates the need to pause the entire wash cycle, drain the water, and restart, saving both time and water. This small addition makes a monumental difference in the daily management of laundry piles, ensuring nothing gets left behind without disrupting the entire process.
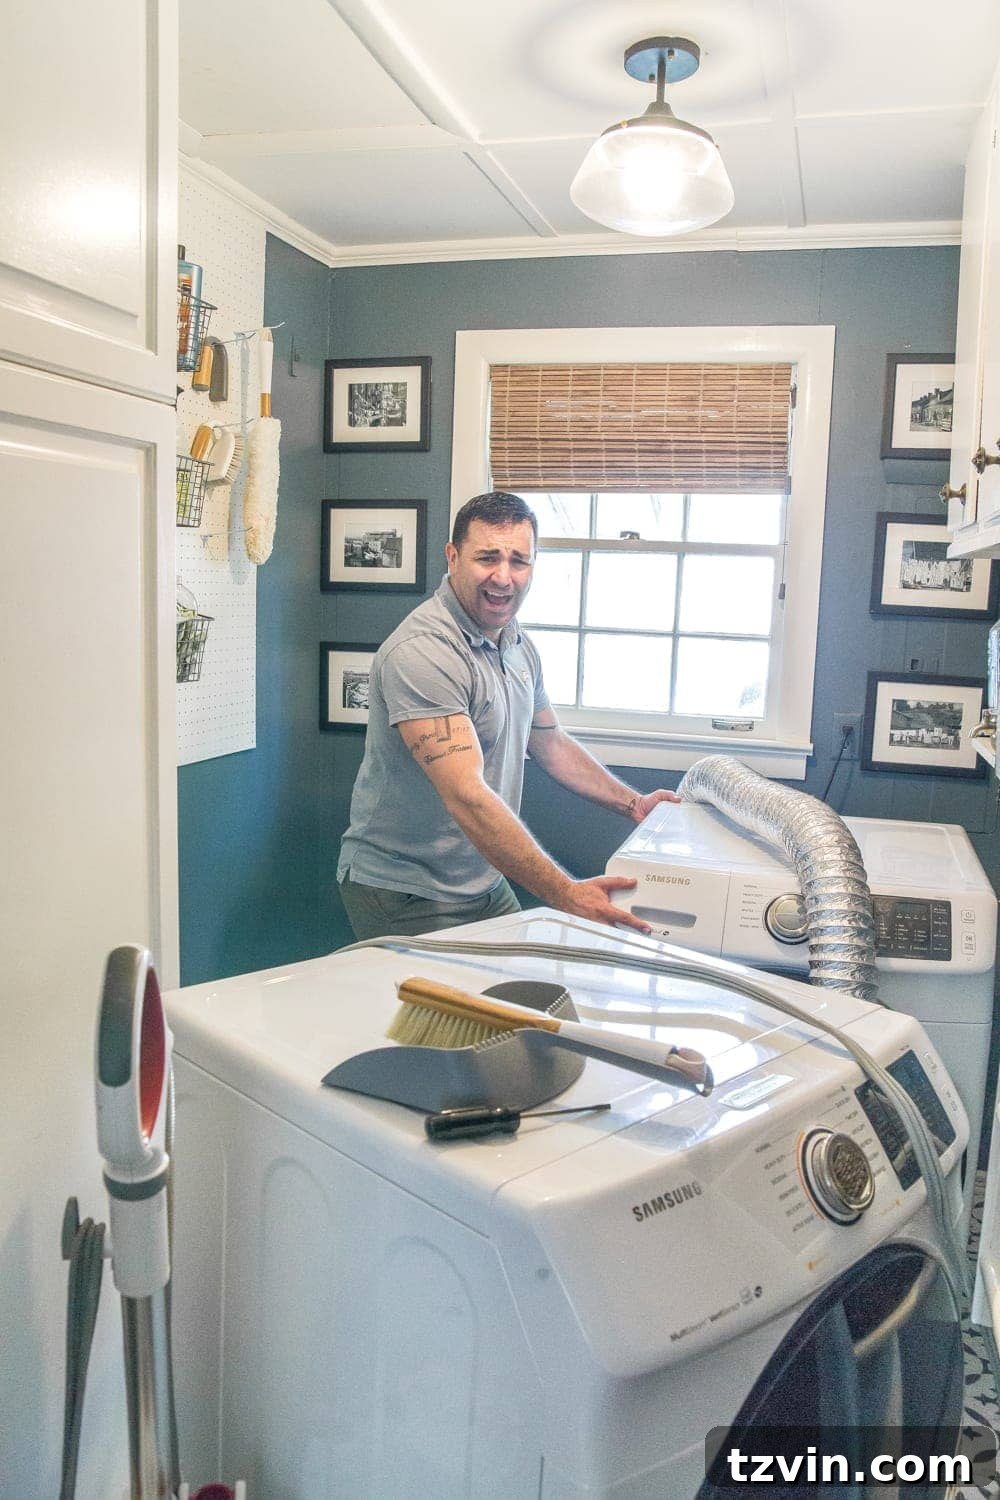
Despite our love for the Samsung set, the conflicting door swings remained. The AddWash feature, with its sophisticated locking mechanism, meant we couldn’t simply reverse the washer door’s hinge direction as one might do with a standard appliance. This limitation made us feel stuck, believing that a perpetual door collision was our fate. However, one evening, amidst the usual laundry room struggles, a simple yet brilliant idea dawned on us: what if we simply swapped the positions of the washer and dryer and reconfigured their connections? This seemingly obvious solution had been overlooked for years, and we quickly realized it was the key to unlocking a more harmonious laundry space.
The Simple Solution: Crossing Washer and Dryer Connections
Surprisingly, despite the common nature of this problem, reliable information on how to cross washer and dryer connections was scarce online. While contractor forums occasionally mentioned doing it “all the time,” detailed, user-friendly guides were conspicuously absent. If you find yourself in the same predicament, struggling with colliding appliance doors and searching for a practical solution, this guide is for you. Beyond fixing the door dilemma, undertaking this small project also presents an excellent opportunity to perform essential maintenance, such as cleaning out your dryer vent, a crucial step for household safety.
Step-by-Step Guide: How to Safely Cross Your Washer and Dryer Connections
Before you begin, ensure you have enough space to maneuver your appliances and that you have a dryer vent duct that is long enough to accommodate the new crossed configuration (at least 4-5 feet is recommended). Safety first: Always unplug your appliances and turn off the water supply to the washer before starting any work.
The Steps:
- Ensure Appliances Are Off and Disconnected: This goes without saying, but it’s the most critical first step. Unplug both your washer and dryer from their power outlets. For the washer, turn off the hot and cold water supply valves completely. If you have a gas dryer, ensure the gas supply valve is also shut off.
- Pull the Dryer Away: Start with the dryer. It’s typically lighter and easier to move than the washer. Carefully pull it away from the wall, giving yourself enough room to work behind it.
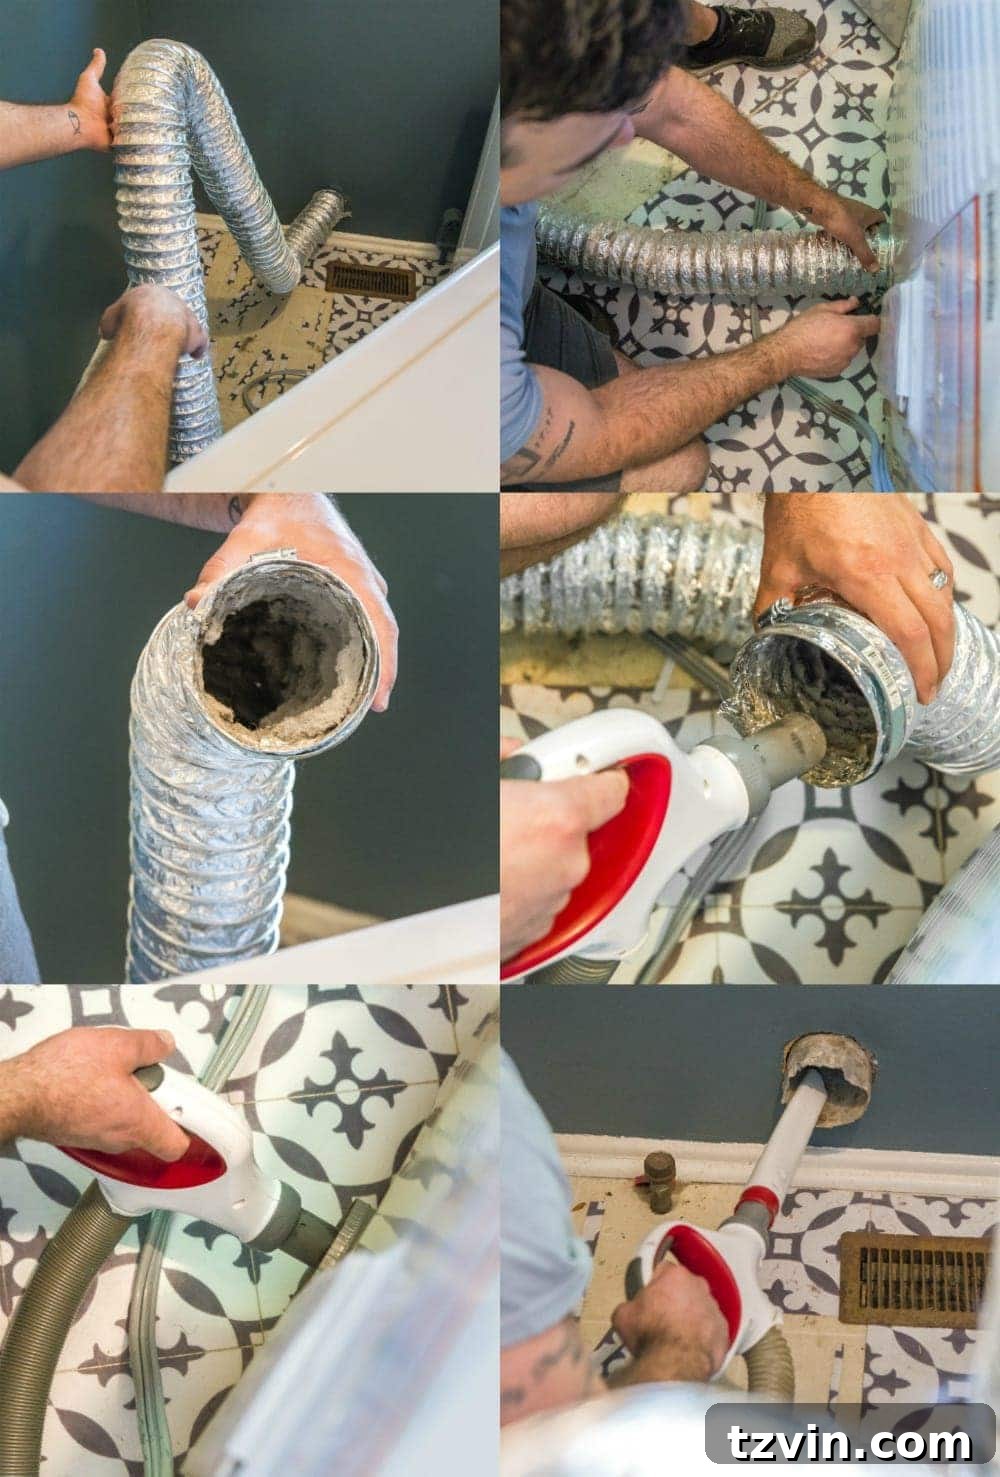
- Detach the Dryer Vent Duct: Gently detach the dryer vent duct from both the wall and the back of the dryer itself. Inspect the duct for any damage or excessive lint buildup. If your existing duct is rigid or too short, you might need a flexible, longer duct (4-5 feet) to accommodate the new arrangement and allow for crossing without kinks.
- Thoroughly Clean Your Dryer Vent: With the dryer pulled out, now is the perfect time for essential maintenance. Use a vacuum cleaner with a hose attachment to remove any accumulated lint and dust from inside the vent duct, the back of the dryer’s exhaust port, and the wall vent opening. This is a crucial safety step to prevent fire hazards and ensure optimal dryer performance.
- Move the Washer to the Dryer’s Original Spot: Now, carefully slide the washer into the space where the dryer previously sat. In most cases, there’s no need to disconnect the washer’s water supply hoses or drain hose from the wall. Simply ensure the hoses have enough slack to move the washer without straining or kinking them.
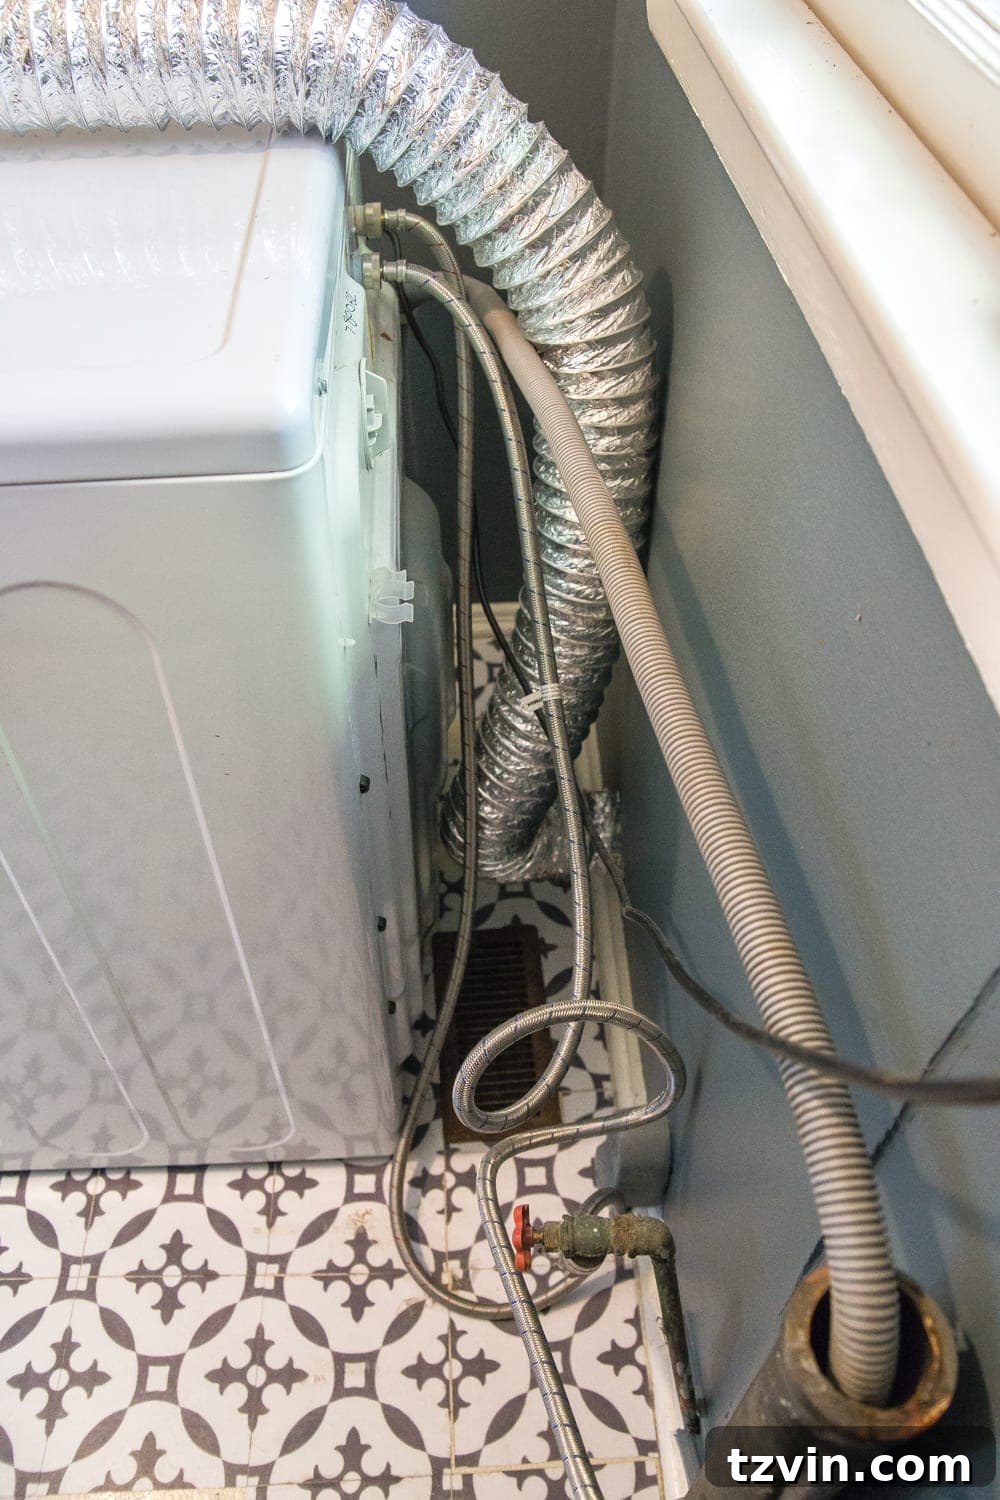
- Reposition Washer Hoses: Once the washer is in its new position, check its hot and cold water supply hoses and the drain hose. Ensure they are not kinked, twisted, or pinched. Proper positioning is vital for unimpeded water flow and drainage, preventing potential leaks or performance issues.
- Move the Dryer to the Washer’s Original Spot and Reconnect: Finally, move the dryer into the washer’s old position. Carefully reattach the dryer vent duct to both the dryer and the wall vent opening, making sure there are no kinks or tight bends in the duct. Kinks can restrict airflow, reduce efficiency, and increase fire risk. Reconnect the power cord and, if applicable, the gas line (ensuring a secure connection and checking for leaks with soapy water).
- Perform Final Checks: Once both appliances are in their new homes and reconnected, carefully turn on the water supply to the washer and check for any leaks around the hoses. Run a short test cycle on both the washer and dryer to ensure everything is functioning correctly and that there are no abnormal noises or issues with ventilation.
The Joy of an Optimized Laundry Space
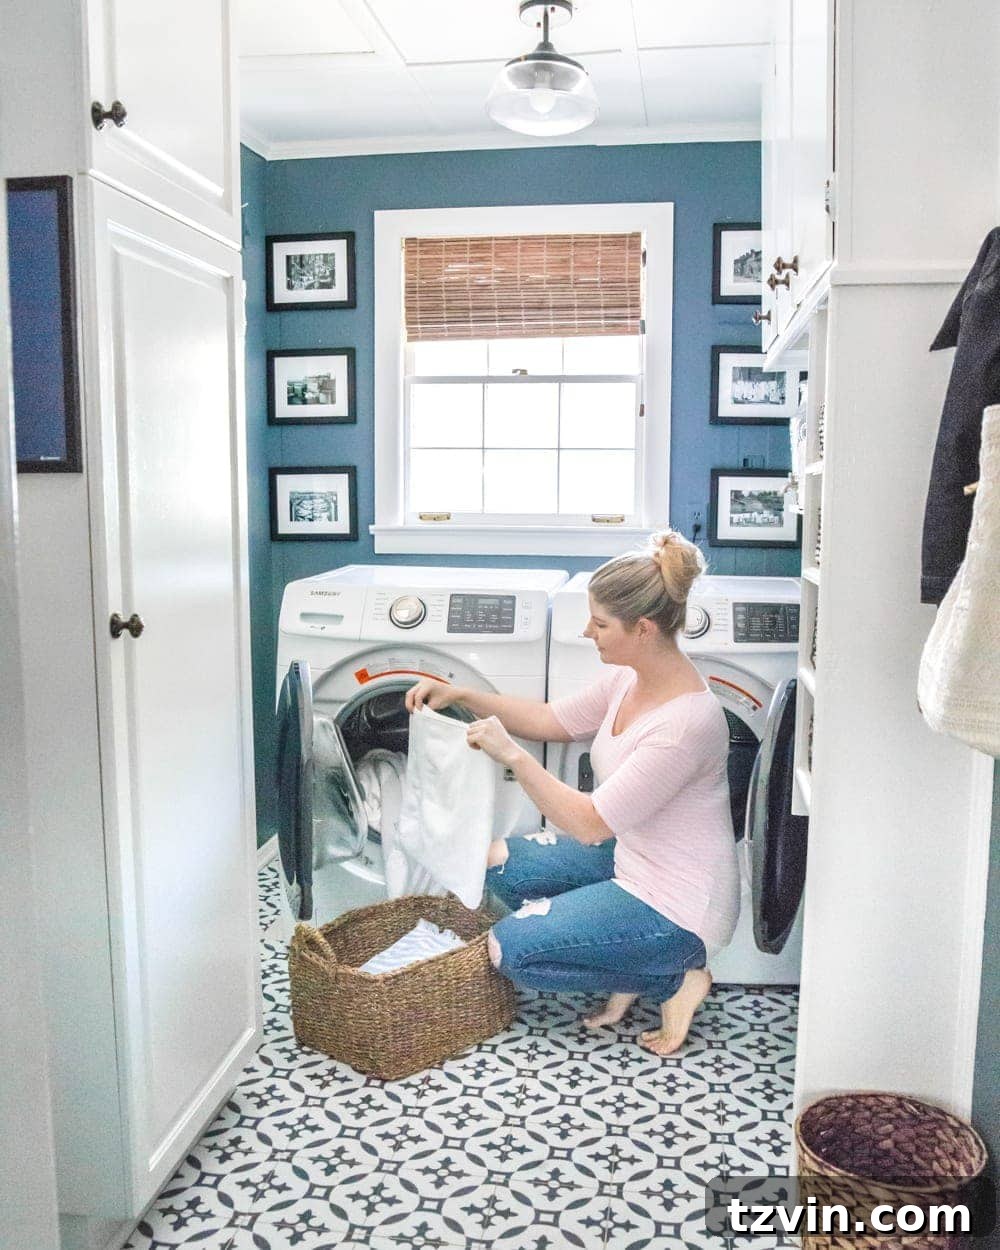
And just like that, in approximately 30 minutes, the long-standing problem was solved! The immediate relief of not having to navigate around clashing doors was immense. The simple act of swapping the machines and crossing their connections transformed our laundry routine from a cumbersome chore into a smooth, efficient process. It’s incredible how such a minor adjustment can lead to such significant improvements in daily living. This quick DIY project not only optimized our workflow but also allowed us to retain all the features we love about our Samsung appliances, including that handy #mombrain hatch!
Beyond Functionality: Creating an Inspiring Laundry Space
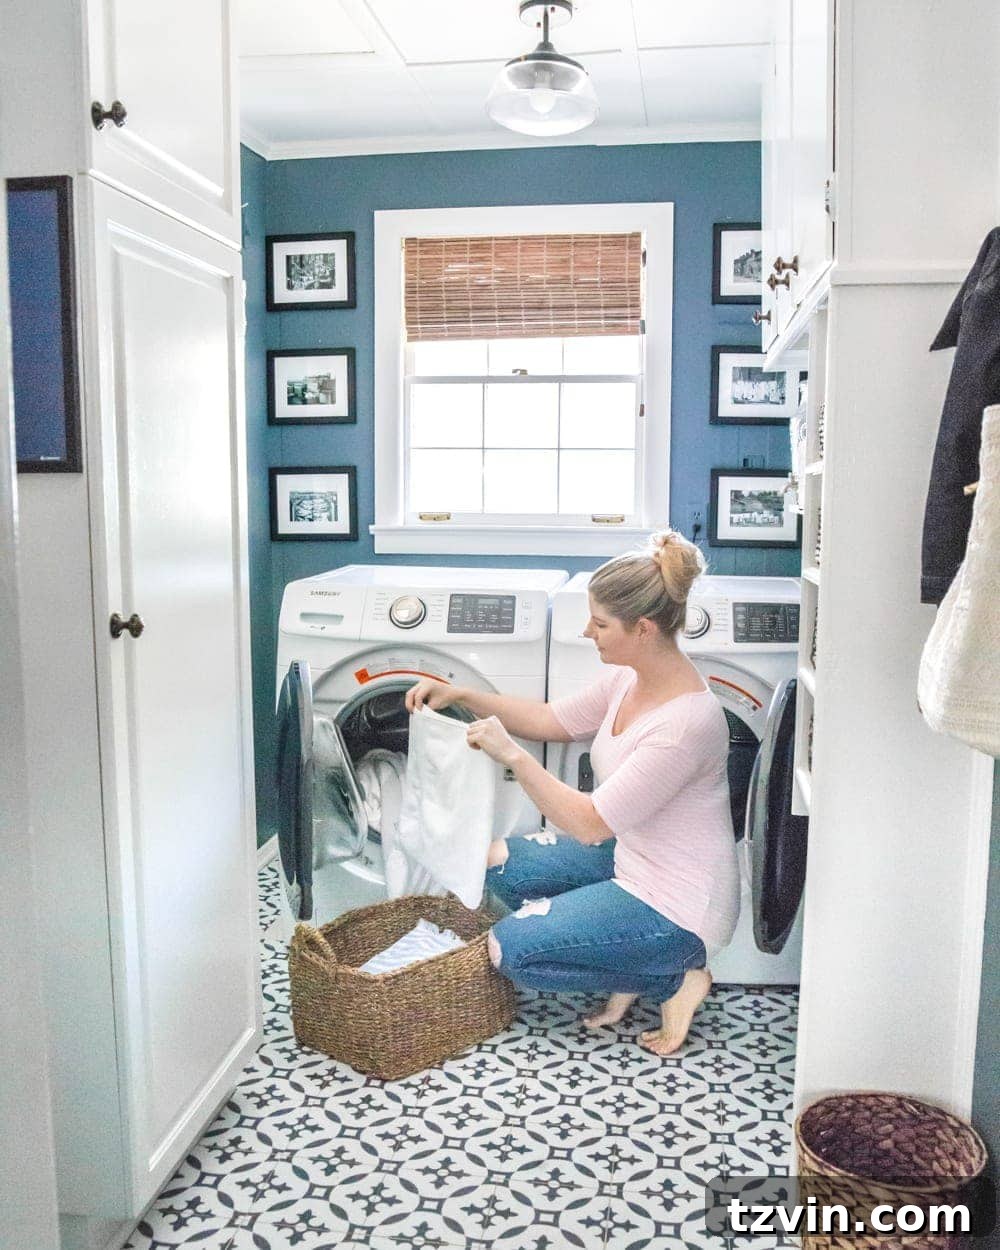
While fixing the functional layout was our primary goal, it also reminded us of the importance of an inspiring workspace. A few years ago, we undertook a budget-friendly refresh of our laundry room, transforming it into a space that makes laundry feel less like a chore and more like a peaceful activity. You can explore all the details of our high-contrast laundry room makeover here. It’s amazing how much difference thoughtful design and practical solutions can make, even in a utility room.
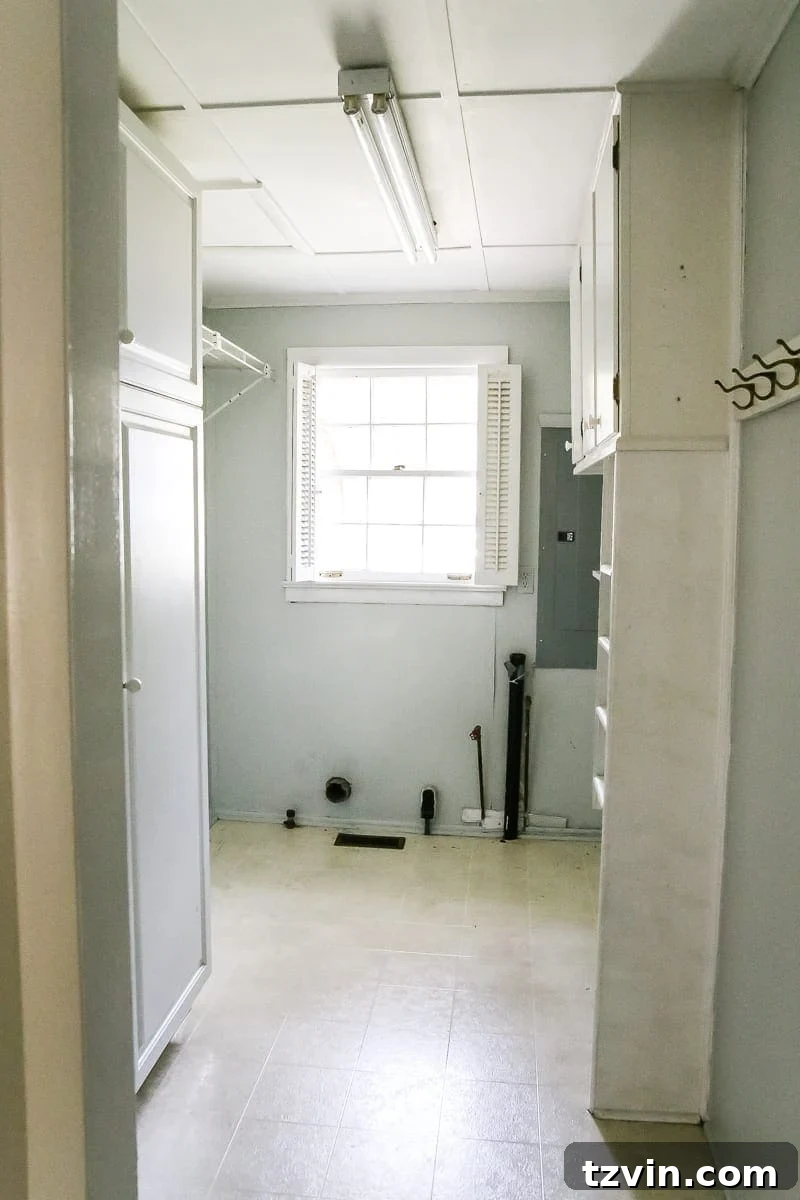
I still can’t get over the transformation, both in terms of aesthetics and functionality.
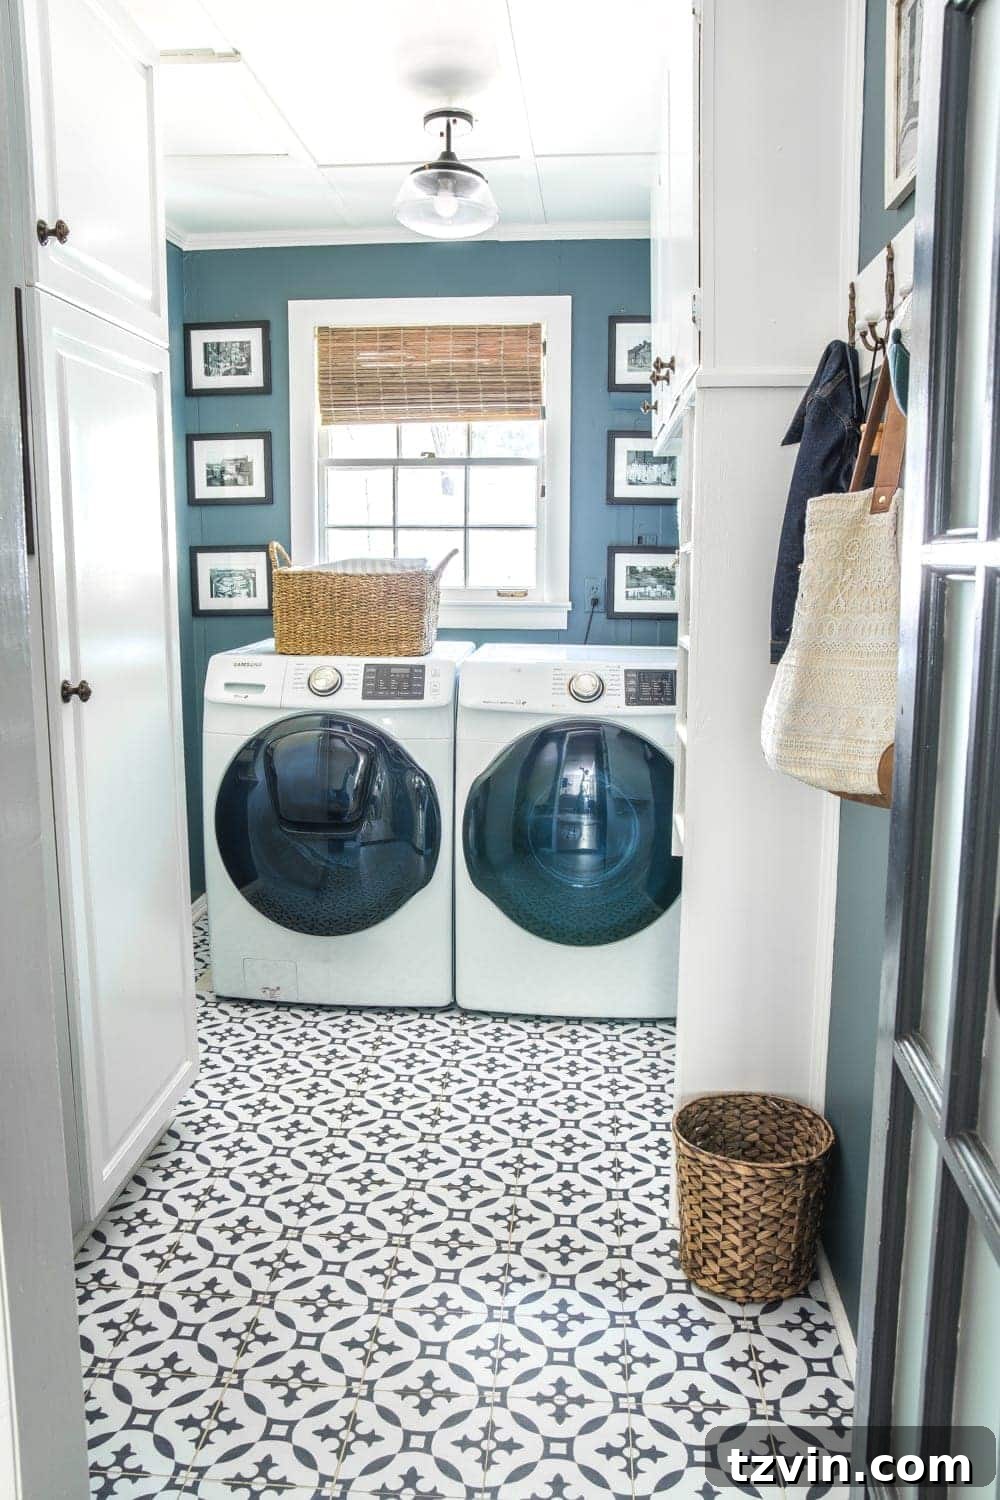
After all, if life demands that you do laundry, it certainly helps to do it in a space that brings you a bit of happiness and ease, doesn’t it? Whether it’s a major renovation or a simple re-arrangement of your appliances, optimizing your laundry room for both aesthetics and efficiency can significantly enhance your daily routine.
Pin This Post for Future Reference!
If you found this guide helpful and want to save these tips for later, feel free to pin this post to your home improvement or DIY boards on Pinterest!