Transform your living space with an affordable, DIY faux fireplace that blends rustic charm with modern elegance. This comprehensive tutorial will guide you through building a stunning focal point using faux stone, shiplap, a unique stacked log firebox door, and a beautifully repurposed antique mantel. Discover how to create a cozy, inviting atmosphere without the high cost or complex installation of a traditional fireplace.
Every homeowner dreams of a centerpiece that ties their living room together, radiating warmth and character. For years, I yearned for that special touch, a decorative fireplace that would elevate our home’s aesthetic and provide a beautiful backdrop for family gatherings. The vision was clear: a charming fireplace, effortlessly blending rustic elements with a touch of farmhouse chic. I knew such a transformation wouldn’t come easy, but the anticipation of creating something truly unique was fuel enough for the journey.
And finally, that dream has become a reality! While this beautiful structure doesn’t actually produce heat – it’s faux, after all – it certainly warms my heart. My husband and I poured our dedication into this project, and the result is a testament to what a little creativity and hard work can achieve. This isn’t just a fireplace; it’s a statement, a conversation starter, and the perfect anchor for our living room.
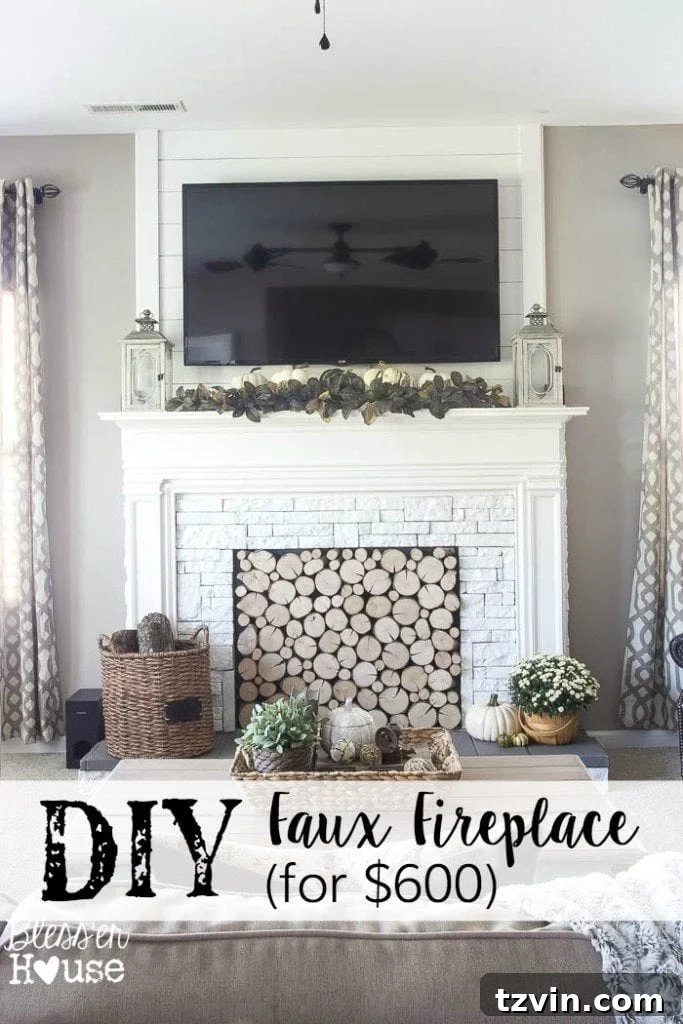
I still can’t believe we actually pulled this off. It calls for a celebratory drumroll, perhaps something akin to the iconic scene in Christmas Vacation! In fact, we were so thrilled with our new mantel, my husband Robert and I couldn’t resist pulling out our Christmas stockings – just to admire them hanging proudly. They went straight back into the closet afterward, but it was a delightful preview of future holiday seasons.
The most exciting part? We managed to bring this grand vision to life for less than $600! This budget-friendly approach means we might actually have more left over for presents come holiday season. But before we get too ahead of ourselves with festive thoughts, let’s dive into the detailed “how-to” of this massive home improvement project.
UPDATE: Discover the stunning evolution and new design choices for our DIY faux fireplace in its updated version.
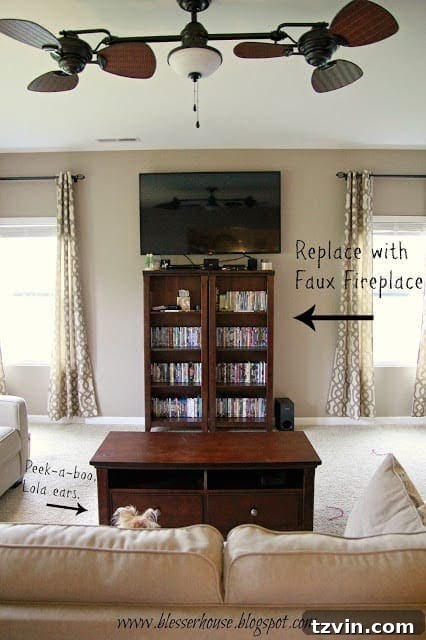
It’s hard to imagine that just a little over a month ago, our living room looked entirely different. When we first moved into this house, the main living area felt sparse and lacked a definitive focal point. Our existing furniture consisted of a few modest pieces from our newlywed apartment, which, while functional, did little to define the space. The tiny bookshelves we had optimistically designated as our entertainment center on this wall simply weren’t cutting it.
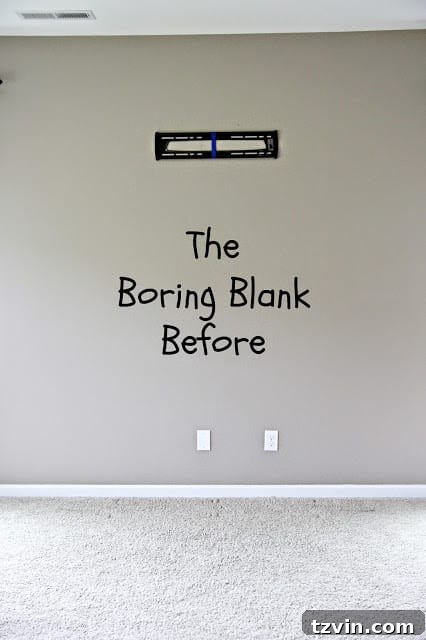
The wall felt empty, and the existing setup lacked any sense of grandeur or purpose. We craved a substantial feature that would ground the room and provide a stylish backdrop for our decor. The idea of a traditional fireplace upgrade, often starting at a daunting $5,000, was far beyond our budget and practical needs.
After countless hours of scouring Craigslist for hidden gems and immersing ourselves in the vast inspiration found on Pinterest for DIY faux fireplaces, we finally devised a robust plan. Our goal was clear: construct a striking, statement-making fireplace that looked luxurious but came with an incredibly modest price tag. This extensive project involved several key phases, meticulously documented to help you recreate this transformation in your own home.
How to Build a Faux Fireplace: Part 1 – The Foundation
In Part One of our DIY faux fireplace journey, we laid the essential groundwork. This section details the construction of the sturdy hearth, the integration of the beautiful repurposed antique mantel, and the initial framing of the firebox structure. Building a solid foundation is crucial for any successful project, and here we walk you through the precise steps to ensure durability and aesthetic appeal for your new faux fireplace.
How to Build a Faux Fireplace: Part 2 – The Shiplap and Wiring
Continuing our detailed build, Part Two focuses on adding the charming shiplap plank wall above the mantel. Shiplap provides that classic farmhouse aesthetic, adding texture and character to the entire structure. Crucially, this part also covers the intelligent wiring solutions for our television, ingeniously hidden behind the fireplace to maintain a clean and uncluttered look. Learn how to combine decorative elements with practical modern needs.
How to Build a Faux Fireplace: Part 3 – Faux Stone and Finishings
Part Three brings us to the exciting phase of applying the faux stone. We opted for lightweight Air Stone, a fantastic material that offers the look of real stone without the heavy lifting or complex masonry. This section also details the process of creating the concrete hearth, providing a realistic and durable base. Finally, we cover the initial painting of the firebox door, preparing it for its unique final touch.
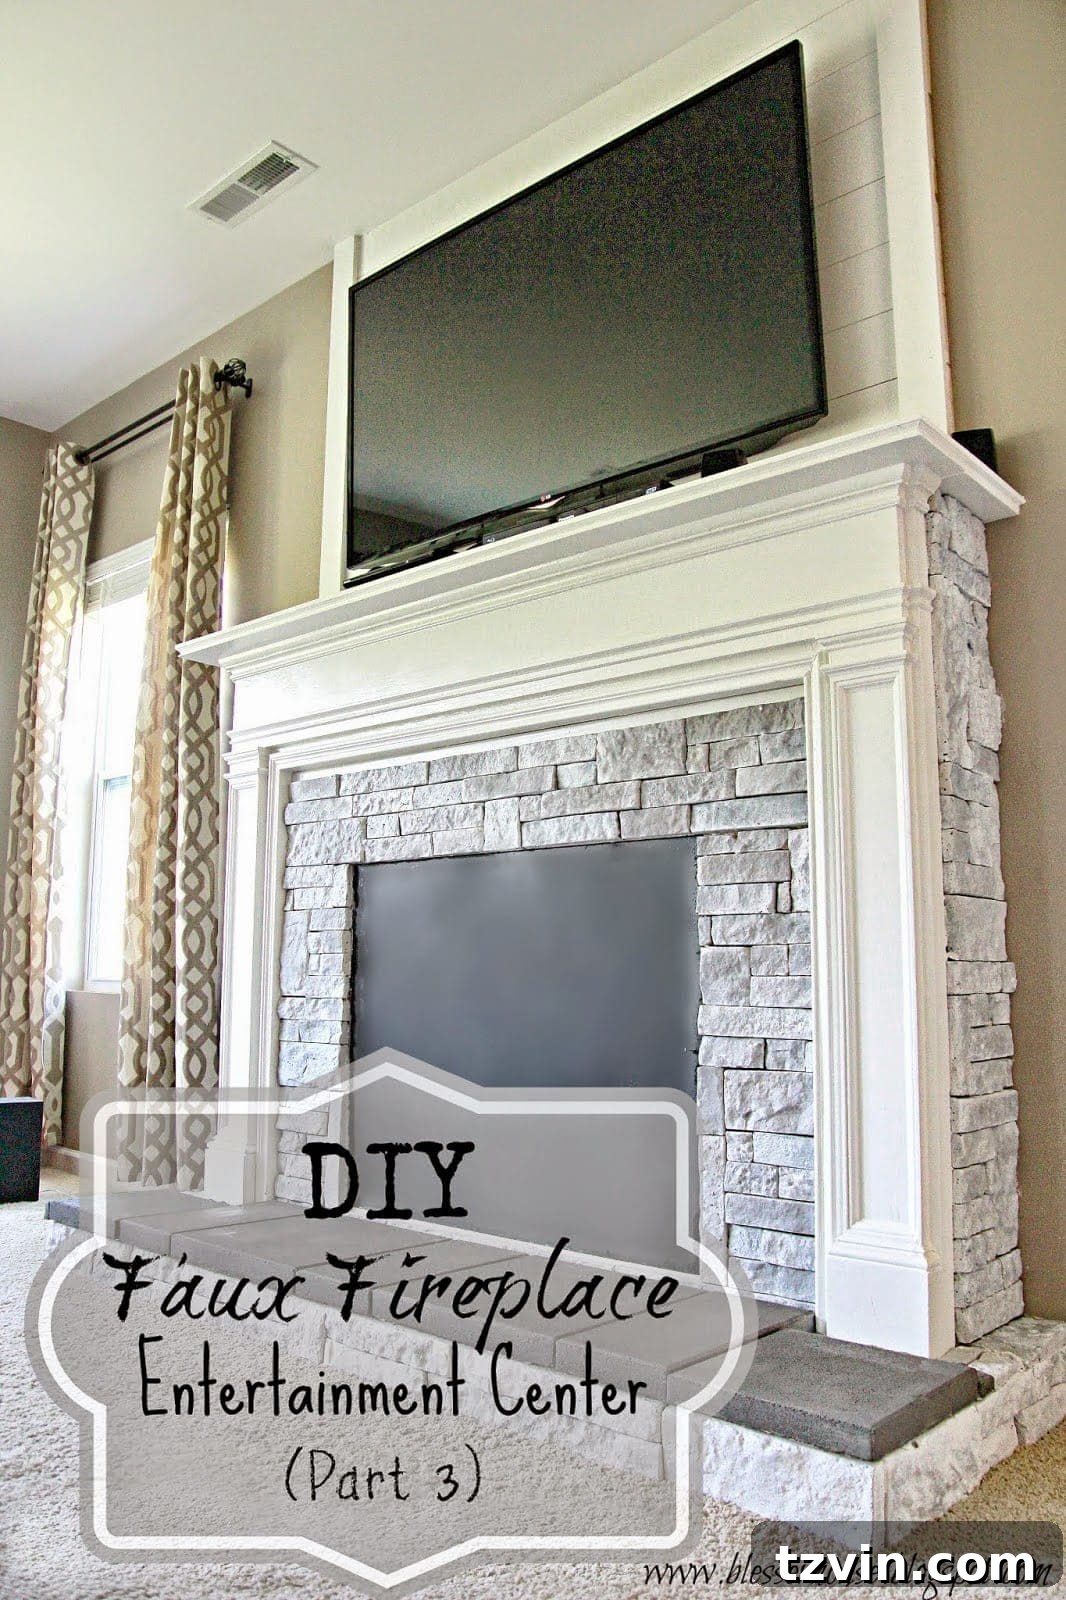
Now, for the grand finale in Part 4, where we bring this magnificent structure to its full potential! One of the most distinctive features of our DIY faux fireplace is the innovative stacked log door for the firebox. I drew inspiration for this creative idea from the wonderful Pepper Design Blog, and it truly adds an authentic, rustic charm that completes the illusion of a working fireplace.
DIY Faux Fireplace – Crafting the Stacked Log Firebox Door
This detailed guide will help you create a realistic and eye-catching log-stacked door for your faux fireplace, adding depth and a touch of woodland elegance.
Supplies Needed:
- Wood Slices: Approximately two-inch thick wood slices. You can either purchase pre-cut wood slices for convenience or source small tree branches/logs for a more organic feel.
- 3/4″ Plywood: This will form the sturdy base of your firebox door. Ensure it’s robust enough to support the weight of the wood slices.
- Cutting Tools (if cutting your own logs): A circular saw, miter saw, or a band saw will be essential for precisely cutting your log ends.
- Matte Black Paint: A deep, non-reflective black paint will create the illusion of depth behind the logs. Chalkboard paint is an excellent, readily available option if you have it on hand.
- Paint Brush: For smooth and even application of the base coat.
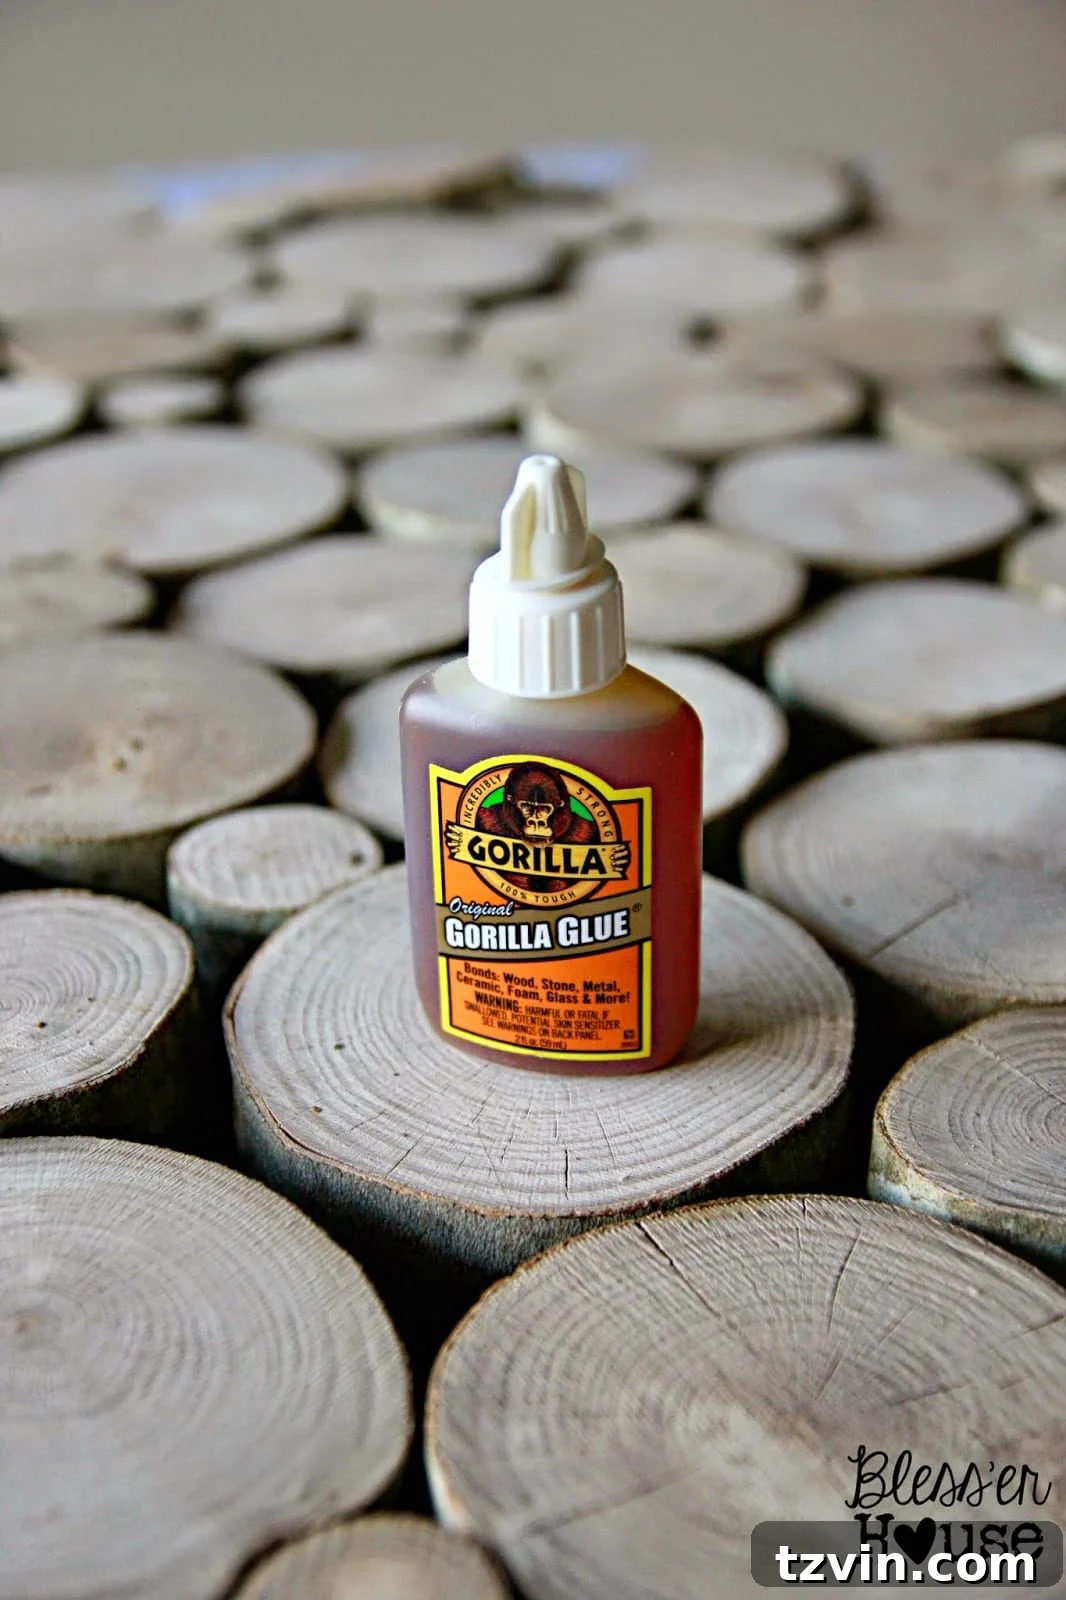
- Gorilla Glue: A strong adhesive is vital for securely attaching the wood slices to the plywood, ensuring they remain in place for years to come.
- Piano Hinge: This long, continuous hinge will allow your firebox door to open and close smoothly and durably, integrating seamlessly with the fireplace structure.
Detailed Steps for the Log Stacked Door:
1. Prepare the Plywood Base: Begin by cutting your 3/4″ plywood piece to the precise dimensions of your faux firebox opening. Use a circular saw for a clean, straight cut. Accuracy here is key to ensuring the door fits perfectly within the opening.
2. Paint the Base: Once cut, paint the entire plywood piece with your chosen matte black paint or chalkboard paint. This dark background is crucial for creating the illusion of depth, making the log slices appear to recede into a real firebox. Allow it to dry completely before proceeding.
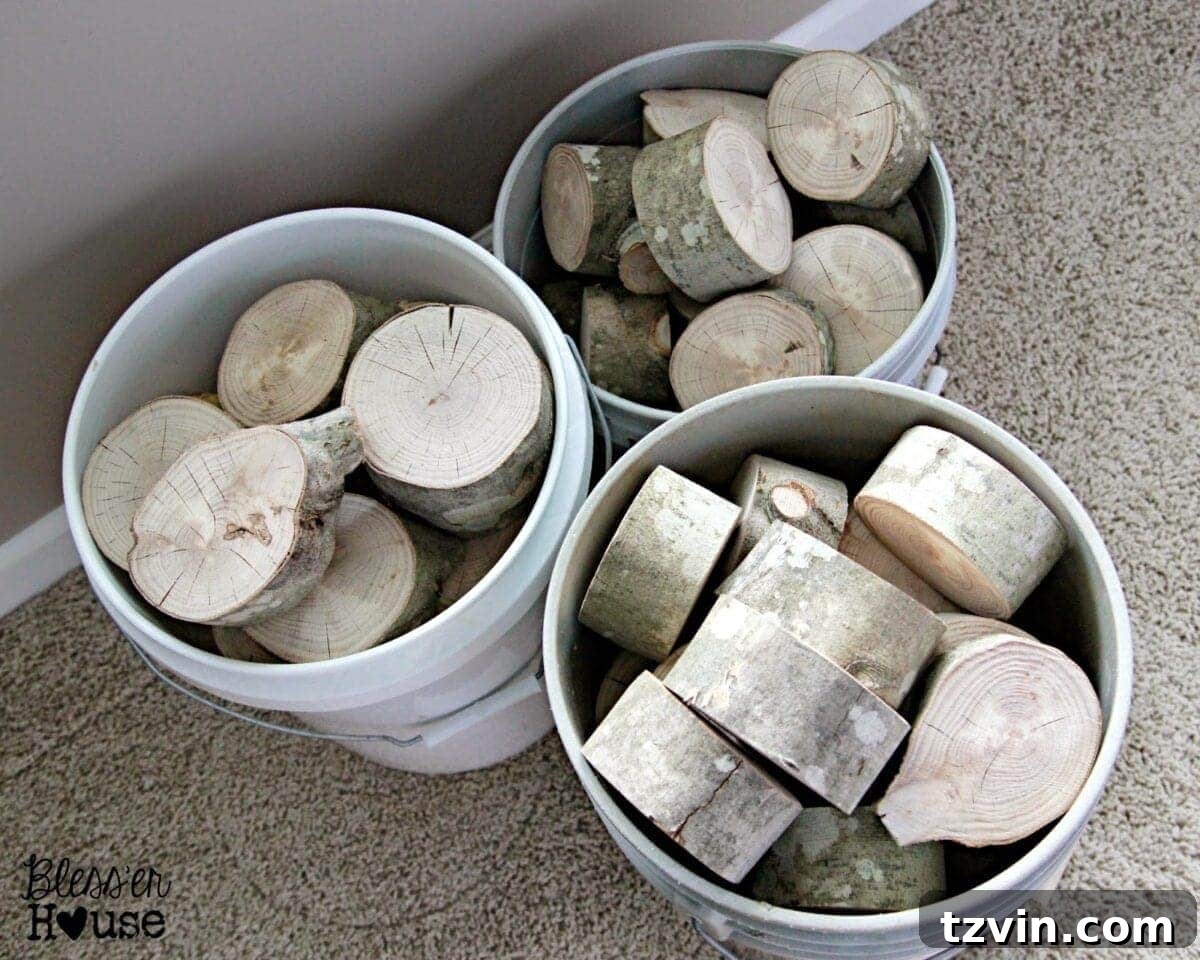
3. Cut the Log Ends: If you’re not using pre-cut wood slices, now is the time to prepare your logs. Using a circular saw, miter saw, or band saw, cut your logs into approximately two-inch thick slices. The two-inch depth is important, as it gives the illusion of a substantial log stack, rather than just flat disks. For our project, my father-in-law graciously cut these for me using his band saw, making the process much smoother.
The story behind our specific log ends is quite charming! My in-laws discovered a beech tree in the woods behind their house that had been neatly felled by a beaver. Apparently, the industrious little builder decided the log wasn’t quite right for its dam and left it behind. Recognizing a treasure, they salvaged it for us – talk about free, eco-friendly craft supplies! Each slice carries a unique story and natural beauty.
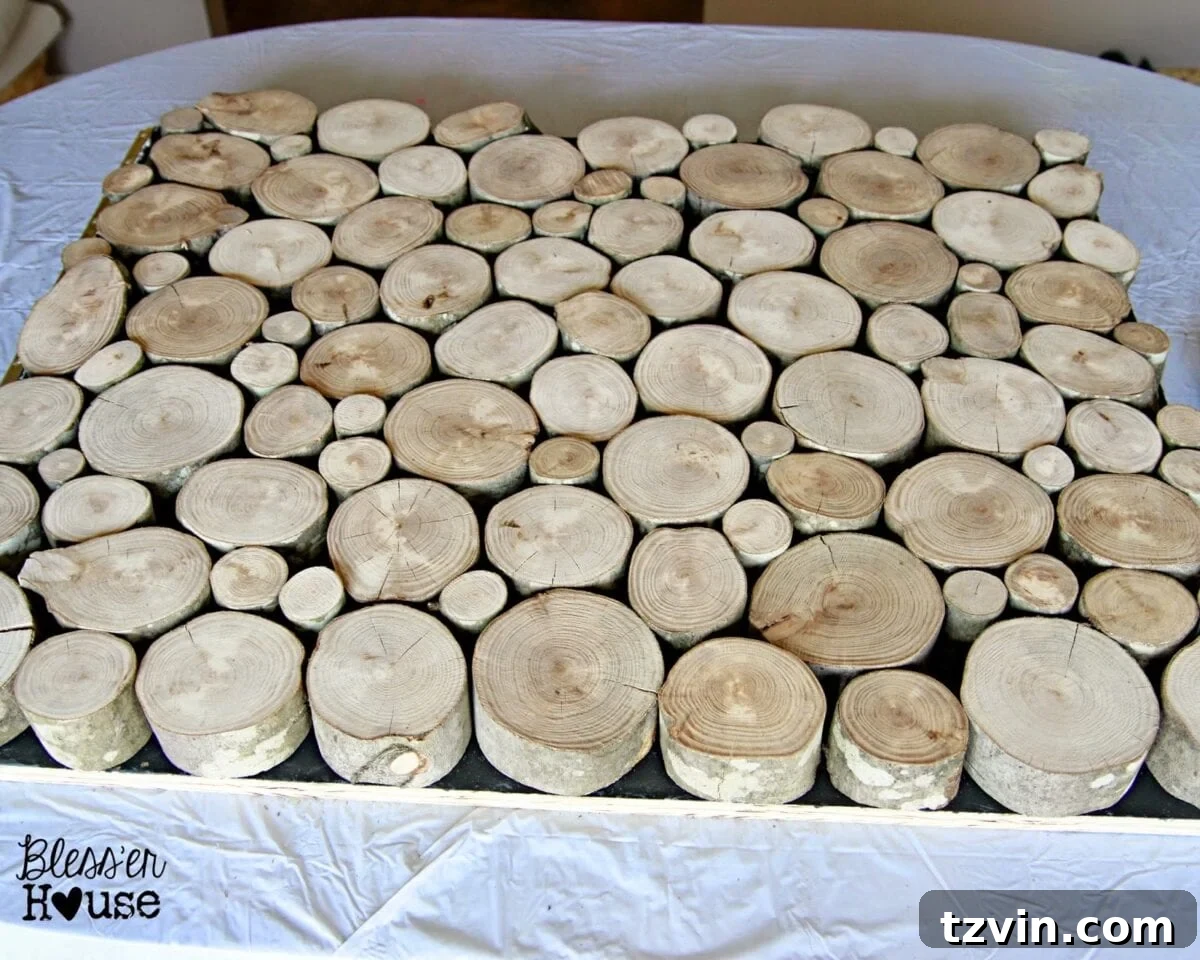
4. Arrange the Log Slices: Once the black paint on your plywood is dry, lay the plywood piece on a flat, stable surface. This is where the fun begins! Start arranging your log slices across the plywood. Think of it as a giant, organic puzzle. Experiment with different sizes and orientations to create a natural, appealing look. This stage took me about an hour, allowing plenty of time to perfect the arrangement before committing to glue. Don’t be afraid to overlap some pieces slightly or create small gaps to enhance the rustic authenticity.
5. Glue Down the Logs: Once you’re completely satisfied with your arrangement, it’s time to secure everything. Apply Gorilla Glue generously to the back of each log slice and firmly press it onto the plywood. A crucial tip for those of us who tend to be indecisive: make sure all pieces are perfectly arranged before you start gluing! This allows you the flexibility to adjust and rearrange until the layout is just right. Work in small sections, ensuring each piece is well-adhered.
6. Install the Firebox Door: After the glue has completely dried (I recommend giving it a full 24 hours to ensure maximum adhesion), the final step is to hang your beautifully crafted door. Attach it to the fireplace box opening using a piano hinge. A piano hinge provides strong, continuous support, which is essential given the weight of the logs, ensuring the door operates smoothly and securely. This entire fireplace project, from start to finish, was a comprehensive endeavor that spanned about a week, with each part contributing to the final stunning result.
(For a recap of the preceding stages, please refer to Part 1, Part 2, and Part 3 of this series.)
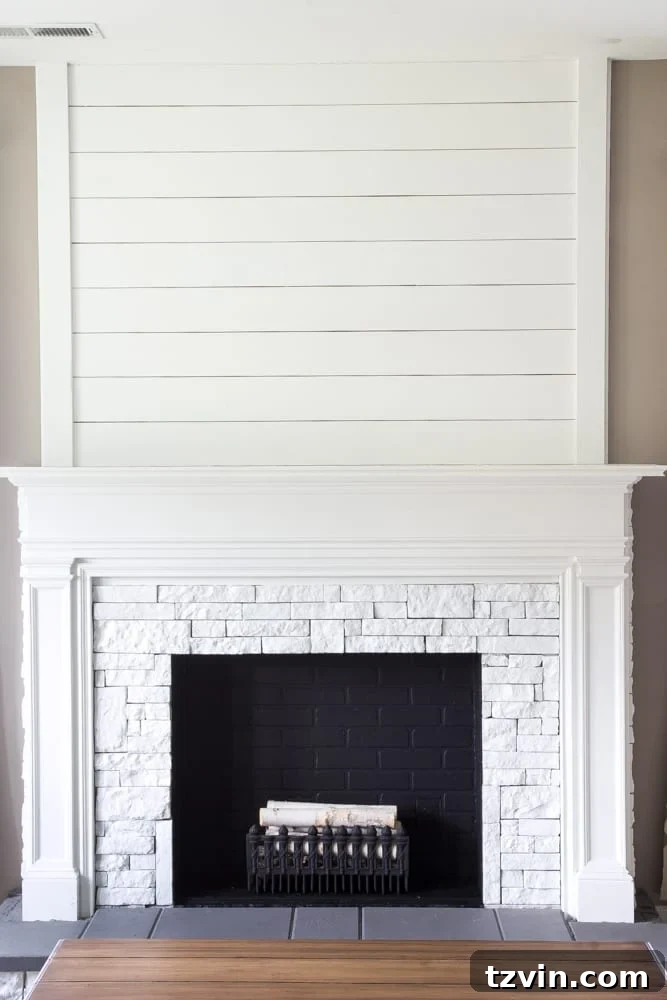
While the log slices were drying, I seized the opportunity to tackle another design element: the Air Stone. You might recall from Part 3 that I initially opted for a whitewashed finish, which I genuinely loved. However, as the project progressed and the stacked log firebox door came together, I began to feel that the whitewash, combined with the rustic logs and the intricate architecture of the antique mantel, created a visually busy effect. It felt like all the beautiful elements were competing rather than complementing each other.
Yes, I admit it – I can be quite indecisive when it comes to design choices! Thankfully, I had an abundance of Sherwin Williams Pure White paint leftover from previous projects. Achieving an all-white fireplace was a relatively quick and easy task. Although I didn’t snap any photos of the painting process, rest assured, you’re not missing much – it was a straightforward application that yielded a dramatic and cohesive transformation. The pure white finish instantly brightened the space and allowed the other design elements, like the log door, to truly shine.
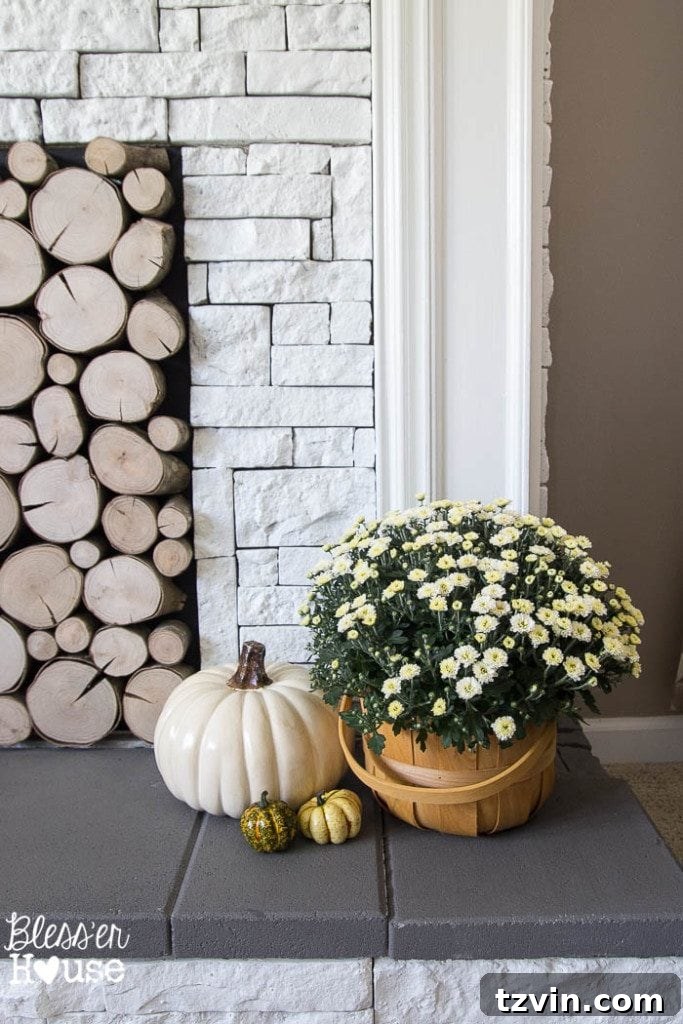
(Please forgive the fall decor if you’re reading this in the middle of spring – seasonal styling is always a work in progress!)
One ongoing challenge has been gracefully integrating our electronics onto the mantel. My initial hope was to discreetly tuck them inside the firebox. However, with the added weight of the log-stacked door, we realized that frequently opening and closing it to access electronics would be impractical and potentially put strain on the hinge. We decided it was best to keep the electronics on the mantel, only needing to open the firebox door on the rare occasions we need to access the outlet inside.
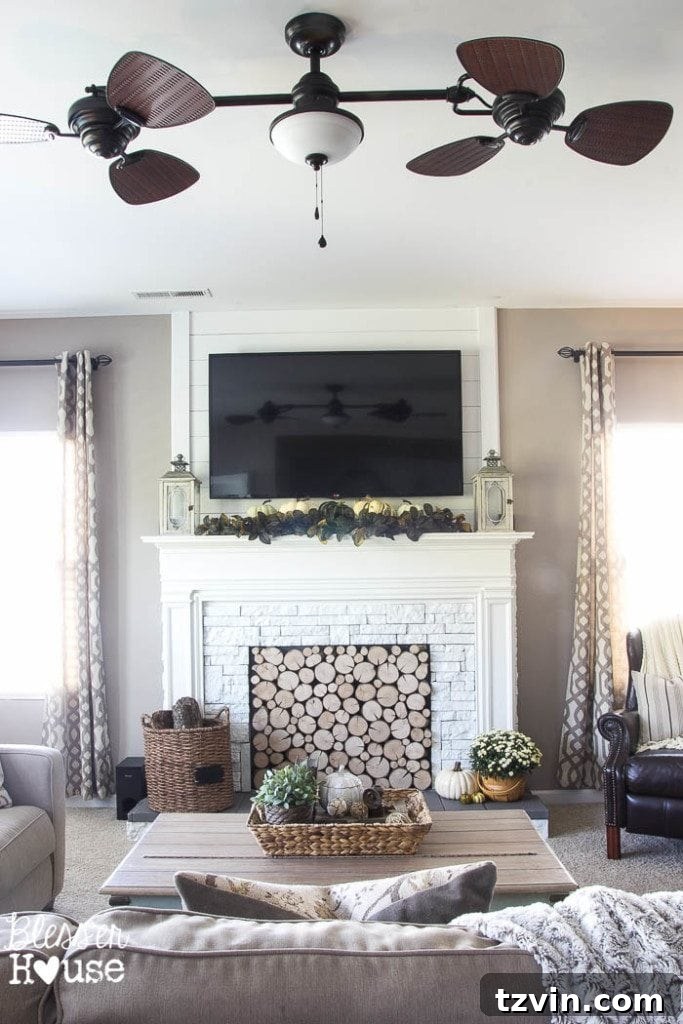
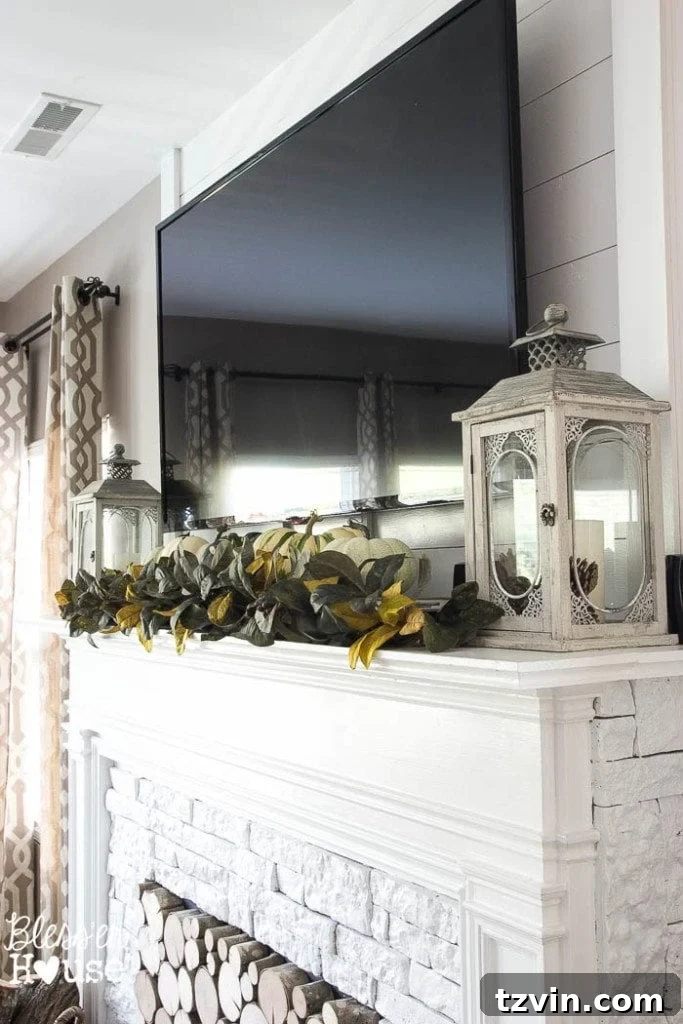
My current solution for disguising the speakers, Blu-ray player, and PlayStation is a flowing leafy vine from Michael’s. It works surprisingly well, blending the tech into the decor. Can you spot them? (If you can, let’s just pretend you don’t!) Ideally, I’d prefer a TV-free mantel, but practicalities of everyday life and room layout mean this wall is truly the only viable option for our entertainment center. After all, a home is meant for living, not just for perfectly styled photoshoots.
Sometimes, a little compromise goes a long way. Keeping the hubby happy and maintaining functionality in our home takes precedence over striving for an absolutely picture-perfect, uninhabited look. It’s about finding that balance between aesthetic appeal and practical living.
UPDATE:
How to Build a Faux Fireplace: Part 5 – Faux Brick Firebox Option
I am absolutely ecstatic to have this monumental DIY faux fireplace project finally crossed off our ever-growing home improvement list. Our living room is gradually coming together, piece by piece, and it feels incredibly rewarding to see our vision materialize. Next up, I’m gearing up to tackle our coffee table, and I’m eagerly anticipating a grand reveal of the entire room very soon. We’re not quite there yet, but every step brings us closer to a fully realized, cozy, and stylish living space we adore.