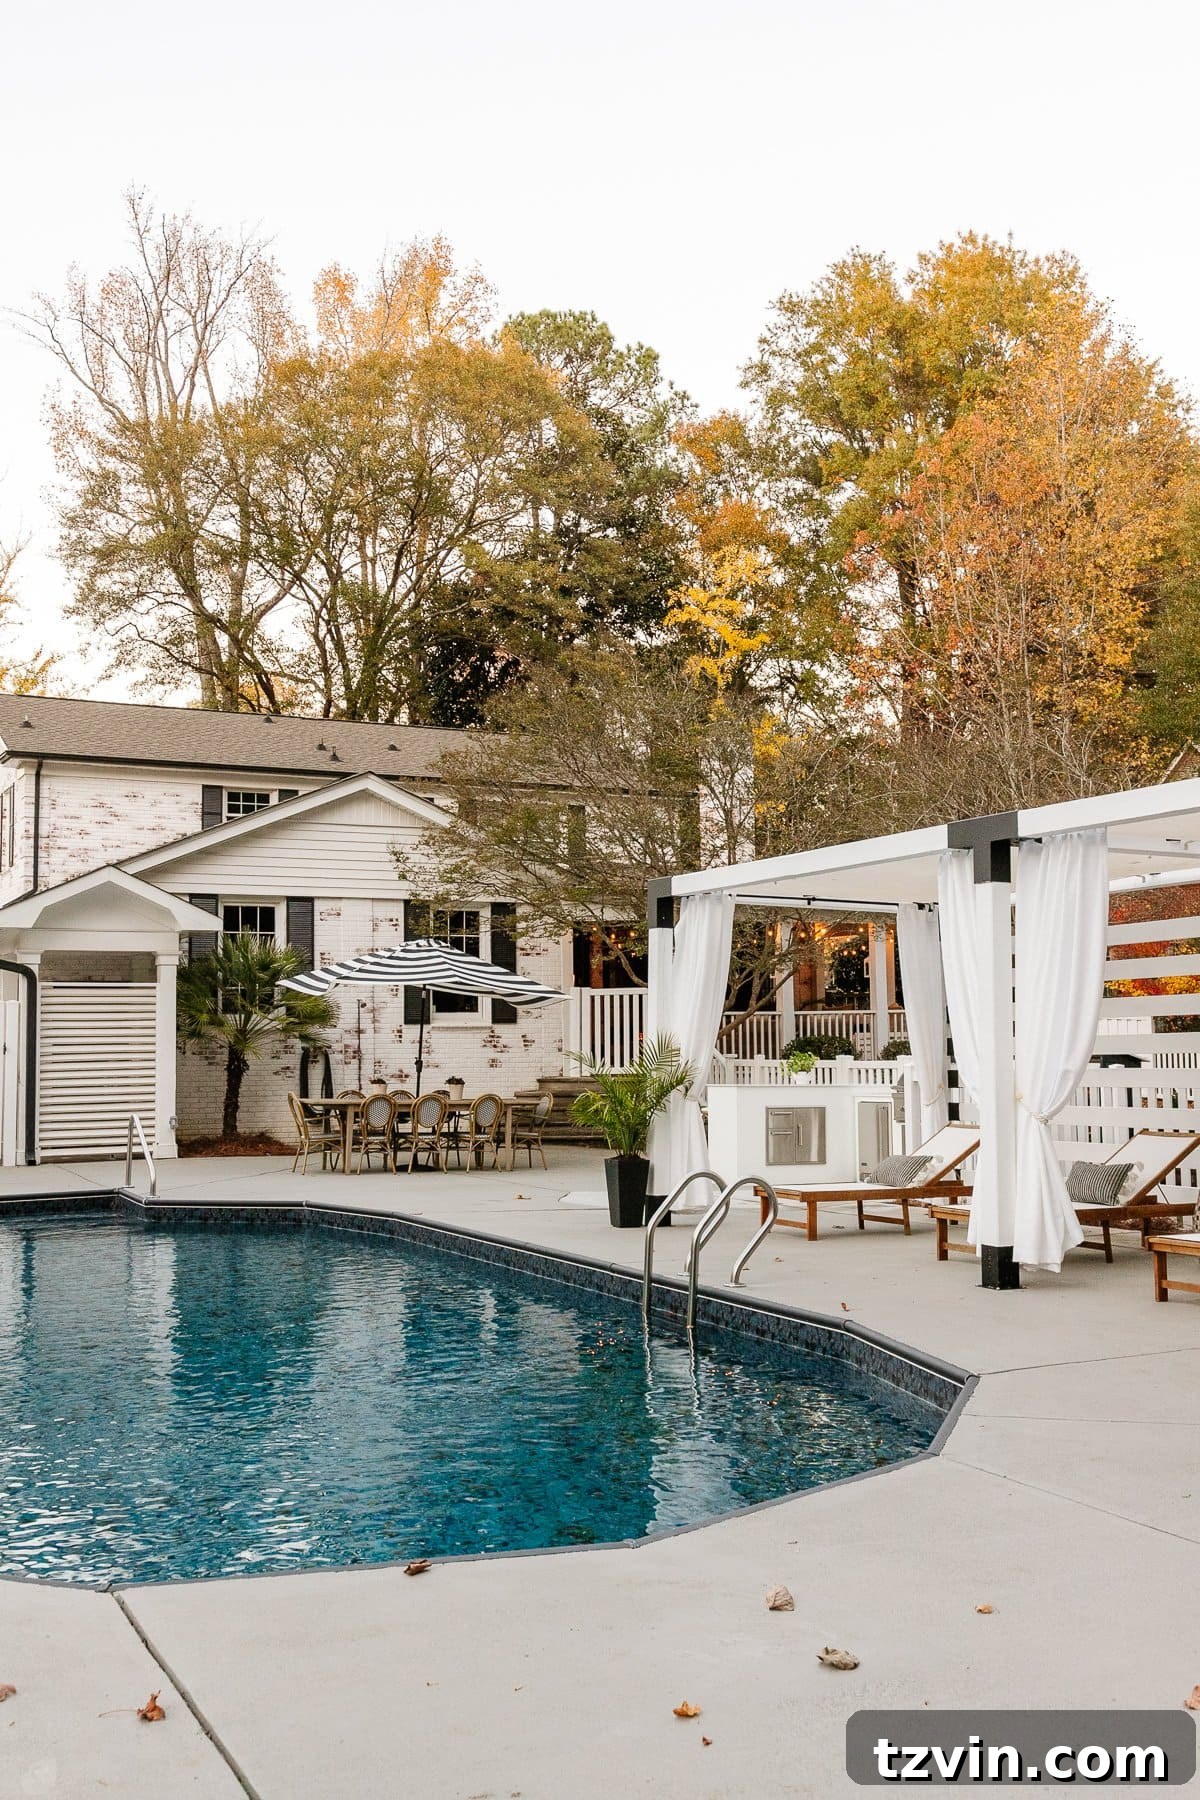
Planning a major home exterior remodel or dreaming of a complete backyard renovation? Uncover the true costs behind transforming your outdoor living spaces with our transparent budget breakdown. We’re sharing exactly how much our multi-year exterior overhaul and backyard oasis creation cost, detailing which projects required professional contractors, and highlighting smart DIY approaches that helped us save significant money.
While our extensive backyard renovation is technically just shy of being declared “officially finished” – with perhaps one or two minor details still awaiting our touch – the journey itself has been incredibly transformative. Over several years, we’ve poured our energy into every corner of our home’s exterior, turning a vision into a reality. Now, it feels like the perfect moment to pull back the curtain and reveal all the nitty-gritty financial details, offering a comprehensive look at every expense involved in our large-scale outdoor transformation.
Almost every time we complete a new project in our outdoor spaces, the most frequent question we receive is, “How much did that actually cost?” This question has become even more pertinent given the significant fluctuations in building material prices and the wide variance in contractor rates in recent years. Understanding the current market value for various home improvement projects can be incredibly challenging, leaving many homeowners guessing.
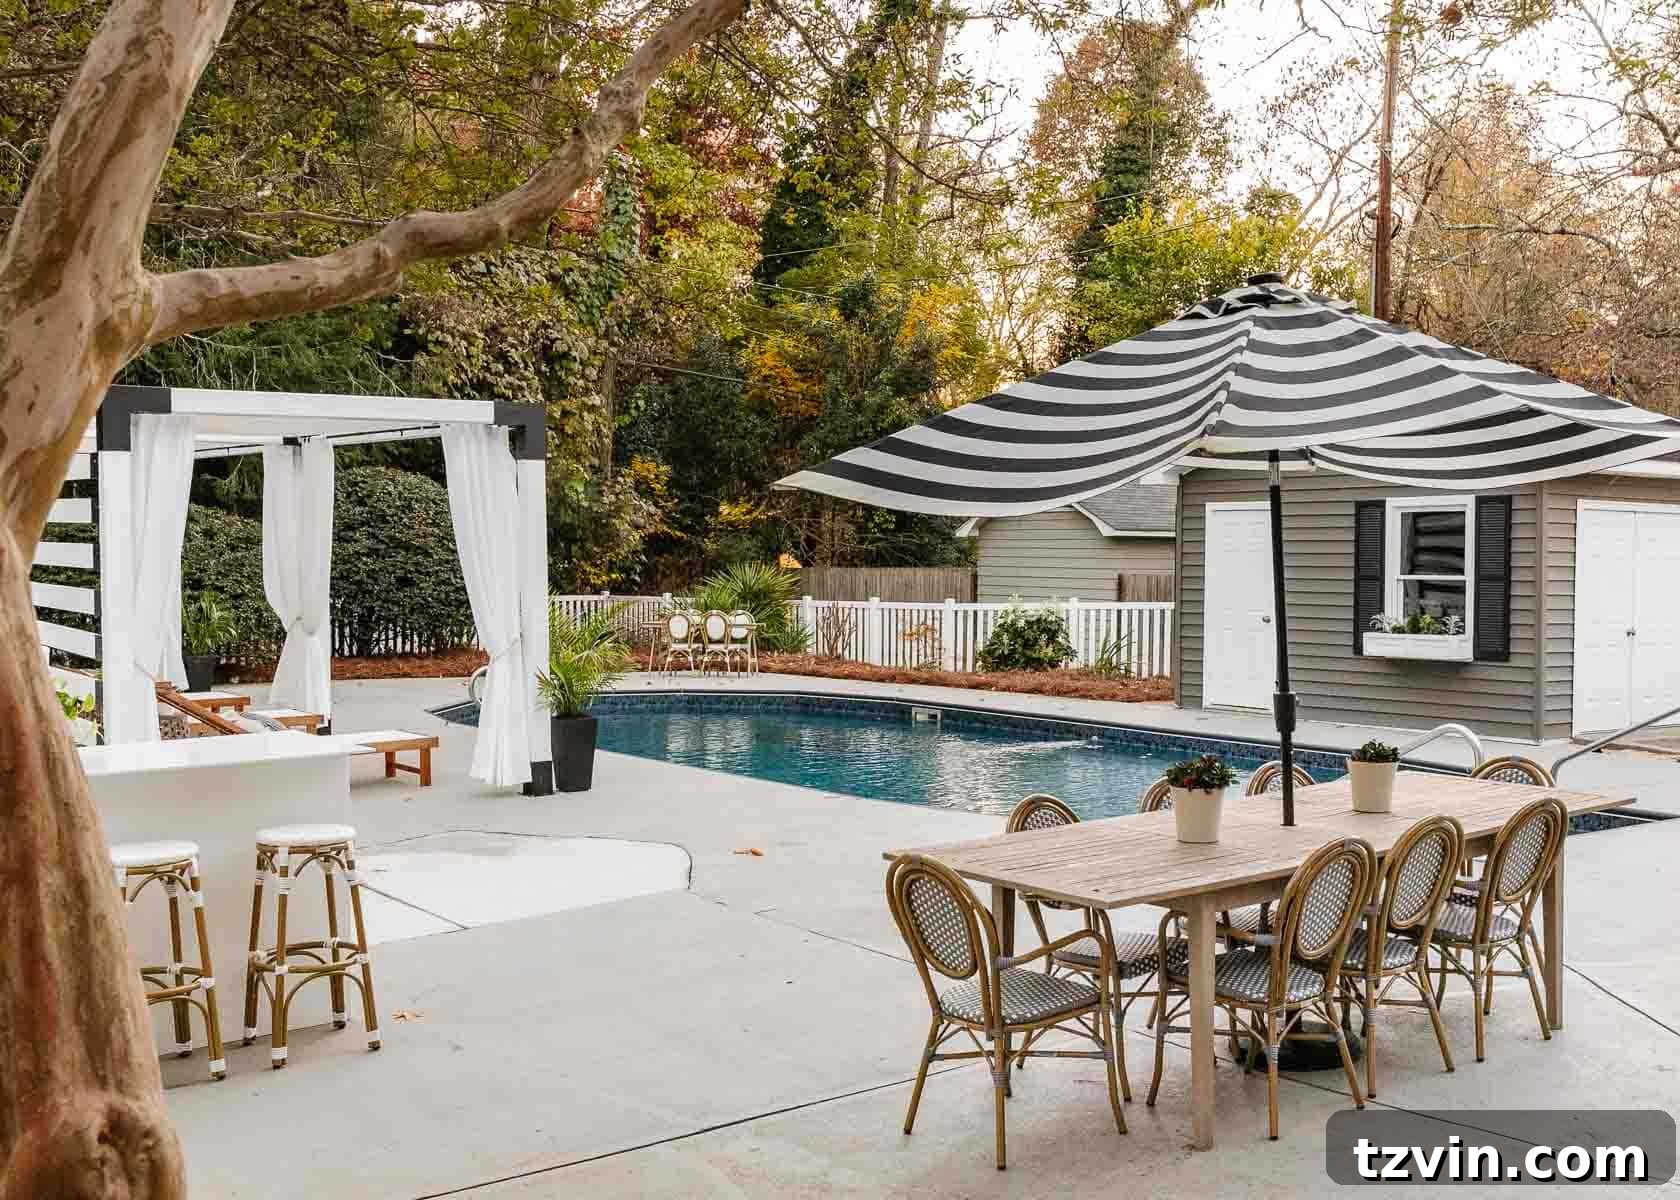
Therefore, if you’re contemplating any exterior renovation, dreaming of a rejuvenated backyard, or simply curious about the investment required for such undertakings, this detailed budget breakdown aims to serve as a valuable resource. We hope it provides you with at least a ballpark idea of potential expenses, helping you plan and budget effectively for your own home improvement aspirations. Our goal is to offer transparency and practical insights derived from our own extensive experience.
Our Exterior & Backyard Renovation Journey: Projects & Transformations
Our comprehensive exterior and backyard renovation was a multi-stage process, tackling various areas of our property to enhance both aesthetics and functionality. Each project, whether handled by professionals or as a DIY endeavor, contributed to the overall vision of creating an inviting and beautiful outdoor living space. Here’s a quick overview of the key transformations:
- Limewashed Brick Exterior Makeover Reveal
- FAQs About Our Limewashed Brick
- Haint Blue Porch Ceiling Makeover
- Our Back Porch Refresh
- Swimming Pool Liner Makeover Reveal
- How to Paint Vinyl Siding & Pool Shed Makeover
- Backyard Landscaping Progress
- DIY Painted Concrete Pool Deck and Patio
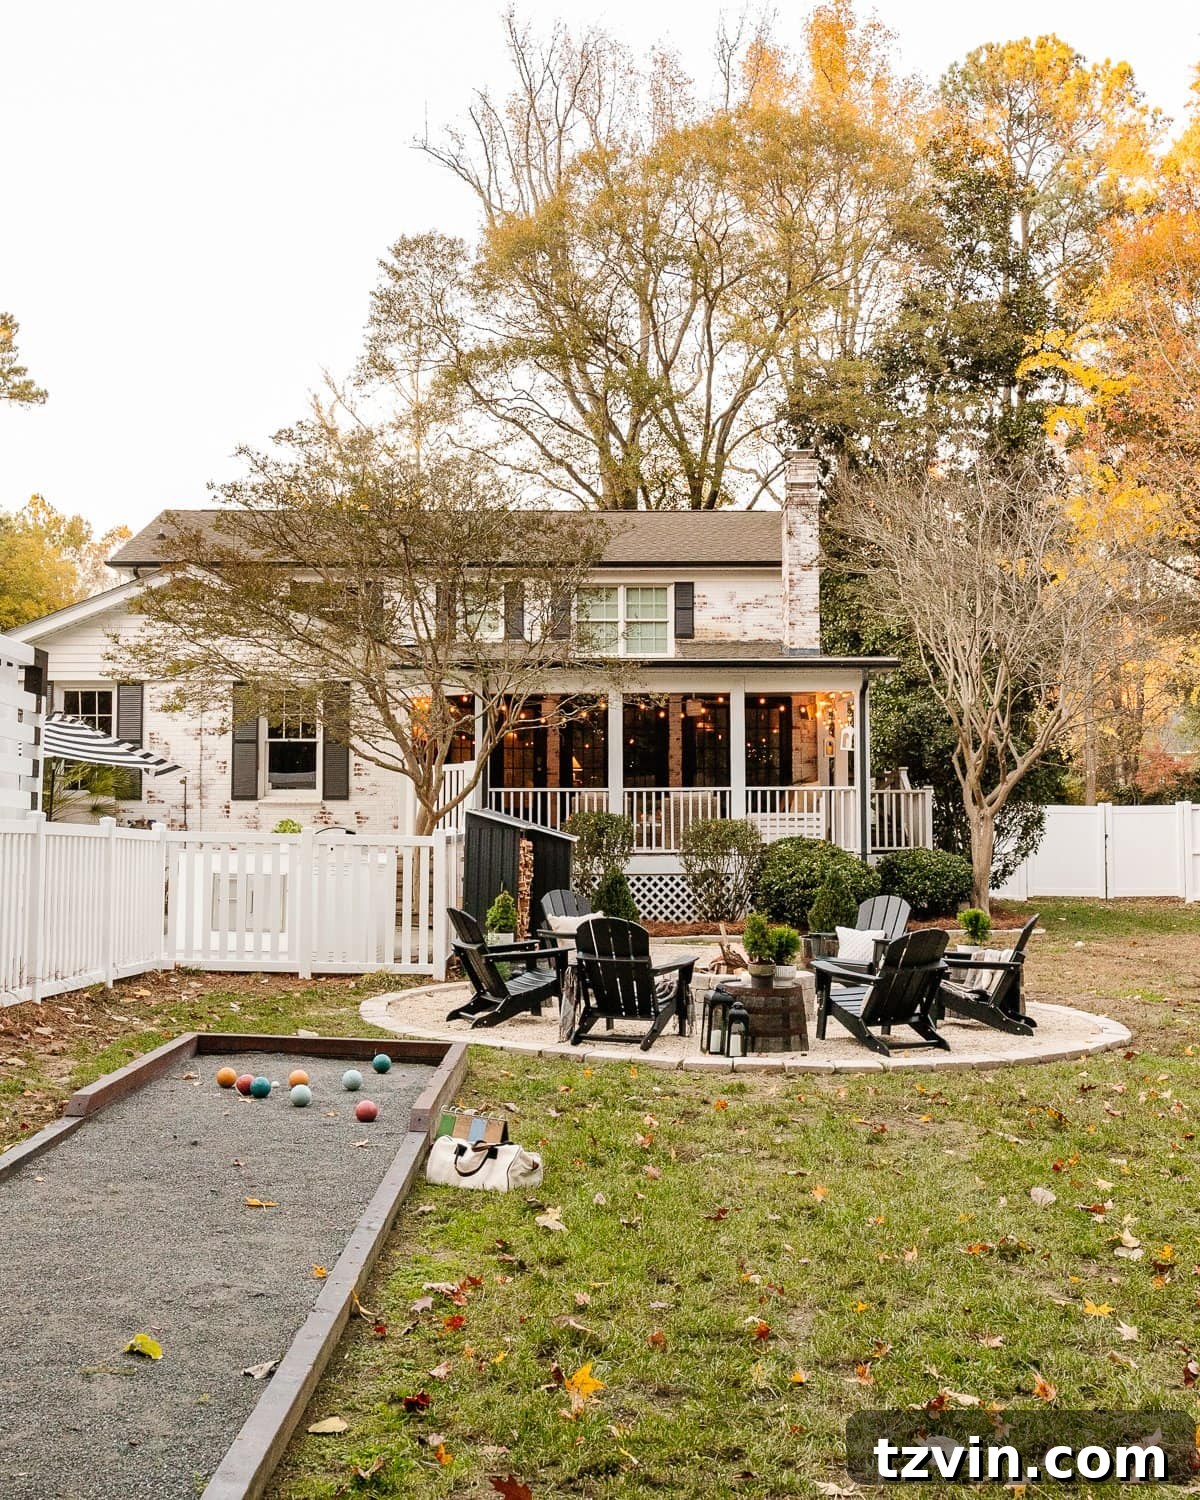
- Backyard DIY Fire Pit Done in a Weekend
- DIY Bocce Ball Court
- DIY Pergola Cabana Reveal!
- Our Modular Outdoor Kitchen Built in a Day
- What to Know When Building a Vinyl Fence
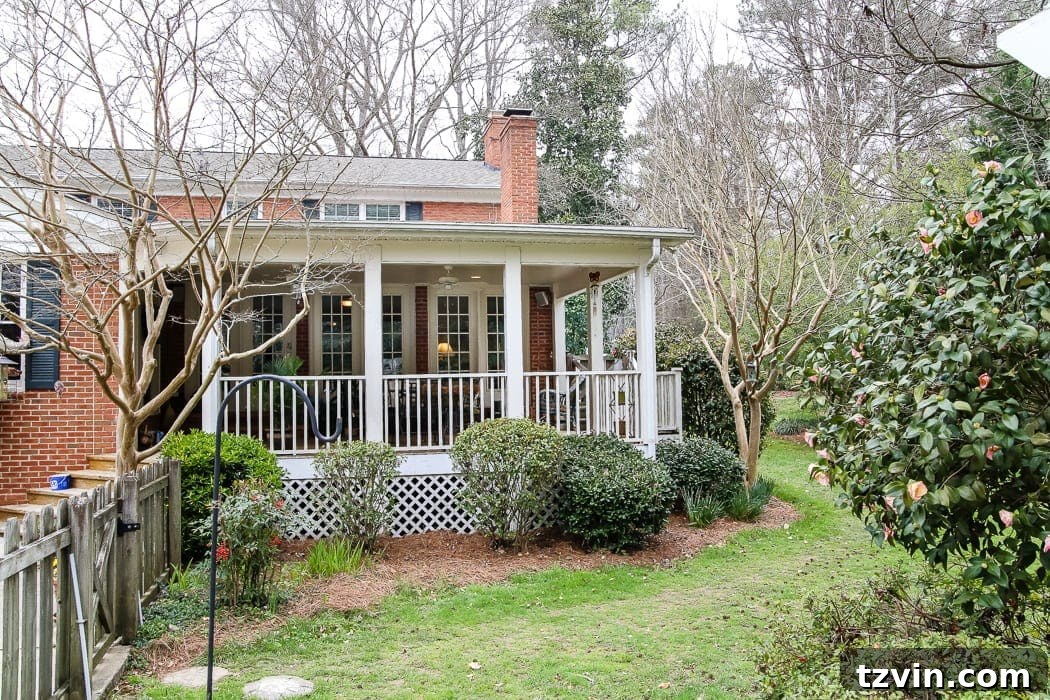
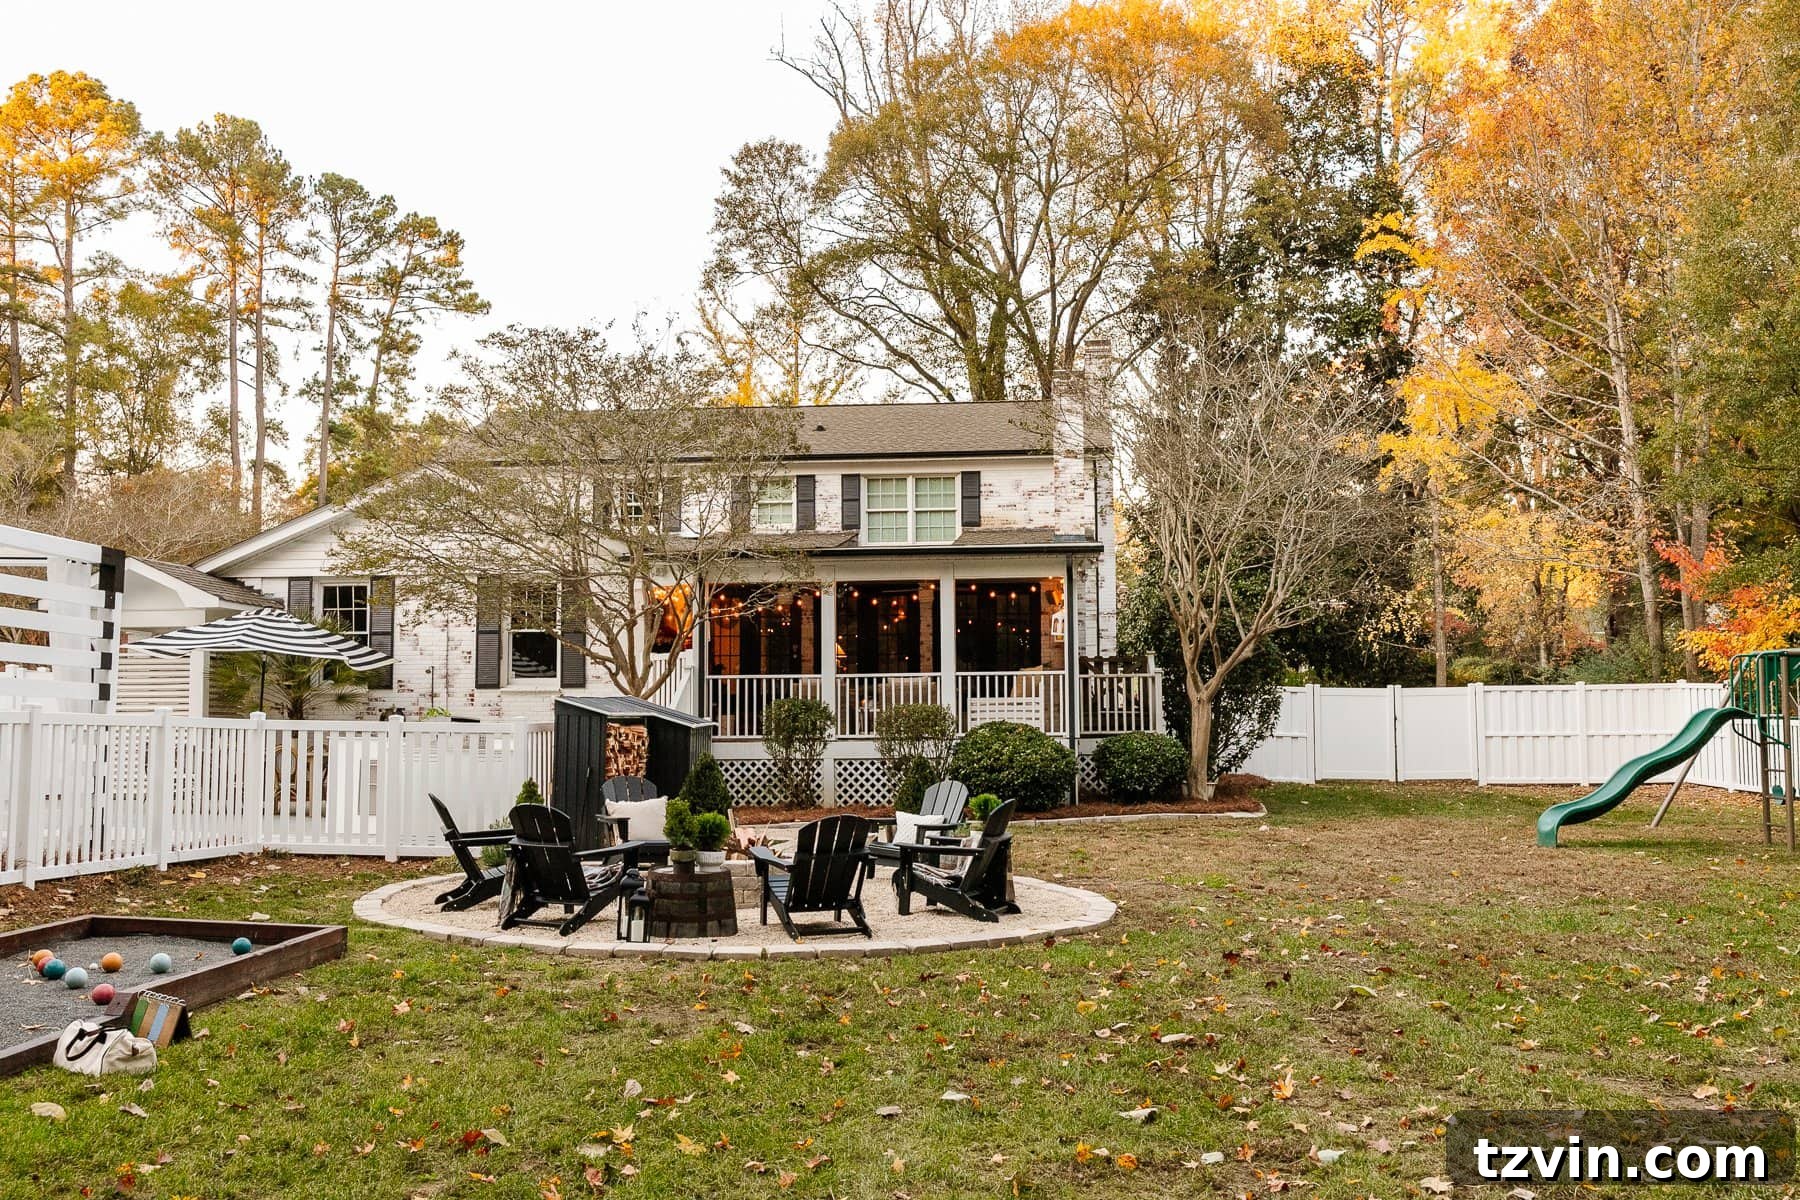
Exterior Brick Limewashing and Trim/Shutter/Gutter Painting
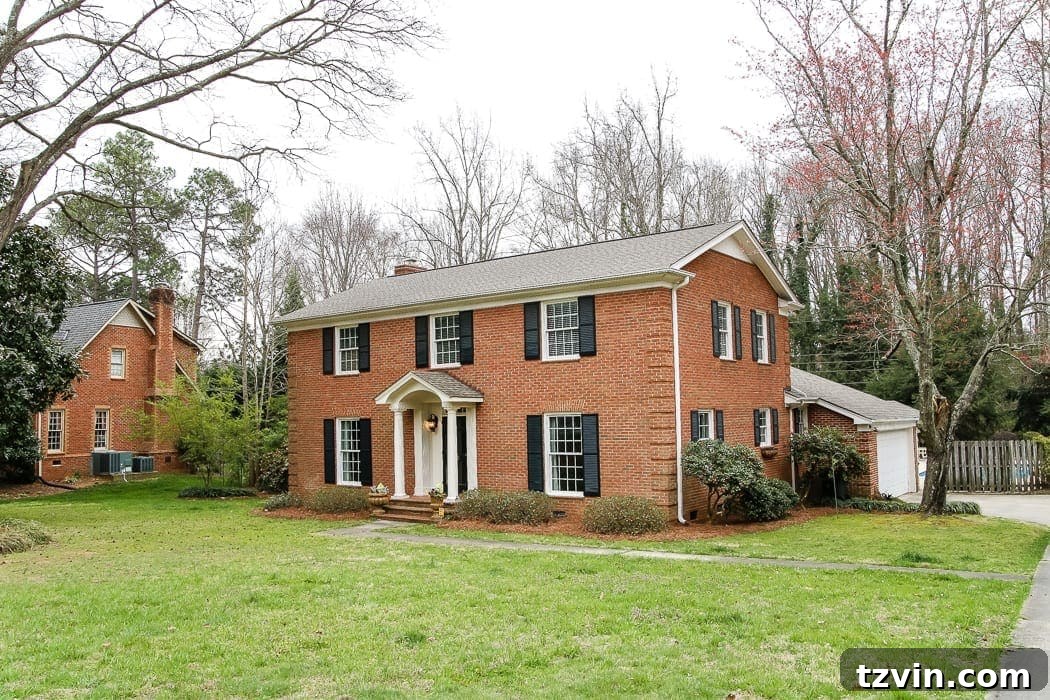
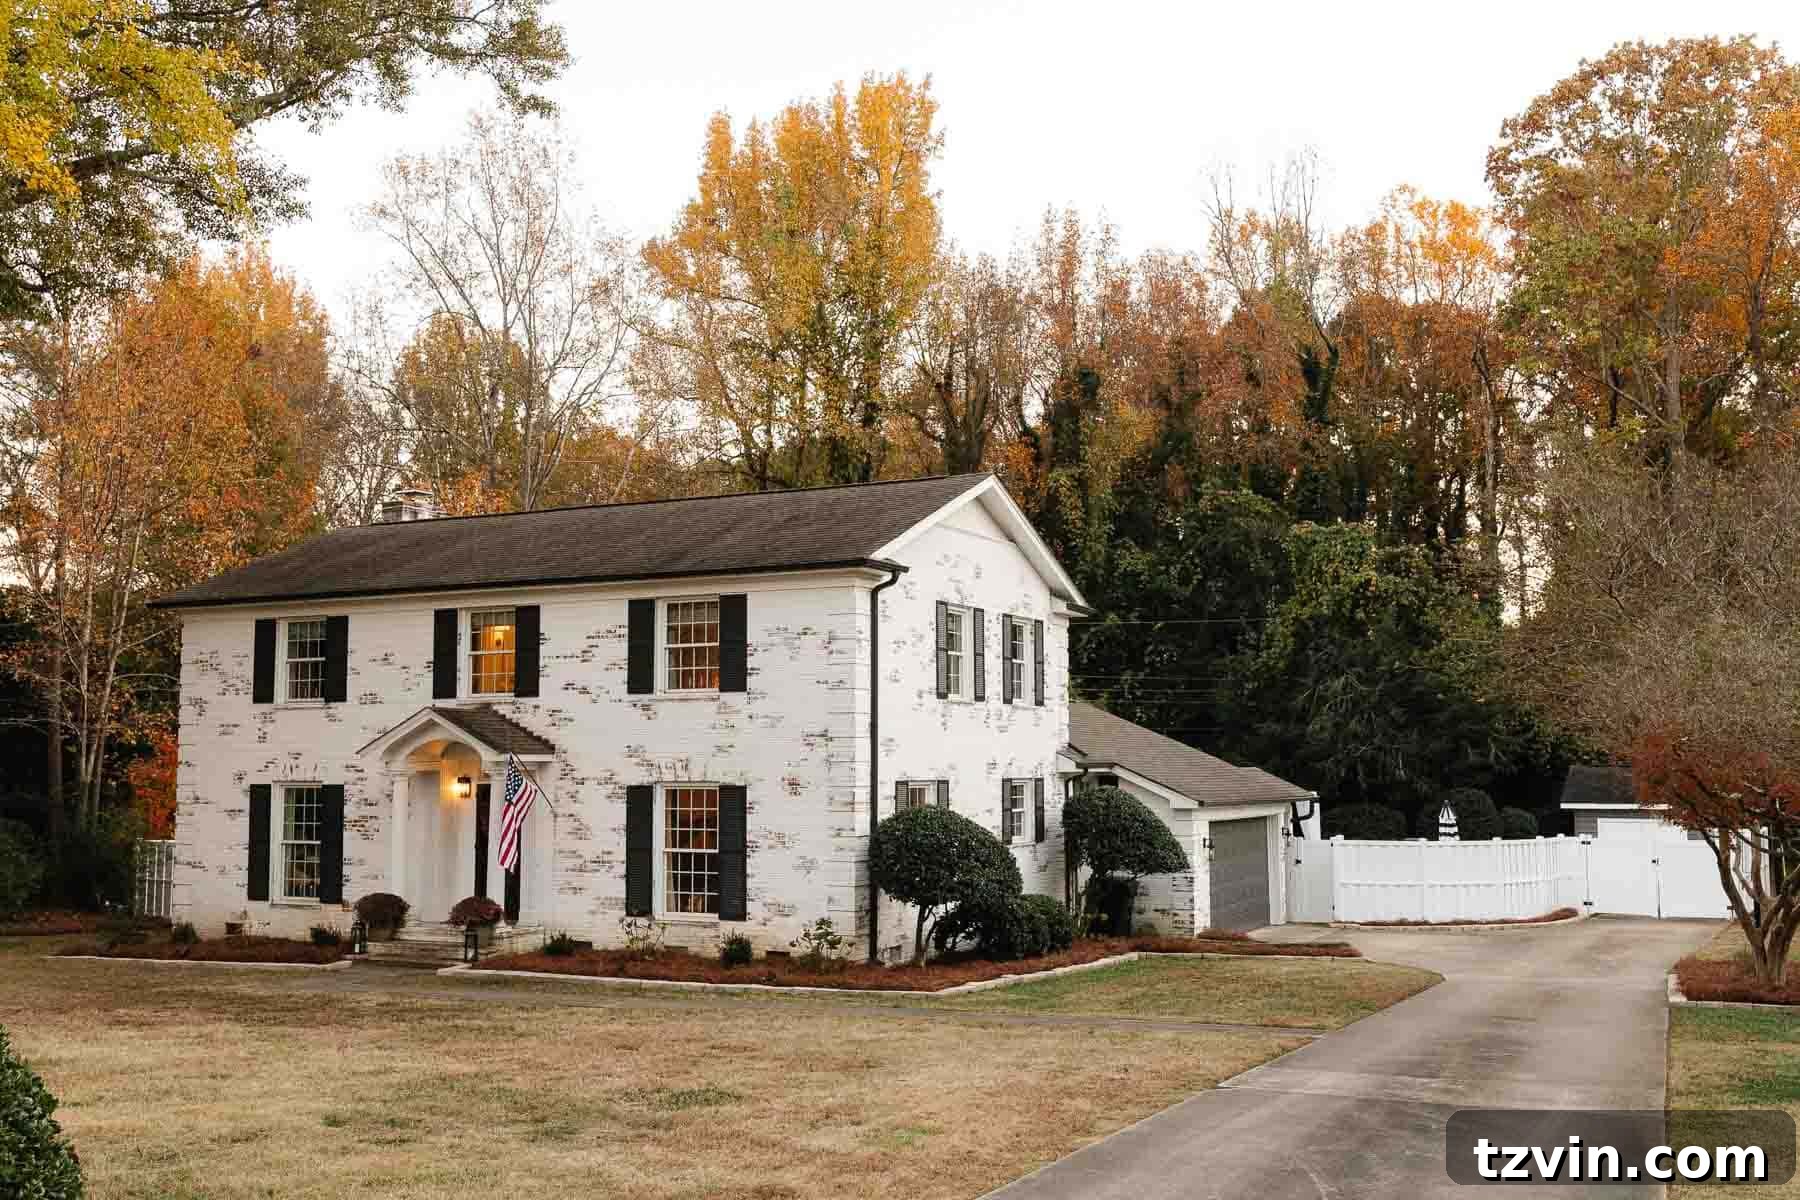
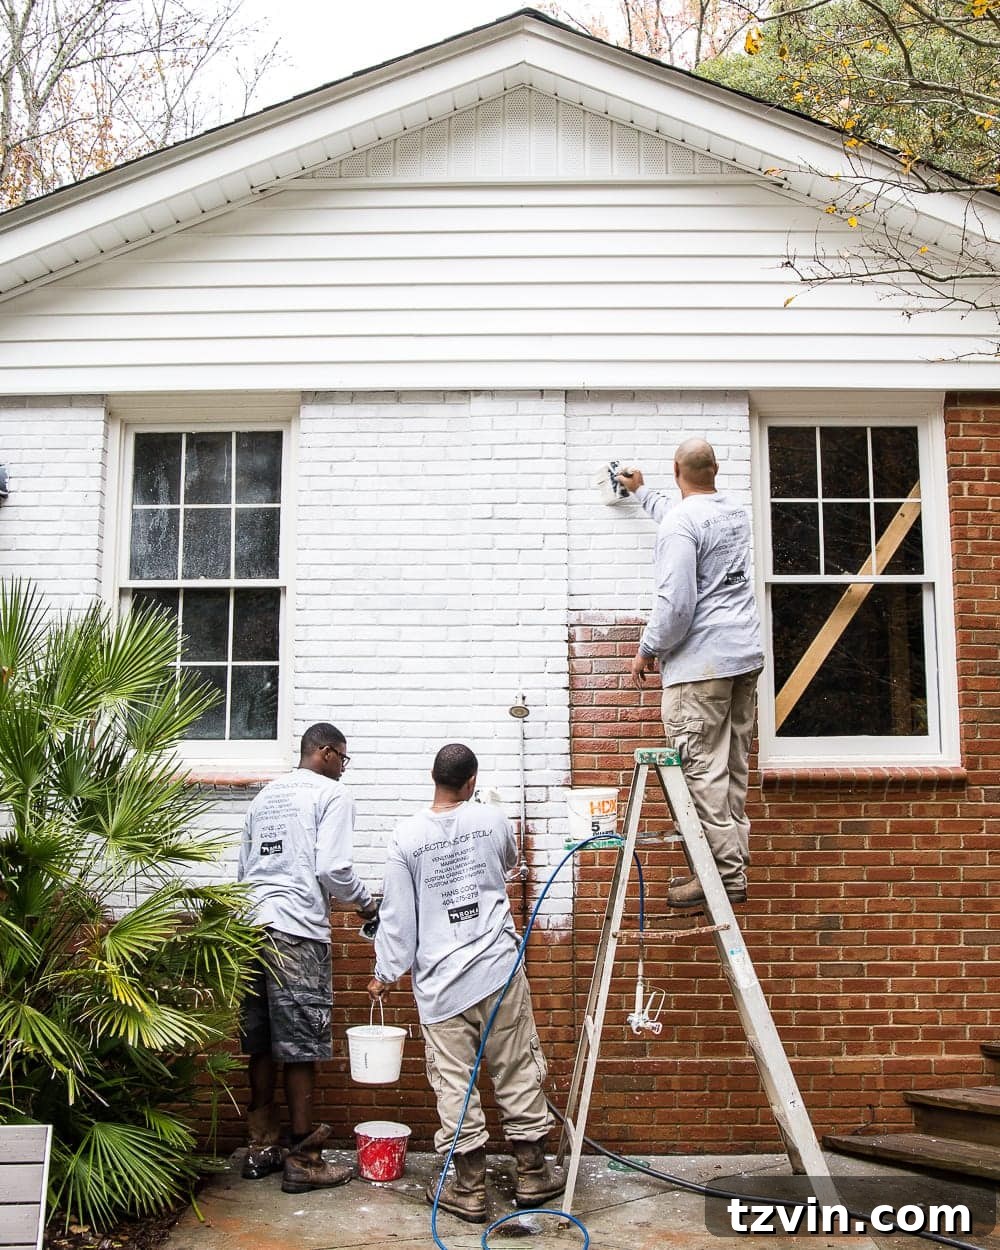
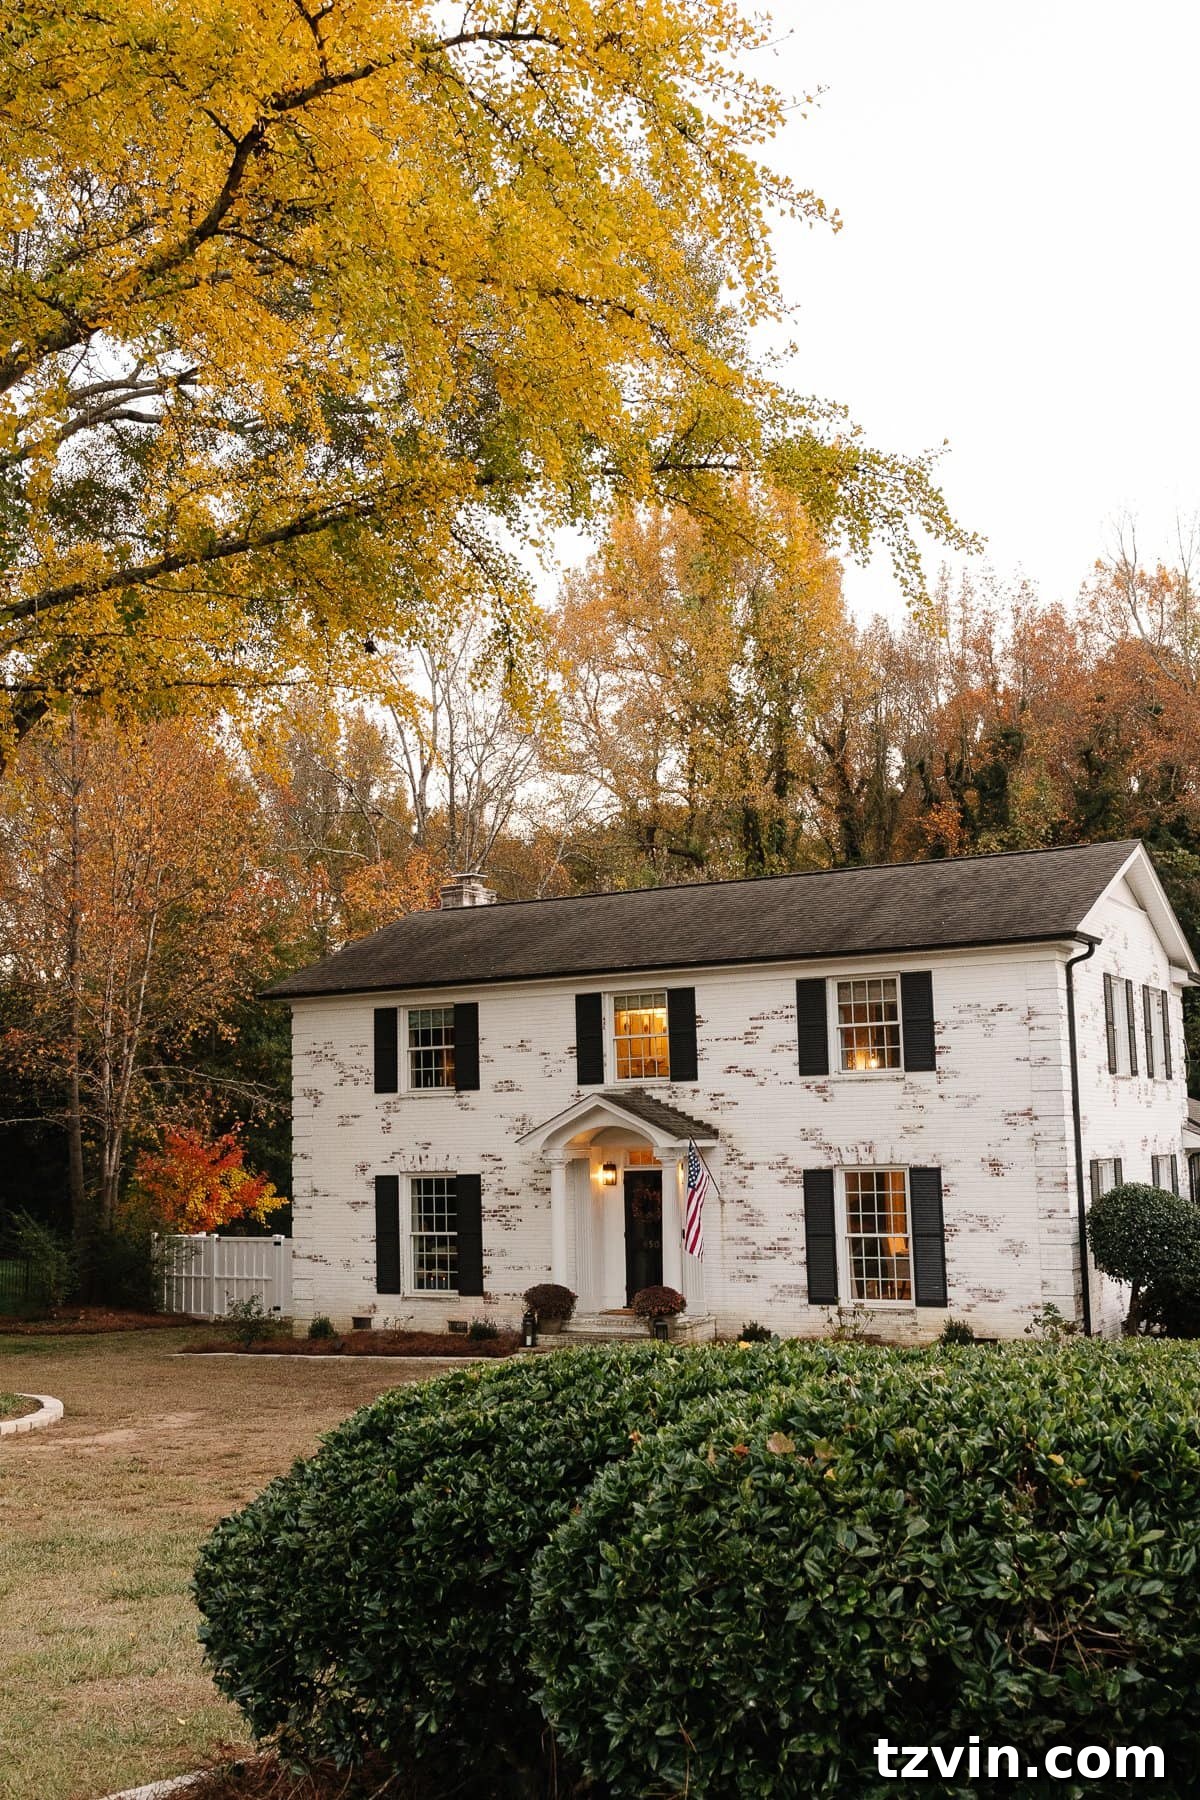
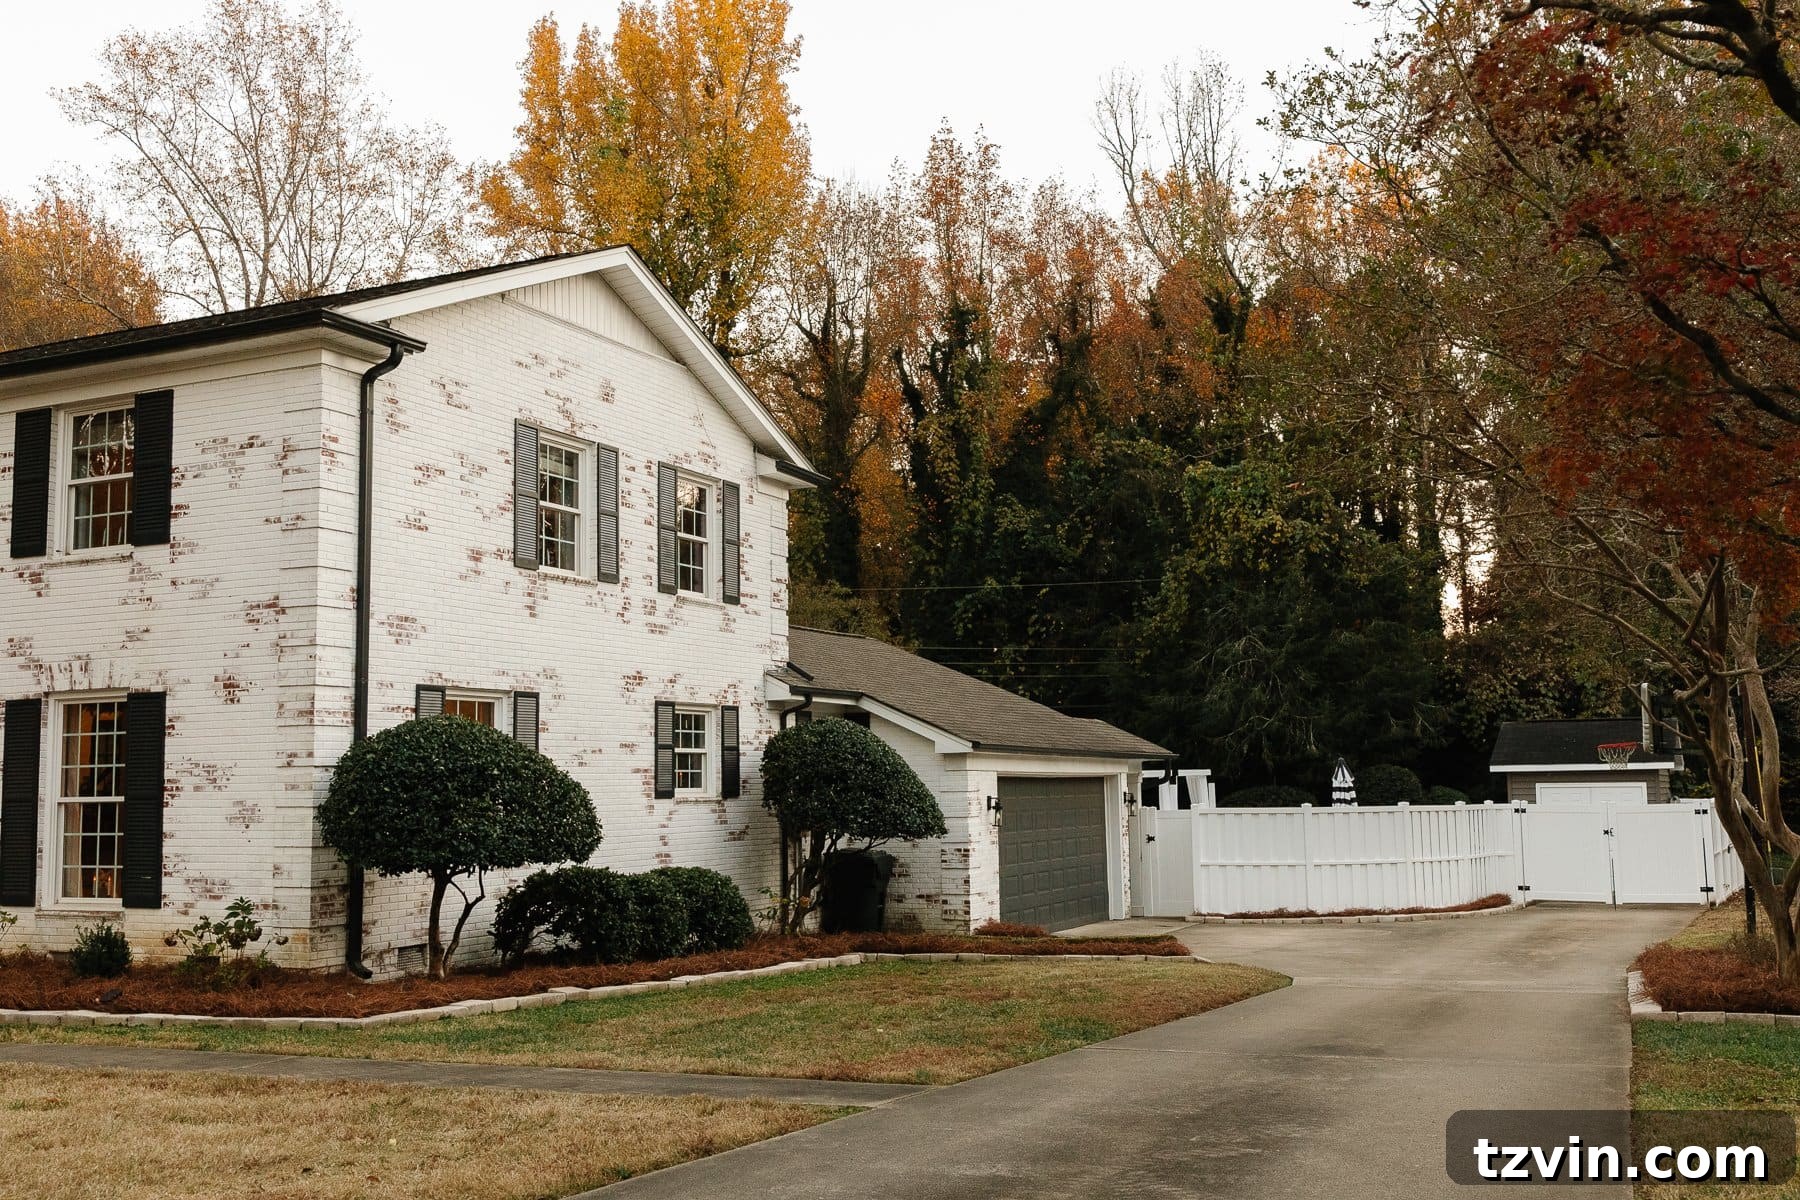
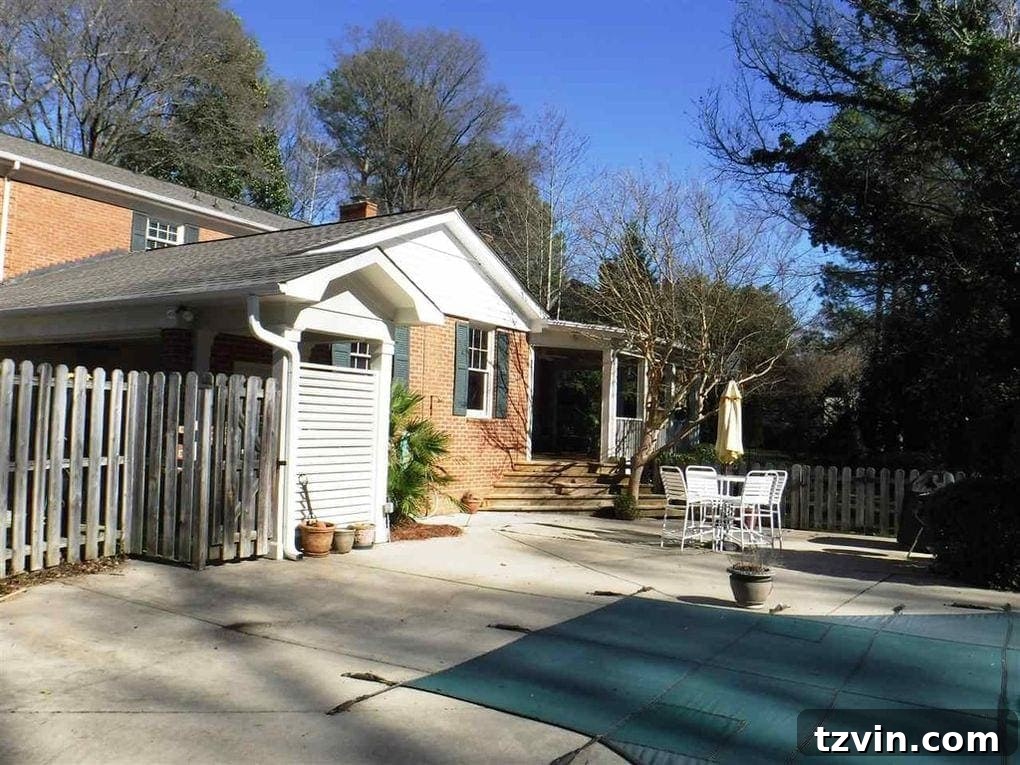
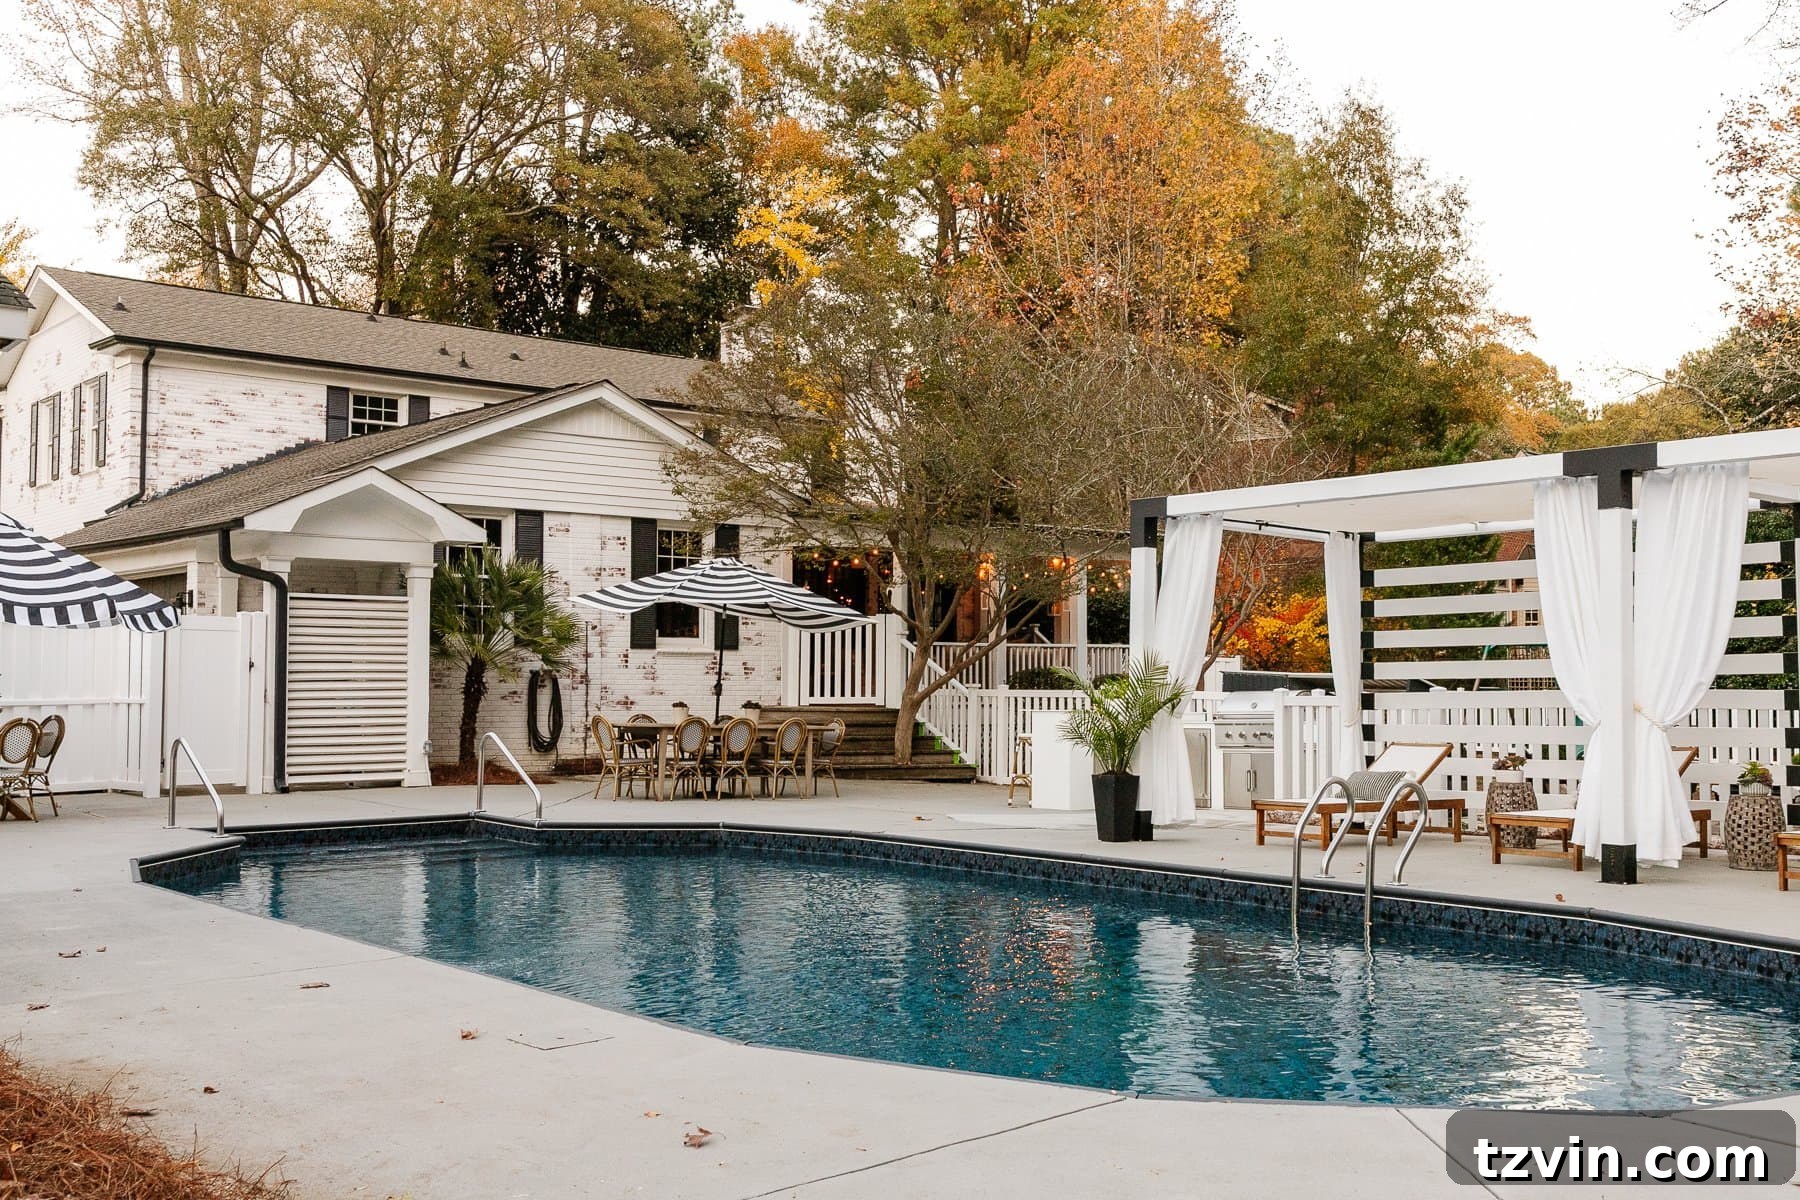
Four years ago, we embarked on one of the most impactful transformations for our home: the limewashed brick exterior makeover, complemented by fresh paint on the trim, shutters, and gutters. This was a project we unequivocally decided to outsource to professionals, primarily due to safety concerns. Working on a two-story exterior, involving ladders and specialized application techniques, is inherently risky. For us, the peace of mind and the assurance of a professional, long-lasting finish made hiring a qualified contractor an easy decision and a worthwhile investment.
For the intricate limewashing of our brick, we entrusted the work to Hans from Reflections of Italy. His craftsmanship was truly exceptional. Hans isn’t just a painter; he’s an artisan who meticulously studied the unique architectural nuances of our home, observing how rainwater would naturally cascade and wear away the limewash over time. He then applied the limewash with this understanding, creating a beautiful, organic finish that looks both historic and perfectly aged. This attention to detail is something only a seasoned professional can provide, ensuring the limewash not only looks stunning but also ages gracefully.
Limewashing Labor and Materials – $11,325
Trim, Shutter, Gutter Painting Labor and Materials – $2,900
Swimming Pool Liner Update
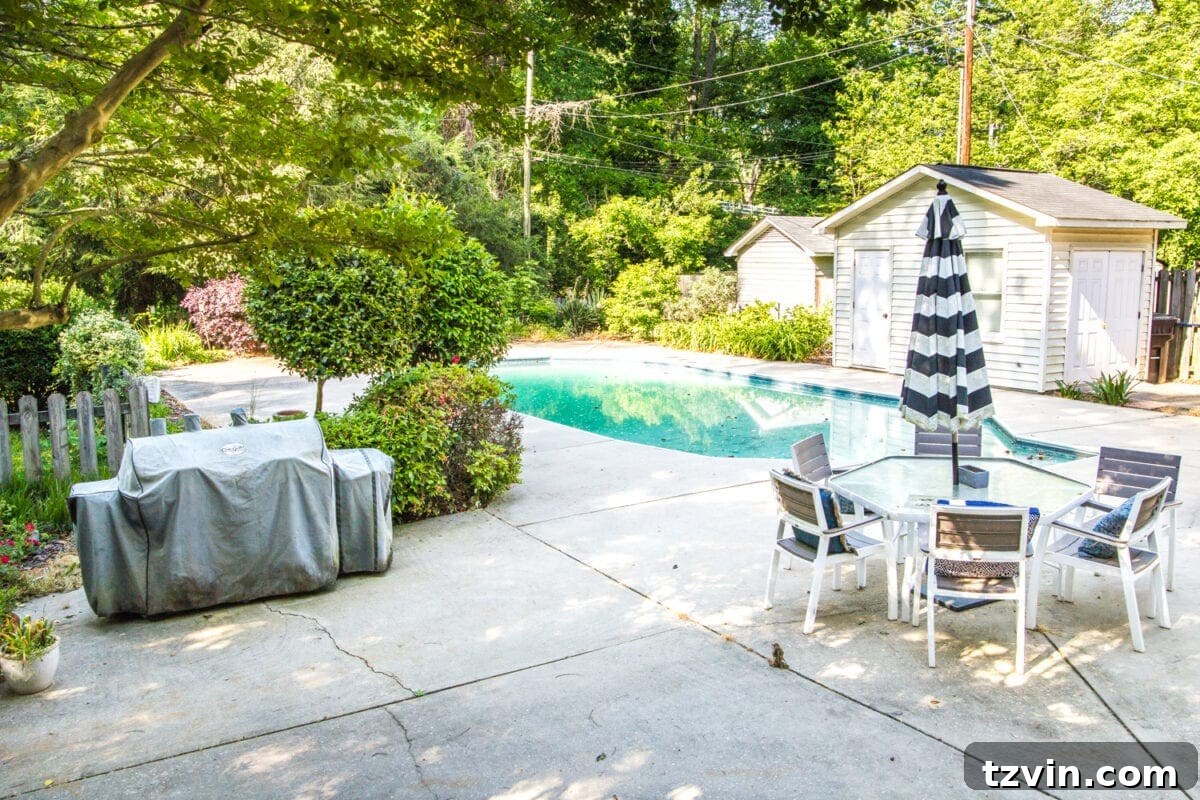
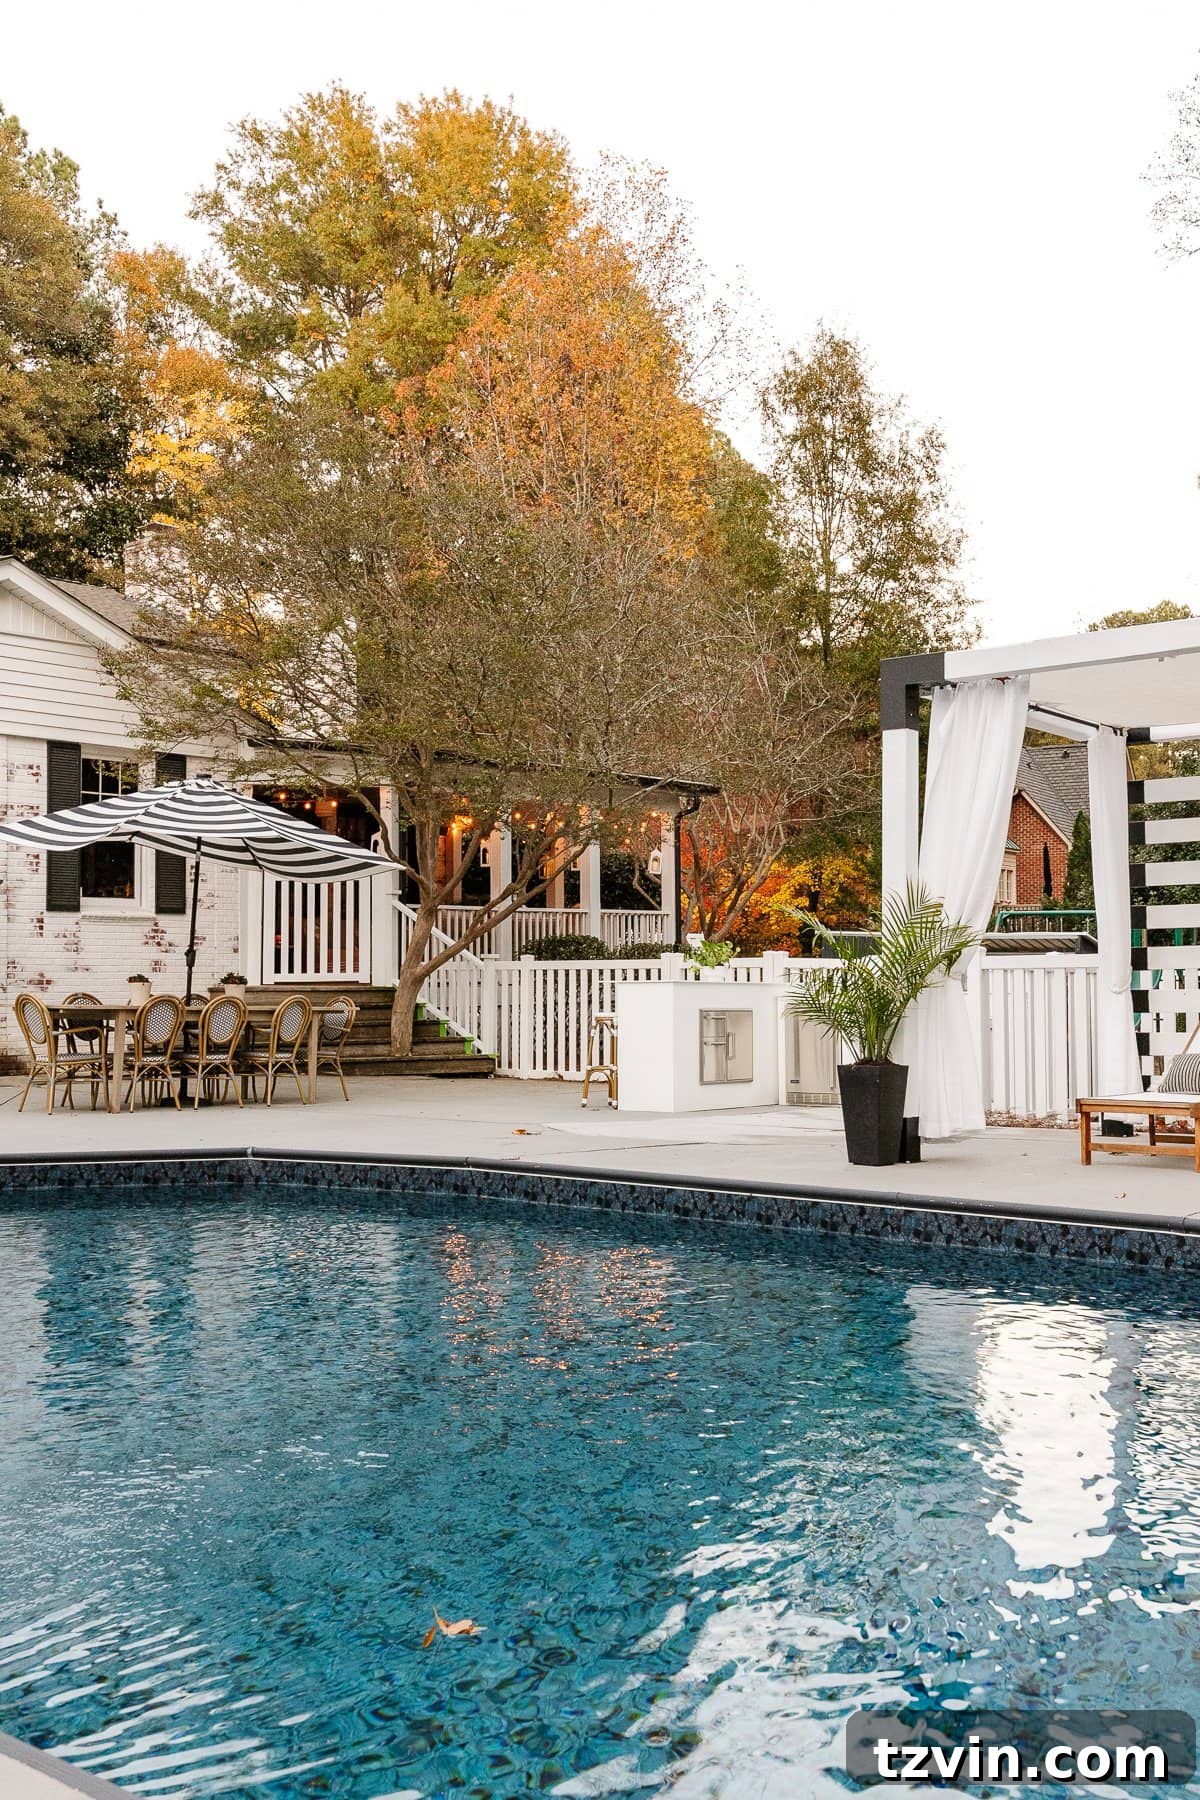
A swimming pool is a significant investment, and maintaining it properly is key to long-term enjoyment. When we purchased our home, it was evident that the existing pool liner was well past its prime and desperately needed replacement. This was another project where calling in professional contractors was non-negotiable. Installing a new pool liner is a precise task; one wrong move could lead to tears, leaks, and quickly destroy an expensive new liner costing thousands of dollars. The complexity and potential for costly errors made us recognize the value of expert installation immediately.
For this crucial update, we turned to Edwin’s Pool Service, a company we’ve relied on for years for various pool maintenance and repair needs. Their consistent professionalism and expertise gave us confidence in their ability to handle such a vital replacement. They managed the entire process seamlessly, from draining the old water and carefully removing the worn liner to meticulously installing the new one, ensuring a perfect, wrinkle-free fit. Their experience truly shone through, delivering a beautifully refreshed pool surface that promises many more years of enjoyment.
Swimming Pool Liner Labor and Materials Cost – $6,800

Tree and Shrubbery Removal and Backyard Grading
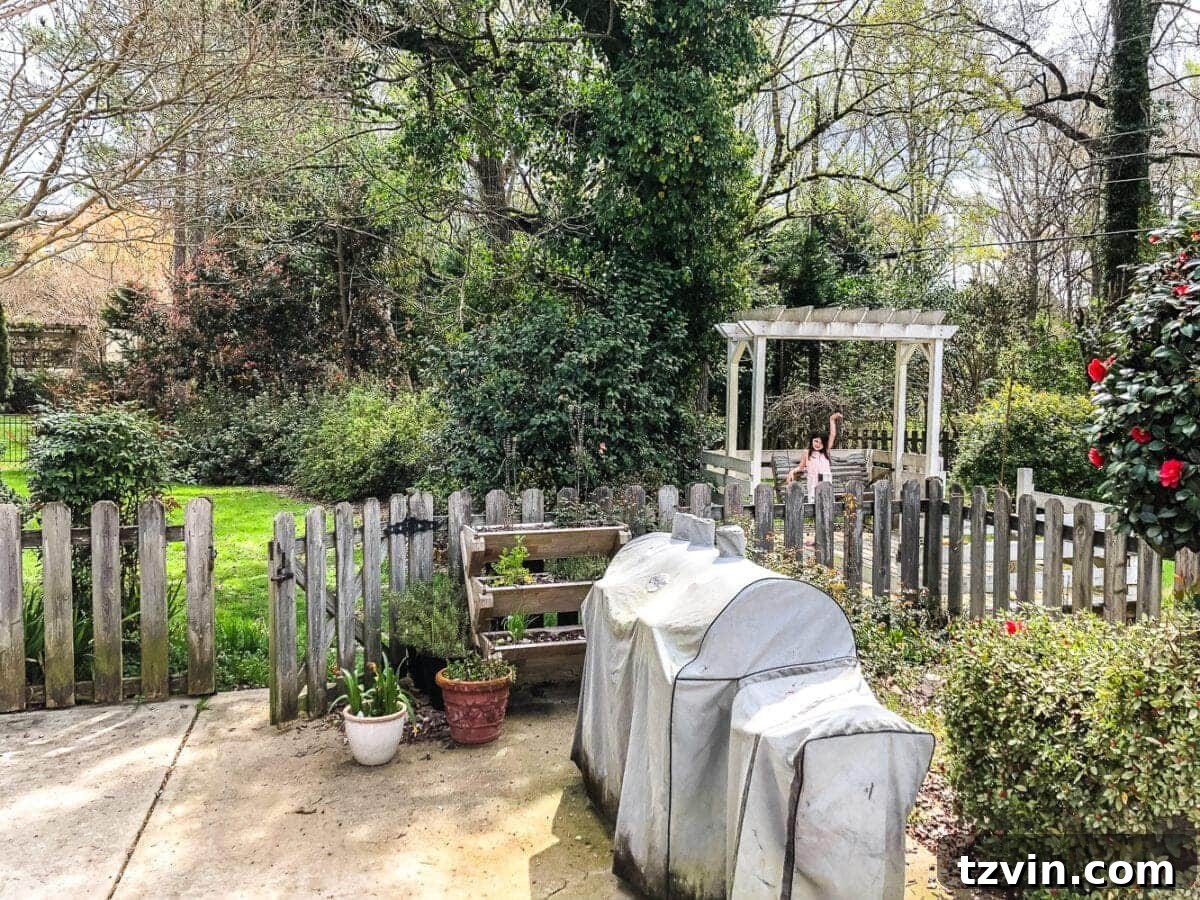
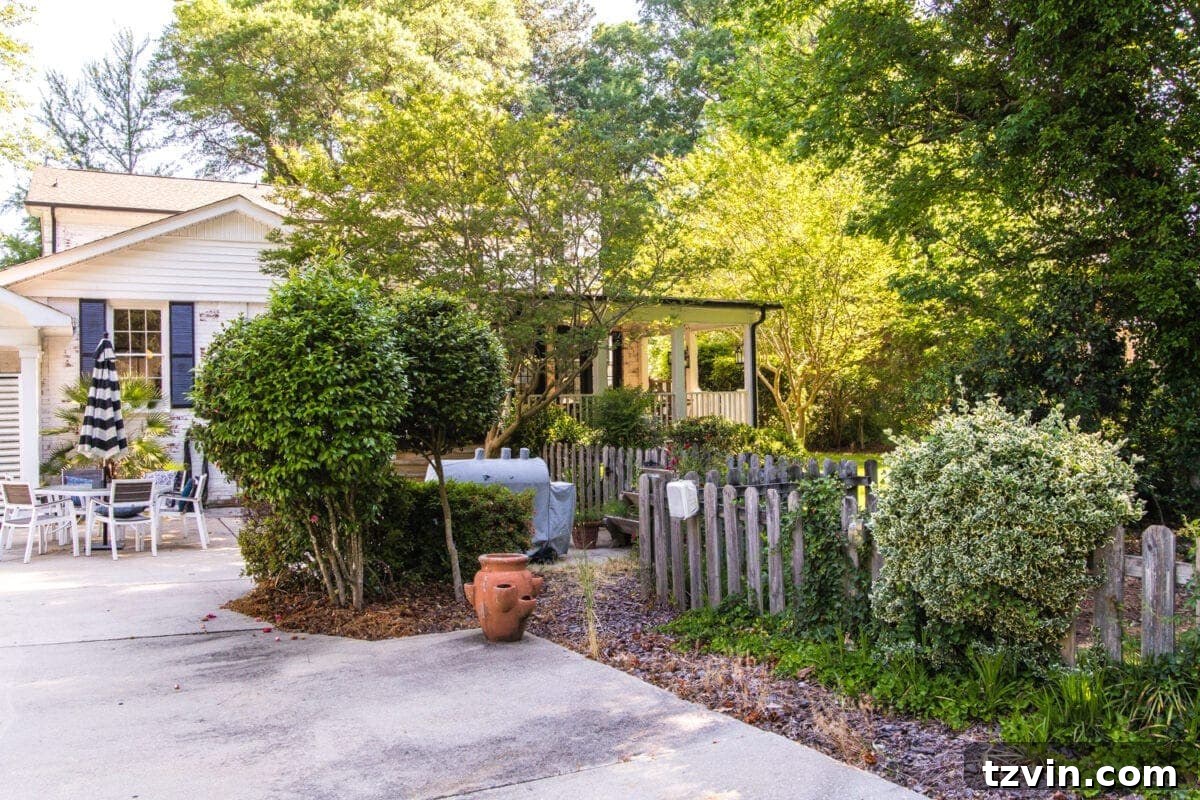
Our backyard, though spacious, presented several challenges before its transformation. We inherited a landscape with several dying trees that posed potential hazards, along with overgrown, “snaky” shrubbery that cluttered the space. More critically, we experienced persistent drainage issues, particularly after heavy rains, which impacted the usability and health of our lawn. Addressing these landscaping problems was fundamental to creating the functional and beautiful backyard we envisioned, necessitating the expertise of specialized contractors.
For tree removal and expert consultation, we engaged ArborVision. Their team was incredibly knowledgeable, guiding us through which trees were beyond saving and which could be retained to enhance the landscape. They provided insightful advice, ensuring that tree removal was handled safely and efficiently. Following the tree work, JG Outdoor Solutions took on the crucial task of backyard grading. They were an absolute pleasure to work with, demonstrating excellent communication throughout the process. Proper grading is vital for directing water away from the house and ensuring a level, usable outdoor space, and their work significantly improved our backyard’s drainage and overall topography.
Tree and Shrubbery Removal – $5,800
Backyard grading – $2,100
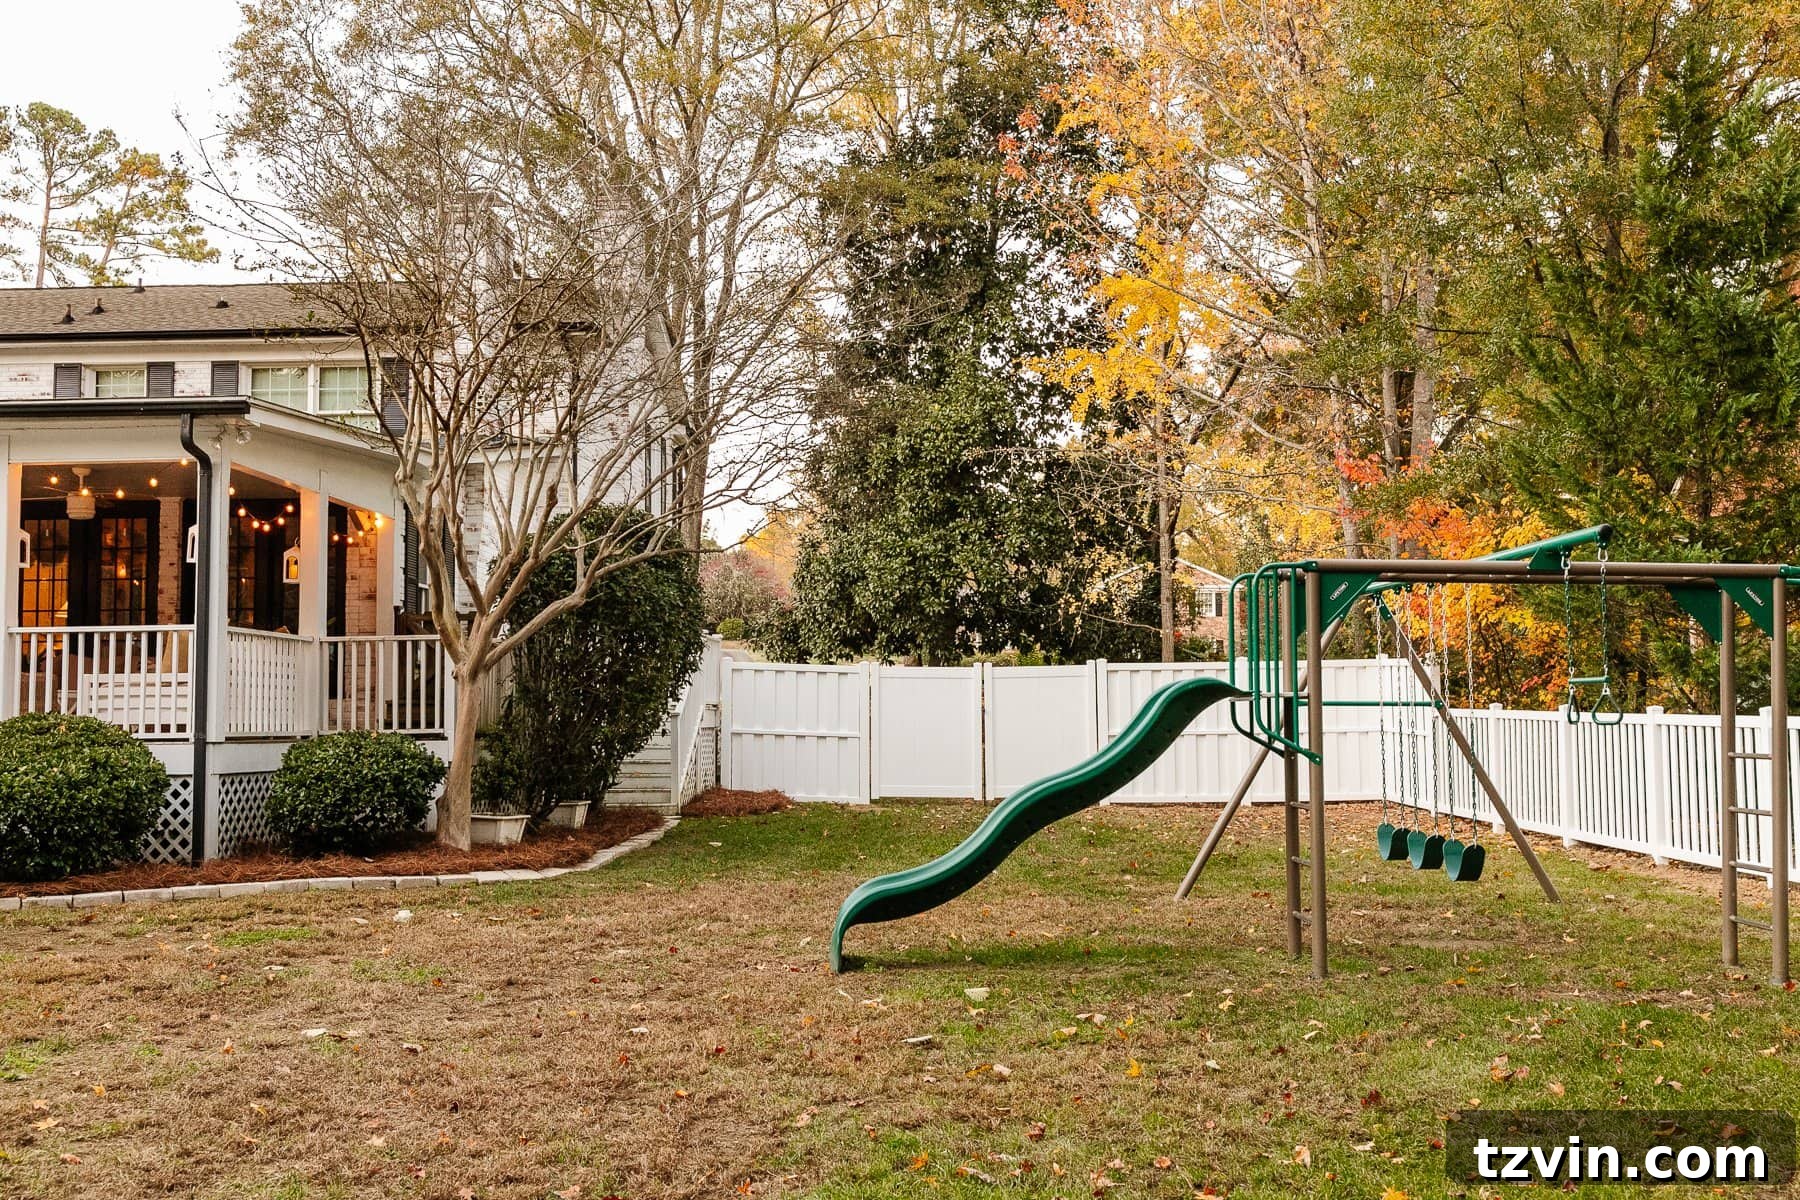
Backyard Fence Replacement
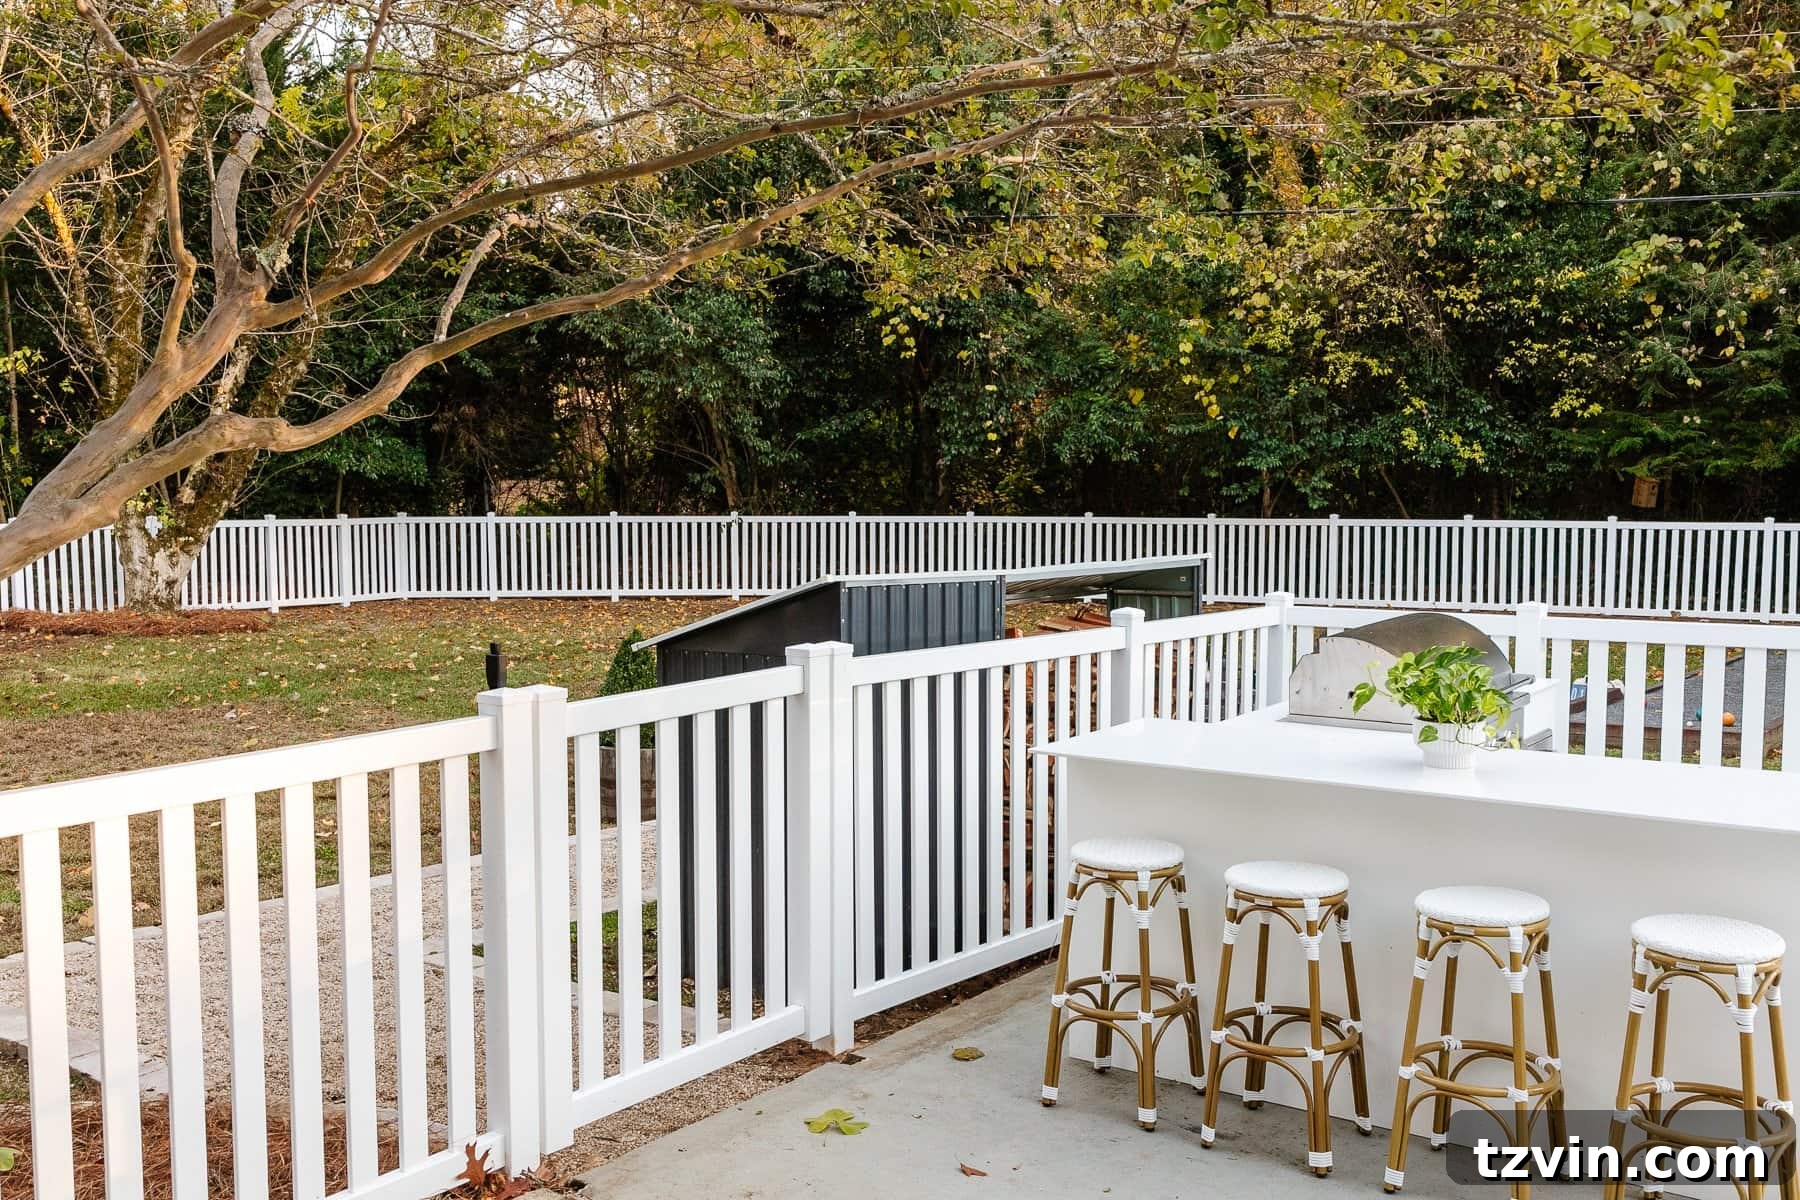
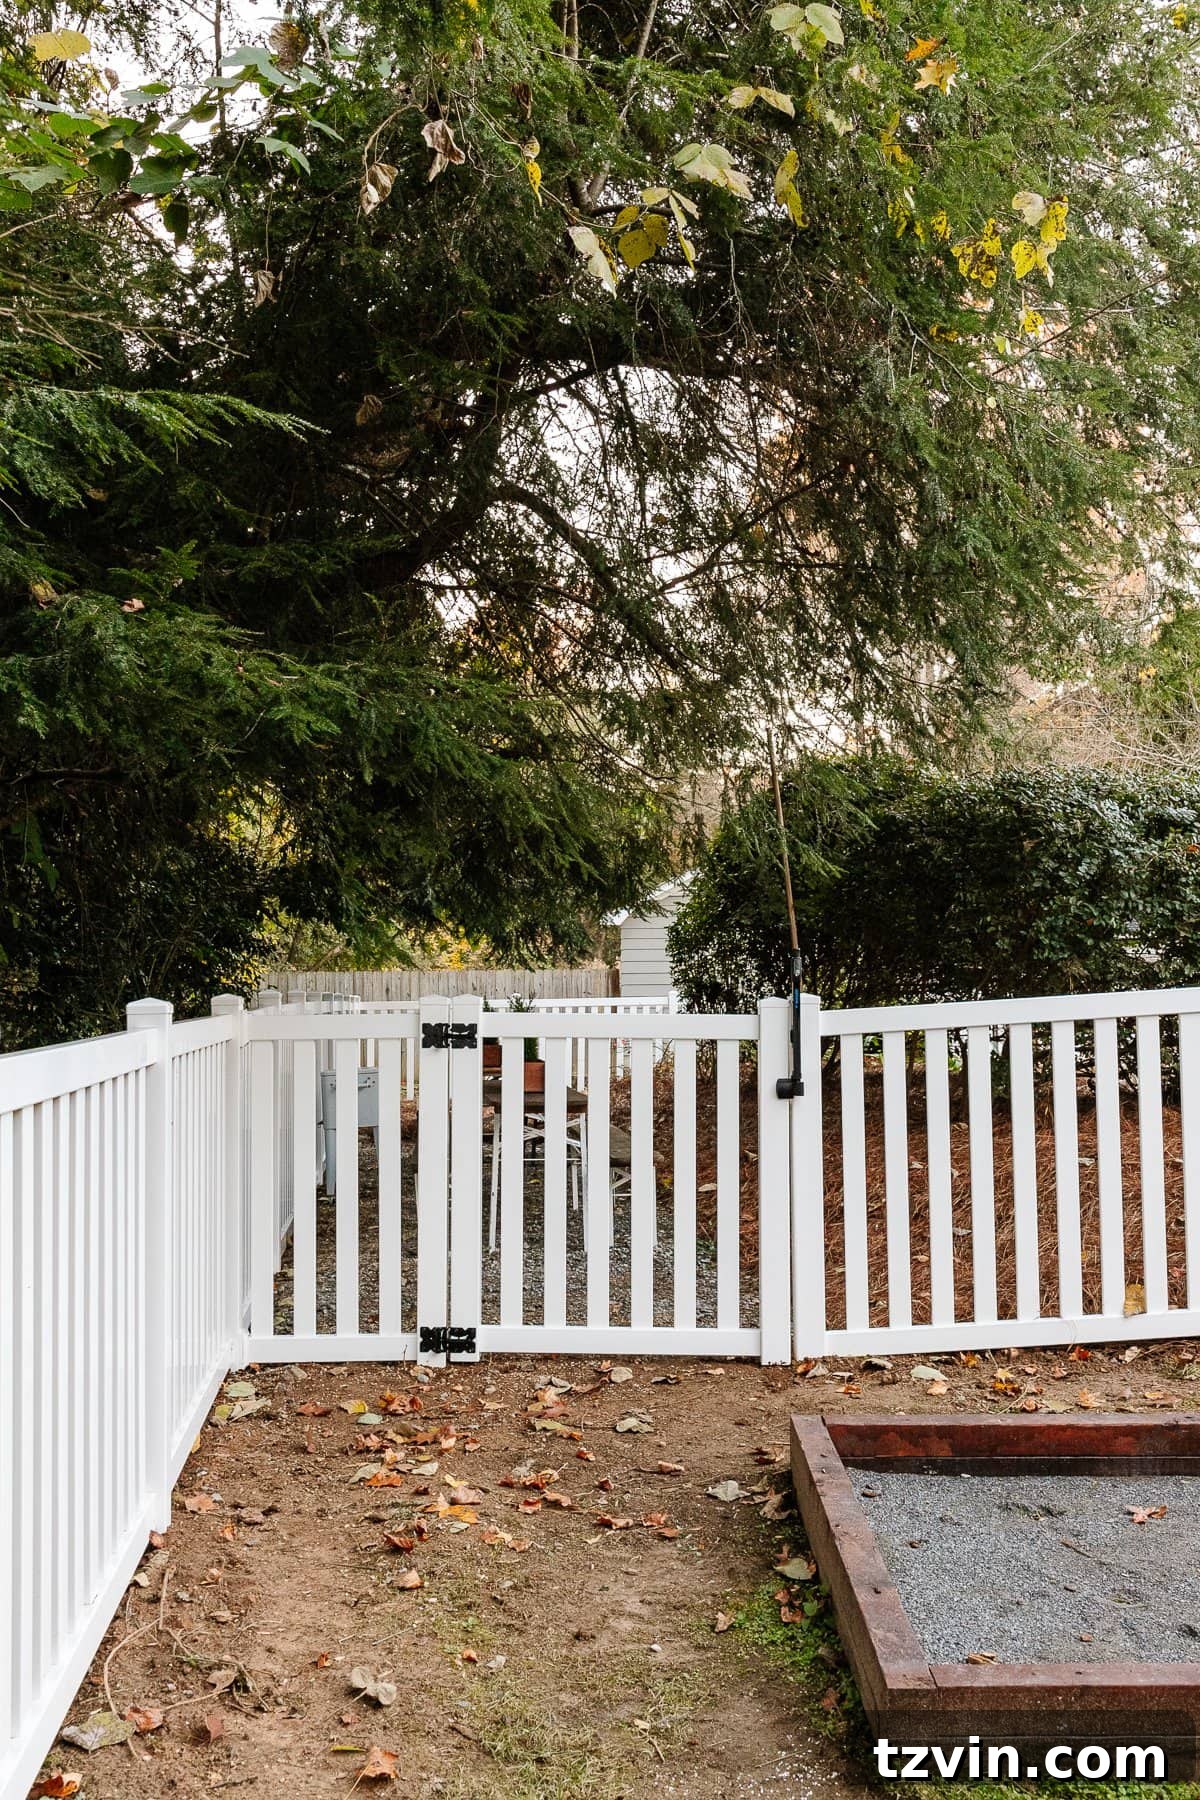
Replacing our backyard fence marked the final project where professional contractor assistance was absolutely necessary before we rolled up our sleeves for the remaining DIY endeavors. The removal and hauling away of the old, dilapidated fence required specialized equipment and expertise that simply made more sense to hire out. While a Ply Gem vinyl fence represents a higher initial investment compared to traditional wooden fencing, we made a conscious decision to opt for durability and longevity. The promise of a lifetime warranty was a key factor, as it guarantees we won’t face the hassle and expense of another replacement in the foreseeable future, providing significant long-term value and peace of mind.
We selected Gaston Fence for both the removal of the old fence and the installation of our new vinyl barrier. Although their communication could have been more consistent at times, the quality of their workmanship was excellent. The fence was installed meticulously, standing strong and looking fantastic, which ultimately left us very satisfied with the outcome. When considering a fence replacement, it’s worth weighing the initial cost against the long-term maintenance and durability benefits of materials like vinyl.
Backyard fence replacement labor and materials – $18,860
Pergola Cabana (DIY)
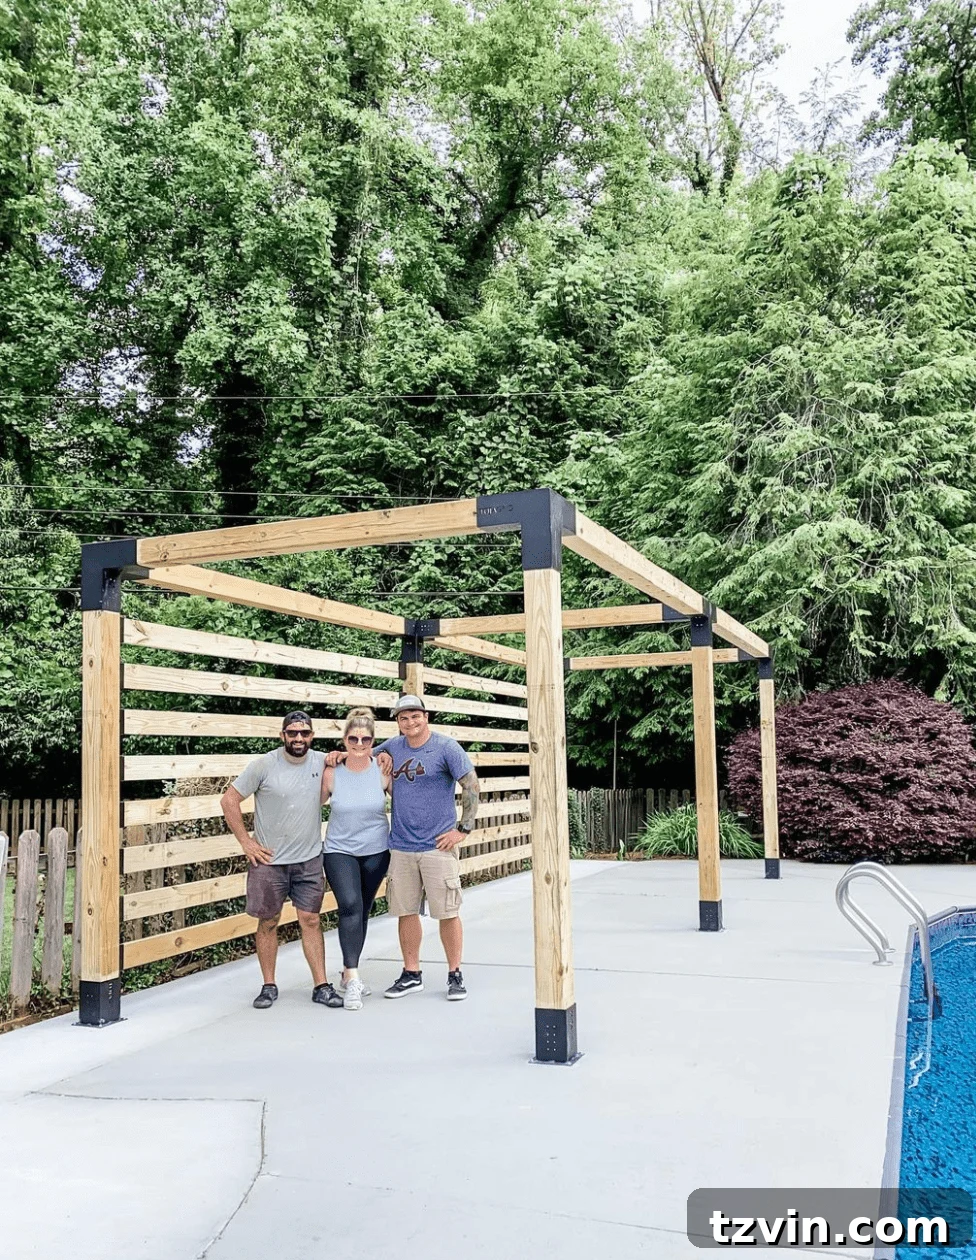
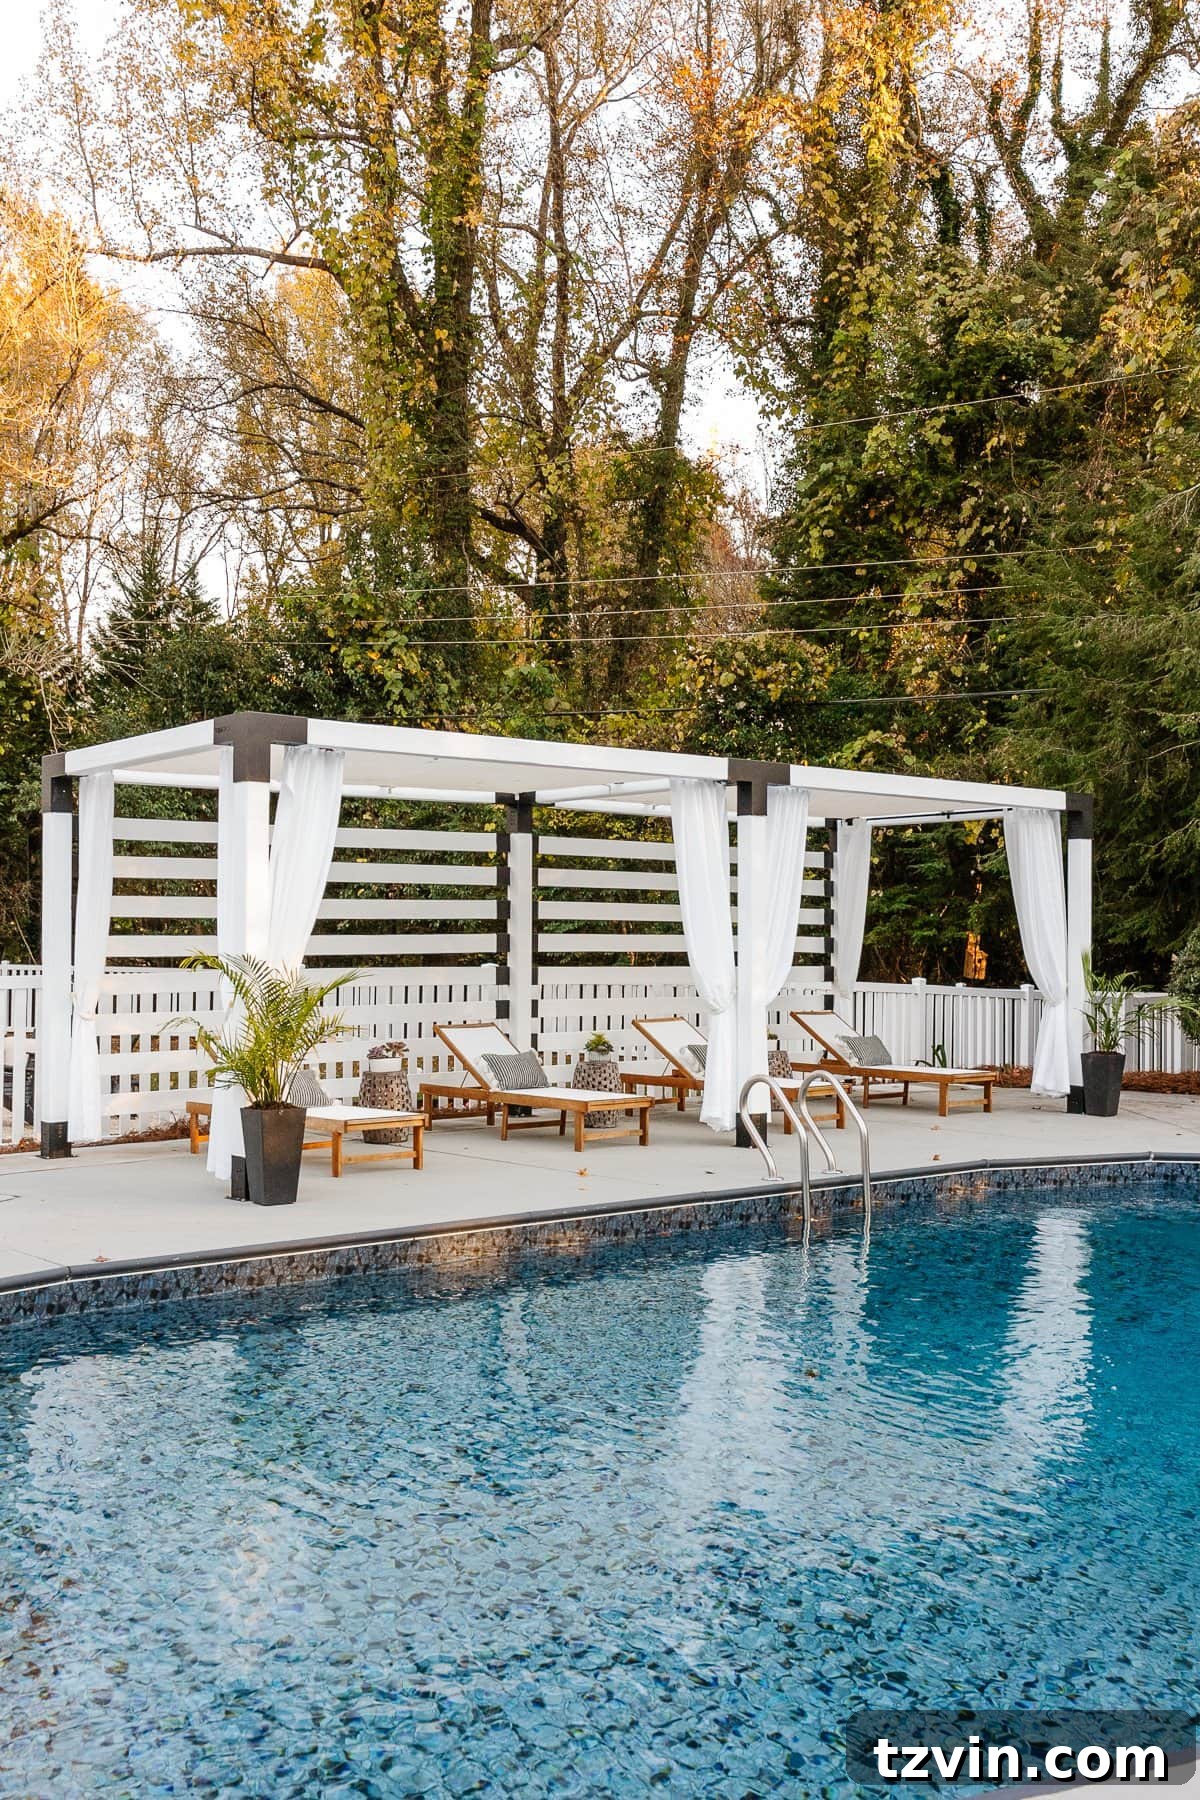
Our decision to build this magnificent pergola cabana ourselves was a testament to our DIY spirit, but its cost was significantly impacted by an unfortunate stroke of bad timing. Just as our TojaGrid hardware arrived, ready for assembly, lumber prices across the nation began to skyrocket due to widespread supply chain issues. This surge dramatically inflated the material costs for our project. It truly felt like Murphy’s Law in action! Consequently, the final cost of our pergola cabana is not typical and would likely be considerably lower under normal market conditions, making it an important point for anyone considering similar projects to factor in material volatility.
Building this large structure was no small feat; it was an absolute beast of a project that required substantial physical effort and teamwork. Robert and I were incredibly fortunate to have the invaluable help of my dad and brother, whose strength and construction experience were indispensable. I can still recall the soreness days after its completion! Despite the unexpected expenses and the sheer hard work involved, the satisfaction of building such a beautiful and functional space with our own hands, and with family, was immense. For DIY enthusiasts, planning ahead and securing materials when prices are stable can make a huge difference in budget. The TojaGrid system, however, made the structural assembly much more manageable for a DIY team.
Pergola Lumber and Paint – $1,200
Pergola Hardware and Canopies – $2,116
Backyard Fire Pit (DIY)
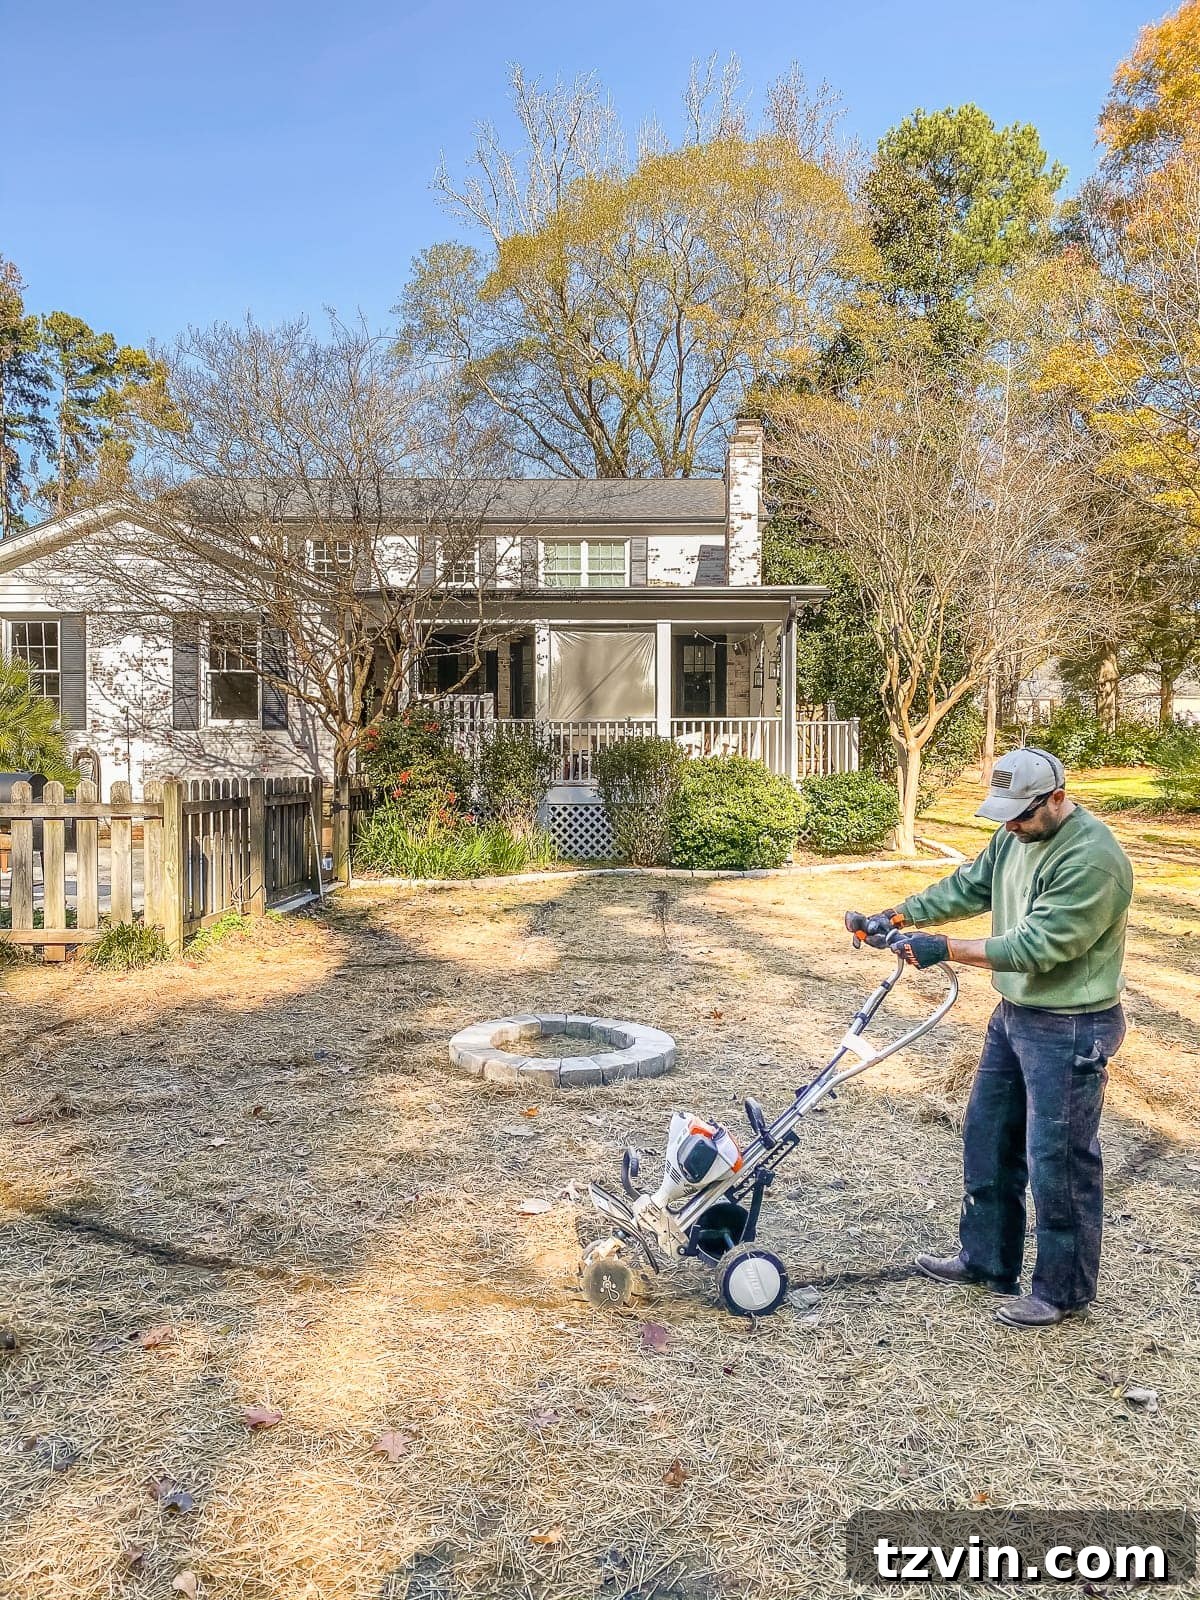
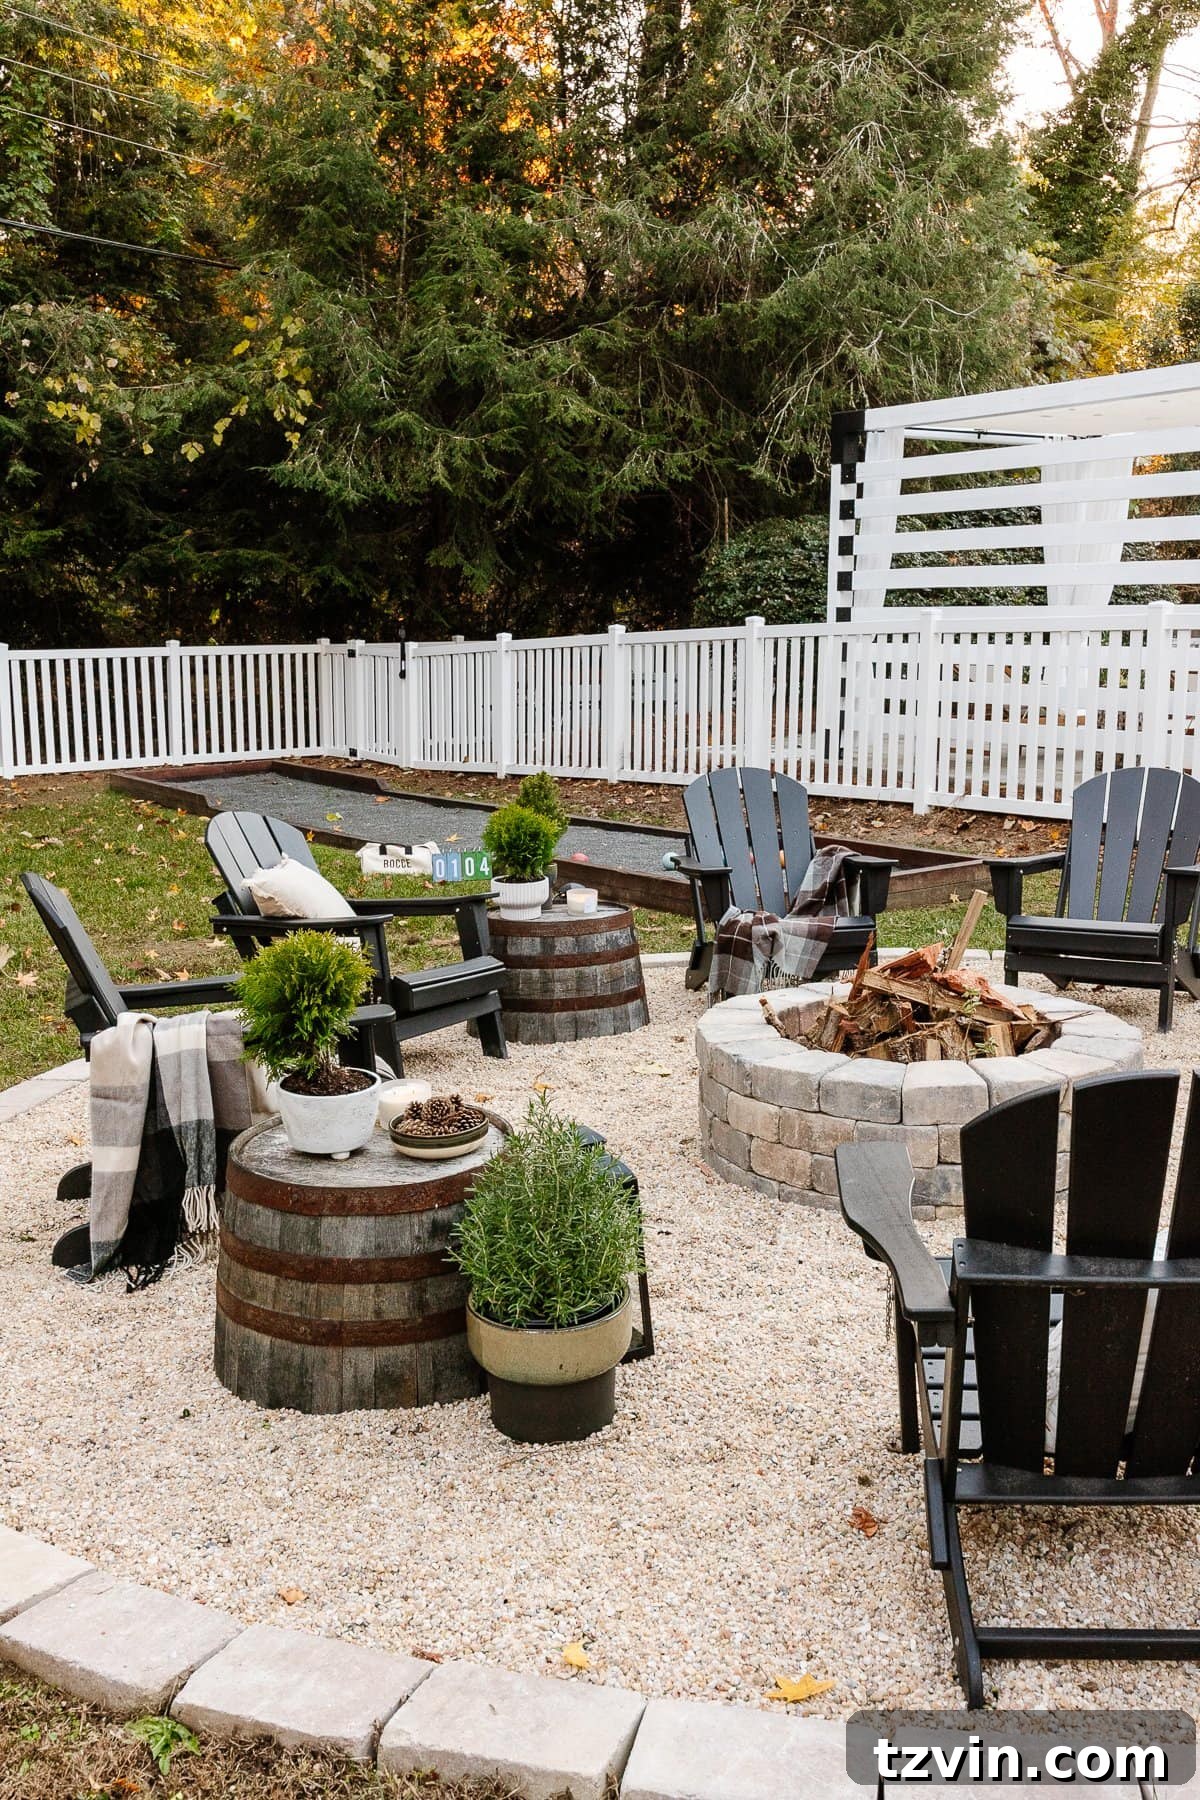
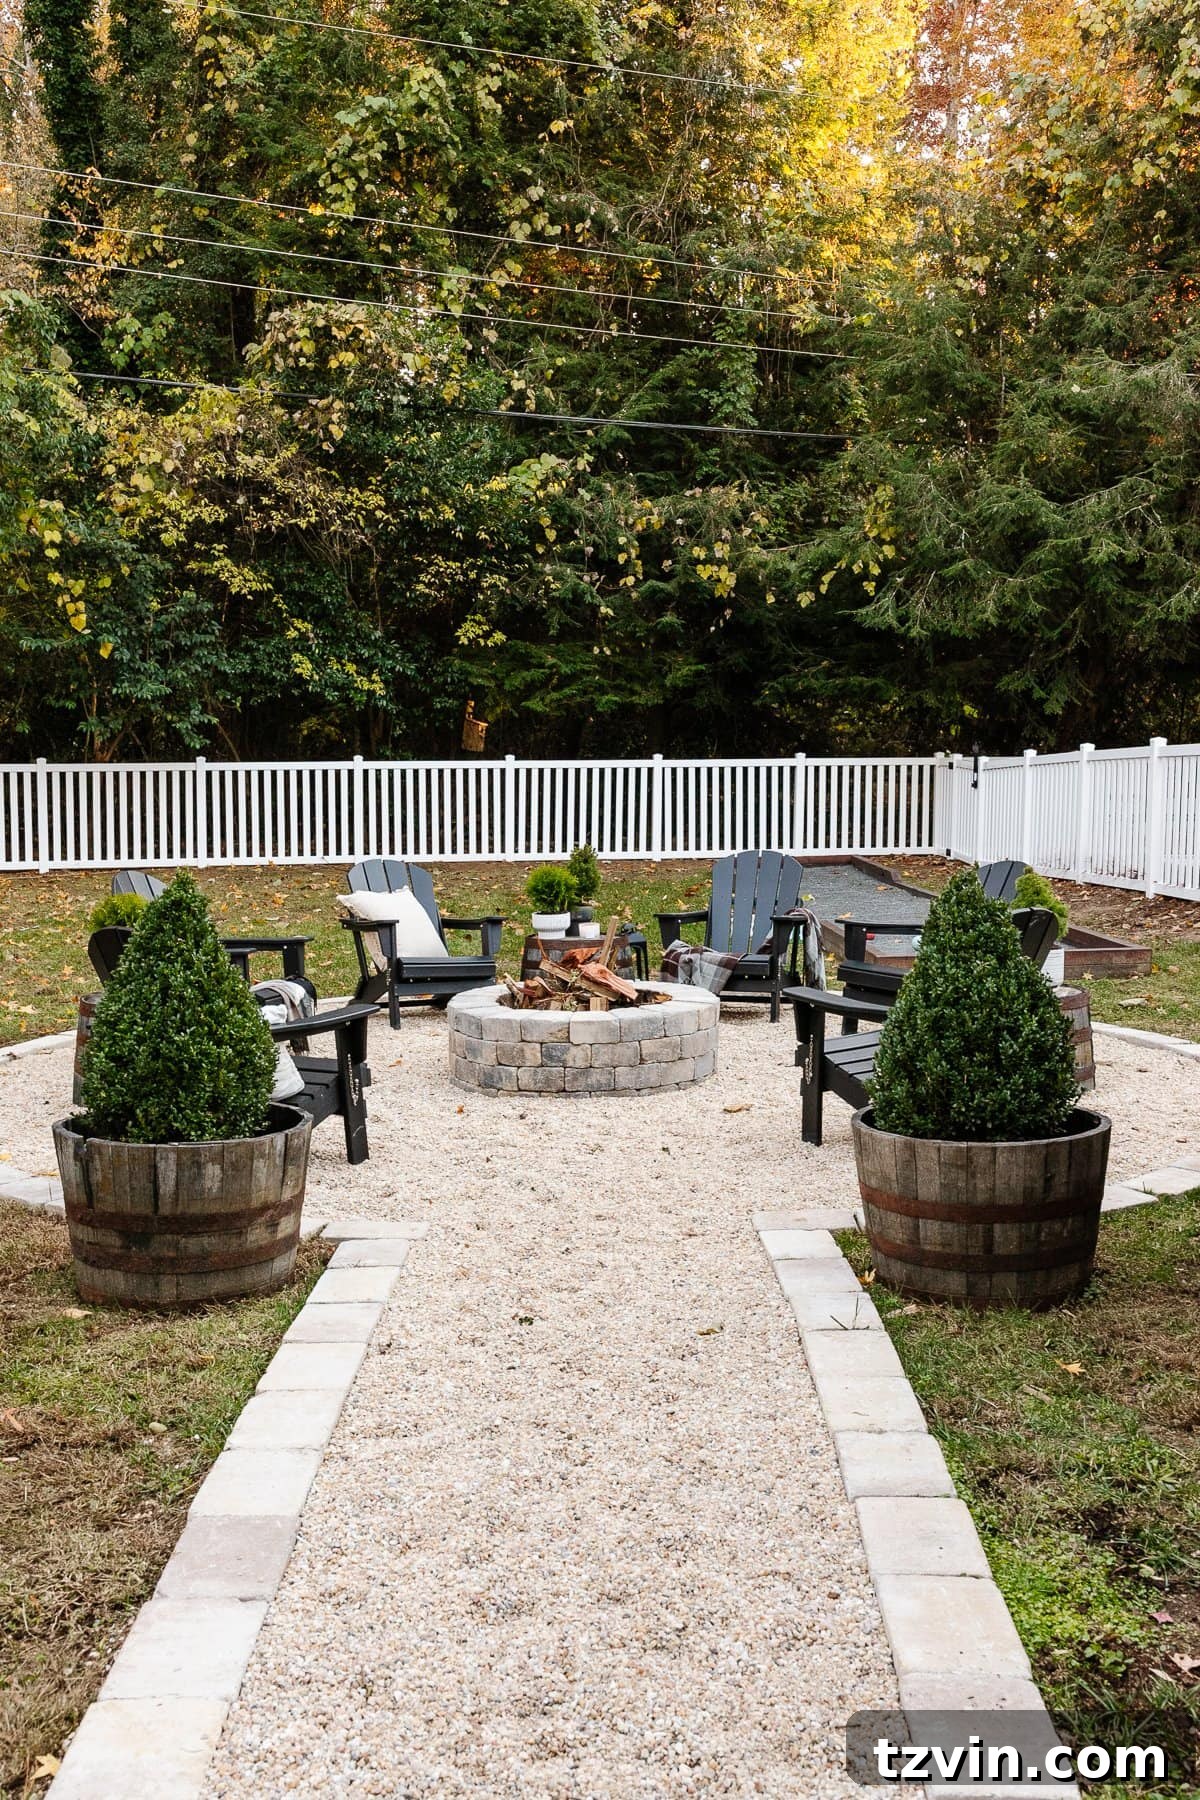
Creating a cozy and inviting outdoor gathering spot was a high priority for our backyard, and our DIY fire pit proved to be one of the most rewarding and surprisingly quick projects we undertook. We completed it in just a couple of days, much faster than we initially anticipated! The process was far simpler than we thought, making it an excellent weekend project for anyone looking to add a functional and attractive feature to their yard. It immediately became a focal point for evening relaxation and socializing, greatly enhancing our outdoor living experience.
For all our landscaping materials, including those for the fire pit, we consistently turn to 360 Supply. They are a fantastic local business, always incredibly friendly and helpful whenever we visit. We make a conscious effort to support small, local businesses like 360 Supply whenever possible, rather than defaulting to larger chain stores. Not only do they offer quality materials, but their personalized service and expert advice are invaluable for DIY projects. Choosing local also means our money stays within the community, fostering stronger local economies.
Fire Pit Materials Cost – $1,150
Bocce Ball Court (DIY)
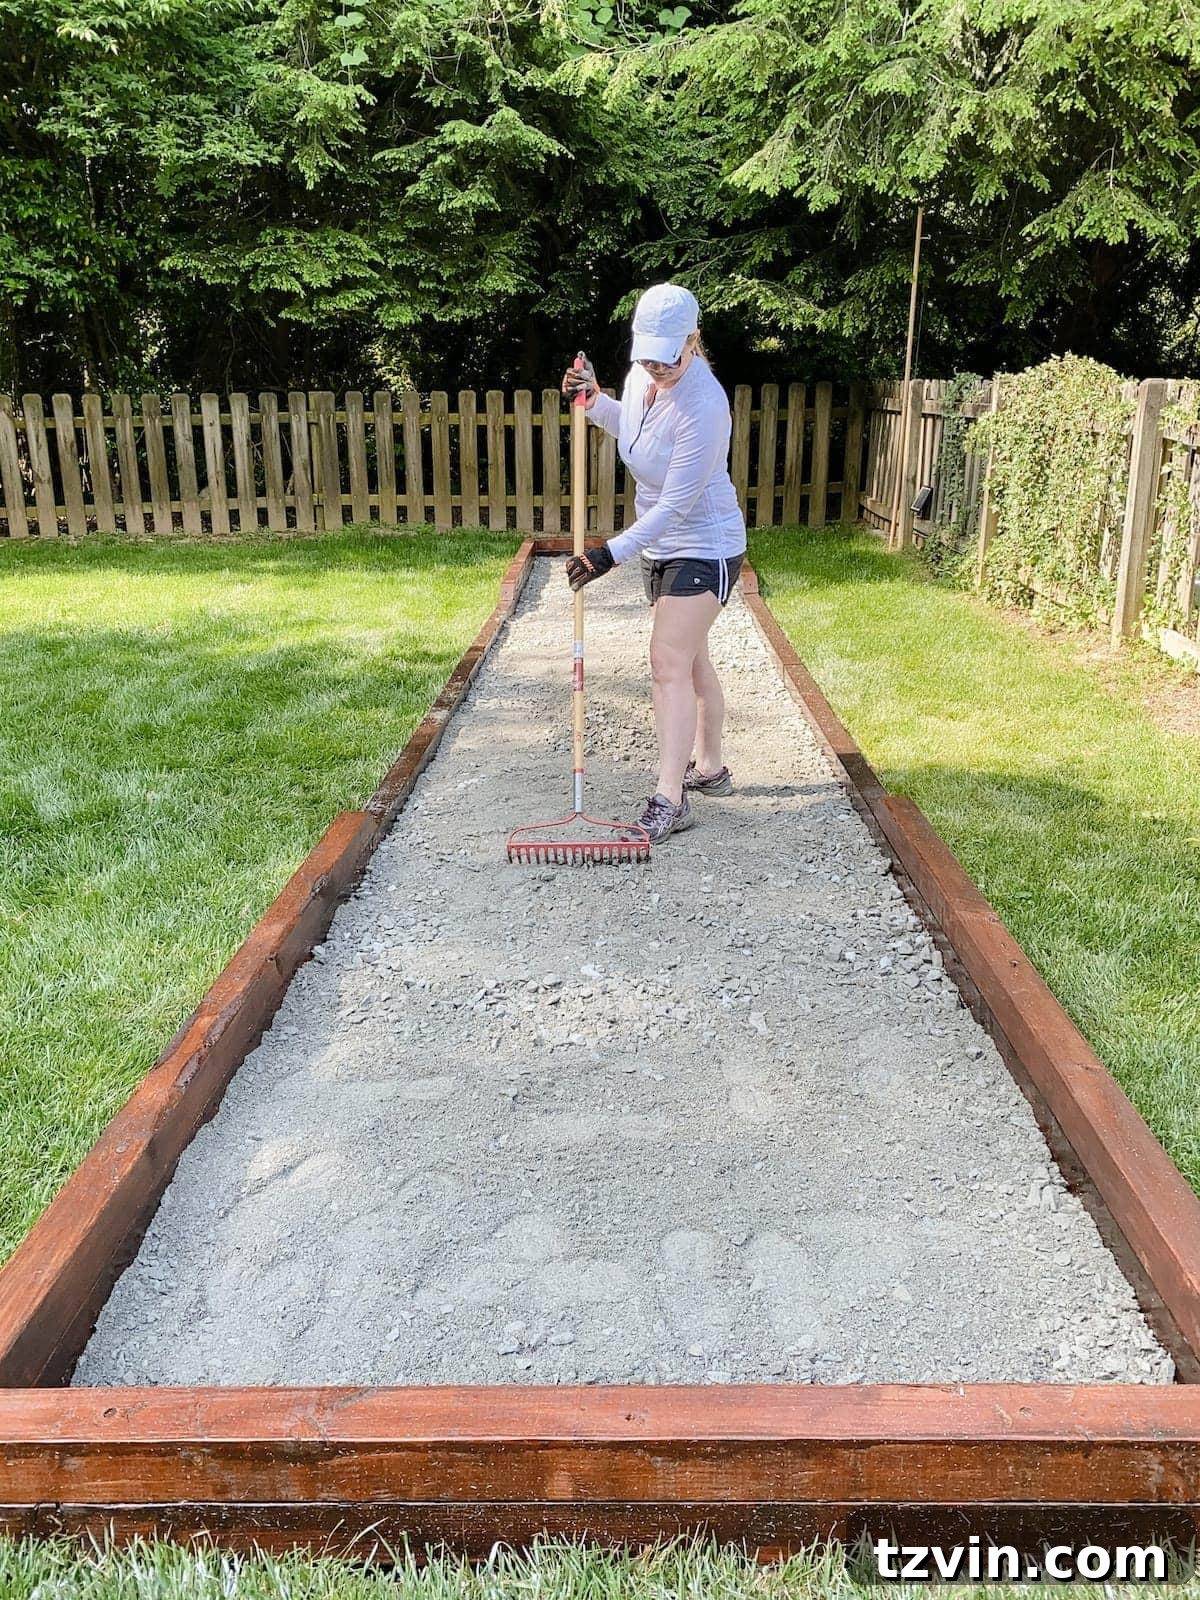
To further enhance the recreational offerings of our backyard and provide more engaging activities for family and friends, we decided to construct a DIY bocce ball court. This addition has been a tremendous hit, offering a fun and interactive game that everyone can enjoy while gathered around the fire pit or simply lounging in the backyard. The beauty of this project was its relative simplicity and speed; we built it ourselves in just a couple of days, finding the process surprisingly straightforward and manageable for a DIY endeavor.
Creating a bocce ball court added another layer of entertainment to our outdoor space without requiring specialized skills or an exorbitant budget. It’s a fantastic example of how a well-planned DIY project can significantly boost the functionality and fun factor of a backyard. The low cost and high entertainment value make it an ideal project for anyone looking to incorporate outdoor games into their home environment. We sourced basic landscaping materials, similar to those for the fire pit, keeping the expenses minimal while maximizing the enjoyment.
Bocce ball court materials – $283
Beer Garden (DIY – Budget-Friendly)
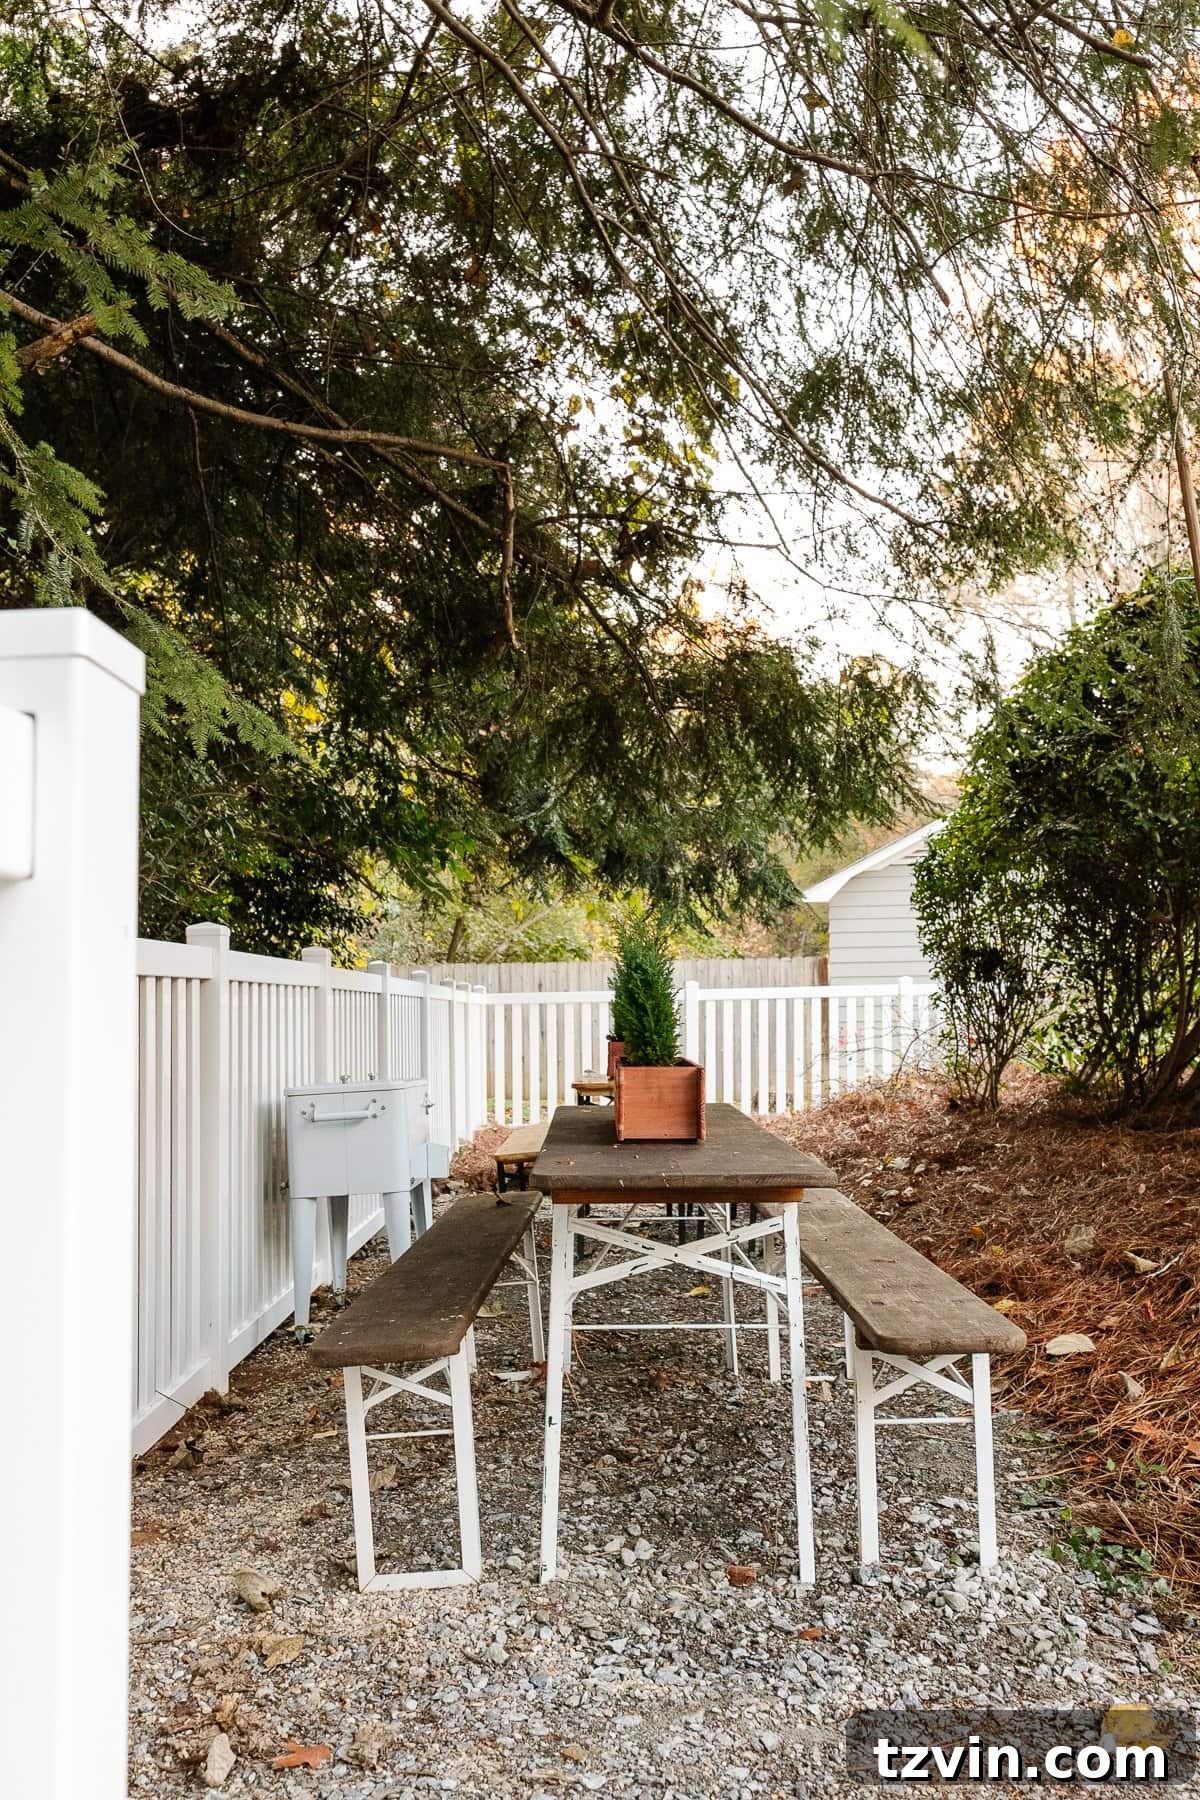
One of our most satisfying and budget-friendly projects was transforming a previously overlooked and hidden area behind our pool’s lush bushes into a charming beer garden. This initiative was undertaken for practically free, primarily by intelligently utilizing project leftovers and repurposing existing items. After completing both the fire pit and the bocce ball court, we found ourselves with a substantial amount of leftover gravel. Rather than letting it go to waste, we efficiently hauled the remaining gravel to this secluded section of the yard, laying down a neat and functional base.
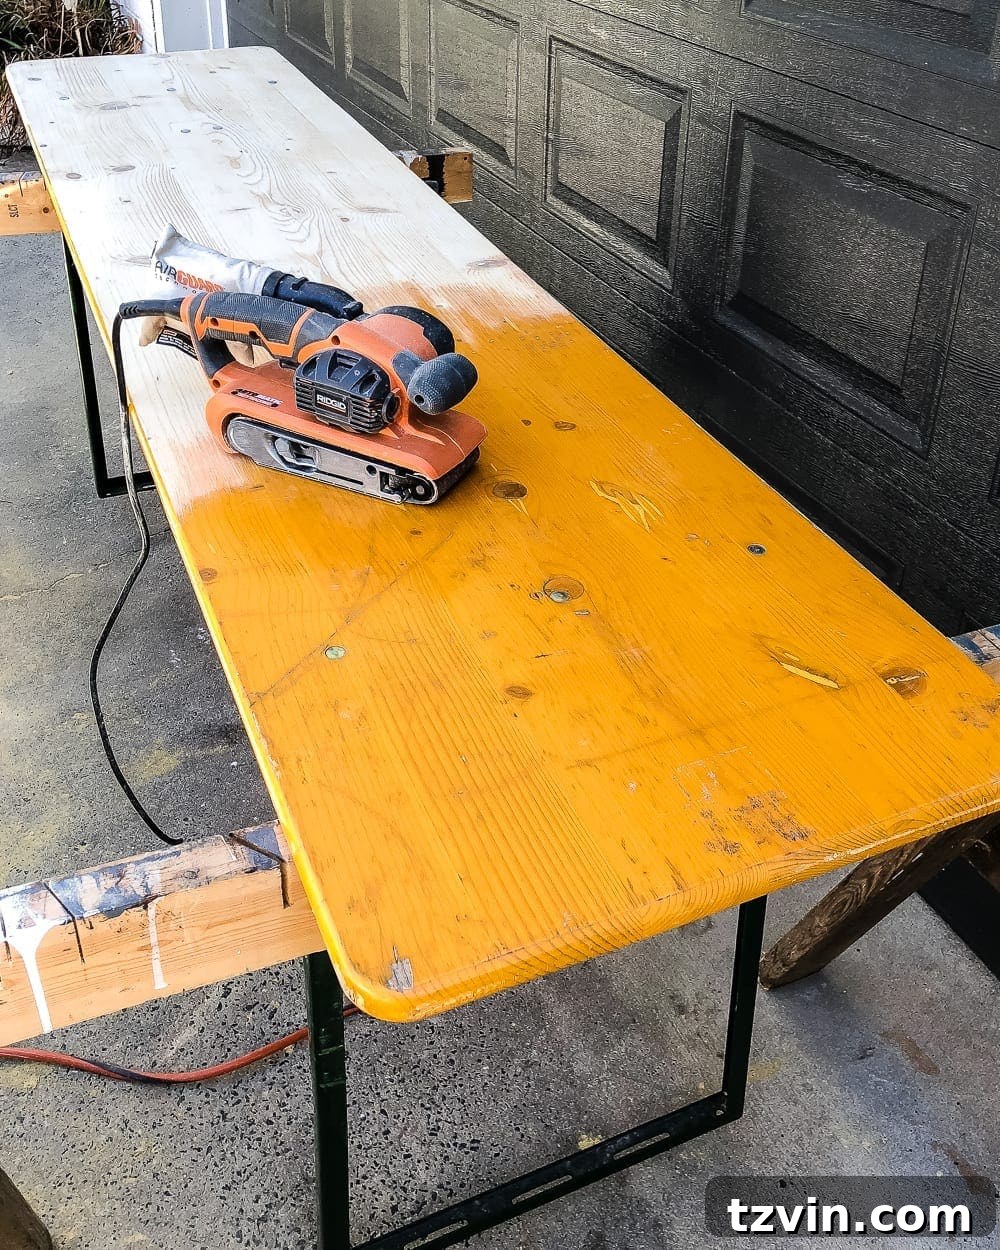
To furnish the space, Robert took on the task of refinishing secondhand beer garden tables – a true labor of love during those early days with our newborn baby, Regan, when I was primarily indoors. His dedication transformed these worn tables into inviting pieces that perfectly suited our vision. The result is a tucked-away, intimate hangout space that feels like a discovery, offering a unique spot for relaxation and casual gatherings. This project perfectly illustrates how creativity, resourcefulness, and a little elbow grease can yield impressive results without a significant financial outlay, making the most of every last material and maximizing the utility of our backyard.
Outdoor Kitchen (DIY Assembly)
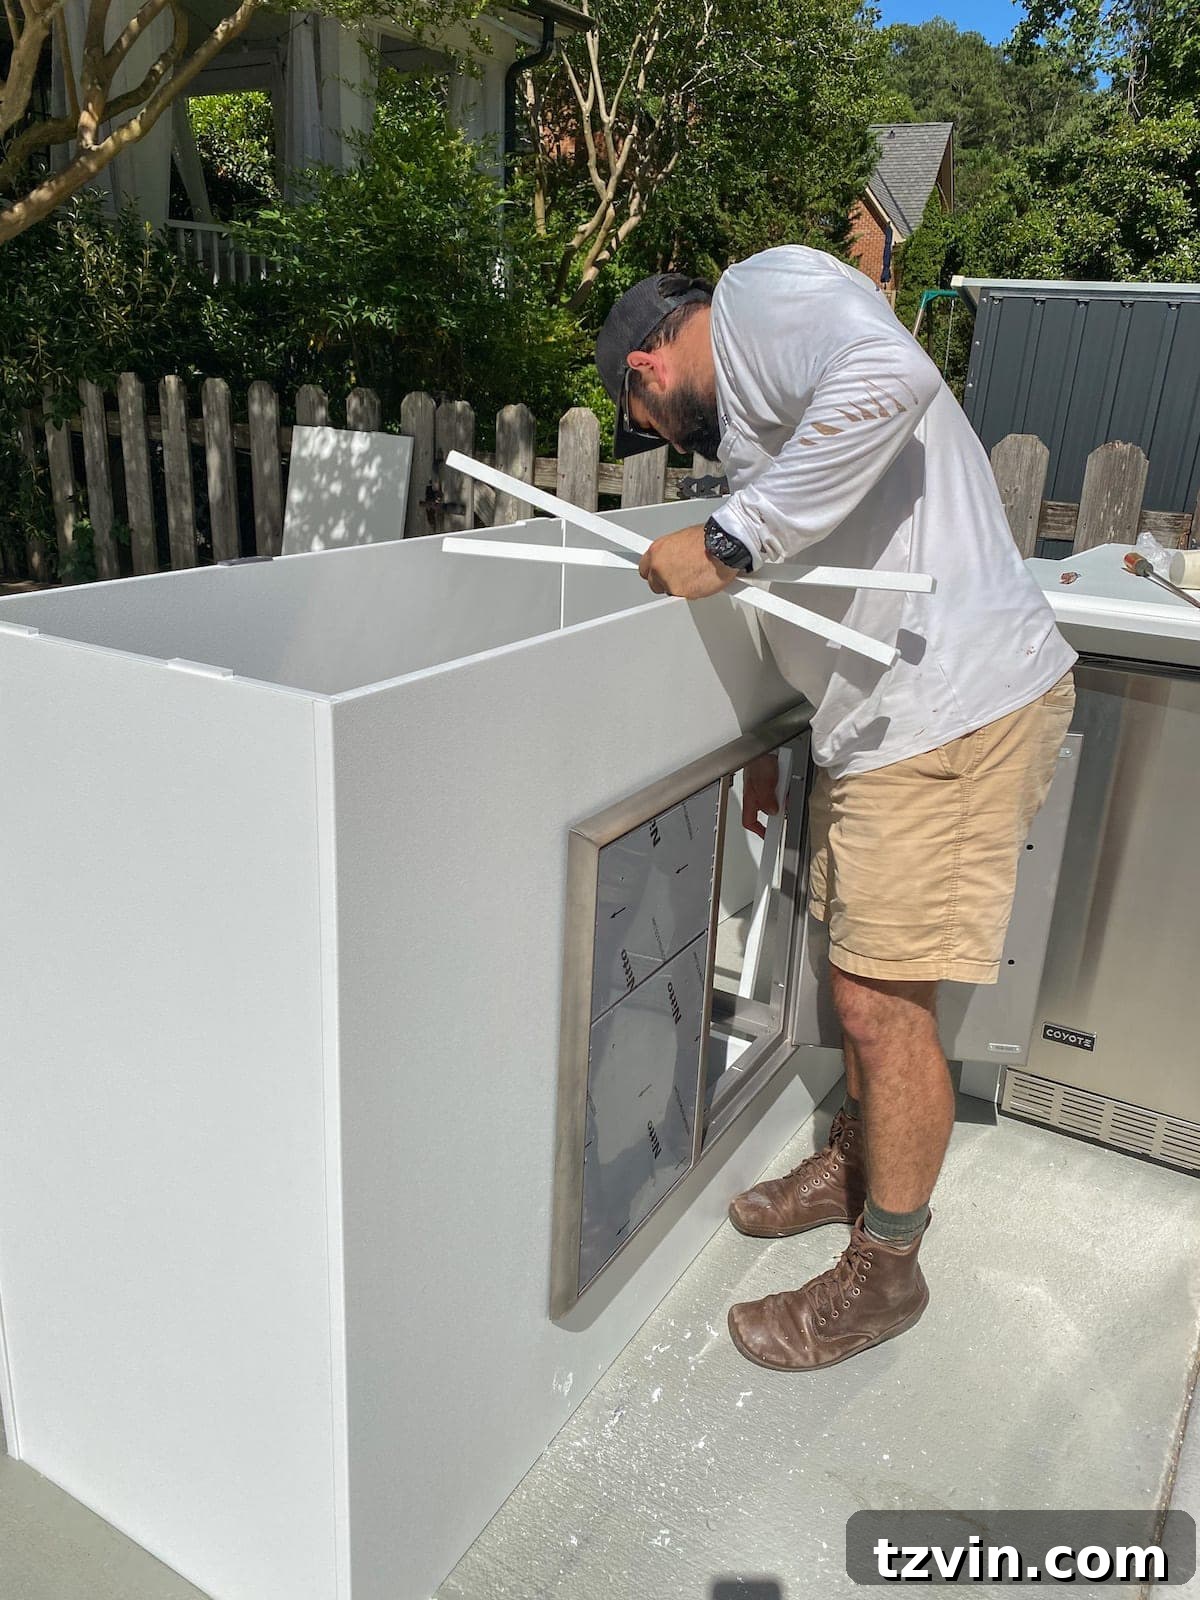
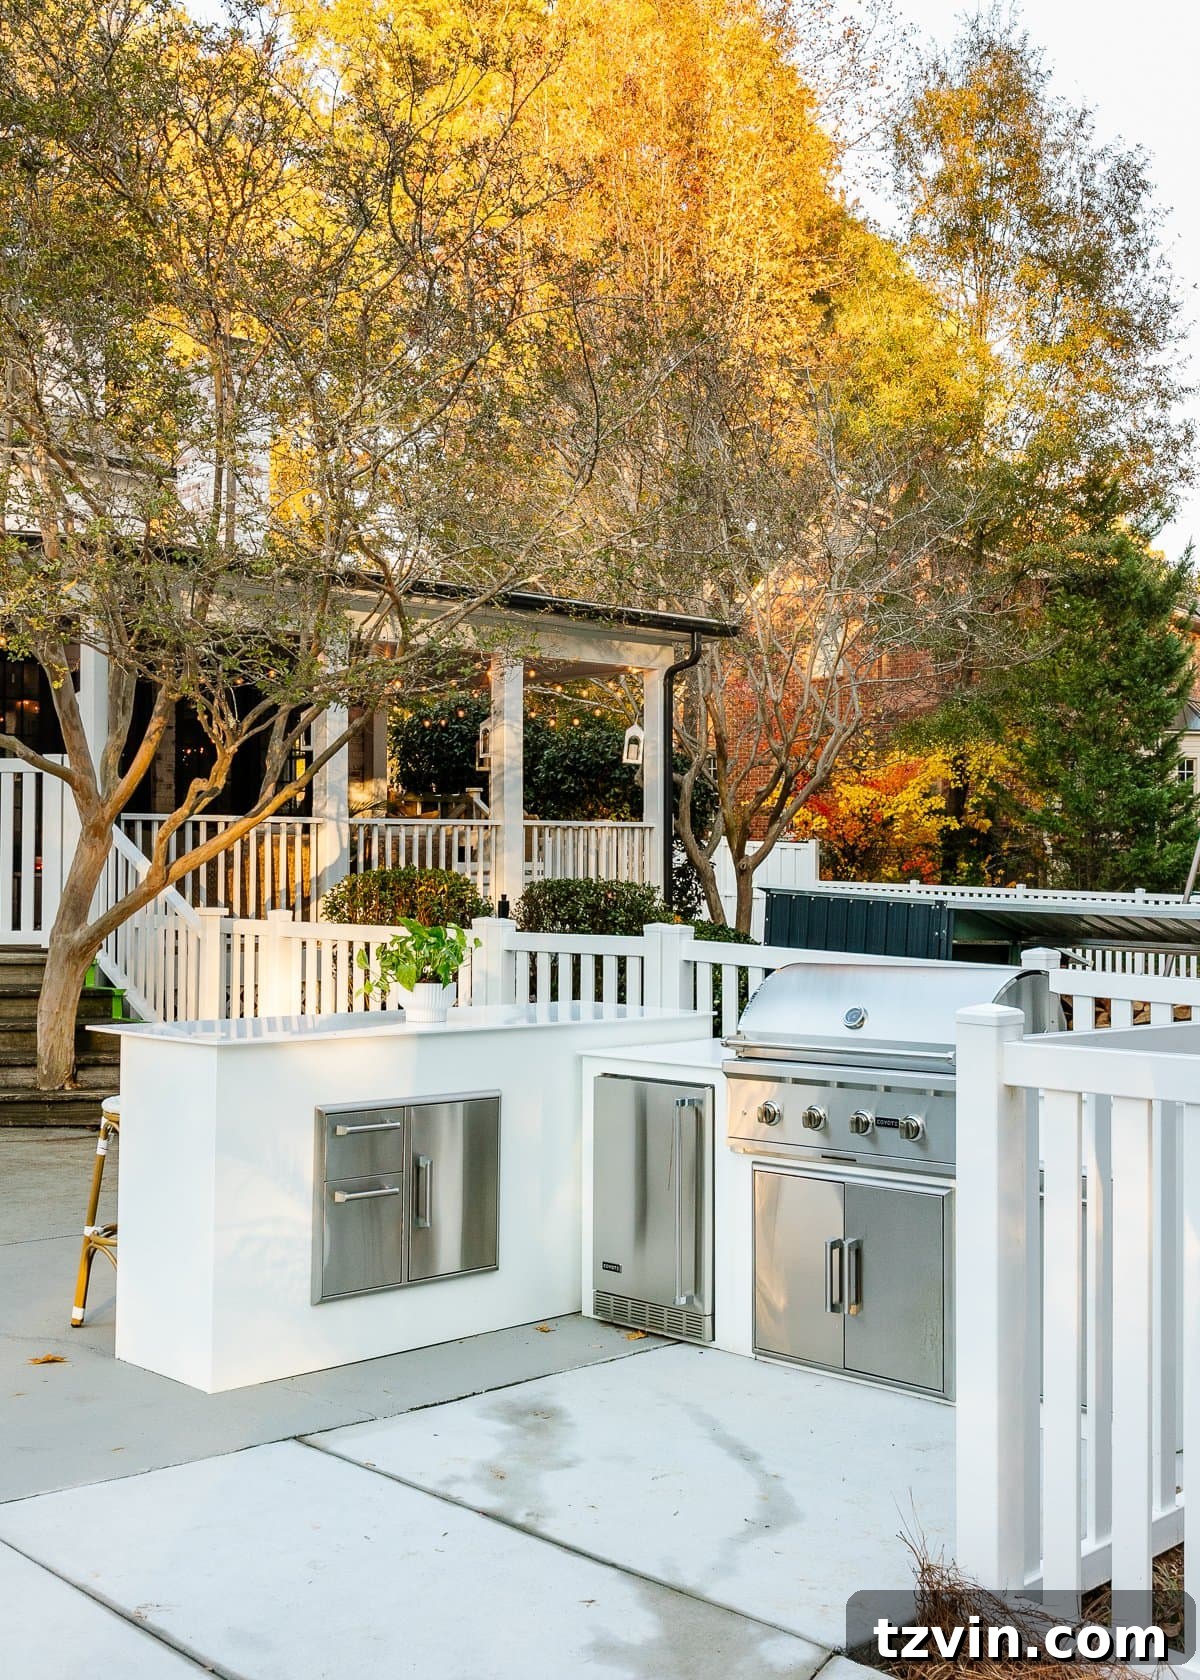
The addition of an outdoor kitchen was a dream realized, significantly elevating our backyard’s functionality and entertainment potential. We opted for a modular outdoor kitchen kit, which we were able to assemble ourselves in a single day! While this convenience was appealing, it’s worth noting that this feature was undoubtedly one of the more expensive components of our entire backyard renovation. We believe that if we had decided to build the framing ourselves from scratch and sourced individual materials, the cost could have been considerably lower. However, the kit offered a streamlined process and included high-quality appliances, which were major selling points for us.
Despite the substantial investment, we are incredibly pleased with our outdoor kitchen. The quality of the appliances, including the grill and refrigeration units, has met our expectations, and having a dedicated space for cooking and entertaining outdoors has been a game-changer. It allows us to fully enjoy the warmer months and host gatherings with ease, making every outdoor meal an event. For those considering an outdoor kitchen, weighing the pros and cons of a modular kit versus a custom-built unit is essential, especially when factoring in budget, time, and desired level of customization.
Modular outdoor kitchen cost – $14,795
Gym Shed Exterior Makeover (DIY)
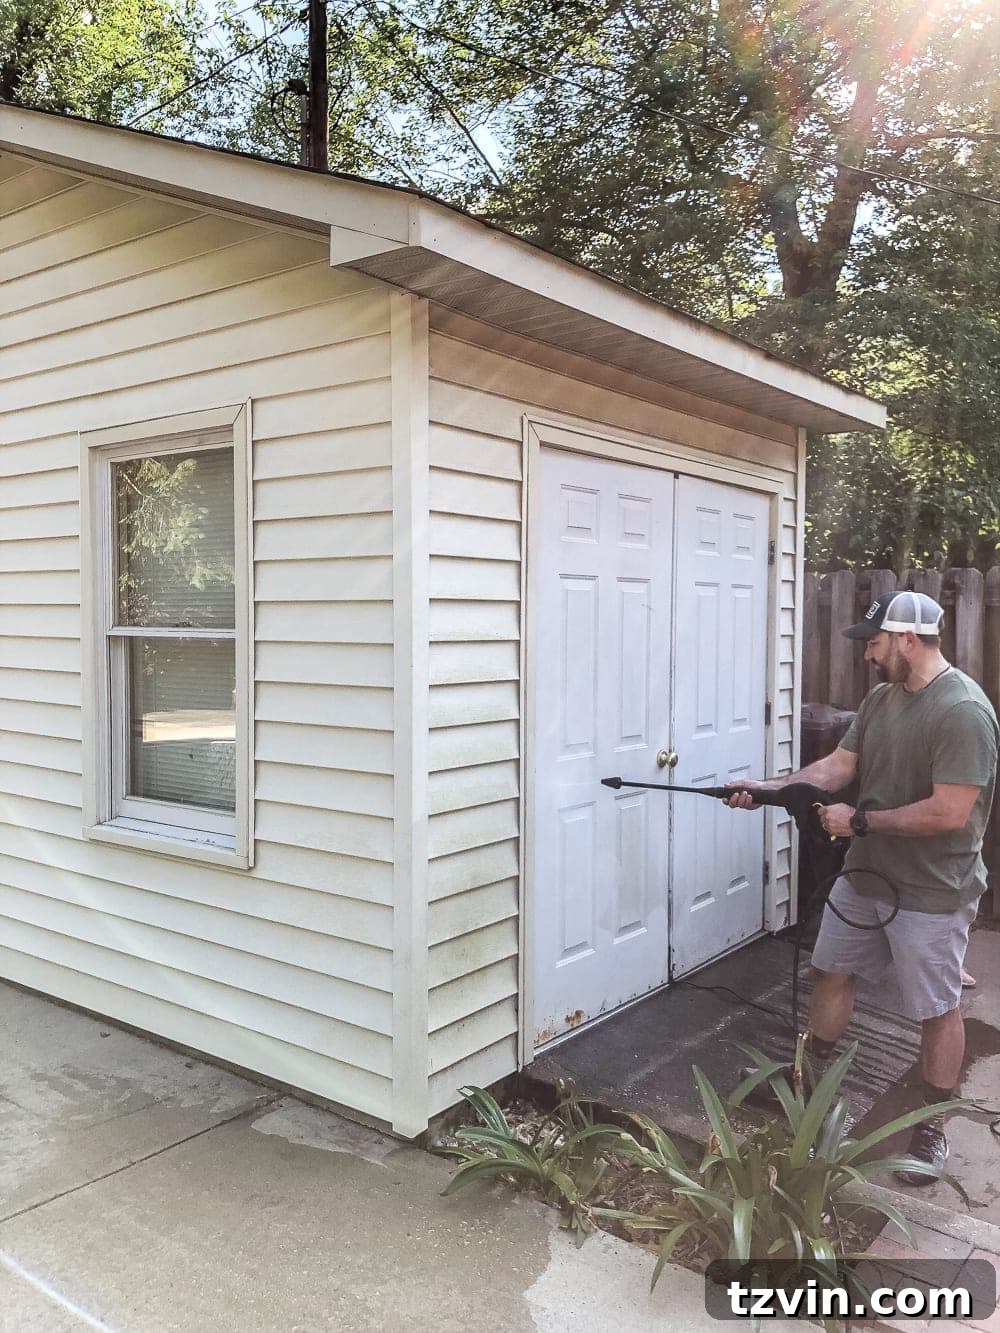
Our shed, which we’ve repurposed into a home gym, also received a much-needed exterior facelift a couple of summers ago. The goal was to dramatically improve its appearance on a tight budget, proving that even small structures can have a big impact on overall curb appeal. We achieved this transformation using Sherwin Williams VinylSafe siding paint, which is specifically formulated for vinyl and holds up beautifully. Complementing the fresh paint, we added new shutters and installed charming DIY window boxes, crafted from repurposed scrap wood. This resourceful approach not only saved money but also added a unique, custom touch.
The difference these relatively small changes made was truly immense. The shed went from being an ordinary, somewhat faded structure to an attractive and integral part of our backyard landscape, perfectly matching the refreshed aesthetic of our home. It’s a fantastic example of how strategic, budget-conscious DIY projects can completely revitalize an area. This makeover also demonstrates that you don’t always need to build new to achieve a fresh look; sometimes, a little paint and creative detailing are all it takes to make a huge impact. Investing in quality paint designed for the material, like VinylSafe, ensures durability and a professional finish that lasts for years.
Gym shed exterior cost: $266
Painted Concrete Pool Deck (DIY)
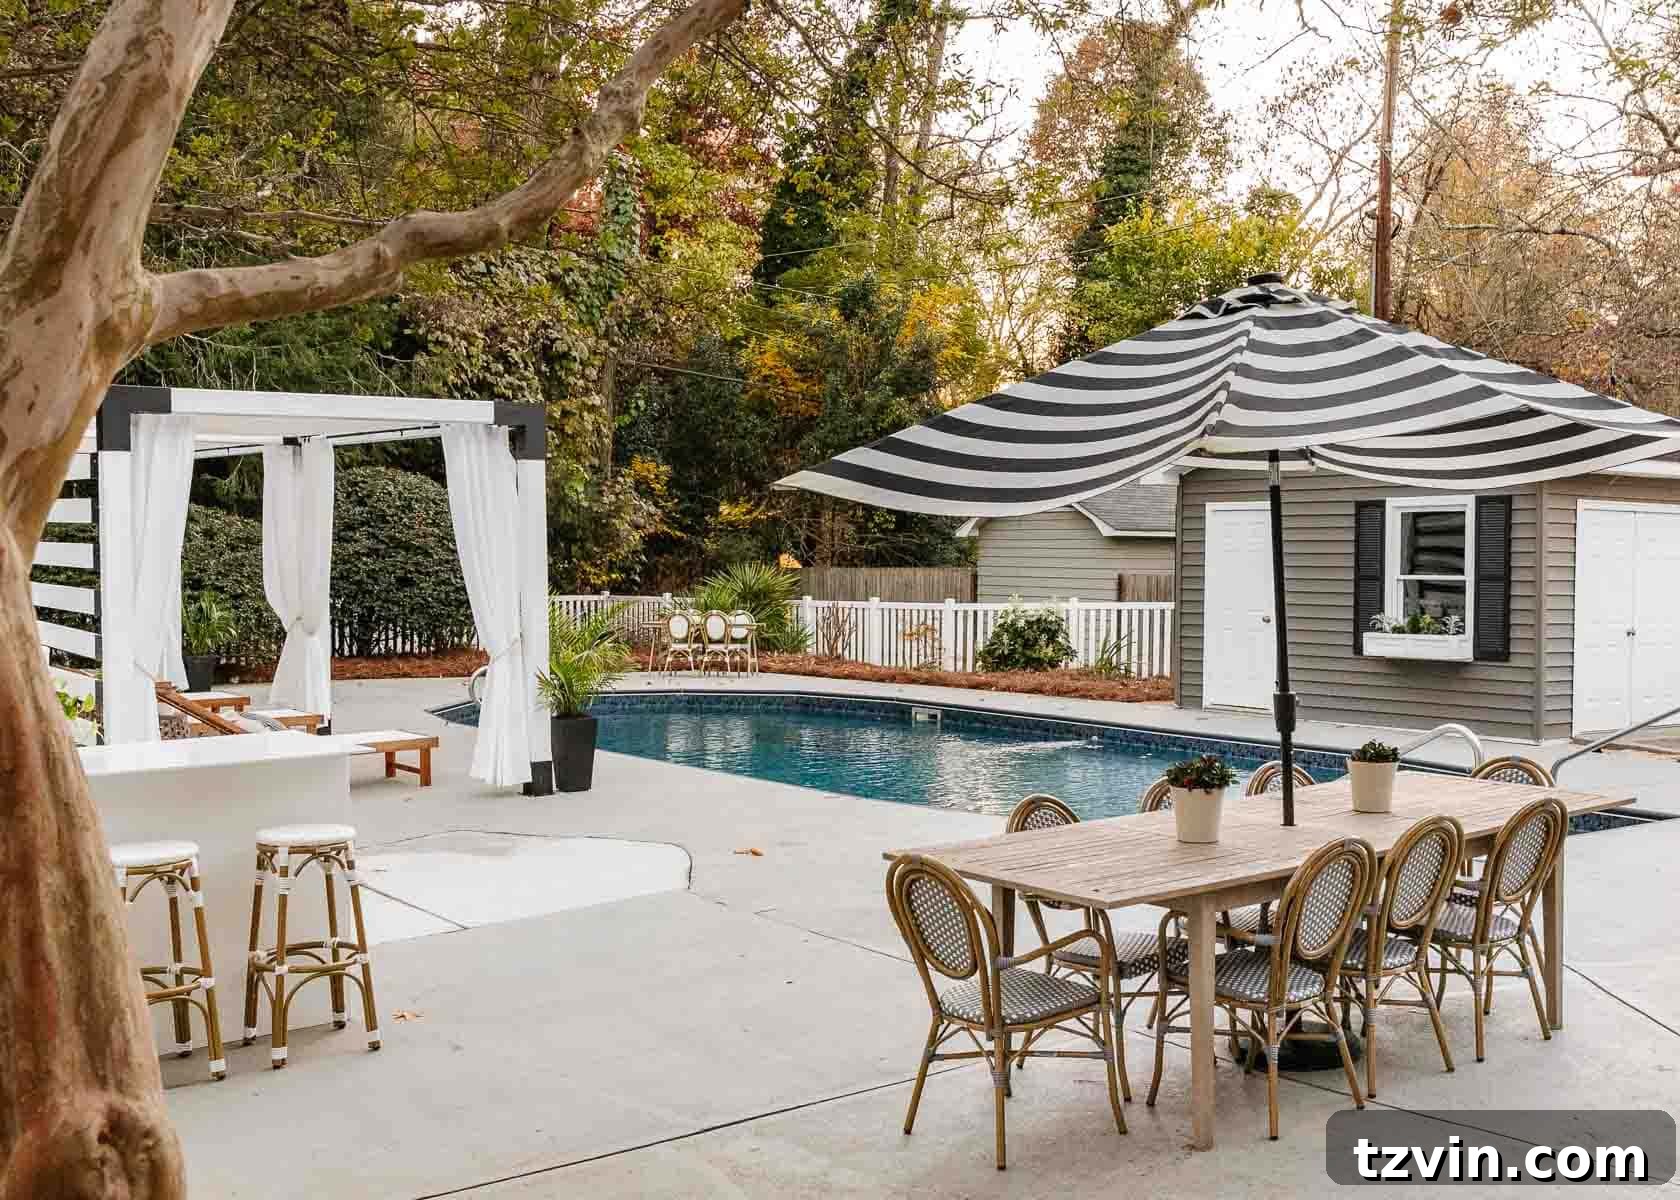
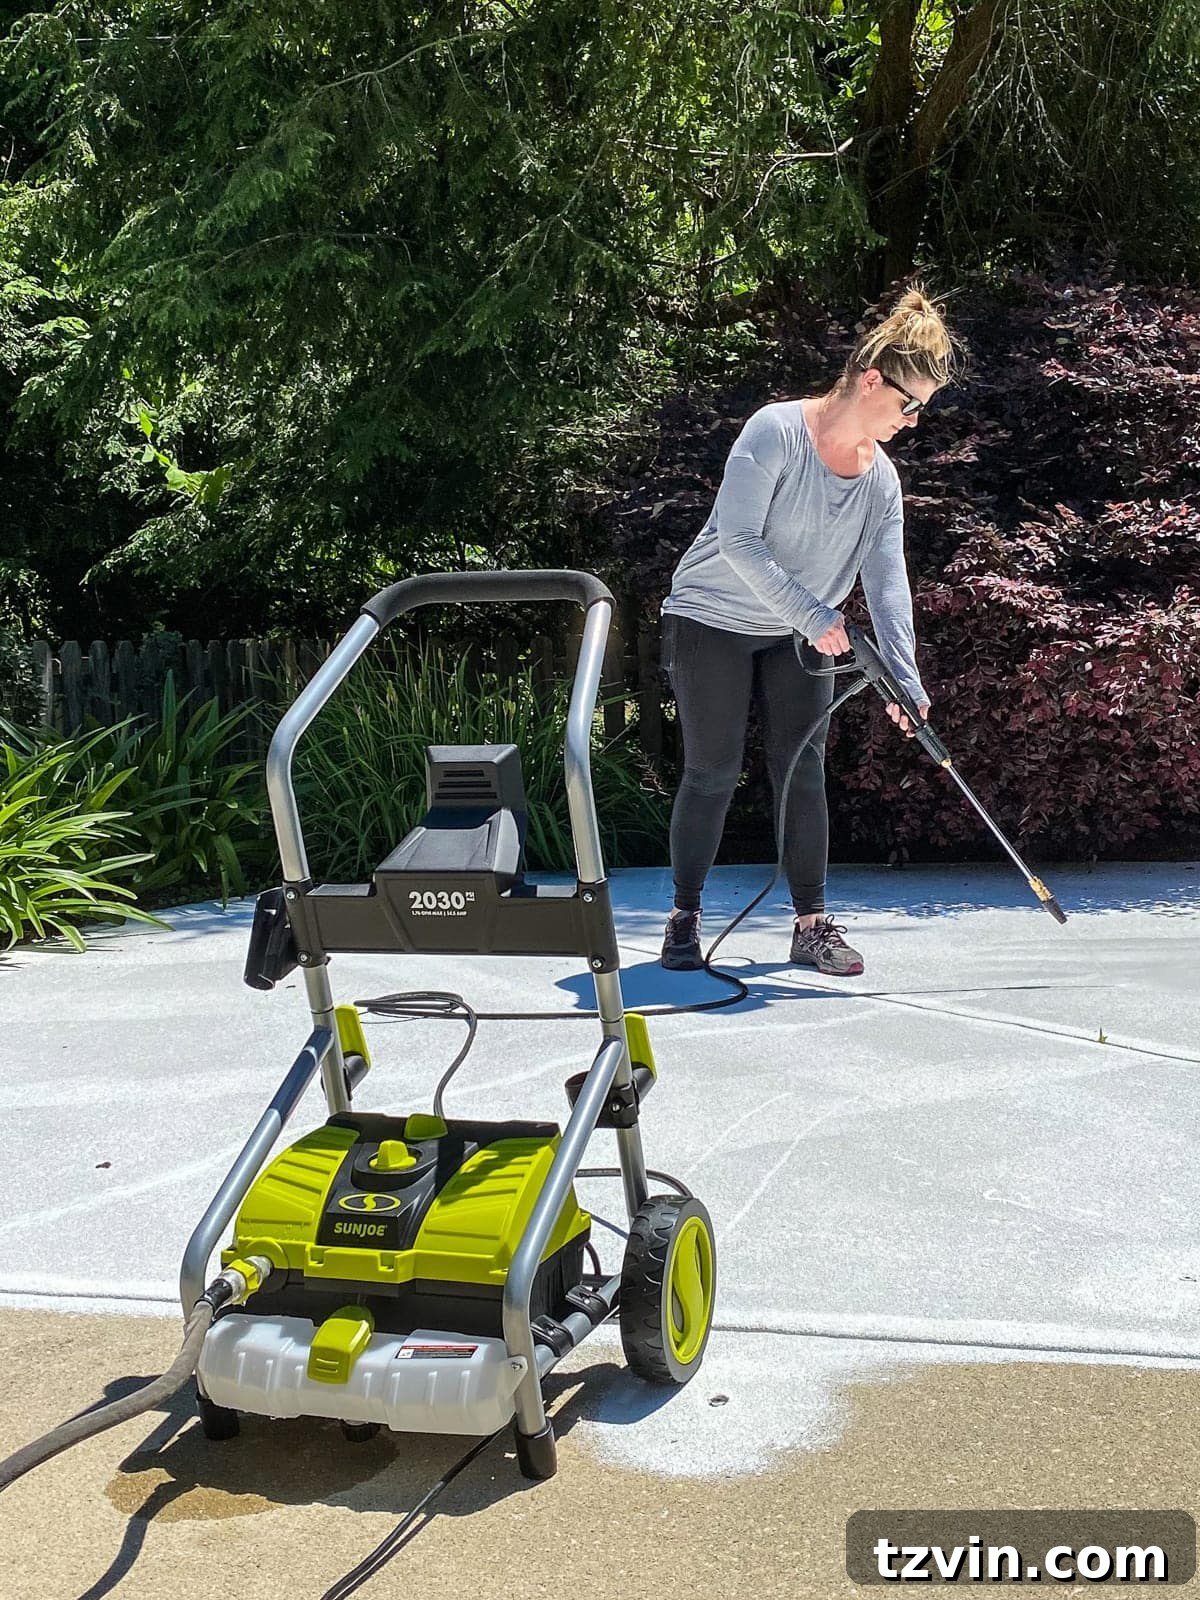
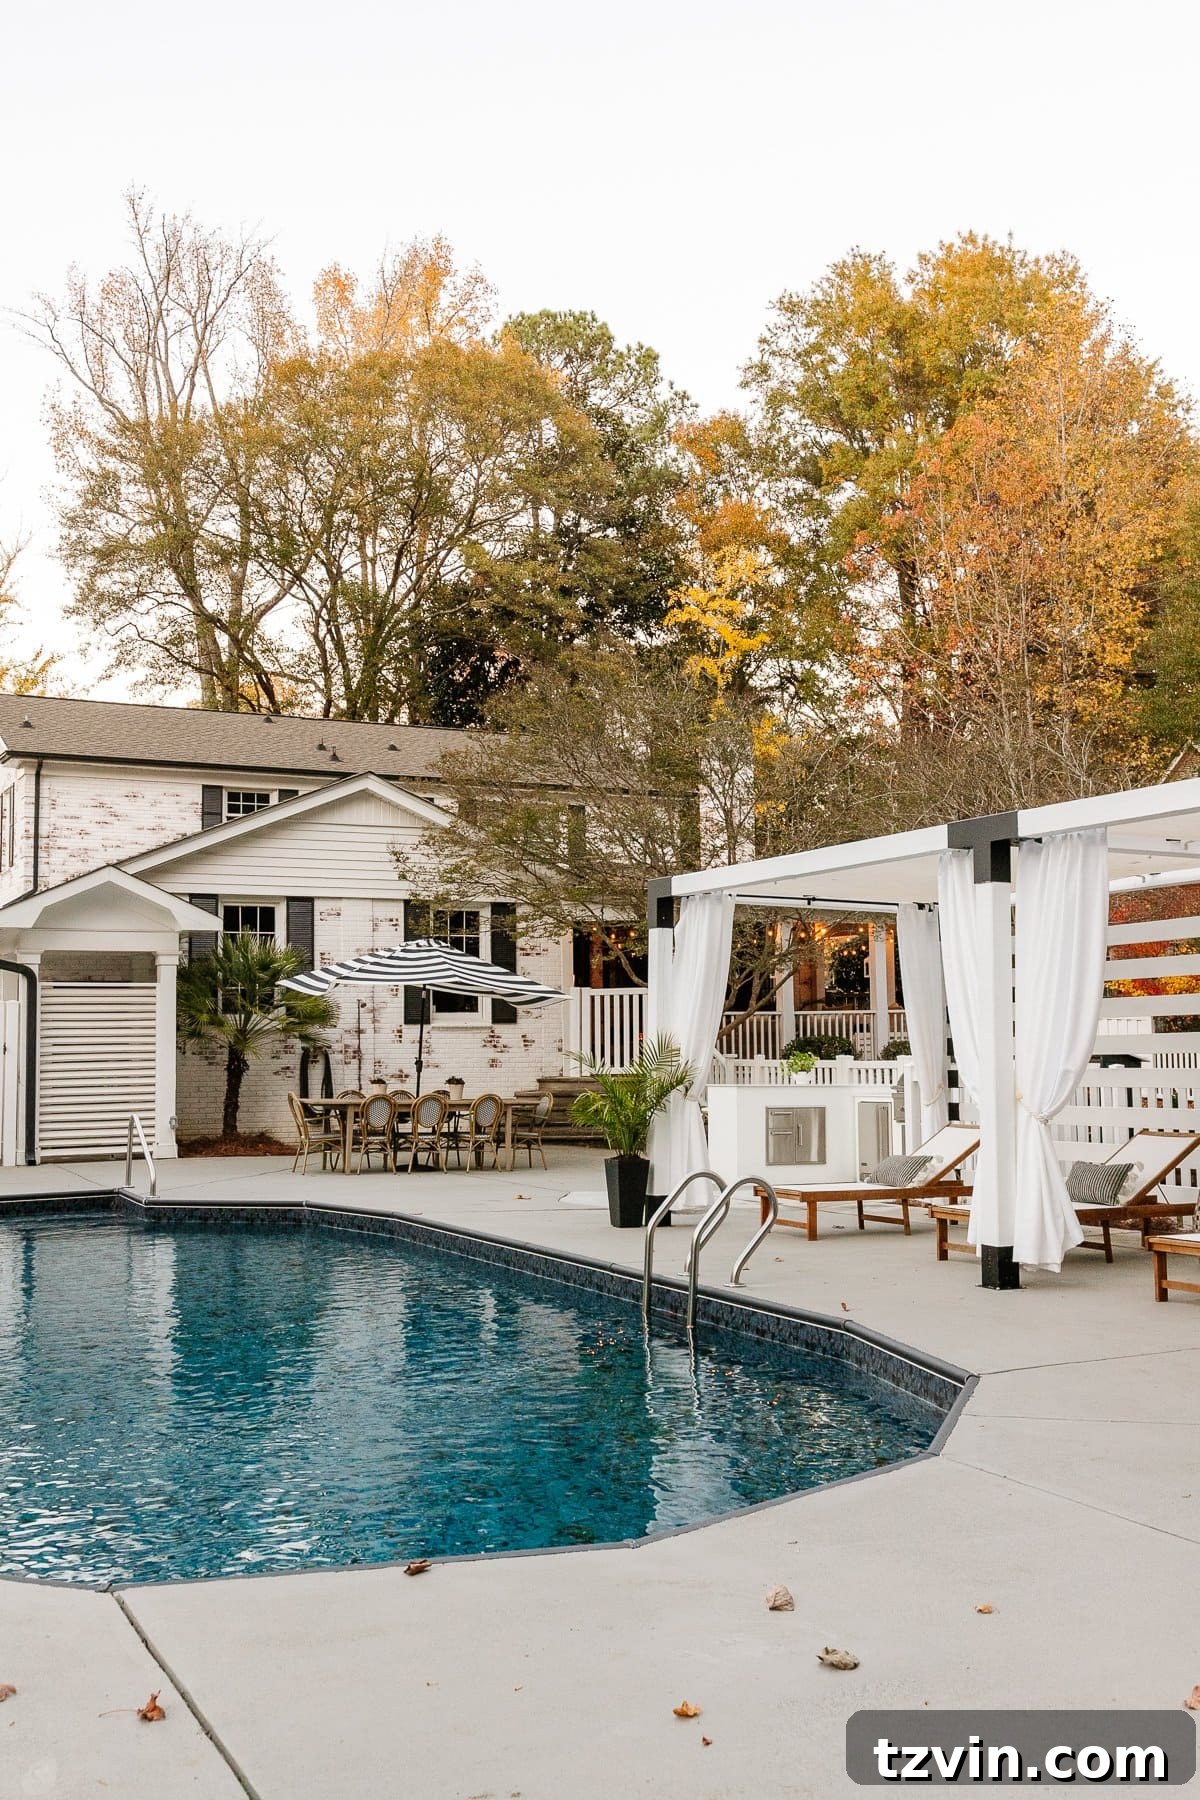
On a particularly fateful — and sweltering — 95-degree day in July, we embarked on the ambitious project of painting our concrete pool deck. The heat stroke was almost a certainty, but the desire to transform the old, yellowed, and cracking concrete situation we had out here was a powerful motivator. Despite the intense conditions, the end result was unequivocally worth the effort, as the deck now looks dramatically better and cleaner. This DIY undertaking revitalized the entire pool area, creating a more inviting and aesthetically pleasing surface for bare feet.
This painted deck, while a significant improvement, is an intermediate step in our long-term vision. One of the very last projects we plan to tackle in this area is to apply concrete stamping, designed to mimic the sophisticated look of brick pavers. This will add further texture and character to the space. It’s reassuring to note, however, that the painted surface has held up perfectly for the past year, demonstrating its durability and resilience against heavy use and weather. Additionally, prior to the painting, we engaged a local contractor to extend our pool deck by pouring new concrete, providing us with ample room to comfortably accommodate our new outdoor kitchen and the impressive pergola. This concrete extension cost $500, a crucial investment that laid the groundwork for further enhancements and ensured adequate space for our ambitious outdoor living plans.
Painted pool deck cost – $902
Back Porch Makeover (DIY)
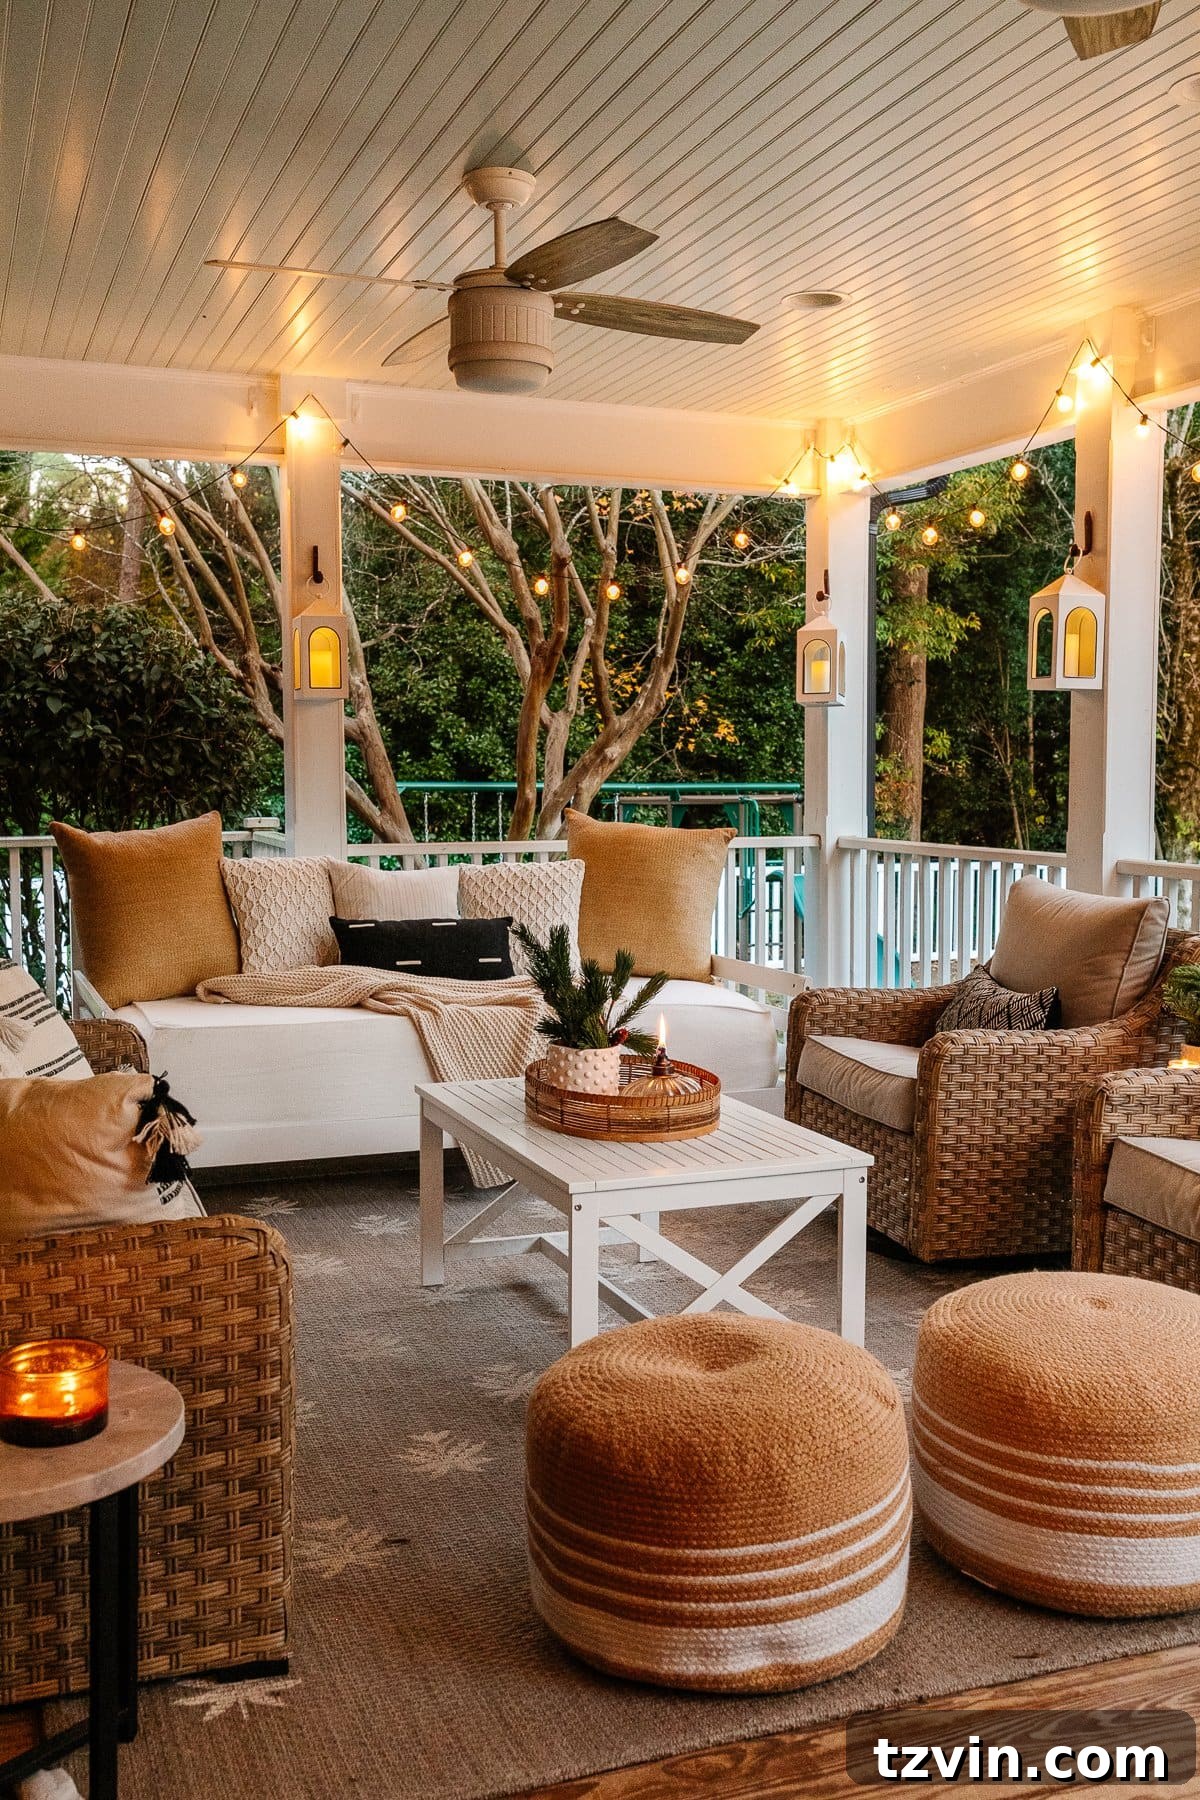
Our back porch, a cherished extension of our indoor living space, also underwent a refreshing DIY makeover a few years ago. We focused on two key elements that collectively made a significant aesthetic and functional difference: painting the ceiling a serene “haint blue” and installing new ceiling fans. The “haint blue” tradition, believed to ward off evil spirits and mimic the sky, instantly added a calming and inviting atmosphere to the porch. This subtle change brightened the space and provided a beautiful contrast to the surrounding greenery, creating a tranquil oasis right outside our door.
The addition of new, efficient ceiling fans greatly enhanced the comfort of the porch, especially during warmer months. Improved air circulation makes the space much more enjoyable for relaxing, dining, or simply unwinding. Both painting the ceiling and installing the fans were projects we tackled ourselves, proving that thoughtful DIY efforts can yield impressive results without incurring high labor costs. This makeover transformed our back porch into a truly inviting and comfortable extension of our home, perfect for both quiet mornings and lively gatherings. When planning your own porch refresh, consider how simple changes like paint and lighting can dramatically impact the overall ambiance and usability of the space.
Back porch makeover cost (without furnishings): $608
Total Exterior / Backyard / Pool / Porch / Shed Renovation Cost Breakdown
Grand Total: $69,106
In summary, our extensive experience has reaffirmed a crucial truth for homeowners: significant house exterior improvements, swimming pool renovations, and comprehensive yard upgrades are undeniably substantial financial undertakings. The total figure of $69,106 represents the core costs for labor and materials for all the major projects detailed above. It’s important to note that this grand total doesn’t even factor in the numerous smaller, ongoing expenses such as regular pool maintenance, seasonal part replacements, the cost of outdoor furniture, decor, and various landscaping touches that continually add to the overall investment. These ongoing expenditures, though individually smaller, accumulate over time and contribute to the long-term upkeep and enjoyment of such expansive outdoor spaces.
Despite the considerable investment and the sheer volume of work involved, we have absolutely cherished seeing through every step of this transformation process. There’s an immense satisfaction in bringing a vision for your home to life. Celebrating with our beloved family gathered in our beautifully renovated backyard last week during Thanksgiving was a profoundly heartwarming experience. It was precisely in moments like those, surrounded by laughter and shared joy, that we truly felt the “This is why we did it” affirmation. The creation of such a welcoming and functional outdoor sanctuary has enriched our lives in countless ways, making every effort and expense entirely worthwhile.
We have no plans of letting go of this house any time soon – if ever. Knowing that the hard work, planning, and financial commitment we’ve poured into it are now paying off as a truly special place where our family can relax, entertain, and create lasting memories, is the ultimate reward. It’s the icing on the cake, the true measure of success for any home renovation project.
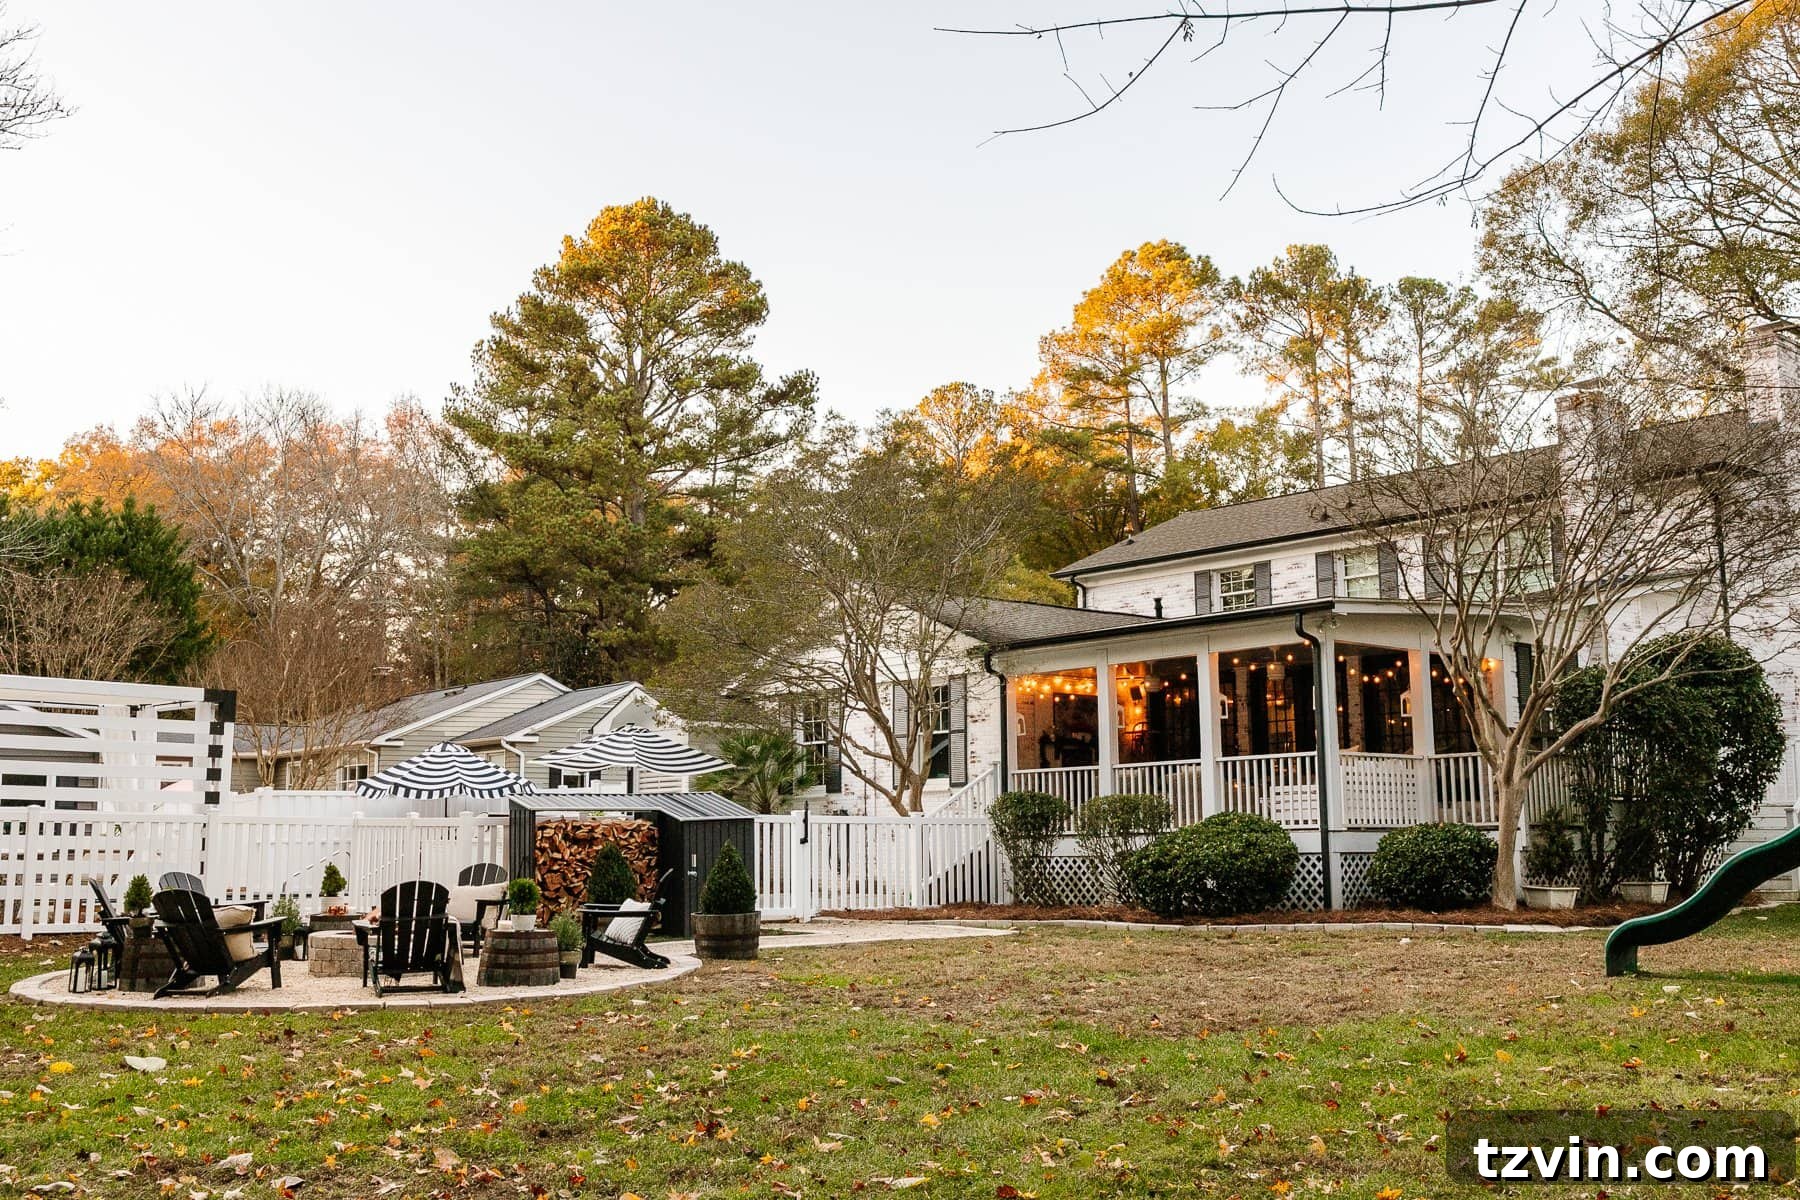
Our journey has been quite extensive, spanning multiple years and countless hours of planning and execution. Yet, through consistent effort, careful budgeting, and a clear vision, we made it happen, little by little. Each project, whether big or small, contractor-led or DIY, contributed to the cohesive and beautiful outdoor living space we now enjoy. It’s a testament to patience and perseverance in home improvement.
Embarking on a house renovation, especially one as extensive as an exterior and backyard overhaul, can be both mentally and physically demanding. The constant uncertainty of material costs, coupled with the variable pricing of contractors, often makes the entire process feel overwhelming and unpredictable. By transparently sharing all of our budget details and experiences, we sincerely hope that this insight helps you better prepare and plan for your own home improvement journey down the road. Understanding potential costs and anticipating challenges can empower you to make more informed decisions, navigate the renovation process with greater confidence, and ultimately achieve the outdoor living space of your dreams without unnecessary stress.