Effortless Kitchen Transformation: Refresh Tile Grout & Add Comfort with a Layered Memory Foam Rug
Are you dreaming of a kitchen that feels refreshed, clean, and incredibly comfortable, but without the daunting prospect of a full-scale renovation? Many homeowners face the common dilemma of outdated tile grout and hard, unforgiving kitchen floors that can lead to fatigue and discomfort. This guide reveals two incredibly effective, yet remarkably simple and affordable DIY solutions that will breathe new life into your kitchen: a game-changing tile grout refresh and an innovative layered memory foam kitchen rug.
Our own journey to a more inviting kitchen began this summer, driven by the belief that significant impact doesn’t always require a significant investment. My partner, Robert, was convinced we could achieve a stunning transformation on a shoestring budget, and I must sheepishly admit – he was absolutely right! (Just don’t tell him I said that. 😉 )
Our Kitchen’s Journey: From Drab to Delightful on a Dime
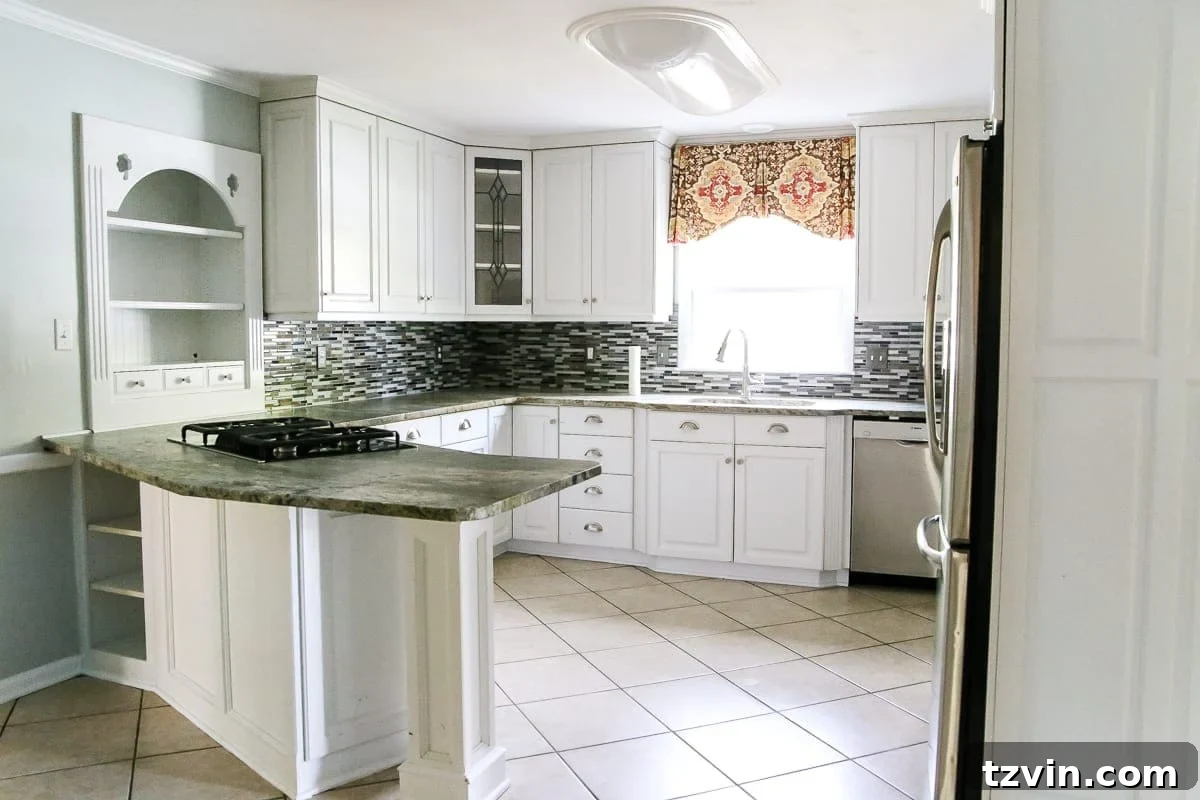
To truly appreciate the “after,” it’s essential to remember the “before.” Our kitchen, as it stood last year, was perfectly functional but lacked the vibrancy and modern appeal we desired. The tile floors, in particular, suffered from tired, discolored grout lines that visibly aged the entire space. It was clear that while a full gut renovation might be a distant dream, a strategic, budget-friendly refresh was definitely within reach.
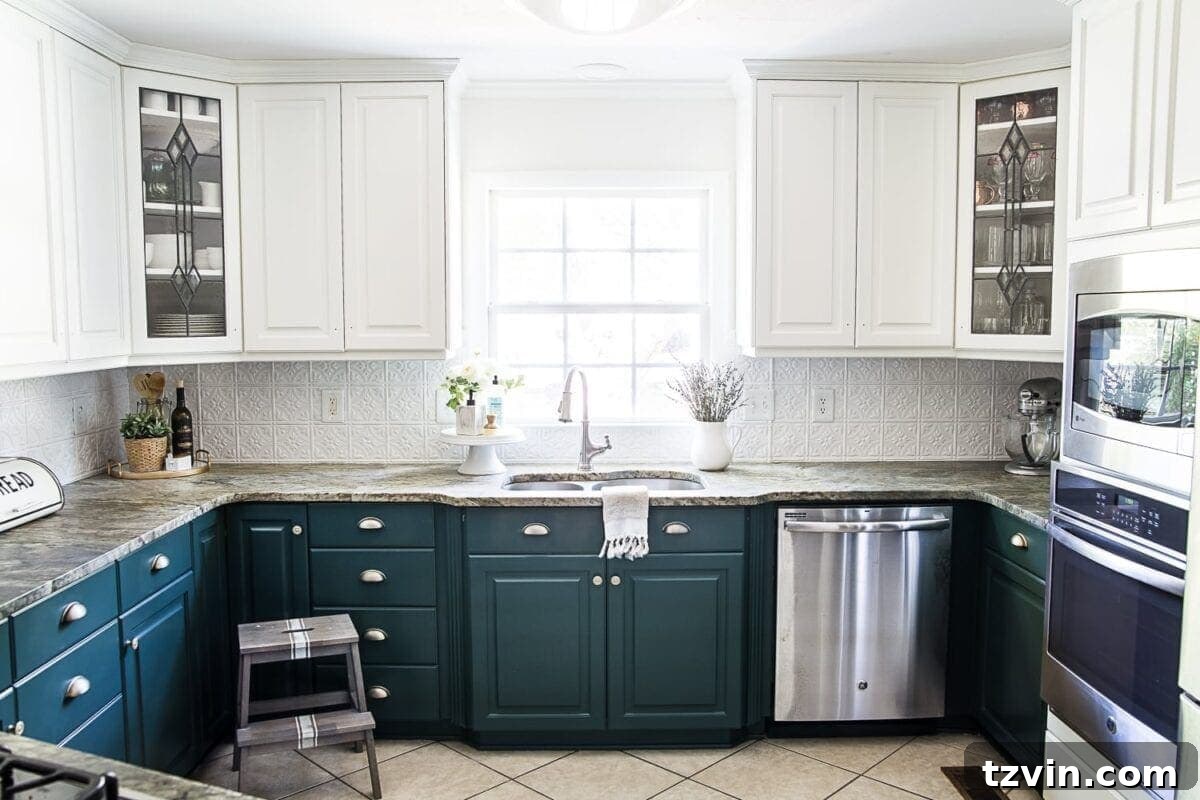
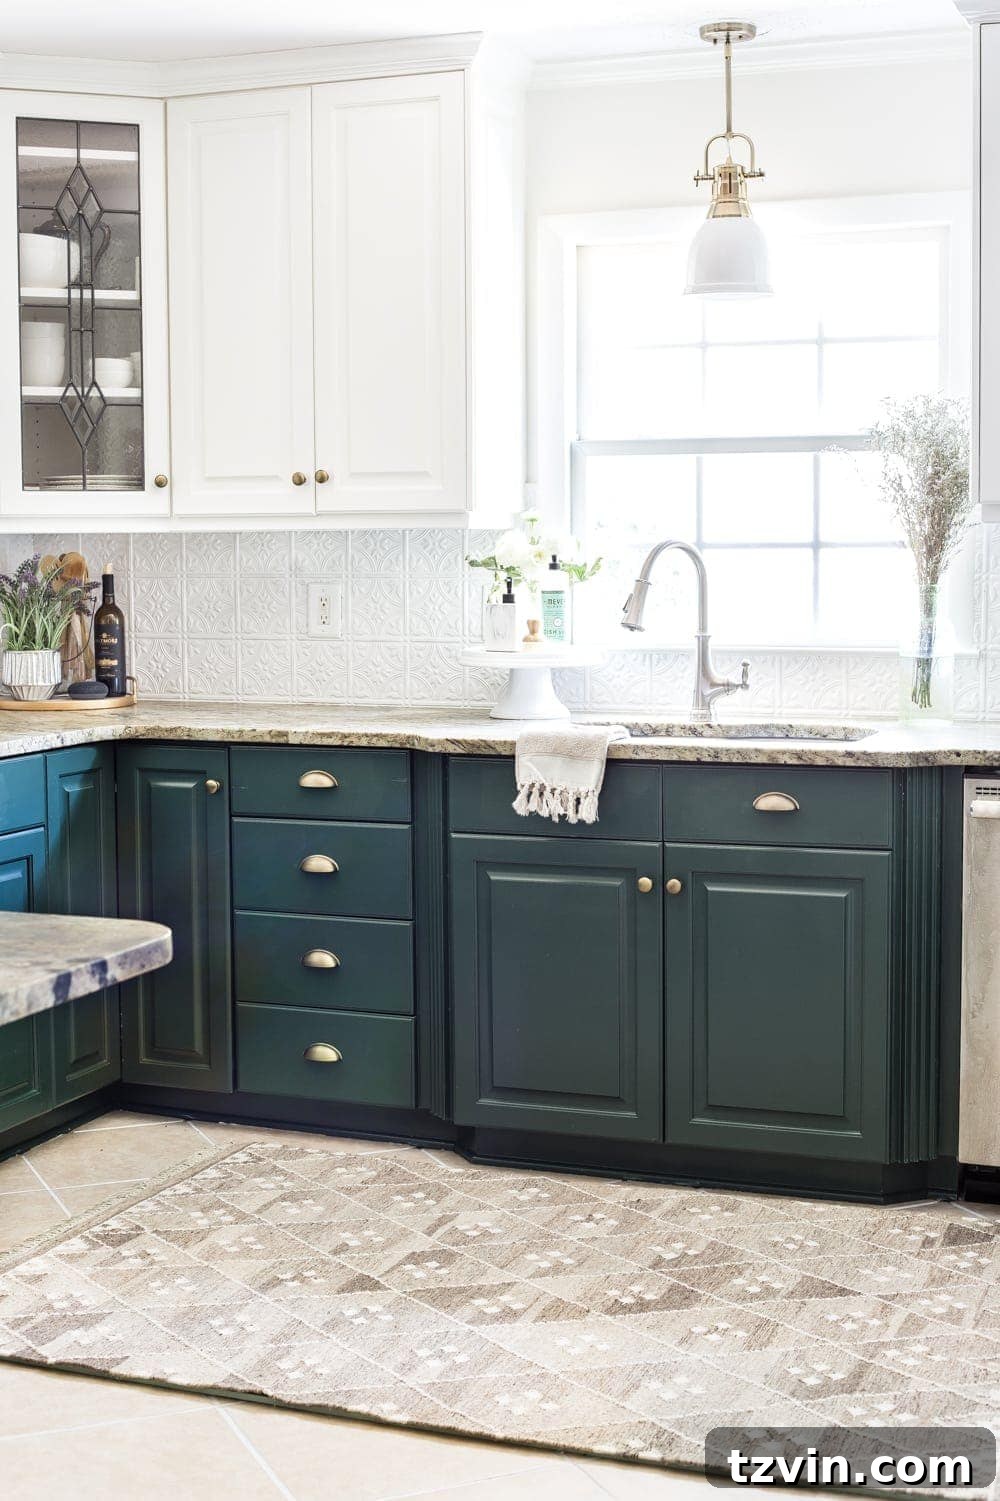
Our initial steps in this exciting kitchen refresh project focused on dramatic cosmetic changes. We started by tackling the backsplash, giving it a stylish update, and then moved on to painting the cabinets a striking deep green. These early transformations had an immediate and profound effect, significantly elevating the room’s aesthetic. Here’s a glimpse of the kitchen’s progress just a few weeks ago, showcasing the new cabinet color and backsplash.
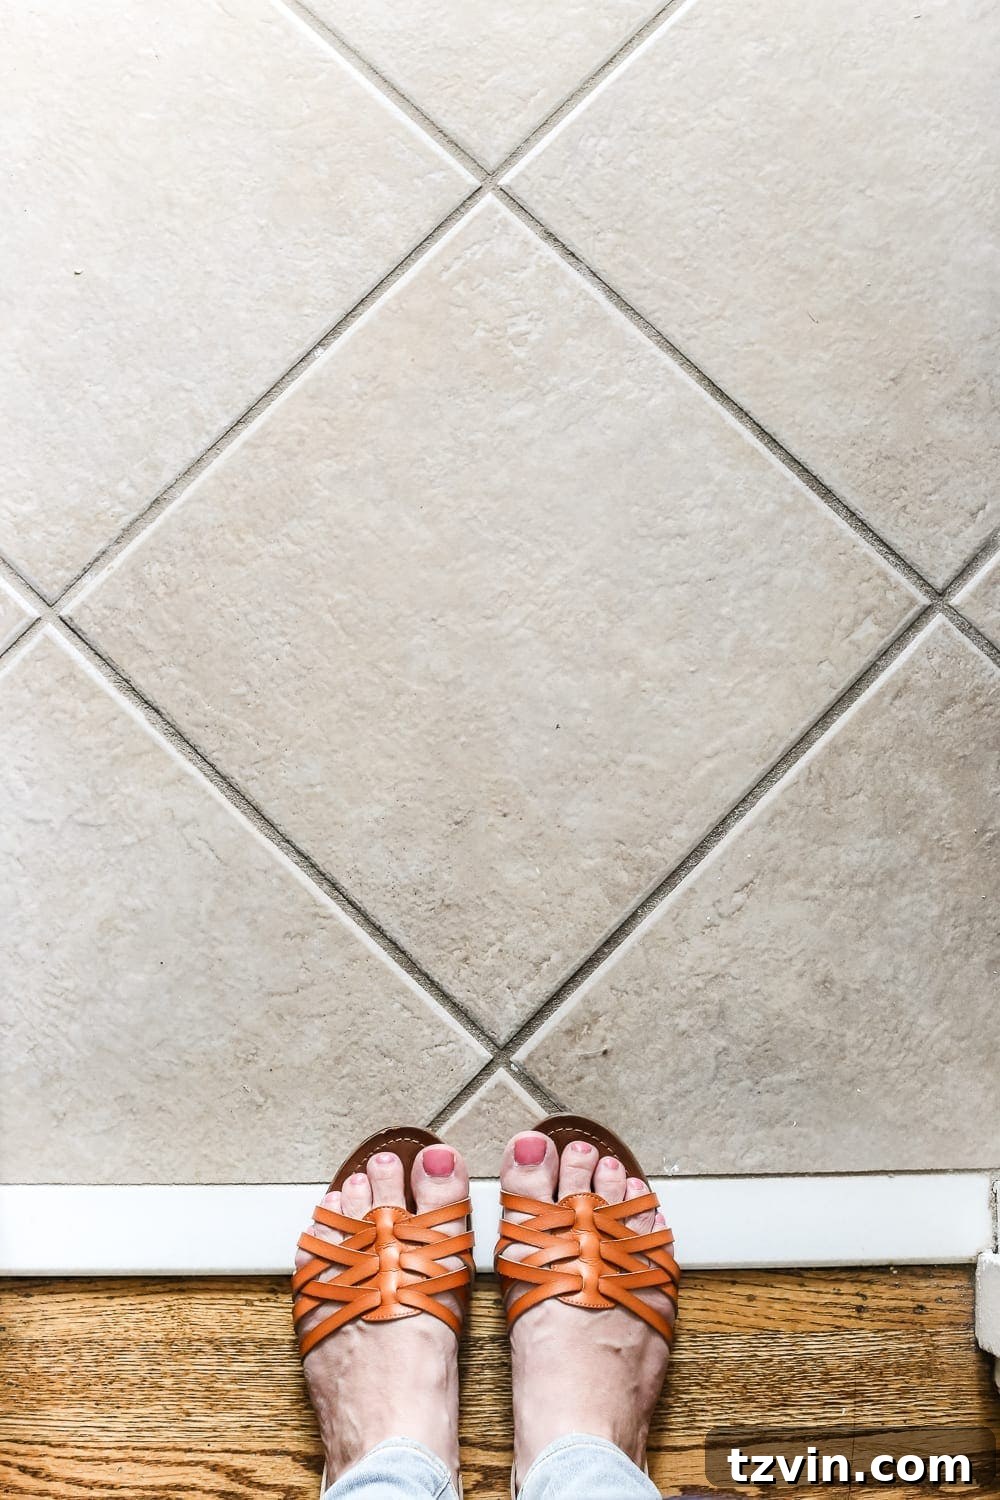
With the upper elements looking fantastic, our attention inevitably turned to the floor. The existing tile floor, with its dark, dated brown grout, became the next prime candidate for improvement. It was clear that this tired grout was detracting from the otherwise refreshed space. Our goal was to achieve a bright, clean look without the major expense, mess, and time commitment typically associated with regrouting. And we successfully found a method that delivered exactly that!
(Note: Some affiliate links are provided below to help you easily find the products we used and recommend.)
Conquering Grimy Grout: An Affordable & Easy Tile Refresh Solution
Old, discolored grout can dramatically impact the appearance of an otherwise clean kitchen. Over years of use, kitchen grout is exposed to continuous foot traffic, spills, splashes, and various cleaning agents, all of which contribute to staining and discoloration. What once was bright and clean can become a dingy, dark mess, making your entire floor look perpetually dirty. The thought of painstakingly scrubbing every grout line, or worse, undergoing a messy and expensive regrouting process, often deters homeowners from tackling this issue.
However, we’ve found an incredibly simple and budget-friendly alternative that delivers professional-looking results with minimal effort. Our confidence in this method stems from a previous success story: last fall, we applied the exact same technique to a similar “brown grout / tan tile” scenario in Olivia’s bathroom. Despite daily exposure to tub water splashes and heavy use, the refreshed grout has held up remarkably well, proving its durability and effectiveness. This long-lasting performance was the ultimate convincer for bringing this clever solution into our kitchen.
The Magic of the Grout Pen: Your DIY Secret Weapon for Pristine Floors
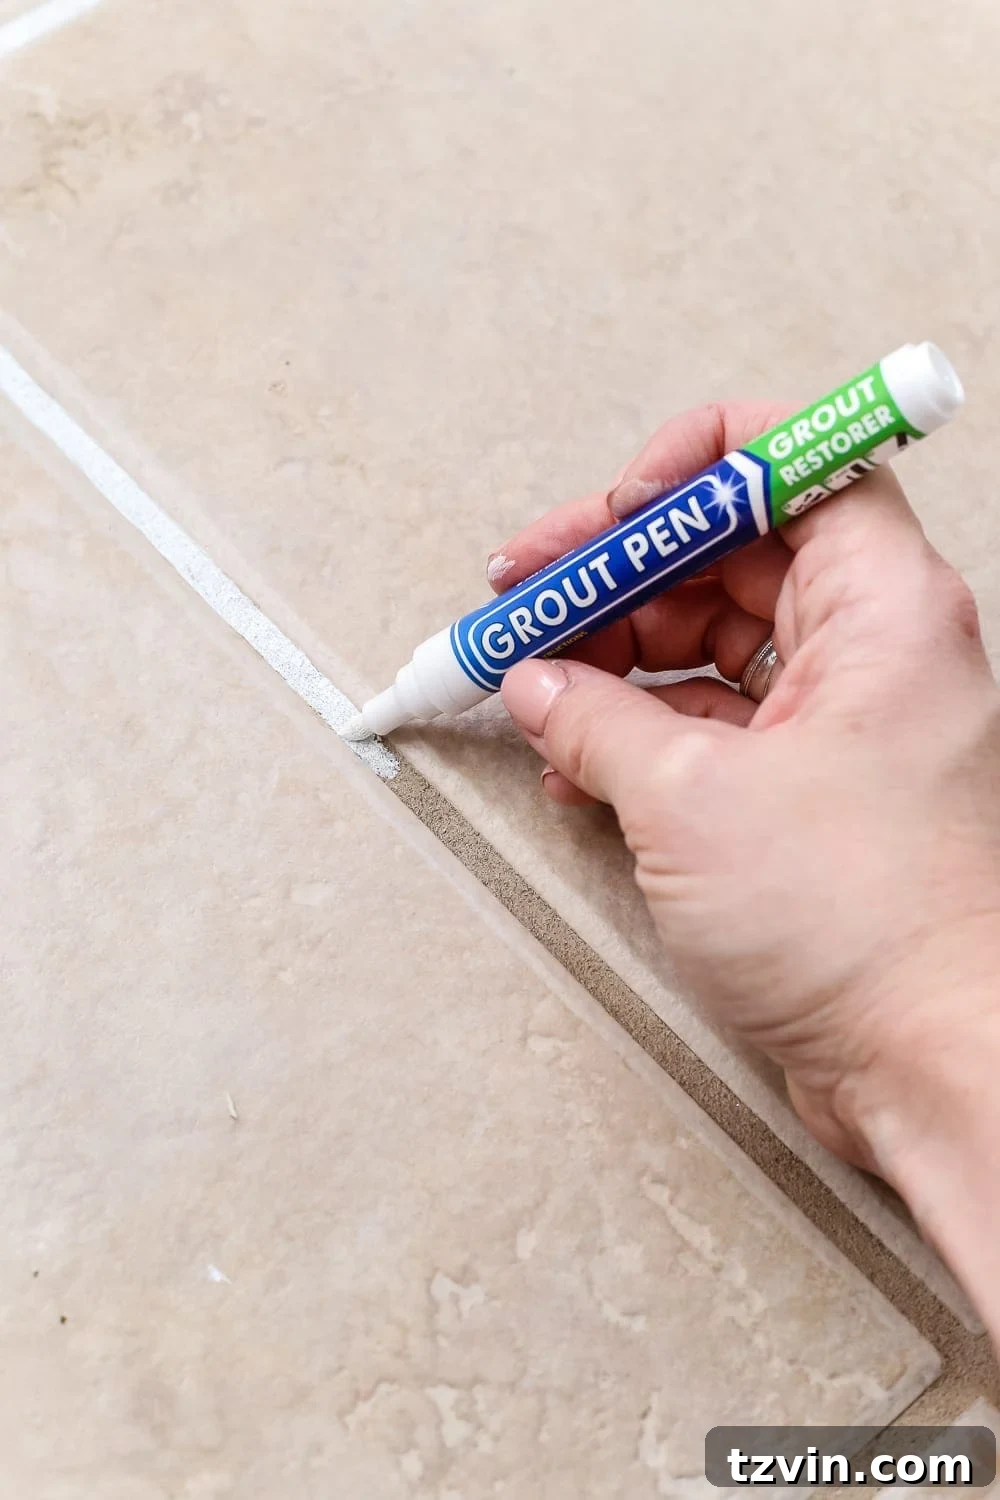
The star of our grout transformation is a product that genuinely lives up to its “awesomesauce” reputation: a specialized grout pen. For a full, comprehensive, step-by-step guide on how to use this tool, you can refer to the complete tutorial post here. In essence, this ingenious tool functions much like a marker, but instead of ink, it applies a fresh coat of high-quality, durable grout paint directly onto your existing grout lines. This process instantly revitalizes them, making them appear brand new and brilliantly clean.
The application process is surprisingly straightforward. After cleaning your grout lines as best you can (though perfection isn’t strictly necessary, as the pen covers imperfections), you simply draw along each grout line with the pen. The specially formulated paint adheres beautifully, covering stains and discoloration while providing a protective, water-resistant seal. This not only dramatically improves the aesthetic appeal of your floors but also helps to prevent future grime build-up, making routine cleaning much easier.
For our expansive kitchen and breakfast nook area, which totals approximately 350 square feet, we utilized six 15mm grout pens. This modest number of pens, costing far less than even a small professional regrouting job, delivered an astonishing return on investment in terms of visual impact. The entire process is quick, clean, and requires no specialized skills or heavy equipment, making it the ultimate DIY solution for anyone looking to refresh tile grout cheaply and easily. I even shared a quick video demonstrating the ease of application in my Instagram Stories highlights for those who prefer a visual guide.
The Secret to Comfortable Kitchen Floors: Layered Memory Foam Rug Magic
With our grout lines sparkling, my attention shifted to another persistent kitchen challenge: the discomfort of standing on hard tile floors for prolonged periods. As I’m currently experiencing the undeniable back pain phase of pregnancy, I can tell you firsthand that standing at the sink to wash dishes for more than five minutes can quickly become an exercise in endurance. The quest for a truly comfortable, ergonomic kitchen floor solution became a high priority.
I’ve always been drawn to those wonderfully squishy memory foam kitchen rugs in stores, thinking, “My aching back would truly appreciate this comfort.” However, I consistently ran into the same problem: they rarely matched our kitchen’s color scheme, pattern, or the specific size I needed. I wanted the luxurious cushioning without compromising our carefully curated aesthetic. This led me to a creative and highly effective workaround – the layered memory foam kitchen rug trick.
Achieving Both Comfort and Style with Layered Kitchen Rugs
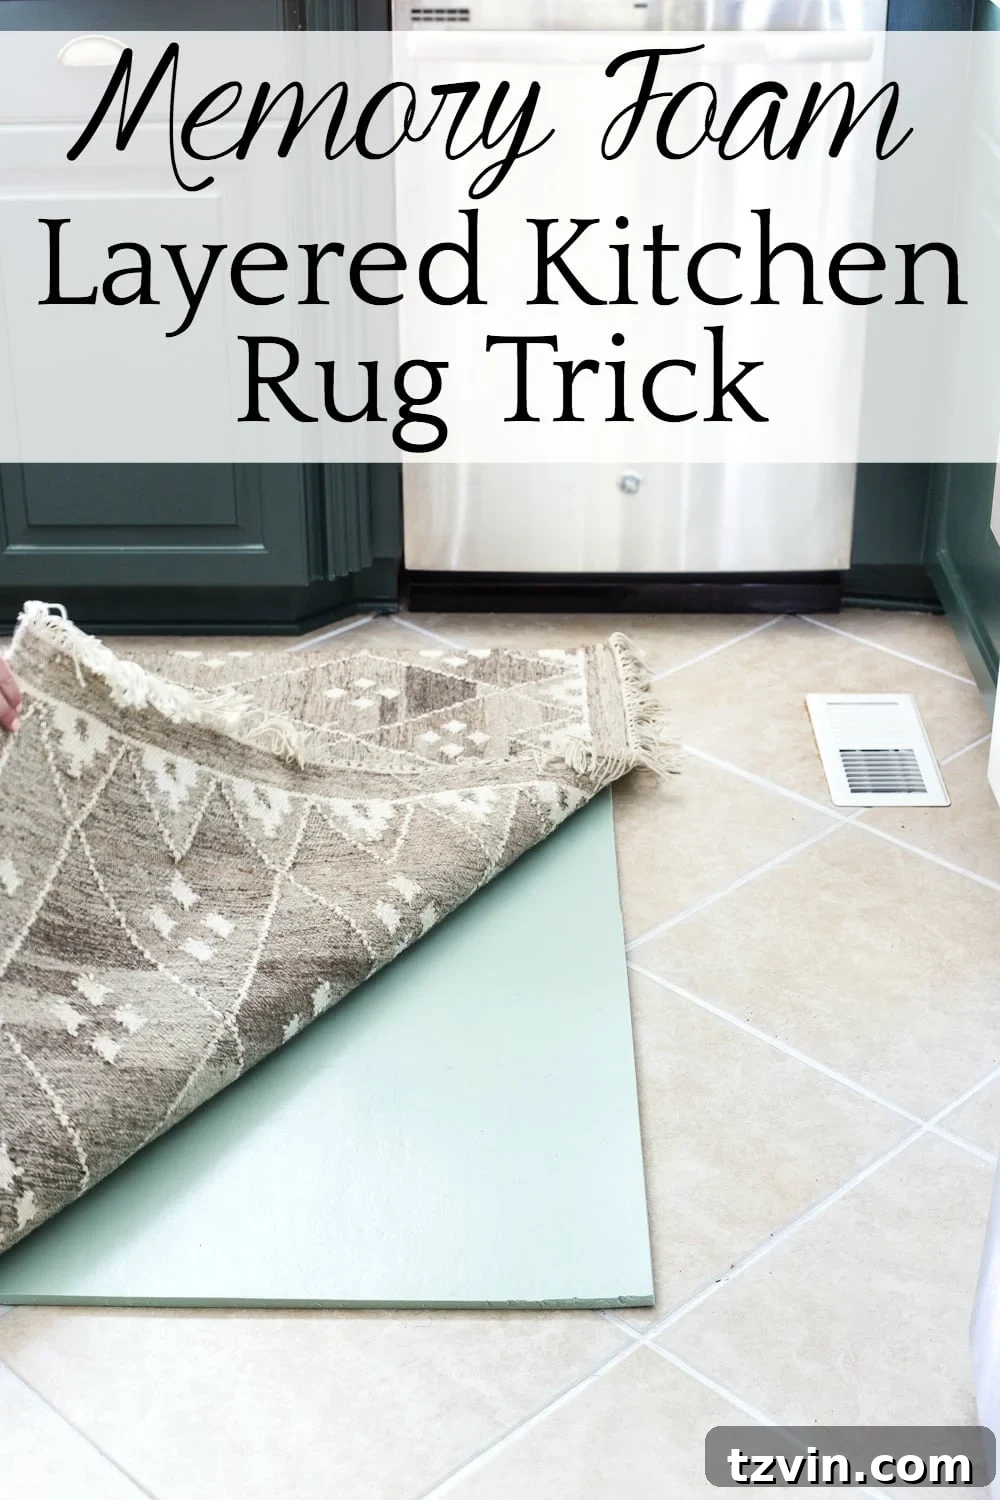
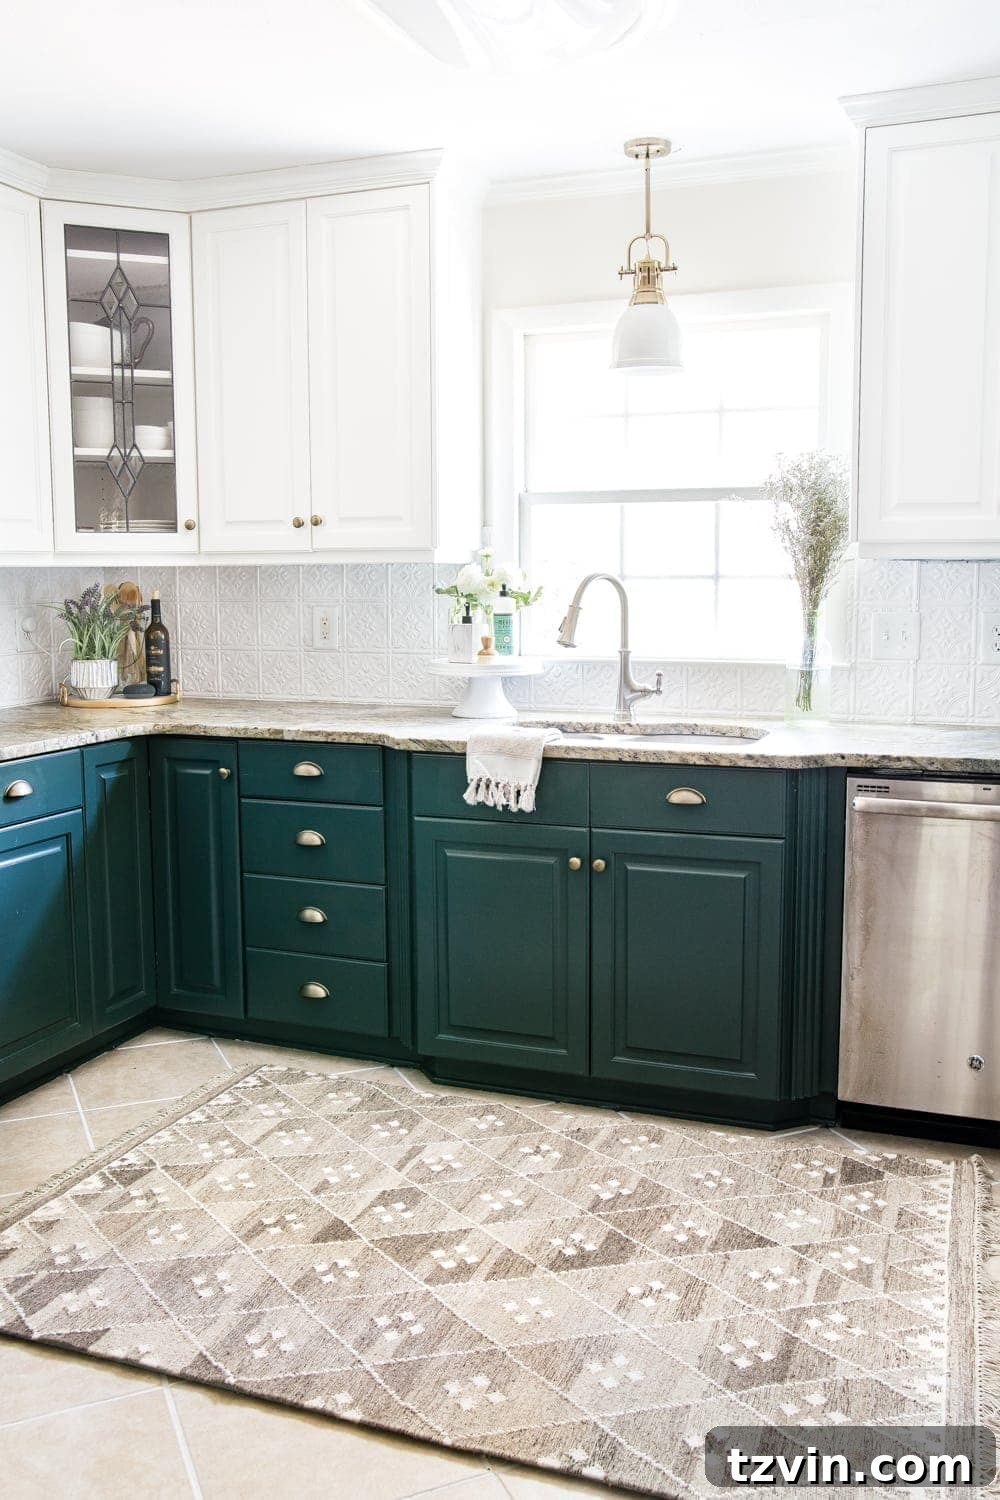
The solution is deceptively simple but delivers profound results: combining a substantial memory foam rug pad with a beautifully chosen flatweave area rug. Instead of a pre-made memory foam mat that might not fit our style, I sourced this fantastic 4×6 memory foam rug pad. Placing this underneath our top rug instantly transformed the feel of our kitchen floor. What was once a hard, unforgiving surface became a plush, supportive haven, making tasks like washing dishes incredibly more pleasant. I am officially convinced and now consider putting these pads under every rug we own! While it might be the pregnancy back pain talking, the difference in comfort is truly remarkable.
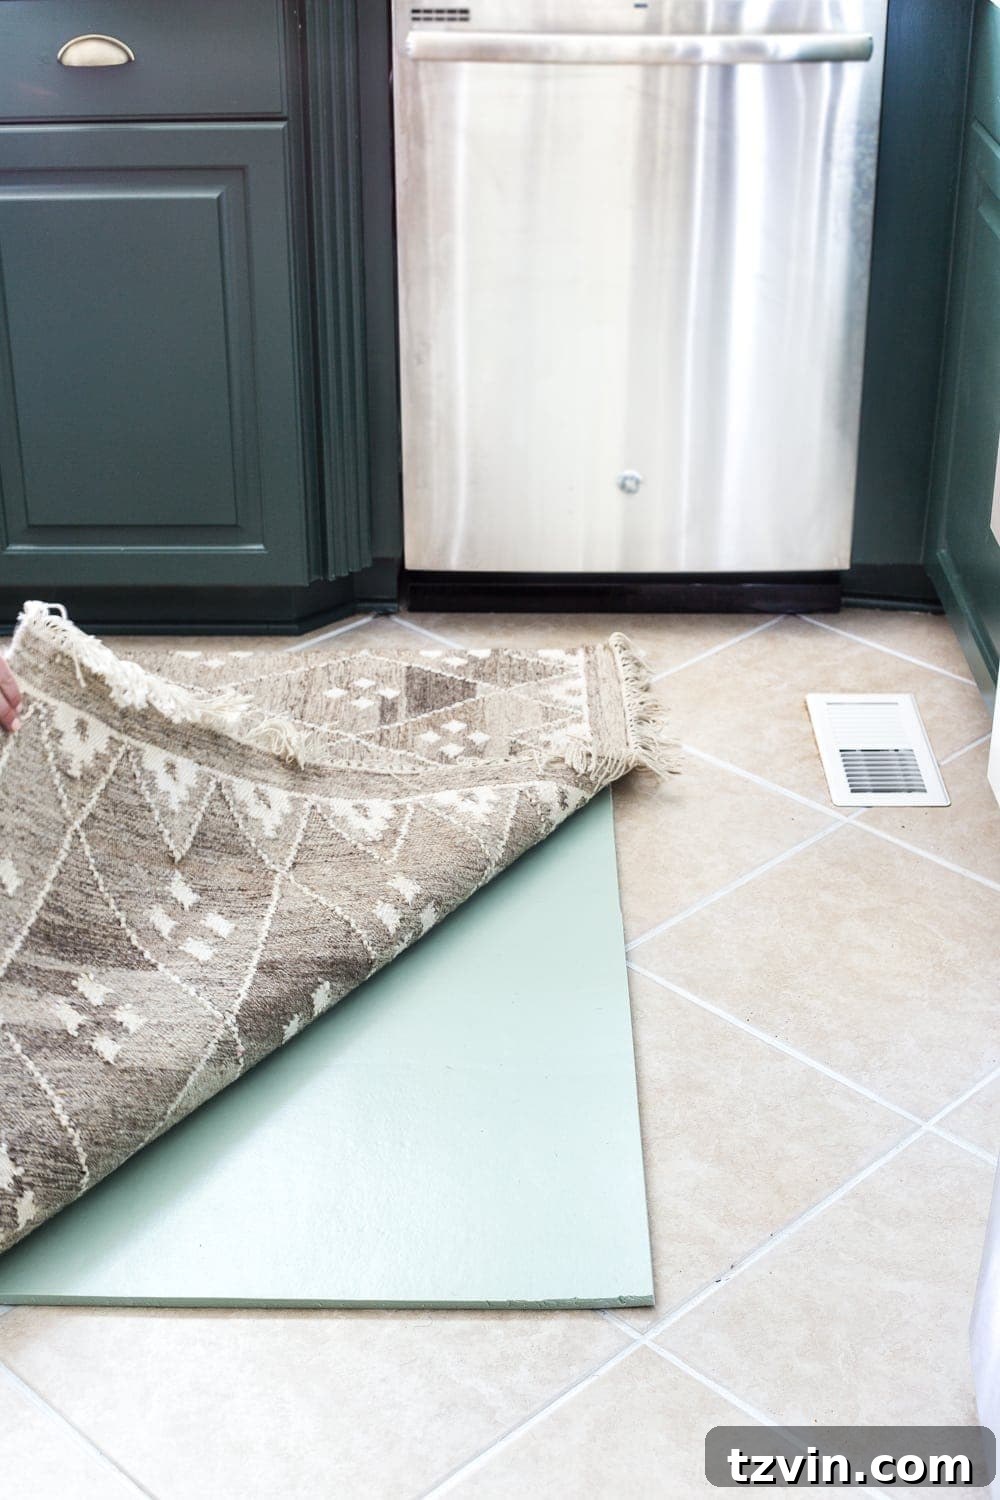
On top of the luxurious memory foam pad, I carefully selected this elegant wool flatweave rug. Wool was our material of choice due to its inherent durability, natural stain-repelling properties, and beautiful texture – qualities far superior to cotton or synthetic polyester in a high-traffic, spill-prone area like the kitchen. This rug has already proven its resilience, bravely surviving a very messy July 4th cookout complete with all sorts of food spills, emerging unscathed. This gives us immense confidence in its ability to maintain its beauty and functionality for many years to come.
This ingenious layered approach offers dual benefits. Firstly, it provides unparalleled ergonomic support, cushioning your feet, joints, and back, significantly reducing fatigue during prolonged standing. Secondly, it grants you complete freedom in your kitchen’s aesthetic. You are no longer restricted by the limited designs of conventional memory foam rugs. You can choose any flatweave rug that perfectly complements your kitchen decor, knowing that the comfort is seamlessly integrated underneath. This smart combination of practical comfort and exquisite style is a fantastic way to elevate your kitchen design on a budget, creating a truly comfortable kitchen floor.
A Cohesive Kitchen Aesthetic: Working with Existing Elements for a Stunning Look
Both of these impactful floor updates – the revitalized grout and the wonderfully comfortable layered rug – were chosen to harmoniously integrate with the broader design vision for our kitchen. The wool flatweave rug, with its earthy tones, blends flawlessly with our existing leathered granite countertop. It was, in fact, this countertop’s rich texture and natural color variations that initially inspired our entire “deep green / earth tone” palette shift. This approach beautifully illustrates the power of working with your existing features and building a cohesive, stylish design around them, rather than feeling compelled to replace everything.
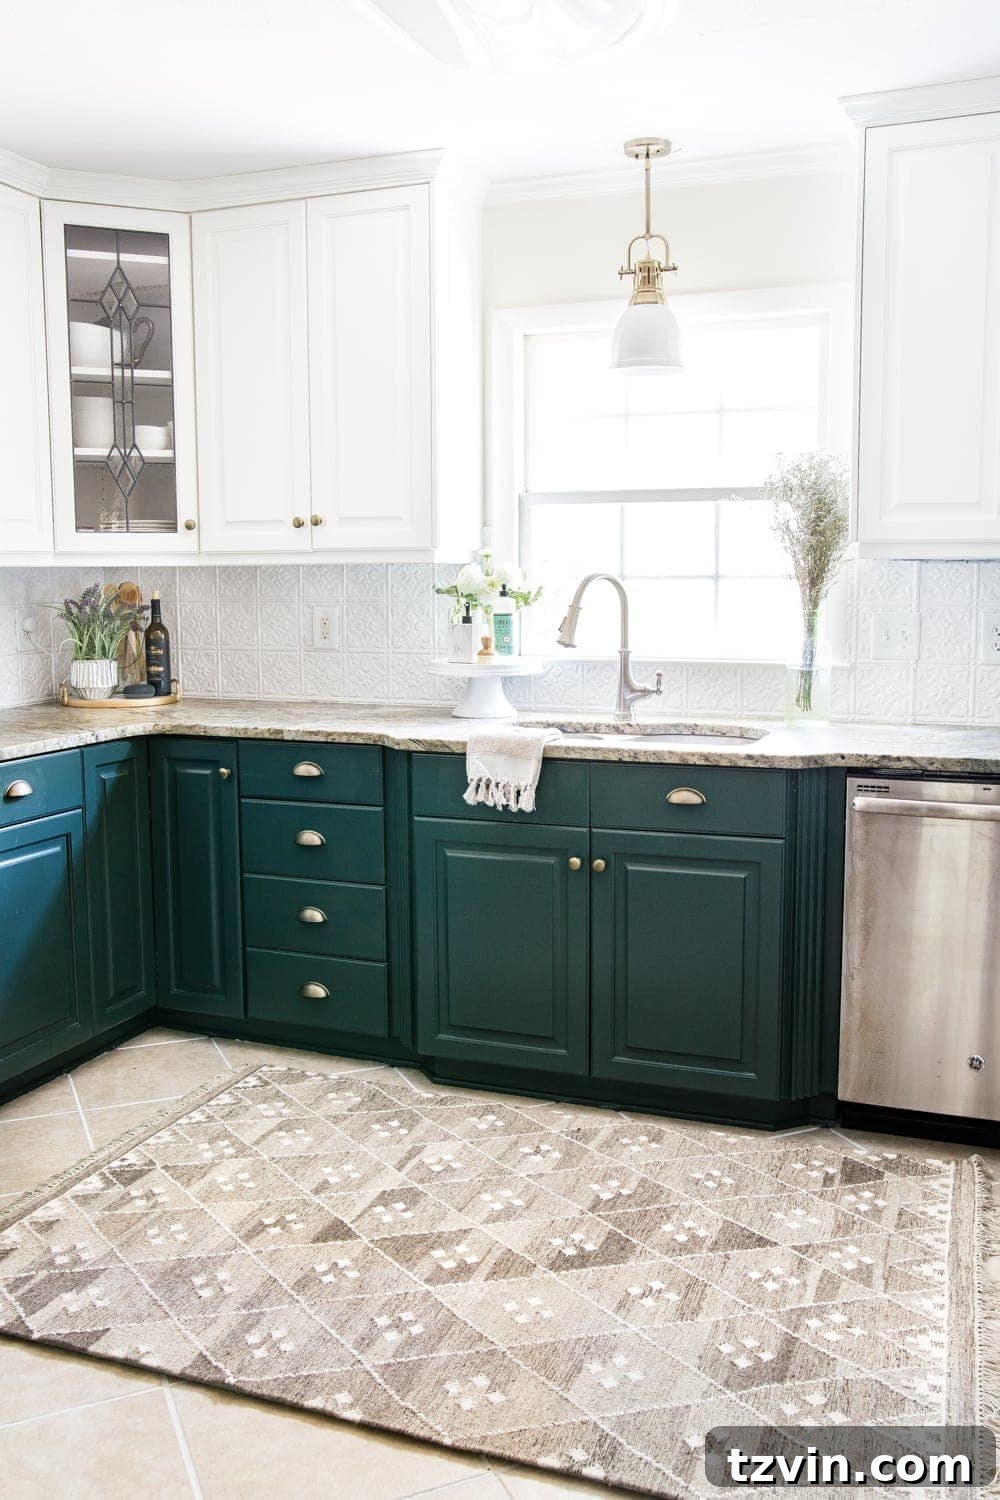
Every step of this kitchen refresh has been a testament to achieving maximum visual impact with minimal financial outlay. It proves that a truly stunning and comfortable kitchen doesn’t necessarily demand a complete overhaul. While a full gut renovation remains a possibility for us in a few years, these budget-friendly DIY projects have profoundly transformed the space, making it significantly more enjoyable and aesthetically pleasing in the interim. The next time you see this room, it will be in its full, completed glory – at least for this particular refresh phase!
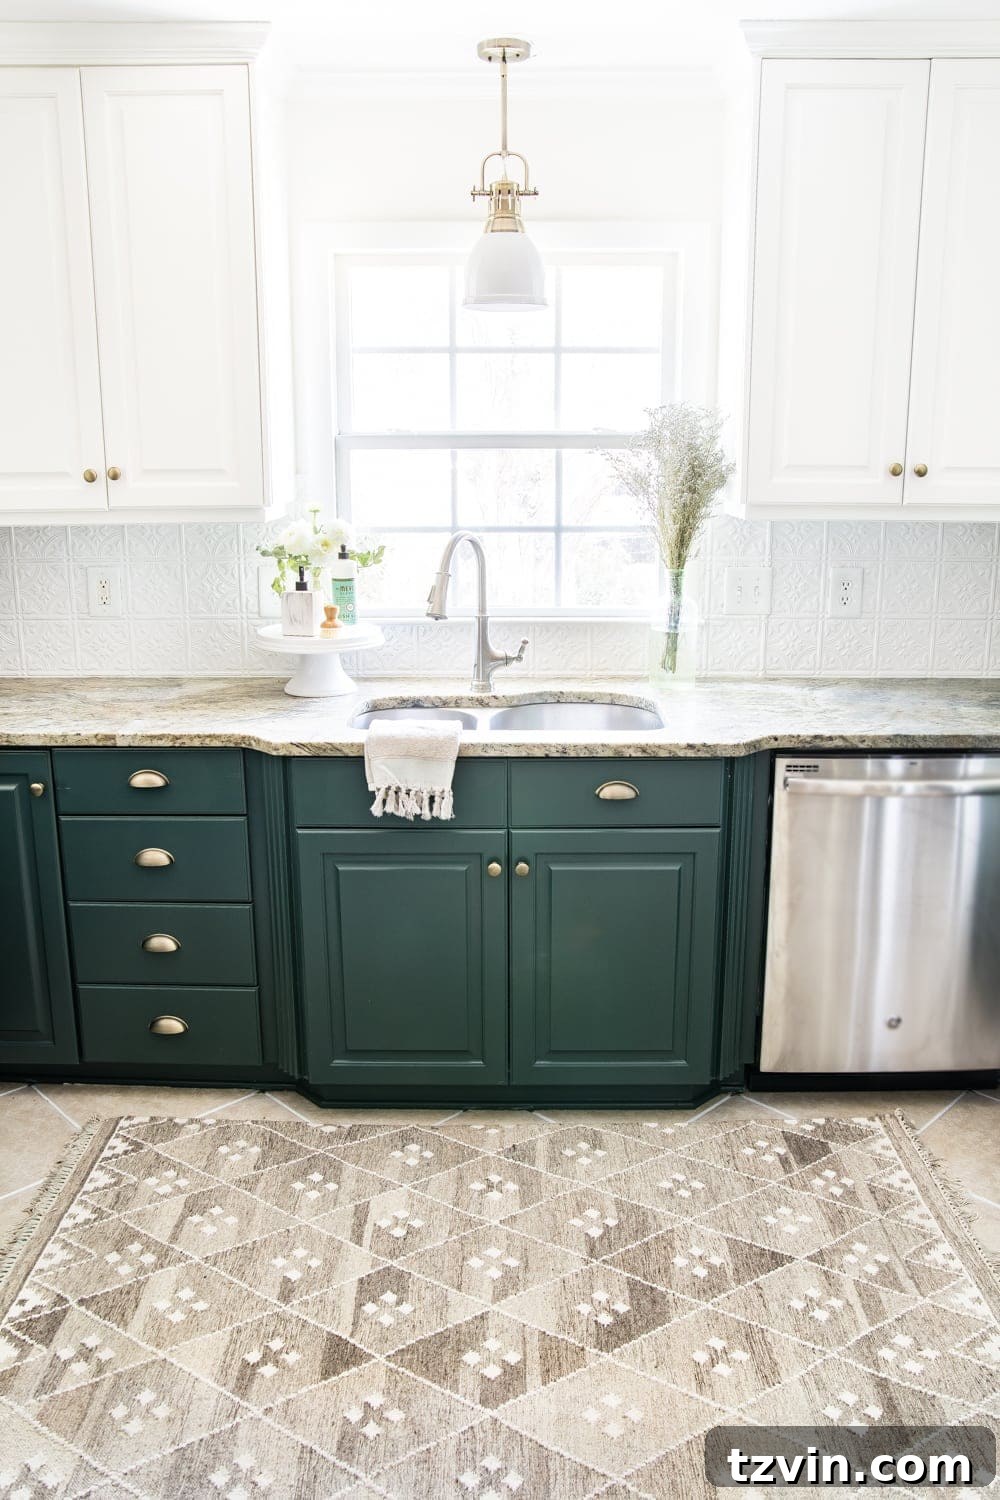
Your Essential Kitchen Refresh Resource Hub
Curious about the specific colors and products that brought our kitchen refresh to life? Here’s a detailed list of the sources we’ve used in this inspiring transformation, designed to help you recreate a similar look in your own home:
- Lower cabinet color: Sherwin Williams Billiard
- Upper cabinet color: Benjamin Moore Simply White
- Wall color: Benjamin Moore Swiss Coffee
- Wool flatweave rug
- Memory foam rug pad
- Pendant light
- Aged brass cup pulls
- Aged brass knobs
- Pressed tin backsplash (DIY tutorial)
- Round tray
- Cake stand
- Hand towel
- Soap dispenser
Share Your Ingenious Kitchen Transformation Tips!
We firmly believe that home improvement should be both accessible and a source of inspiration. We’ve openly shared our most effective budget-friendly strategies for refreshing tile grout and significantly enhancing kitchen comfort, and now we’re eager to hear from you! Do you have any brilliant, cost-effective tips or creative solutions for sprucing up old floors or adding ergonomic comfort to a busy kitchen? Please share your invaluable insights, experiences, and advice below in the comments section. Your ideas could serve as a wonderful inspiration for countless other DIY enthusiasts!
If you found this post helpful and want to save these innovative tips for your future kitchen projects, don’t forget you can easily pin it to your favorite Pinterest board. Happy renovating!