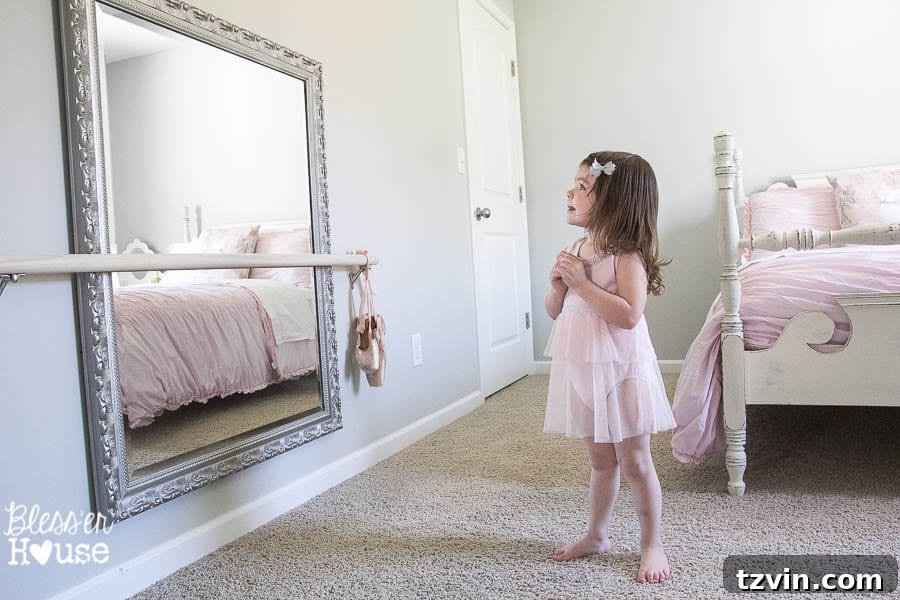
DIY Ballet Barre and Heavy Mirror: Creating a Ballerina’s Bedroom
Embracing the charm of a ballerina-themed bedroom for a little girl can be a delightful project. This post details the fun of creating a space that inspires movement and creativity. And let’s be honest, who doesn’t love a little bit of frilly pink sometimes?
This project was specifically designed for Livie Bug’s bedroom, and the excitement of making over her space has been a joy. The addition of a ballet barre and a large mirror has brought a touch of elegance and functionality to the room. I might even be a little jealous of my daughter’s new bedroom addition!
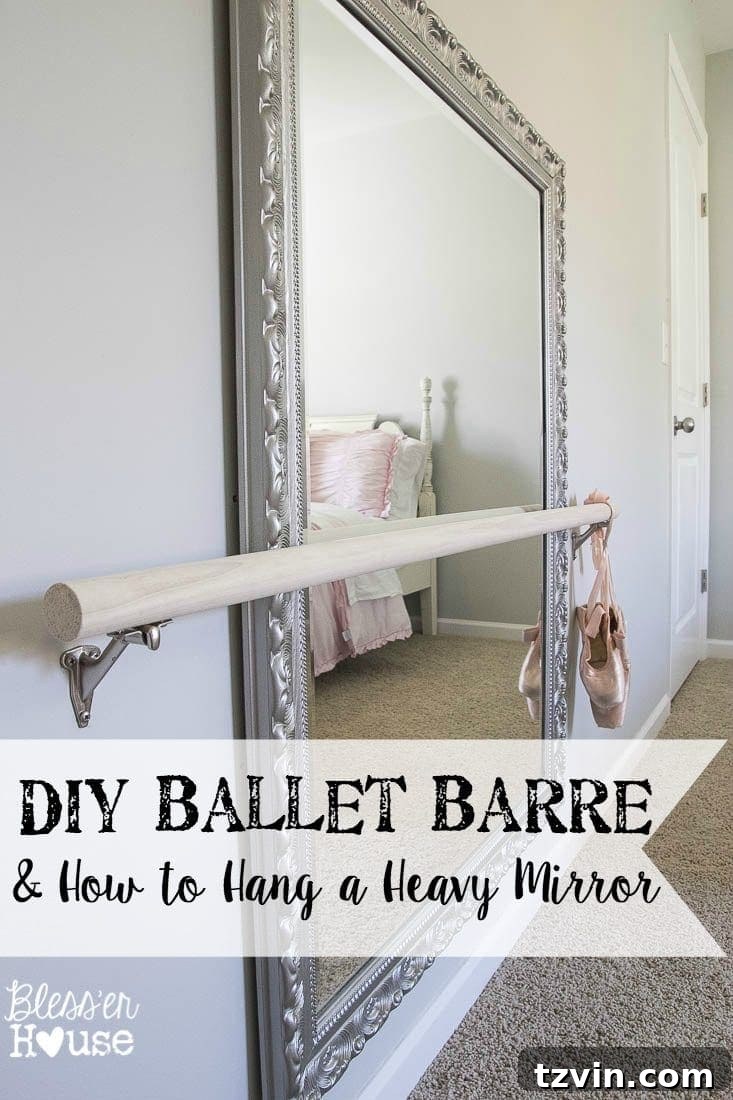
Hanging the Heavy Mirror
One of the more challenging aspects of this project was hanging a heavy mirror. Ensuring its safety, especially in a child’s reach, was paramount. This involved careful planning and execution.
Here are the steps to safely hang a heavy mirror:
What You’ll Need
- 18″ Hangman Hanging System
- Large Mirror (35″x45″ or similar size)
- Power Drill
- Level
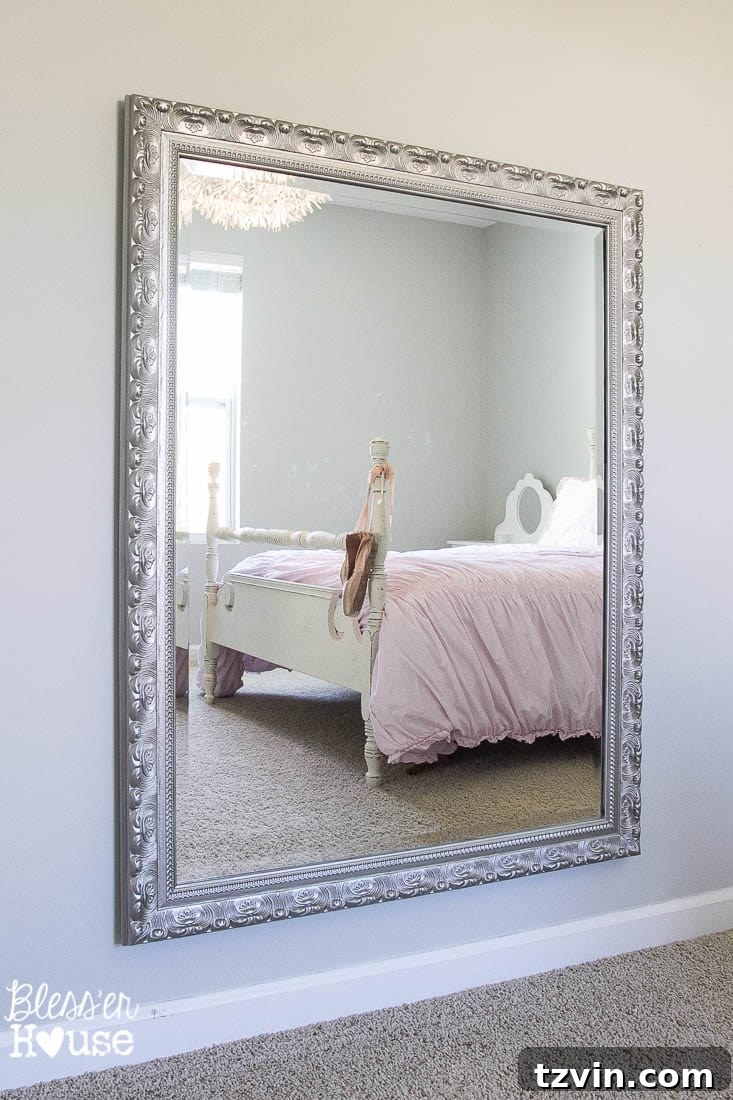
My parents had given me this beautiful scrolly mirror when I first moved into my own place. It was originally in their dining room and was originally black with gold leafing, but I updated it with silver spray paint. It’s a mirror with sentimental value, and it was the perfect centerpiece for Livie’s room.
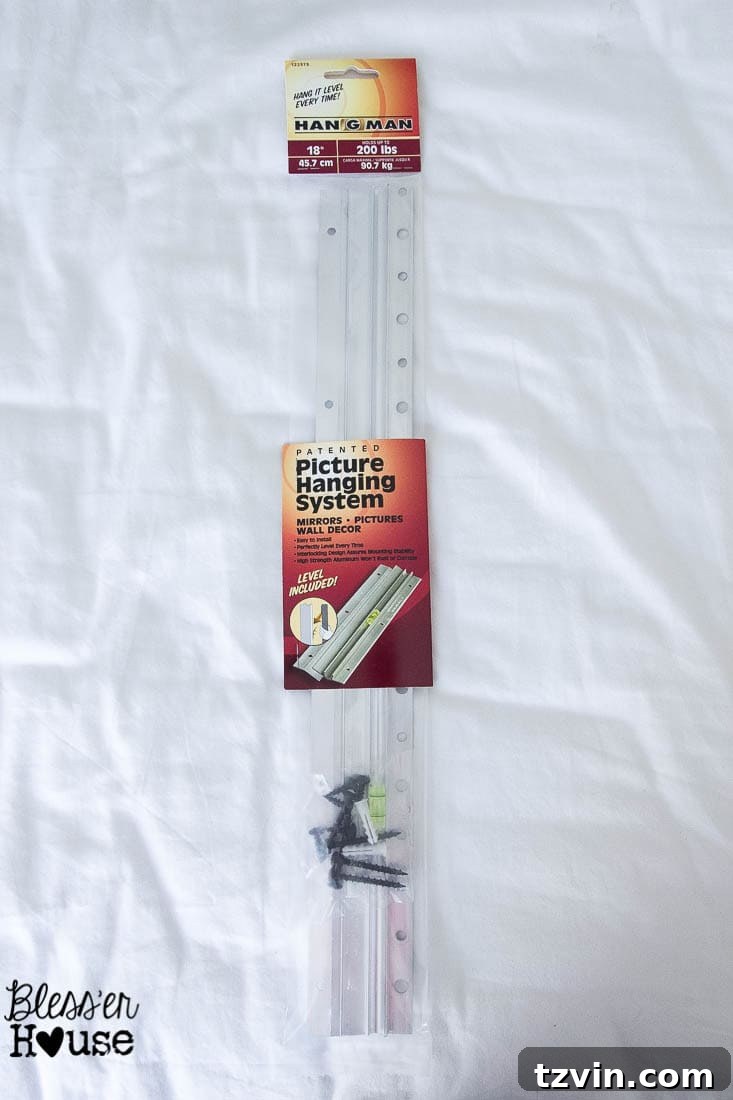
This mirror is quite substantial in weight, so I knew I needed a reliable hanging solution. We chose to use the Hangman picture hanging system. This is what we’ve used successfully for our hallway chalkboard and bathroom window decor. This system is known for its strength and stability.
The beauty of this system is that it allows for centered placement, even if the studs aren’t perfectly aligned. Here’s how we did it, with a little help from my daughter:
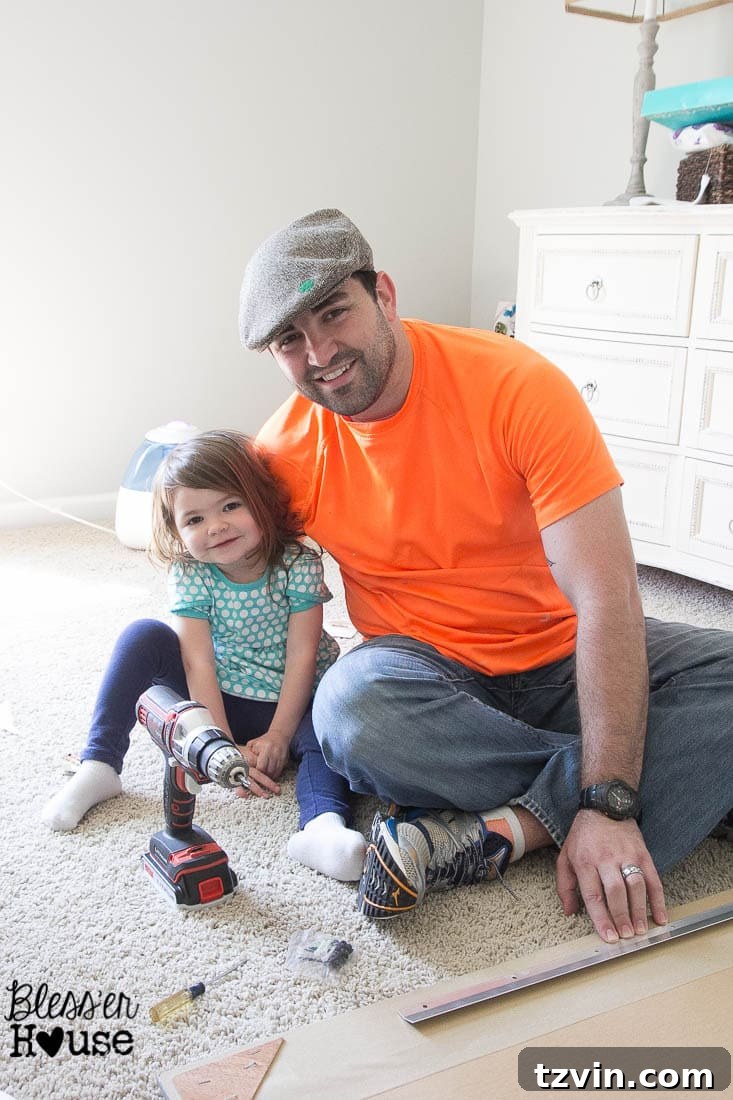
Step-by-Step Mirror Hanging Guide
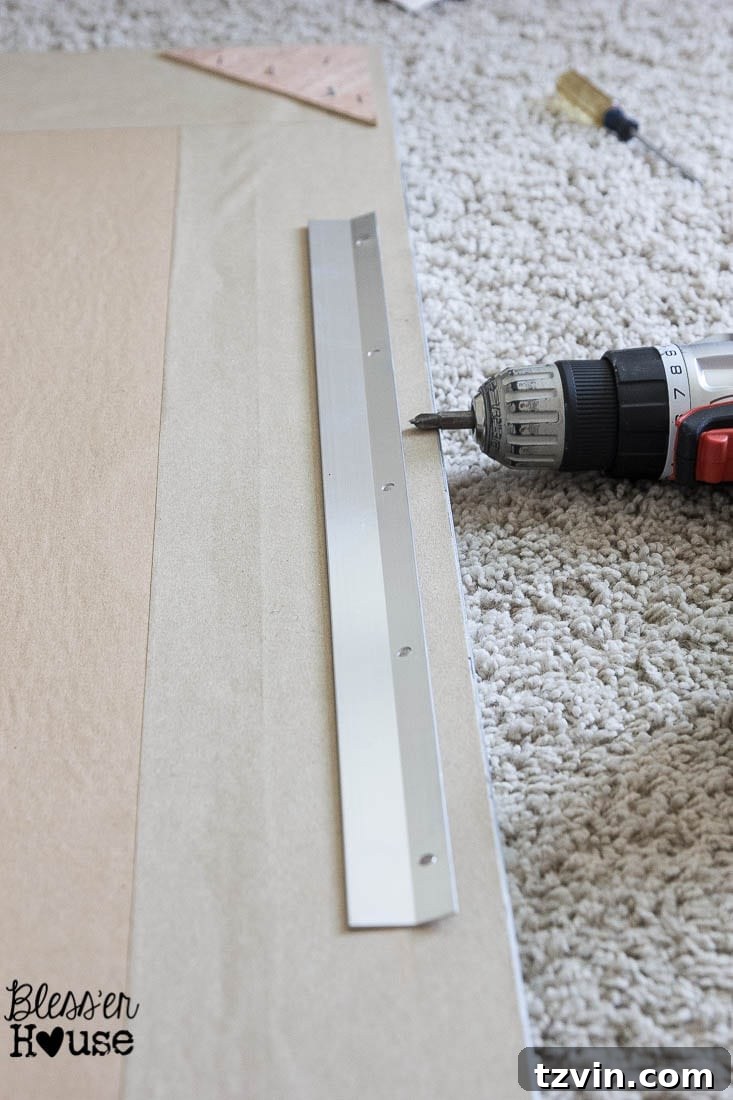
- Attach the First Plate: Screw one of the Hangman plates to the back of the mirror. Ensure it is level.
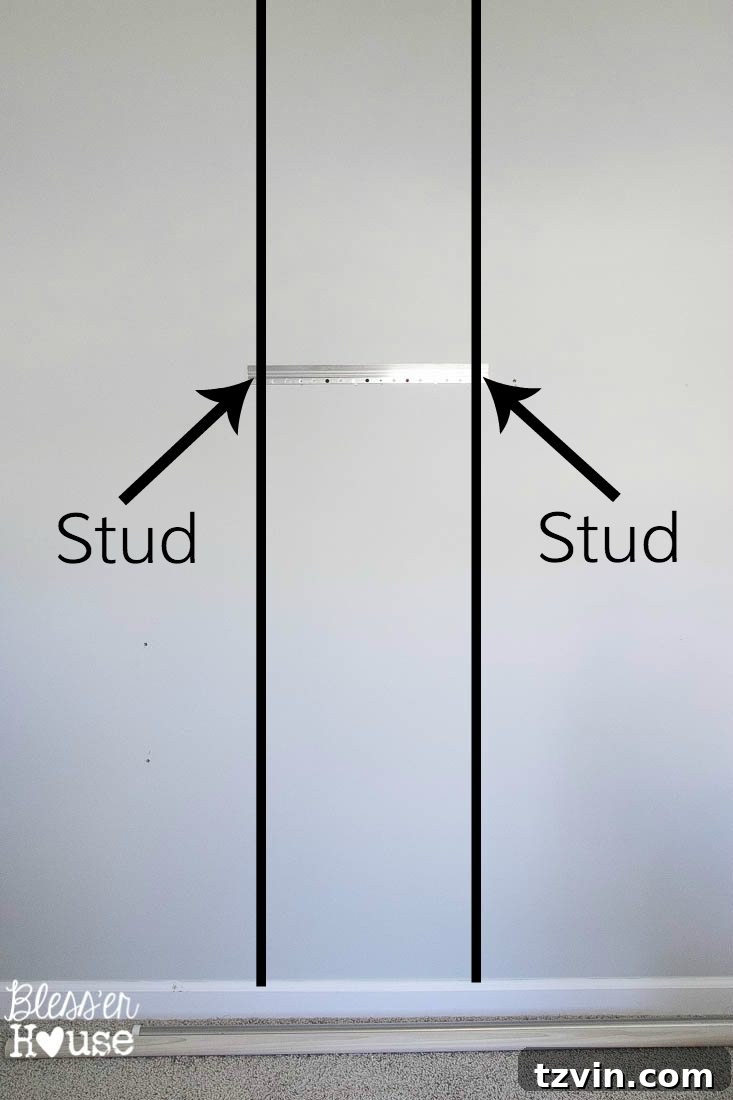
- Position the Second Plate: Determine the desired location for the mirror on the wall. This is where you’ll mount the second Hangman plate. Mark the location of the plate, making sure to align the screw holes with wall studs for maximum support.
- Mount the Plate to the Wall: Attach the second Hangman plate to the wall, ensuring the screws are securely fastened into the studs. Using a level to ensure the plate is straight.
- Hang the Mirror: The plate on the wall has a lip that securely holds the mirror’s plate in place. Once the wall plate is installed, simply hang the mirror onto the wall plate.
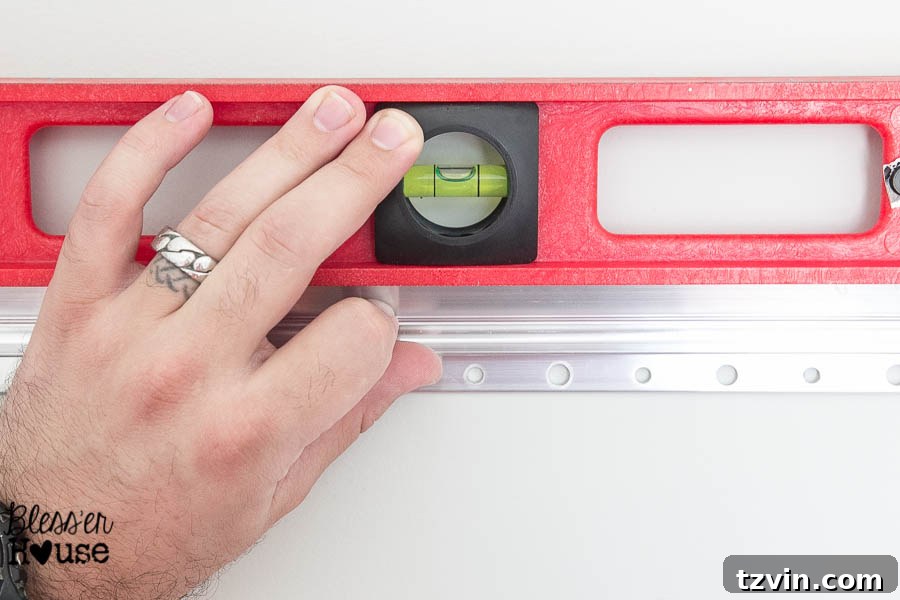
This method allows the mirror to be centered on the wall, regardless of stud placement, which results in a much more aesthetically pleasing and functional result.
Without this hanging system, the mirror would have had to be placed off-center, and I knew that wouldn’t be acceptable for this project!
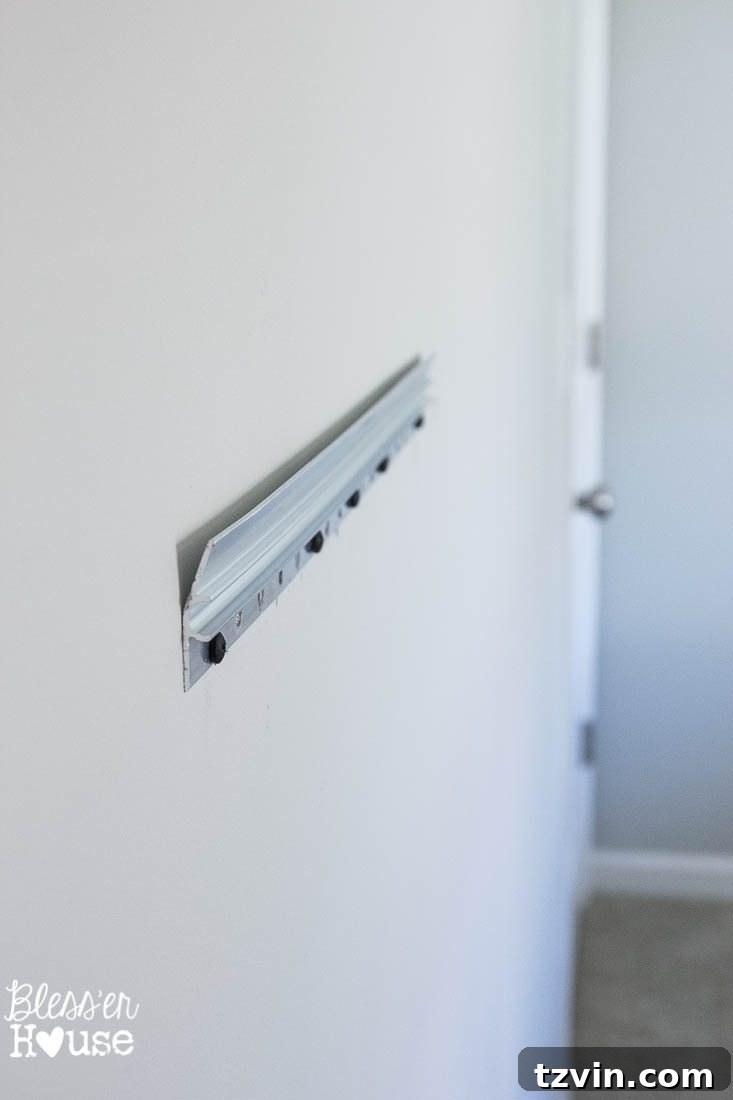
And now, the mirror is safely secured to the wall, ready for its purpose.
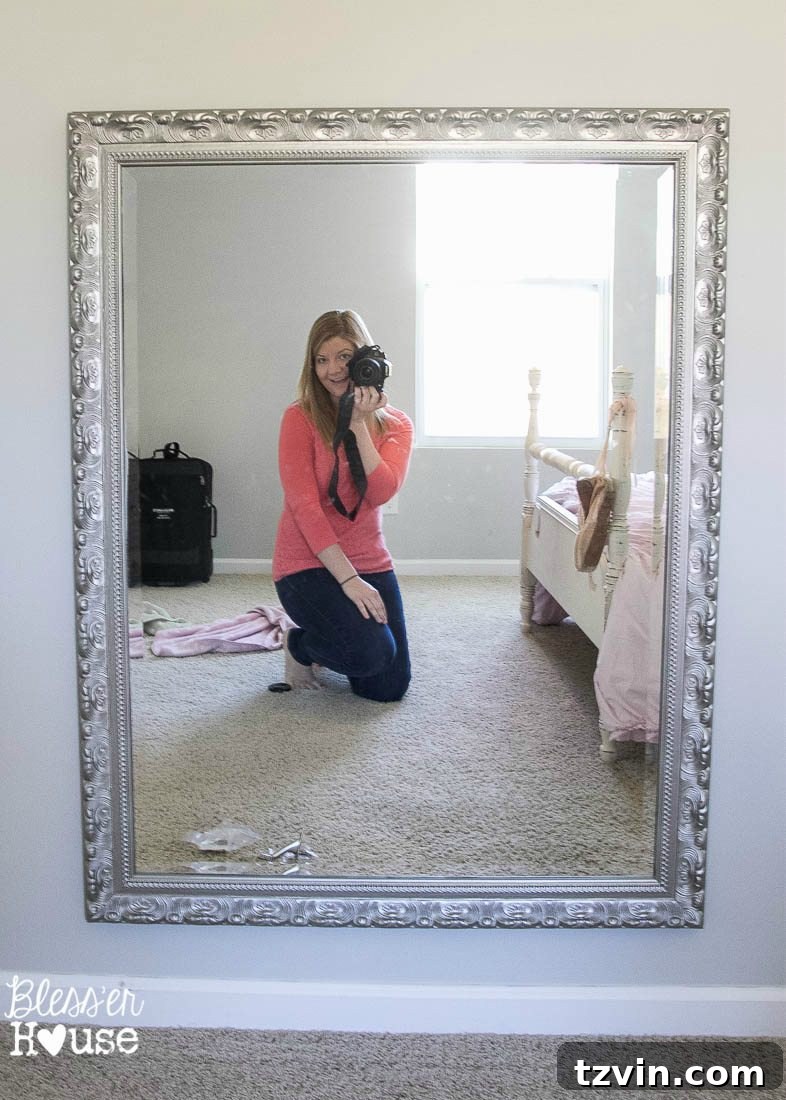
And of course, it was time for a selfie!
Creating the DIY Ballet Barre
With the mirror securely in place, the next step was constructing a ballet barre. This project was designed to be budget-friendly and easy to execute. This would allow Livie to use her new mirror for ballet practice. Here’s how we put it together:
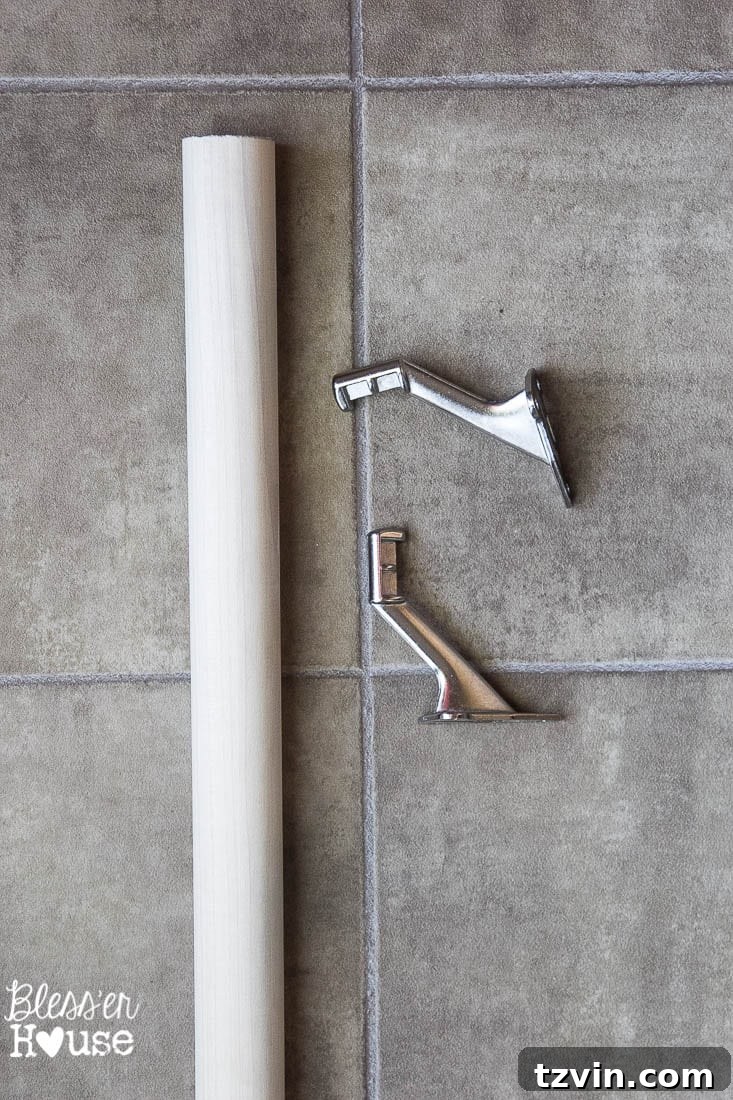
DIY Ballet Barre Supplies
- 2″ Wooden Dowel
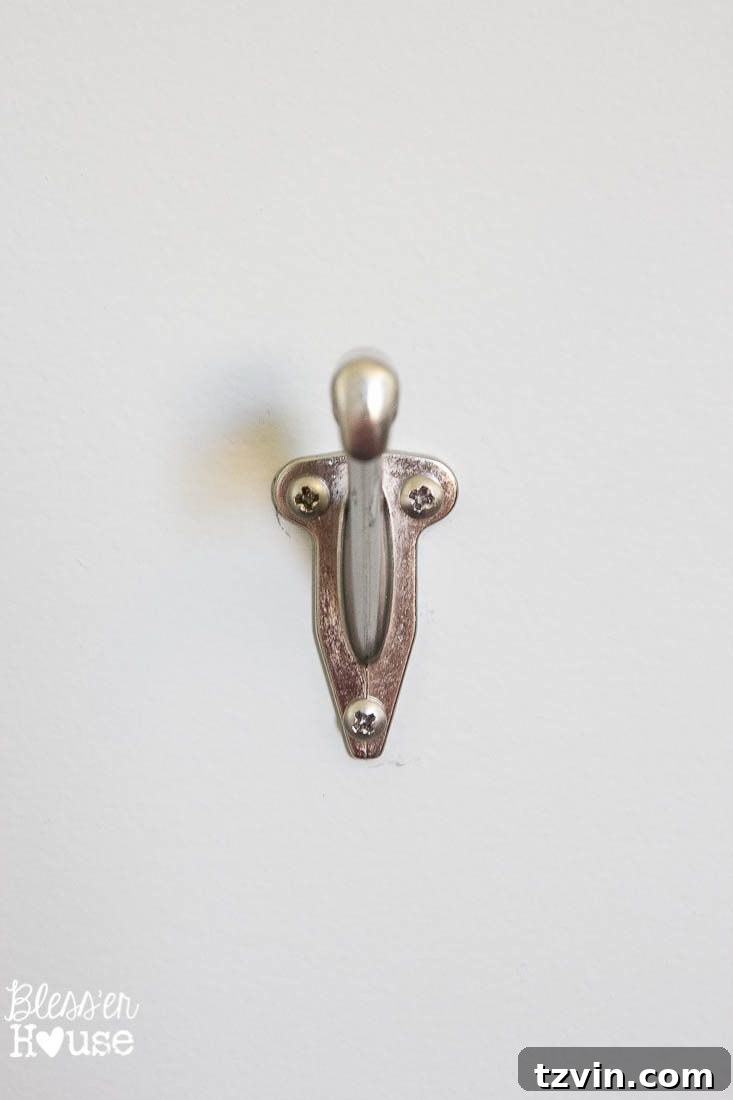
- 2 Stairway Handrail Brackets
The total cost of these supplies was about $16. We used a 2-inch wooden dowel for the barre itself, and stairway handrail brackets to attach the dowel to the wall.
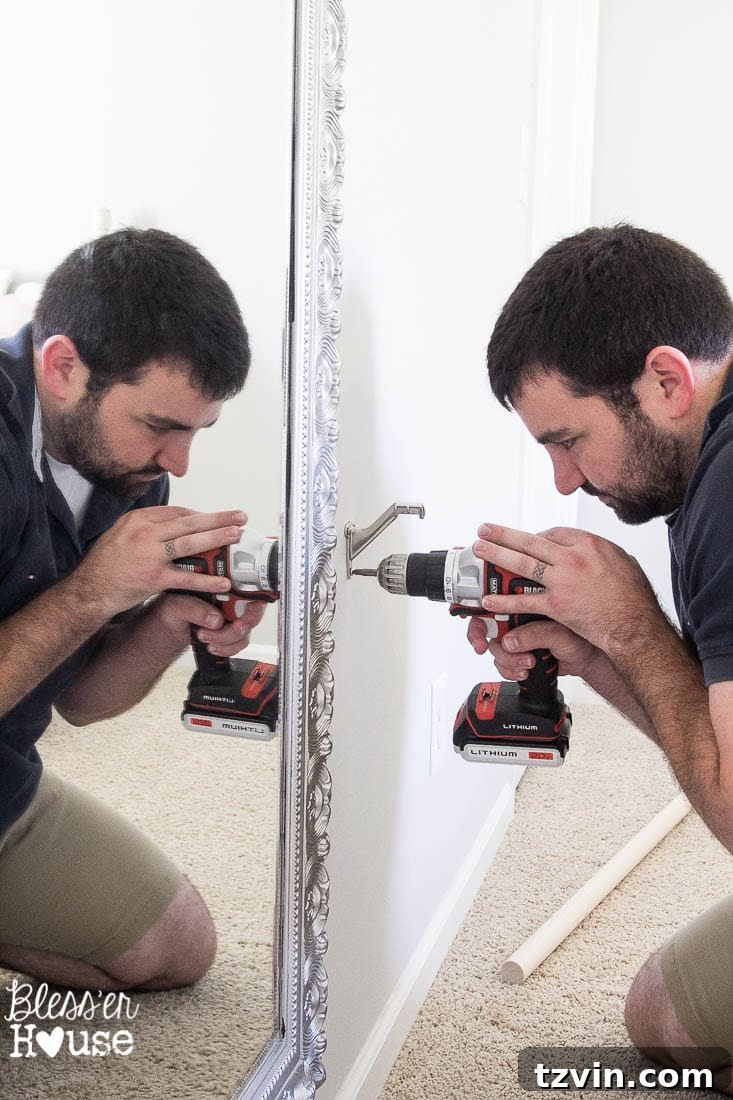
Ballet Barre Construction Steps
- Determine Placement: We centered the barre relative to the mirror for aesthetic symmetry. We used the same method of securing the barre brackets to the wall studs.
- Pre-Drill Holes: Pre-drill holes in the wooden dowel to align with the brackets. This makes it easier to attach them to the wall, and it prevents the wood from splitting.
- Attach the Barre to the Brackets: Attach the dowel to the wall brackets with screws. A helper can be beneficial during this step.
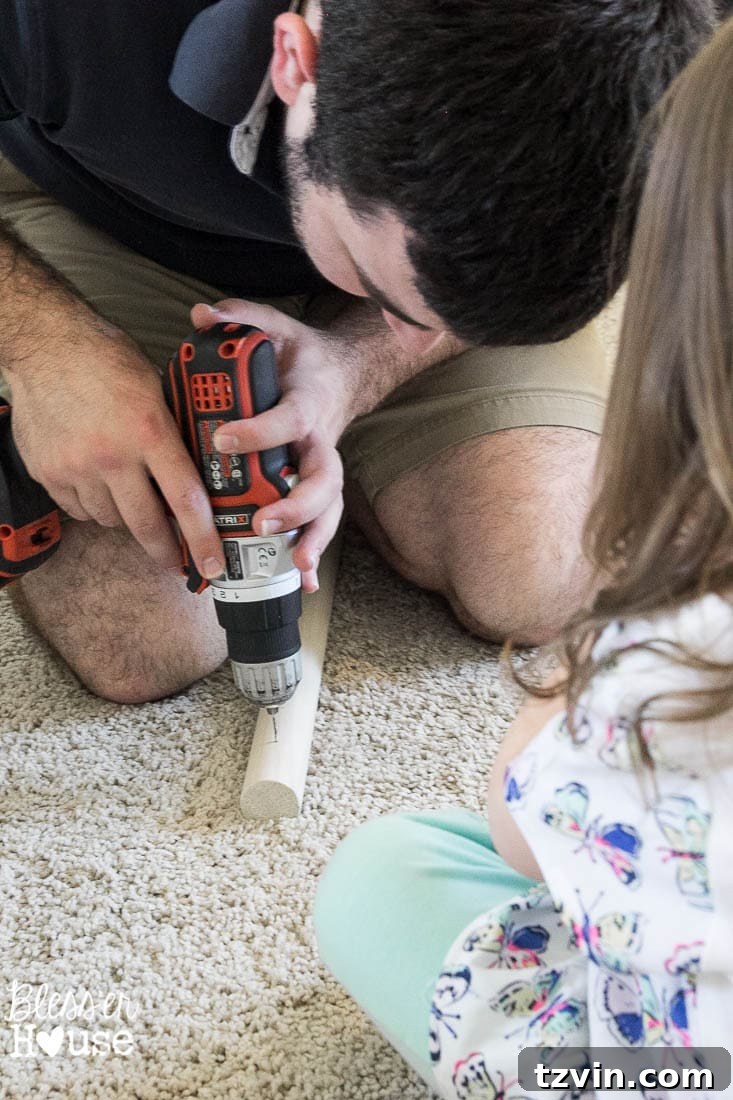
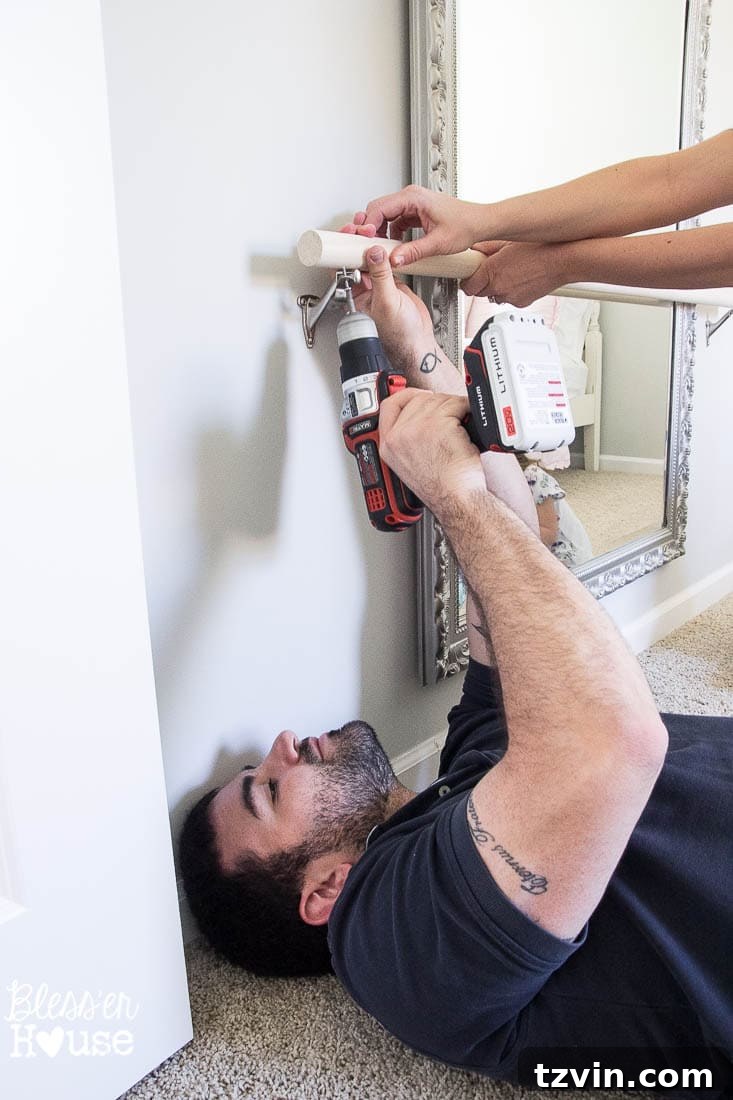
A little bit of sibling collaboration and even a family friend helped to complete the project.
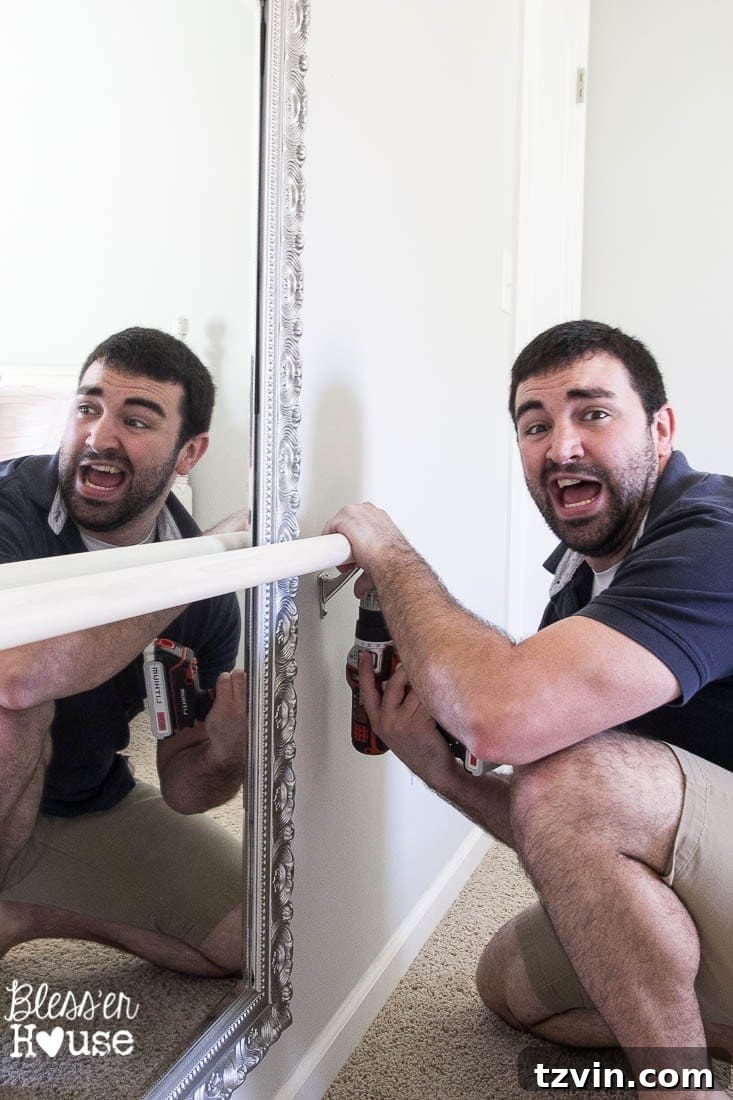
This process was a great reminder to take things easy, and to enjoy the process.
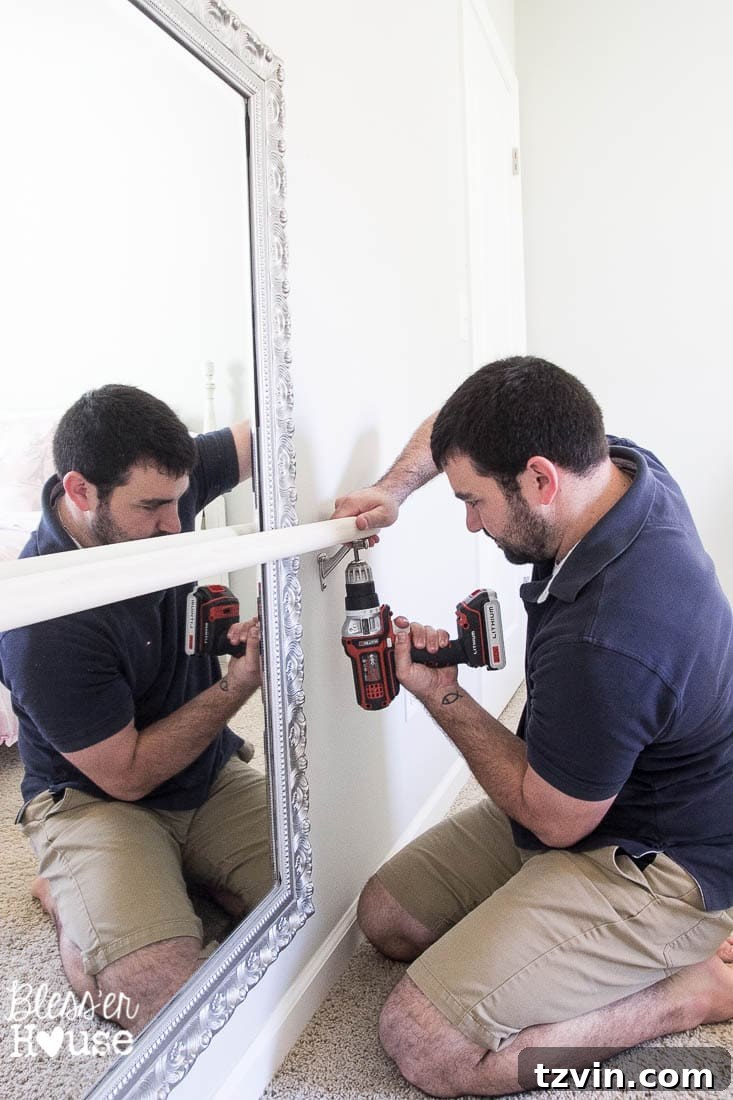
And now, Livie’s room is ready for dancing!
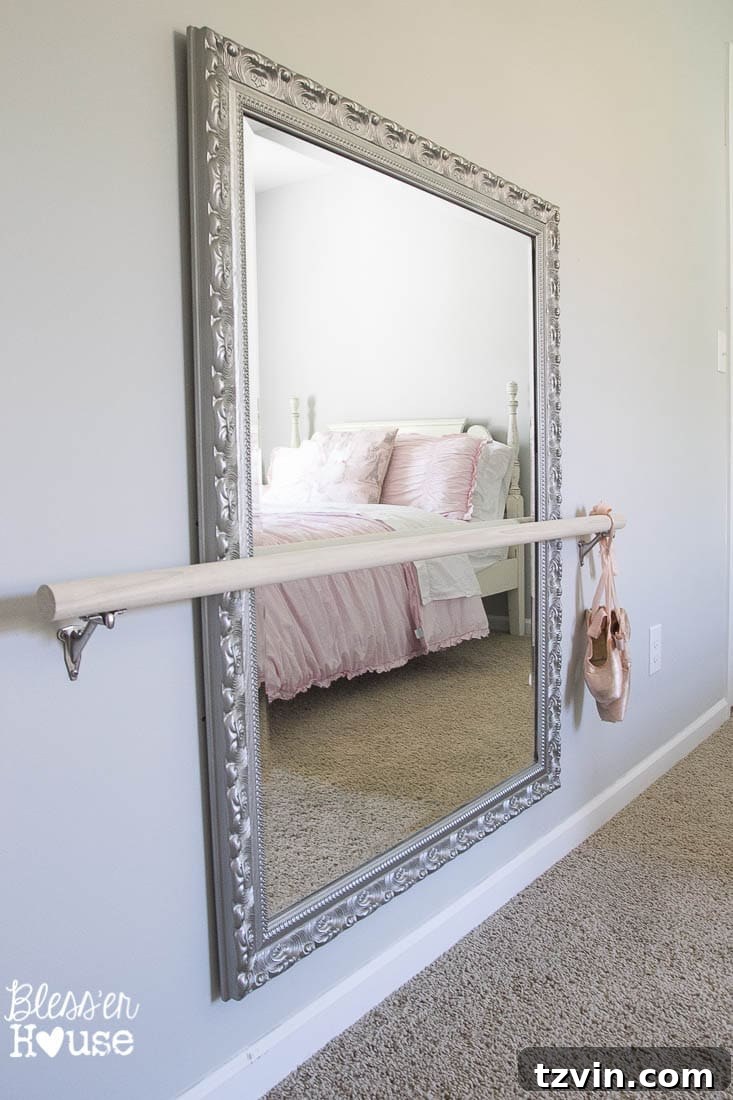
The Finished Ballet-Themed Room
The combination of the mirror and ballet barre has transformed Livie’s bedroom into a dedicated space for dance practice and creative expression. The ballerina applique pillow adds a lovely touch to the overall design.
As a former dancer, having a ballet barre in the room brings back fond memories and a sense of inspiration.
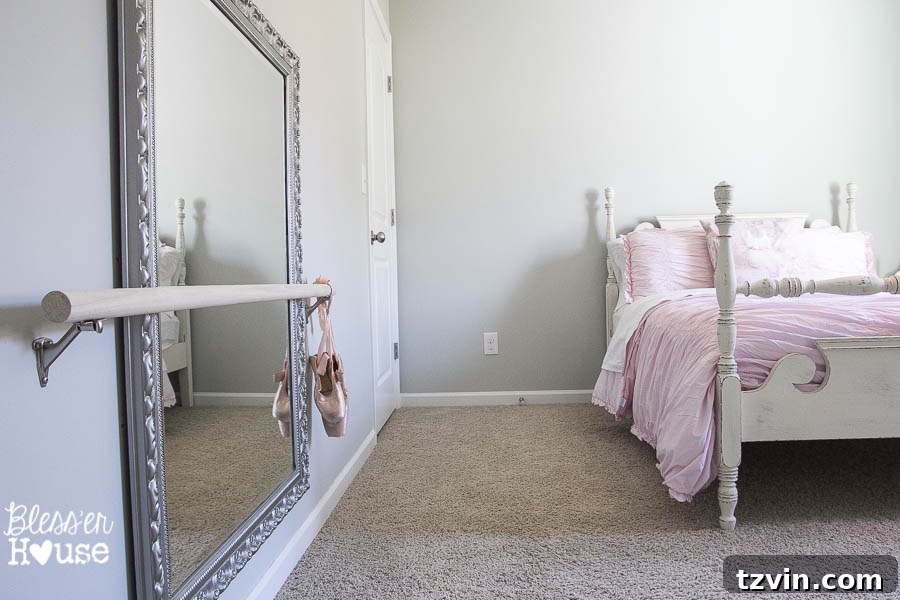
There is nothing like dancing to your favorite music to relieve stress. With the Nutcracker playing in the background, you can find a bit of childhood magic.
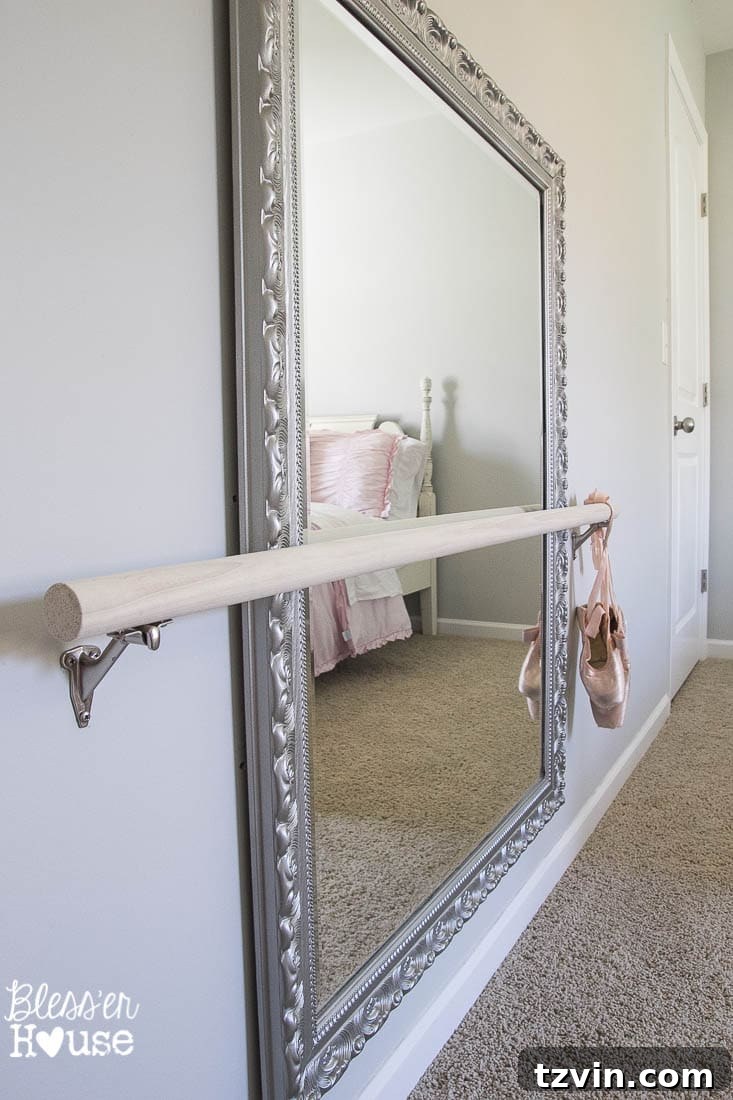
And to see Livie’s reaction…
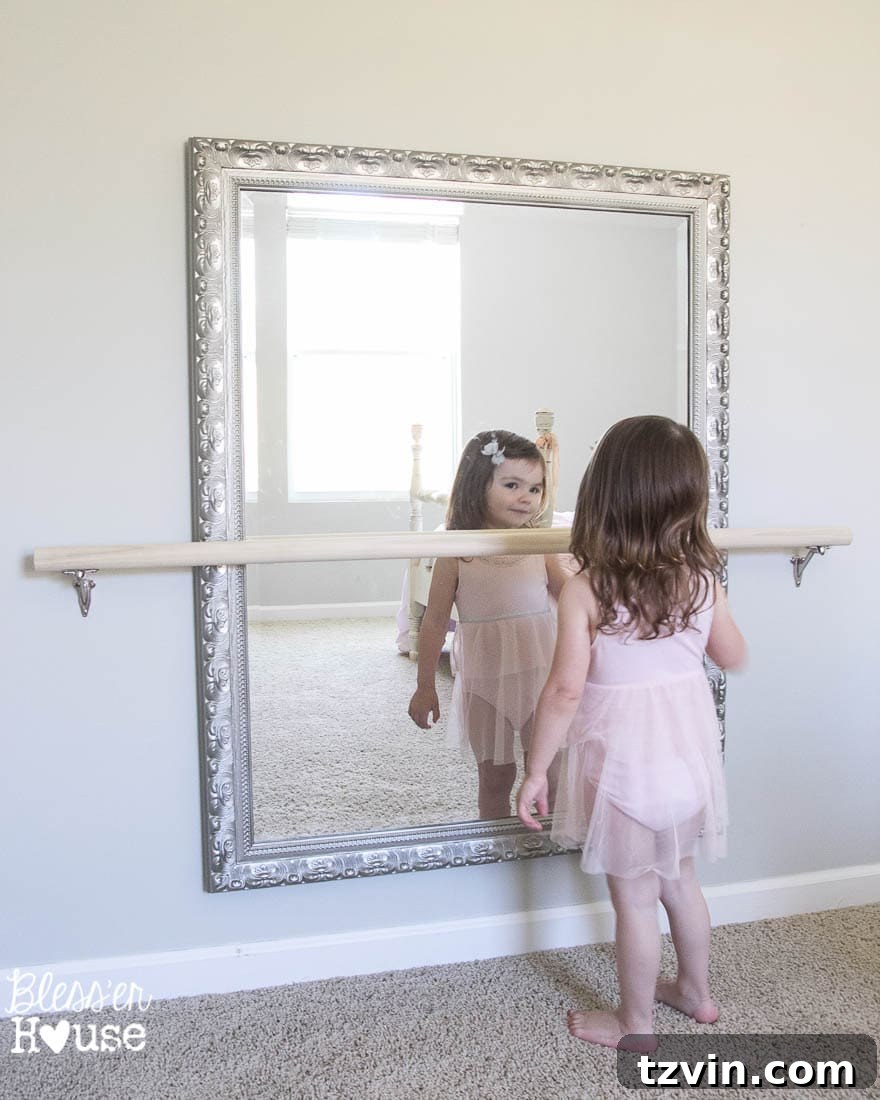
She already has some dance moves and is ready to go!
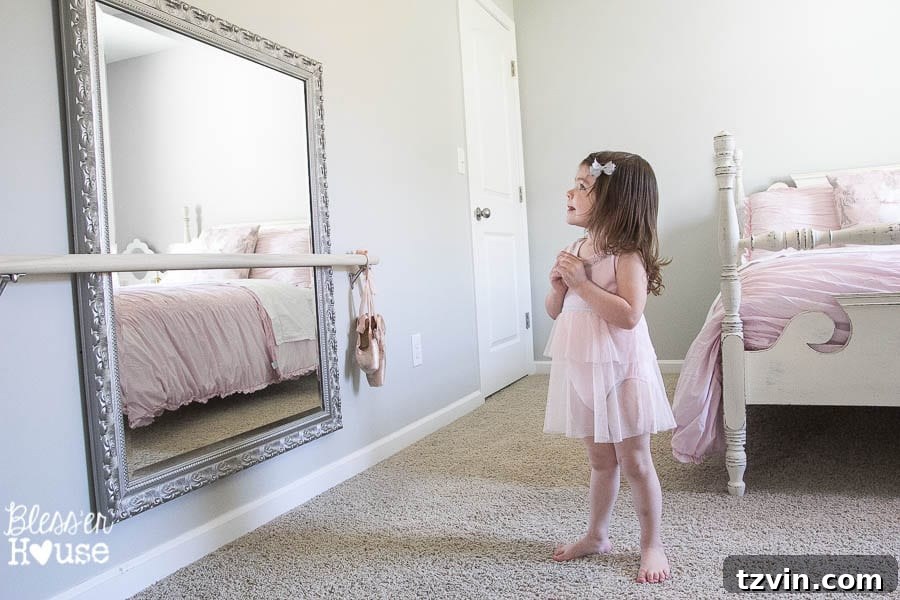
We had a blast dancing in her room for about an hour, from “Swan Lake” to “Uptown Funk.”
To see how the rest of the bedroom turned out, you can check out the full room reveal here:
See the full ballerina bedroom makeover reveal!